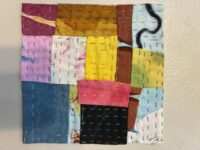

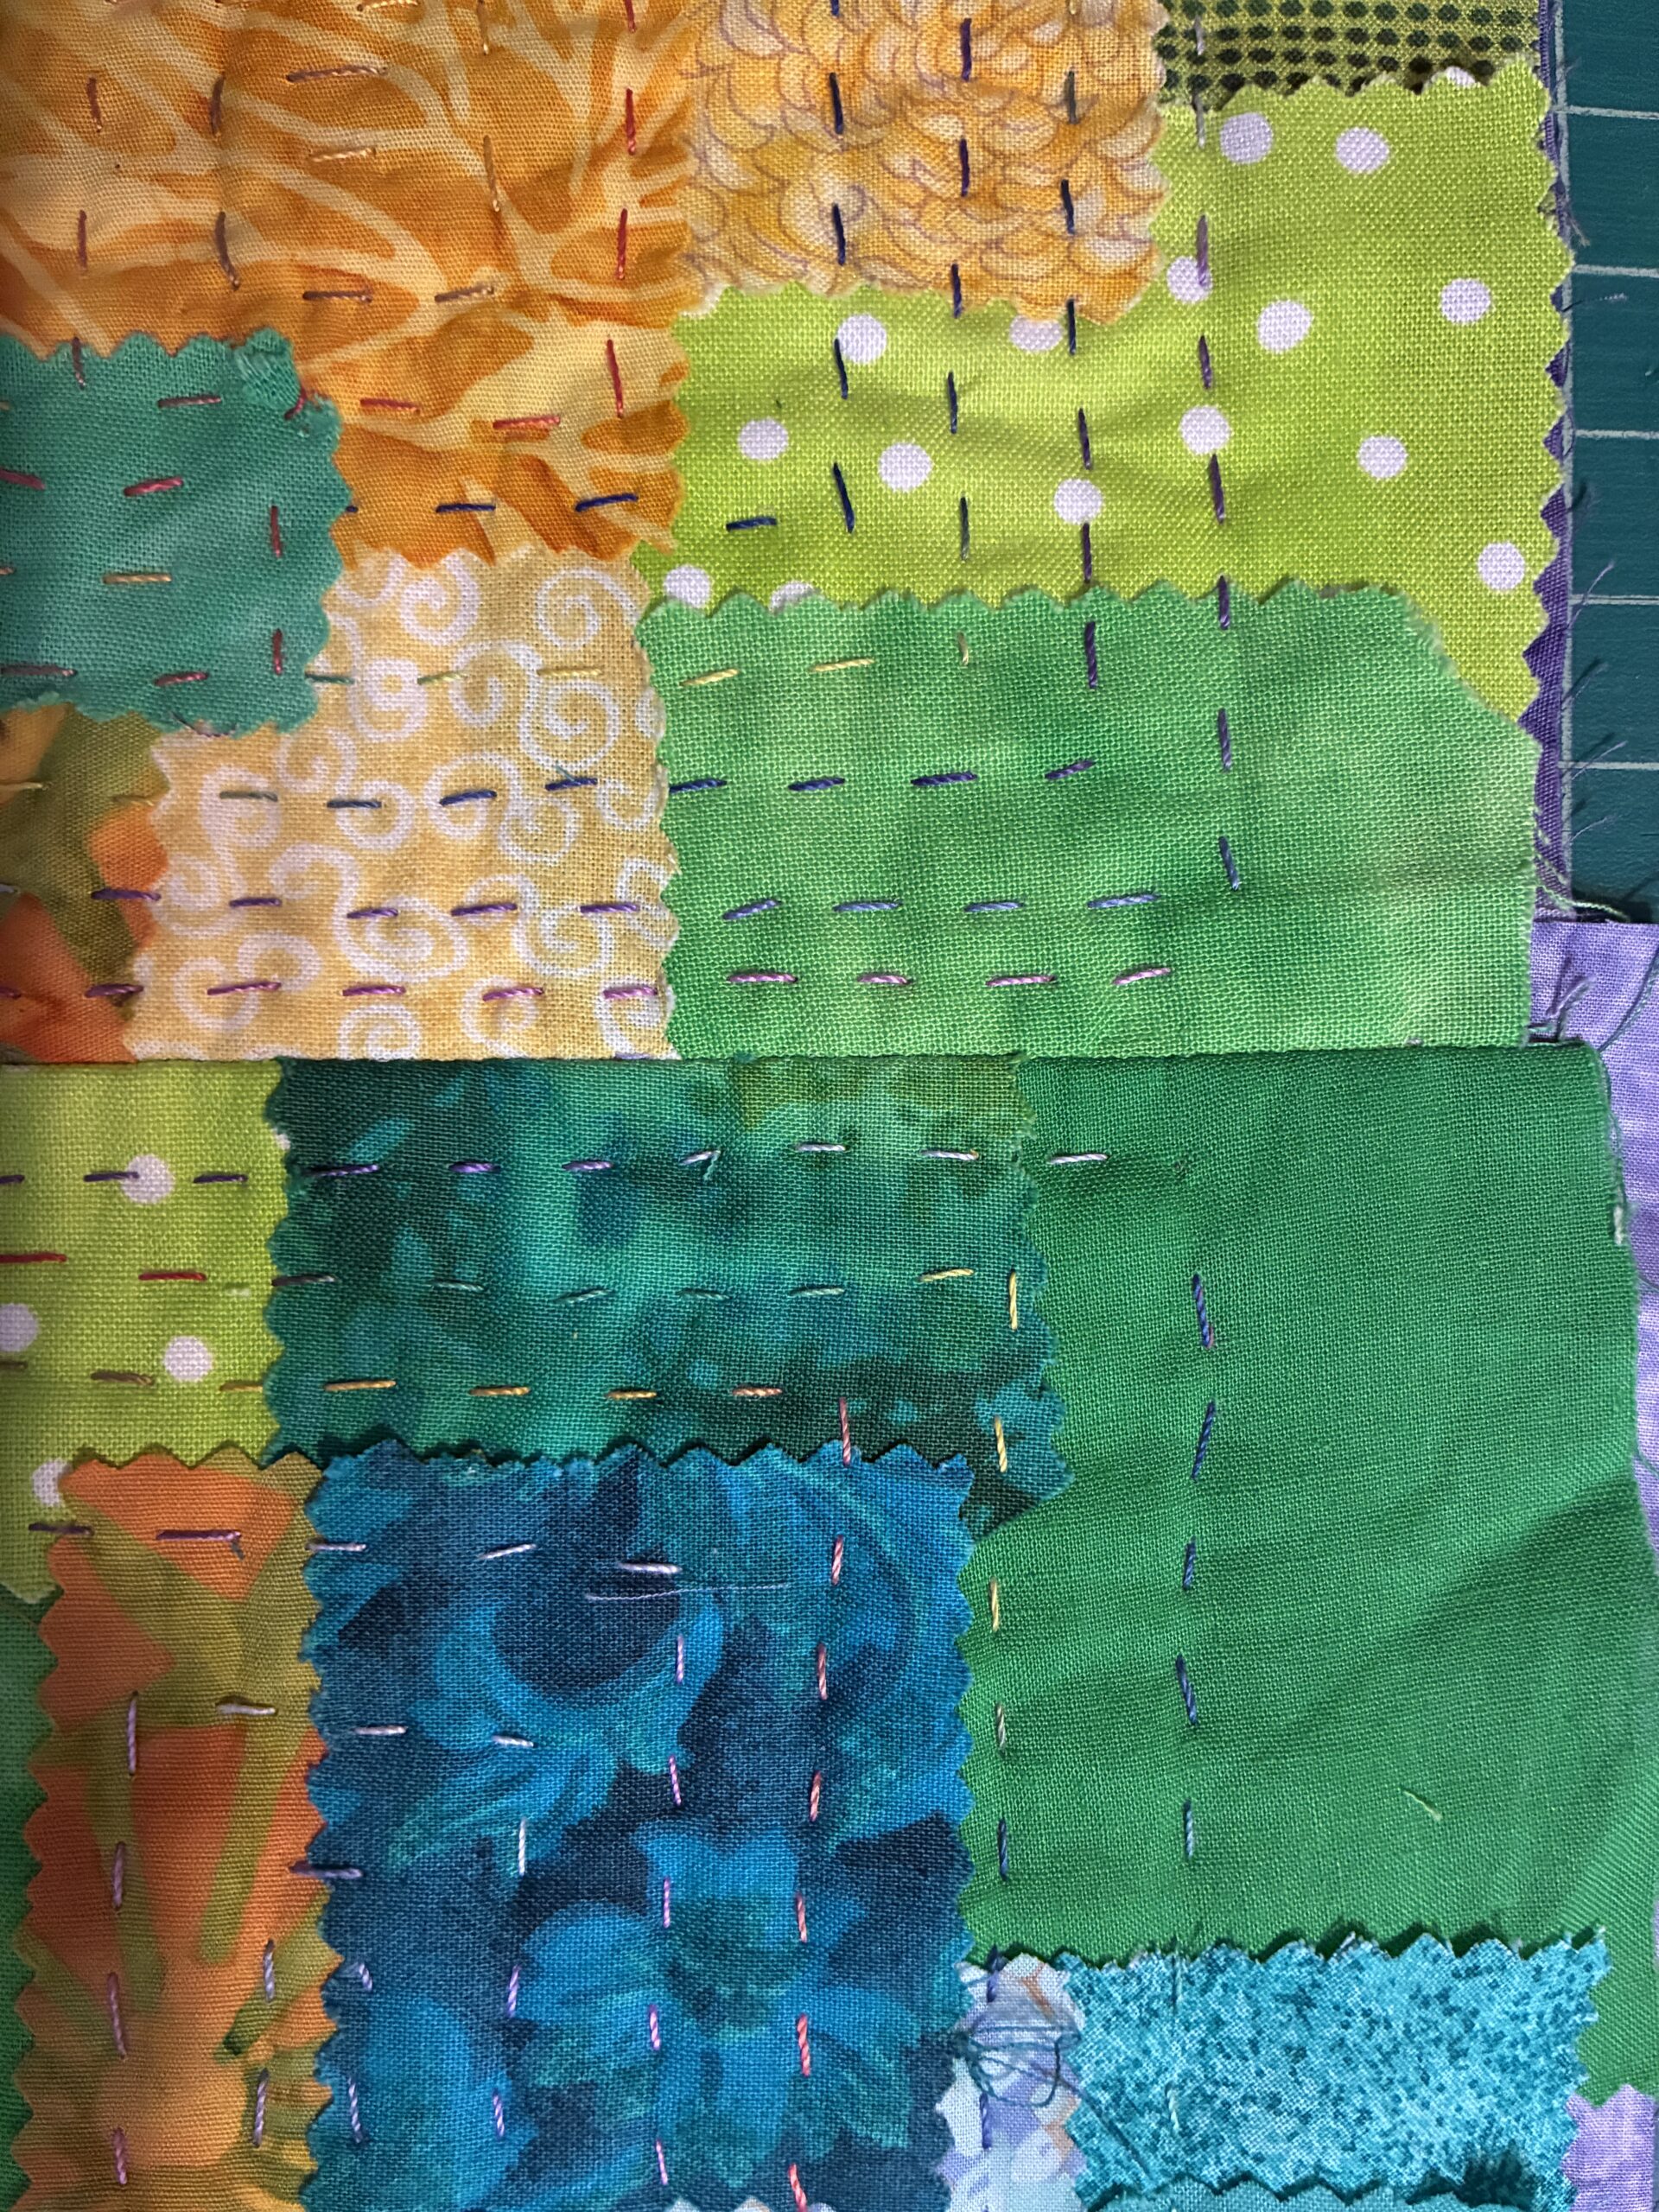
Joining Kawandi Blocks
In my last post I told you about my challenge to join Kawandi blocks together. Since then, I’ve come up with a better way.
Note, if you’re willing to make the blocks without batting it all gets easier. I’ll tell you about it at the end.
The issue when joining these blocks together is that they don’t end up being the same size. I guess that’s due to the hand stitching drawing them up differently. Here’s how I’m handling it.
1- Cut the backing fabric 1″ larger than the batting. (This shows 6″ batting and 7″ backing.)
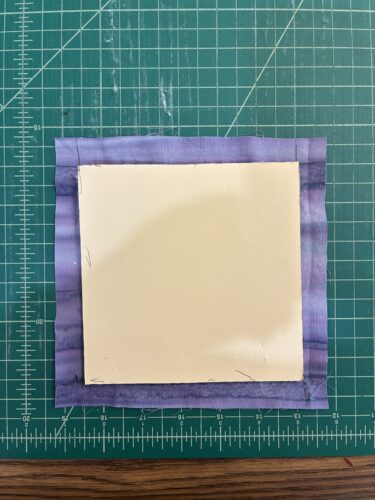
Note: I’m a rebel and am making my blocks with raw edges!
2- Add fabric patches to the block in the usual way but leave a wide area unstitched around the perimeter. About 1″. If the fabrics cover the backing fabric you’ll have plenty of fabric for your future seam allowance.
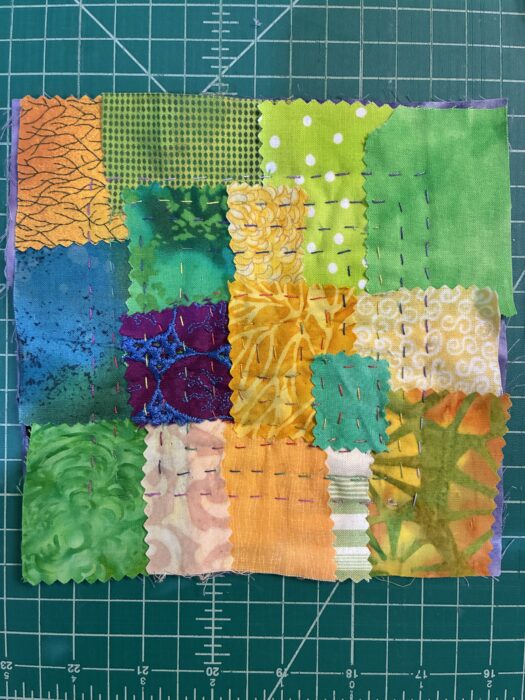
3- Make a template for the new batting size. Fold back the unstitched top fabrics and draw the new size onto the batting.
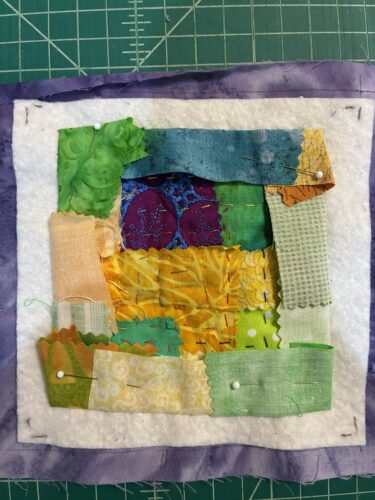
Fold the backing fabric out of the way on each side as you trim.
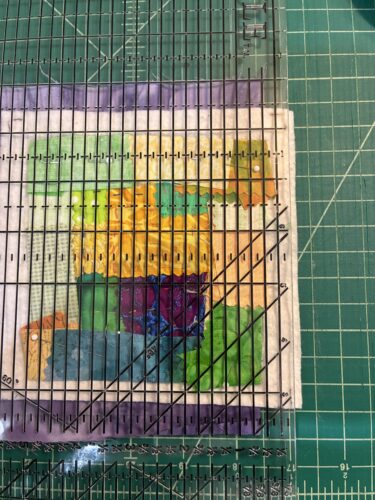
How much to trim? I was originally making 6″ blocks, but found that I had to cut the batting down to 5 1/2″. When I later made units that were double this size I ended up with the awkward trimming size of 11″. You may want to plan for a nice round number, by making the initial batting and backing combo larger yet.
4- Machine sew the front only of two blocks together: fold the backing fabric down and pin out of the way. Lay blocks right sides together. Align the batting corners and pin carefully. Baste right next to the batting, starting and stopping exactly at the corners. Check and realign if needed. Once the basting is perfect switch to a regular length stitch and against stitch right next to the batting. Stop and start exactly at the corners using securing stitches.
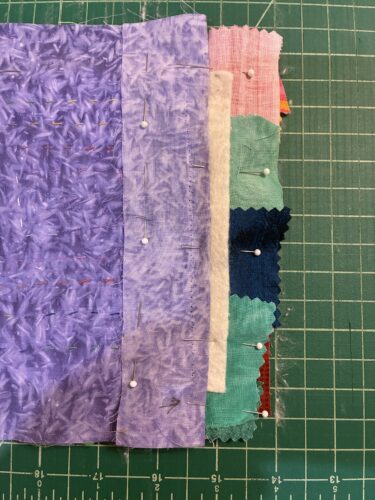
That was the hard part.
5- Trim the seam allowance to about 1/4″ or whatever size works to just fill the gap between the machine stitched seam and the hand stitching of one block. Press the seam to the side, filling that gap. Press the front.
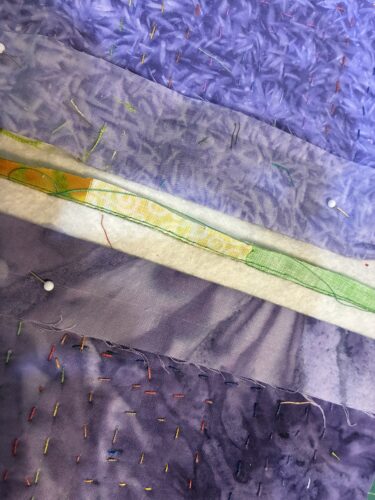
6- Trim the backing fabric on the other block and press it over on top of the seam allowance. (Not shown.)
Fold the remaining backing fabric to reduce the size. When you’re happy with it, press it. Generally, if you press it to half of its original width that will be about right. Press it over on top of the first block.
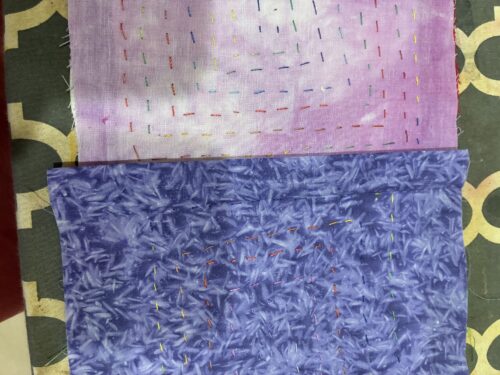
In the photo above, the darker bottom backing fabric has been folded and pressed on top of the other block. Add a few pins and hand stitch this in place, starting and stopping just shy of the batting corners. (You can feel around for them and you may want to mark them on the backing.) Press all.
7- Here’s the front view of 2 recently joined blocks. You can see that the stitching is a little light on the top block, near the seam. Add another row here, if desired. Don’t fill stitching on the other three sides. You’ll need that fabric to be loose for joining.
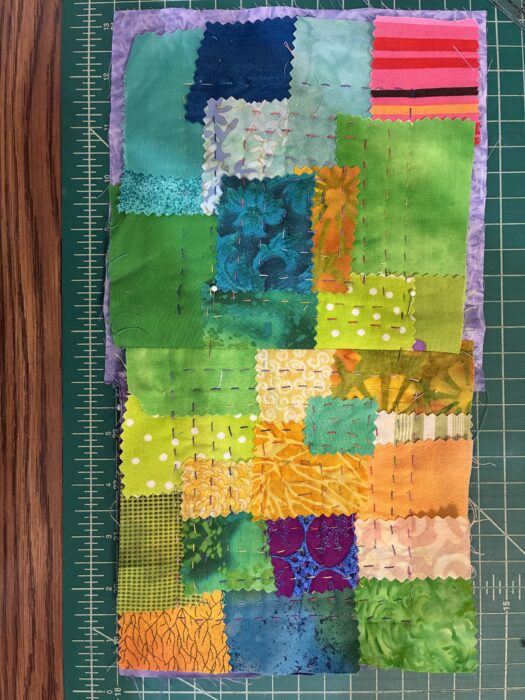
Here’s what it looked like after I added some more stitching – on the just joined side only. (Except, oops, this photo is flipped!)
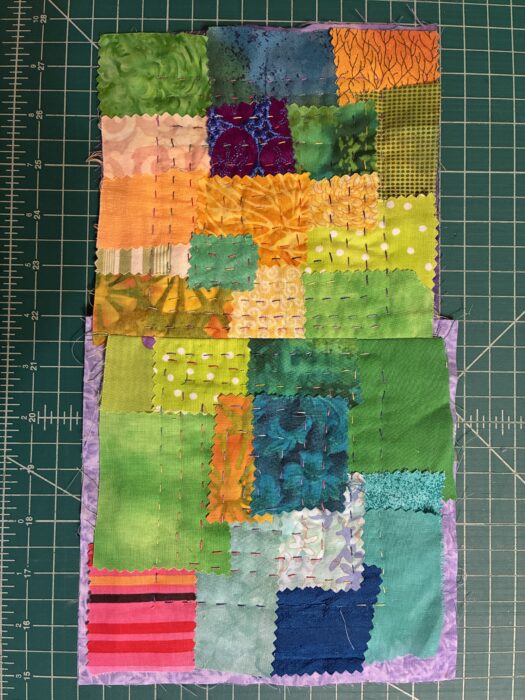
Yay, you’re done! It seems cumbersome at first, but you’ll get the hang of it.
And, if you’re willing to make these blocks without batting it gets much easier.
– Stitch a block with your preferred method, keeping the edges free as shown in Step 2.
– Make a template for your desired trimming size adding 1/4″ seam allowances all around. Mark it directly onto the front of your block.
– Fold the backing back and trim the front as in Step 3.
– For joining, fold the backing fabric out of the way, put right sides together and stitch a 1/4″ seam, edge to edge. Easy peasy!
– Trim the seam allowance, press it and the front.
– Press and arrange the backing fabric as in Steps 5 & 6. Hand stitch in place.
I’m the only one I’ve seen who’s attempting to join these blocks, but I’m really enjoying the ability to work small in my lap and then later enlarge my project in this way. If you try it tell me what you think.
Always experimenting,
Ellen Lindner