
Down the Kawandi Rabbit Hole
Have you heard about Kawandi style quilts? They’re an Indian tradition, brought to that country by African slaves. The technique involves hand sewing patches onto a prepared batting and backing. A large stitch is used.
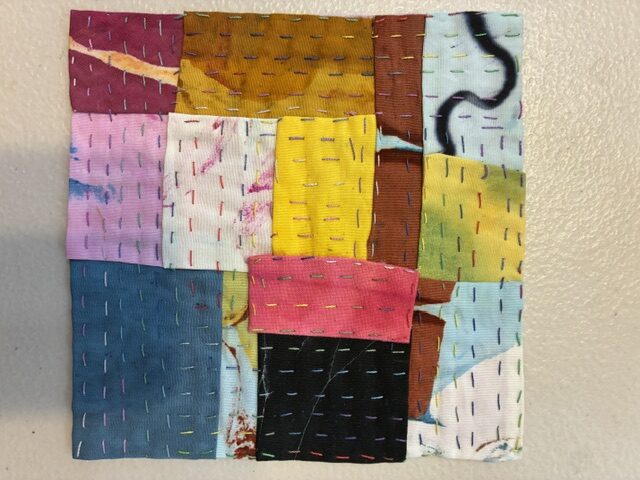
Here’s my first 6×6 attempt. This was sewn in the traditional way. That is, the edges of the fabrics are folded under so no raw edges show. It works sort of like shingles. The first piece has 2 edges unfolded and raw – initially. But, the second piece covers that, and so on.
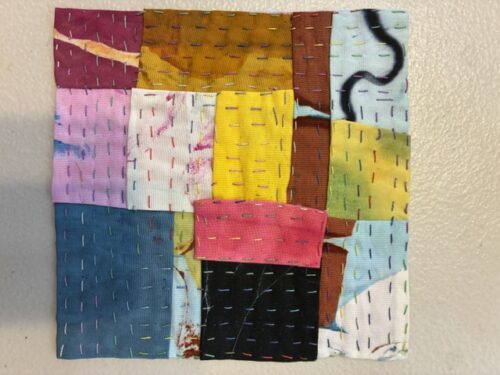
Pieces are stitched into place with running stitches parallel to the edges, (although I messed that up in one corner.)
This detail shot shows how the pieces land on top of one another.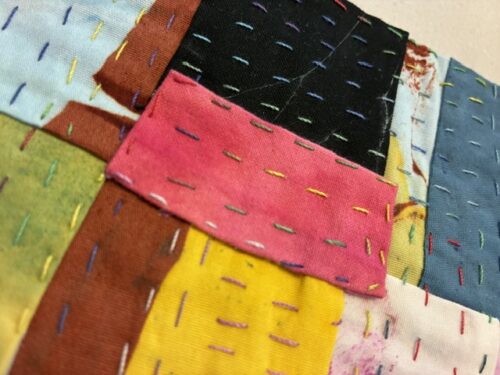
This is the back of my first piece. It’s not perfect, but with Kawandi it doesn’t have to be.
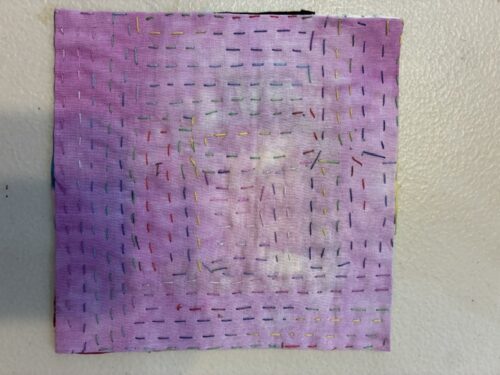
Although I loved the “pick a scrap from the top of the pile” randomness, I found stitching through the folded layers to be challenging. Therefore, I decided to try it with raw edge pieces. Like this piece, shown in-progress. Don’t you love those rows of big stitching?

I was enjoying the process, but I found the look somewhat too scrappy looking. Therefore, in the piece above, I create light and dark diagonal halves. That looked great, but I missed that random picking. I decided I probably needed to work with curated scraps – a coordinating selection.
I made 4 blocks with the diagonal arrangement. This is what they looked like when joined together.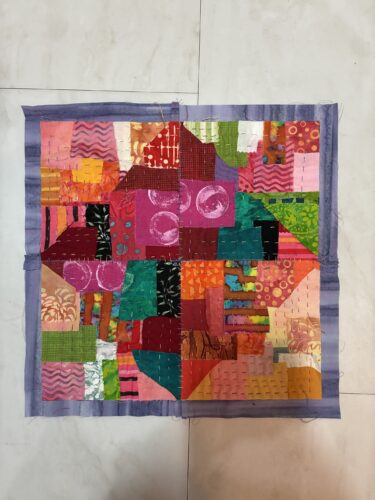
The pattern showed up nicely, but I didn’t like the mental challenge of paying attention. (I was really getting into the Zen-ness of it all.)
Joining the blocks provided quite a challenge. It was my intention to join them all along, but there was a problem. After hand stitching them they all turned out to be slightly different dimensions. So, I came up with a complex system, which I’m still testing. (This is similar to quilting as you go.)
1 – Unpick the edges of the stitching.
2 – Fold the bottom backing fabric out of the way and trim the squares down to 5 1/2″.
3- Join the back first. Carefully join 2 blocks with right sides (of the backing fabric,) facing one another. Match exactly the cut edges of the squares. Trim the seam and press it open. Tuck it up under the edge of the block.
4- If sewn correctly the front blocks are perfectly aligned and ready to be joined. Restitch the edges first. Then, stitch across the edges of each block. This is what mine looked like.
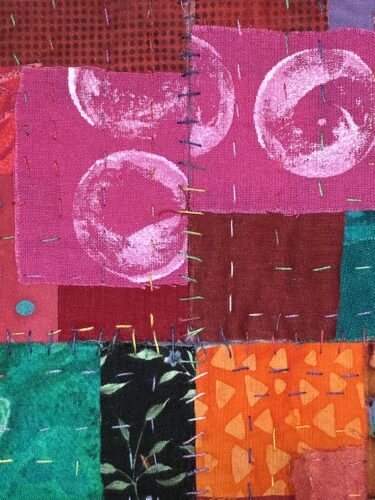
Of course, if you know you’ll be joining blocks you can avoid stitching the edges initially.
Here’s how the balck looked after joining the first 4 blocks.

I’m still not completely happy with this procedure, however. My next test will be to stitch the front first, by machine. I’ll leave the edges of the front fabrics long and catch them in a front seam. The back will then be invisibly stitched by hand.
I haven’t had a hand project in so long! It has really surprised me how much I’m enjoying this! More to come. (My goal is to reach something like a body sized blanket.)
Here’s a great video about Kawandi. And that same author has many more tutorials on YouTube.
Let me know if you try it. I’ll keep my eye out down here in the rabbit hole.
Ellen Lindner