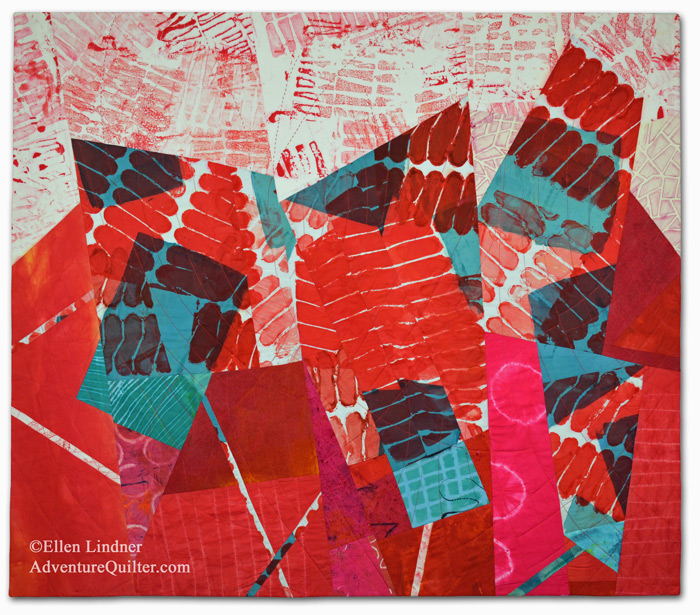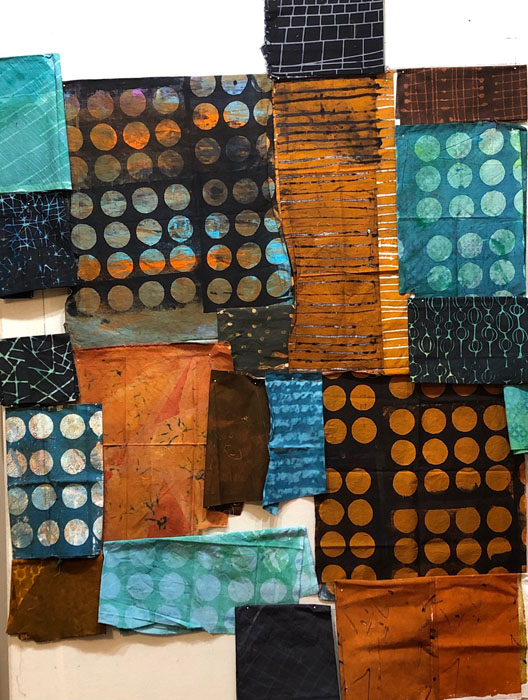
Luscious Brown Fabrics
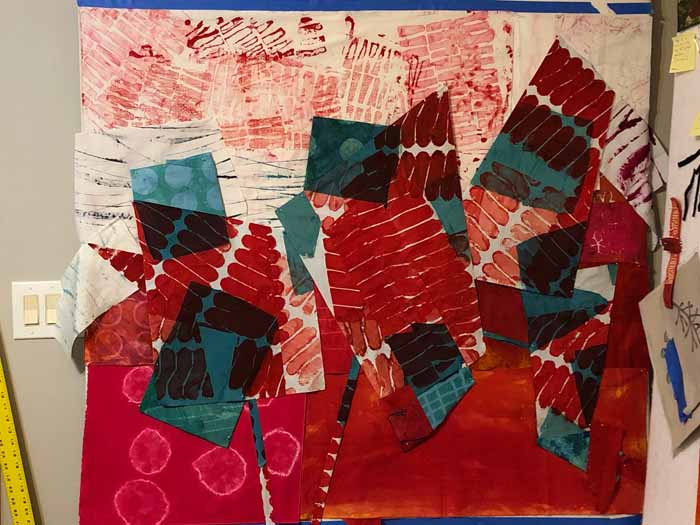
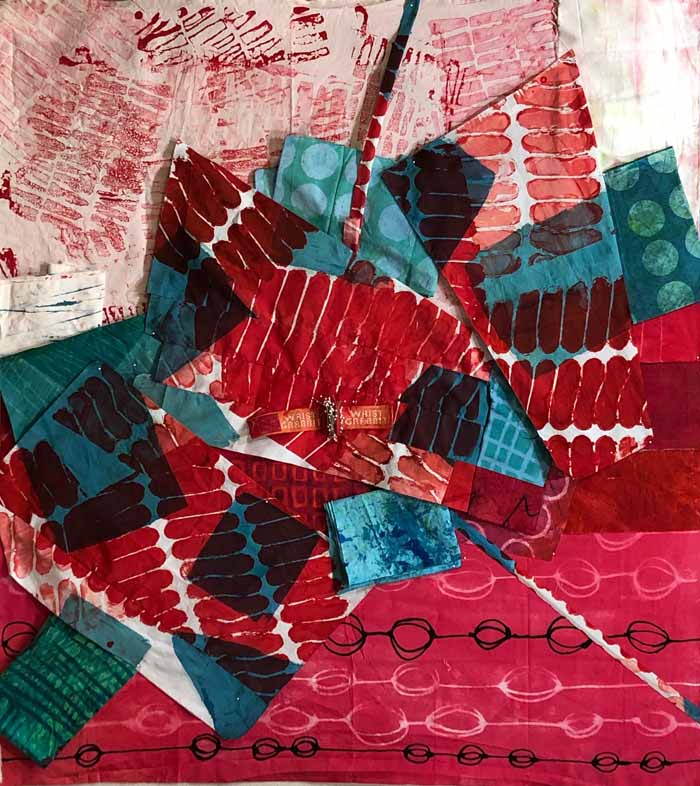
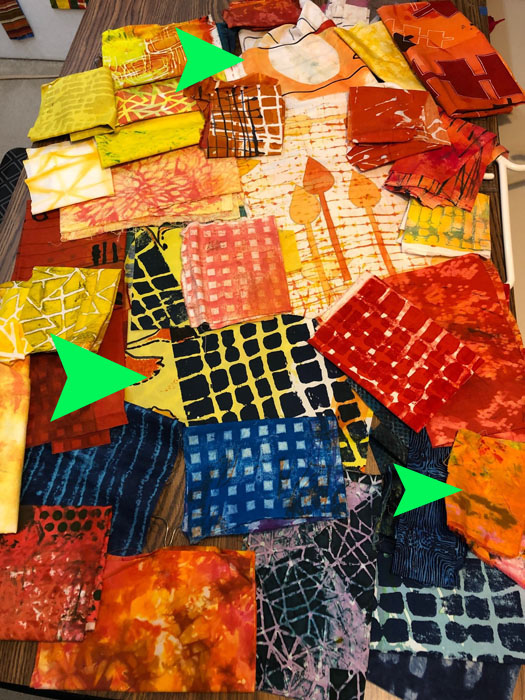
I’ve really been having fun playing with these fabrics. This photo shows my initial fabric audition. Aren’t they great? They’re all dyed by me. I did a little editing and thought I was ready to compose. What now? I tend to arrange fabrics vertically when auditioning, so I decided to stretch a few horizontally. Just…