
In a recent post I suggested that, when making improvisational quilts, it’s a good idea to get the proportion of colors set before any construction begins. Yet, I ignored my own advice on my latest quilt, Melting Pot.
It all began when I fell in love with a painting by Jane Davies. Great colors, right? It’s called Common Thread 1.

Although the colors are quite disparate, I decided I would use them as a springboard for a new improvisational piece. (However, when I printed out this reference photo, the colors came out much more subdued, which affected the fabrics I used.)
As with any improv quilt, I started by selecting the fabrics I would use and sewing them together in pairs. This is what it looked like at that stage.

Pretty ugly, right? Clearly, I’d have to add interest by slicing and dicing to create a variety of shapes and sizes. And I strongly suspected that I would decrease some of the colors as I went. I jumped in.
Even the first little bit of manipulation made it look better.

So I did more.

At this point I didn’t care about making square-ish units. I was just trying to create interest. It was definitely getting better as smaller shapes were created.

I decided to scale back on the yellow, orange, and tans, and to pump up the teals, reds, and blacks.

The little skinny strips add a lot of energy, don’t they?
At this point, it was getting pretty large and I was having second thoughts about the size. Then, I remembered another call for art requiring a quilt that’s 1′ wide by 4′ high. I realized I had enough units to make 2 quilts! Yippee! In the photo above, I’ve separated them. The 6 units on the left would go into my original quilt and the 3 (stacked) on the right would become a 1′ x 4′ piece.
And here’s the finished quilt, Melting Pot. Whew, that was challenging!
And a detail shot:
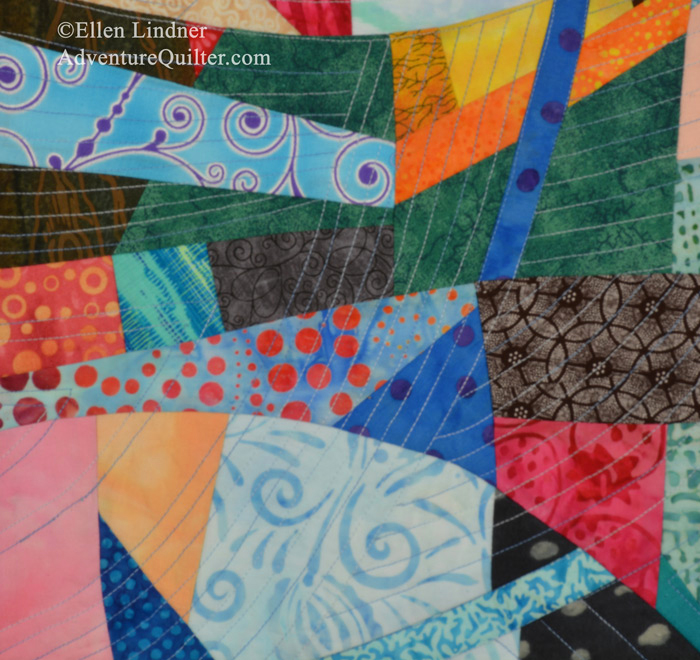
I’ll show you the companion quilt soon.
Ellen Lindner
Nice description of the way you work!
Ooh, it was challenging, Mary. I don’t think I’ll take on a challenge like that again for a while.
Sometimes we just have to stick with our projects through “the not so pretty” stage. And the end result makes it worth it. Definitely does in this case – “melting Pot” cooked up quite nicely.
Thanks, Kay! It did seem painful at times, but I’m happy with the result.
Wow, that really turned out well! The curves add energy too, and in a not-too-overpowering way. Thanks for sharing your process!
Thanks, Linda! I love the curvy skinny little strips.
It’s fun to research color and pattern and watch things emerge. Keep up the good work.👍
Thanks, Pam!