Good Ideas

Sometimes I hate it when I get a “good” idea.  You know the ones.  They’re good in that they will improve a quilt greatly, but bad because they’ll take a lot of time or tedium to implement.

And that’s where I am now.  Only, I got my good idea AFTER the quilt was finished! 

Yep.  Signed.  Label sewn on.  Sleeve attached.  The works.

Oh, why didn’t I realize I needed to do this sooner?  So, I’m in the midst of taking apart a finished quilt, reworking it and, and putting it back together with a lot of hand stitching.


This sure better turn out the way I think it will!

Still, I know this won’t be the last time I find myself in such a spot.  Once I think of the right thing, I’m just not happy with the quilt until I do it.

Ellen Lindner
P.S.  I can take my quilt apart because it was faced after quilting.  Small blessings.

Fun Experiment with Mixed Results

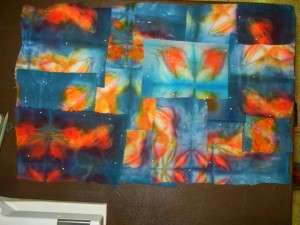
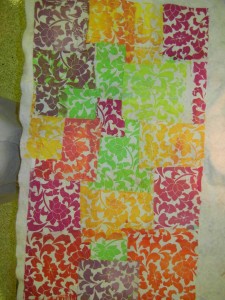
Don’t you love it when you learn about a new technique and you’re just dying to try it out?  Such was my excitement when I read about faux chenille, in Kim Thittichai’s book  “Layered Textiles: New Surfaces with Heat Tools, Machine and Hand Stitch.” I’ve seen this done with fabric before, but Kim’s material of choice is painted newspaper.  So, I got busy and painted some.

Click any image for a larger view
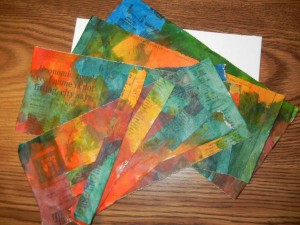
I was really happy with the colors.

Next, I layered up the papers with several sheer fabrics, per Kim’s instructions.  This was getting exciting!
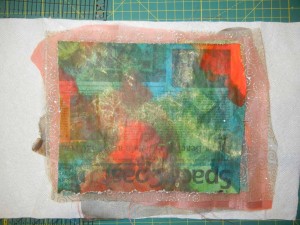
 

After stitching parallel lines, it was time to cut into them.  More fun!
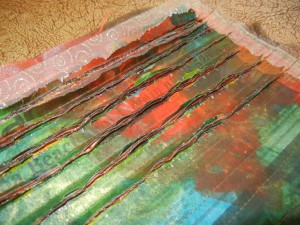
 

Finally, it was time to really work the texture, so I raked a fork over everything, encouraging the paper to stand up.  That worked beautifully, but when I stood back to view my results…
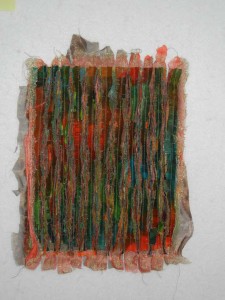
 

Well…it just wasn’t that great.

I knew immediately what had happened.  The little bits of various colors had merged together into a big muddy textured thing.  Darn.

However, the detail view is pretty awesome. 
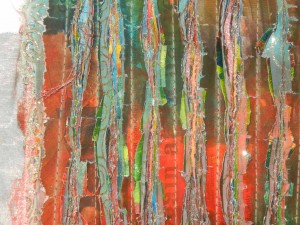
Nice and raggedy, with lots of color and interest.  If only I could convince my viewers to close their eyes, walk up to the piece and then view only one little spot.

Enough belly aching.  What did I learn from this?
– I still like the technique.  I think it has a lot of merit and is worth trying again.
–  But, the next time, I’ll select an almost monochromatic color scheme.
– Also, take a look at this cool edge I got, below.  This is what happened when I zapped a stitched sheer with my heat gun.  The synthetic fabric melted, but the stitching stayed intact.  Cool, huh?
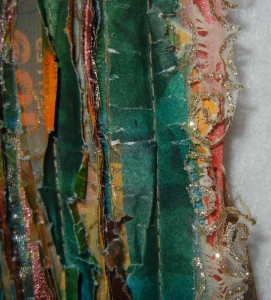
I never consider my experiments to be failures.  Even when I don’t like the finished product.  I know I learned things, and I stretched my creative muscles in the process.  And who can complain about that?

Ellen Lindner
P.S.  Please don’t consider my unfortunate color choices as a reason not to buy this book! As a matter of fact, it has a lot of wonderful techniques in it and I recommend it.
P.P.S.  See Kim’s work and much more on her website.
 

“Winter Fields” Embroidery

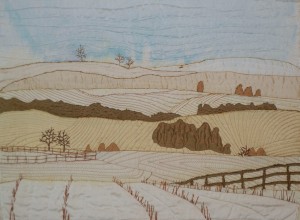
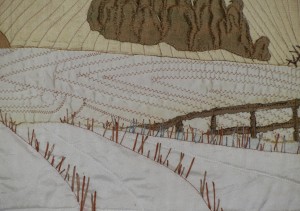
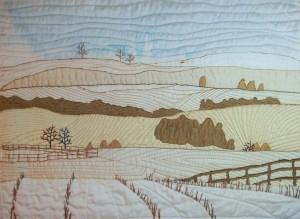
In this small quilt, I wanted to feature corn stubs poking up through the snow.  I love the way they march in parallel lines across the rolling hills.

Click any image for a larger view

As you can see, I added other details such as trees and fencing.

At this point, my nagging doubts about the blue sky fabric increased.  I decided I needed to do something to better integrate it into the color palette.  What about blue corn stalks?  (Radical, yes, but I’m the queen of experimentation.)  So, I began, using very subdued blue-greens.

Those first few stitches seemed to work, so I added some more:  trees and landscape/hill lines.

Yikes, the blue tree is NOT working!  (But, I had to try it to know, right?)  I later replaced it with brown.

The other blue seems to be working.  But, have I done enough to deal with the blue?  I’m not totally sure. 

Ellen Lindner

Silk Landscape: Winter This Time

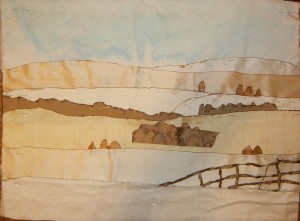
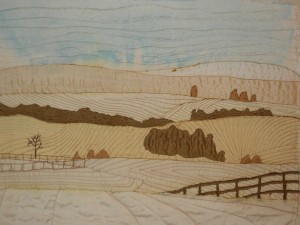
I’m making good progress on my latest silk landscape.  The fabrics have been cut burnt and placed, and I’m beginning to quilt and embroider.  Here it is with the fence  just roughly laid in place .

Click any image for a larger view

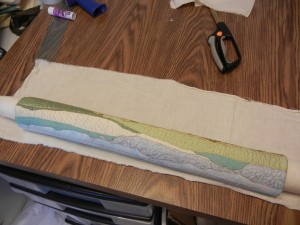
Next, I added quilting.  Wow, did that make a difference!  I was trying to represent rows of corn.  Did I succeed?

This shows the very beginning of the embroidery.  Much more to come.

Ellen Lindner

Winter Landscape Progressing

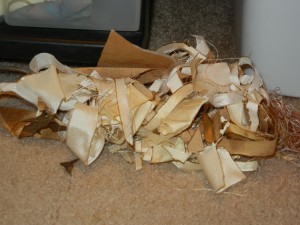
Can you tell I’ve been busy?  This is the scrap pile that’s been growing as I’ve been working on my latest silk  landscape.  Even the scraps are gorgeous!  (Don’t worry, I won’t throw them away.  They might even inspire another piece.)

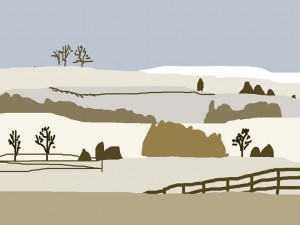
Here’s my sketch:

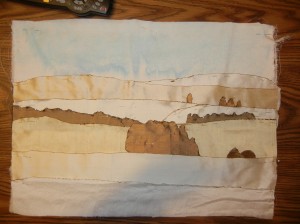
Different fabric colors will establish the design, machine quilting will add to the sense of depth, and I’ll add some hand embroidery for the details.

Here’s my early progress:  Click for a larger view

I sure do love those burnt edges!

Ellen Lindner


More Silk: Cream and Tan This Time

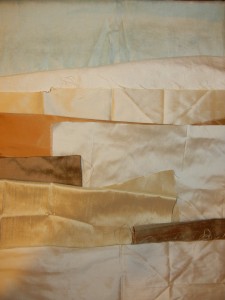
After creating Summer Fields, I just had to continue working with some of the other luscious silks I had.  This time, I selected a palette of creams and tans.

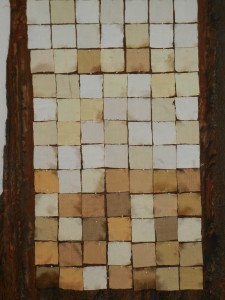
Pretty, right?  Plan A was to cut (burn) the fabrics into squares and to create a mosaic background.  From there, I intended to cut into the squares to creating some sort of interesting “crack” across the surface. 

But, after putting the fabric squares in place, it just didn’t seem that exciting.

Still pretty colors, but just not that interesting.  So, I packed the squares away and decided to do another rural landscape.

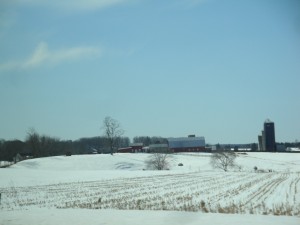
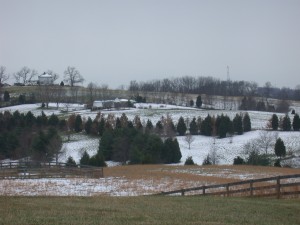
This time, I wanted to do a hilly winter scene with corn stalks poking up through the snow.

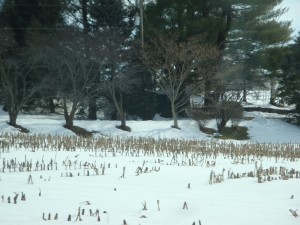
These are my inspiration photos:


Just looking at them, perhaps these aren’t too thrilling.  But, to me, they represent an experience.  I remember the crunch of the snow under my feet as I tromped around taking these shots.  And the cold crisp air.  And the feeling of elation as I enjoyed the rise and fall of the terrain, and the serenity of these rural views.  All of this adds to my excitement.

Now, I’m having fun working on this wintry scene.  (Photos soon.)

Ellen Lindner

Packing a Quilt for Shipping

I’ve written an article about packing quilts for shipping.  You can find it on my website.
Do you have tips for packing or shipping quilts?  If so, I’d love to hear them.  All you need to do is leave a comment below.

Ellen Lindner

Instant Art Quilt in Orlando: Part Two

More great results from the Orlando Instant Art Quilt class!

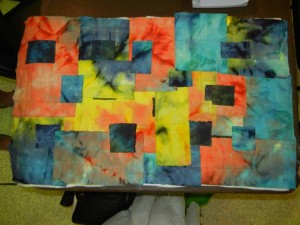
Joyce did an excellent job with her quilt.  The darker accent squares and the tiny accent pieces move the eye around very well.

Kate’s wonderful fabric produced exciting results.  And she enhanced that with her little accent pieces.  She plans to do lots of beading to this.  Won’t that be awesome?

These last two fabrics are somewhat atypical.  But, they still worked well for the IAQ technique.

Kathryn used a beautiful piece of silk that she dyed.  Not only are the colors wonderful, but the stitching resist technique used in the dyeing proecess produced very interesting little “stitching trails.”  Kathryn plans to play up the leaf shapes with her quilting.

Tami’s block printed fabric was unlike anything previously used in an IAQ class.  Which made it very interesting.  She plans to enlarge the fabric motif and create a tulle applique in that shape.  Wonderful idea!

As always in this class, the students embraced new ideas, came up with creative options, and produced wonderful quilts.  So much fun for me!

You can see the first round of photos here.

Ellen Lindner


Instant Art Quilts in Orlando: Part One

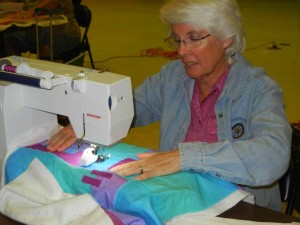
In about five hours, the ladies in this class tore up their gorgeous fabrics, rearranged them into beautiful compositions, added exciting accent fabrics, and quilted their quilts.  How’s that for instant?

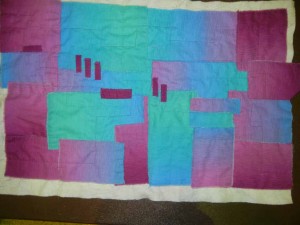
Here’s Sharon hard at work, followed by a photo of her in-progress quilt.

Click any image for a larger view
She later added a few more accent pieces to the right side of her quilt.

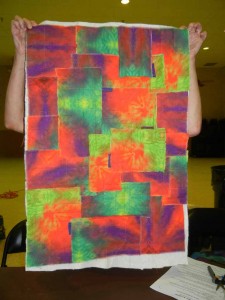
Check out Susan’s quilt.  Can you say “bright?”  Very dramatic!

Fay did an excellent job selecting an accent fabric.  She used tiny pieces of very dark blue – just like the darkest color already in her fabric.  (She only needed small bits because of the high contrast.)  Fay placed them well to enhance her composition.

Diane’s quilt has lovely soft colors.  And her stitching really enhances the zigzag effect I love.  As a matter of fact, it gives her piece an almost transparent appearance.  (Click to see)


The students and I sure do have fun in these classes!

Ellen Lindner
P.S.  Look for more photos from this class in the next post.

Designing in Orlando: Part Two

 Here’s round two of photos from my recent “Design Your Own Nature Quilt” class, in Orlando.

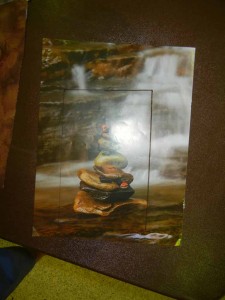
Cindy brought a great photo showing a stack of rocks in front of a waterfall.  See how she decided to crop it, below.

Click on any photo for a larger view

She decided to depict the water with some scrunched white tulle.  We auditioned this in class, but she decided to delay that part until she got home.  However, she selected some strong and wonderful colors for the rocks and their respective shadows.  This is going to be dramatic.

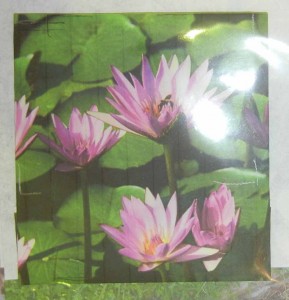
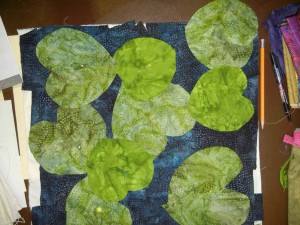
Beautiful lily pads and their flowers inspired Betty.

She constructed her background with a vareity of dark blues and yellow-greens.  We came up with a plan for the flowers.  She’ll fuse the tiny bits and create stand-alone flowers.  Once she’s happy with those, she’ll audition the perfect placement among the floating leaves.

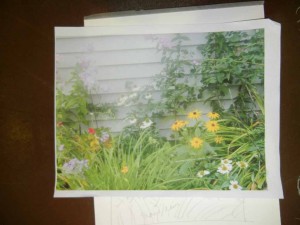
A variety of flowers against a clapboard building got Brenda’s creative juices flowing.  She created a vertical sketch (not shown) showing her favorite flowers as the stars.

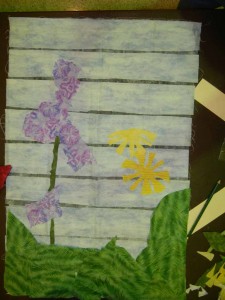
In the photo above, there’s a lacy purple flower on the left (although it barely shows here.)  Brenda wanted to feature this flower, but didn’t have the right fabric.  Fortunately, one of her classmates was generous and provided the perfect batik.  Doesn’t it work beautifully?  A great example of letting the fabric do the work.

And what about the clapboards?  It would be tricky to add little gray strips to the background.  So, I advised Brenda to do it the other way around.  She cut the background fabric into strips.  Then, she cut darker gray strips to be the shadows.  These were cut larger than needed, so they could be tucked under the background/board fabric.  This is much easier than cutting the shadows as skinny little strips. 

These ladies did an excellent job!  They cropped their photos to create better compositions, created working sketches, and started cutting fabric.  They let the fabric work for them and made great starts on their own original quilts.

I’ll be doing a lecture for this group on November 5th, and I hope to see many of these quilts completed.  I’ll pack my camera!

Ellen Lindner
P.S.  I’ll be teaching an online version of this class starting September 21st.  Full details here.