Tag Archives | Mounting/Framing

Hanging from One Nail

I’ve been entering my textile pieces in more mixed media shows lately. I love that fiber arts are now often included in the category of fine art!

The hanging mechanism is a little tricky, though. My pieces have wide hanging sleeves on the back, to accommodate the requirements of traditional quilt shows. However, these mixed media venues are used to hanging pieces on a single nail or some other hanging apparatus. To deal with this, I’ve been inserting the hanging slat into the sleeve and stapling a hanging wire across the back of the sleeve/slat. This worked pretty well, but the quilts never seemed to hang quite flat.

Like this. The slat tilts in the roomy sleeve. As a result, the lower part of the slat rests on the wall, but the top portion protrudes forward.
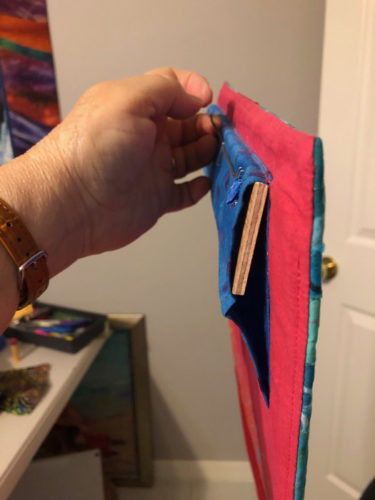
Hanging on a Single Nail. Ellen Lindner, AdventureQuilter.com/blog

Thankfully, a friend’s engineer husband noticed the issue and came up with a solution. He realized that a sleeve that fit the slat snugly, got rid of the problem. See the difference, below?
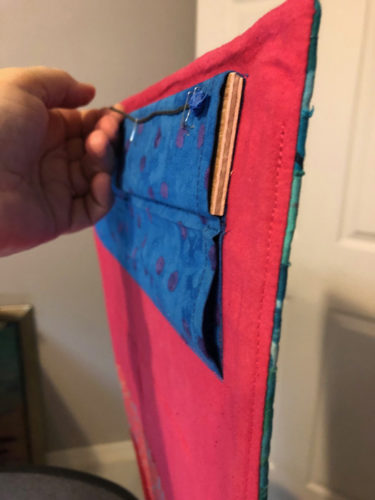
Hanging on a Single Nail. Ellen Lindner, AdventureQuilter.com/blog

Of course, the issue is that I still want a wide sleeve for traditional shows. So, I decided to  hand sew a temporary bottom for the sleeve, sizing it to fit the slat. I stitched through the backing and batting, but not into the front. This worked beautifully and when I need the full sleeve width, I can easily remove those stitches.

Ellen Lindner
P.S. I need this trick because I have quilts heading to several gallery/museum shows coming up. Yippee!

8

Great First Class

Whenever I plan a new class I try it out on a group of “guinea pigs.” Such was the case this past Saturday. Twenty students showed up to take my “Love It and Leaf It” class, via Zoom. How exciting! They got the class for free, but in return had to give me feedback on both the class content and the Zoom experience. VERY valuable!

And just look at the great work they did!
This was a 3 hour class. Most of this was accomplished in that time, but the facings and frames were done after class.

"Love It and Leaf It" student work. Ellen Lindner, AdventureQuilter.com/blog

Mary Ann Shupe finished her quilt and then later framed it digitally. As you can see, she had fun with patterns.


"Love It and Leaf It" student work. Ellen Lindner, AdventureQuilter.com/blog

Deon Donovan sent me an in-progress photo of hers. Isn’t it going to be striking?


"Love It and Leaf It" student work. Ellen Lindner, AdventureQuilter.com/blog

Rebecca Chianese framed hers right away. The quilting adds a lot to it!


"Love It and Leaf It" student work. Ellen Lindner, AdventureQuilter.com/blog

Jo-Ann Jensen did a great job, (as always.)


"Love It and Leaf It" student work. Ellen Lindner, AdventureQuilter.com/blog

Kat Campau did her own thing and it works. (I can tell she likes batiks.)


"Love It and Leaf It" student work. Ellen Lindner, AdventureQuilter.com/blog

Polly Dombroski’s quilt is completely finished, just waiting for it’s frame. Nice!


"Love It and Leaf It" student work. Ellen Lindner, AdventureQuilter.com/blog

Don’t these little quilts look great when framed? Annette Moore’s is another fabulous example.

Are you wondering what I learned from this experience?
– The Zoom (virtual) platform works really well! We had no technical issues of any sort, and we were able to chat and interact the entire time. It was fun!
– My pattern was too complicated for the time frame. I wanted the students to finish the piece, AND face it, AND frame it in the 3 hours. Since that didn’t happen, I’m working on simplifying the pattern and the process.
– My guinea pigs were super helpful! BTW, one was from France, and one was from Canada. Isn’t that cool?

This short class would be a great one for introducing your guild to the virtual learning world of  Zoom. (And, of course, I have other virtual presentations available, too.)

After months of not teaching it is SO exciting to be back at it!!!

Ellen Lindner

2

Welcome to My Home

You’re invited into my home to see the quilts I have on display. That’s a good way to pass the time, right? Come on in.

After viewing it, please visit the video page on my website to see my other offerings.

I’m planning on making other short videos. Anything you’d especially like to see? I’m thinking my studio, my storage set up, and maybe my dying set up. What piques your interest? Anything else I should consider?

Ellen Lindner
P.S. Pass it on!

7

Presenting Small Works – My Favorite Technique

Once, at a retreat, I was working on a horizontal piece about 11″ x 22.” When the public was allowed to wander through one person asked me “How much do you charge for a place mat like that?” That’s when I realized that people unfamiliar with art quilts will often interpret small textiles pieces as utilitarian. Since then I’ve tried to mount or frame my smallest pieces in a way that gives them more  presence.

My favorite way to do that was shown in my previous post. Many of you asked for more details, so here you go.

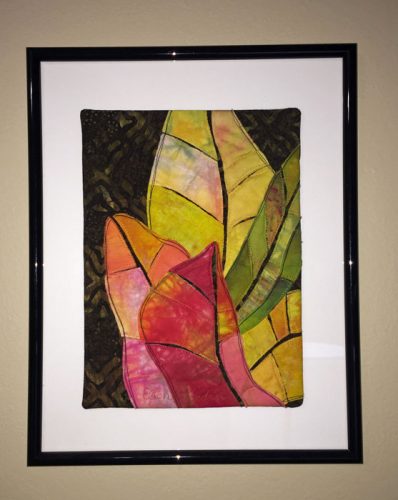
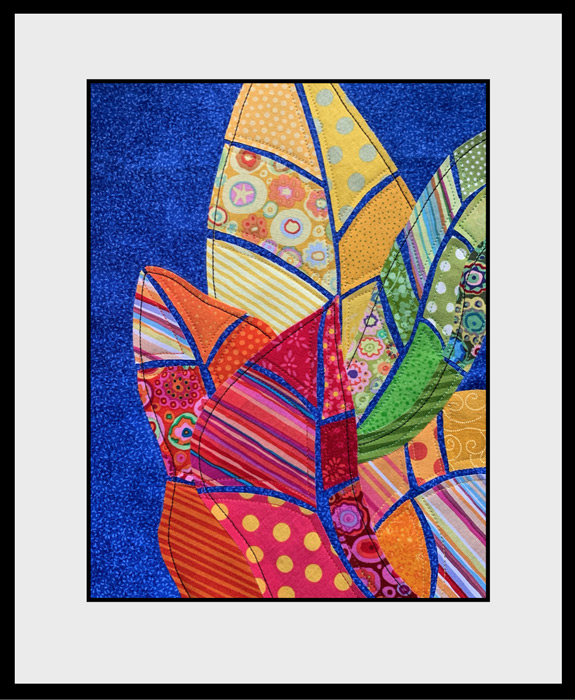
This piece, Croton Leaves #3, is mounted on the front of a piece of framed glass. I purchased the frame, glass, and white mat as a set. I used multiple strips of double-sided tape to secure the quilt to the glass.

Presenting Small Work - My Favorite Technique, by Ellen Lindner, AdventureQuilter.com/blog

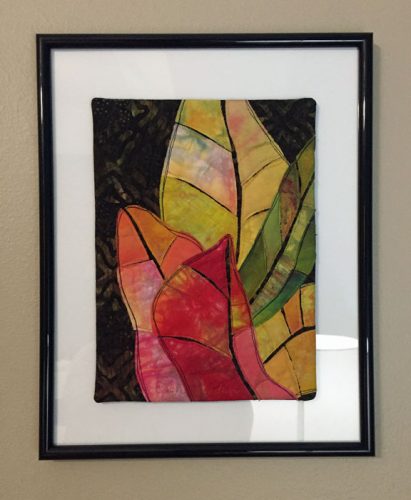
I took the above photo with a flash, hoping to create a reflection that would identify the glass for you. That didn’t work so I turned on the adjacent lamp and tried again.

Presenting Small Work - My Favorite Technique, by Ellen Lindner, AdventureQuilter.com/blog

Now you can see what I mean. There’s glass there that’s reflecting the lamp, except where the quilt is. That’s because the quilt is in front of the glass.

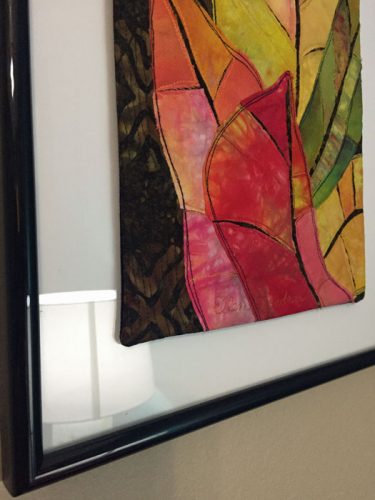
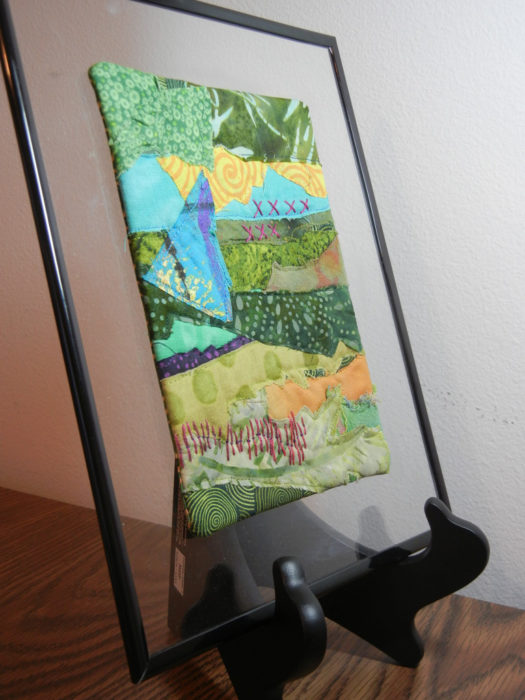
Here’s a closer view, from another angle. As you can see, the quilt edges are completely finished.

Presenting Small Work - My Favorite Technique, by Ellen Lindner, AdventureQuilter.com/blog
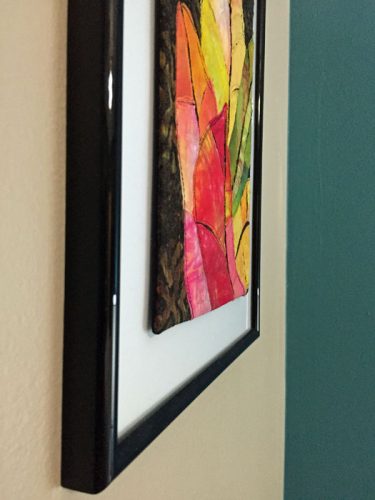
And here’s an extreme side view showing you a little bit of the depth.

Presenting Small Work - My Favorite Technique, by Ellen Lindner, AdventureQuilter.com/blog
Make sense? Can you see how much significance it adds to the piece?

I’ve mounted small pieces in other ways:
– Same as above, but without the glass. (Mounting onto mat board that fills the frame.)
Mounted to the front of a “floating” frame: one that has no mat or backing, and is see through.
– If unquilted, mounted behind a mat, framed and with or without glass.
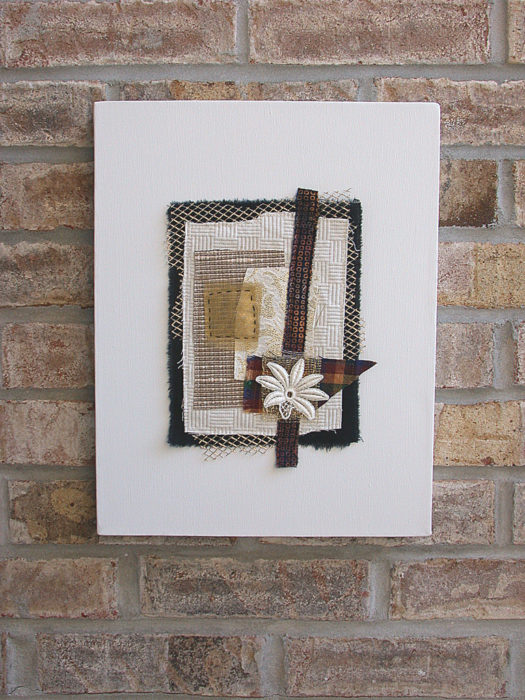
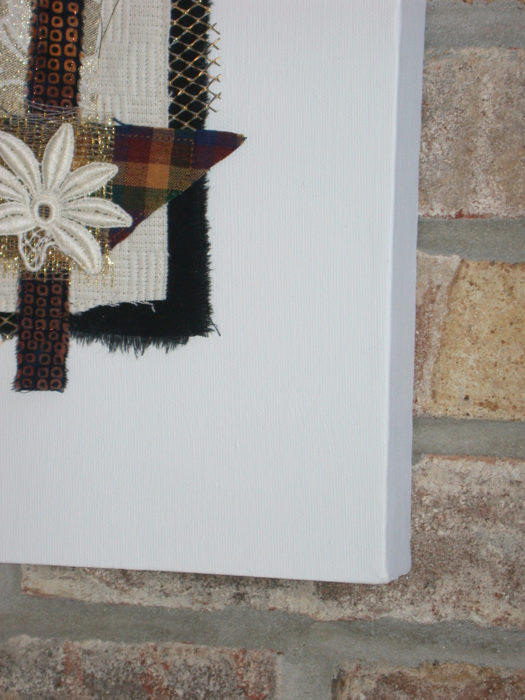
– Hand stitched onto a larger panel or artist’s canvas.Framing small works. Ellen Lindner, AdventureQuilter.com

Framing small works. Ellen Lindner, AdventureQuilter.com

– Glued to a smaller panel or canvas so the work invisibly floats away from the wall.

Here’s a big tip: if you want to try this I strongly suggest planning the size of your artwork beforehand. Pick a standard sized canvas or frame and then size your artwork to look good with it.

What’s your favorite tip for showcasing small pieces?

Ellen Lindner
P.S. Check out this earlier post with additional examples.

6

Bedroom Redo

I recently redecorated my bedroom and I’m LOVING the results!

Here’s the bed wall, with my quilt Rhythm of the City prominently displayed.

Ellen Lindner's Bedroom Redo. AdventureQuilter.com/blog
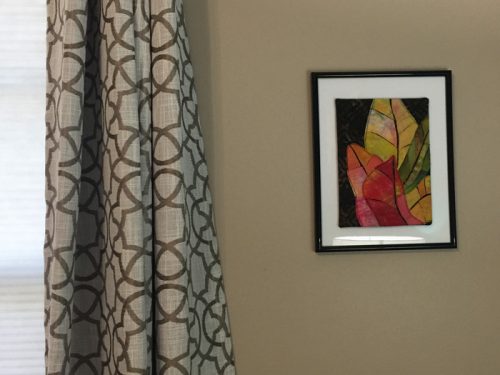
More of my work moving across the window wall. This is Croton Leaves 3.

Ellen Lindner's Bedroom Redo. AdventureQuilter.com/blog

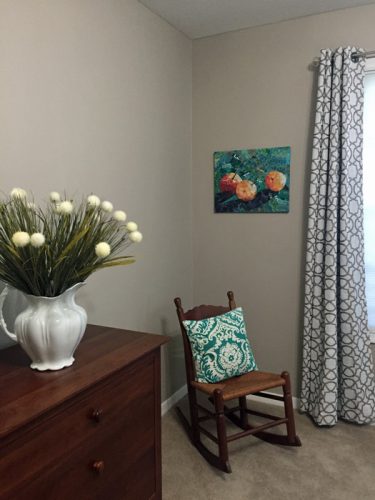
Continuing to look left, a corner featuring my paper collage Three Cherries.

Ellen Lindner's Bedroom Redo. AdventureQuilter.com/blog

And, to complete the artwork roundup, at the foot of the bed I have Brainstorm.

Ellen Lindner's Bedroom Redo. AdventureQuilter.com/blog

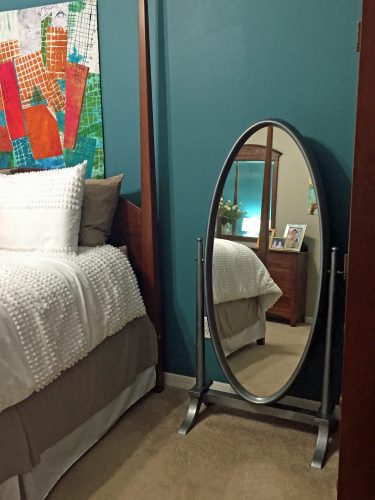
My tilt mirror was originally painted gold but I switched it up to “dark steel.” Although my technique was lacking it still looks good at first glance.

Ellen Lindner's Bedroom Redo. AdventureQuilter.com/blog

I wanted a taupe bed skirt, but I couldn’t find one to fit my tall bed. White was the only color available in that length. So, my friend suggested combining the two and I think it works.

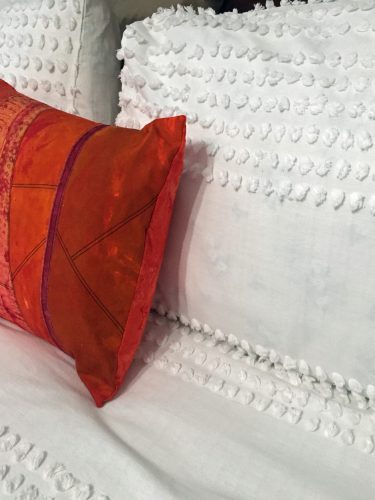
It was fun to use a variety of surfaces and textures. Shiny and dull, smooth and rough, modern and vintage. I love the tufted look of the bedspread.

Ellen Lindner's Bedroom Redo. AdventureQuilter.com/blog

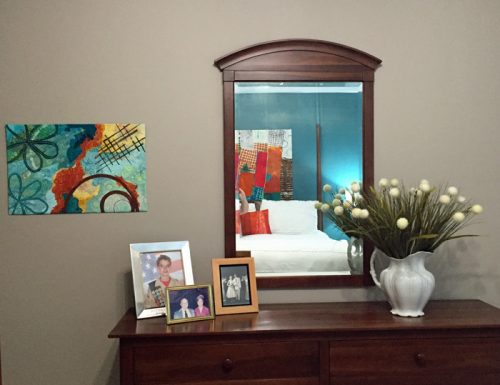
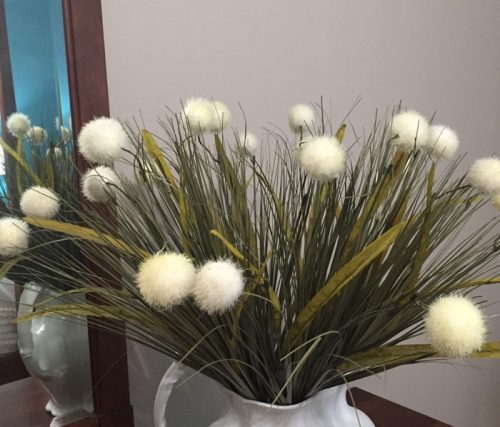
And these fuzzy white pom-pom flowers are the perfect contrast to my grandmother’s vintage water pitcher.

Ellen Lindner's Bedroom Redo. AdventureQuilter.com/blog

It sure was fun to put this all together and I’m SO delighted with the vibrant colors throughout!

Ellen Lindner
P.S. How do you like the way I’ve presented Croton Leaves 3, above? (2nd photo.) I bought a frame with glass and a white mat and I mounted the little quilt right on to the FRONT of the glass. I love presenting small pieces this way. They need something to give them more substance, but I don’t want to cover the texture of the piece. Lots of double-sided tape does the trick.

23

Sally and Pam’s Art Demo

At the recent SAQA retreat, you could work on your own projects or take time out for one of the many excellent demos.  One of the first I attended was put on by Sally Dutko and Pam Richardson, as they explained their process to us.

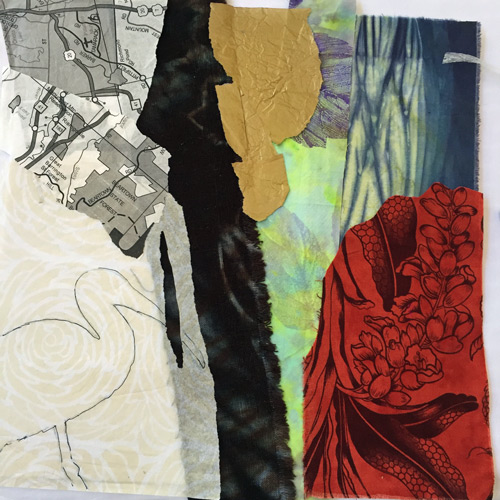
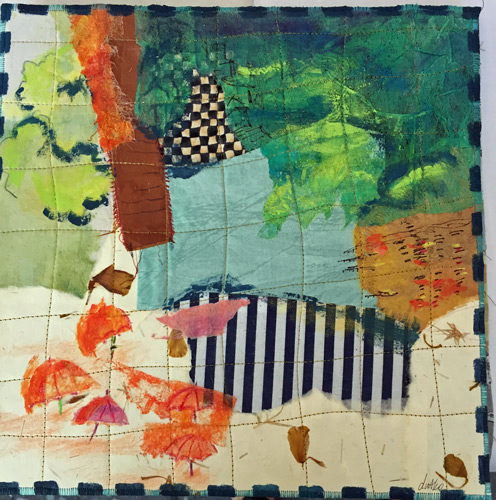
Sally’s work was used for most of the in-progress examples. As you can see, she collages paper and fabrics onto a base support.

Sally and Pam's art demo. Ellen Lindner, AdventureQuilter.com/blog

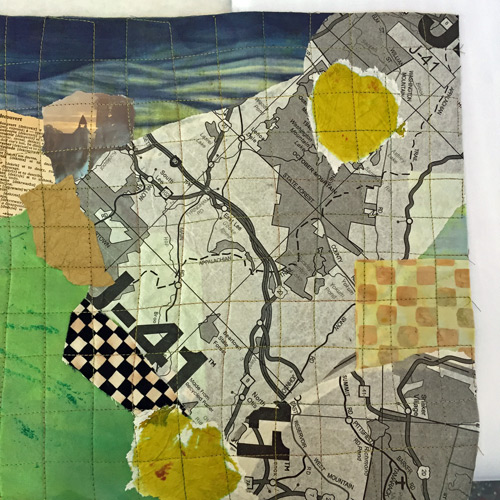
Then, she stitches a grid and coats everything with a clear medium.  (This gives it “tooth” for other media.)

Sally and Pam's art demo. Ellen Lindner, AdventureQuilter.com/blog

Finally, she adds paint, stitching, more collage…whatever she thinks it needs.

Sally and Pam's art demo. Ellen Lindner, AdventureQuilter.com/blog

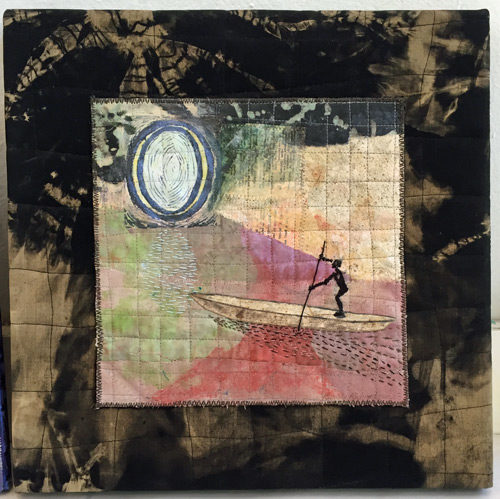
On the one above, she finished the edge with satin stitching, and mounted it on to an artist canvas.  An intriguing process, great work, and a professional presentation!

Pam’s work provided most of the completed samples.  This small piece was created in the same fashion as Sally’s, but mounted slightly differently.  Here, a canvas was wrapped in fabric and the artwork was applied.

Sally and Pam's art demo. Ellen Lindner, AdventureQuilter.com/blog

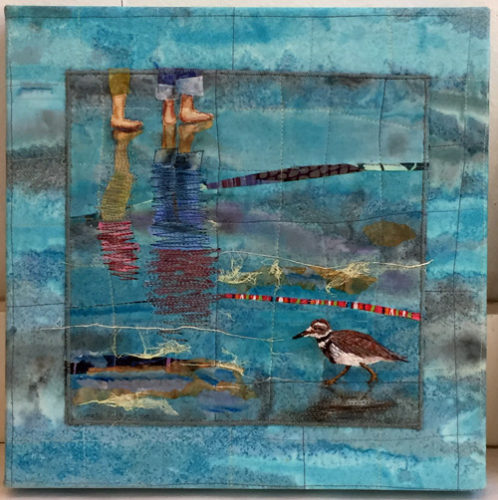
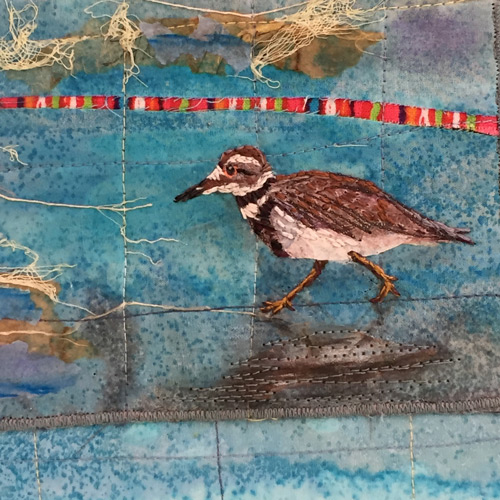
I especially loved this beach scene of Pam’s. She used a variety of techniques and media to achieve her desired result.

Sally and Pam's art demo. Ellen Lindner, AdventureQuilter.com/blog

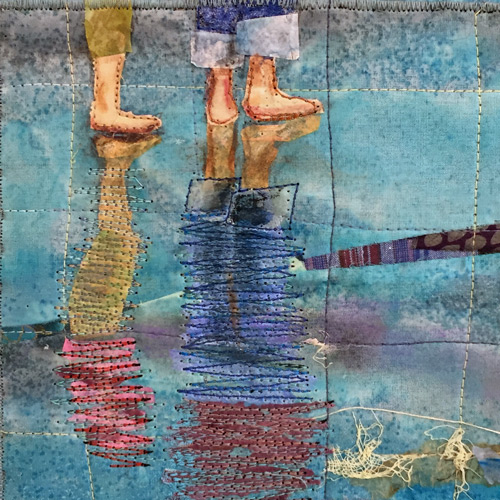
Can you find the tea bags she used? And look at that reflection.  Isn’t it effective?

Sally and Pam's art demo. Ellen Lindner, AdventureQuilter.com/blog

“Stray” threads and an unexpected bright bit of fabric complete the composition.

Sally and Pam's art demo. Ellen Lindner, AdventureQuilter.com/blog

What talented women!  I got an Adrenalin surge from seeing their work!

Ellen Lindner


0

Mounting and Framing Small Pieces

I once had a shopper ask me “How much do you charge for one of those place mats?”  Quch! Not what I wanted to hear, but I get it.  To viewers who are not used to seeing art made from fabric the small pieces can look somewhat utilitarian.  To avoid that, I often mount or frame my smallest pieces.

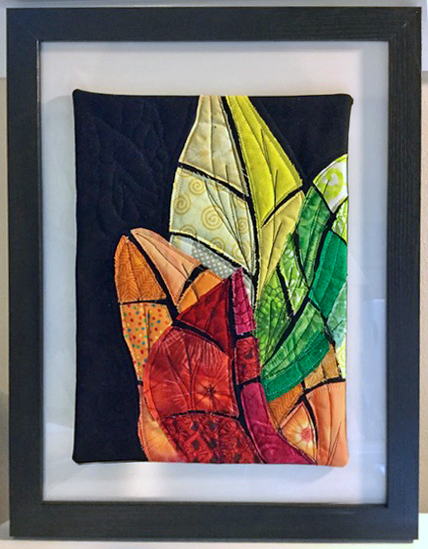
There are plenty of tutorials online about how to do this, but I think my approach is somewhat unique.  That’s because, when using a frame with glass, I always put the art ON FRONT of the glass.  Like this.

Framing small pieces. Ellen Lindner, AdventureQuilter.com

I love this presentation.  The frame gives the small art work more “presence” and shows it off as fine art.  But, the textures of the piece are not hidden under glass.

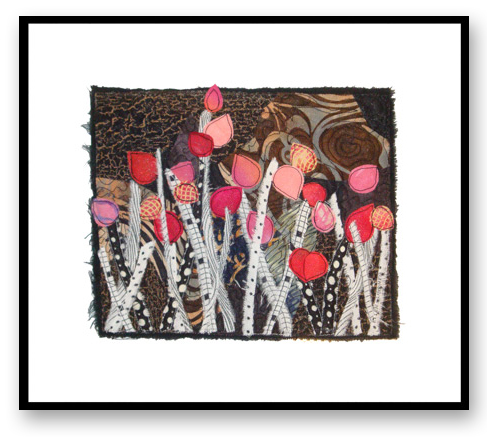
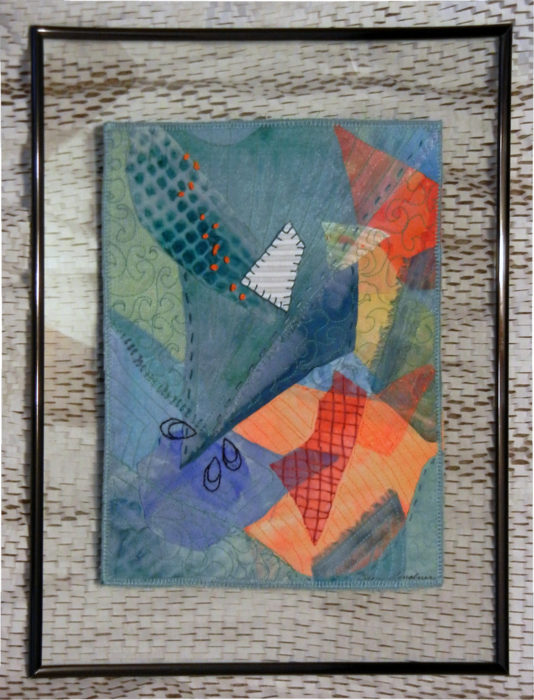
This is very easy to do.  Just use double sided tape to hold the artwork in place.  The following pieces have the same presentation, but it’s hard to see when viewed straight on.

Framing small works. Ellen Lindner, AdventureQuilter.com

You can do the same thing without glass, just attaching the artwork to mat board that’s framed.

Framing small works. Ellen Lindner, AdventureQuilter.com

Of course a small art piece can also be mounted on an artist’s canvas.  It can either be left white, painted, or covered with fabric.

Framing small works. Ellen Lindner, AdventureQuilter.com

When using this technique, I recommend using a “gallery wrapped” canvas.  This is the deeper style with staples on the back.  It makes a very nice presentation.

Framing small works. Ellen Lindner, AdventureQuilter.com

Once again, you can use double sided tape, but I generally hand sew these onto the canvas in a few places.

Another great thing about using ready-made frames or canvasses is that they help unify a collection of artwork with slightly different sizes.  Like this (digitally mounted) collection.  Even though each piece has little bits extending here and there, they all read as the same size, thanks to the constant size of the canvasses.

Framing small works. Ellen Lindner, AdventureQuilter.com

There are many more ways to mount small pieces.  What are your favorites?

Ellen Lindner
P.S. Related post on my old blog:
Notes for a Friend, #10-12

23