Dyed Whole Cloth
I’ve been working on incorporating a variety of motifs and colors into one piece of dyed fabric and I finally got one I really love.
I rotated it 90 degrees and put it up on the design wall. Now what?
I had a lot of fabrics with the right colors, so I pulled them all out and pinned them up on the design wall. Lots of options here!
(This is my typical process, followed by lots of editing.)
Perhaps this green-on-green piece would be a nice counter point. Not bad.
Next, 2 questions:
1 – Could the first fabric hold its own? Would it need some more contrast? It looked pretty awesome by itself.
2 – Regardless of the answer to the first question, should I alter the original fabric? Maybe move the chevrons around?
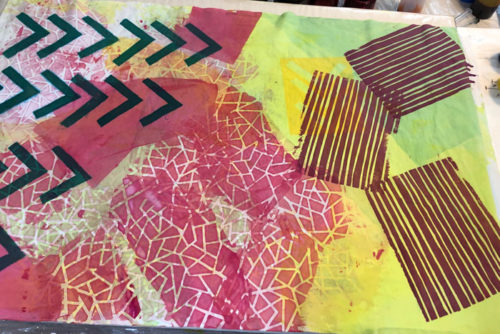
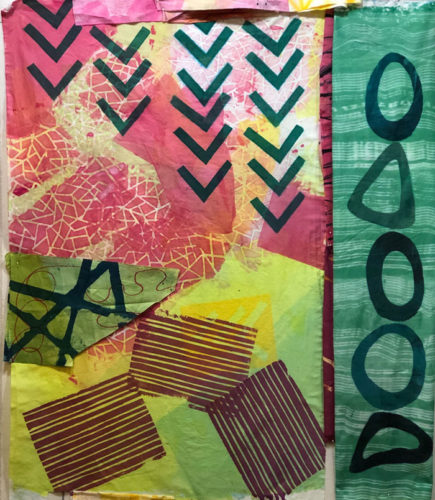
I decided that I should add some contrasting fabrics to the original one. Something dark and maybe green. Back to the green shapes. I liked inserting them between the chevrons.
![]()
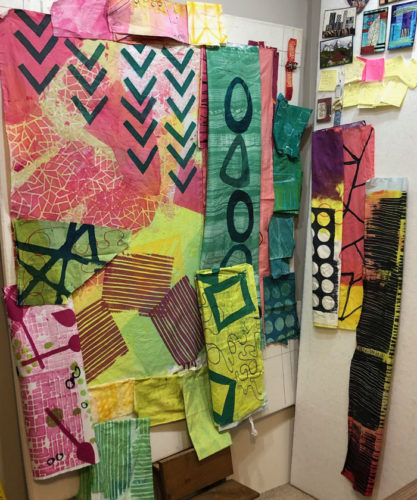
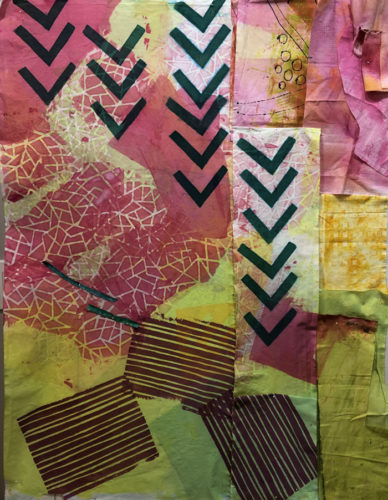
But, maybe the chevrons shouldn’t all start at the top. What about this? I was missing the darker green. And maybe the far right chevrons are too far to the right? Lots more trial and error needed.
![]()
At this point I was folding fabrics and pinning them in place. No firm decisions or cutting yet. Soon, though! Check the next post for more progress.
Ellen Lindner