
Whenever I show one of my improv quilts, people ask if I’m going to teach the technique. I don’t have any plans to teach it right now, so I thought I’d show a little about it here on my blog.
There are LOTS of different ways to make improvisational quilts. You’ll find many tutorials on YouTube. Some methods are rather formulaic with predictable results, and others are very loose and unpredictable. As you might guess, I prefer the latter.
One method I employ early in my process is what I call staggered piecing. I learned it from Pat Pauly on an episode of Quilting Arts. It starts with two or more fabrics joined together.
You slice them into two pieces across the primary seam line and the two pieces are joined back together, but intentionally misaligned. This can be repeated, which is what I typically do. So, I’ll get something like this.

You can stagger the pieces a little or a lot. And the slicing can be done with straight lines or with gentle curves, as I did.
Here’s another example.


As you can see, the edges of these units become skewed, and that’s okay. Don’t trim them off, because it’s still very early in the process.
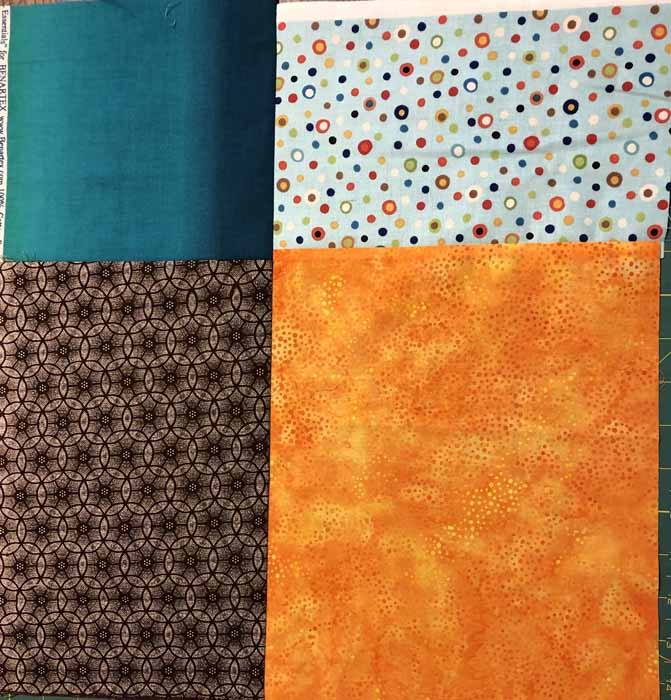
One more example:

The staggering adds a lot of energy, doesn’t it? For me, that’s kind of the main reason for using improv piecing. I use it when I want an energetic piece that evolves as I go.
Would you like me to share more tips about improv techniques?
Ellen Lindner
P.S. See another improv quilt, and another.
No comments yet.