Following the Fabric
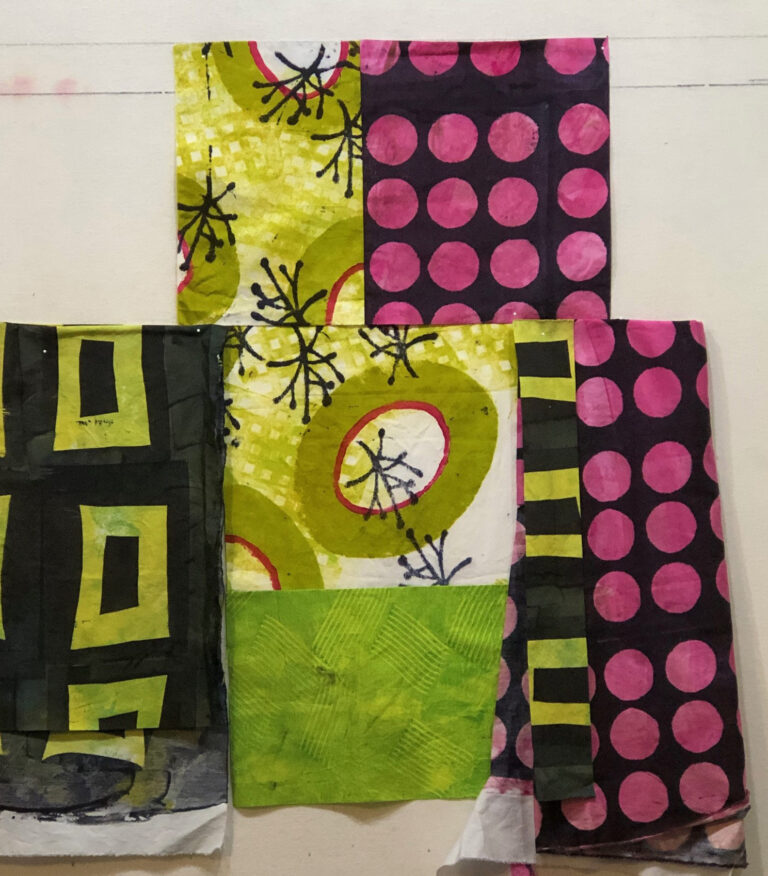
I’ve been working on a new quilt, using fabrics I dye-printed during my last dying session. As you can see, I made them to go together. To get started, I pulled these out, along with every fabric I thought MIGHT go with them. As usual, this stage was a rather ugly mess. (I was toying…