Floral Improv in The Villages: Part Two

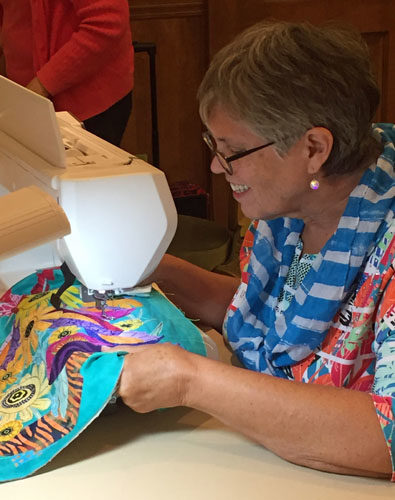
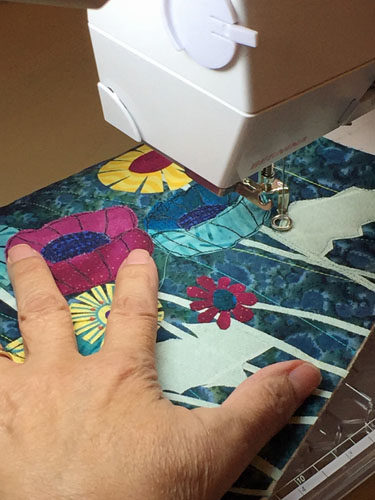
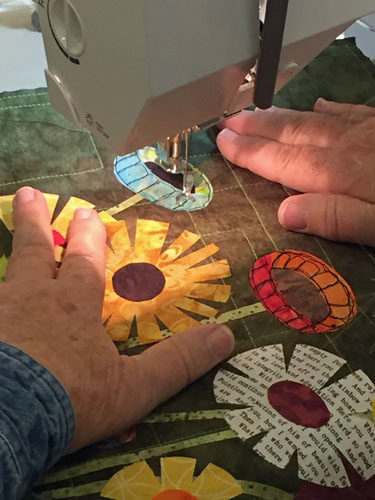
My “Floral Improv” class is a very productive one.  In one day students:
– Make flowers without a pattern
– Design an effective composition
– Add stitching
– Learn how to use a facing for finishing

But, more importantly, the students always get fabulous results!

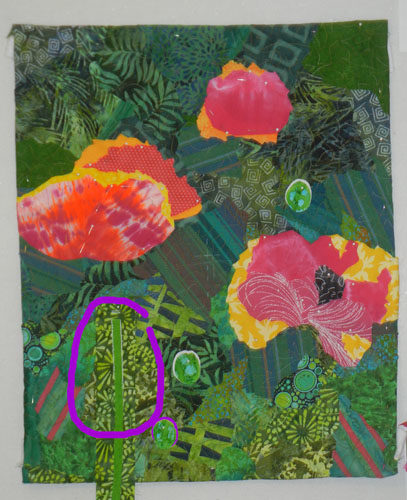
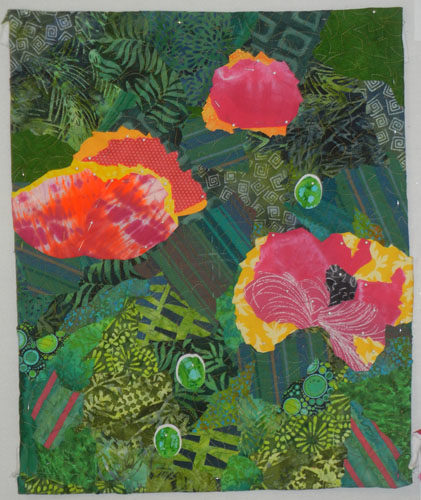
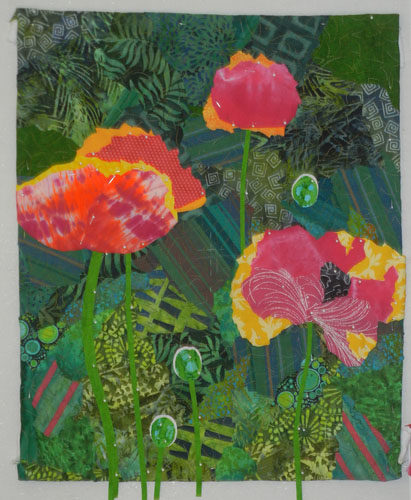
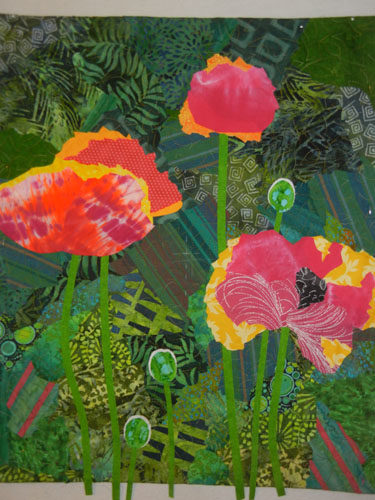
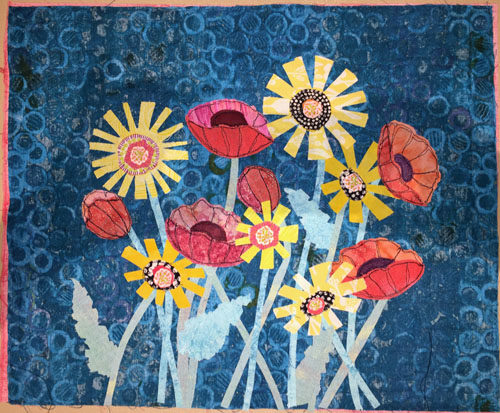
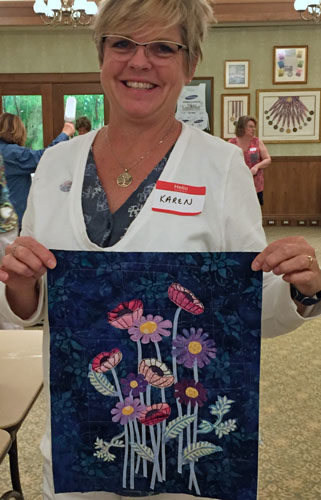
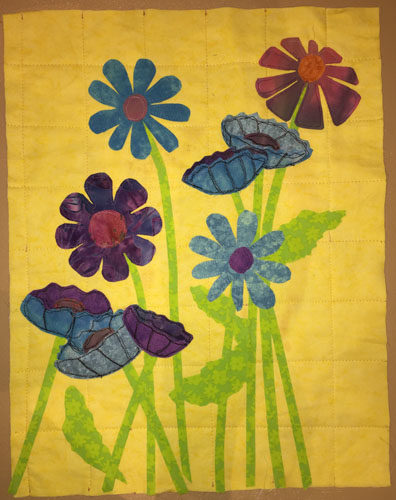
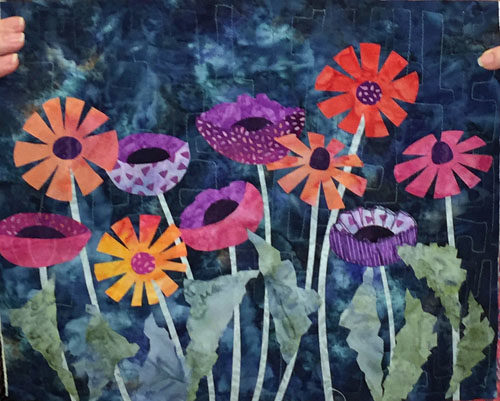
Pam’s dark background was very effective and her leaf fabric was perfect.

These students quickly overcame their inhibitions and were FEARLESS.  Bette was one of THREE students who had never done free motion quilting before!  Each of them did a little research before class and finished their projects in class!  Awesome.

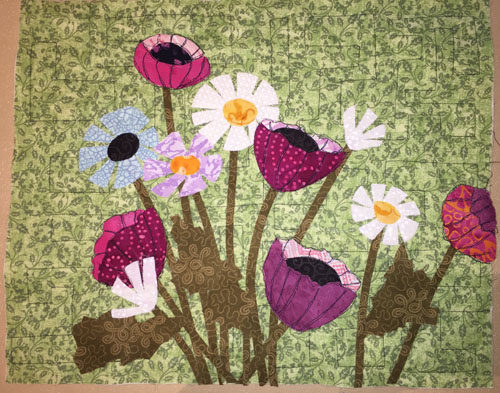
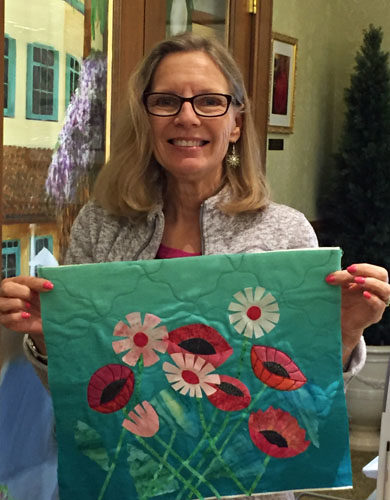
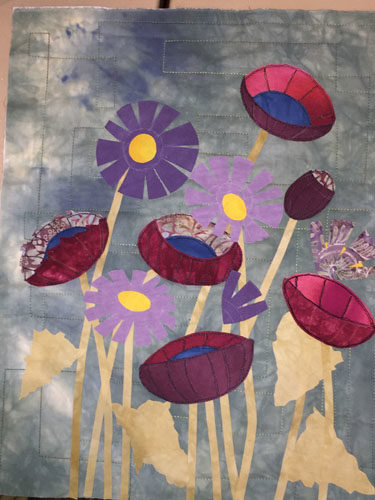
Linda’s complementary red-violet and yellow-green worked really well. Once trimmed and faced, her right flower will go off the edge.  I like that effect.

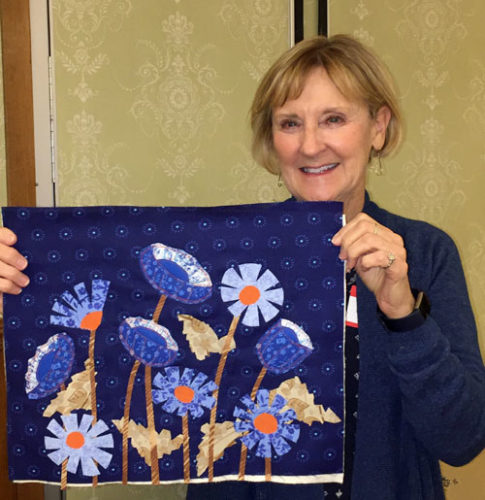
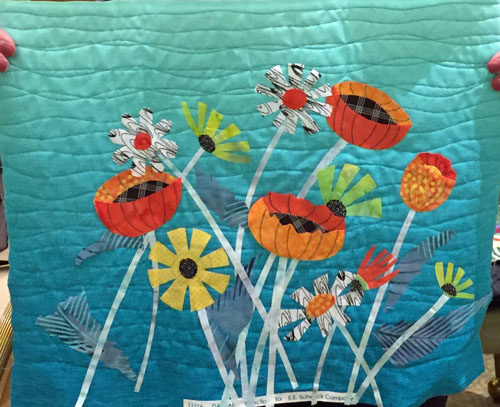
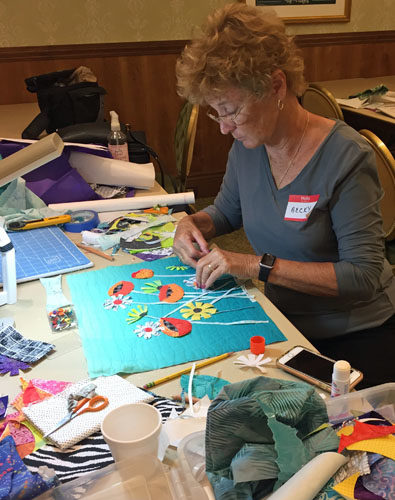
Becky’s combo is also complementary: blue-green and red-orange.  These colors always POP, as you can see.

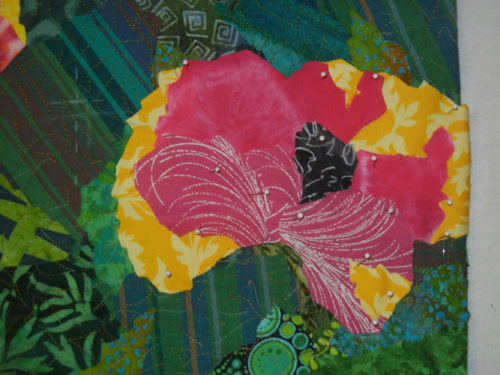
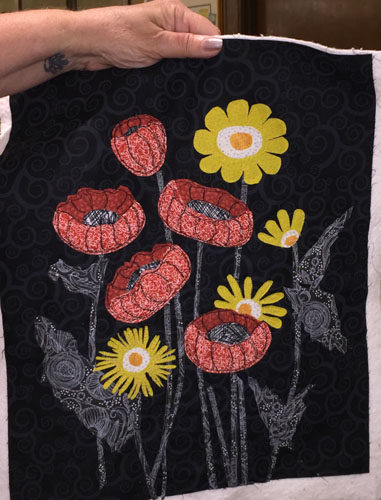
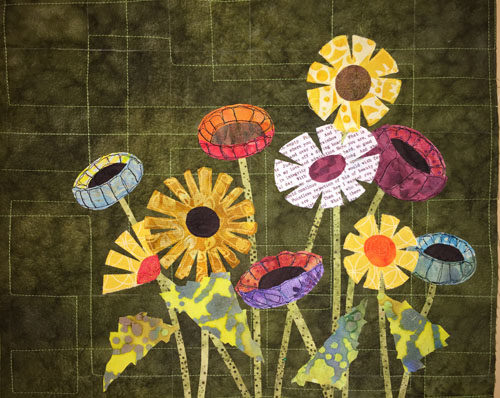
In Pat’s piece, you get a good sense of the importance of the contrast stitching on the poppies.  Very nice!

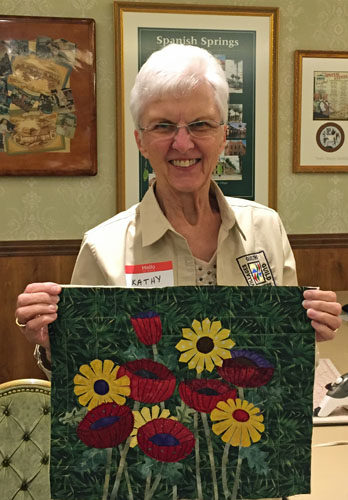
Kathy was very happy with her piece.  For good reason.

Check out the stems in Regina’s quilt.  Since they’re high contrast, their graceful shapes become major elements.  Lovely.

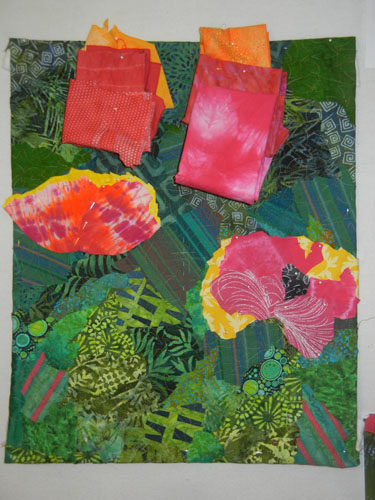
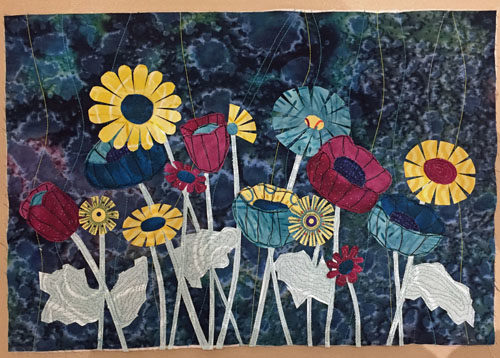
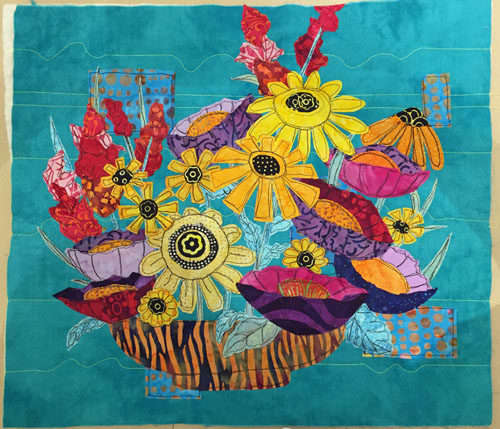
Kat made her project slightly over sized because she intended to make it into a pillow.  She added a vase to hold ALL THOSE FLOWERS.

It was a delightful day!

Ellen Lindner
P.S. Find out more about this class.
P.P.S. See Part One of this post.
P.P.P.S. See the Floral Improv Gallery

0

Floral Improv in The Villages: Part One

I always love teaching and a recent class in The Villages, FL was no exception.  The class was called “Floral Improv” and we had a GREAT time together!

Although I didn’t get photos of every quilter with her results, I think you can see the joy on the faces of those I did capture.  They were thrilled to accomplish so much in one day!

Lynn had to leave early, but still managed to complete her entire composition and start on the outline stitching.

Karen completely finished her piece in class and was delighted with it.  Can you see her “fussy cut” leaves?  She used various motifs cut from a perfect fabric.

Students arrive with their backgrounds already quilted and their fabrics already fused.  Therefore, they’re ready to start creating flowers right away – WITHOUT patterns.  We start with daisies, which are super easy. Next come the poppies.  Flower units are made and set aside until it’s time to compose everything.  A few design tips from me and then everyone jumps in.

Flowers are positioned first, then stems, and finally leaves. Everything is fused in place and it’s time to stitch it all down.

Black thread is used on the poppies to add petals and definition. It really adds a lot.

Donna’s results were cheerful and lively.

Don’t you love Polly’s patterned flowers and “jagged cut” leaves?

Mary selected a diagonal design and quilted the background with sharp angles.  A very nice contrast.

Alice’s soft background allowed the dark flowers to pop.

But wait, there’s more!  Look for the next post with more of these wonderful class results.

Ellen Lindner
P.S. Find out more about this class.
P.P.S. See the Floral Improv Gallery

2

New Lecture: Confessions of a Fabric Whisperer

I have a new lecture that’s rather fun, called “Confessions of a Fabric Whisperer.”  (Actually, I’ve changed the name about three times, but I think this might stick.) In this presentation I give an amusing accounting of some of the wacky things I’ve done over the years in the pursuit of creating art quilts. Some of my attempts were successful and some resulted in “rough drafts.”  But, I explain why even the unsuccessful ones are useful and why I fearlessly embrace experimentation.

This quilt, Summer in the South, is one of my primary examples.  Plus I take the quilt for display.

Summer in the South, an art quilt by Ellen Lindner. AdventureQuilter.com

Many other quilts have their own stories.  Like Urban Sprawl, below.

Urban Sprawl, an art quilt by Ellen Lindner. AdventureQuilter.com

I recently presented this lecture for the first time and it was VERY well received.  That’s always exhilirating!

Not only that, but there was a non-quilting reporter in the audience.  She took notes and asked me a few questions and took some photos. And the very next day, my students brought me their local newspaper with a half-page article about my lecture.  Wow!

The article, by Maddie Cutler ended this way:
Lindner said the main take-aways people should get are that taking your time is OK, and that it’s important to “listen” to what the quilt is saying and to check in with the design as you work.
     If all else fails, cut it up and make it totally new.
     “I’ve cut up a quilt or two when it needs it,” she said.

Not a bad summation.

If your guild would also like to “hear my confessions” just let me know.  I’d love to come!

Ellen Lindner


2

Instant Art Quilt again

I used to teach a class called Instant Art Quilt.  In it, students started with a gorgeous piece of hand dyed fabric, (the kind you’re afraid to cut up,) and I lead them through tearing it up and rearranging the pieces.

Learn with Ellen Lindner. AdventureQuilter.com

After Image, a class sample

The results were always beautiful and my students really enjoyed the class.

Carole Grant's results from Ellen Lindner's Instant Art Quilt class. AdventureQuilter.com

By A. Carole Grant

“This has been such a fabulous class…can’t remember when I
have enjoyed one so much!” A. Carole Grant

You can see many examples of the technique in the IAQ Gallery.

Vivan Milholen's results from Ellen Lindner's Instant Art Quilt class. AdventureQuilter.com

By Vivan Milholen

In the busy-ness of my latest website redo I never got around to adding this class to my website.  I’ve finally remedied that and am looking forward to teaching it again. Find all the info here.

I’d love to come teach this class for your guild!

Ellen Lindner
P.S. See older blog posts about teaching this class in various places: Mt. Dora, FLThe Villages, FL, Orlando, FL

0

“Crotons with Attitude”

I belong to SAQA (Studio Art Quilt Associates) which has an auction each fall as a fund raiser.  Members are asked to donate 12″ x 12″ quilts which are auctioned off online.  I wanted to participate but was a little pressed for time.  Therefore, I decided to revisit an earlier quilt idea.

I decided to loosely mimic this quilt, When Crotons Cut Loose.

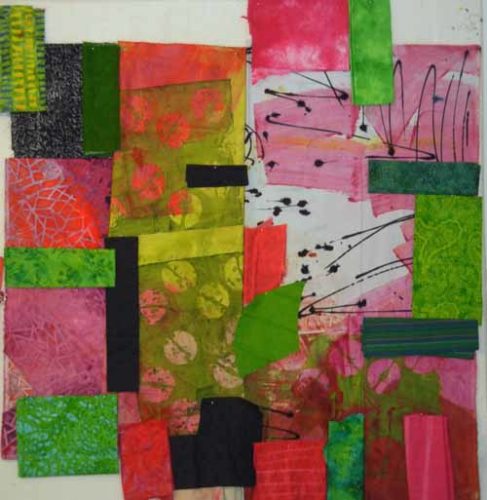
The quilt above came about quite easily.  I had some fused scraps and I wondered if they could be used for croton leaves.  When I placed them along an imaginary stem line, I loved their wacky shapes, so I decided to use them “as is,” with very little modification.  I did something very similar as I put together my new composition.

Crotons with Attitude in-progress. Ellen Lindner, AdventureQuilter.com

Crotons with Attitude in-progress. Ellen Lindner, AdventureQuilter.com

I really like the irregular edges.  Don’t they have lots of energy?

Crotons with Attitude in-progress. Ellen Lindner, AdventureQuilter.com

Once the composition was fused in place, I quilted the background in a grid (made easy by the background fabric.)  Then, I pondered adding some hand stitching and decided to do so.

Crotons with Attitude. Ellen Lindner, AdventureQuilter.com

Crotons with Attitude. Ellen Lindner, AdventureQuilter.com

I’m very happy with this little quilt.  These crotons really do look like they have some sassy attitudes, don’t they?

There will be hundreds of awesome quilts in the upcoming auction.  Check out the early ones and learn more about the auction process here.  I’ll let you know when it actually starts.

Ellen Lindner


12

“Initial Response” is Settled into its New Home

Remember this quilt, which I completed recently?

Initial Response, an art quilt by Ellen Lindner. AdventureQuilter.com

Initial Response

It sold almost right away to an artist friend of mine. She says it “nagged” at her for several weeks after first seeing it, so she knew she had to have it.  And also that it would fit their new home very well.

And boy does it.

"Initial Response" Settled into a New Home. Ellen Lindner, AdventureQuilter.com/blog

Isn’t it perfect with the lively pops of color?

"Initial Response" Settled into a New Home. Ellen Lindner, AdventureQuilter.com/blog

I love their eclectic and colorful decor, including the lively chameleon painting to the left of the quilt.  (It was done by the home owner.)  Isn’t this room joyful and fun?

I’m so delighted to see this quilt in its new home!  I feel like this sale is a win-win for everyone.  As any sale should be.

Ellen Lindner
P.S. Would you like to see more quilts in their final environments?

8

Pink Stitching on Blue Indigo

I’ve really enjoyed adding hand stitching to my indigo piece.  I selected three colors of embroidery floss and used them alternately.  I started with a simple running stitch in the chevron area, later backed up with a stem stitch. Machine quilting was later added to play up the chevron pattern.

Pink Stitching on Blue Indigo. Ellen Lindner, AdventureQuilter.com/blog

I also used stem stitching to play up the undulating ripples in one of the shibori areas.

Pink Stitching on Blue Indigo. Ellen Lindner, AdventureQuilter.com/blog

The other shibori area got stitching in the “base” area only.  Back stitch this time.

Pink Stitching on Blue Indigo. Ellen Lindner, AdventureQuilter.com/blog

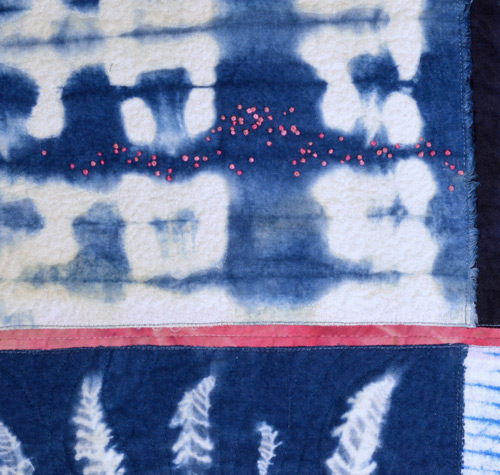
Then it was time for French knots sprinkled in a random area.  I love these!

Pink Stitching on Blue Indigo. Ellen Lindner, AdventureQuilter.com/blog

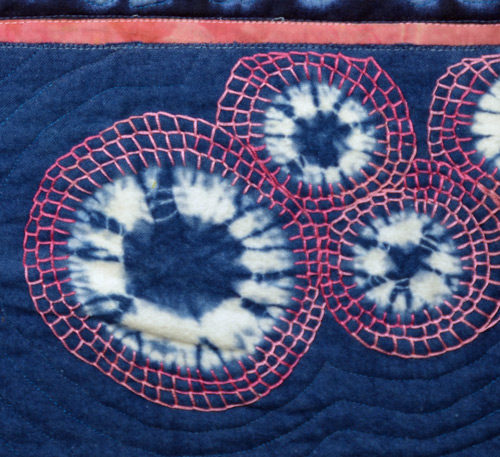
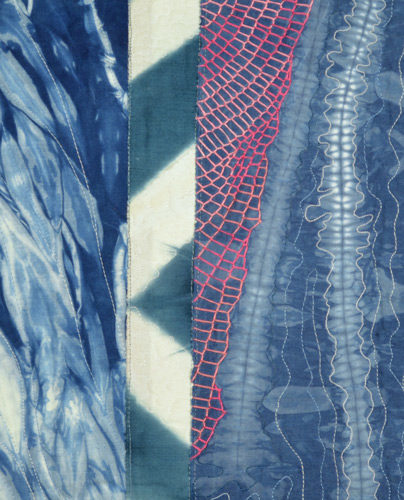
And my favorite: rows of blanket stitching.  This creates a look similar to netting, which I think is very effective.

Pink Stitching on Blue Indigo. Ellen Lindner, AdventureQuilter.com/blog

Don’t you like the way it undulates?  I wish I had done more of that. Combining rows like this was new to me.  Have you seen it before?

All this slow stitching gave me plenty of time to think about what should come next, and I ended up taking a fairly radical turn which I’ll show you soon.

Ellen Lindner


2

Planning a New Class Sample

I really enjoy teaching my class “Design Your Own Nature Quilt!”  In it, students learn about design and composition, then use their own photos to create a quilt.  The results are always great and the process is exhilarating. (Actually, the process can also be a little intimidating but the students are told to pack their artistic courage, so it works out well.)

The only downside to this class is that I keep selling the class samples.  Finding myself in that situation, once again, I’m about to make a new one.  I thought you’d like to see a little about my process, so I’ll be posting about it here on my blog.

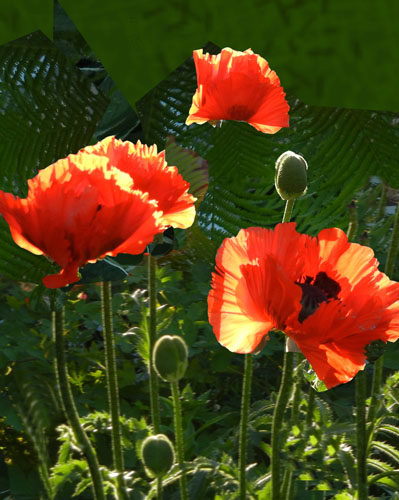
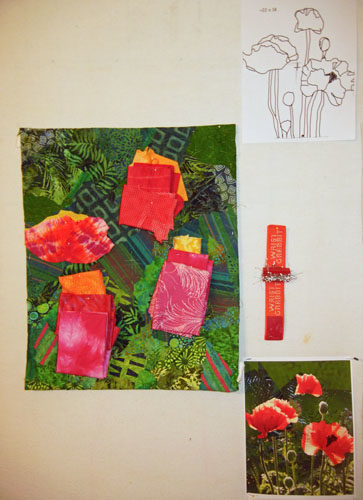
This is my inspiration photo.

Planning a New Class Sample. Ellen Lindner, AdventureQuilter.com/blog

Don’t you love the bright colors and back lighting?  It’s great, but is this the best composition for a small quilt?  Since the flowers are vertical, would a vertical composition be better?  And, do I really want to create ALL those flowers in a small scale?  Maybe I’d prefer something like this.

Planning a New Class Sample. Ellen Lindner, AdventureQuilter.com/blog

Look closely.  This is more than just a crop.  Things have been moved around a little. When doing so, I thought about focal points, sweet spots, balance, weight, and contrast, all things students learn in this class.

And this is my loose sketch. (copyrighted)

Planning a New Class Sample. Ellen Lindner, AdventureQuilter.com/blog

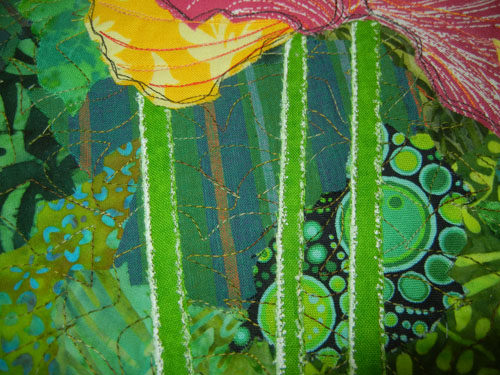
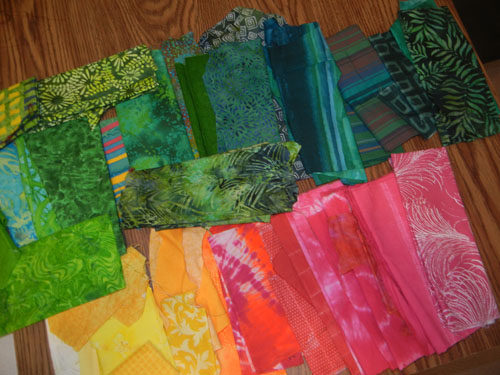
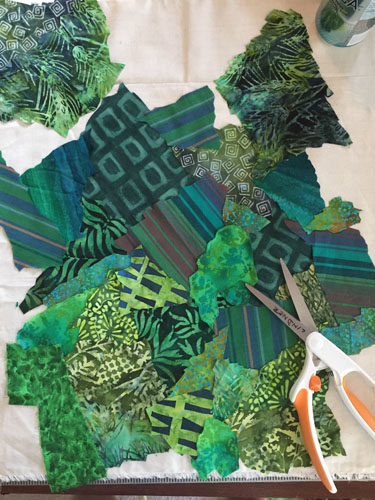
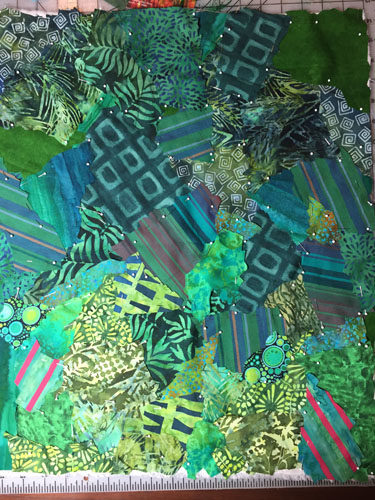
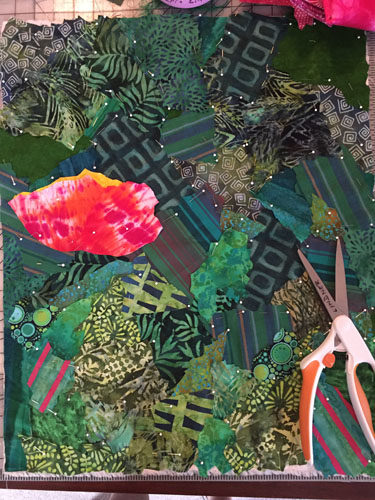
I like it.  Soon, I’ll be composing the background with a variety of green and blue-green fabrics. Keep watching and send me your questions.

Also, I’ll be teaching this class online soon. See full details.

Ellen Lindner

12

Composing with Indigo

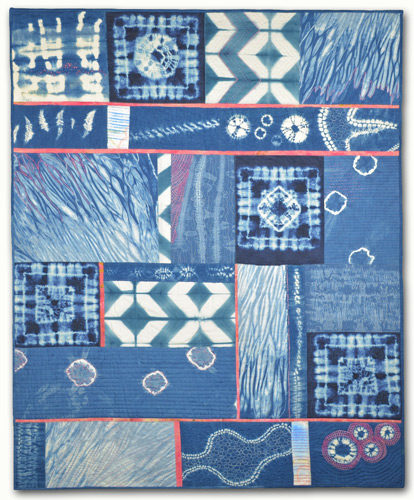
Being blessed with a bunch of indigo fabrics, I was ready to make an art piece with them.  I knew I’d like to add an accent color, but which one?  After some auditioning, I decided on the pink/orange family.

Composing with Indigo. Ellen Lindner, AdventureQuilter.com/blog

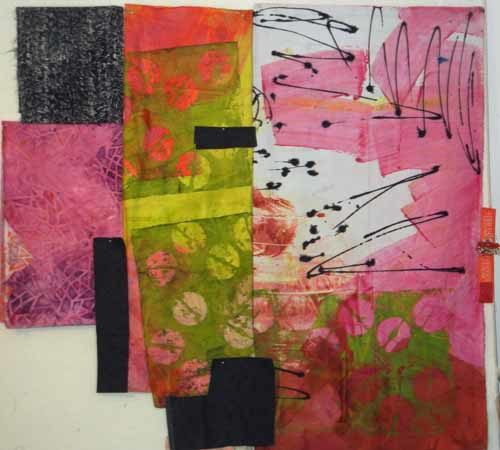
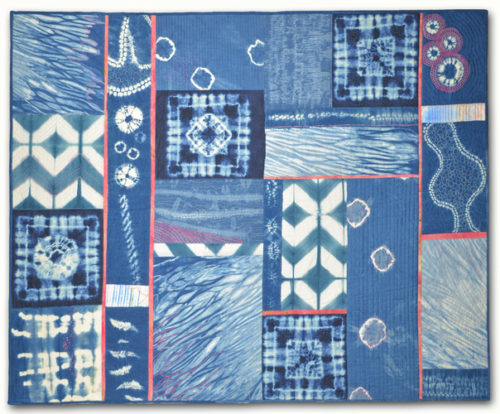
But, how to best use these wonderful designs?  I didn’t really want to cut into them, and several were in squarish proportions.  I decided on a gridded composition with three vertical columns. This shows an early arrangement, incomplete.

Composing with Indigo. Ellen Lindner, AdventureQuilter.com/blog

I added in some dull pink.  (Dull, because I didn’t want it to shine more than the indigo fabrics.)

Composing with Indigo. Ellen Lindner, AdventureQuilter.com/blog

And the almost-finished composition, pinned.  I was happy with it. But, maybe the pink had too many dull spots?

Composing with Indigo. Ellen Lindner, AdventureQuilter.com/blog

I auditioned a brighter pink.

Composing with Indigo. Ellen Lindner, AdventureQuilter.com/blog

I liked it much better EXCEPT I thought it probably needed to be thinner. I auditioned the idea.

Composing with Indigo. Ellen Lindner, AdventureQuilter.com/blog

Yep.  Much better. But, I had a problem.  Most of this was already glued, so I couldn’t easily rearrange things.  How could I make the pink stripes thinner? I decided to sew a tuck in the back of each, through the muslin support and all. Can you see the seam below?

Composing with Indigo. Ellen Lindner, AdventureQuilter.com/blog

That worked.  As you can see, I also added some hand embroidery.  I’ll have more detail shots of that in the next post.

Ellen Lindner

8

Fragrance-Free Flowers

What an unexpedted delight.  My sewing group meets in a local library and when we walked in today we were greeted with this new art installation.

Fragrant-Free Flowers. Ellen Lindner, AdventureQuilter.com/blog

Aren’t they great?  There was a recent class about making these flowers and I guess this was the collective result.

They’re made from paper and each one is about the size of a dinner plate.

Fragrant-Free Flowers. Ellen Lindner, AdventureQuilter.com/blog

Fragrant-Free Flowers. Ellen Lindner, AdventureQuilter.com/blog

I’m thinking there must be a way to do something similar with fabric.  You could stiffen the fabric, right?  Or maybe use something already fairly sturdy.  Felt, maybe? Perhaps I’ll investigate.

Ellen Lindner

13