Just a Few Hours of Progress
Check out these final projects from my “Design Your Own Nature Quilt” class in Stuart, FL. Keep in mind: they only had about 2 1/2 hours to work with fabric. Look what they accomplished in those few hours!
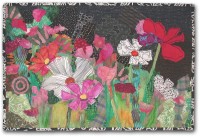
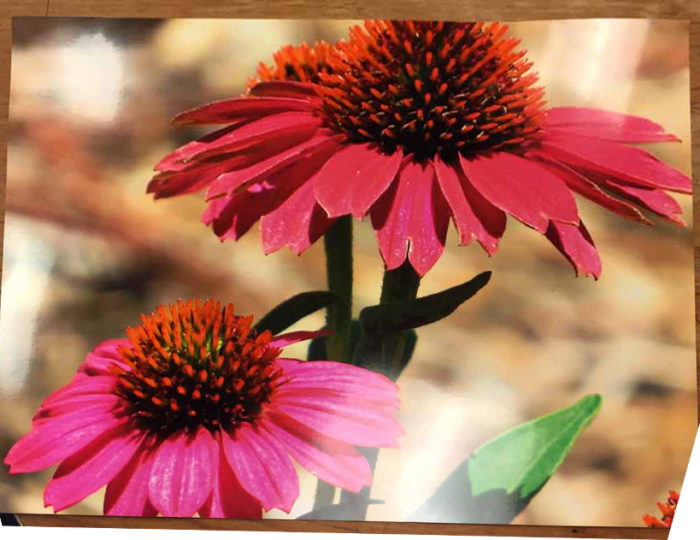
Cathy started with a nice photo of cone flowers.
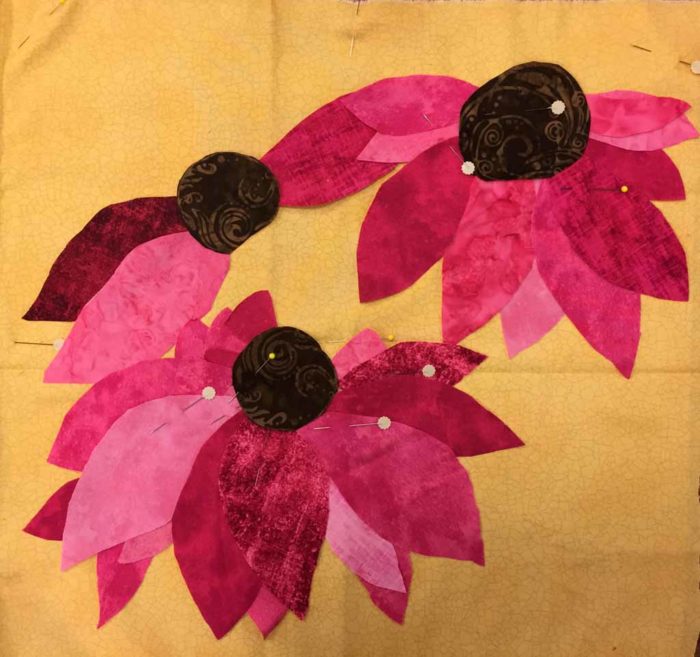
She decided to add another one, which filled out the composition well.
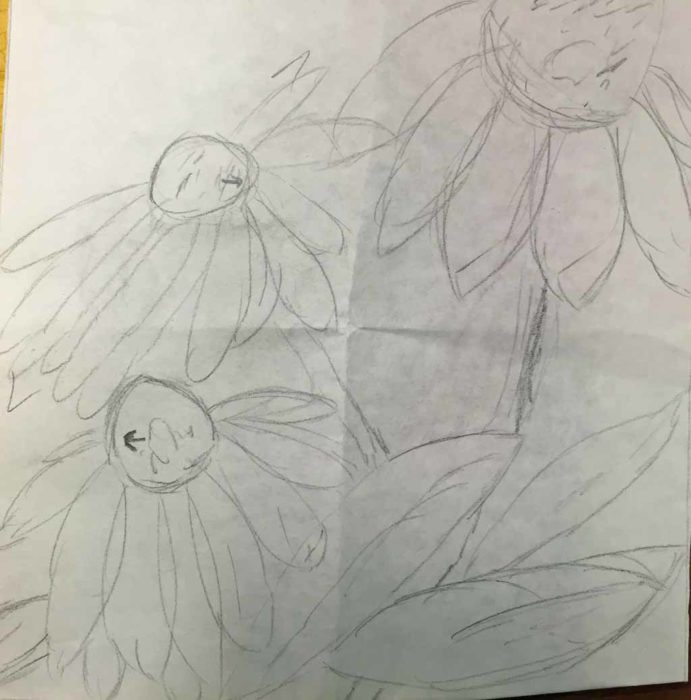
Scaling up is always a little tricky, but Cathy quickly got the hang of it. Some of her “too small” petals were the perfect size for a different flower.
Look at Cathy’s inspiration photo again, and notice the great texture found in the flower centers. Cathy will replicate that with hand stitching. She’ll also add some shadows with colored pencils. I can’t wait to see it!
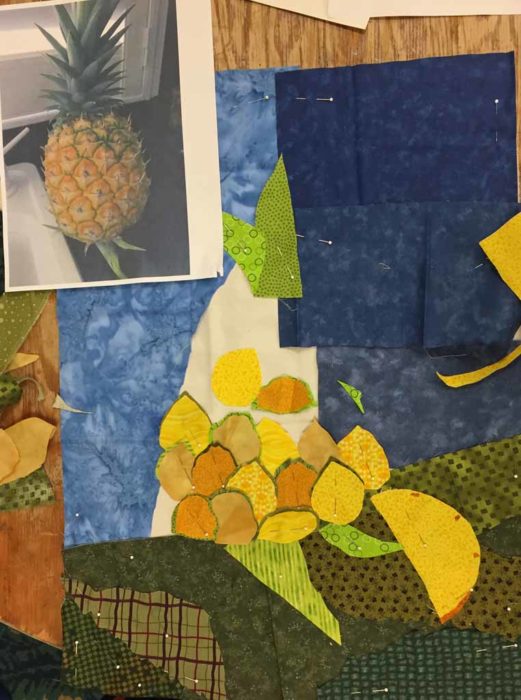
Carol worked with a photo of a pineapple. She was able to capture the little green rims to each section with an easy technique. After cutting the yellow part, she placed green fabric underneath and cut again, slightly larger. Easy and effective!
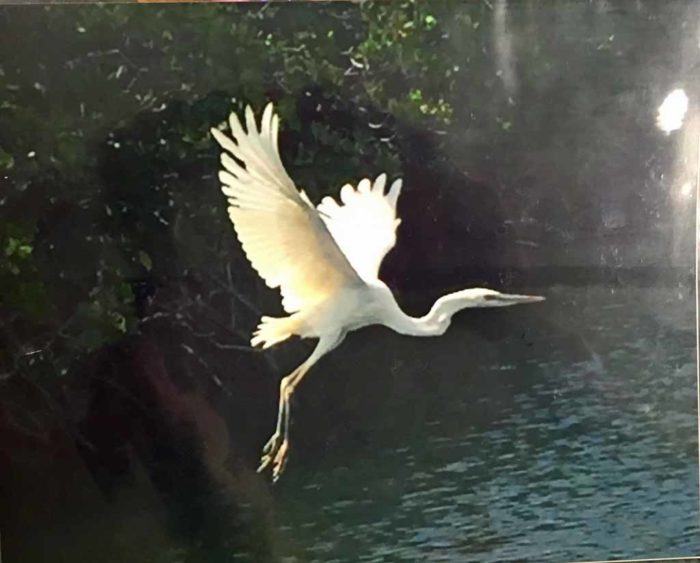
Ingrid’s photo included the beautiful body language of a (?) snowy egret. She’ll need to make a pattern for that.
But, she got her water and mangroves almost finished.
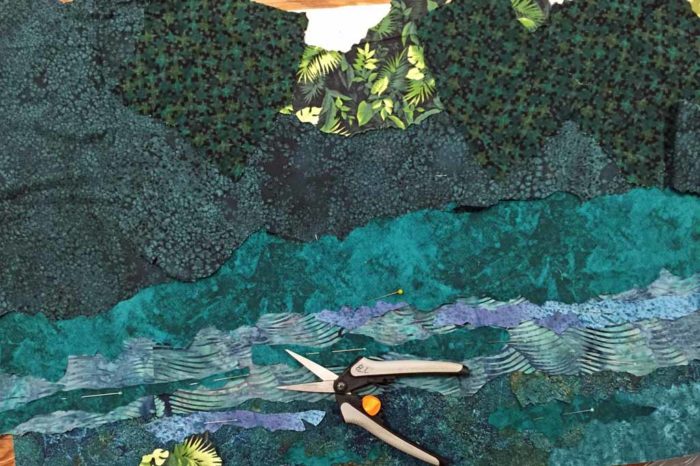
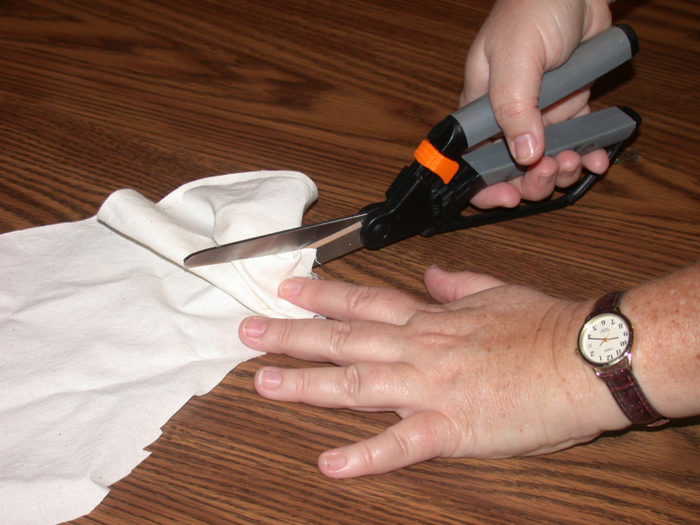
“Jagged cutting” was perfect for water ripples. See my demo photo below. The idea is to purposely scrunch the fabric into the blades of your scissors while cutting. I use it a lot!
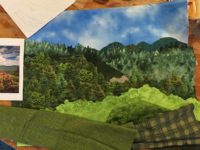
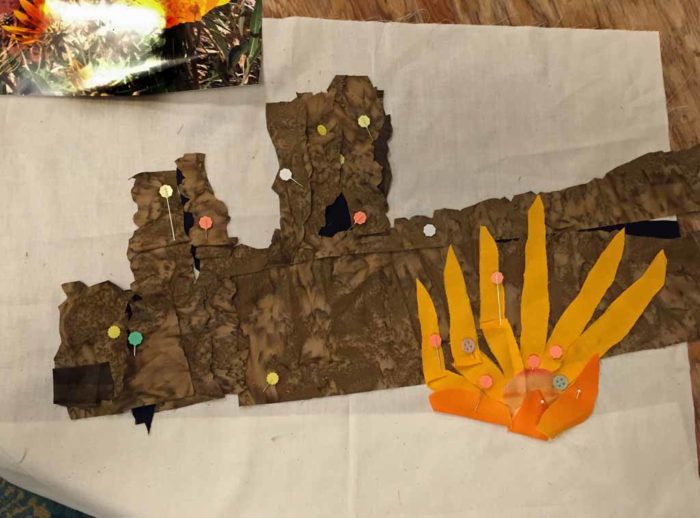
Perlie started with an awesome photo taken in a national park.
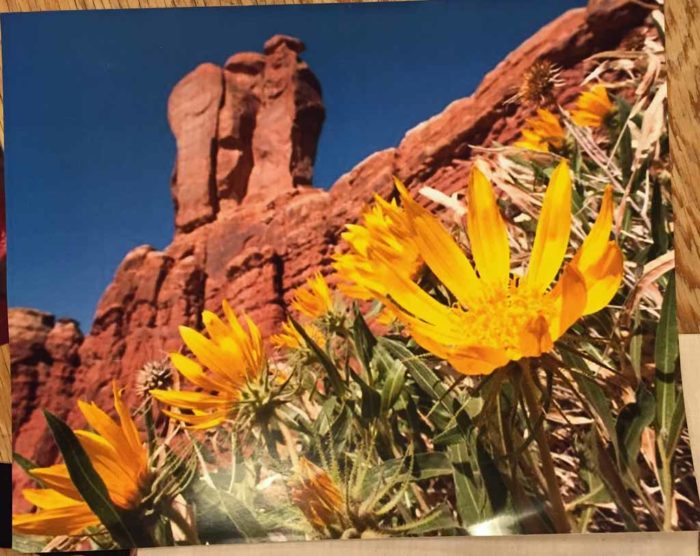
She made good progress and really created a great sense of light and shadow. She took my advice regarding the technical side of those small black shadows. Rather than fiddling with little tiny black pieces, she cut a slit in the adjacent brown, creating a crevice locarion. Then, she tucked a much bigger piece of black underneath, leaving just a tiny bit showing.
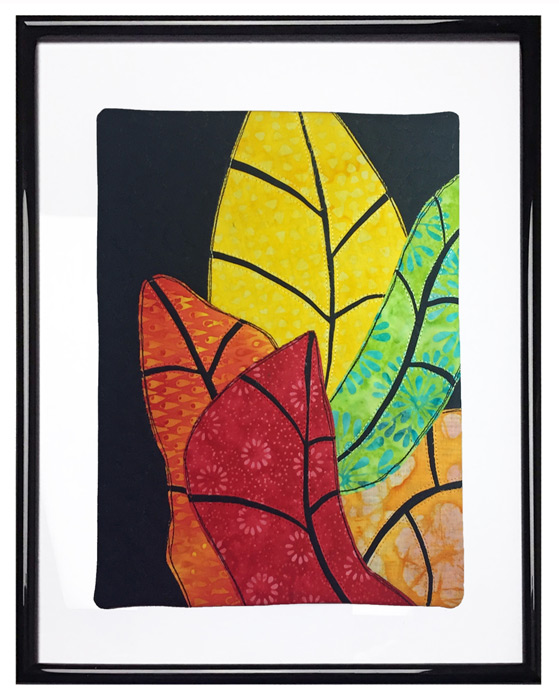
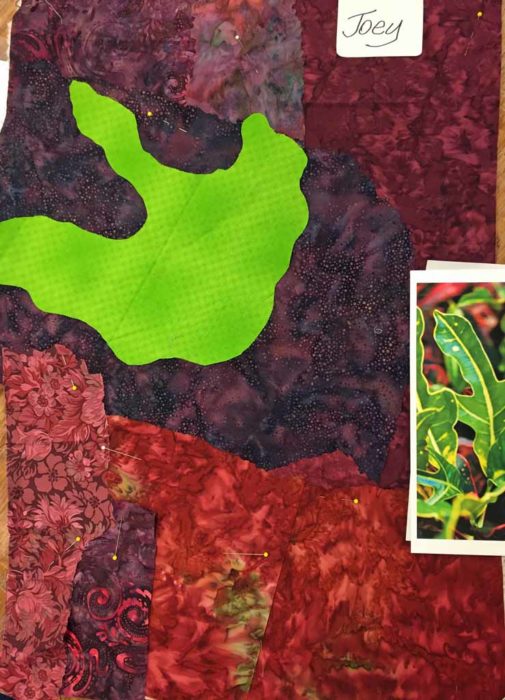
Here’s Joey’s photo, a very colorful croton.
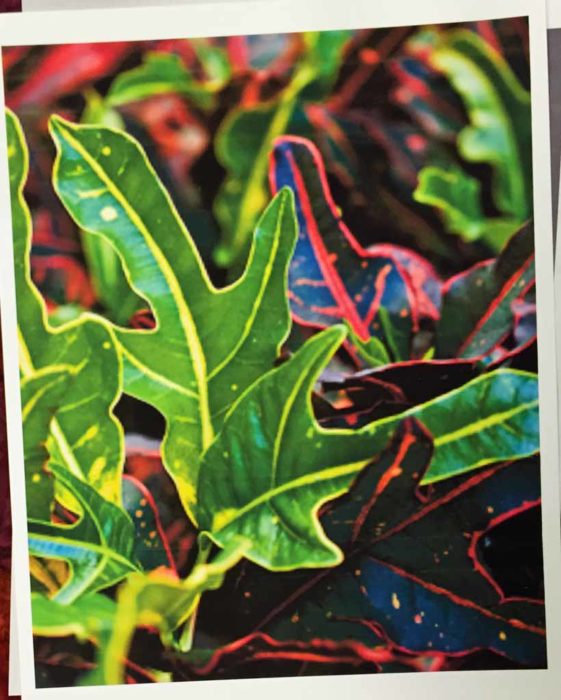
She brought enough fabric to work twice as big as her classmates. Which means it took her a lot longer to create the background. She did a great job, though. Can you see how bright green POPS against these dark reds and purples?
To create the yellow rim to her leaves she’ll use the same outlining technique Carol used on her pineapple. And, for the central vein, she’ll use the same slit technique Perlie used on her cliff face.
This is my favorite class to teach. Can you see why? The students learn so much and get such an Adrenalin surge as they successfully tackle new skills! It’s a huge kick fore me, too! Let me know if your guild would like to join in the fun.
Ellen Lindner