Tag Archives | Design

Christmas Cactus Abstracted

Inspired by a Christmas cactus. Ellen Lindner, AdventureQuilter.com
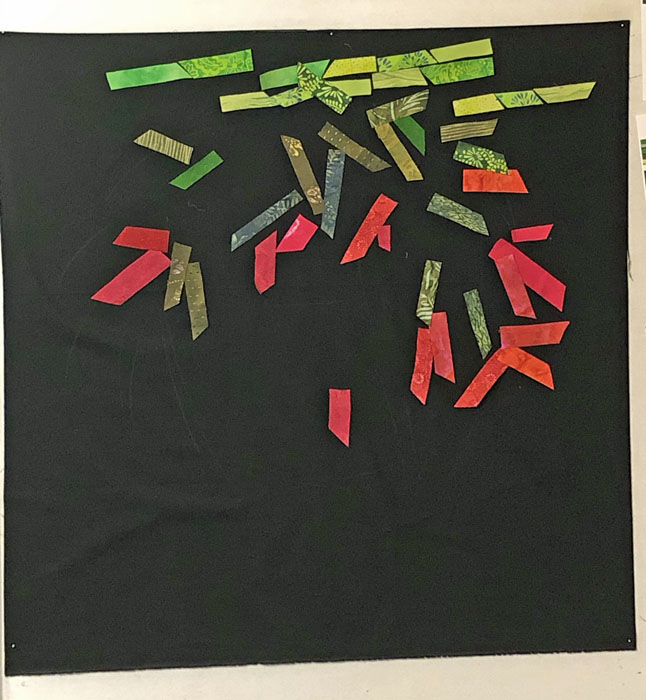
After studying my photo of a Christmas cactus, I decided to try abstracting it with one repeated shape. Maybe something like these “spike” shapes. Christmas Cactus Abstraction. Ellen Lindner, AdventureQuilter.com
Yes, I thought they worked well.

My original idea was to fill the entire space with this shape, just changing the color for background grass, brick, etc. But, when I tried that for grass I didn’t like it at all. Especially since just a few shapes were so effective.

Christmas Cactus Abstraction. Ellen Lindner, AdventureQuilter.com

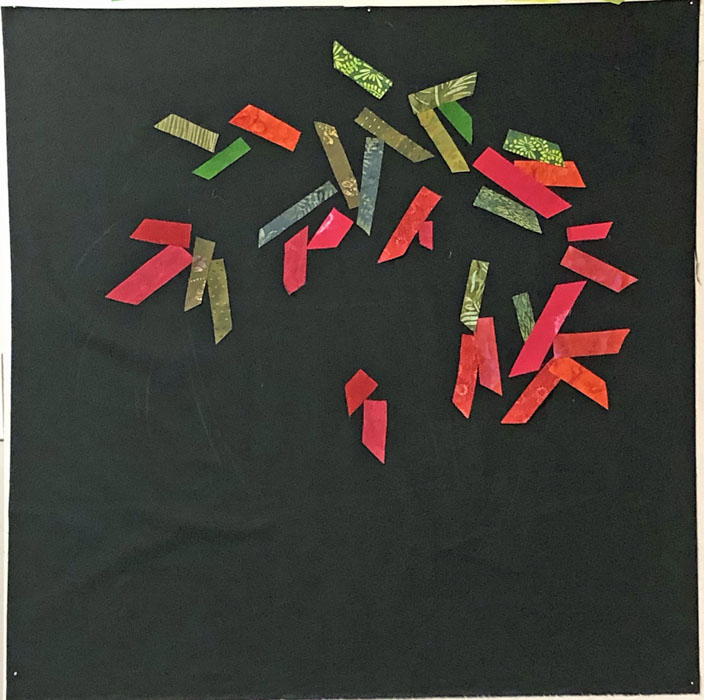
So, I decided to depict the actual plant only.

Here it’s shown as a square. I thought it would probably be better if I cropped off some of the left area.

Christmas Cactus Abstraction. Ellen Lindner, AdventureQuilter.com

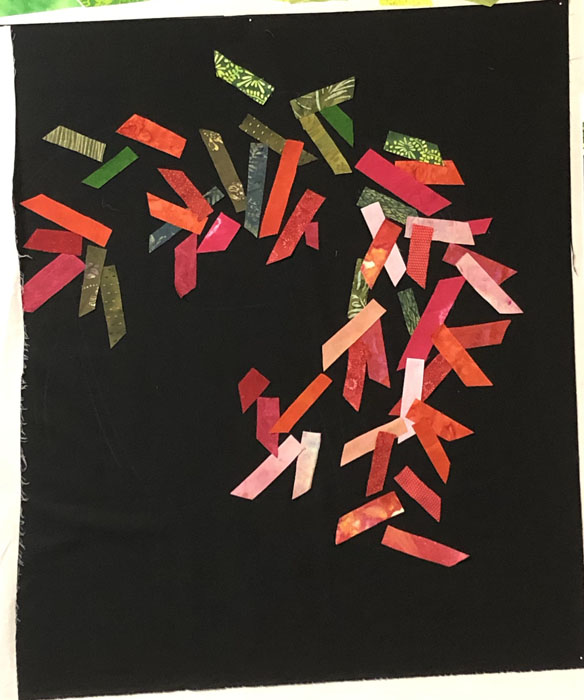
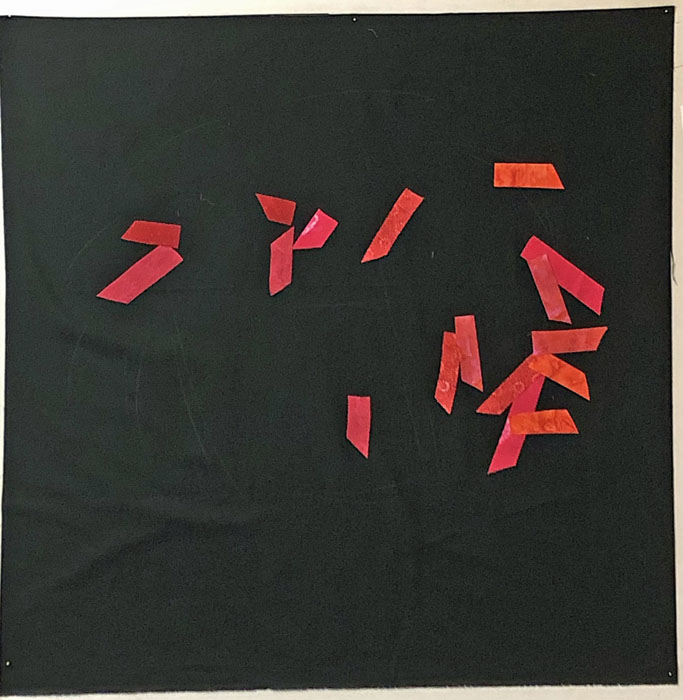
From there things fell together easily. Here it is, well under way.

Christmas Cactus Abstraction. Ellen Lindner, AdventureQuilter.com

I was loving how it was coming together and I didn’t want to over work it. Audition. Edit. Repeat.

I think I’ll have this one finished quickly. Stay tuned.

Ellen Lindner
P.S. I’m not sure how to quilt the background. I’ll have to give that a good bit of thought.

6

Inspired by a Christmas Cactus

Once again, my Christmas cactus was beautiful this year. (Here in Florida it lives outside year round.)

Inspired by a Christmas cactus. Ellen Lindner, AdventureQuilter.com

I began to imagine what an abstracted version might look like in fabric. Can’t you envision some bright, spiky red shapes? I was especially enamored with the cascading blossoms on the right side.

Just to jump start some ideas, I played with the photo on my computer. This pointillist version really got my attention.

Inspired by a Christmas cactus. Ellen Lindner, AdventureQuilter.com

Whoa! I was pretty much blown away by these bright spots of color and the black background.

I began to ask questions and to make plans. I knew I wanted to include some black and to use shards of bright colors. I didn’t think I wanted to use little circular blobs, though.

What would be a better shape? Maybe a rectangle with a point cut off? (A shape I had just used in my most recent quilt.) Would I want to cover the entire surface with such shapes? I didn’t think so.

I bought some solid black fabric and began to audition colors and shapes. I’ll show you soon.

Ellen Lindner

2

Designing in Venice, FL

The supply list for my class, Design Your Own Nature Quilt, includes artistic couraage, and the ladies in Venice, FL brought it in spades! During our two day class they didn’t even whimper. 😉 But, they DID make some extraordinary quilts.

Let’s start with Helen, who was taking her first ever quilt class. (These images were taken at the end of class, as seen on my computer screen.)

Student work from Ellen Lindner's Design Your Own Nature Quilt class. AdventureQuilter.com/blog

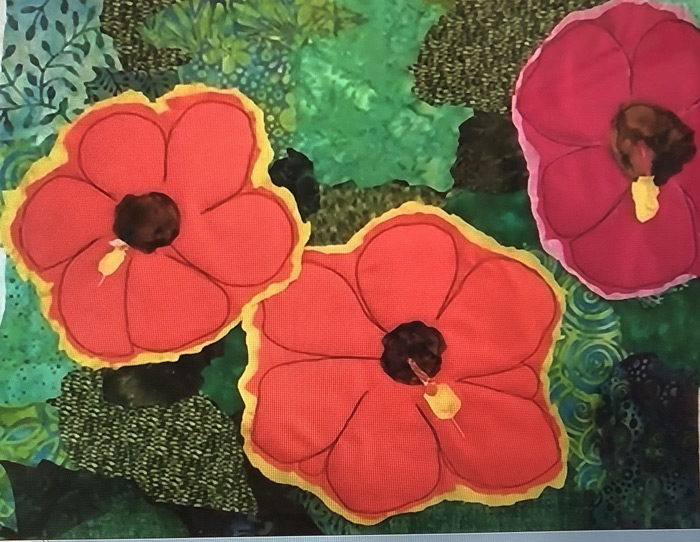
Didn’t she do a great job? Everything is constructed onto a muslin base. Helen has decided to preserve the raggedy uneven edge of her composition, so she’ll tuck her border fabric(s) under the edge of the composition fabrics, where they’ll also be supported by the muslin.

Joan C. rearranged her flowers and cropped the composition to get a really pleasing arrangement. And, after a brief consultation, she had the skills she needed to make a second piece in the next few days. I love that!

Student work from Ellen Lindner's Design Your Own Nature Quilt class. AdventureQuilter.com/blog

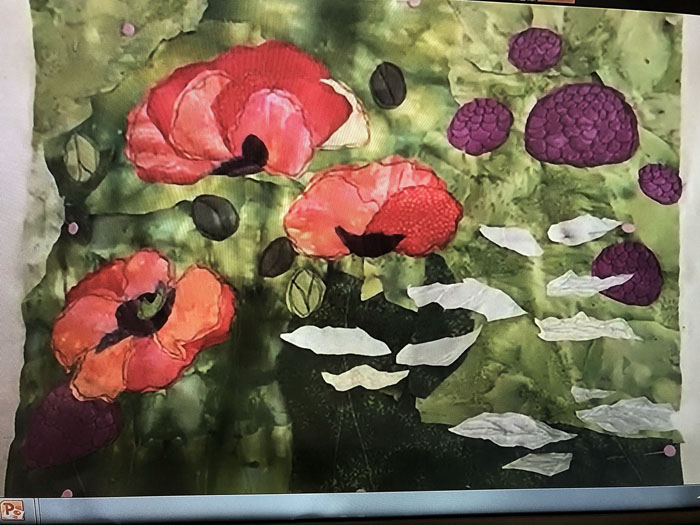
Elaine’s poppies live up to their name, since they seem to pop off the background! Her inspiration photo had MANY more flowers in it, but she wisely edited it down to just a few. This gave her the ability to enlarge them and show them off. And what about that black stitching? Doesn’t it add wonderful detail?

Student work from Ellen Lindner's Design Your Own Nature Quilt class. AdventureQuilter.com/blog

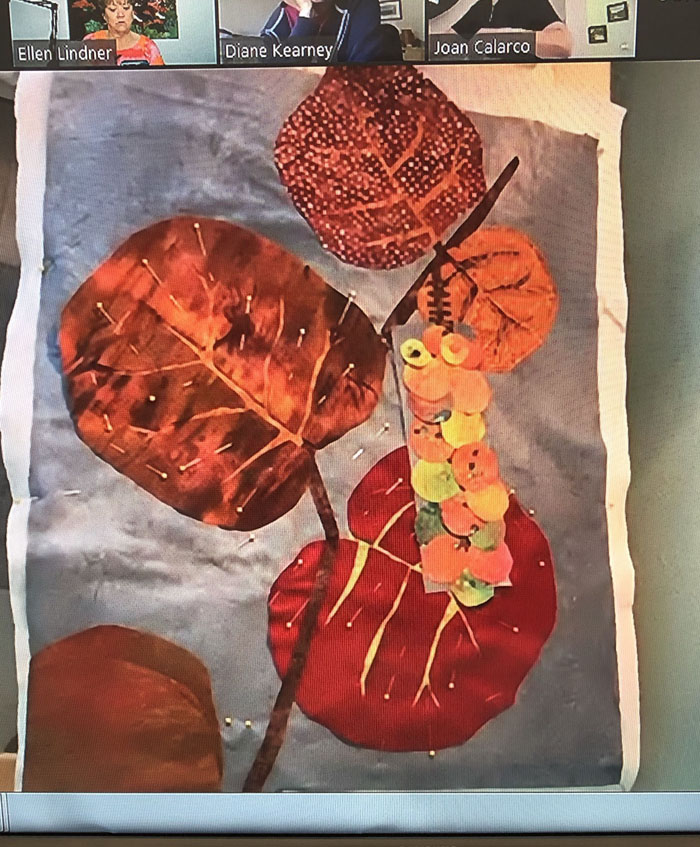
Joan D. depicted the best parts of several photos of sea grape leaves. She created tiny lines by adding slits to her leaf fabrics, so the underneath vein fabric could show. Here she’s auditioning the position of the sea grapes. I think she’s about got it.

Student work from Ellen Lindner's Design Your Own Nature Quilt class. AdventureQuilter.com/blog

Did you notice Joan’s background fabric above? No? Good. That means it did it’s job of showing off the leaves. Brava!

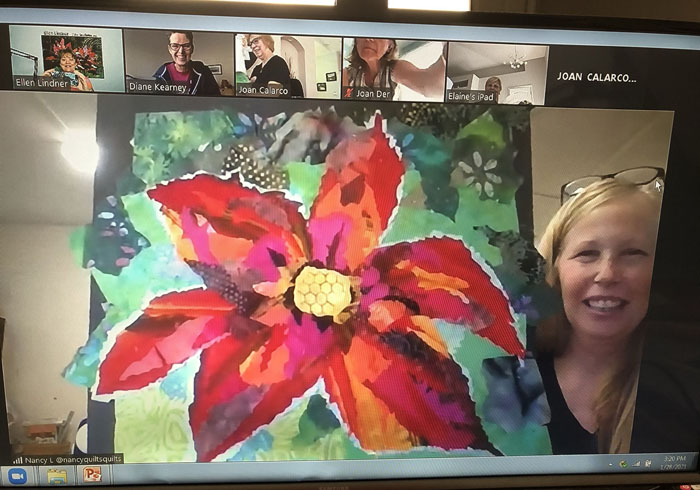
Teaching via computer means I can’t easily see the student’s quilts as they’re working. There are ways for them to show me, but if they’re confidently working away, I don’t ask to see their progress. Such was the case with Nancy. Therefore, I was floored when she showed us this at the end of day one. She did a great job of playing up the contrast and adding depth.

Student work from Ellen Lindner's Design Your Own Nature Quilt class. AdventureQuilter.com/blog

Then, on day two, she did this. Whoa, Nancy, you’re making me look good!

Student work from Ellen Lindner's Design Your Own Nature Quilt class. AdventureQuilter.com/blog

Unfortunately, I didn’t get a photo of Pat’s project. She had a lively yellow flower well underway.

I always say that this is my favorite class to teach because the students learn so much. That definitely held true with this group and I’m itching to teach it again! (Hint, hint: here’s the info if you think your guild might be interested.)

Ellen Lindner, proud teacher

2

Round Two

After a disappointing attempt at making a quilt featuring my large-scaled hand dyed fabrics, I dramatically down sized and tried again.

A Fabric-Inspired Quilt. Ellen Lindner, AdventureQuilter.com/blog

This time I switched the color proportions, using turquoise as my primary color and fuchsia as the accent. I still found it hard to incorporate the leaf fabric. Maybe because it had a lighter background? As you can see, I quickly over worked it.

Round Two. Ellen Lindner, AdventureQuilter.com/blog

Have you heard the saying, “If something’s not working out (visually) remove your favorite thing?” Yeah. I slowly considered that I might need to remove the fuchsia leaf fabric and eventually did so, (reluctantly.) And, of course, things got much easier after that.

The background progressed well and I was very happy with it. It even showed off my fabrics, right?

Round Two. Ellen Lindner, AdventureQuilter.com/blog

On to a focal point. And I had the perfect specialty fabric for it.

Round Two. Ellen Lindner, AdventureQuilter.com/blog

But one strip of perfect fabric clearly couldn’t carry the whole piece. I knew I’d have to cut it into pieces to add some energy and to improve the composition.

Round Two. Ellen Lindner, AdventureQuilter.com/blog

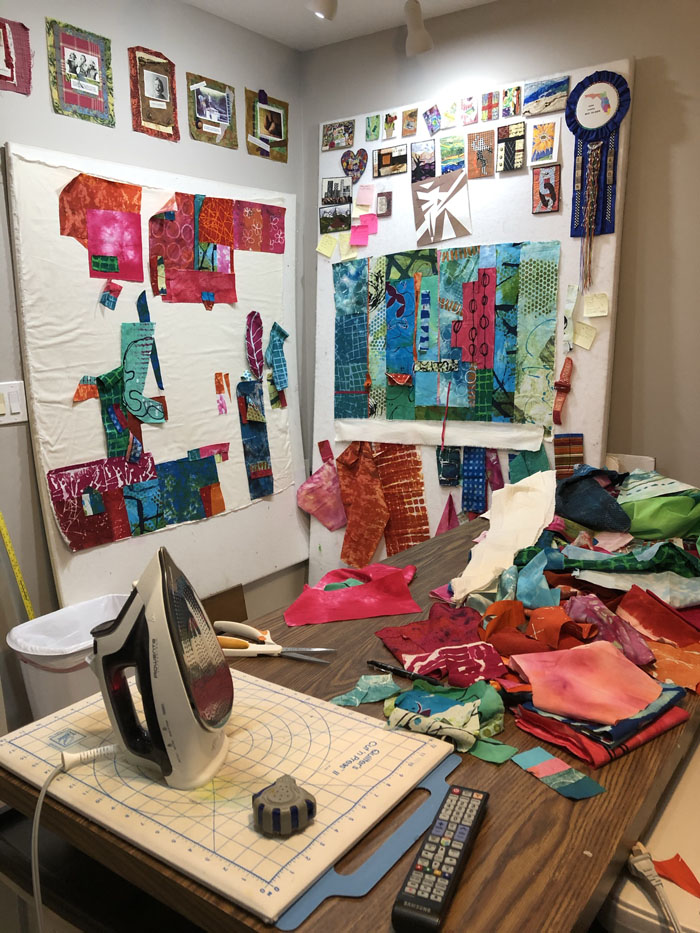
BTW, I’m calling this “The robbing Peter to Pay Paul photo.” It shows what’s left of the original composition on the left design wall, as I reworked it on the right, using many of the previously cut fabrics.

Round Two. Ellen Lindner, AdventureQuilter.com/blog

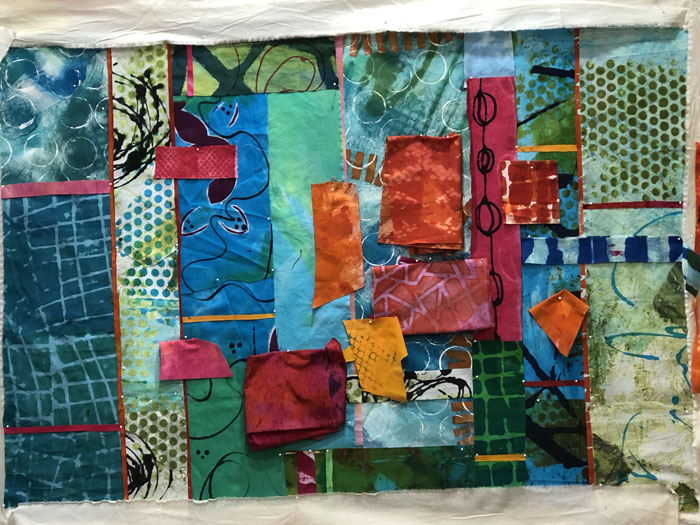
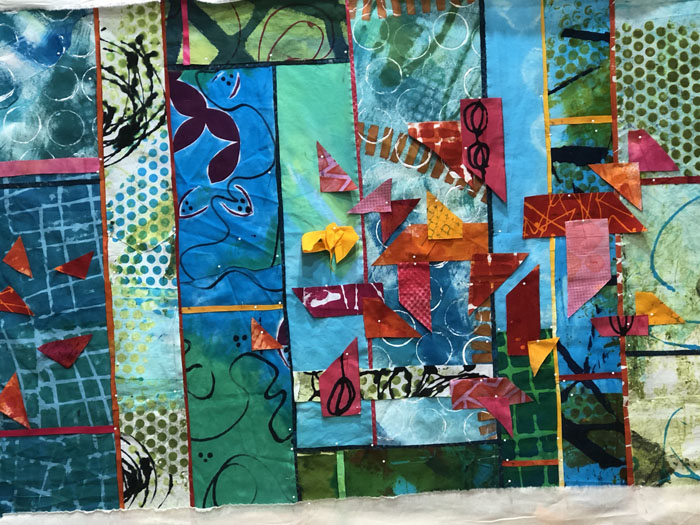
OK, so I needed to mix things up a little. I decided to expand the color palette and to add additional smallish pieces. A quick audition confirmed this as the correct direction. Didn’t it gain a lot of energy from that?

Round Two. Ellen Lindner, AdventureQuilter.com/blog

I committed to cutting smaller shapes and I was really liking where this was going.

Round Two. Ellen Lindner, AdventureQuilter.com/blog

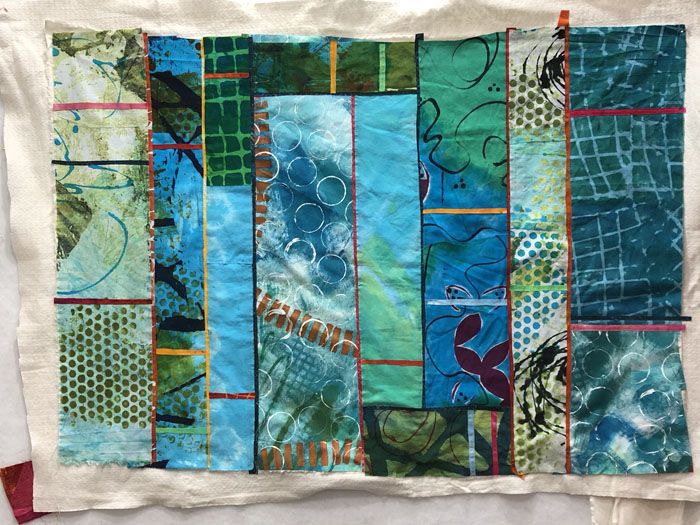
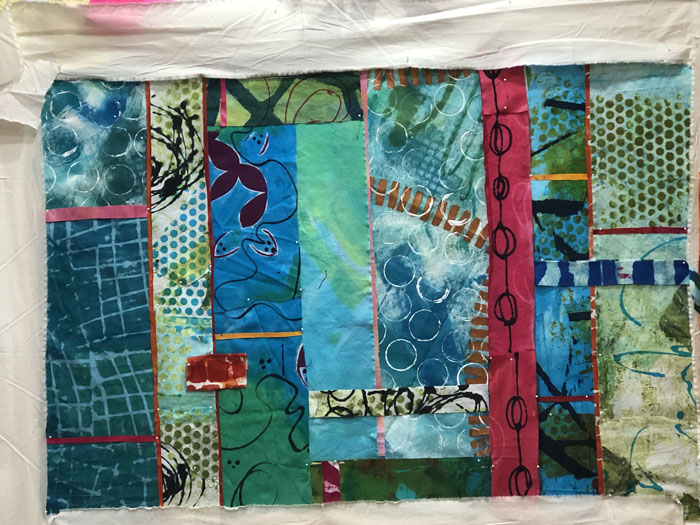
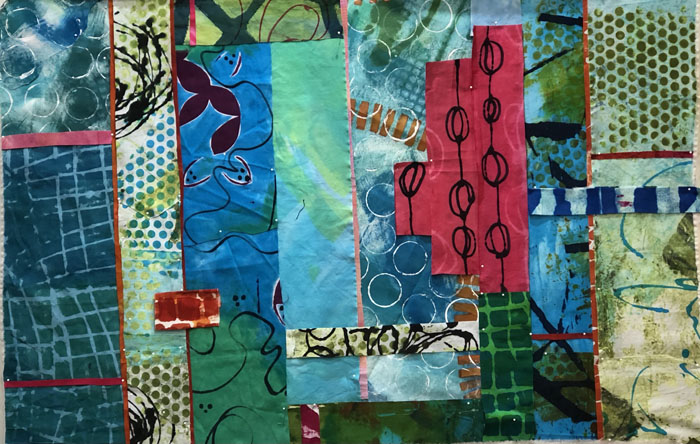
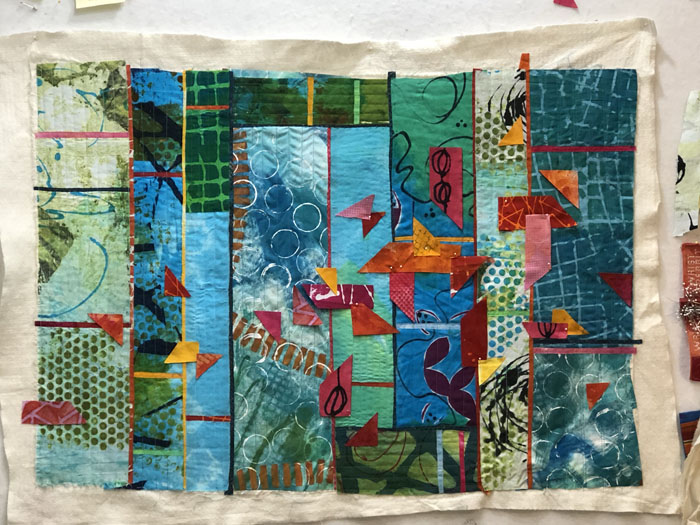
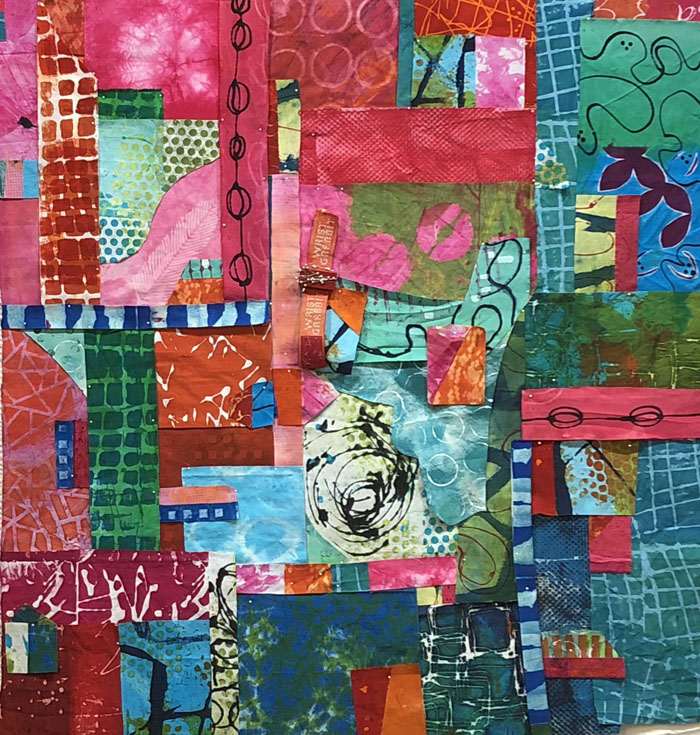
I was getting close. After finalizing the arrangement, I took lots of photos of the accent pieces and lifted them all off. Then I quilted the background with straight lines. At one point I put the background back on the design wall, but accidentally got it upside down (below.) I decided I liked that better.

Here’s the final arrangement pinned, and ready for gluing, then stitching/quilting.

Round Two. Ellen Lindner, AdventureQuilter.com/blog

I’ve had quite a time thinking of a name. Any suggestions? I’m leaning toward Underwater Dance, Shallow Water Dance, or just Water Dance. Do you think any of those work?

Ellen Lindner
P.S. Don’t you love my new lights on my design walls? I LOVE them!!! (See more of my recent studio revamp on my video page.)

2

A Fabric-Inspired Quilt

As I mentioned in an earlier post, a specialty fabric or two can be the primary inspiration for an entire quilt. And that’s what I wanted to try.

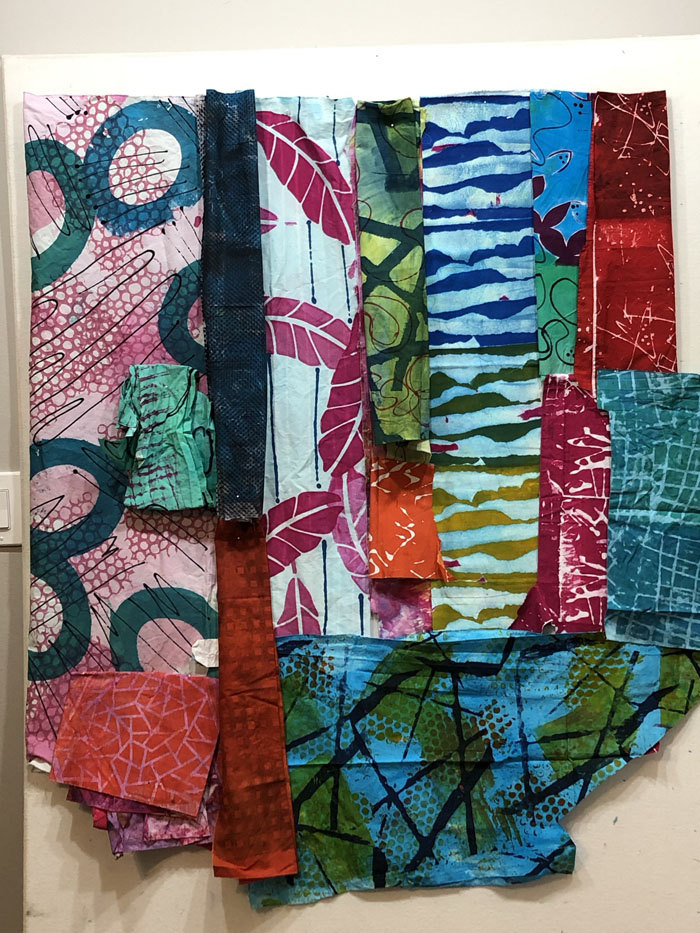
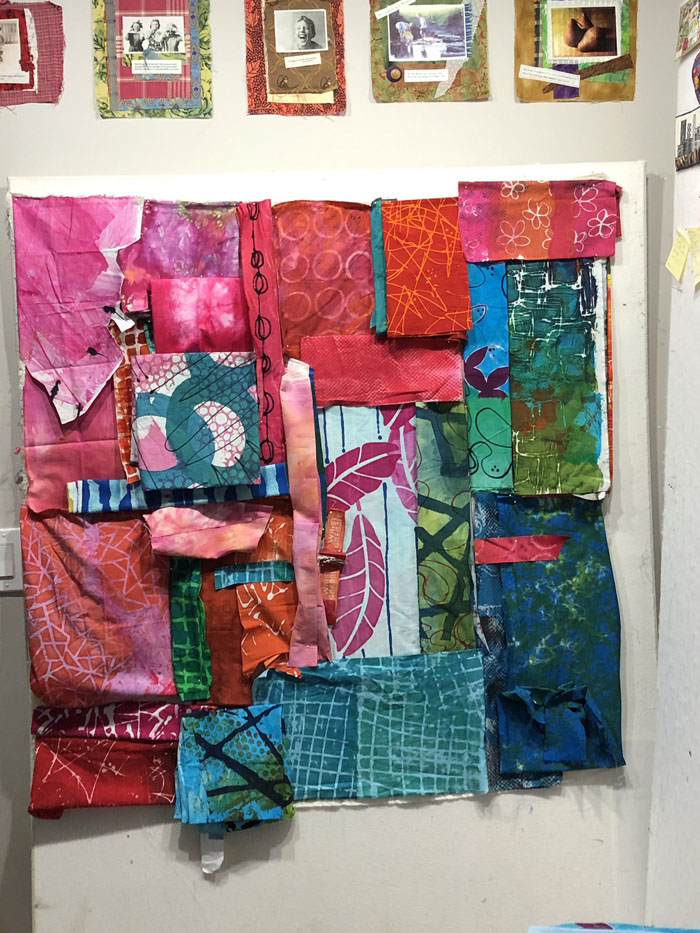
This is sort of what I had in mind. I had intentionally dyed some large scale fabrics in order to try my hand at this. Plus, I had a few from earlier dye sessions. I thought I could do something with these, keeping the large scale pieces more or less intact, so their designs would still show.

A Fabric-Inspired Quilt. Ellen Lindner, AdventureQuilter.com/blog

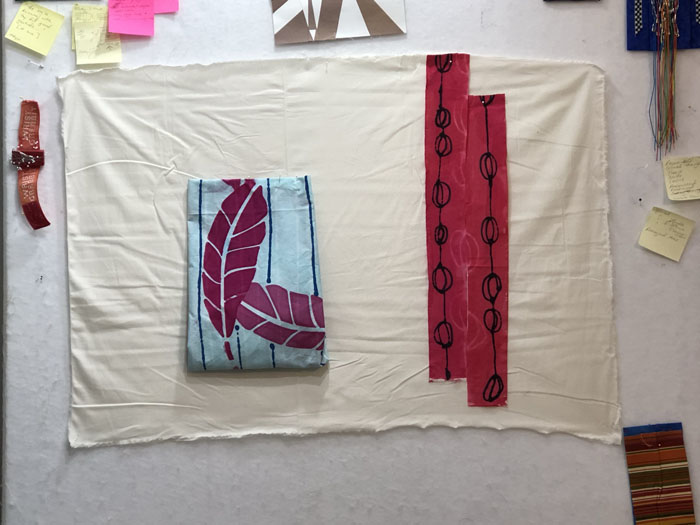
I put my muslin support fabric up on my design wall (nearly 4′ x 5′) and started auditioning fabrics. I almost immediately removed the large circles from the mix since I thought the colors looked a little muddy.

A Fabric-Inspired Quilt. Ellen Lindner, AdventureQuilter.com/blog

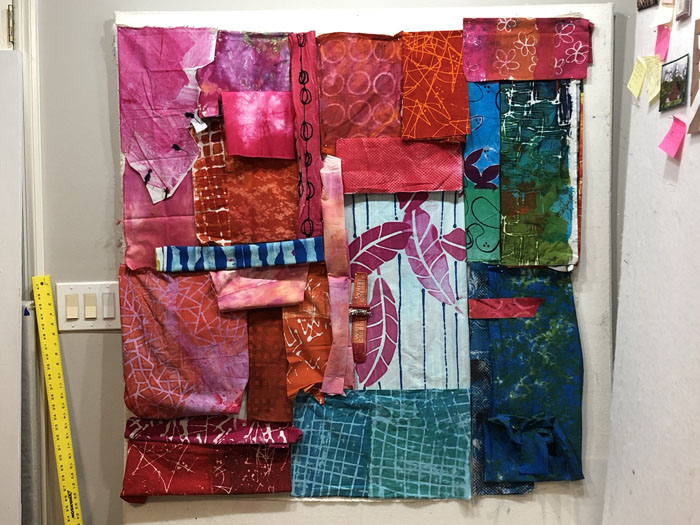
Hmm. I could see that the light blue fabric with fuchsia leaves was standing out A LOT. What to do? (Note that all fabrics are just folded and pinned in place at this point.)

A Fabric-Inspired Quilt. Ellen Lindner, AdventureQuilter.com/blog

I made the highlight fabric smaller. And, of course, added the circles back. (Can you say “trial and error?)

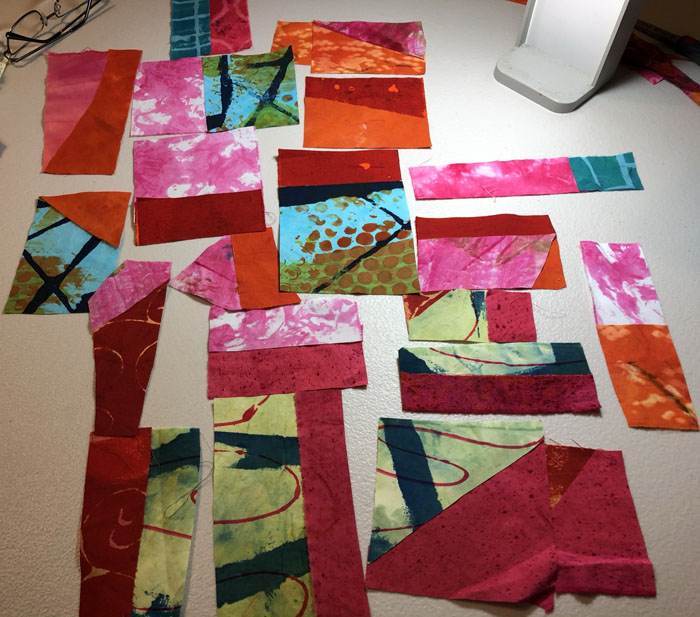
I was loving the colors, but the composition was definitely lacking. I thought it needed some variety of scale, so I made some small units with scraps. (These are just glued to one another.)

A Fabric-Inspired Quilt. Ellen Lindner, AdventureQuilter.com/blog

Well, they look pretty exciting don’t they? But, how to best use them?

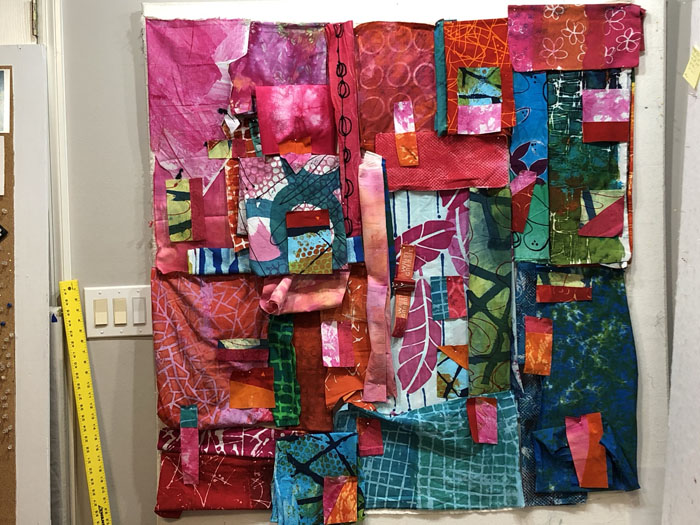
A Fabric-Inspired Quilt. Ellen Lindner, AdventureQuilter.com/blog

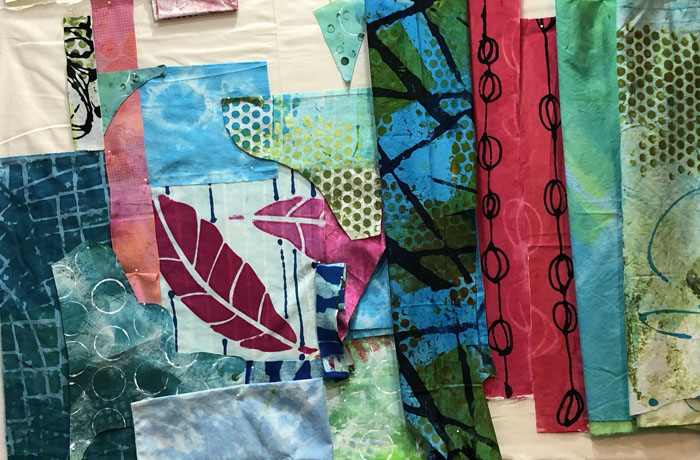
Those little pieces definitely added energy, but everything was looking pretty messy at this point. I decided I needed to commit to CUTTING fabrics, so I could see it all better.

Which is when I realized I had gotten way off track.

A Fabric-Inspired Quilt. Ellen Lindner, AdventureQuilter.com/blog

I was loving the colors, but I was having a terrible time using those large scale prints. Finally, I decided that my fabrics just weren’t large enough for this size quilt.

So, I started again, at about one quarter the original size.

A Fabric-Inspired Quilt. Ellen Lindner, AdventureQuilter.com/blog

I could immediately see that this was much more viable. On to round two.

BTW, I don’t fret when I have to rework something. Each “detour,” as I call them, has value. I learn from them. Typically, I’m excited to use that new knowledge as I plow ahead into the next thing.

How do you react to restarts?

Ellen Lindner

4

Those Circles!

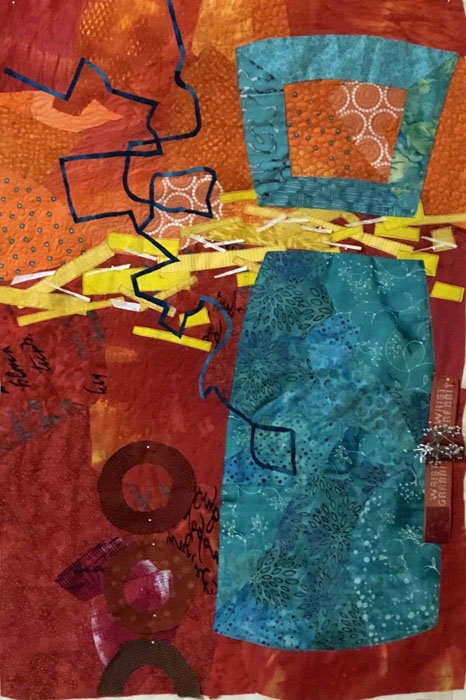
Jeepers! I feel like the poster child for trial and error! While working on my latest quilt I had quite a difficult time deciding on what color to make one of the design elements.

The issue was the white circles, as seen below. I loved their shape and placement, but I could see that they attracted too much attention. I needed to tone down the contrast.

Those circles! Ellen Lindner, AdventureQuilter.com/blog

So, I started auditioning a variety of other colors. Yellow?

Those circles! Ellen Lindner, AdventureQuilter.com/blog

No. I figured it should be a lighter or darker version of one of the colors already in the quilt. Pink?

Those circles! Ellen Lindner, AdventureQuilter.com/blog

Nope. Pale aqua?

Those circles! Ellen Lindner, AdventureQuilter.com/blog

Uh-uh. Enough of  these pastels. What about something bright?

Those circles! Ellen Lindner, AdventureQuilter.com/blog

Hmm. Not too bad. (Actually, I tried brighter orange fabrics and they seemed a little too much to me.) How about dark red?

Those circles! Ellen Lindner, AdventureQuilter.com/blog

I like this well enough to cut out the shapes.

Those circles! Ellen Lindner, AdventureQuilter.com/blog

Well, they were no longer attracting attention, but now I wondered if they showed up enough!

I FINALLY went back to orange, now in more subdued versions.

Those circles! Ellen Lindner, AdventureQuilter.com/blog

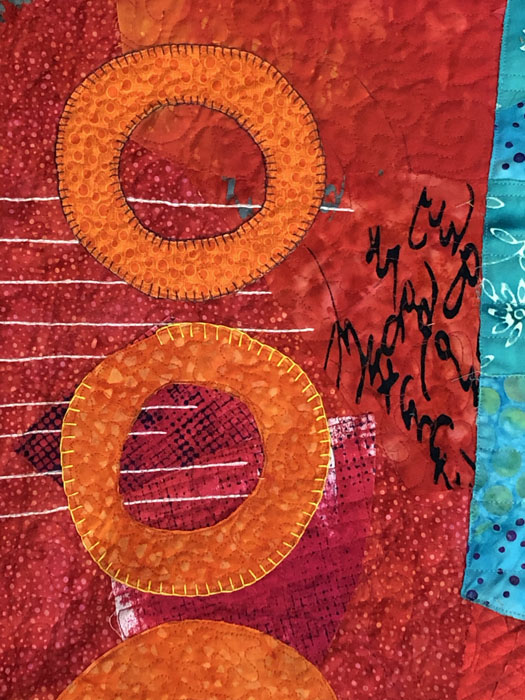
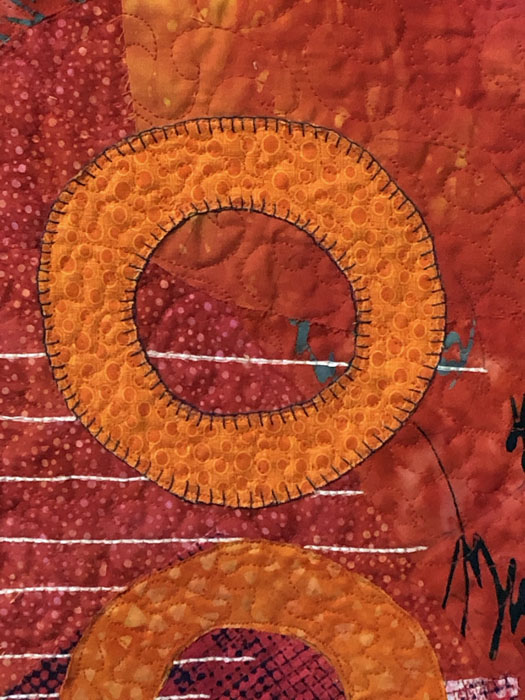
Would you believe it? I now thought the orange didn’t show up enough. Maybe I should add some darker hand stitching around each one.

Those circles! Ellen Lindner, AdventureQuilter.com/blog

Maybe. Or would lighter thread provide more contrast?

Those circles! Ellen Lindner, AdventureQuilter.com/blog

Never one to make life easy for myself, I ripped out the dark stitching and redid it with yellow. I was FINALLY happy with it.

Whew! I’m giving myself a gold star!

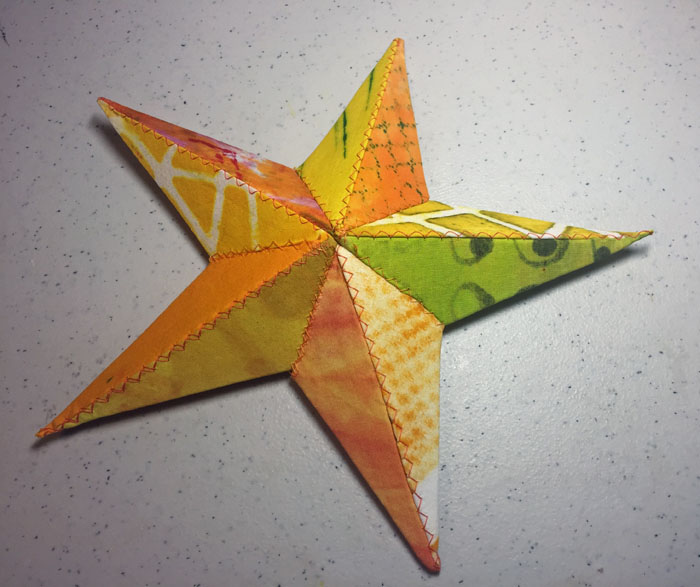
A Gold Star for My Students. Ellen Lindner, AdventureQuilter.com/blog

What do you deserve a gold star for? Let me know and I’ll email you one.

Ellen Lindner


0

An Abstract Self-Portrait?

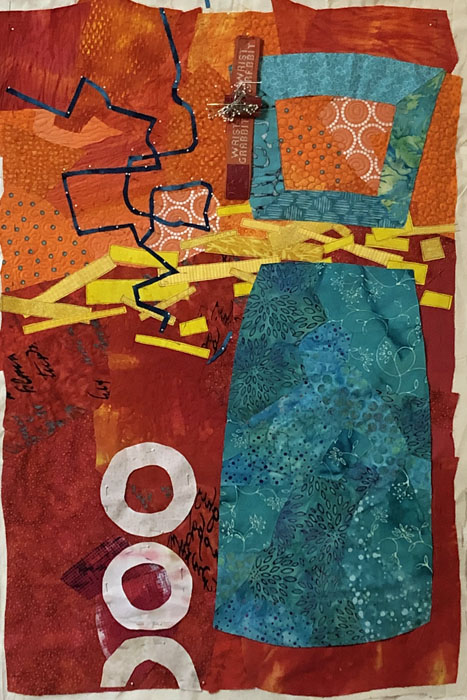
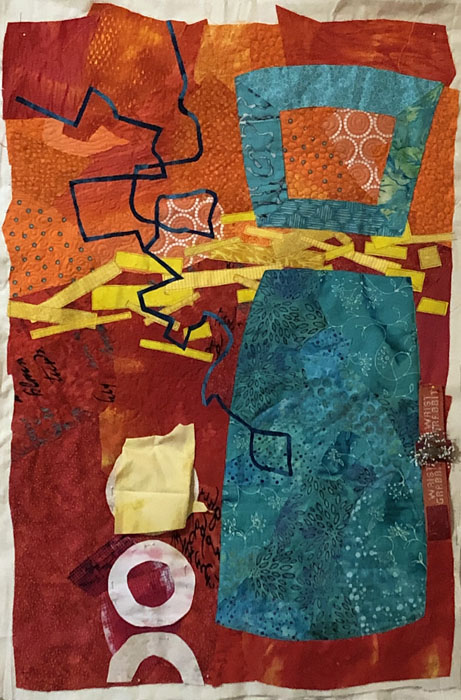
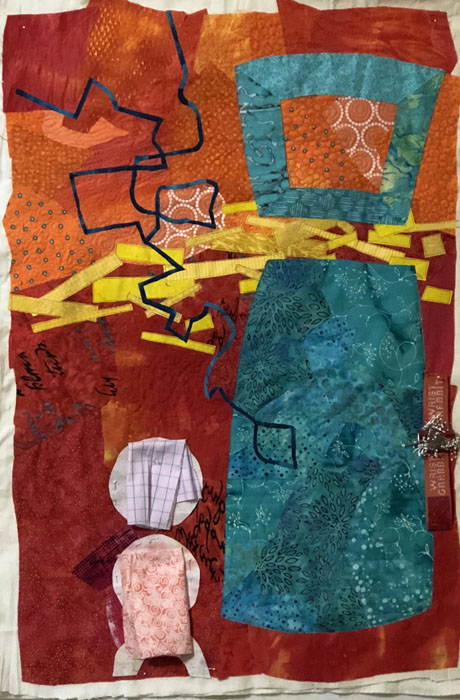
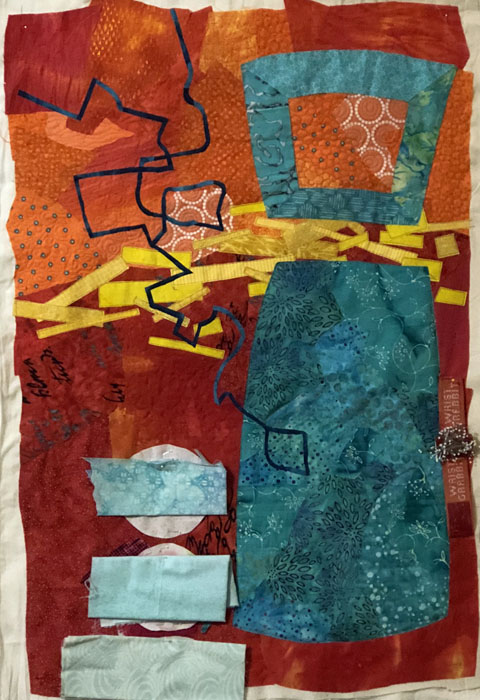
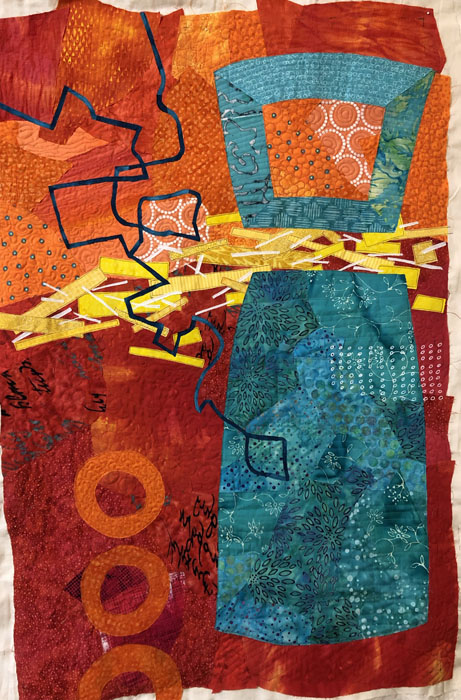
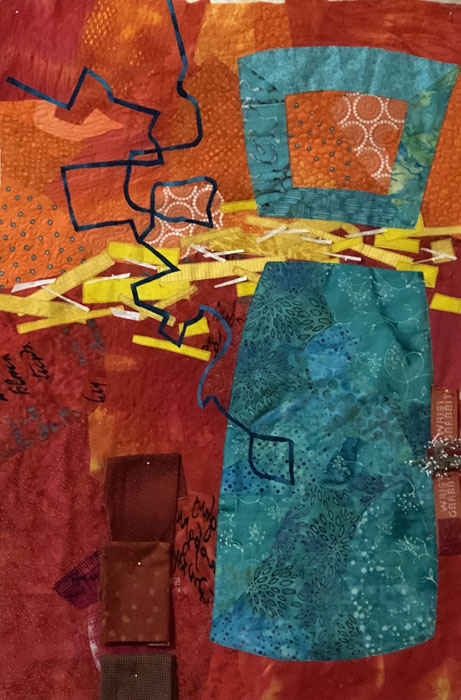
I like challenges. As a result, I’m currently working on an abstract self-portrait. It all came about when my art group, Dirty Dozen Fiber Artists, came up with (another) self-portrait challenge. This one was to be inspired by another artist.

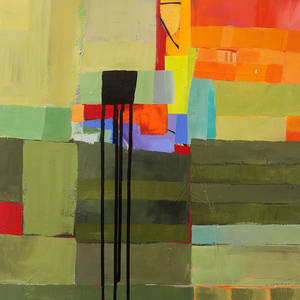
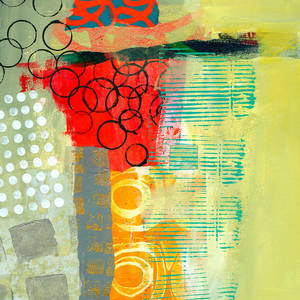
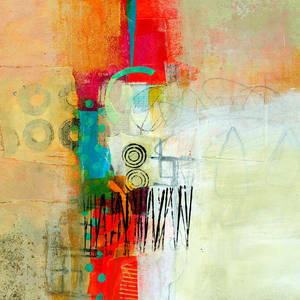
After some online searching and thought I decided on one of my favorite contemporary artists, Jane Davies.  She’s a painter and collage artist who does extraordinary abstract work.

Pattern Study 1 by Jane Davies. AdventuareQuilter.com/blog

Stripes and Dips 1 by Jane Davies. AdventuareQuilter.com/blog

Pattern Study 3 by Jane Davies. AdventuareQuilter.com/blog

Great, aren’t they? But, how do I make an abstract person? I remembered seeing one of her pieces (which I couldn’t find again,) that had a figure-like shape and I thought I could emulate that.

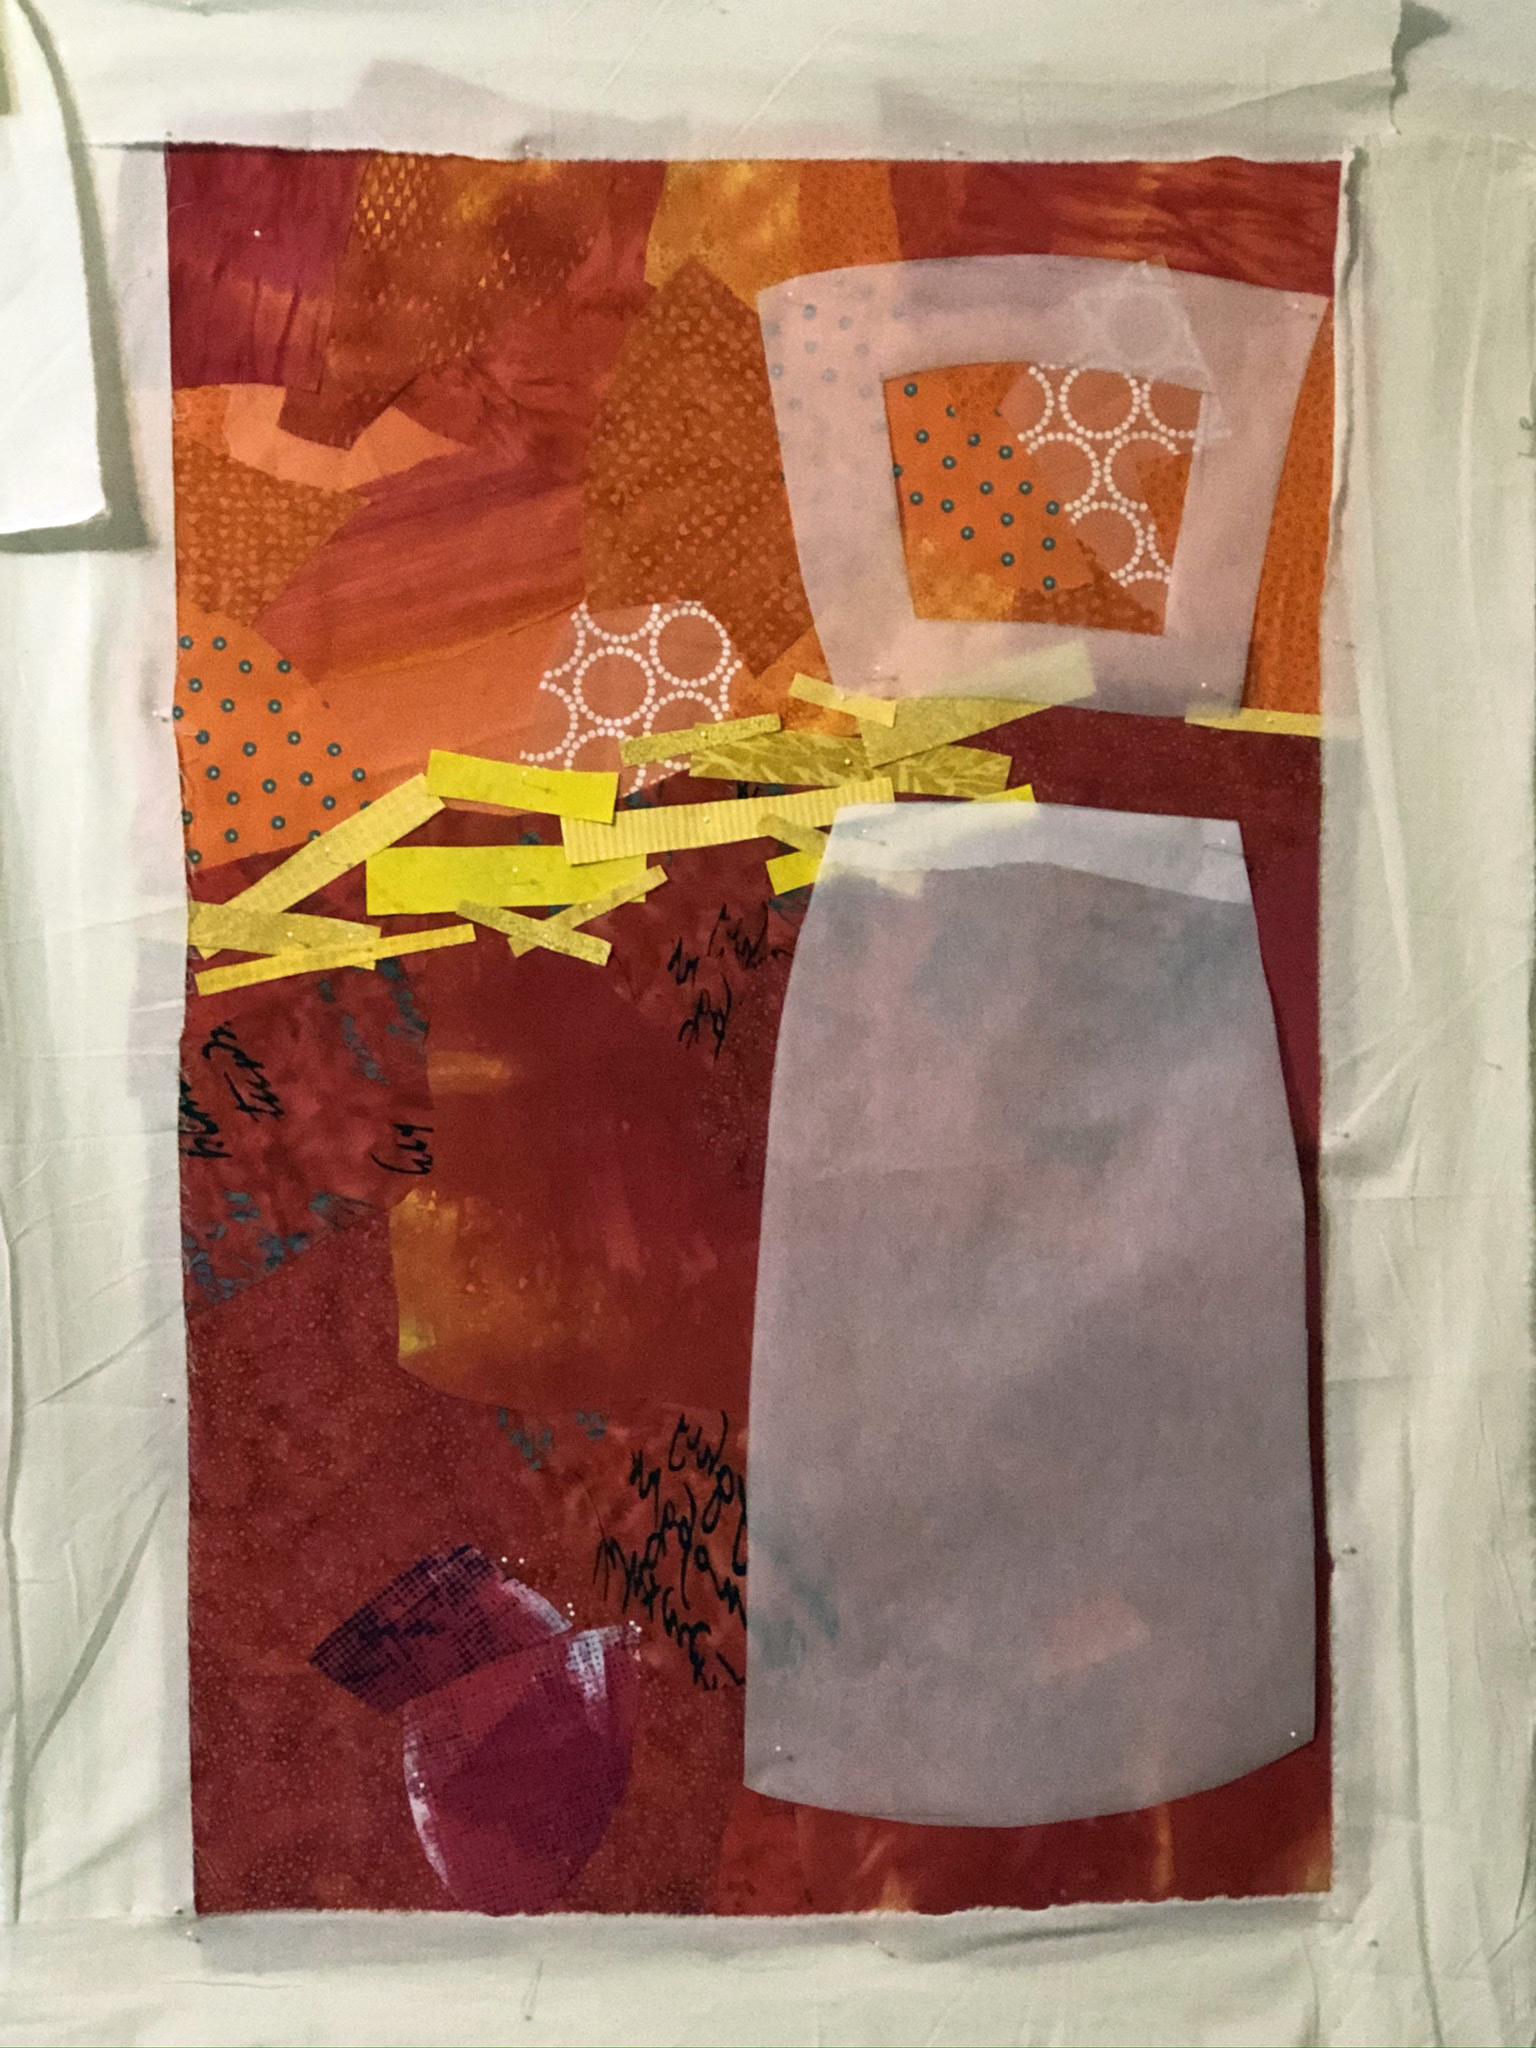
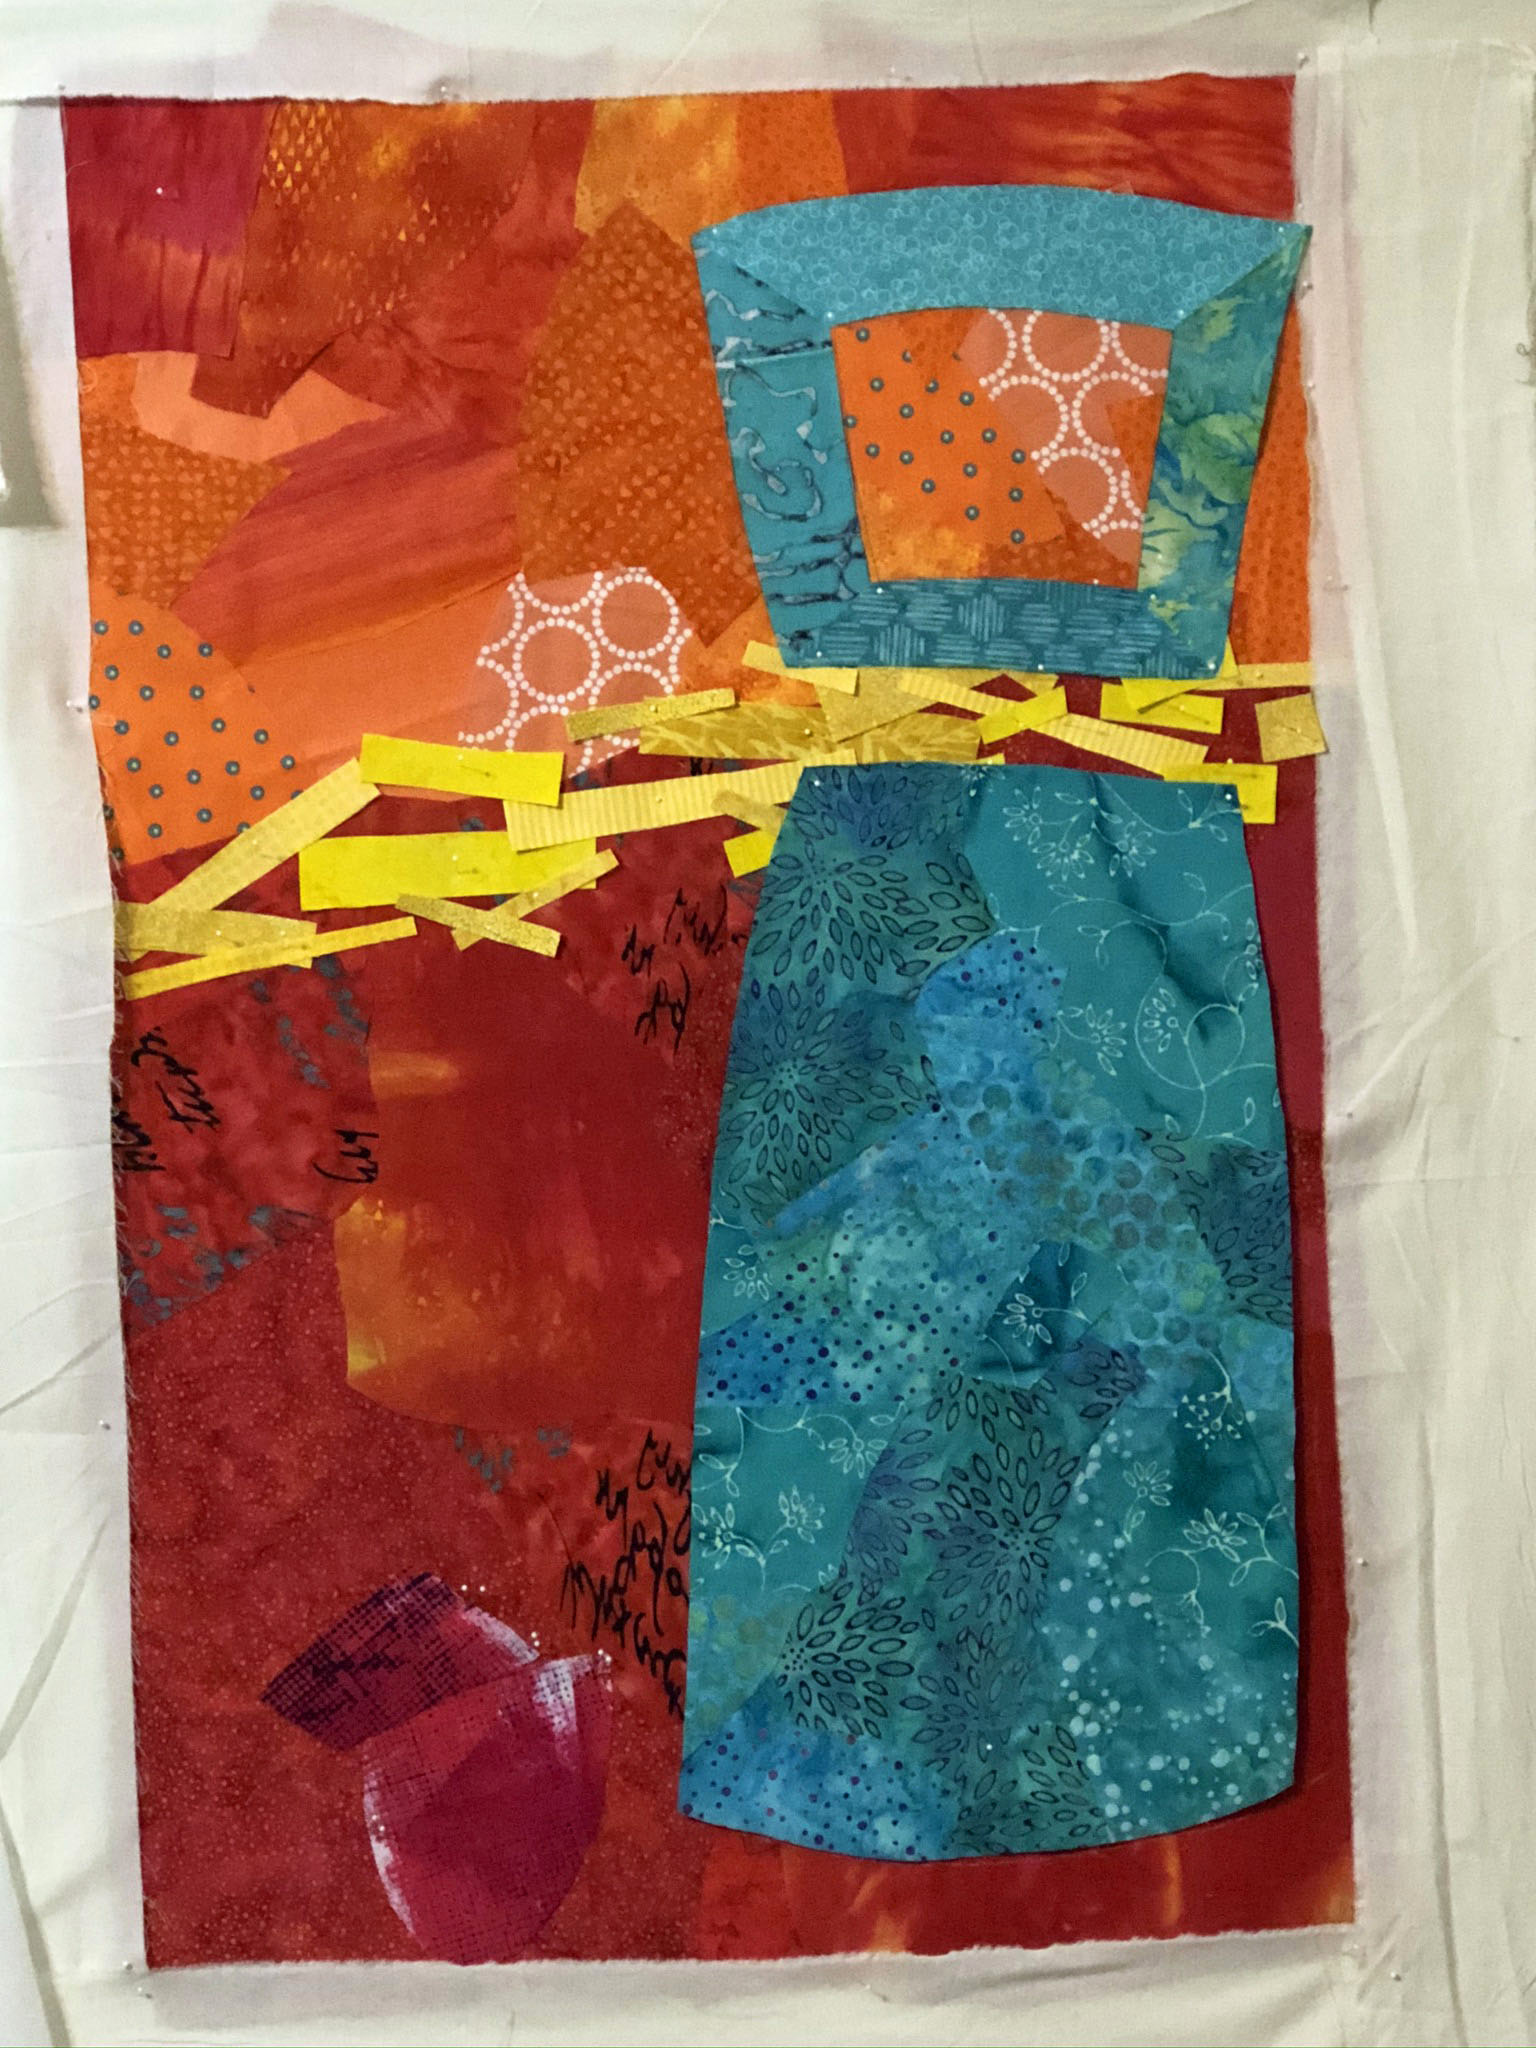
After creating an orange and red background, I auditioned the shape and placement of the figure with parchment paper.

An Abstract Self-Portrait? Ellen Lindner, AdventureQuilter.com/blog

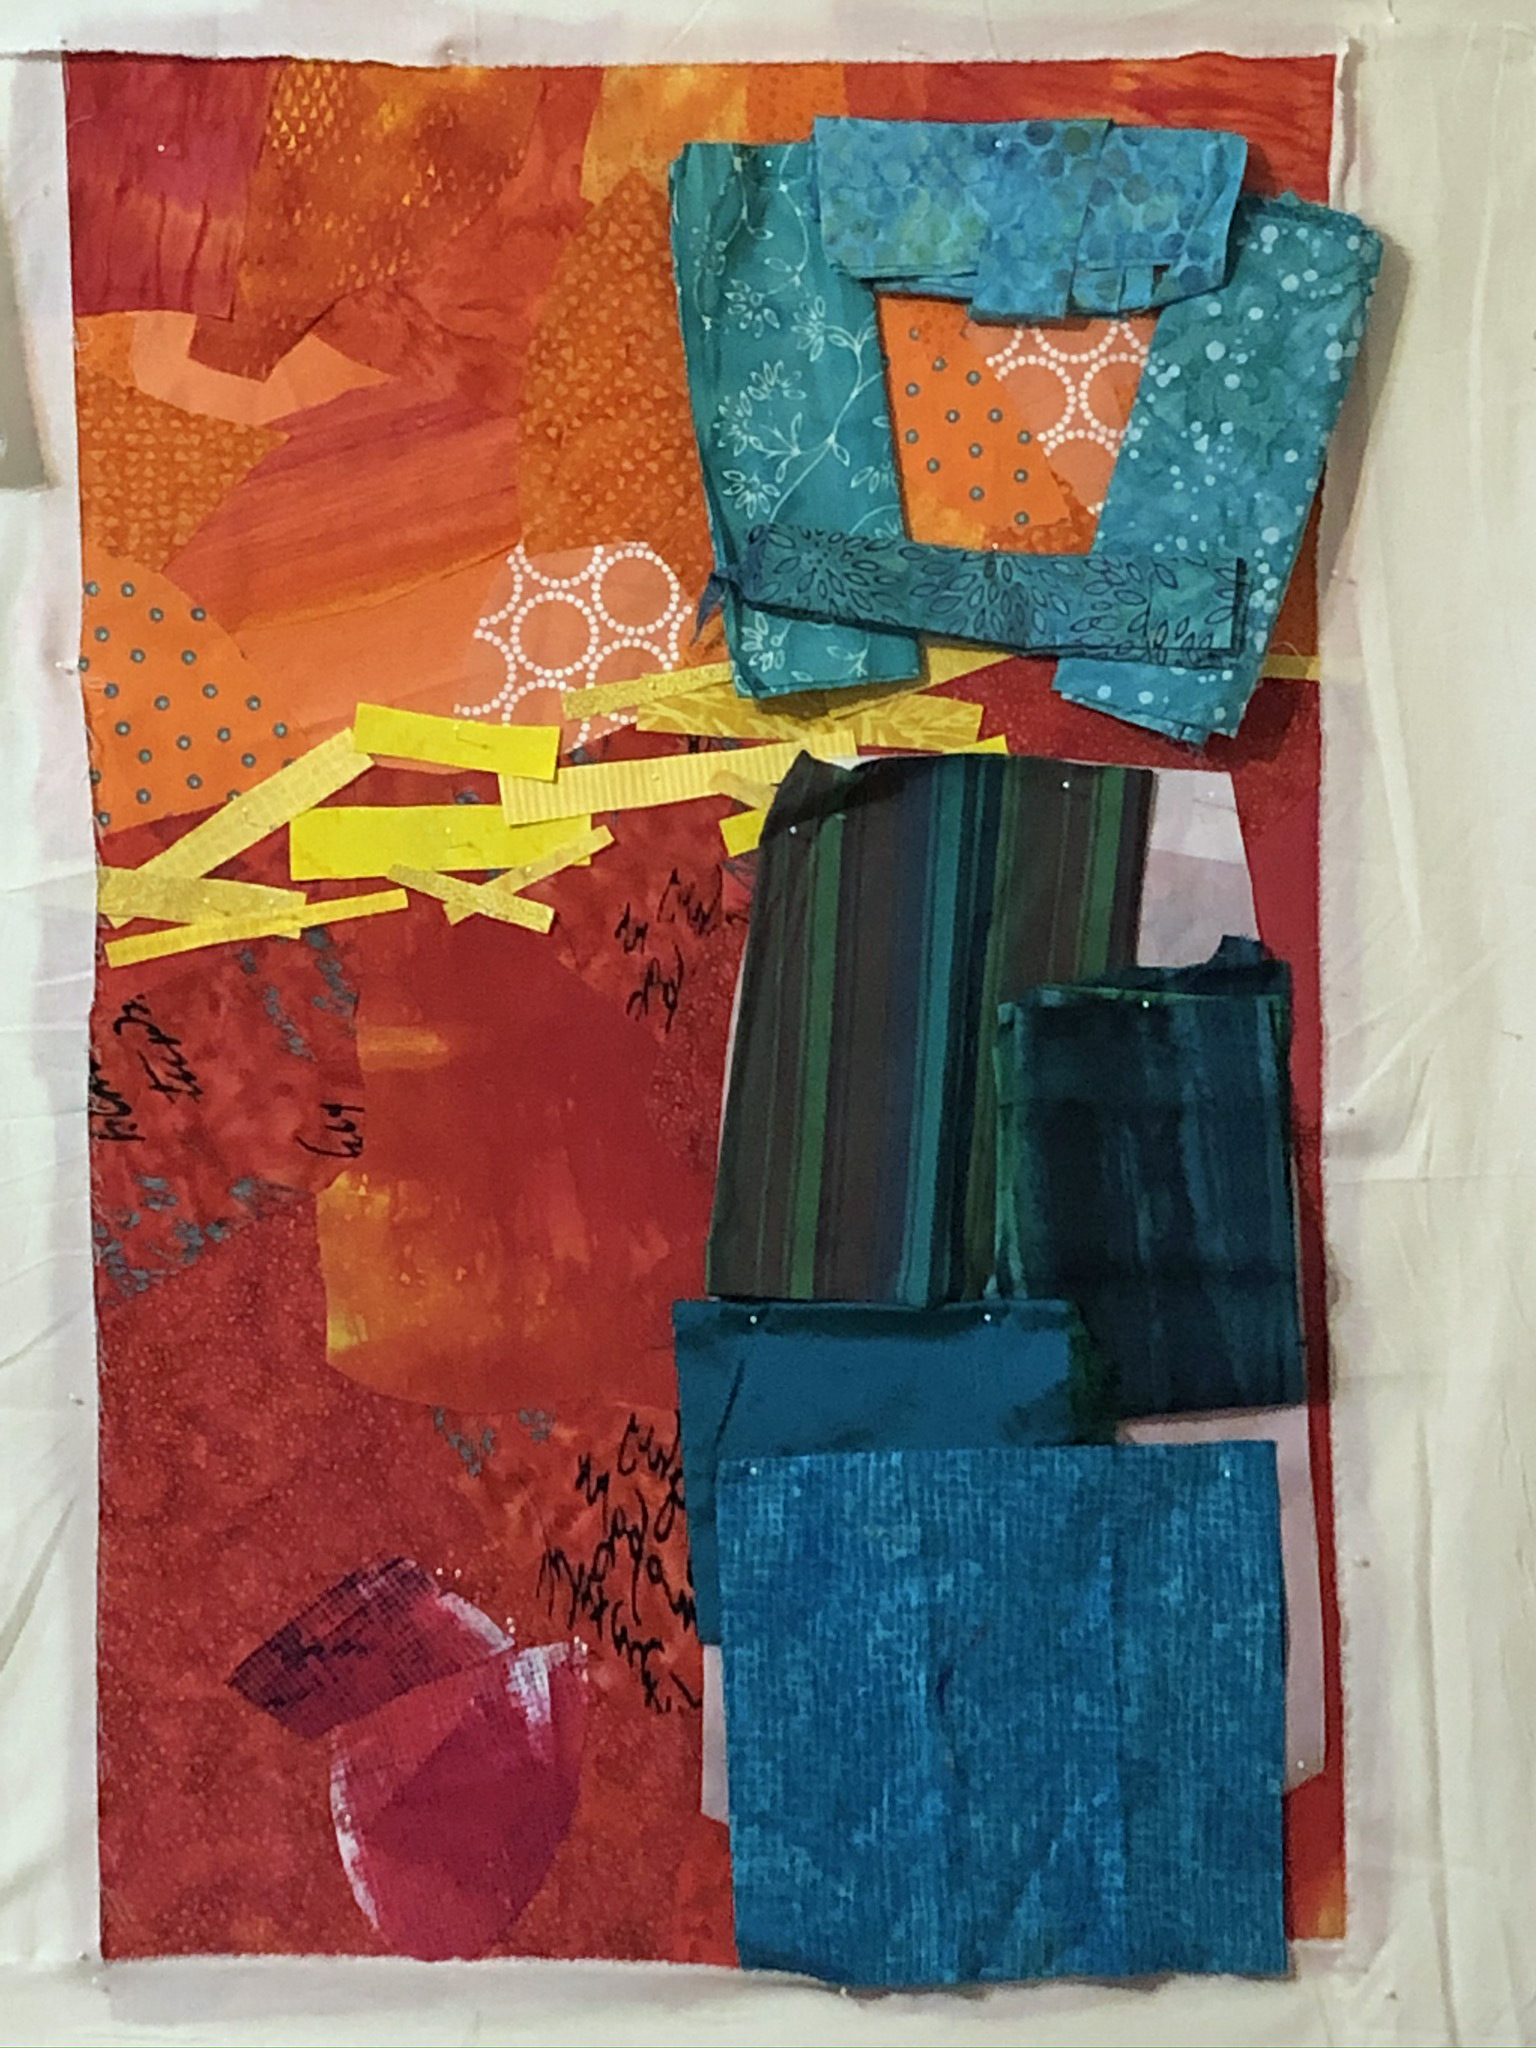
And then, the fabrics.

An Abstract Self-Portrait? Ellen Lindner, AdventureQuilter.com/blog

I think it works pretty well. What do you think?

I’ll be adding a squiggly black line to this – again in the style of Jane Davies. I’m really enjoying working on this!

Ellen Lindner
P.S. Jane Davies has some excellent free tutorials and a great book about painting abstracts.

0

“Diversity”

When making Melting Pot, I was also considering whether I might have time to make a smaller quilt for another challenge. As Melting Pot grew, I decided to make it smaller and to use the remaining parts for this smaller quilt. Diversity is the result.

"Diversity", an art quilt by Ellen Lindner. AdventureQuilter.com/blog

It was made for an exhibit called “1 x 4: Imagination.” As you can see, 1 x 4 refers to the dimensions: 1 foot wide and 4 feet tall.  I modified the shape of the top and bottom, an effect I really like.

Like its sister quilt, Diversity was pieced improvisationally (with no pattern.)

I’ve spent a lot of time in the last few months shifting my teaching to online. That was a BIG time commitment and I didn’t have much time for creativity. Now, things have settled down and I’m easing back into quilt designing. Surprisingly, I had a little artistic block when I came back to it. I think that’s because I was so focused on black and white tasks for so many months, and my creative muscles were out of practice. Has that every happened to you? Now, I feel those old creative juices beginning to flow and it’s so much fun!

Ellen Lindner


0

Floral Improv “in” Ann Arbor

It sure is great to be able to interact with students and teach, via Zoom, to people across the country. I recently taught “Floral Improv” to a group of students in the Ann Arbor, MI area. They all did an excellent job and these late-in-the-day screen shots are proof.
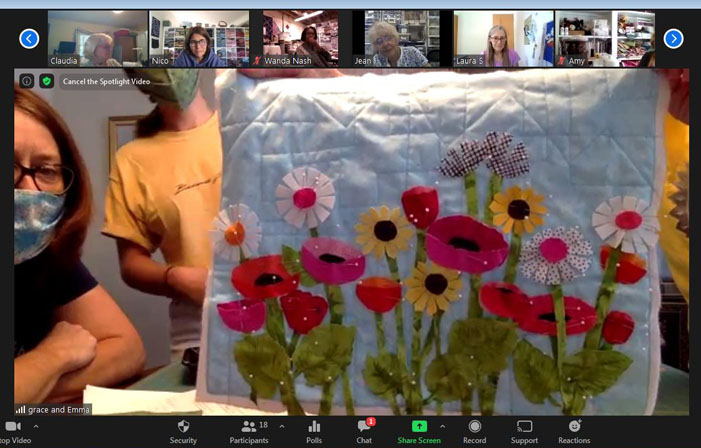
Floral Improv "in" Ann Arbor

Woah, Grace got a LOT of flowers and foliage cut and placed, didn’t she? She’ll add black stitching to the flowers to add interest.

Working alongside her was her young friend, Emma. She’s only been sewing a few months, but she had no problems with a new technique.
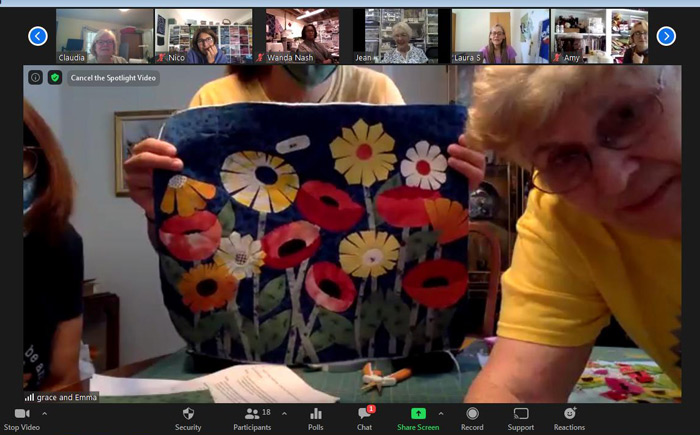
Floral Improv "in" Ann Arbor

Claudia’s colors were actually much more vibrant that this, but this gives you an idea. (Claudia, I cropped you out because your eyes were closed.)
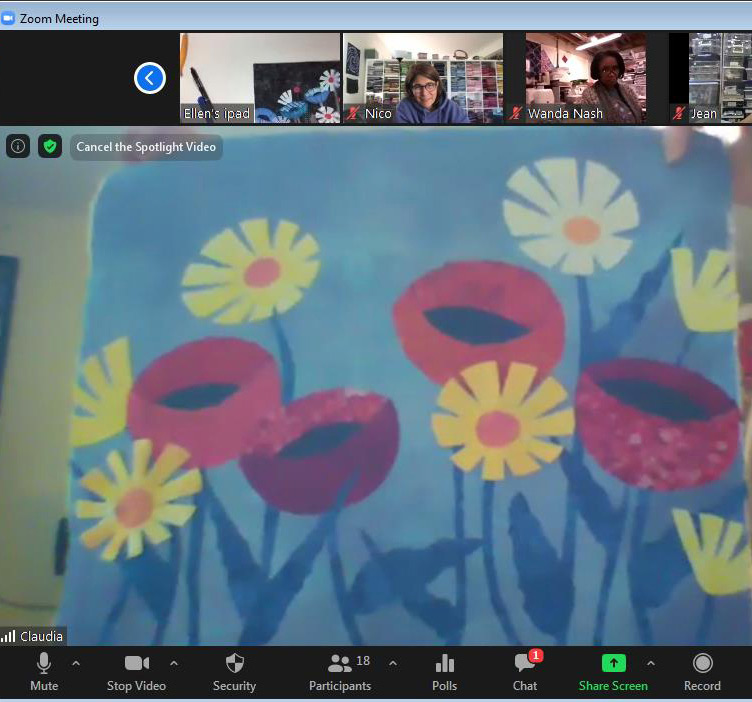
Floral Improv "in" Ann Arbor

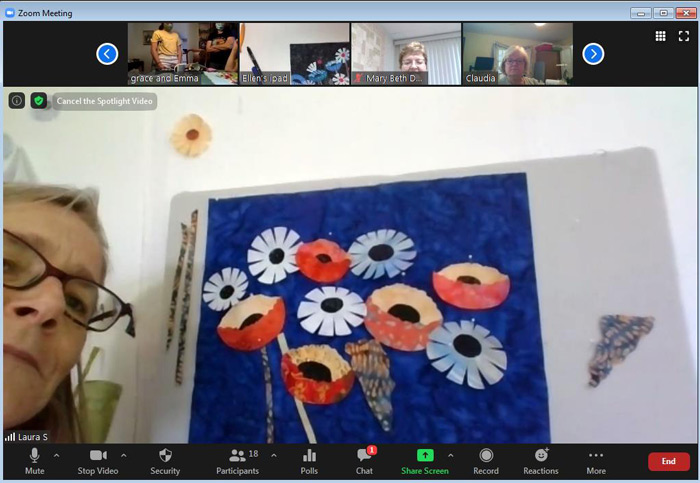
Laura settled on her flower colors pretty quickly, but was still auditioning foliage fabrics late in the day. (The down side of having access to ALL your fabric when taking a class at home?)
Floral Improv "in" Ann Arbor

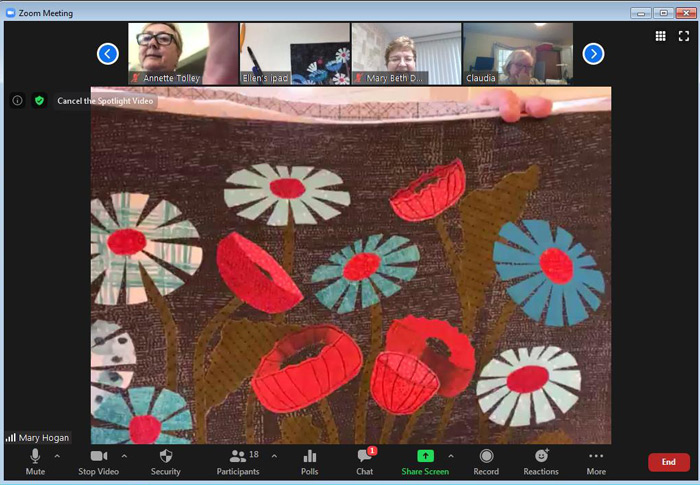
Mary wanted her flowers to be the stars so she opted for very low contrast foliage. Can you see that she’s added black stitching to some of her poppies, already?
Floral Improv "in" Ann Arbor

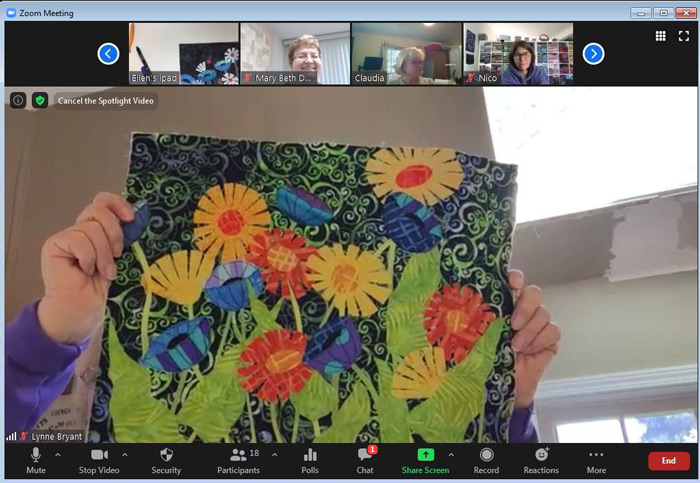
Lynne’s vibrant background fabric added another level of energy to her composition.
Floral Improv "in" Ann Arbor

Showing me their work can be tricky, but Mary Beth had it figured out. She took a photograph with her phone and held it up to the web camera. Where there’s a will there’s a way!

Floral Improv "in" Ann Arbor

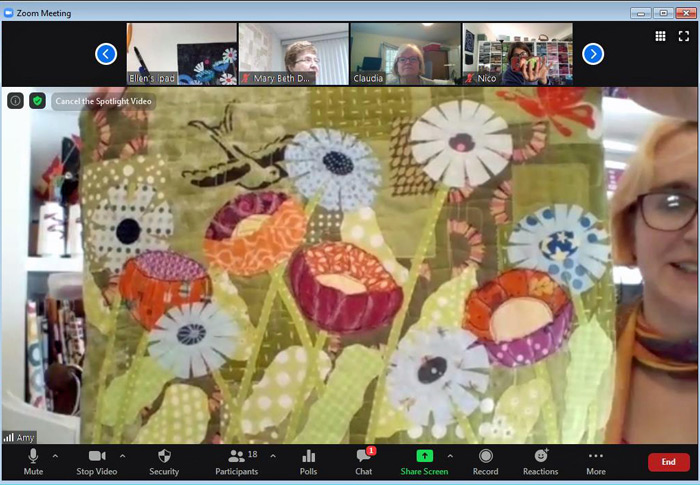
Amy’s composition included a bird and a butterfly on her background fabric. They went well with her acid greens.
Floral Improv "in" Ann Arbor

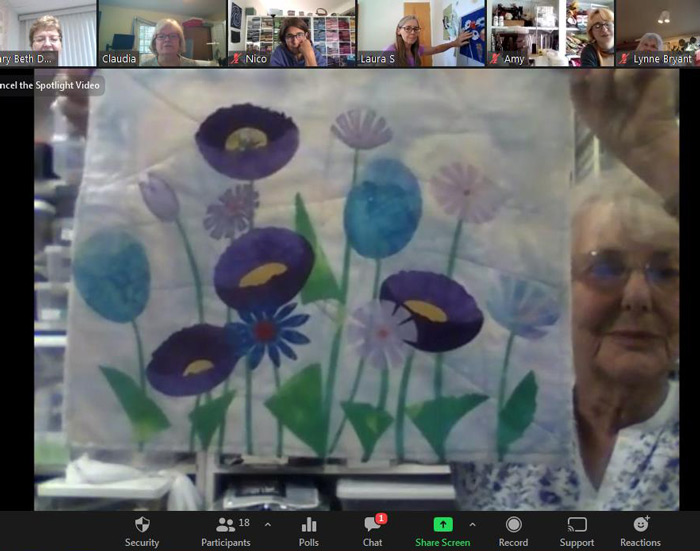
Jean is already outlining her palest flowers to add contrast. Can you see where she’s done it already? It really makes a difference.
Floral Improv "in" Ann Arbor

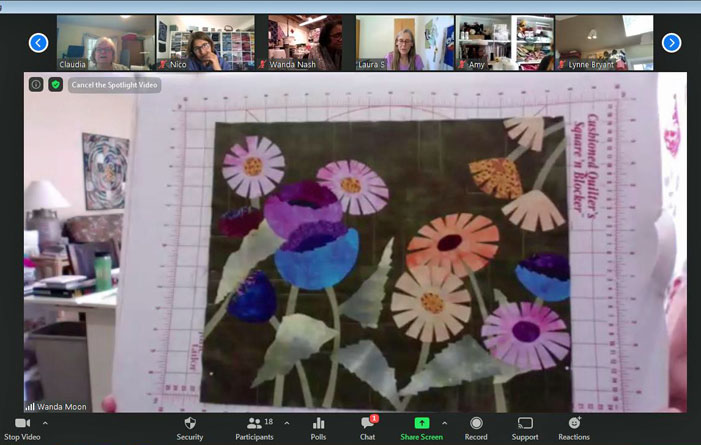
Don’t you love how Wanda brought in a few flowers arcing down from the top right?
Floral Improv "in" Ann Arbor

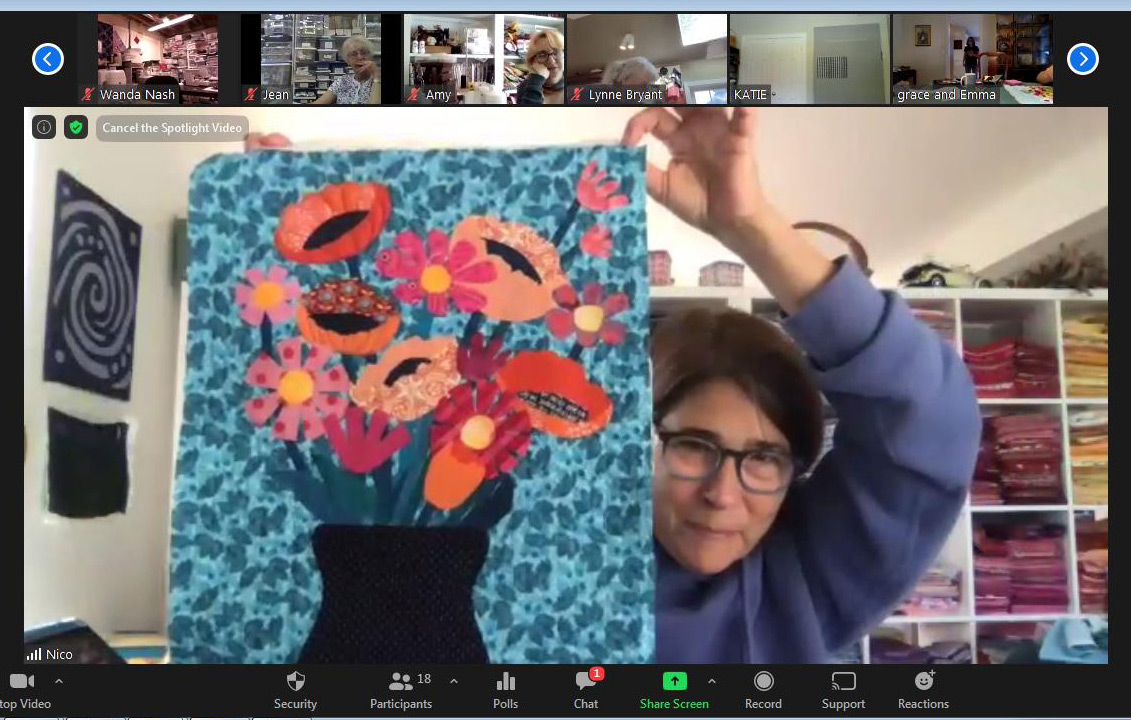
Nico got especially creative. She clustered her flowers and made a vase for them. A very nice option!
Floral Improv "in" Ann Arbor

I had a fabulous day with these ladies and I think they’d say the same. It was SO wonderful to interact in this way after so many months of near isolation!

I strongly encourage your guild to get on the “Zoom wagon,” with me, or with some other teacher. It’s just way too much fun. If a workshop seems scary, start with just a lecture.

Information about my presentations.

Ellen Lindner
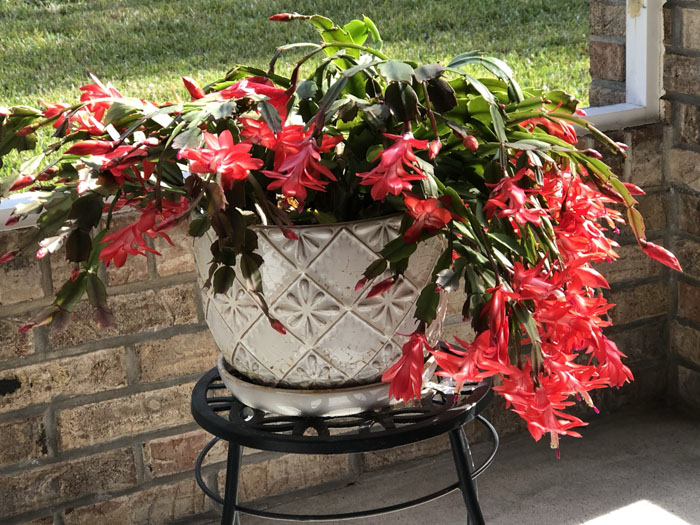
P.S. In this class students learn how to make two different types of flowers with no patterns. Then, they learn about composition and arrange their flowers. Leaves and stems are added last, and quilting begins. Students have already learned how to stitch their poppies with black thread in order to make them look more dimensional. Before you know it, it’s completely done.
0

Thinking About a New Class

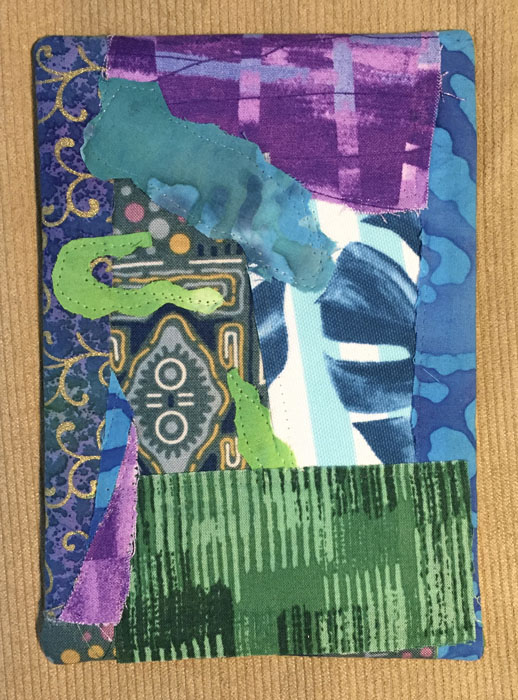
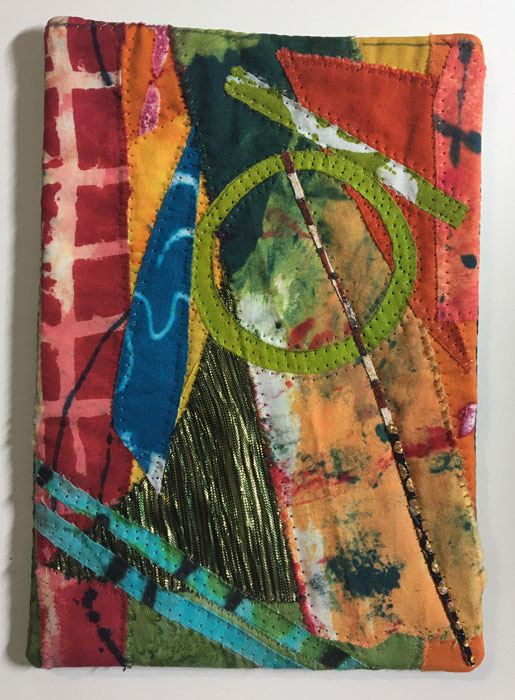
I’m thinking about turning my “Notes for a Friend” concept into a class. To try out the idea I did an informal class with two friends and it was a huge success!

Cindy had never worked abstractly before, but she jumped in and finished her note in no time flat. Didn’t she do a great job?

Cindy's completed Note for a Friend. Made in a class with Ellen Lindner, AdventureQuilter.com

Although she planned on adding hand embroidery later, she decided to skip that so she could work on a second one. She got all the way through completing the composition during our time together. She left plenty of calm areas which will look great when she adds some hand stitching.
Cindy's in-progress Note for a Friend. Made in a class with Ellen Lindner, AdventureQuilter.com

Notice that Cindy has a cardboard frame around her piece, above. This helps her visualize the final project without seams allowances, etc. Very helpful.
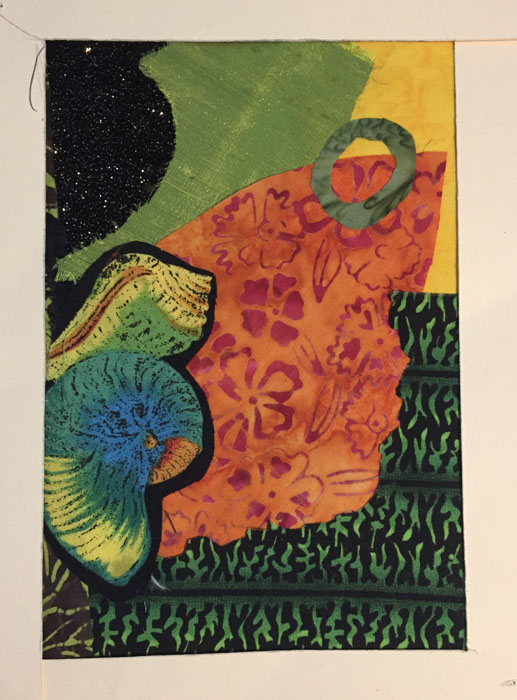
Jo-Ann was enamored with many hand-dyed scraps and their busy patterns. Using so many patterns can be quite challenging, so she took she took her time and came up with a great composition. She faced it once she got home and doesn’t it look wonderful?

Jo-Ann's completed Note for a Friend. Made in a class with Ellen Lindner, AdventureQuilter.com

She decided that it didn’t need any hand stitching due to the busy patterns already in the piece and I agreed.

It was great fun for me to work with these two and I’m excited about the idea of developing this into a class. Of course, I know it will be quite different working with 15-20 people. I’ll have to think about some streamlining techniques.

What do you think? Would you like a class making one of these tiny quilts (5 x 7?) I anticipate that most students will completely finish theirs, including facing, in class. I’d greatly appreciate your thoughts on such a class, positive or negative.

Ellen Lindner

6