Archive | November, 2018

Completing the Composition

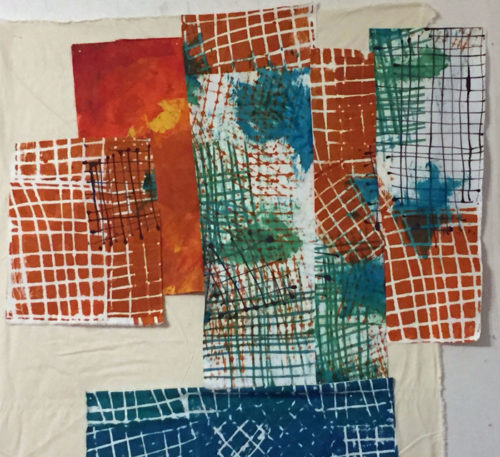
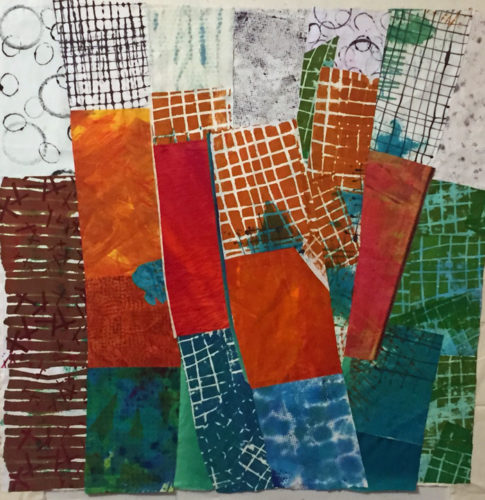
After playing around with my dyed fabrics and potential compositions I felt more confident in moving forward. I decided the fabric pieces needed to be something other than parallel.  Maybe tilted like this.

Completing the Composition. Ellen Lindner, AdventureQuilter.com/blog

My first (Round B) arrangement.

Completing the Composition. Ellen Lindner, AdventureQuilter.com/blog
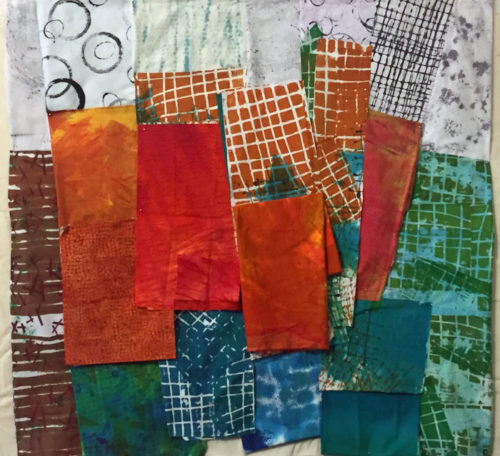
I liked the tilting, but once again, I had the same problem: this piece was too busy.  I had to reluctantly admit that my favorite (central) fabric was causing the problem.  I confirmed this diagnosis by pinning some solid fabrics over the busiest patterns. Sure enough, this was a definite improvement.

Completing the Composition. Ellen Lindner, AdventureQuilter.com/blog
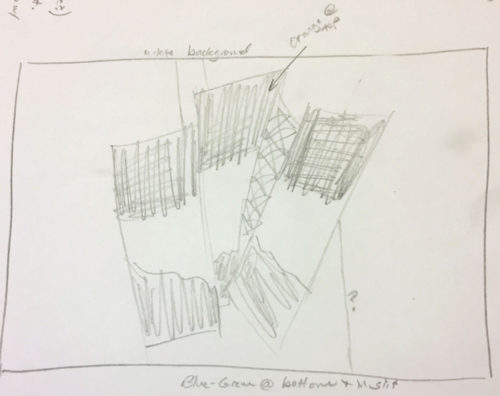
Soon, I had the bottom portion cut and pinned in place.

Completing the Composition. Ellen Lindner, AdventureQuilter.com/blog

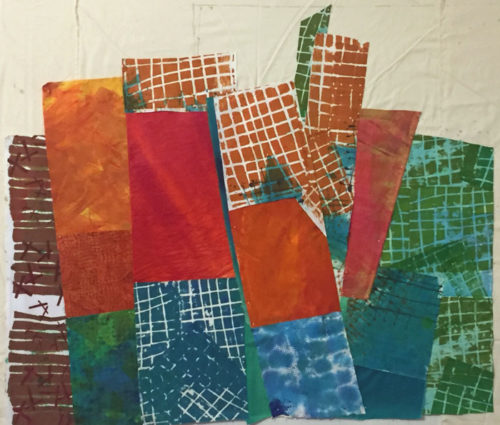
I added white fabrics (again, dyed by me.) I was very happy with it at this point, except I noticed that the pattern was mostly on the right.  I wondered if some pattern needed to be added to the left.

Completing the Composition. Ellen Lindner, AdventureQuilter.com/blog

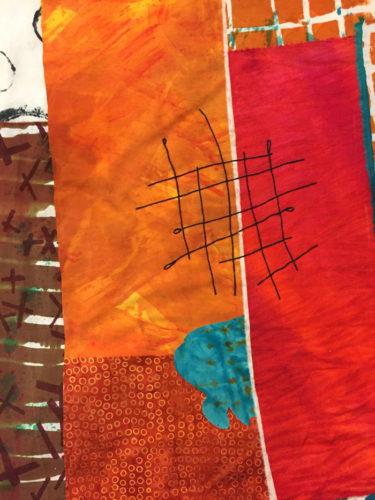
Eventually, I decided to add more black gridded areas.  And I did so by couching black thread. I think it was effective.

Completing the Composition. Ellen Lindner, AdventureQuilter.com/blog

On to quilting.  Stay tuned for a photo of the finished quilt.

Ellen Lindner

2

Designing with Patterned Fabric

After dyeing ALL THOSE FABRICS I was really anxious to cut into them.  Of course, I started with one of my favorite fabrics and selected additional fabrics to go with it.

Click any image for a larger view
Designing with Patterned Fabric. Ellen Lindner, AdventureQuilter.com/blog

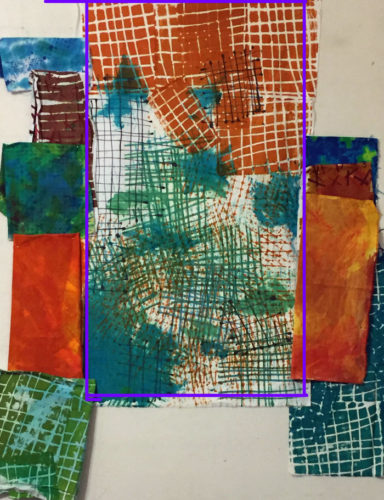
The part outlined in purple, above, is all one piece of fabric: one of my favorites. It’s fairly large, at about 3/4 yard.  I printed it with cutting up in mind.  My goal was to have multiple colors and multiple patterns that could go together. I think I succeeded with that, but cutting it up and rearranging it proved more difficult than I had imagined.

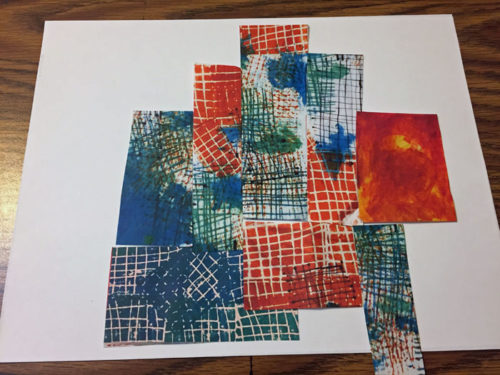
In one of my more brilliant moments, I decided to print out this fabric (and some others) on paper and to initially work them in this fashion. This proved to be very helpful.

For my first attempt I cut the “fabric” into 3 approximately equal vertical panels. I rearranged them and even turned one upside down.  As you can see, this created lots of energy, but it was pretty chaotic.
Designing with Patterned Fabric. Ellen Lindner, AdventureQuilter.com/blog

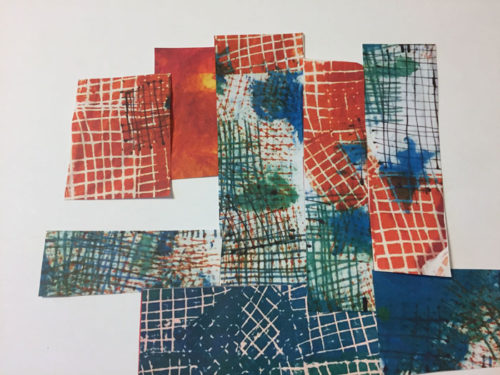
Next version: I cut off one end of the orange gridded portion, which allowed me to break up some of that busy gridded section with a more solid piece.  I liked the result, as well as the jagged shape of the top.
Designing with Patterned Fabric. Ellen Lindner, AdventureQuilter.com/blog

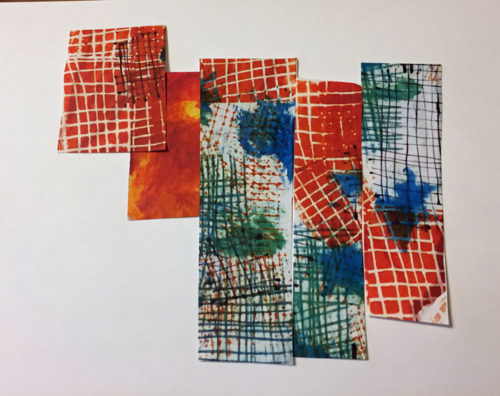
3rd paper version: I was trying to edit it down to the stuff I felt fairly certain about.  That  included:
– Cutting the fabric vertically
– Cutting the fabric at least once again
– Adding some “solid”
Designing with Patterned Fabric. Ellen Lindner, AdventureQuilter.com/blog

At this point I felt like I had enough knowledge to move into slicing fabric.  (Eeep!) This was my first attempt, with mostly folded fabrics pinned into place for audition purposes.  My conclusion? Great colors but FAR from cohesive!
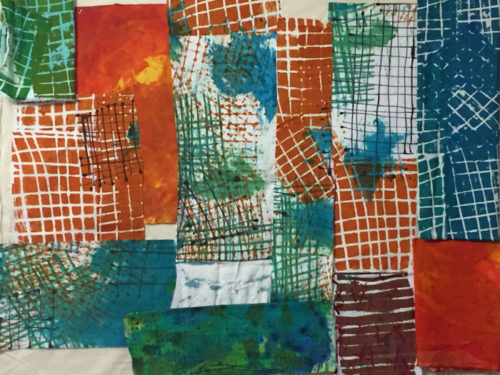
Designing with Patterned Fabric. Ellen Lindner, AdventureQuilter.com/blog

And then this.

Designing with Patterned Fabric. Ellen Lindner, AdventureQuilter.com/blog

At least I edited some things out, but it still looked very busy.  At this point I began to suspect that my FAVORITE fabric could be to blame.  Oh, I hoped I was wrong!  I sure didn’t want to lose any of it!

I was a little stumped at this point, so I pulled out my sketch books.  I searched for a design I might like to work with and auditioned my fabrics with it.  See that sketch in the photo below, on the right.
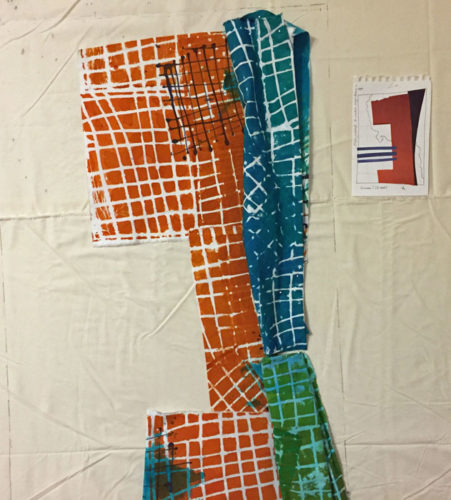
Designing with Patterned Fabric. Ellen Lindner, AdventureQuilter.com/blog

And here it is with my fabrics. As you can see I’m not cutting the fabric, but rather, folding it and pinning it into place.
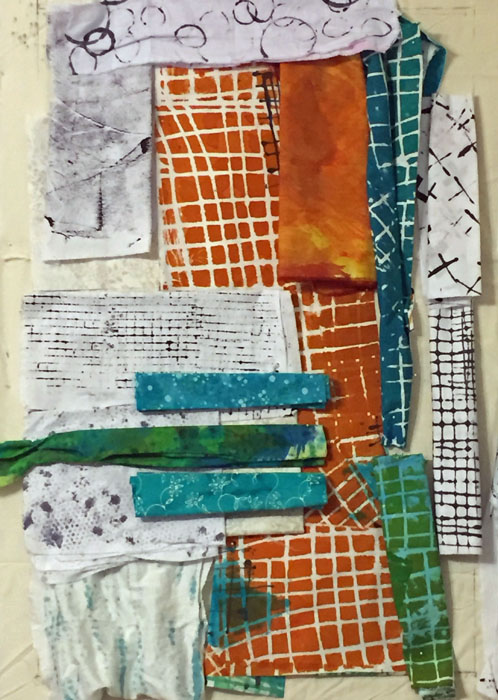
Designing with Patterned Fabric. Ellen Lindner, AdventureQuilter.com/blog

I thought that had a good bit of promise.

But, what if these gridded fabrics became a small part of the story rather than the stars?  I added a bunch of near solids and liked the selection quite a lot.
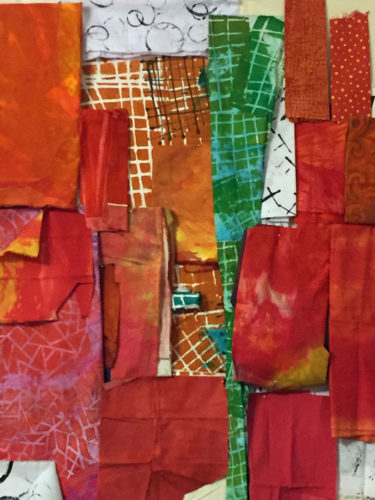
Designing with Patterned Fabric. Ellen Lindner, AdventureQuilter.com/blog

Although both of these ideas appealed to me quite a bit I still really wanted to feature that favorite fabric.  However, I think this “sketching with fabric” helped me to break me free from being unable to consider anything else. I’ll show you where I went next in an upcoming post.

Ellen Lindner
P.S. Please give me some feedback on the image size your prefer in these posts.  I love to use the larger size of the first image, but I’m afraid it will require scrolling in smaller devices.  Which size do you prefer? (Click Contact Ellen at the very bottom to send me an email.) Udpate: Thanks to Kristin’s suggestion, I’ve now set all the images so a click on any of them will show a larger version.  Brilliant suggestion, Kristin!
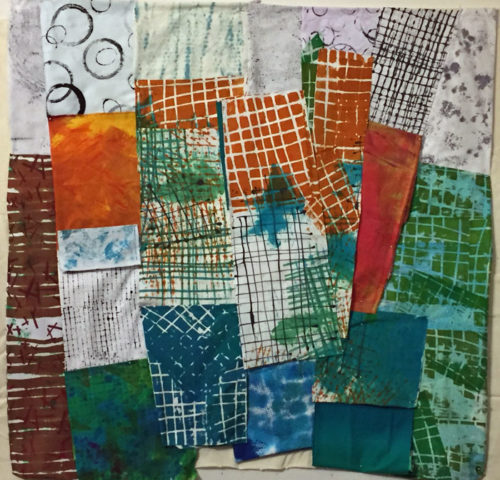
3

Favorite Background Technique

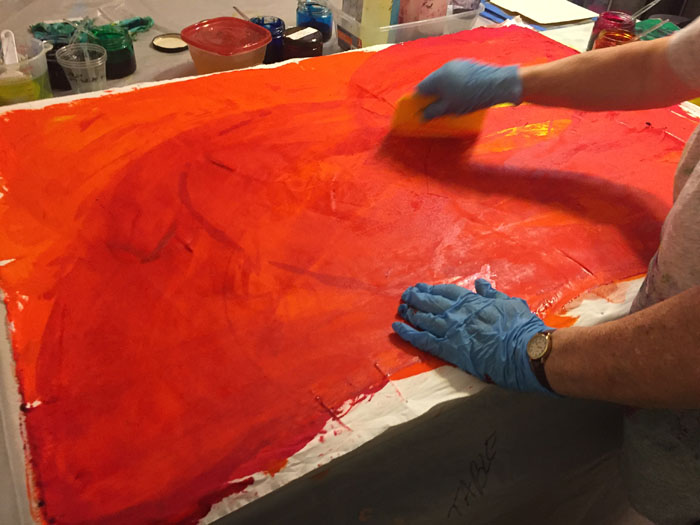
Now THIS is fun! Scoop up some thickened dye with a stiff squeegee (think large credit card,) and smear it onto some fabric. It spreads into glorious color and makes a very satisfying swishing noise at the same time.
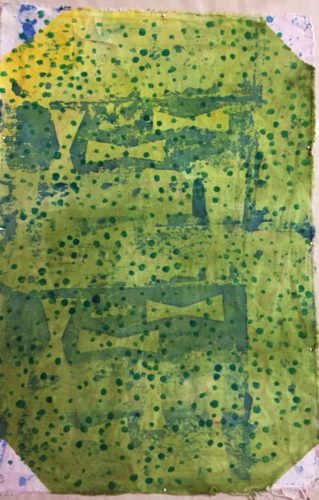
I started with yellow and then added yellow-orange,(which looks dark orange when it’s this thick.)

Favorite background technique. Ellen Lindner, AdventureQuilter.com

But, it DID look mighty orange.  Next, I added orange. Hmm, there was no color change. Then, I realized that my yellow-orange had been contaminated with deep orange.  Oops.  This is going to be very orange!
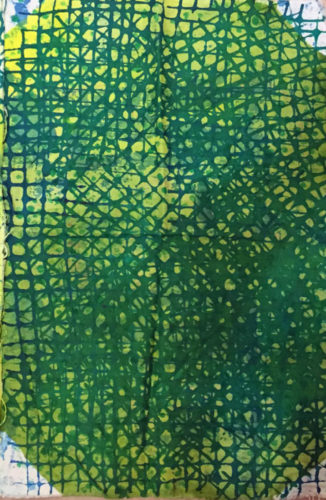
Favorite background technique. Ellen Lindner, AdventureQuilter.com

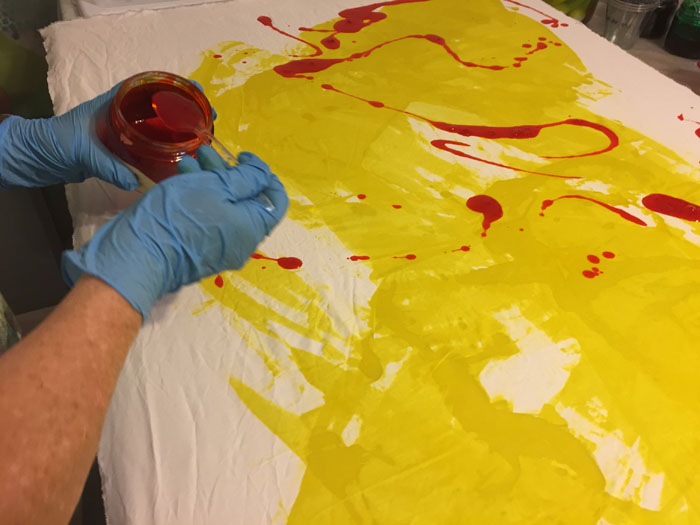
Finally, I added red and got this, (still wet.)

Favorite background technique. Ellen Lindner, AdventureQuilter.com

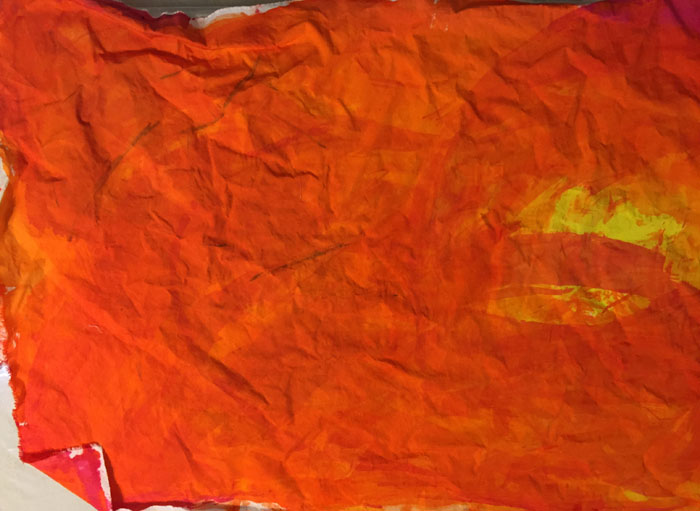
When dry it looked like this, which was more orange than I really wanted. (No surprise.)

Favorite background technique. Ellen Lindner, AdventureQuilter.com

No worries. I over dyed it and got some very useful fabric. (I took a photo, but it doesn’t really show the difference.  You’ll have to trust me on this one.)

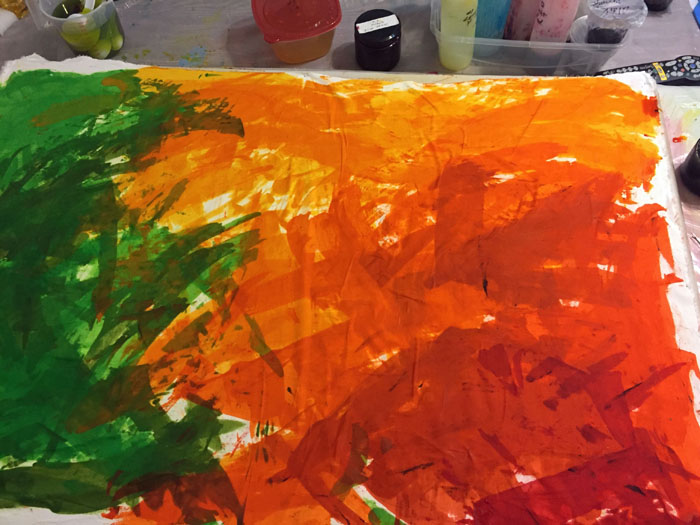
So, my overly orange fabric isn’t a very good example of this great technique.  Here’s another one I did the same way.  Can you see how I just swept the color on?  And that became the “pattern” for the piece.

Favorite dyed fabrics. Ellen Lindner, AdventureQuilter.com/blog

See the finished fabric – one of my favorites.

If you’re a dyer you’ll definitely want to try this technique when creating a background.

Ellen Lindner

2

Oops! Dyeing Duds

You can’t get it right all the time.  And knowing that relieves a certain amount of any perfectionist tendencies.  I fully embrace the unexpected “mistakes.”  Like this one. This was created with a special type of interfacing stencil.  It’s shown wet here, which means it’s darker than it will be after washing.

Oops! Dyeing Dogs. Ellen Lindner, AdventureQuilter.com/blog

BUT.  If you have forgotten to soak your fabric in soda ash before adding the stenciled dye nearly ALL of the color will wash out.  Like this. Oh well.  It will be a nice background for something else.

Oops! Dyeing Dogs. Ellen Lindner, AdventureQuilter.com/blog

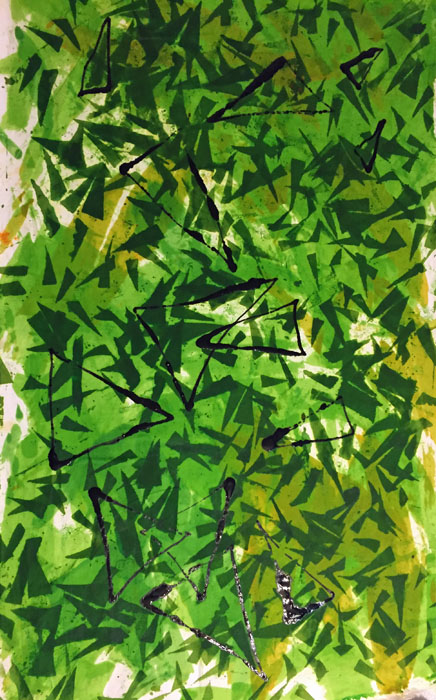
And then there’s this piece, which looks WAY better in this photo than it does in real life.  It’s a jumble of dull and dark greens.  But, that’s not the ugliest part. That part is played by the black triangles I drew on with a syringe.  Oh my! My technique was off and I got horrible blobs and runs everywhere. So, I immediately washed the whole thing, hoping the black wouldn’t have time to cure/set.  No such luck, so the dry version is almost as ugly – now with gray drawn triangles. But, oh well.  I needed another clean up rag, right?

Oops! Dyeing Dogs. Ellen Lindner, AdventureQuilter.com/blog

Check out my other posts for some decent results.

Ellen Lindner

2

“New” Fabric

After over dyeing fabrics from previous sessions, my ordered fabric arrived and I jumped at the opportunity to make some “new fabric.”  That is, starting with plain white fabric. I had plans and was excited to implement them!

This one was meant to go with a favorite fabric.  Therefore, I repeated the pattern and some of the colors.

"New" Fabric. Ellen Lindner, AdventureQuilter.com/blog

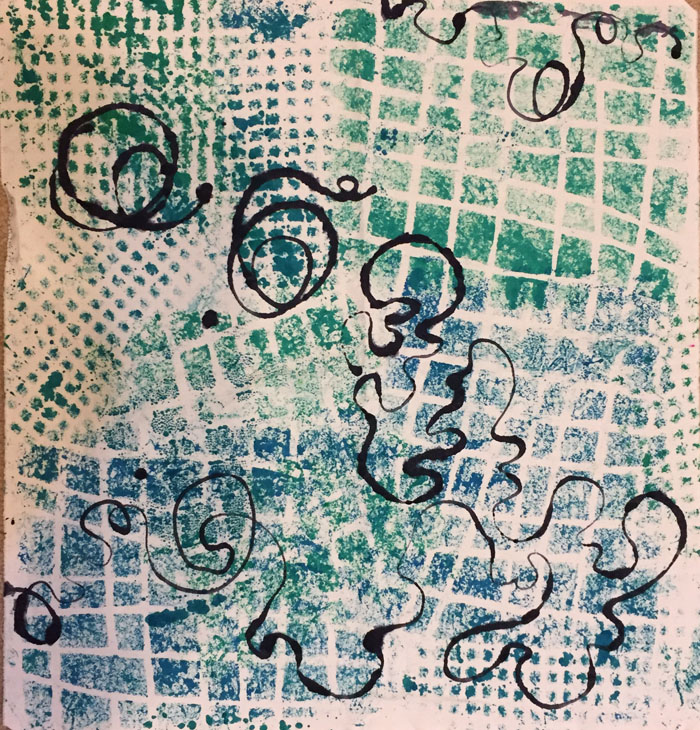
It’s VERY easy to get carried away when painting with a syringe, shown below.  It’s just so much fun! The paint just glides on and you get to scribble.  I think the hard part is not going overboard with this sort of thing. (Note the grid and colors which will match the fabric above.)

"New" Fabric. Ellen Lindner, AdventureQuilter.com/blog

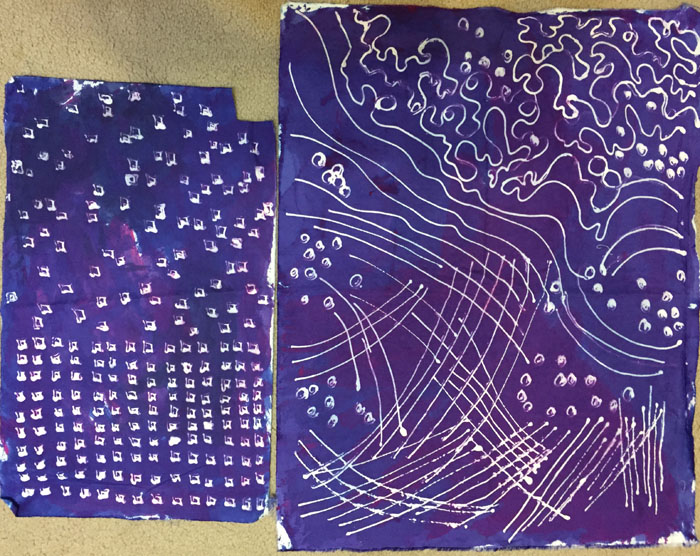
These two were made with a glue resist drawn directly on the fabric.  Once it was dry, I squeegeed on thickened dye in my usual fashion.  The glue washed out with the usual washing.  I really like the results!

"New" Fabric. Ellen Lindner, AdventureQuilter.com/blog

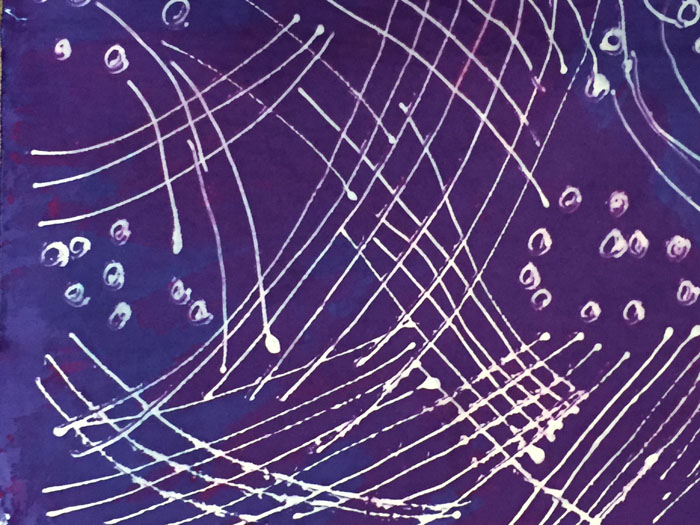
How cool are these little lines?

"New" Fabric. Ellen Lindner, AdventureQuilter.com/blog

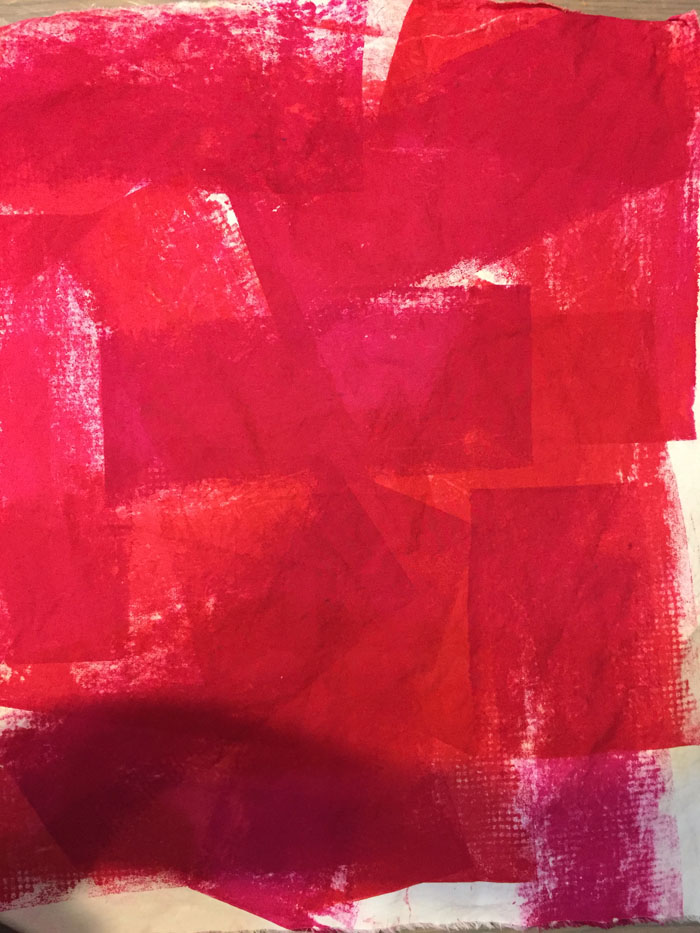
Of course, most fabrics need more than one layer of color, so some over dyeing is also called for. This nearly solid fuchsia isn’t QUITE as bright as it looks in this photo, but it’s pretty close.  It definitely needed some over painting of some sort, in a darker color.

"New" Fabric. Ellen Lindner, AdventureQuilter.com/blog

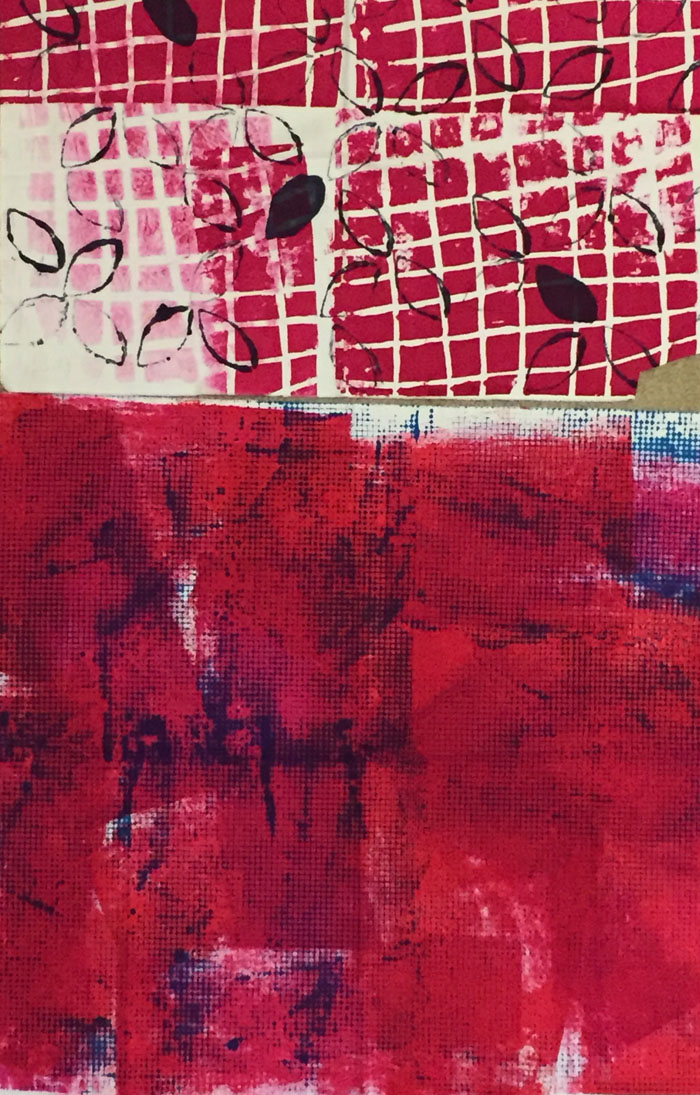
And here it is, (bottom) with a dark blue grid added.  (This color is much more accurate.) The darker color definitely toned it down a bit, and added some much needed interest.

"New" Fabric. Ellen Lindner, AdventureQuilter.com/blog

In the top fabric shown above, I used patterns predominant in my last 2 dye sessions: a grid and a petal.  That way I’ll have versatility with the fabric and can use it with either combo.

Having fun!!!
Ellen Lindner

2

Favorite Fabrics

I’ve had some good results with my fabric dyeing.  I was going to show you the “regular” stuff and save my favorites for last.  But who has such restraint? So here they are: my favorite fabrics from my recent bout of dyeing.

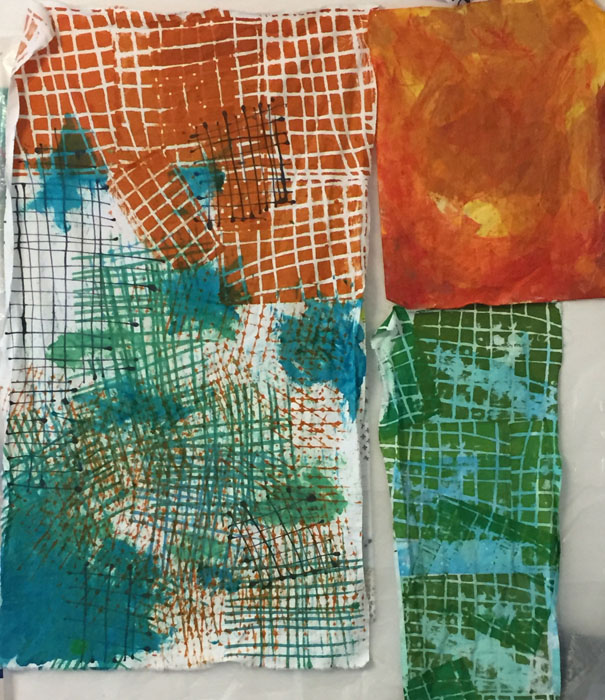
For the large piece on the left below, my goal was to use multiple colors but with some repetition of pattern. I was thinking that different sections could be used together. The two pieces on the right were specifically dyed to go with the first one.  I’m liking the combo A LOT.

Favorite dyed fabrics. Ellen Lindner, AdventureQuilter.com/blog

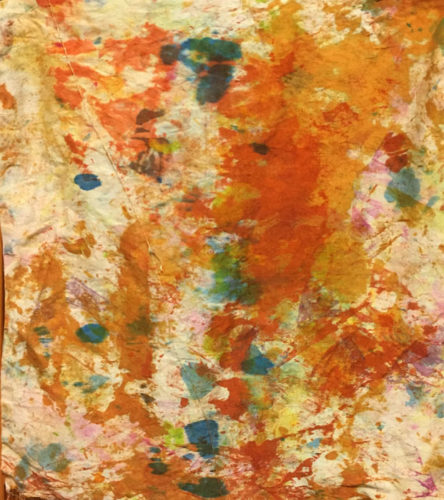
The color palette was inspired by this clean up rag. I wanted to play up the yellow-orange, (rather than my typical red-orange.)

Favorite dyed fabrics. Ellen Lindner, AdventureQuilter.com/blog

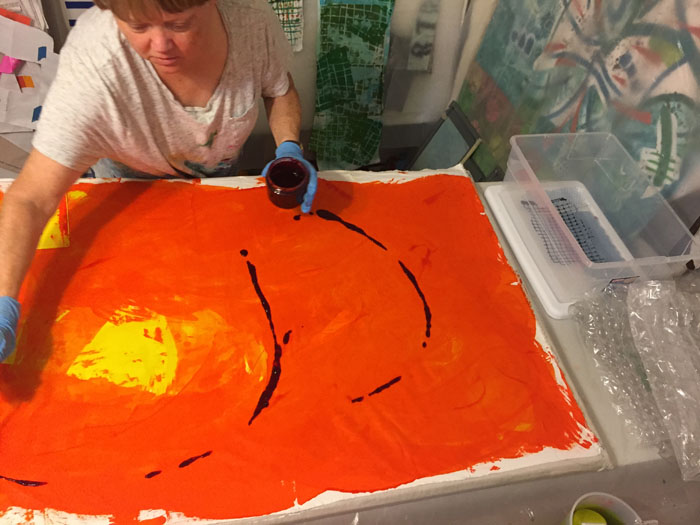
Then there’s this fabric.  Again, I wanted multiple colors and had great fun just sweeping them on with a stiff squeegee (like a large credit card.)This is what it looked like wet.

Favorite dyed fabrics. Ellen Lindner, AdventureQuilter.com/blog

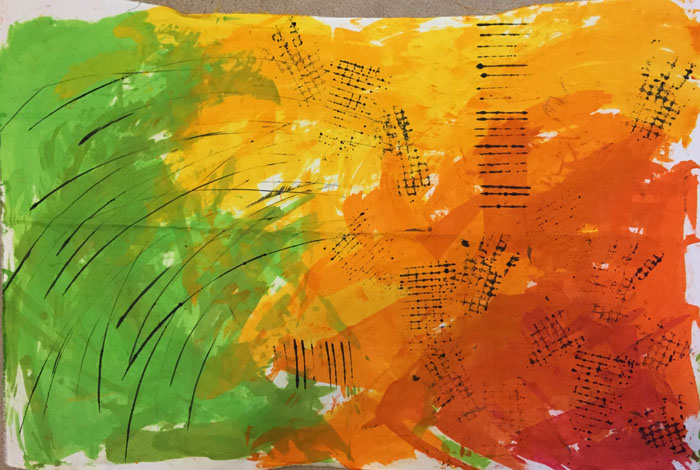
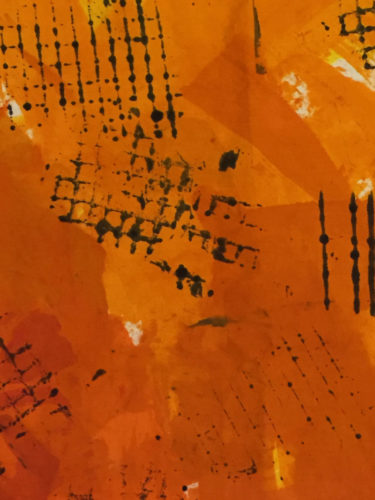
Of course, the colors always look darker when it’s wet.  Here’s what it looked like dry, with some black marks added.

Favorite dyed fabrics. Ellen Lindner, AdventureQuilter.com/blog

I love it!  The colors came out exactly as I expected and wanted. Don’t you love the black marks?  Can you see how the sweeping ones mirror the motion of my arm as I applied the background color?

Favorite dyed fabrics. Ellen Lindner, AdventureQuilter.com/blog

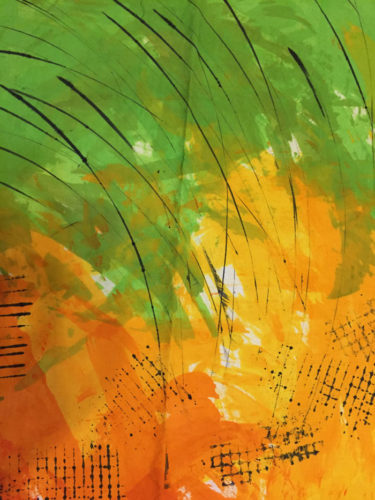
The long sweeping lines were made with a credit card.  And an open grid served as a stamp.  I applied it with pressure from my hand and soon found that I had a grid imprint on my glove.  Well, I couldn’t waste that, so it went onto the fabric, too. Can you find it?  (I did about 3 hand prints.)

Favorite dyed fabrics. Ellen Lindner, AdventureQuilter.com/blog

I can’t wait to use these awesome fabrics!

Ellen Lindner

4

More Over Dyeing

Now that I’ve started using those new stencils I can show you my results.  I started out by over dyeing some of the duds from my previous dyeing session.  Like this one.  Not horrible, but definitely not exciting either.

More Over Dyeing. Ellen Lindner, AdventureQuilter.com/blog

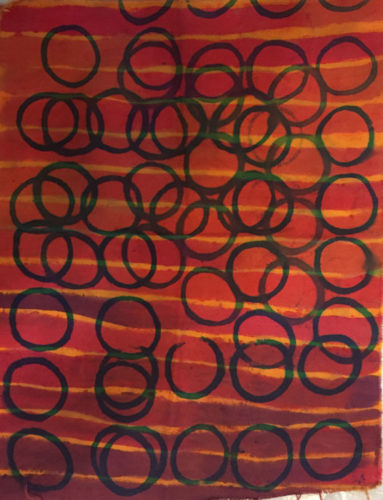
I simply over dyed it with the same stencil and roughly the same colors.  As you can see, I went wild with the stencil and layered it over and over in different directions. This was an eye-opening moment for me.  Who says you can just do one print? This quickly became a favorite technique.

More Over Dyeing. Ellen Lindner, AdventureQuilter.com/blog

Sorta wish I’d covered the edges better.  A flaw I repeated quite often, so something to work on for next time.

Now, what to do with this ugly thing?

More Over Dyeing. Ellen Lindner, AdventureQuilter.com/blog

This time I just visualized my starting fabric as the background and, again, I over printed with the same stencil in a variety of directions and mostly one color.  This time I realized I didn’t need to keep the density/spacing of the pattern consistent throughout, and I REALLY liked mixing it up.  Bam, another favorite procedure right away!

More Over Dyeing. Ellen Lindner, AdventureQuilter.com/blog

Next came a variation on the theme.  The original piece was too basic.

More Over Dyeing. Ellen Lindner, AdventureQuilter.com/blog

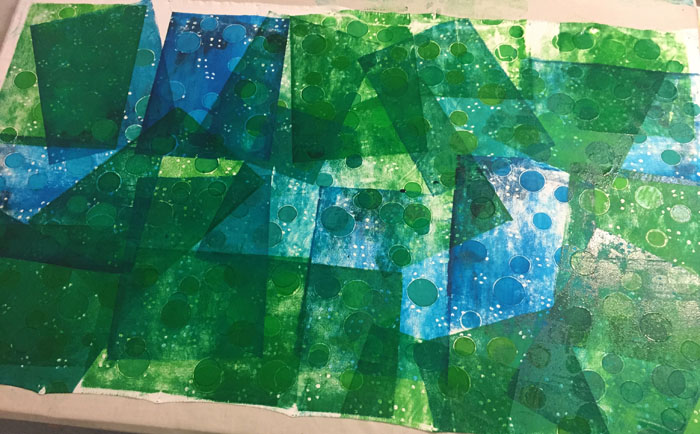
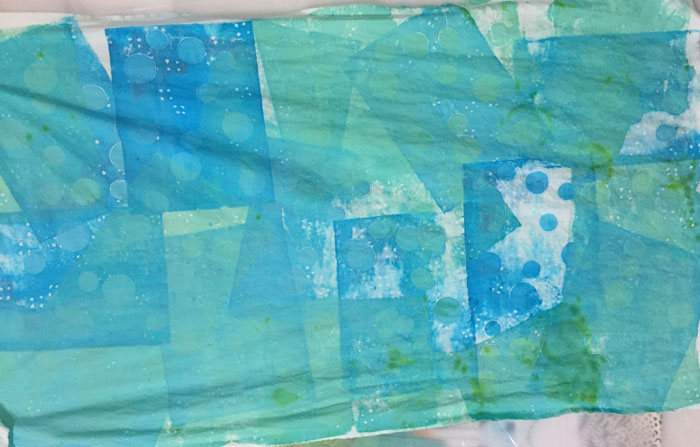
And another, with a little more restraint this time.  I actually used blue dye for the circles I added, forgetting that the transparent nature of dye would make them look black.  Oh well.

More Over Dyeing. Ellen Lindner, AdventureQuilter.com/blog

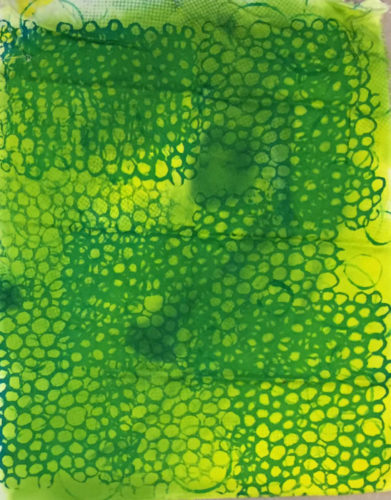
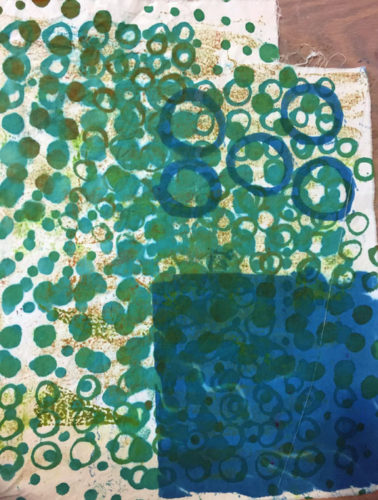
And one more with teal circles.  I was pleasantly surprised to see how well they showed up in the blue corner I considered useless.  Good to know.

More Over Dyeing. Ellen Lindner, AdventureQuilter.com/blog

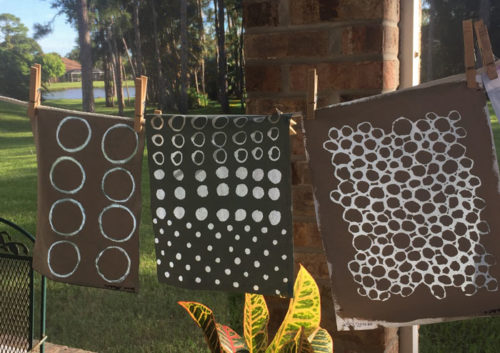
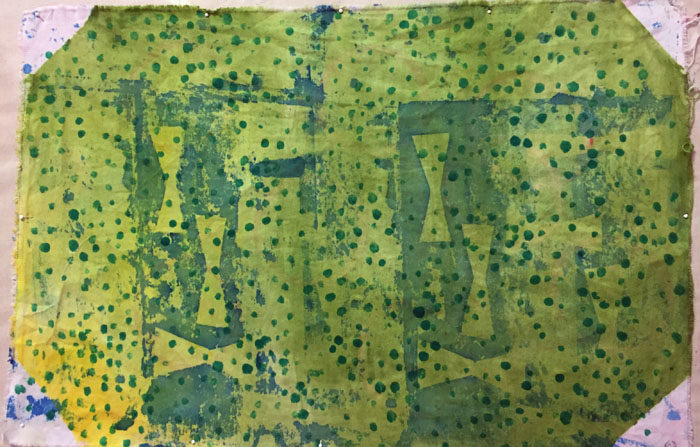
The center stencil, below, is the one I used on the fabric above.  Again, you can see that I moved it all around. The far right stencil was used on the basic yellow-green fabric shown as the 5th image. Fun, right?

Making Stencils. Ellen Lindner, AdventureQulter.com/blog

Even these modest results were exciting, since I was learning so much, and getting usable fabric.

Ellen Lindner

0

Black and White Fabrics, (and Grey Too)

I have a quilt in mind which will need a variety of black and white, and grey and white fabrics.  So, I spread out some white fabric and started applying thickened dye.

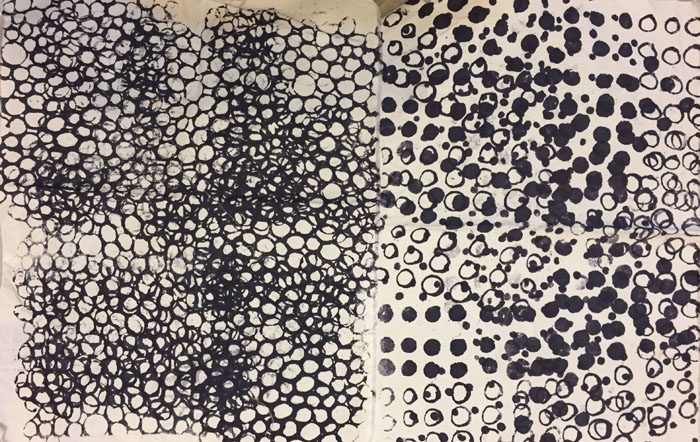
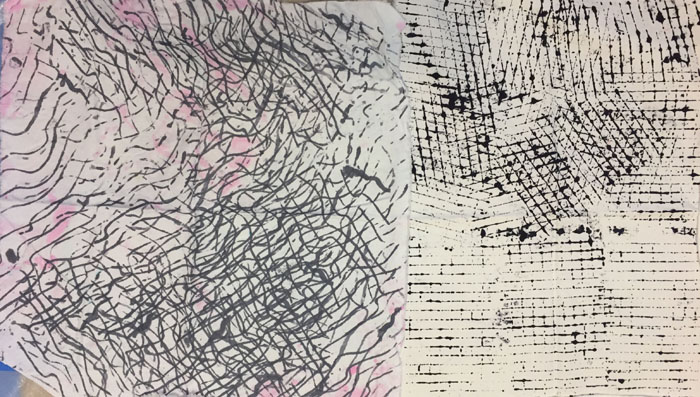
You’ll recognize the patterns of these first two.  They’re done with the same interfacing stencils shown in earlier posts.

Dyeing black and white fabrics. Ellen Lindner, AdventureQuilter.com/blog

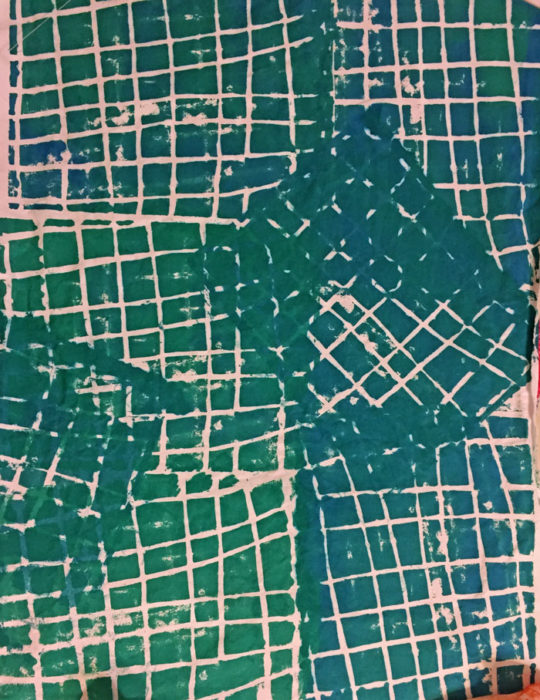
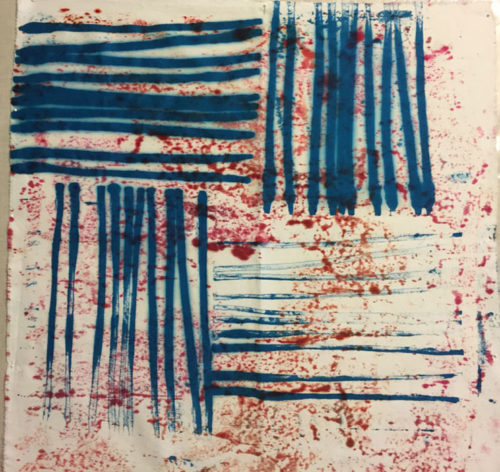
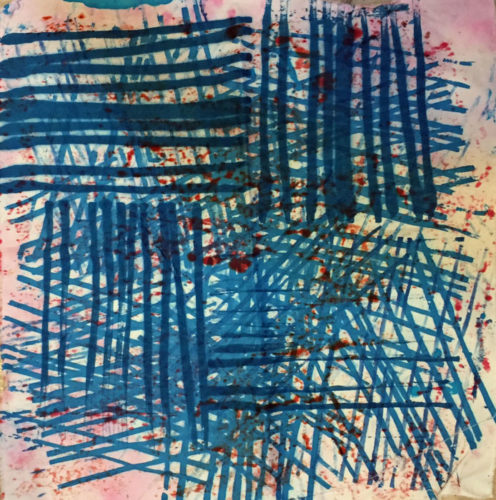
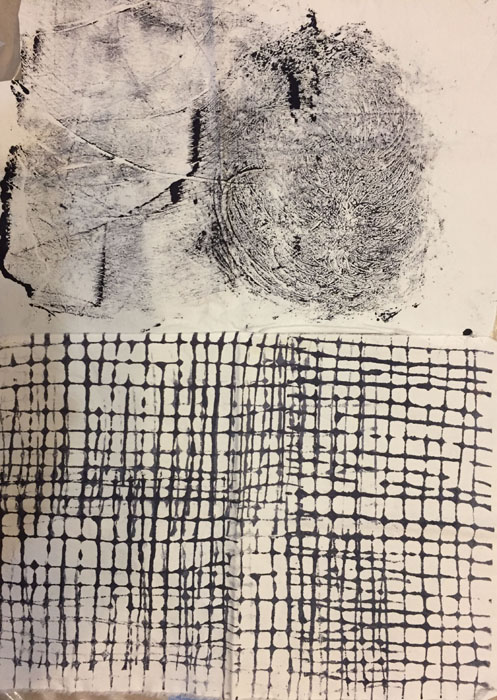
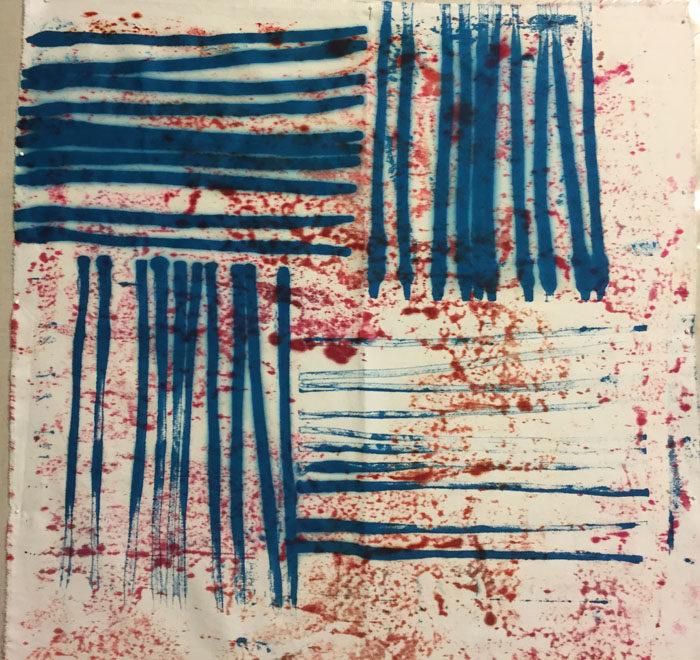
The grey one, below left, was done with another interfacing stencil. On the right I used an open grid as a stamp.  Although it was a grid, the lines in one direction printed stronger than those in the other direction.  With GREAT RESTRAINT I took advantage of this and printed almost straight lines in the bottom portion. However, in the top half, I indulged my preference as I overlapped and reoriented the grid while stamping.  Two patterns for one!

Dyeing black and white fabrics. Ellen Lindner, AdventureQuilter.com/blog

At one point, I had so much black dye on my work surface that I used it as a monoprint, (top half below.)  I scratched a few lines in it and then laid the fabric on top.  Voila!

Dyeing black and white fabrics. Ellen Lindner, AdventureQuilter.com/blog

The bottom portion shown above features an overlapping grid stencil when I resisted the TEMPTATION to turn it.

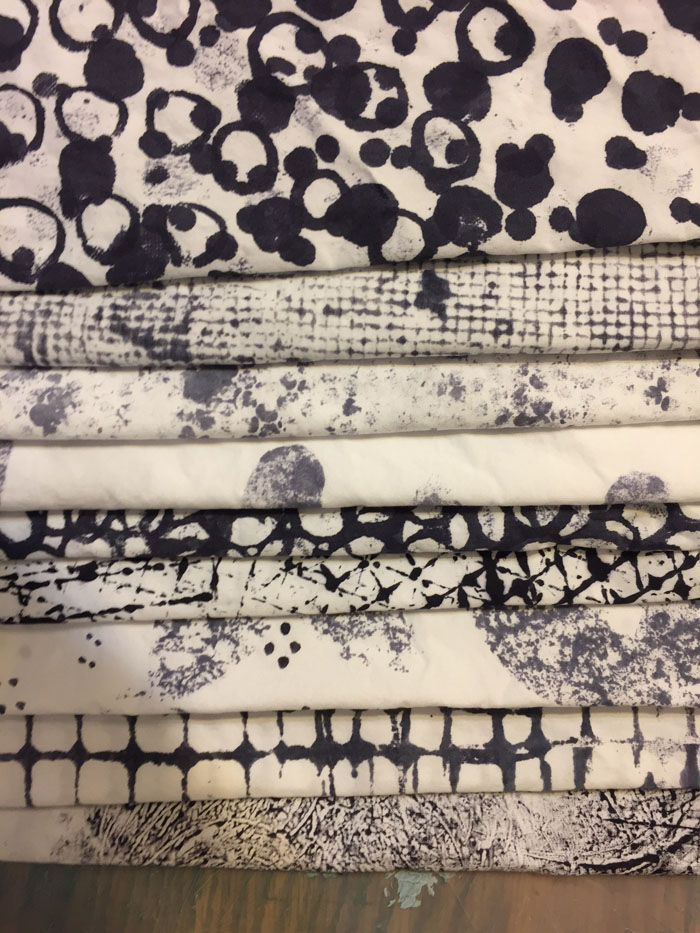
And here’s the full set of fabrics.

Dyeing black and white fabrics. Ellen Lindner, AdventureQuilter.com/blog

These are fast and fun because there’s usually just one application of dye and then you’re done. Nice!

Ellen Lindner

2

Overdyeing

I find that the best fabric prints require about 3 or more processes.  Usually something close to solid for the background, a large scale print, and a small print.  At the end of my previous dyeing session I had several fabrics that still needed one or more additions, so I addressed those early on.

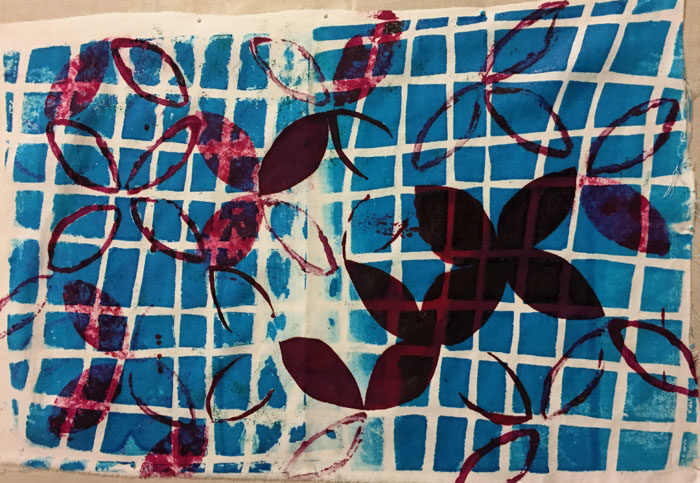
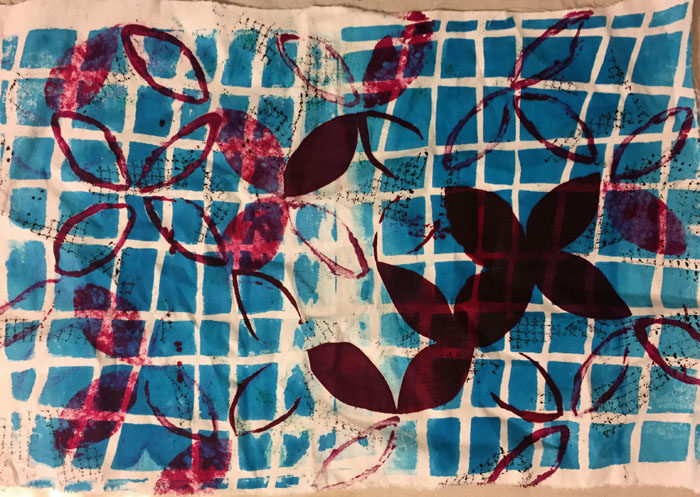
This fabric had only fuchsia petals on a plain white background when I started working on it again. I added turquoise to the background, using one of my homemade stencils. (As you can see, I’m not going for perfection with these. As a matter of fact, I love the imperfection.)

Overdying fabrics. Ellen Lindner, AdventureQuilter.com/blog

I was happy with the results above, but also wanted to add a very small scale print.  Maybe in black.

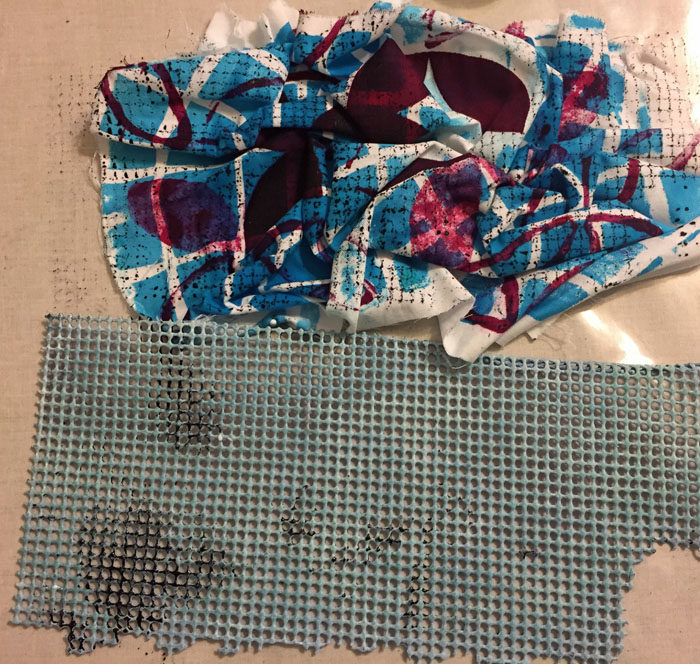
I had a little scrap of shelf liner that I thought was the right scale, but I didn’t think I wanted it everywhere. So, I did this.  I scrunched up the fabric so it was small enough to fit under the scrap, added black paint to the shelf liner (with a brayer,) flipped it over and used it to stamp the fabric.

Overdying fabrics. Ellen Lindner, AdventureQuilter.com/blog

Voila! Once I opened it back up I got this.

Overdying fabrics. Ellen Lindner, AdventureQuilter.com/blog

Yes!  I like it.  One down.

Now, these two ugly fabrics will also need some attention.

Overdying fabrics. Ellen Lindner, AdventureQuilter.com/blog

Overdying fabrics. Ellen Lindner, AdventureQuilter.com/blog

I’ve got ideas for them.  How about you?

Ellen Lindner

2