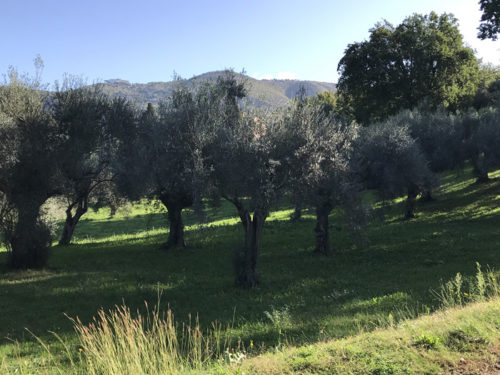
Archive | December, 2021

Kiwi (?) Quilt Underway

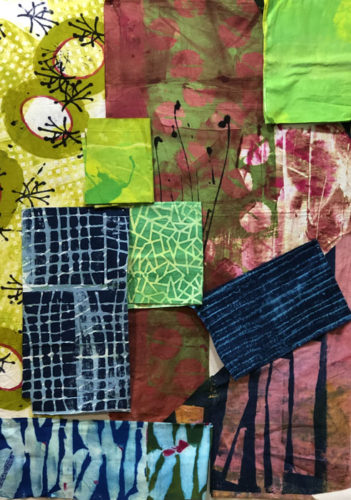
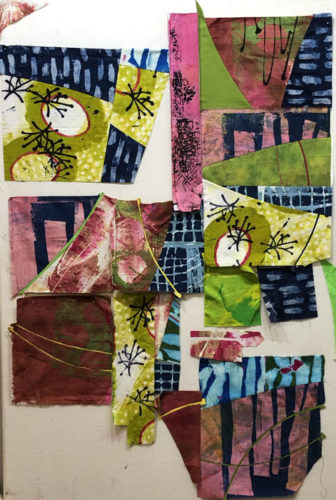
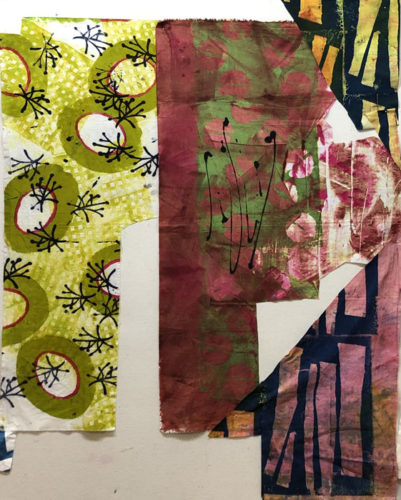
I got brave and decided to cut into some of my specialized fabrics. These are hand dyes that have a variety of motifs, scales, or colors. They’re not “yardage” and are a little more challenging to use. These were my starting three.

Starting a "Kiwi" Quilt. Ellen Lindner, AdventureQuilter.com/blog

The left fabric reminded me of kiwifruit, so I began to think of it as “my kiwi quilt.”

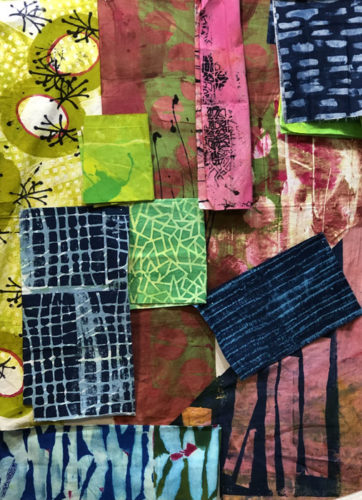
I tried out other fabrics to add to the mix. Some dark blue definitely helped.

Starting a "Kiwi" Quilt. Ellen Lindner, AdventureQuilter.com/blog

This was my “final” selection.

Starting a "Kiwi" Quilt. Ellen Lindner, AdventureQuilter.com/blog

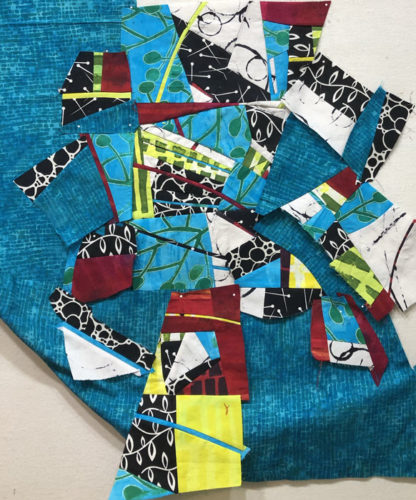
It was a little intimidating to cut into that kiwi fabric. Since the motif was so large I didn’t want to whittle it down too much. This was the first cut.

Starting a "Kiwi" Quilt. Ellen Lindner, AdventureQuilter.com/blog

And another.

Starting a "Kiwi" Quilt. Ellen Lindner, AdventureQuilter.com/blog

And another. Taking it from one piece to four.

Starting a "Kiwi" Quilt. Ellen Lindner, AdventureQuilter.com/blog

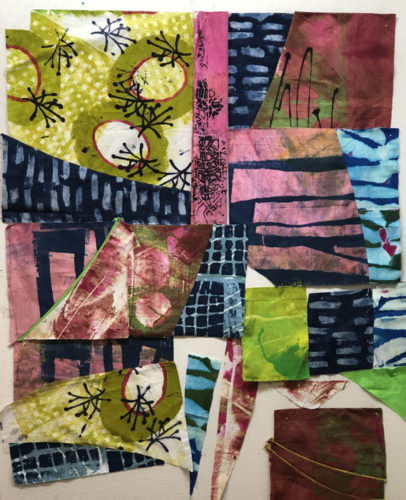
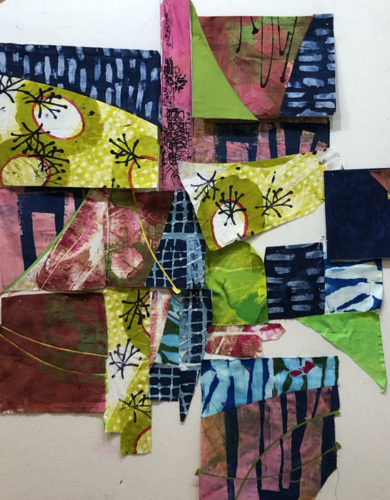
Time to “Tetris” these pieces together, and to make a few more to get the job done.

It was getting quite energetic and I was liking it.

Ellen Lindner

0

Slicing and Dicing: Now Where Was I?

After starting a new quilt at a retreat, it was time to continue at home. Now, where was I? Something like this.

Slicing and Dicing: Now Where Was I? Ellen Lindner, AdventureQuilter.com/blog

I studied the arrangement and knew I wanted to change a few things. (Remember the abundance of that favorite fabric bottom left?) While that was percolating in my brain, I looked for areas that needed a little more energy. I altered a few with skinny lines.

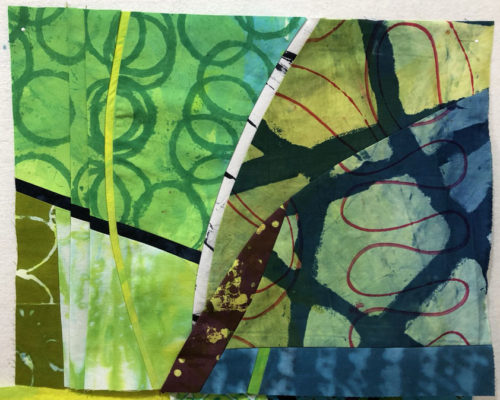
Notice the black “horizontal” line on the left of this unit. Can you see it’s been altered to be jagged? All I did was add 2 tucks in the back. That added some character, but also made the unit 1″ skinnier.

Slicing and Dicing: Now Where Was I? Ellen Lindner, AdventureQuilter.com/blog

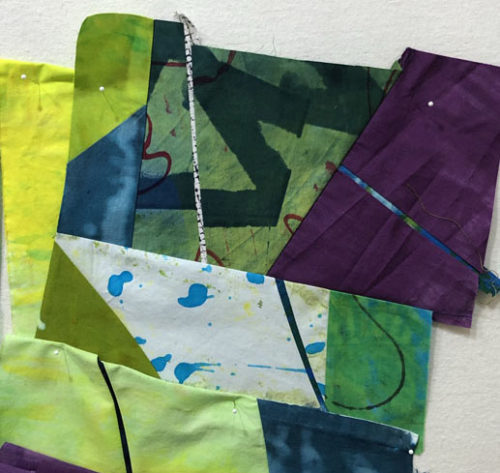
What should go where? There never seems to be a RIGHT answer. Just interesting ones. Like this top right corner. If I were to use this piece, which way should it go?
Slicing and Dicing: Now Where Was I? Ellen Lindner, AdventureQuilter.com/blog

or

Slicing and Dicing: Now Where Was I? Ellen Lindner, AdventureQuilter.com/blog

Sometimes there’s a structural reason to do things, for instance if too many seams are coming together in one spot. But, generally, I go with whatever fits best or appeals to me most at the moment. I do study things a lot as I go! (See what I did with this piece in the last photo, top right corner.)

Remember how, at the retreat, I gathered all the brightest fabrics near the center? I liked that, but realized I’d never really considered any other alternatives. Before I got too far along I decided to audition the pieces with blue in the center.

Slicing and Dicing: Now Where Was I? Ellen Lindner, AdventureQuilter.com/blog

Interesting. But not better. I stuck with what I had.

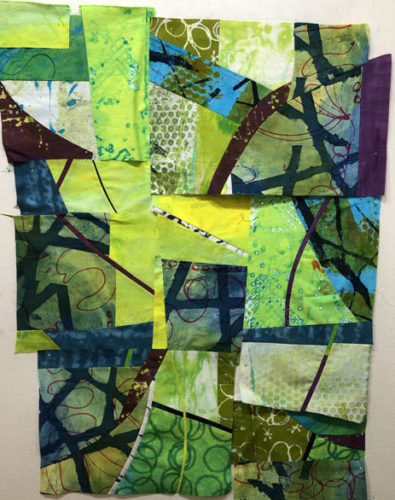
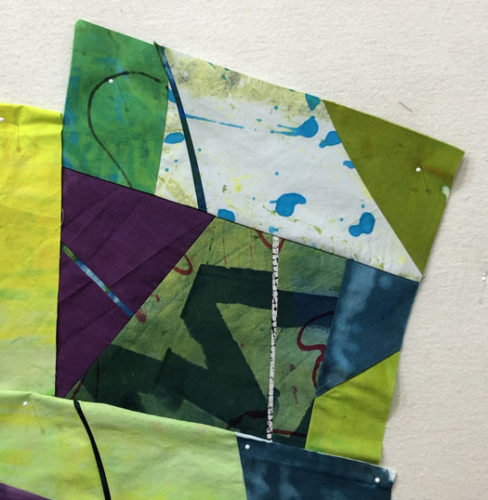
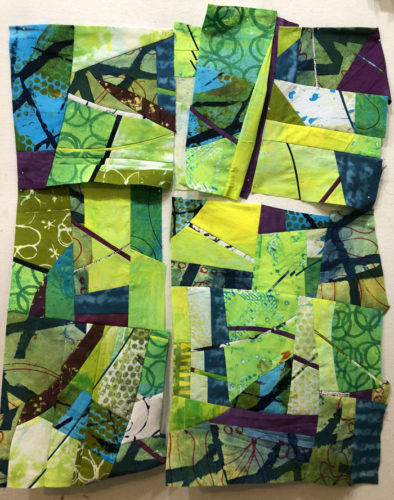
I continued altering, adding, slicing when needed, and getting things to fit. Here it is nearly complete, with four big units ready to be sewn together. I was quite happy with it.

Slicing and Dicing: Now Where Was I? Ellen Lindner, AdventureQuilter.com/blog

Quilting soon!

BTW (by the way,) I generally think about names as I’m working on a piece. This one reminds me of light through spring leaves. Hmm, Canopy? Spring? Dappled Light? Your thoughts?

Ellen Lindner

0

Slicing and Dicing in Winter Park

While on a recent retreat in Winter Park, FL, I started on a new abstract quilt. These were the fabrics I took from home.
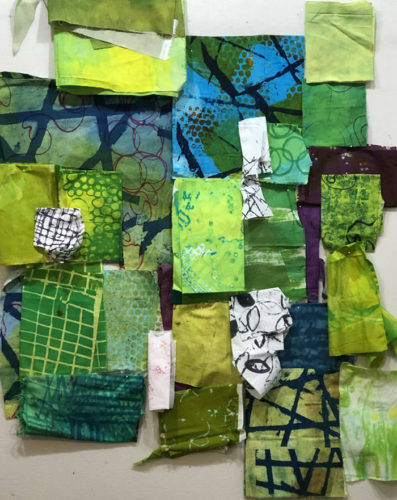
Slicing and Dicing in Winter Park, Ellen Lindner, AdventureQuilter.com/blog

There are more here than I would need, but I wanted to have options. I was sure to include both light and dark fabrics. I auditioned them on my design wall, which gave me the opportunity to think about color proportions, as well. Very useful.

At the retreat, I got to work.
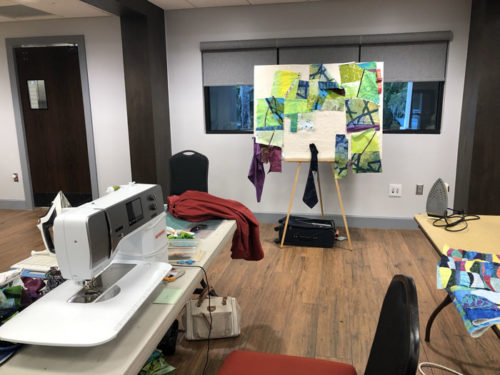
A Fabulous Retreat! Ellen Lindner, AdventureQuilter.com/blog

This was my work space, complete with a travel sized design wall.

After cutting fabrics in the proportions I wanted I began to sew them into pairs.
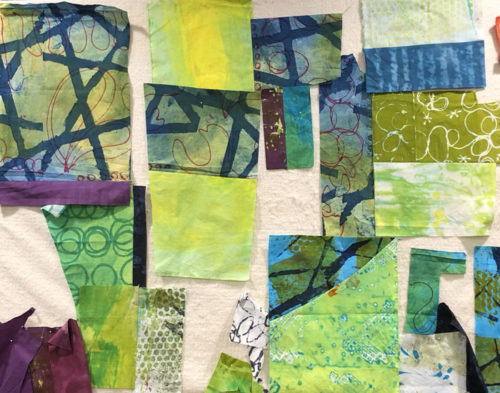
Slicing and Dicing in Winter Park, Ellen Lindner, AdventureQuilter.com/blog

Then, I began to slice into some of them, adding skinny strips. These added a lot of energy. Nice!
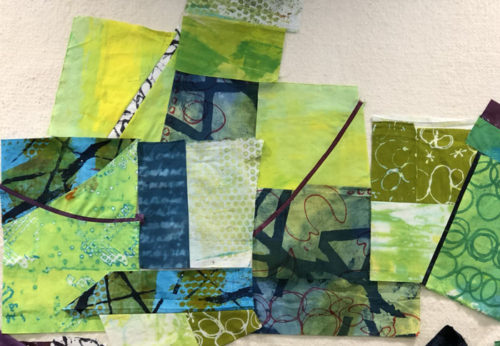
Slicing and Dicing in Winter Park, Ellen Lindner, AdventureQuilter.com/blog

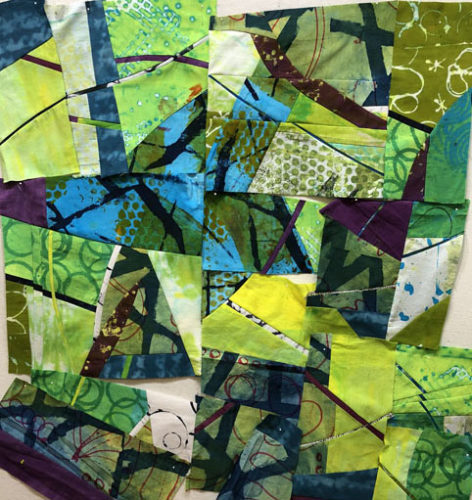
After quite a bit of slicing, dicing, and alterations, it was time to look at them as a whole. I arranged them with my favorite/starting fabric in the middle. At this point, I was just trying to get a feel for what I had. Was there enough variety of “block” sizes? Were there empty spaces that needed some altering?
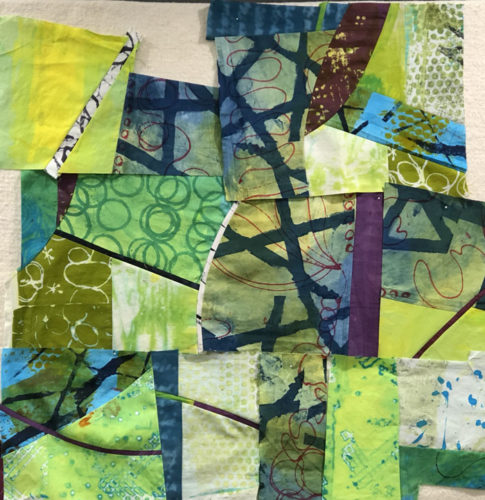
Slicing and Dicing in Winter Park, Ellen Lindner, AdventureQuilter.com/blog

I realized I could make my favorite/featured fabric join together into a long line. But was that good thing? Hmm.
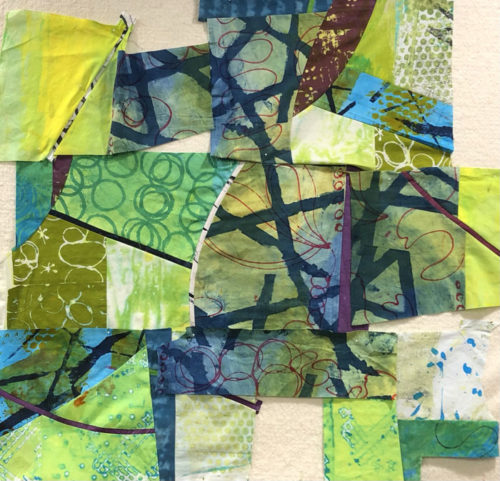
Slicing and Dicing in Winter Park, Ellen Lindner, AdventureQuilter.com/blog

I pretty quickly decided that the line was too predictable, so it was out. But, I also realized that my FAVORITE fabric was duller than all the others. I’d need to scale it back. So, I moved my very brightest fabrics to the center. MUCH better!
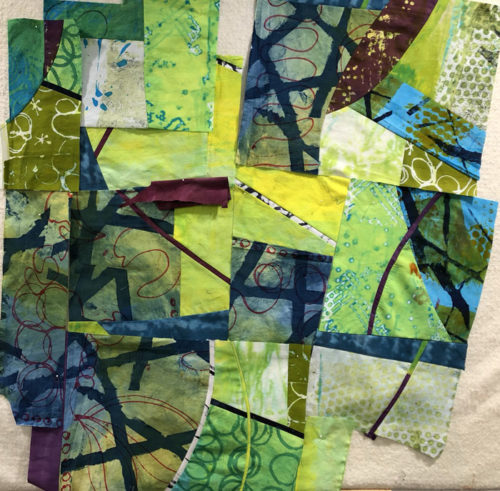
Slicing and Dicing in Winter Park, Ellen Lindner, AdventureQuilter.com/blog

But, some of that favorite fabric would need to go. Can you see it on the left? Have you heard the saying, “If a combination is not working, remove your favorite thing.?” Yep, that’s where I was. Maybe I could cut it into smaller pieces?

This is where I left it at the end of retreat. Of course, I had to take it all off the design wall to get it home, but I took a bunch of pictures.

This is a fun, but sometimes challenging, way to work. I was excited to continue with it.

Ellen Lindner
8

“Design Your Own Nature Quilt” near Chicago – Part Two

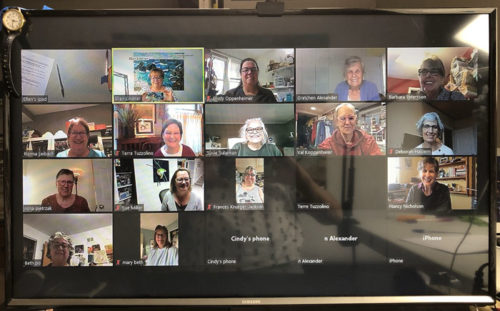
My Chicago area “Design Your Own Nature Quilt” students brought their artistic courage to class, and made some really great work. (These photos were showing on my computer when photographed. The quality is sometimes low, but you’ll get the idea.)

"Design Your Own Nature Quilt" near Chicago. A class with Ellen Lindner, AdventureQuilter.com

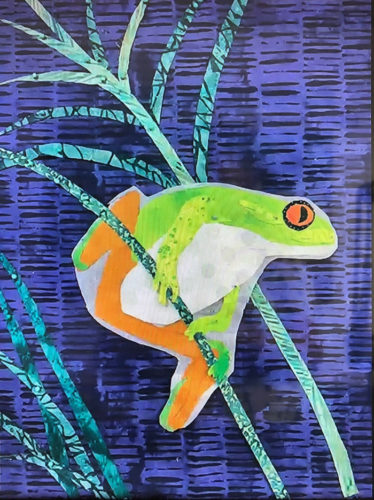
Sue did a great job with her tree frog. She constructed him with fusible web on some release paper. (See the white outline?) Once she removes that he’ll be a little slimmer.


"Design Your Own Nature Quilt" near Chicago. A class with Ellen Lindner, AdventureQuilter.com

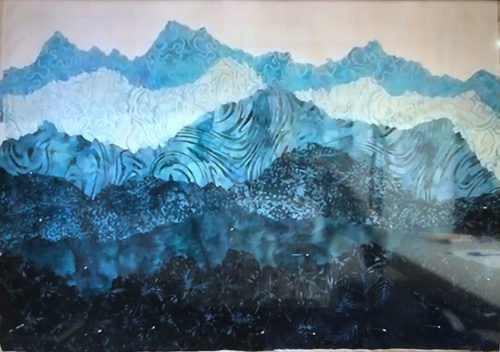
If I remember correctly Terre had never made an art quilt before. But, didn’t she do a great job? She fully embraced “jagged cutting” the mountain tops, which worked beautifully.


"Design Your Own Nature Quilt" near Chicago. A class with Ellen Lindner, AdventureQuilter.com

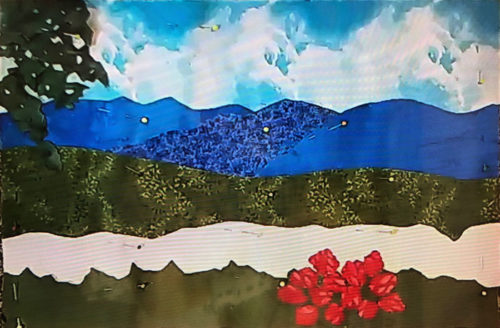
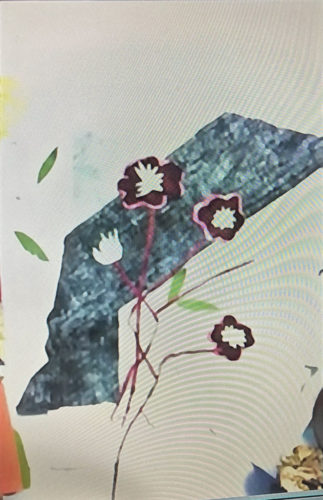
Deborah had never made any sort of quilt before! However, she bravely embraced fusible web, jagged cutting, and abstracted rhododendron flowers. (Don’t they look better than some perfect fussy cut version?)


"Design Your Own Nature Quilt" near Chicago. A class with Ellen Lindner, AdventureQuilter.com

Deborah’s inspiration photo.


"Design Your Own Nature Quilt" near Chicago. A class with Ellen Lindner, AdventureQuilter.com

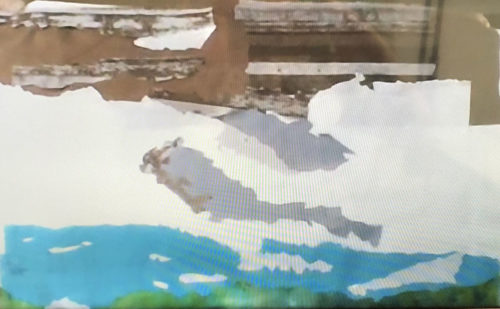
This photo of Susan’s work doesn’t begin to do it justice. She’s working on a rock face, snow with shadows, a lake, and – the missing items – tall evergreen trees. It’s going to be a lovely composition.


"Design Your Own Nature Quilt" near Chicago. A class with Ellen Lindner, AdventureQuilter.com

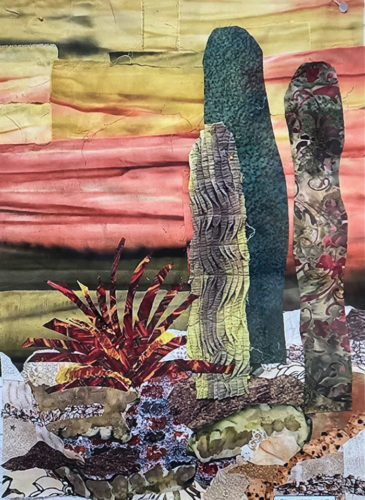
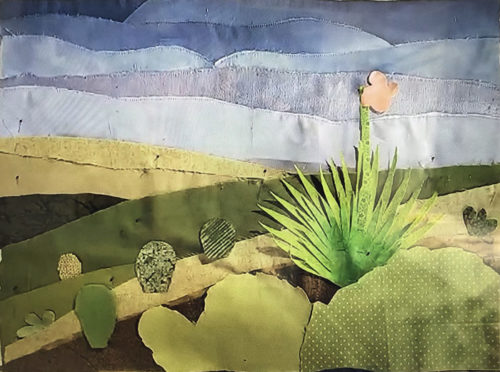
Beth took a lot of artistic license with her cactus grouping, which worked really well. She had a pleated scrap that made great texture for one of the plants. See her finished piece in the “Design Your Own Nature” gallery. (Link at bottom of post.)


"Design Your Own Nature Quilt" near Chicago. A class with Ellen Lindner, AdventureQuilter.com

Cindy also worked on a desert scene. She used mostly solids to capture the austere beauty. She’ll use fusible web to secure the spiky plant. Won’t it be great?


"Design Your Own Nature Quilt" near Chicago. A class with Ellen Lindner, AdventureQuilter.com

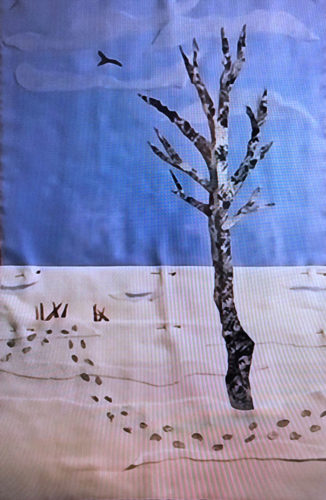
Although Frances’ image was simple in composition, it wasn’t simple to construct. She did an excellent job capturing the subtleties of variation in the sky and snow.

My students always do an awesome job and these were no different. It sure makes it fun for me!

Ellen Lindner
P.S. See Beth’s finished piece, and others, in the Design Your Own Nature Quilt gallery.

0

MUST Use These Scraps!

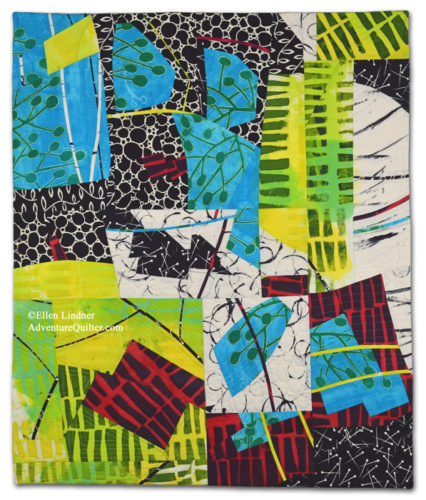
A Little Bit Tart, an art quilt by Ellen Lindner, AdventureQuilter.com

A Little Bit Tart

After completing A Little Bit Tart, I had a nice collection of very interesting – and already pieced – scraps. Of course, I had to do something with them!

MUST Use Scraps! Ellen Lindner, AdventureQuilter.com/blog

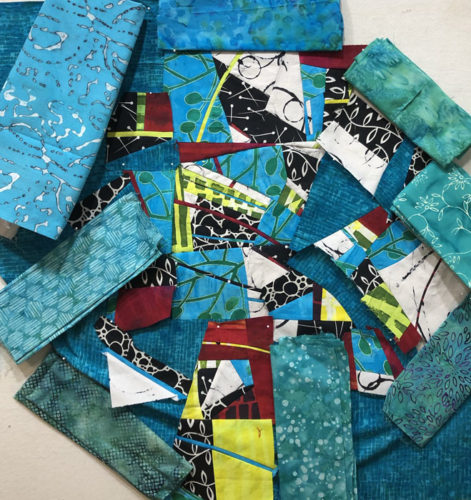
See what I mean? I decided I could add a lot of blue as the primary color and get an interesting result.

MUST Use Scraps! Ellen Lindner, AdventureQuilter.com/blog

I auditioned additional blue fabrics.

MUST Use Scraps! Ellen Lindner, AdventureQuilter.com/blog

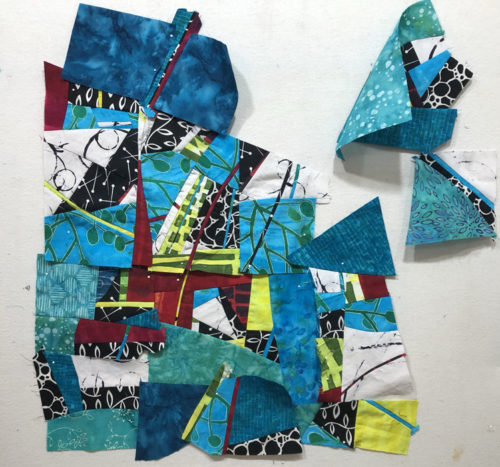
Then it was time for a big Tetris game (puzzle.) What could fit where? My decisions were driven by geometry and a desire to group the red shapes.

MUST Use Scraps! Ellen Lindner, AdventureQuilter.com/blog

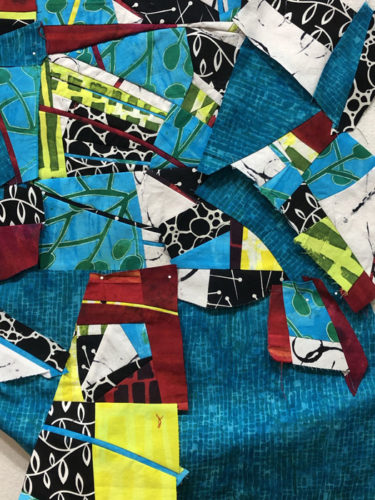
Some decisions were pretty obvious. Others took quite a bit if finagling. I made additional pieced shapes to fill in the gaps where needed.

MUST Use Scraps! Ellen Lindner, AdventureQuilter.com/blog

I did lots of auditioning and pieced things together only when I was completely sure.

MUST Use Scraps! Ellen Lindner, AdventureQuilter.com/blog

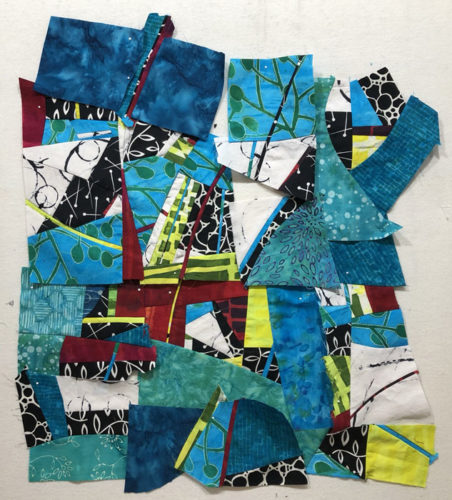
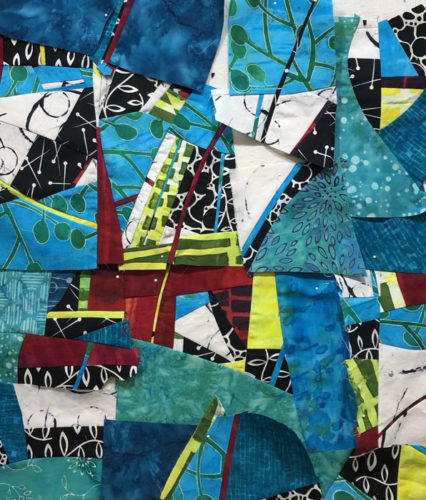
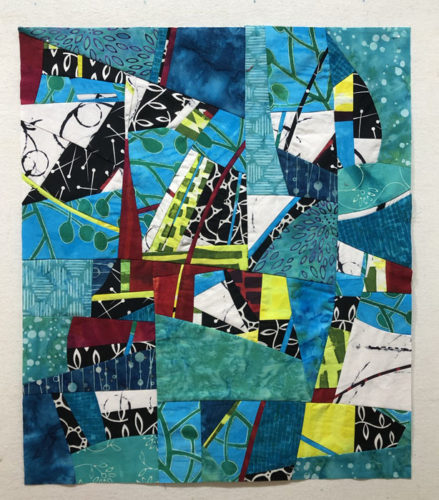
And, ta-da! This is what I ended up with.

MUST Use Scraps! Ellen Lindner, AdventureQuilter.com/blog

I really like it, and I named it Regatta. (Can you see it?)

Check my website to see it completely finished and quilted. I hope you like it as much as I do.

Ellen Lindner

12

“Design Your Own Nature Quilt” near Chicago

Last month I got to spend two and half days with members of the North Suburban Needle Arts Guild when I conducted my class, Design Your Own Nature Quilt. Because this group includes many non-quilters there was quite a mix of skill levels in the class. About half had never made an art quilt and several had never made a quilt of any sort! But, they all bravely dove in and they achieved EXCELLENT results.

In this class, each student brings their own inspiration photo, which means we’ve got 15 DIFFERENT projects going all the time. It keeps me on my toes, but I love it. They learn so much in this class!

"Design Your Own Nature Quilt" near Chicago. A class with Ellen Lindner, AdventureQuilter.com

I wish I had thought to photograph their inspiration photos, rather than just their resulting quilts. (These photos were showing on my computer when photographed. The quality is sometimes low, but you’ll get the idea.)

"Design Your Own Nature Quilt" near Chicago. A class with Ellen Lindner, AdventureQuilter.com

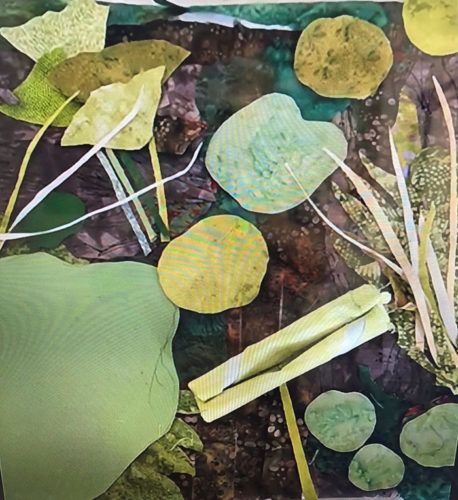
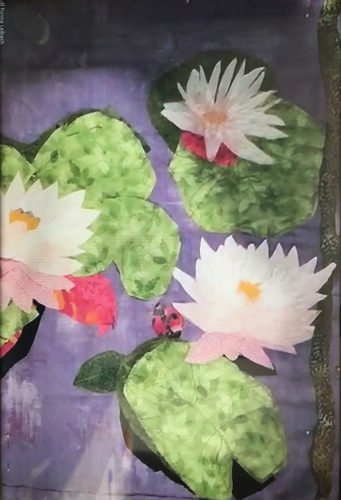
Gretchen was inspired by a photo of water lilies. She changed the nearly black water to a dark plum, which worked beautifully. She’ll use fusible web to add the skinny little grasses, and she’ll stiffen some of the leaves to make them 3D. It will be great!


"Design Your Own Nature Quilt" near Chicago. A class with Ellen Lindner, AdventureQuilter.com

Ronna also worked with water lilies, and also switched to purple water. This complementary color really adds drama and contrast. And check out how effective those black shadows are. Nice!


"Design Your Own Nature Quilt" near Chicago. A class with Ellen Lindner, AdventureQuilter.com

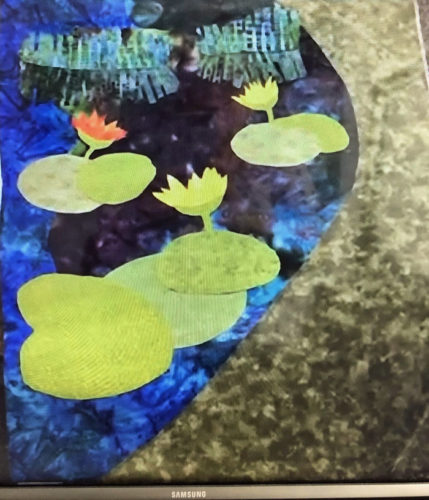
Val’s lily pads are coming along nicely. She’ll add some shadows to add dimension. Check out her water grasses and their reflection near the top. She spent a lot of time on them and I think they’re very effective.


"Design Your Own Nature Quilt" near Chicago. A class with Ellen Lindner, AdventureQuilter.com

This photo doesn’t do Barbara’s work justice. Her photo had three delicate flowers against a complex shadow. She had to work at providing contrast with value. Her later progress showed that she was moving in the right direction.


"Design Your Own Nature Quilt" near Chicago. A class with Ellen Lindner, AdventureQuilter.com

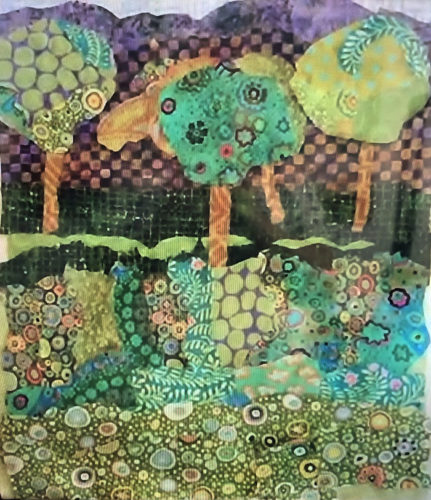
Nancy cut loose in a really wonderful way. She started working with solids, but needed some dappled light. As we searched her print fabrics she realized that she had quite a big selection of them, so she switched gears. This brought a lot of energy to her scene. She’ll add some thread-painted grasses in the foreground.

See Nancy’s completed quilt in the student gallery.

"Design Your Own Nature Quilt" near Chicago. A class with Ellen Lindner, AdventureQuilter.com

Nancy’s inspiration photo

These ladies really embraced our class motto: Be inspired by your photo, not controlled by it. Way to go ladies!

Look for more examples in my next post.

Ellen Lindner
0