Archive | November, 2024

Using Coordinating Fabrics

In my last dyeing session I printed these two fabrics. I loved them and couldn’t wait to use them together!
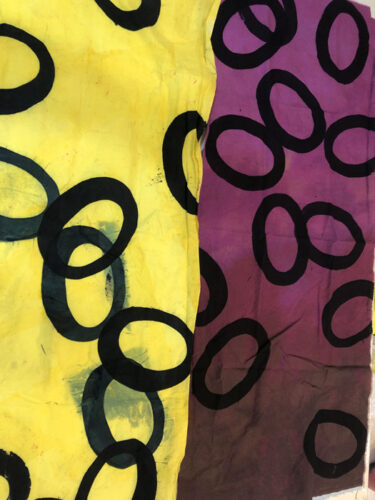
Using Coordinating Fabrics. Ellen Lindner, AdventureQuilter.com/blog

But, what to do with them? In my usual fashion I pulled out every fabric that I thought MIGHT work with them.
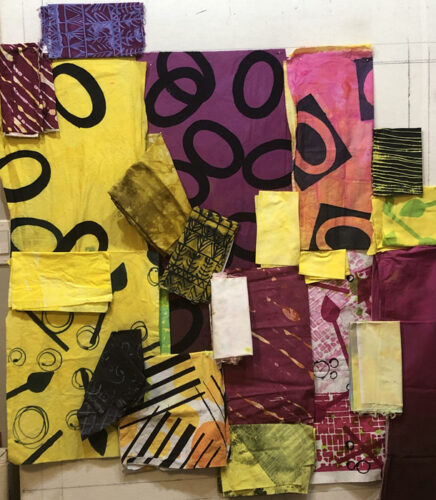
Using Coordinating Fabrics. Ellen Lindner, AdventureQuilter.com/blog

I tried adding some peach, as a transition color.
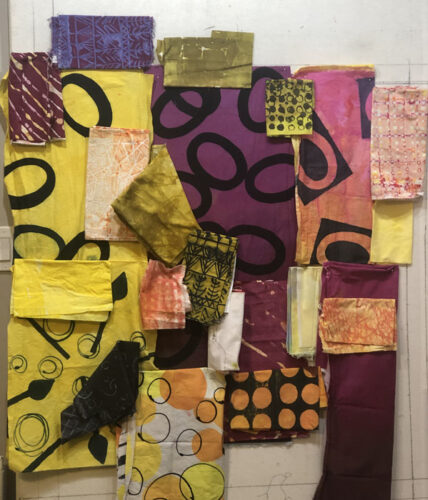
Using Coordinating Fabrics. Ellen Lindner, AdventureQuilter.com/blog

Then, I removed some of the busiest prints and added black and dark purple.
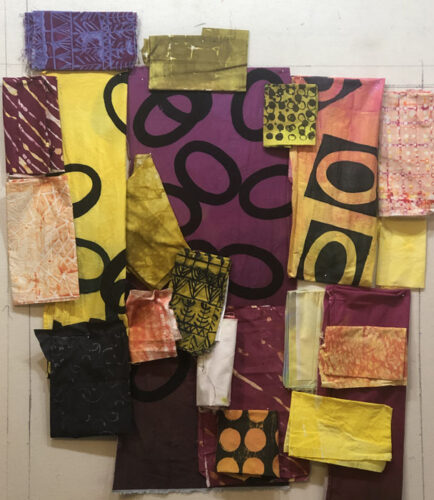
Using Coordinating Fabrics. Ellen Lindner, AdventureQuilter.com/blog

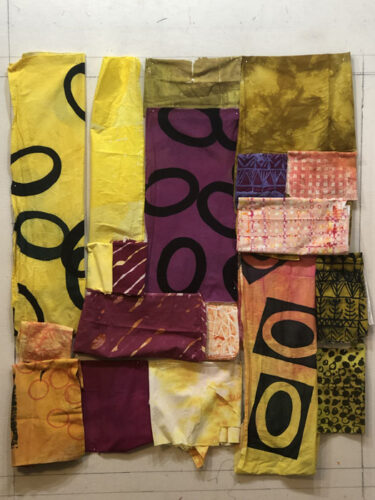
Now what? Should I use both bright and dull yellows?
Using Coordinating Fabrics. Ellen Lindner, AdventureQuilter.com/blog

Or maybe just dull yellow? (Which would mean I couldn’t use the yellow circles at all.)

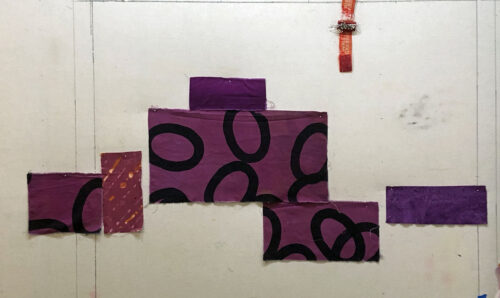
Either way, I knew I needed a plan. Maybe something wide and short with a horizontal arrangement of purple.
Using Coordinating Fabrics. Ellen Lindner, AdventureQuilter.com/blog

No, it really was too chunky.
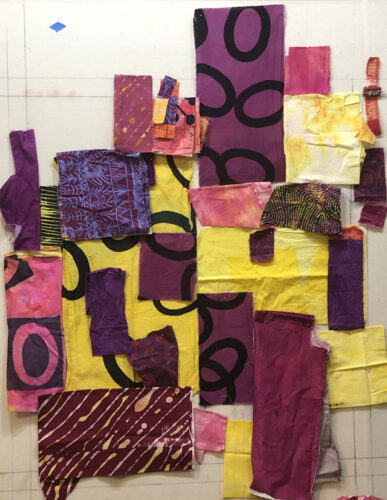
I finally proceeded with the selection below, still wondering what to do.
Using Coordinating Fabrics. Ellen Lindner, AdventureQuilter.com/blog

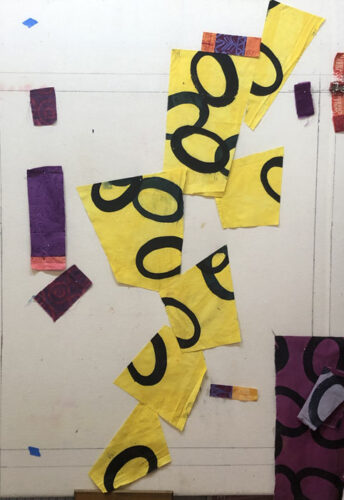
I thought I should lay out the focal point/line first. I cut up the yellow, trying not to dice up too many circles. I was pretty happy with this, but I knew I couldn’t properly audition it on a light design wall. I needed to see the purple/fuchsia around the perimeter for contrast.
Using Coordinating Fabrics. Ellen Lindner, AdventureQuilter.com/blog

I stared in with the fuchsia and liked the added contrast. But what about those yellow pieces? I began to think that they were too big and chunky.
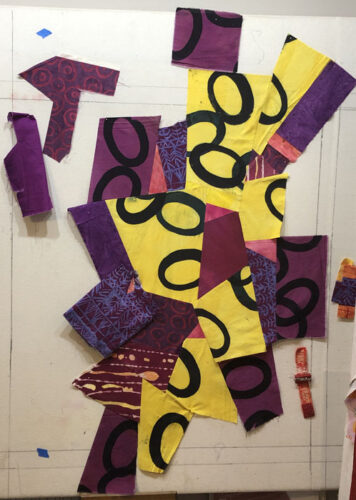
Using Coordinating Fabrics. Ellen Lindner, AdventureQuilter.com/blog

What if I made them smaller and/or inserted fuchsia in some places? To audition the idea I did a little experimenting in the computer.
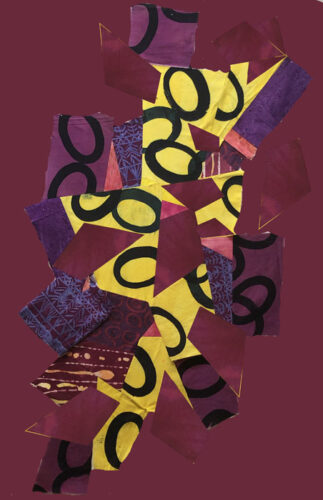
Using Coordinating Fabrics. Ellen Lindner, AdventureQuilter.com/blog

Hmm. I learned two things: 1 – Yes, the yellow looked better in smaller pieces, 2 – That’s too much fuchsia!

So, I reluctantly knew what had to be done: I needed to partially take it apart, cut some pieces smaller, and then figure out how to get everything back together again. And that’s when it turned into a giant Tetris puzzle!

Sometimes I hate it when I get a good idea! (Or was it really good? Watch for future posts so you can be the judge.)

Ellen Lindner


6

Splicing Fabric

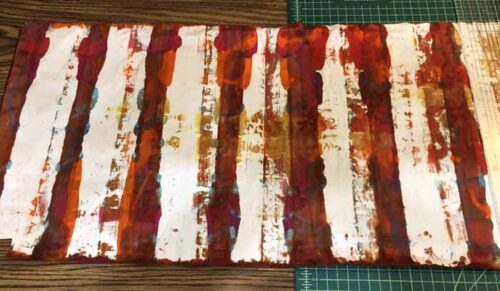
As I was winding down on my recent dye session, I tried a very random exercise. I loosely pleated a piece of fabric and scraped on a variety of different colors, as well as some clear paste. It was a gooey mess when I finished!

But, when I washed it out I found out that the underneath folds had not received any color. I got a roughly striped fabric. Hmm. The colored parts were great, but I didn’t want a stripe.

  Splicing Fabric

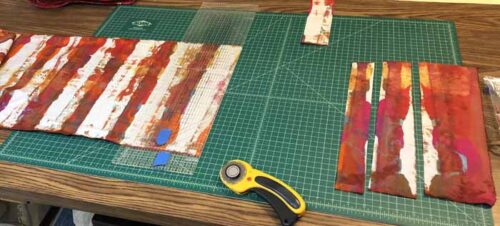
I decided to carefully cut away most of the white and then piece the colored parts together. Of course, I had to plan for seam allowances. I also saved the white parts, planning to piece them back together, too.

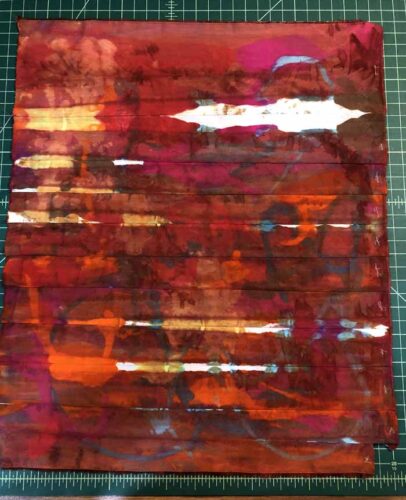
Here’s what I got. Kinda gorgeous, right? The hint of stripeyness is now appealing to me. I may need to tone down that large white blob, though.

Splicing Fabric. Ellen Lindner, AdventureQuilter.com/blog

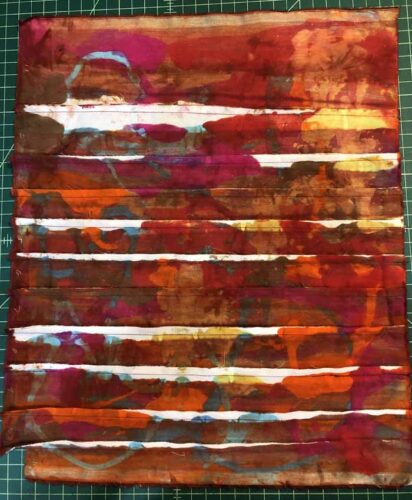
Uh oh! I accidentally pieced this with wrong sides together. The side with the seams actually shows the brighter version of the fabric.

Splicing Fabric. Ellen Lindner, AdventureQuilter.com/blog

There’s not a big difference, though. I think I can use either side, actually.

Now, what do do with it. Any ideas?

Ellen Lindner

0