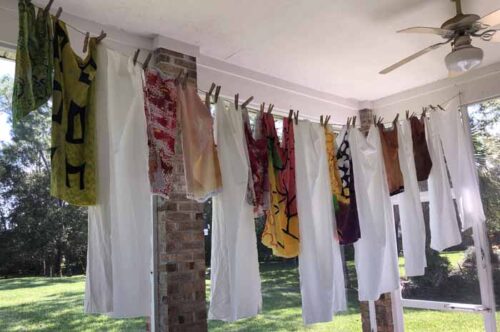
Ghost printing yields pale, delicate results. Like this.
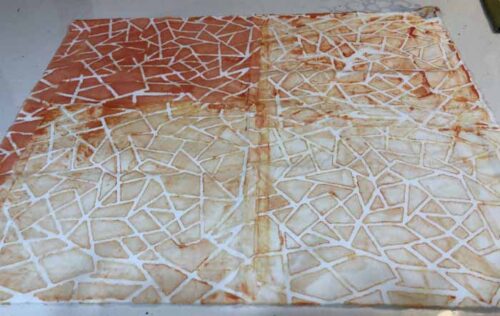
All you do is run clear printing paste through a dirty stencil. The paste picks up the color remaining in the crevices and dilutes it to a lovely pastel.
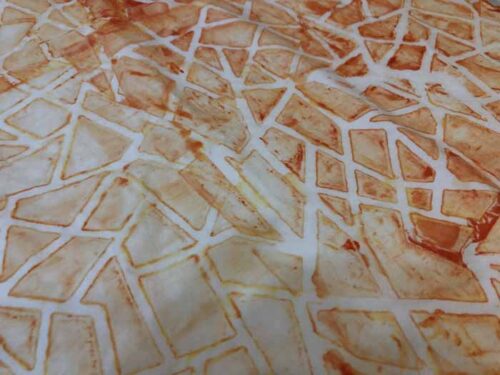
Isn’t it pretty?
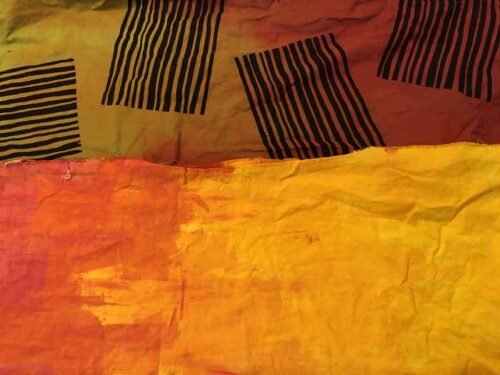
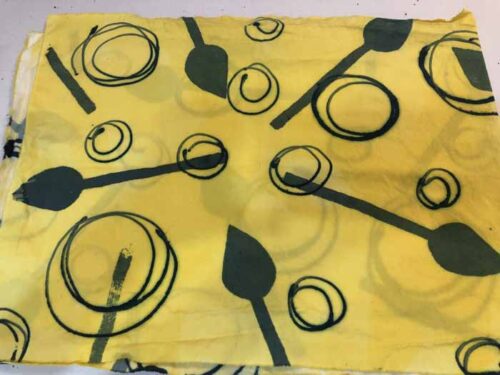
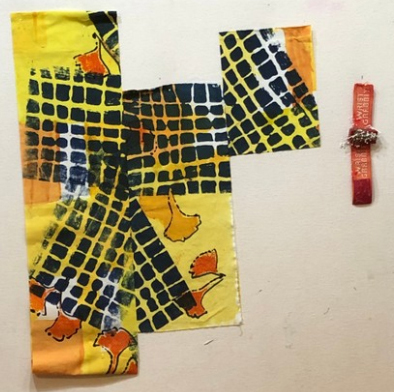
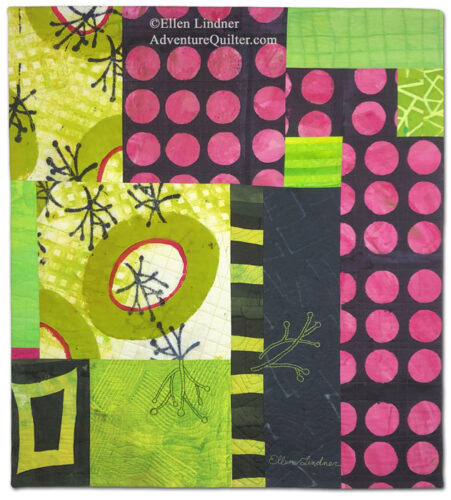
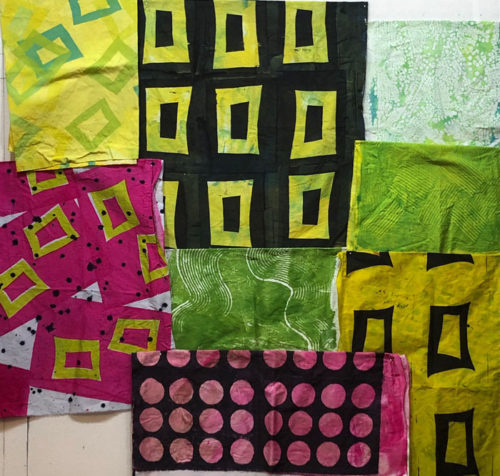
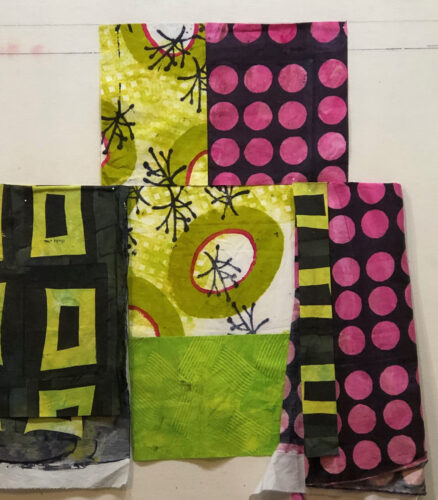
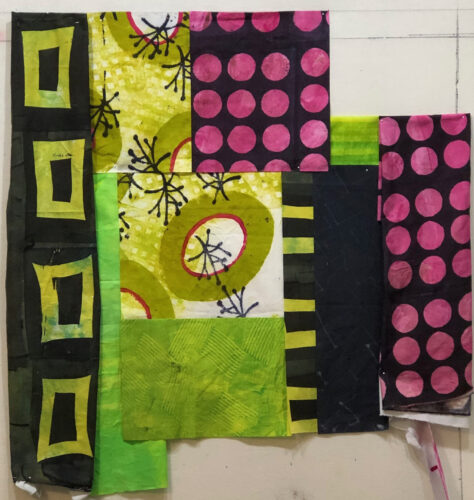
Deconstructed screen printing (DSP) is quite different. Thickened print past, usually colored, is drawn onto a clean screen. (Or maybe stenciled on, or maybe applied evenly and then altered by lifting some of the paste with various textured items.) Mine was drawn on: simple black lines. This was done at the tail end of my previous dying session and allowed to dry.
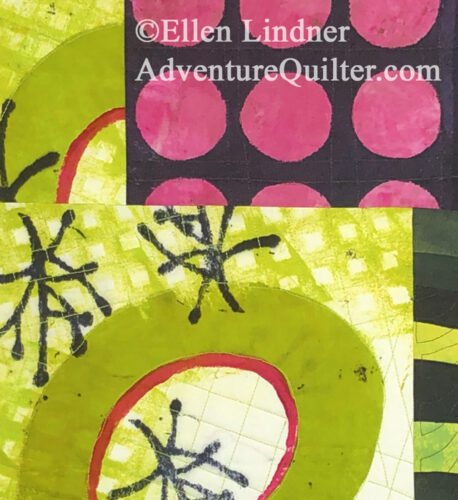
Once dry the paste will act as a resist. You can pull a color of paste through and the areas with the dried paste will act as a resist and will print as white. You can see this in the photo below, looking at the left side. My first pulls were with olive colored paste.
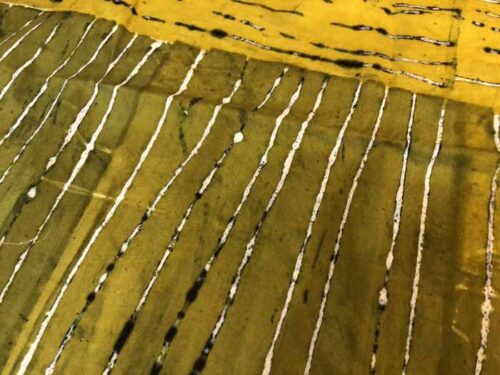
As you continue to pull, the pulled paste will break down (“deconstruct”) the dried paste design and it will begin to color the edge of the white lines, giving them halos, see above.
And then it will break down some more and print its original color. You can see that below in the dull gold areas. The lines primarily printed as black.

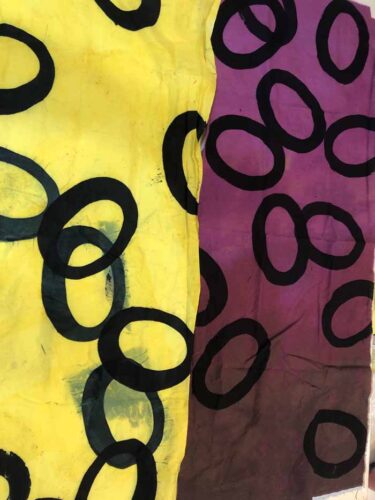
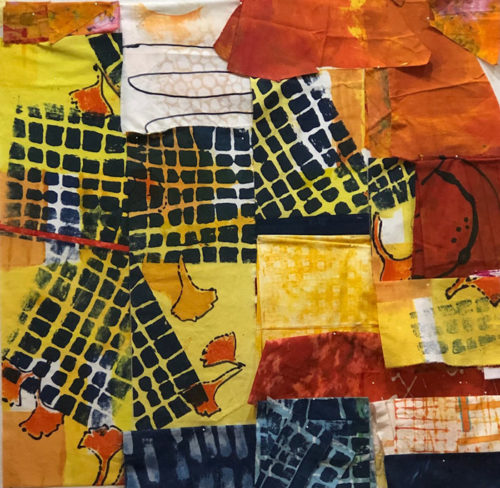
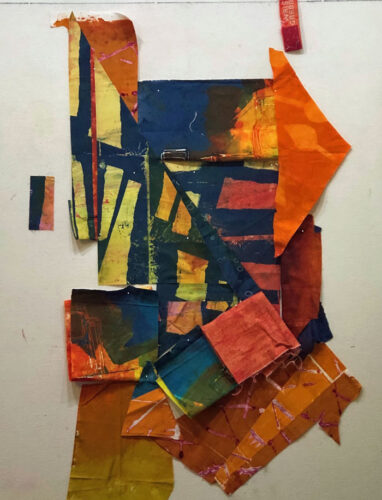
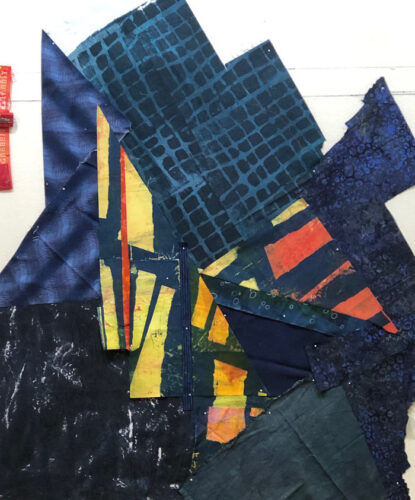
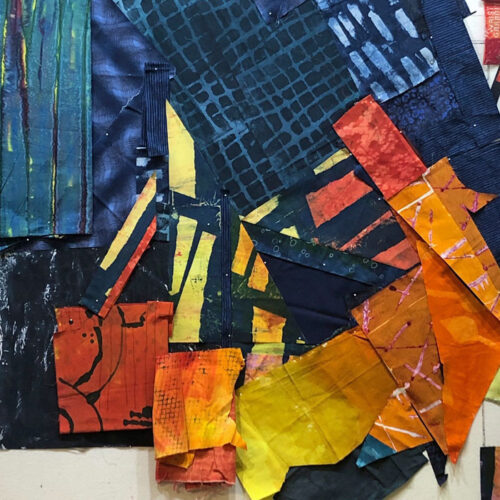
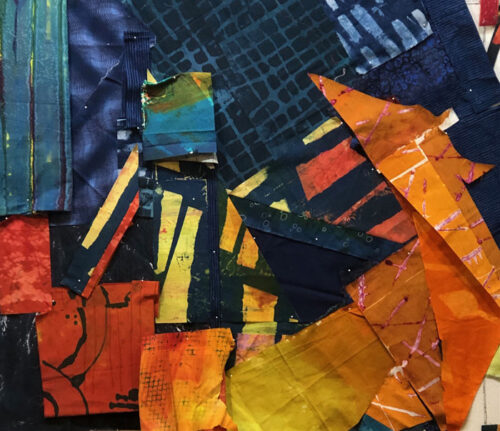
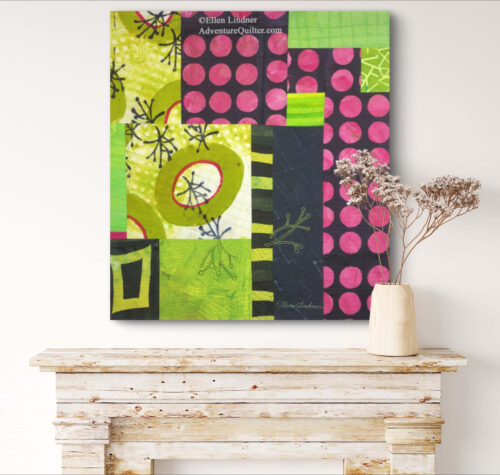
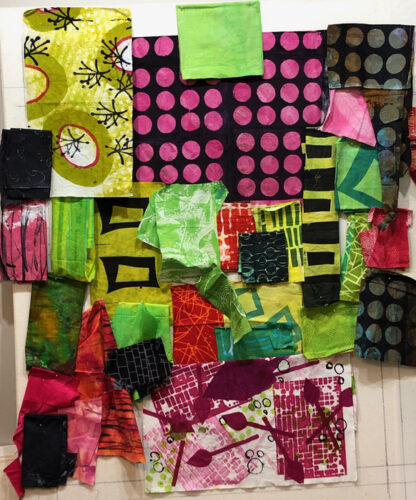
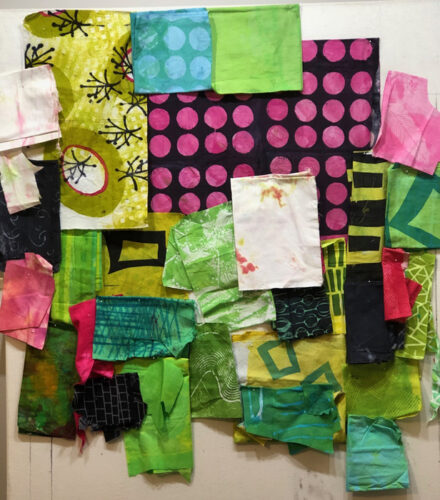
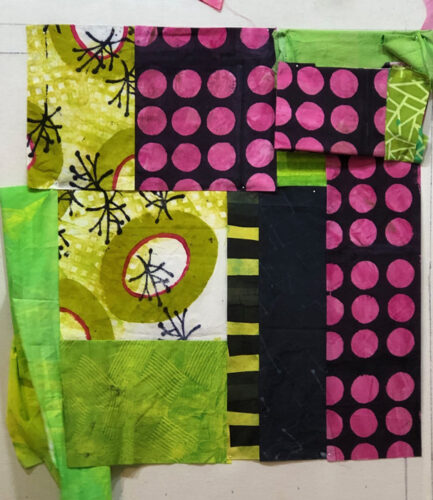
These will be fun fabrics to use!
Ellen Lindner