Finishing Details
A checklist and more
It sure is rewarding to complete the quilting on a quilt! I sign it with additional stitching and then turn my attention to the few remaining tasks. Some of these are related to construction, and others have to do with documentation, storage, etc. This article takes you though my process, in hopes that it’s helpful to you.
First, the edge of most quilts need to be finished. Binding is an option, but I almost always face mine. This is fast and easy and avoids the addition of a visible line at the edge. I add a label and the hanging sleeve during the facing process, all by machine. How easy is that? See my tutorial on this process.
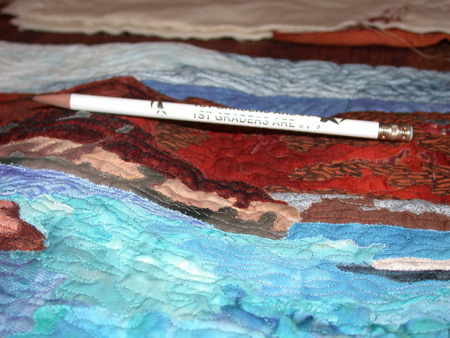
Next, I find that most of my quilts are rather wavy when completed. (Like the detail shot below.) These quilts need to be blocked, which makes them lie completely flat. It takes a little fiddling, but the result is worth it. See my tutorial on this process.

Of course, I want a good photo of my quilt. There are many tutorials on this subject online, so I won’t try to coach you on it. For the best photos, I designate some time and photograph several recently finished quilts with professional lights and such. However, for a faster substitute, I take advantage of the sunny days here in Florida and photograph my quilts outside.

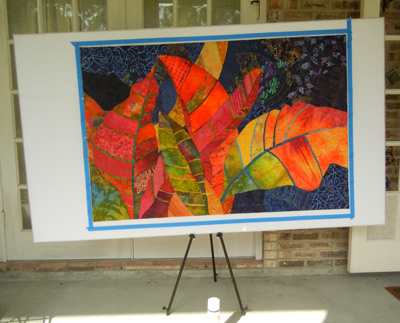
My set up is shown above. Because both of my design walls are free from the wall (just leaning,) I can use them as backdrops for photography. The photo above shows my large design wall on my tiny easel. (The small design wall fits much better.)
In this case, the blue tape I used to help me with blocking is still showing. I edited that out after the fact, with photo editing software. The quilt is pinned to the design wall with hand sewing needles. These work perfectly. I push them in with a thimble. But not quite all the way. Later, they can be pulled out from either front or back. As you can see, I photograph on my porch, which has strong morning light. I position the quilt so it’s just barely in the shade.
What you can’t see in this photo is the tripod. The camera was on it when taking this picture. I don’t worry about the quilt being a little tilted, since I can rotate it in the computer. However, it’s also pretty easy to tilt the tripod head to compensate for this. In addition to using a tripod, I also find it helpful to use the two second delay on my camera. This avoids any hand shake that might occur.
While I’ve got the quilt spread flat outside I spray it with a UV/stain protectant. (See the can sitting there?) This needs to dry for about an hour. [2012 Note: I can no longer find the product I like. But several products are made for paint artists. I think I’ll need to experiment with those in the future.]
I sometimes do these tasks in batches, photographing or spraying several quilts at once. Which makes it tricky to remember which quilts still need what. Therefore, I’ve created a checklist. Take a look: Word doc, or PDF .
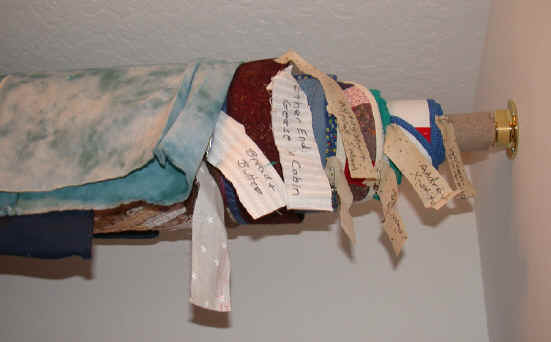
At this point, my quilt is completely finished. It’s time to add the photo to my website, chat about it on my blog, and either hang it or store it. (See photo below.) Read about my quilt storage for largest quilts and medium/large sized ones. (blog post)

My quilts don’t tend to stay stored for very long, since I frequently send them to exhibits. In those cases, they must be packed carefully so they arrive with a minimum of wrinkles. (Tutorial coming soon)
When all these tasks are completed, I can rest easy and get started on the next quilt. Oh what fun!
If you found this information useful, you may be interested in my other free articles, online classes, and e-books. Full directory
