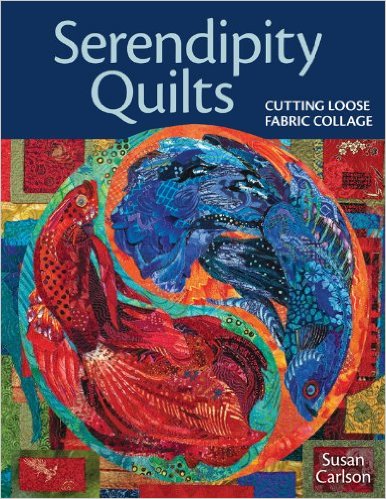
I was making good progress on my two large leaf quilts when I got BADLY distracted. The culprit was the book Serendipity, by Susan Carlson. In it she explains her fabric collage techniques. In many ways they’re the same as my own, but with a much higher level of tiny details. It was all SO intriguing and I just had to give it a try. “BAM! SCREECH!” The sounds of my leaf train derailing.
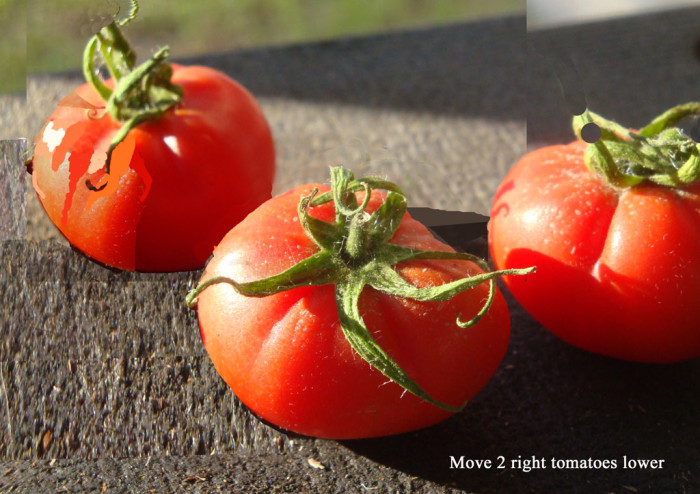
I pretty much never switch gears once I start on a quilt, but this time I did so quite gleefully. I searched my photos for inspiration and decided to work with a photo of three tomatoes. I tweaked the composition and will probably do some more down the road.
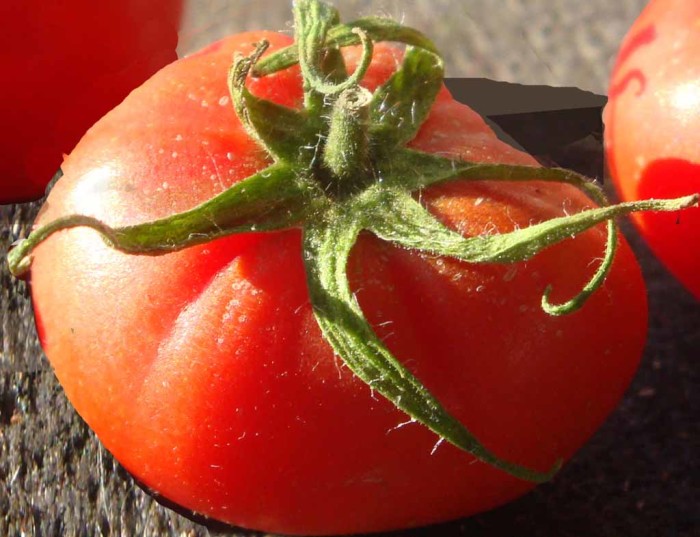
Susan typically constructs her design elements as stand-alone units. This enables her to move them around later and to easily audition background options when the time comes. So, I followed suit and drew a 20″ tomato.
I drew the design onto muslin with a Frixion (heat-way) pen. The mini iron was my “eraser.”
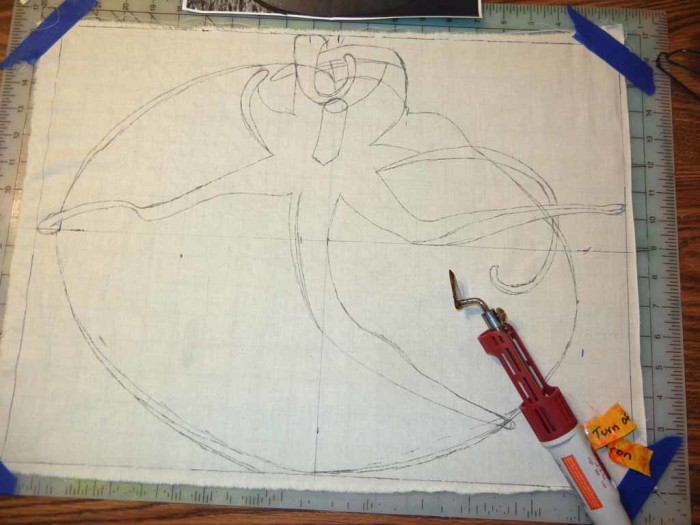
The idea is to fill the shape with the proper VALUE, leaving the detail areas as cutouts.
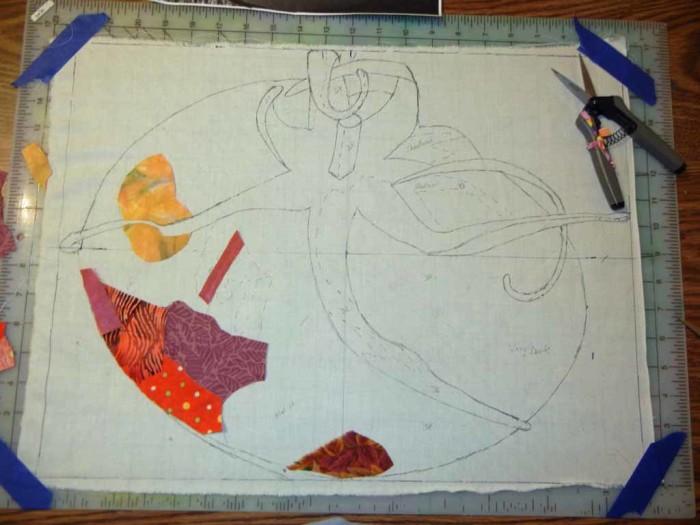
This was my first draft as I was nearing completion of the red fabrics. The space was covered, but it was lacking some finesse.
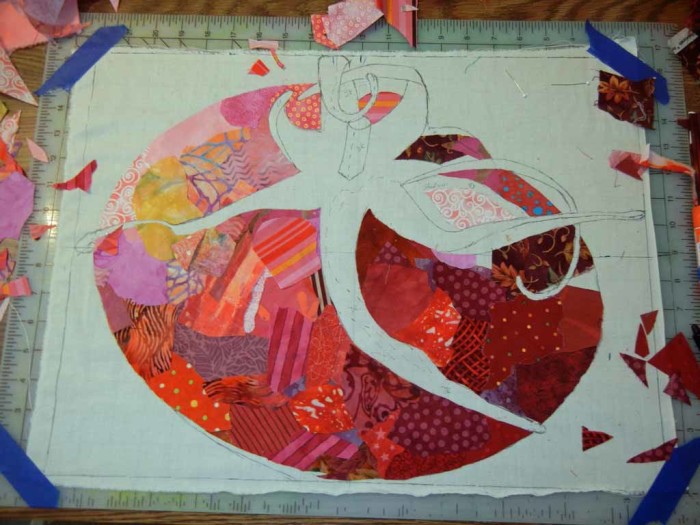
I switched the light spot from yellow to pink. But, it still looked pretty chunky.
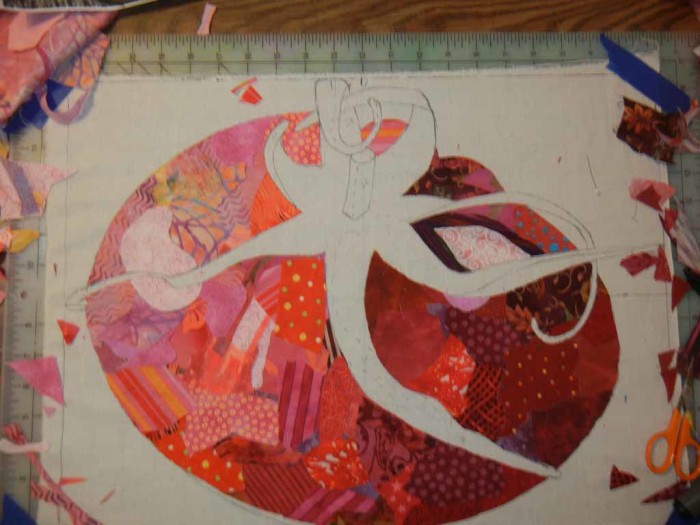
Next, I started fiddling with the details. Susan explained the basics in her book, about how to soften any hard edges. From studying her blog and website, I could also see that she often cut little motifs from her fabrics and used them to merge the colors and patterns better. Like this.
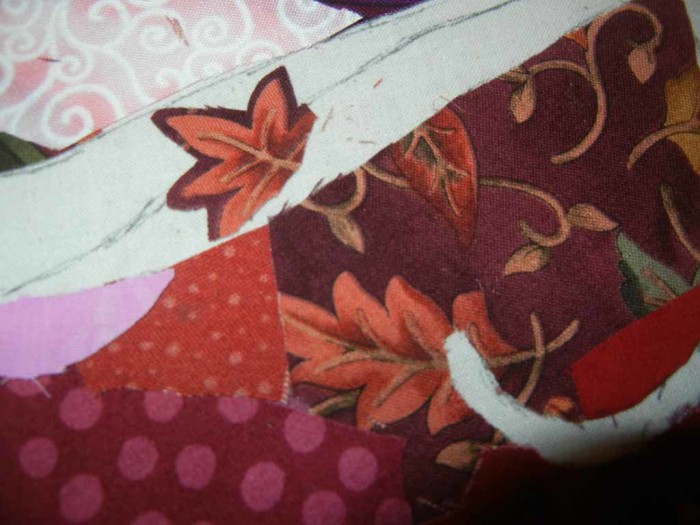
Instead of abruptly cutting off a motif, soften the edge by continuing it onto the next fabric.
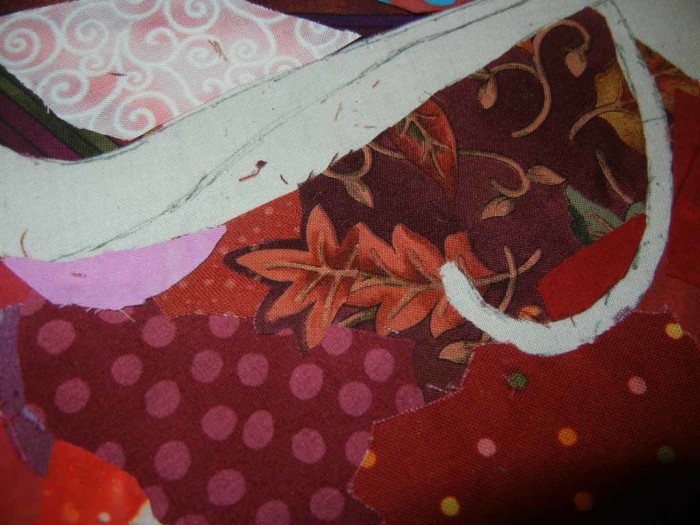
Well, that sort of thing is totally addicting! AND it adds a lot of interest to the piece, as well as softening hard edges.
Here it is after a ton of fiddling (with the leaves still showing as cutouts.) Much better, right?
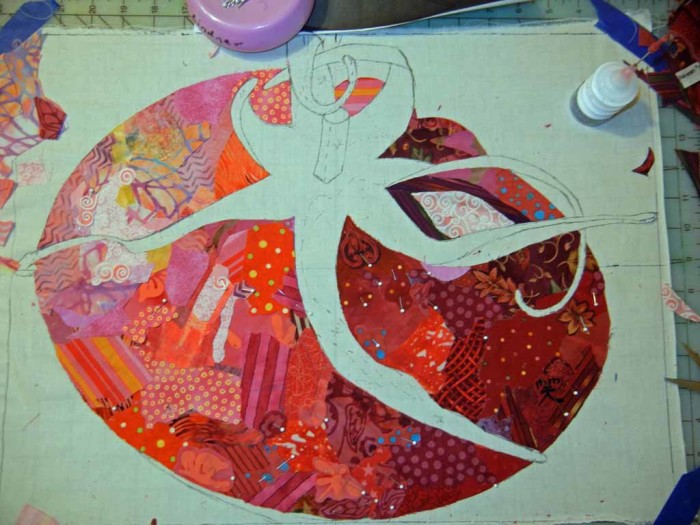
I’m really having a lot of fun working this way. Perhaps it will become too persnickety for me in the future. We’ll see.
On to those twisty little leaves.
Ellen Lindner
P.S. I’ve made several other quilts featuring produce. Like Mangolicious.
P.P.S. Did you know you can susbscribe to my blog? When doing so, you’ll get every post in your email inbox. Just click the Subscribe button, top right.


thanks for sharing. very inspiring..
Hi Sue,
I’m so sorry that I overlooked your comment until now! I’m glad you enjoyed the post. By now, you’ve probably seen additional posts with more tomatoes. It was a fun way to work. (And now I’m on to something completely different.)
You must have so many ideas buzzing around its hard to stay on track and finish one project at a time. LOL I know how that feels to jump your track. Let’s see how you finish the tomato.
Christine, it IS exhilarating to have a new idea and to explore it! I’m having fun.
Hi Ellen,
Your tomato is off to an excellent start. I can’t wait to see the finished fruit! I too, love Susan Carlson’s work You’re right–her techniques are very similar to yours, and that’s why I love your work as well. I especially love her approach to using glue to affix fabric to the foundation muslin–every freeing.
Right, Michelle. Like Susan, I’ve been creating my compositions onto a muslin base for years. Until recently I left everything PINNED right through the quilting stage. Recently, I’ve discovered a glue I like, so I’ve been gluing mine, too.
It turns out that I glue WAY more than Susan! That gave me some trouble when I tried to insert the green leaf fabrics later.
(Sorry for the delayed reply. My new setup didn’t notify me of your comment.)
So glad I signed up for your blog,already learned some great lessons from today.i missed the Melbourne quilt show,went to mount Dora instead…I am so sorry. But I do think I saw your sunflower art somewhere. Back to Wisconsin tomorrow but next year will look for you and watch for a winter class in Kissimmee/Melbourne area.
Hi Cari. Perhaps we’ll cross paths next year. Glad you’re enjoying the blog!
(Sorry for the delayed reply. My new setup didn’t notify me of your comment.)
So much fun to watch you do this picture by picture. Those tiny little pieces do indeed bring it all together, softening edges nicely. Love what you do when you make your art.
Thanks, Maeve! It’s so much fun!
(Sorry for the delayed reply. My new setup didn’t notify me of your comment.)
I think this looks like another good mind stretching exercise – and fun!
Hi Michele. It’s always mind stretching when you try something new, right? I love that!
(Sorry for the delayed reply. My new setup didn’t notify me of your comment.)