Tag Archives | Classes

“Love It And Leaf It” in San Diego

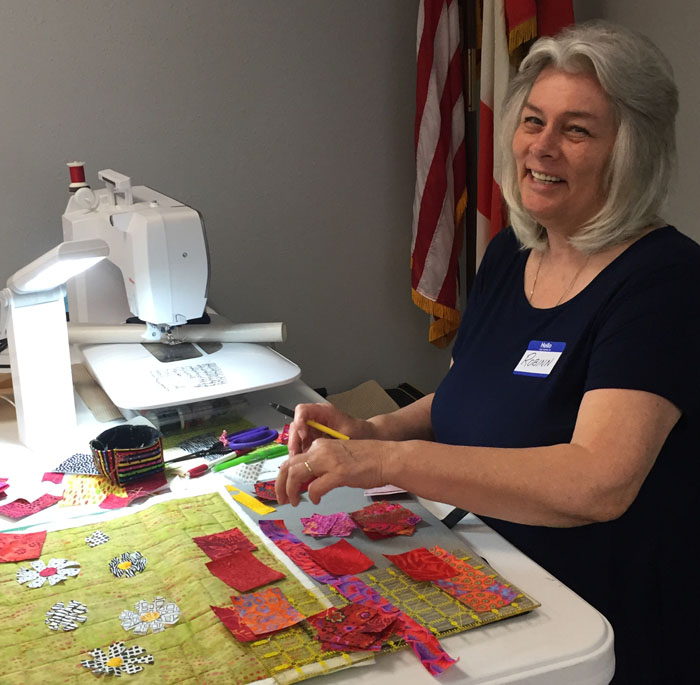
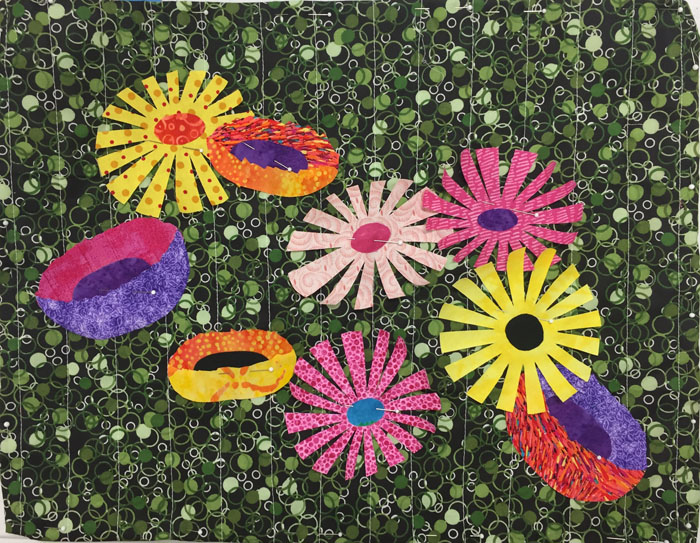
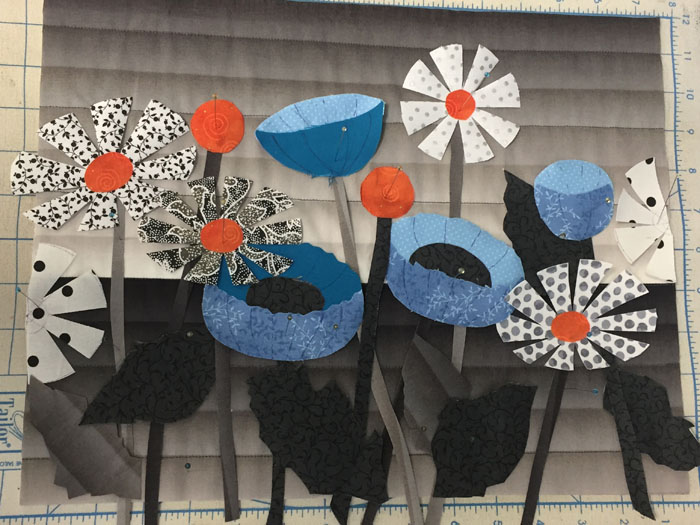
The San Diego women in my “Love It and Leaf It” class had a great time and did wonderful work! I didn’t save my photos properly, but several of them were kind enough to send me photos after class.


Student work from Ellen Lindner's "Love It and Leaf It" class. AdventureQuilter.com

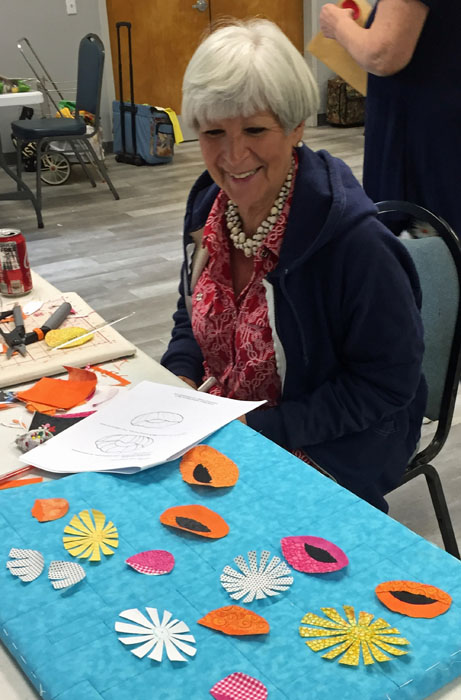
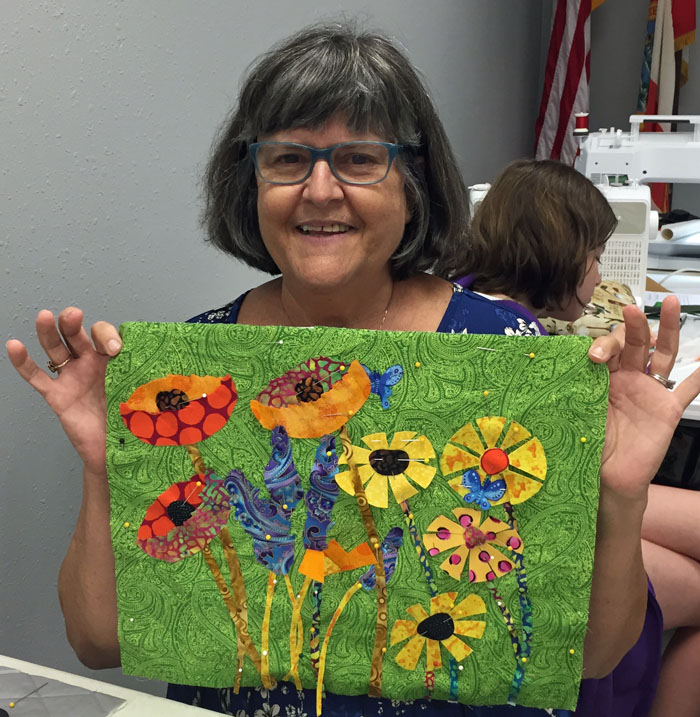
Diane Deckerhouser

The expression on Diane’s face, above, is a good example of the delight each student felt as she finished her composition.

Shelly’s perfect “running stitch” adds a nice bit of contrast to her quilt.

Student work from Ellen Lindner's "Love It and Leaf It" class. AdventureQuilter.com

Shelly Gragg

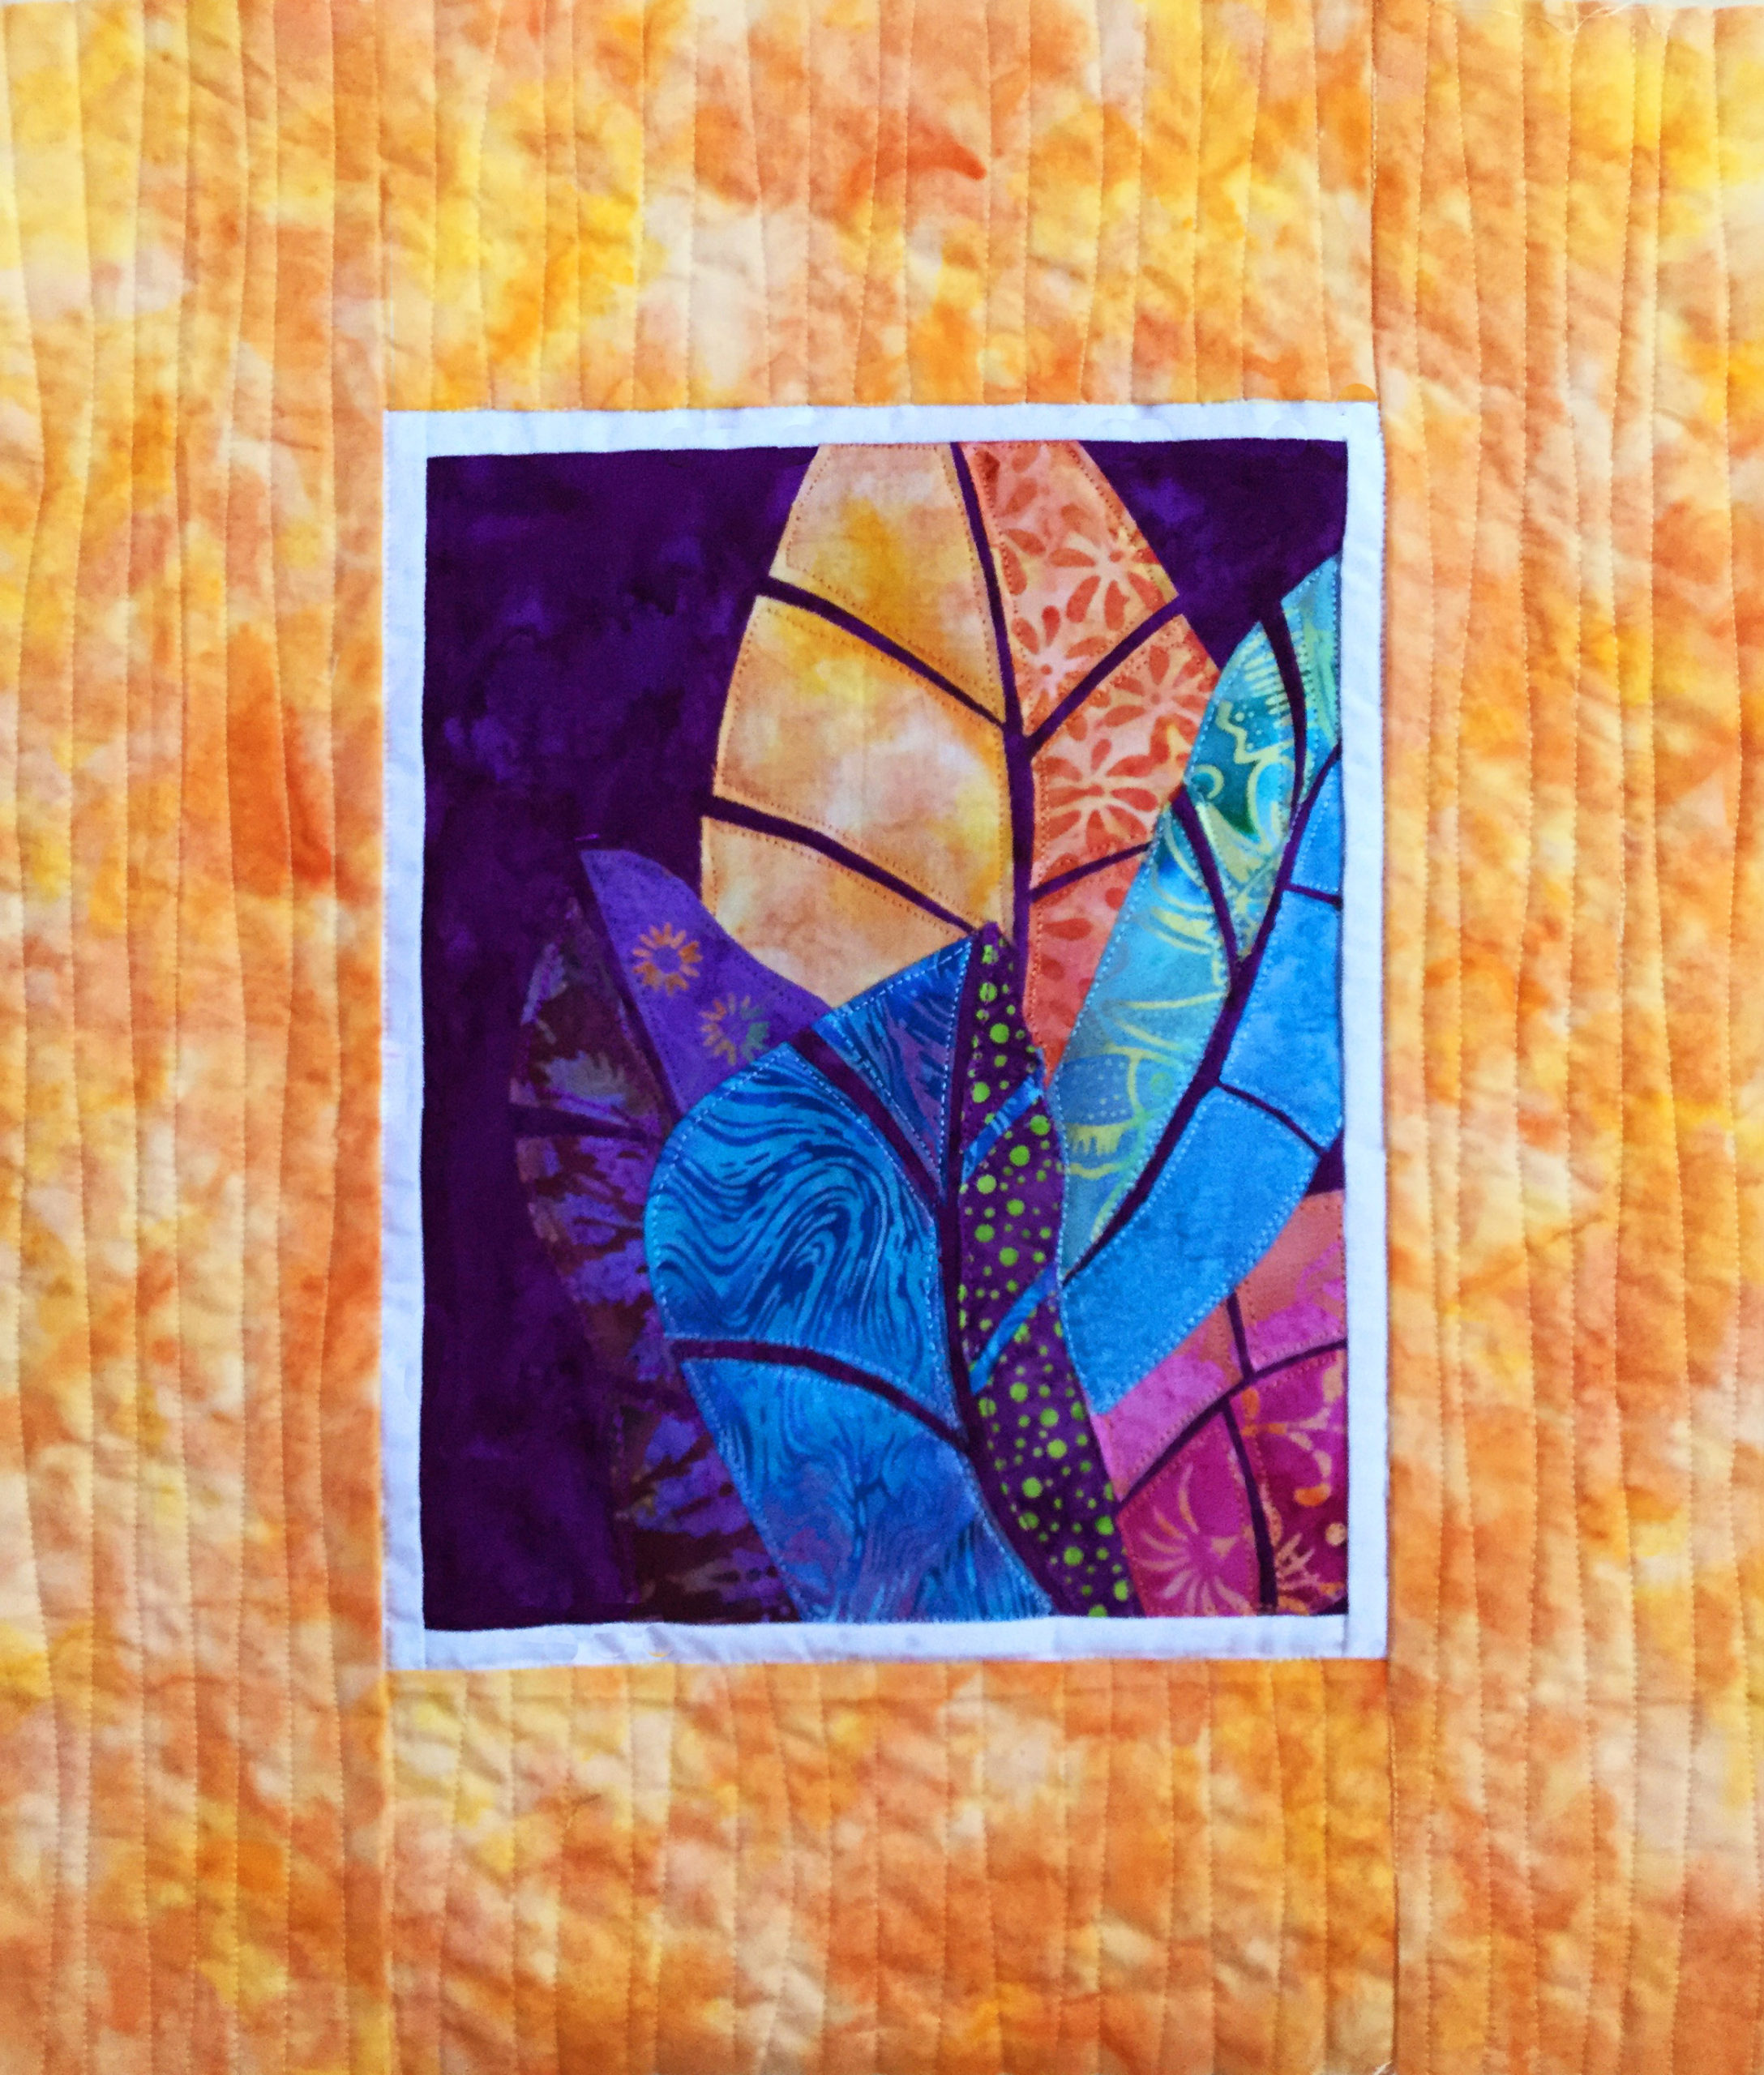
In this class, I not only show the students how to face their small quilts, but also how to frame them with “the Ellen technique.” Iris used a different technique, but the effect is the same. Doesn’t the mat and frame elevate it?

Student work from Ellen Lindner's "Love It and Leaf It" class. AdventureQuilter.com

Iris Williams

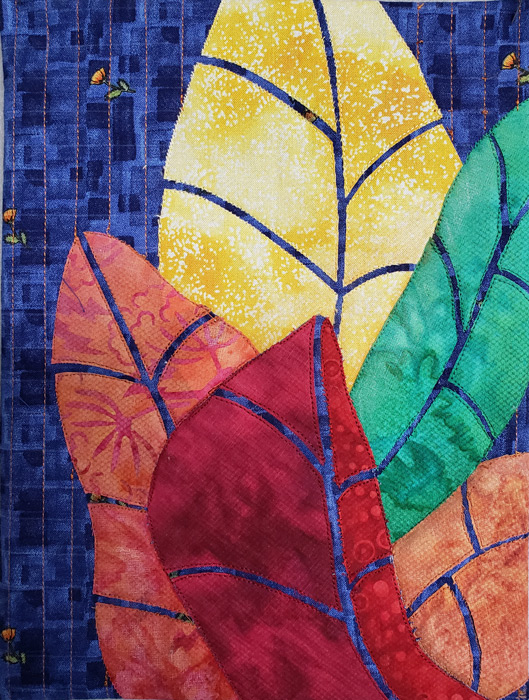
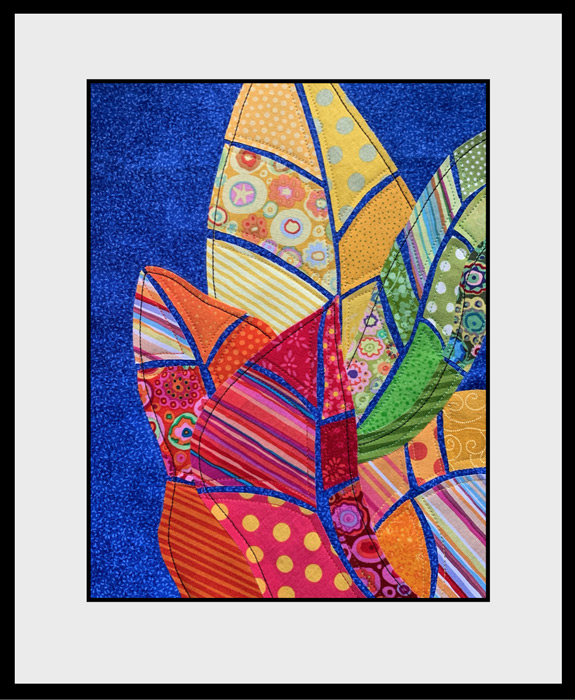
Corky’s blue background worked very well with her fabrics.

Student work from Ellen Lindner's "Love It and Leaf It" class. AdventureQuilter.com

Corky

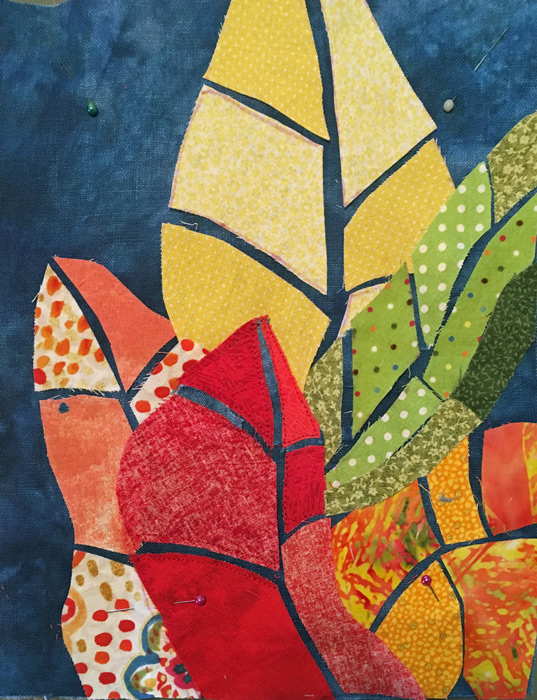
Working from home (like everyone else,) Karen was seduced by her lovely stash fabrics and altered the colors quite dramatically. I think it’s very successful.

Student work from Ellen Lindner's "Love It and Leaf It" class. AdventureQuilter.com

Karen Brow

I don’t know who made this one, but didn’t it turn out great? They all did!

Student work from Ellen Lindner's "Love It and Leaf It" class. AdventureQuilter.com

Unknown San Diego maker

This is an easy and fast class: only 3 hours. In January, I’ll be teaching it at Road@Home, the virtual version of the Road to California show, which had to be canceled this year. I’d love to see you in class. See the details here.

Ellen Lindner

0

Double Reverse Appliqué “in” Ann Arbor

I did a second fun Zoom class with the Ann Arbor gals. This time it was Double Reverse Appliqué.

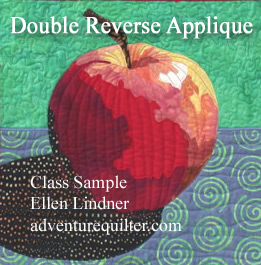
Double Reverse Applique class sample. Ellen Lindner, AdventureQuilter.com

They made great progress. Just look.
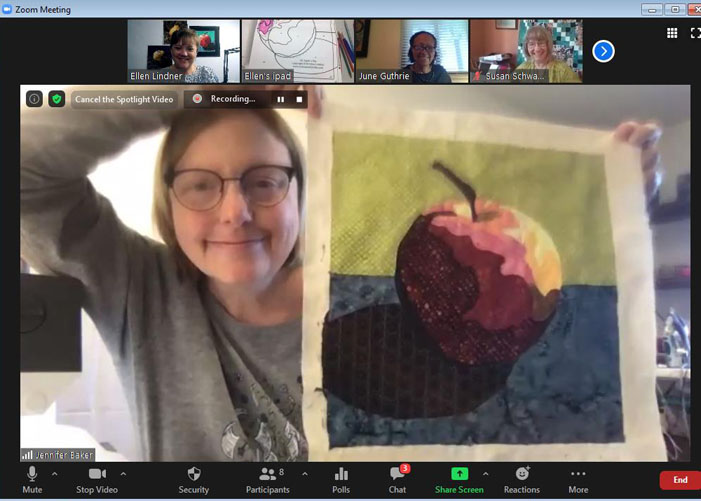
Jennifer chose muted colors and they worked beautifully. (BTW, the focus on Zoom is great. It’s reduced here because the image has been copied and manipulated so many times.)

A student shows off her work in Ellen Lindner's Double Reverse Applique class (via Zoom.) AdventureQuilter.com

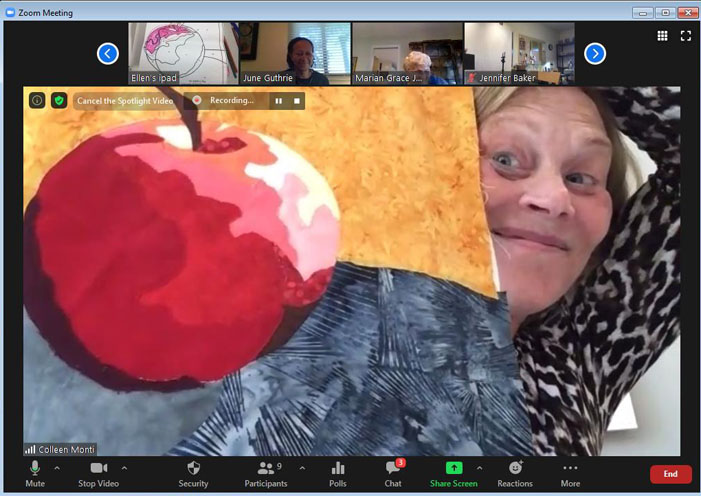
Colleen finished in just a few hours. Can you tell she’s pleased with her results?A student shows off her work in Ellen Lindner's Double Reverse Applique class (via Zoom.) AdventureQuilter.com

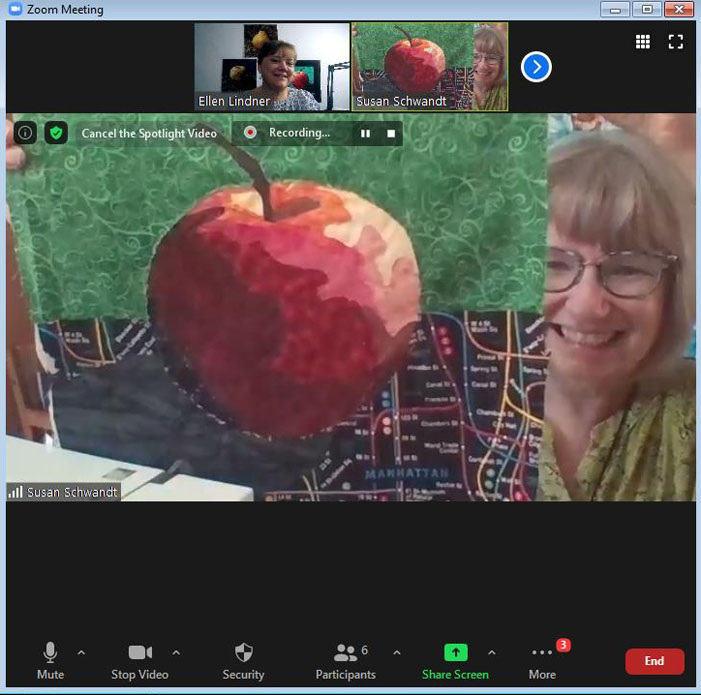
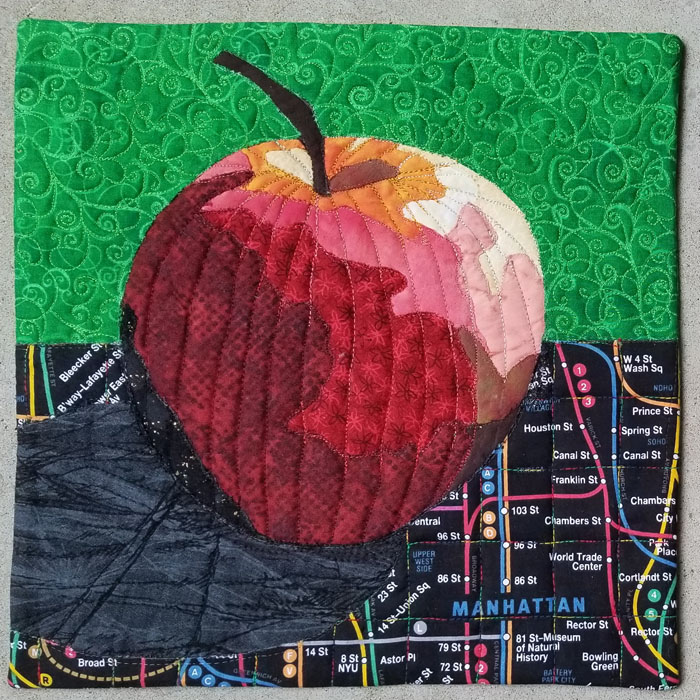
Susan used a fabric which featured a subway map of New York City. So, you can guess the name of her piece: “The Big Apple.” I love it!

A student shows off her work in Ellen Lindner's Double Reverse Applique class (via Zoom.) AdventureQuilter.com
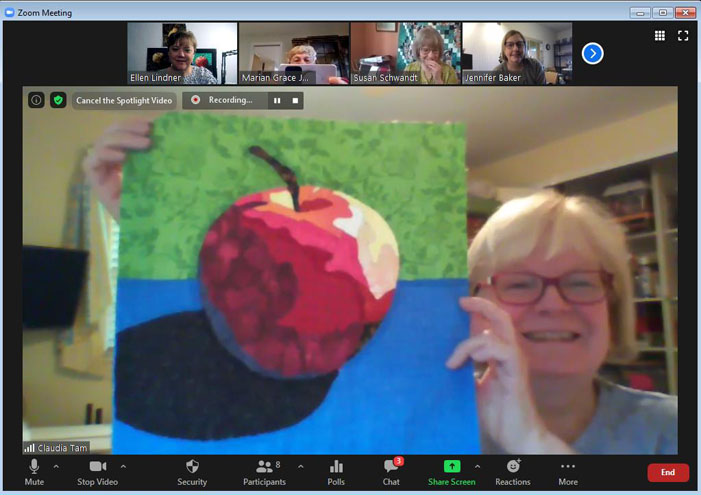
Claudia took both classes and had great results both times.

A student shows off her work in Ellen Lindner's Double Reverse Applique class (via Zoom.) AdventureQuilter.com

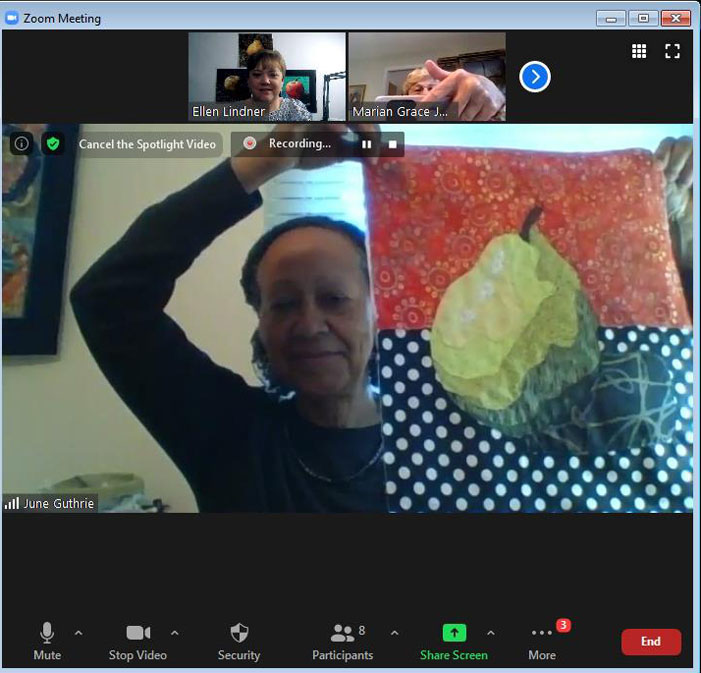
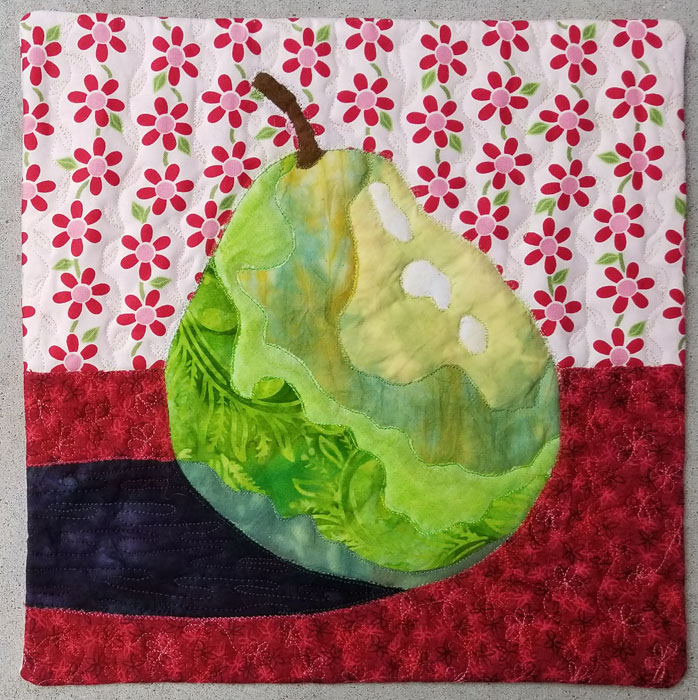
June had taken the class before and had already made an apple. So, she jumped ahead and made a pear.

A student shows off her work in Ellen Lindner's Double Reverse Applique class (via Zoom.) AdventureQuilter.com

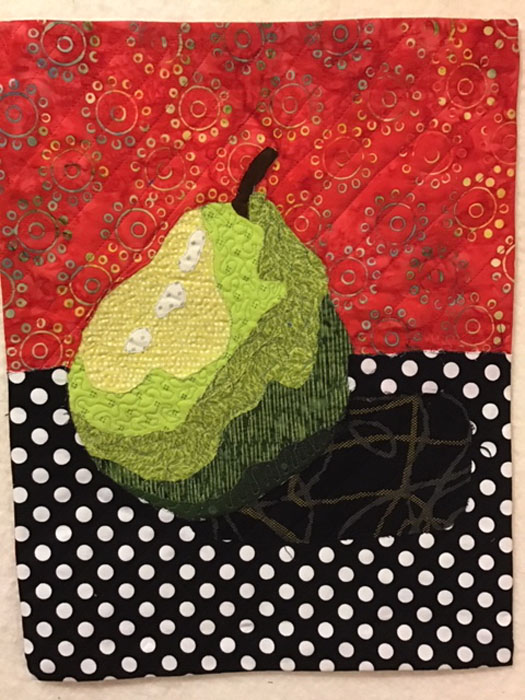
Later, she sent me a photo of the finished project. Great, right? Don’t you love the way the value changes make the pear (or apple) look 3D?

Student results from Ellen Lindner's class, Double Reverse Appliqué. AdventureQuilter.com

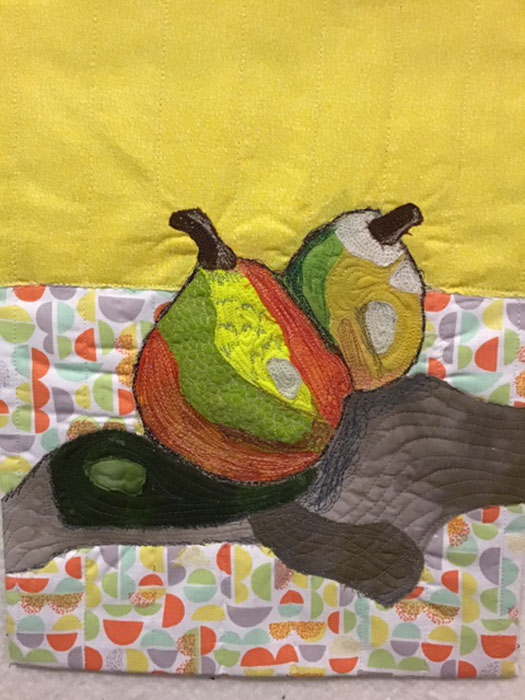
June was pretty taken with this technique and designed another pear of her own. She had fun mixing up the colors and I think the results are fantastic.

Student results from Ellen Lindner's class, Double Reverse Appliqué. AdventureQuilter.com

Susan also sent me photos of her finished projects. Here’s her “Big Apple.”

Student results from Ellen Lindner's class, Double Reverse Appliqué. AdventureQuilter.com

And her pear. Nice!

Student results from Ellen Lindner's class, Double Reverse Appliqué. AdventureQuilter.com

All of these ladies did a great job! We had no trouble communicating via Zoom and it was a lot of fun.

If you want to try this technique, you can learn via my eBook, or my on-demand class. (Or, of course, tell your guild program chair to “bring” me to your guild.) There are so many great ways to learn these days!

I hope you’ve had some fun learning opportunities during this pandemic time.

Ellen Lindner

17

Floral Improv “in” Ann Arbor

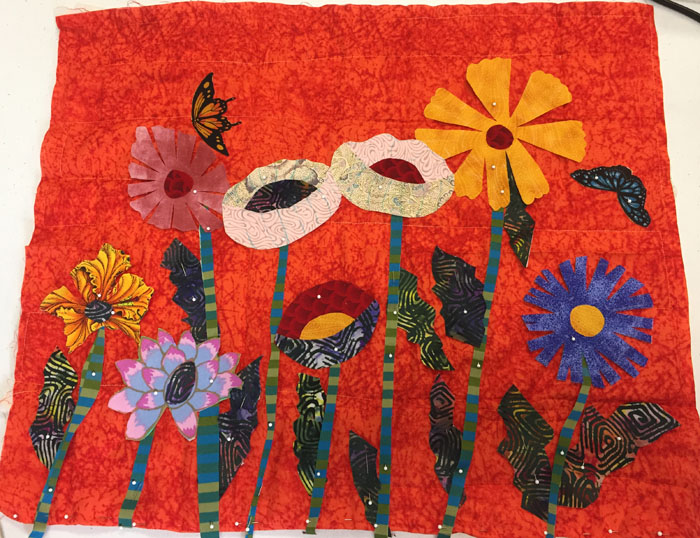
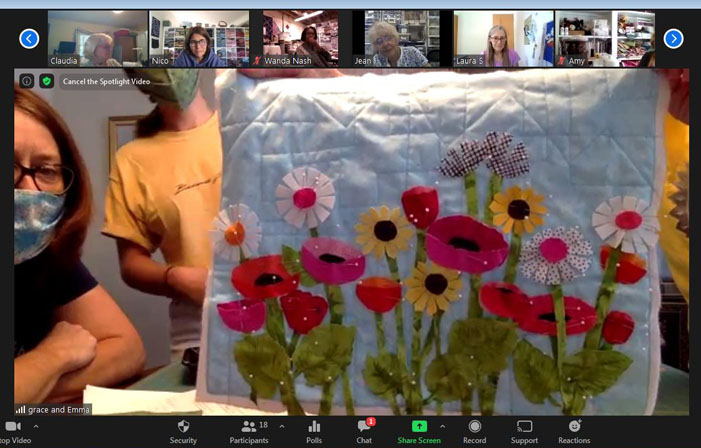
It sure is great to be able to interact with students and teach, via Zoom, to people across the country. I recently taught “Floral Improv” to a group of students in the Ann Arbor, MI area. They all did an excellent job and these late-in-the-day screen shots are proof.
Floral Improv "in" Ann Arbor

Woah, Grace got a LOT of flowers and foliage cut and placed, didn’t she? She’ll add black stitching to the flowers to add interest.

Working alongside her was her young friend, Emma. She’s only been sewing a few months, but she had no problems with a new technique.
Floral Improv "in" Ann Arbor

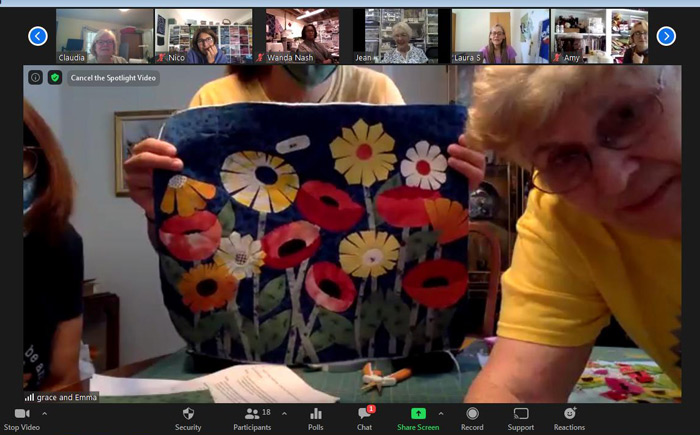
Claudia’s colors were actually much more vibrant that this, but this gives you an idea. (Claudia, I cropped you out because your eyes were closed.)
Floral Improv "in" Ann Arbor

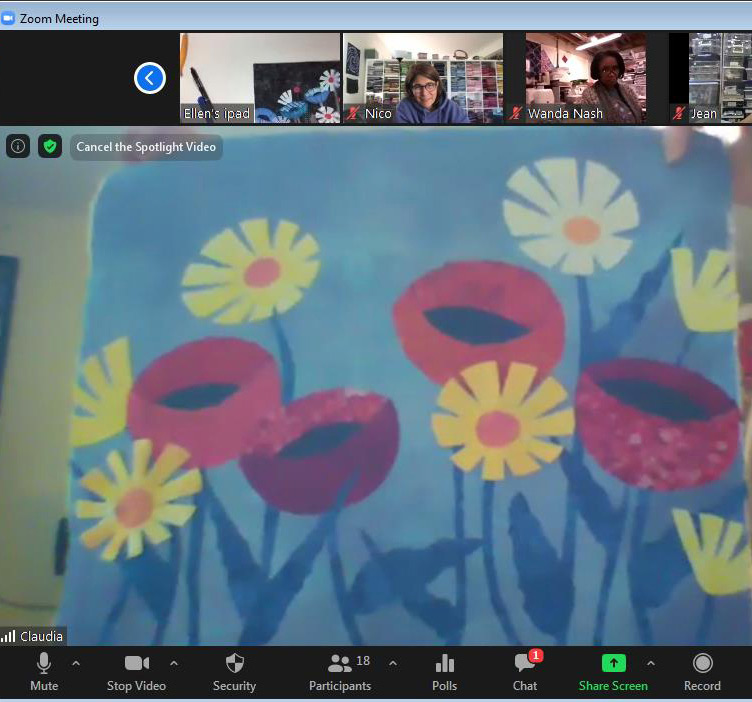
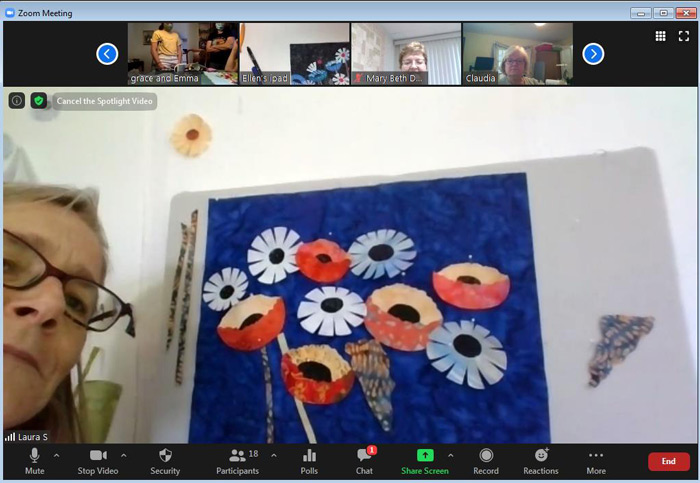
Laura settled on her flower colors pretty quickly, but was still auditioning foliage fabrics late in the day. (The down side of having access to ALL your fabric when taking a class at home?)
Floral Improv "in" Ann Arbor

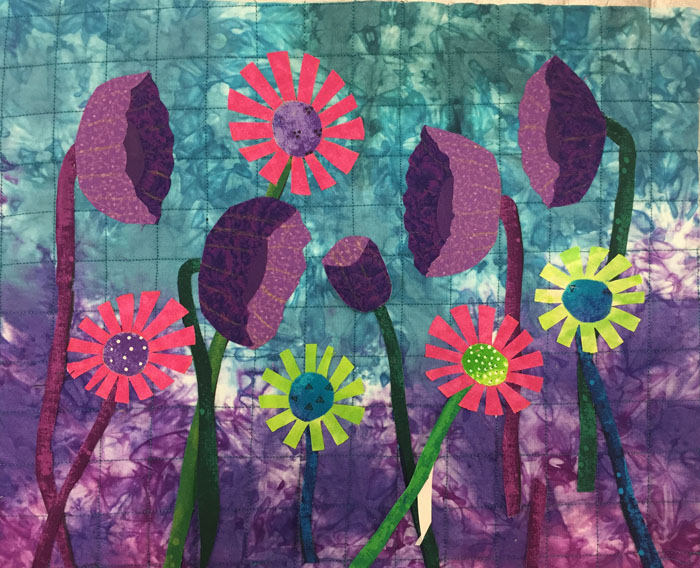
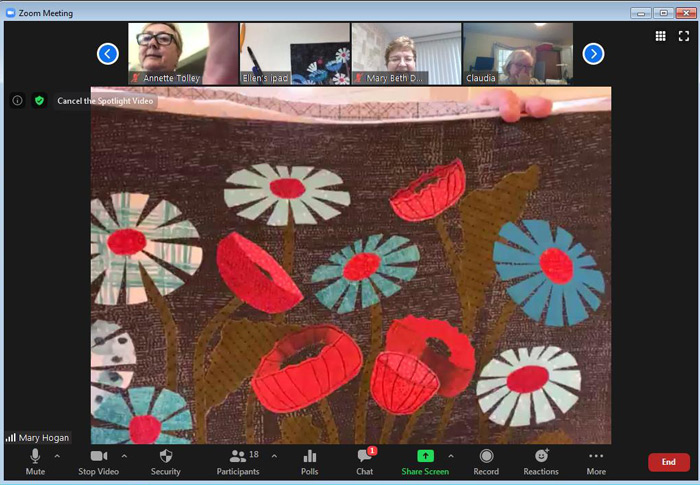
Mary wanted her flowers to be the stars so she opted for very low contrast foliage. Can you see that she’s added black stitching to some of her poppies, already?
Floral Improv "in" Ann Arbor

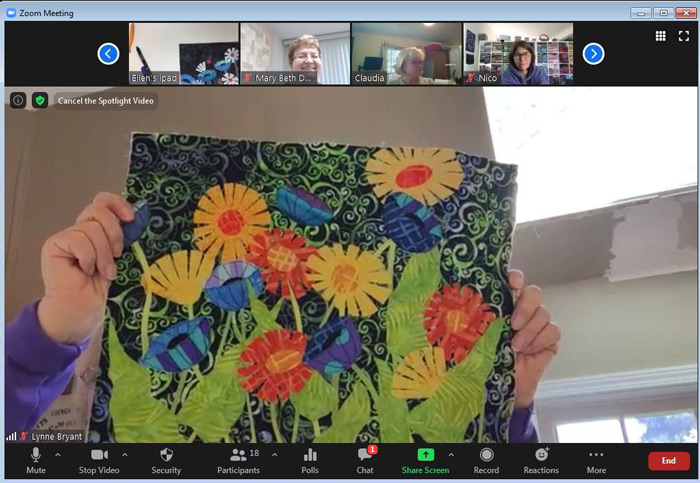
Lynne’s vibrant background fabric added another level of energy to her composition.
Floral Improv "in" Ann Arbor

Showing me their work can be tricky, but Mary Beth had it figured out. She took a photograph with her phone and held it up to the web camera. Where there’s a will there’s a way!

Floral Improv "in" Ann Arbor

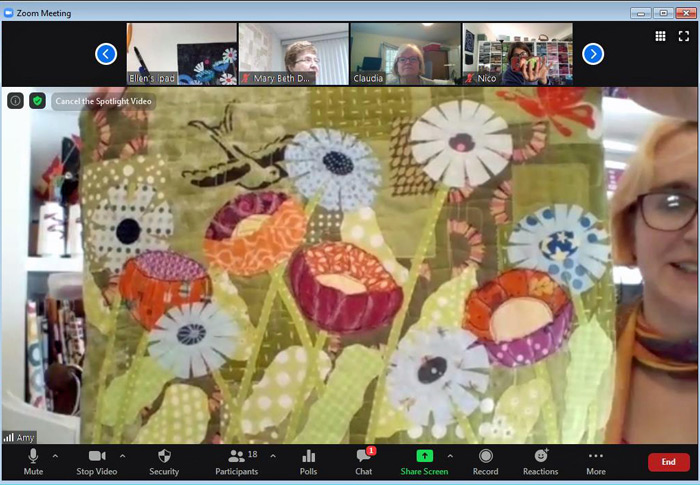
Amy’s composition included a bird and a butterfly on her background fabric. They went well with her acid greens.
Floral Improv "in" Ann Arbor

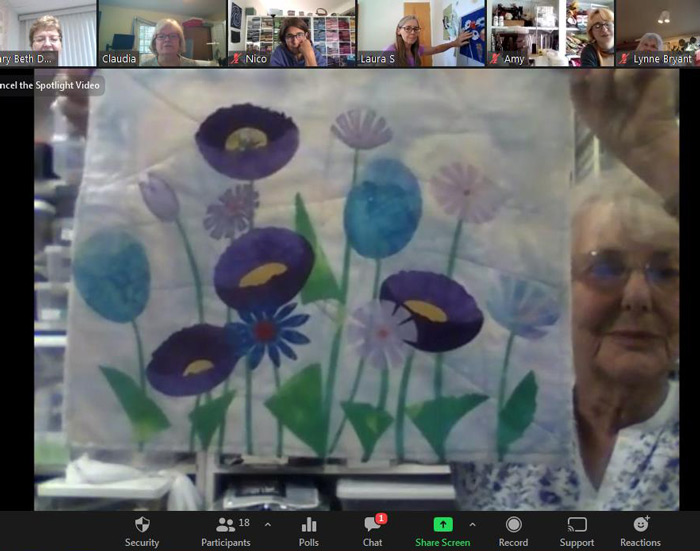
Jean is already outlining her palest flowers to add contrast. Can you see where she’s done it already? It really makes a difference.
Floral Improv "in" Ann Arbor

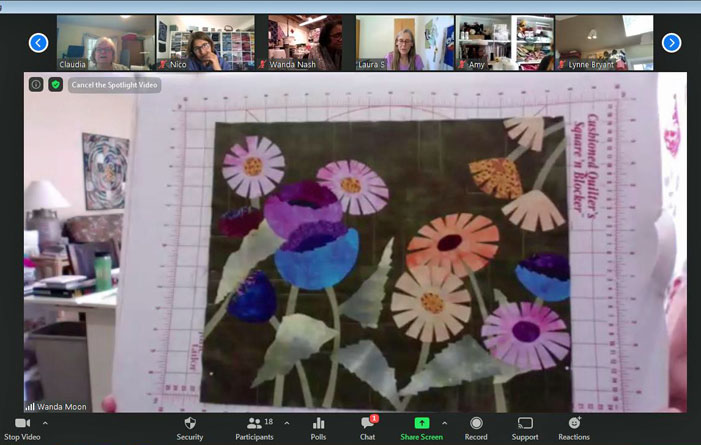
Don’t you love how Wanda brought in a few flowers arcing down from the top right?
Floral Improv "in" Ann Arbor

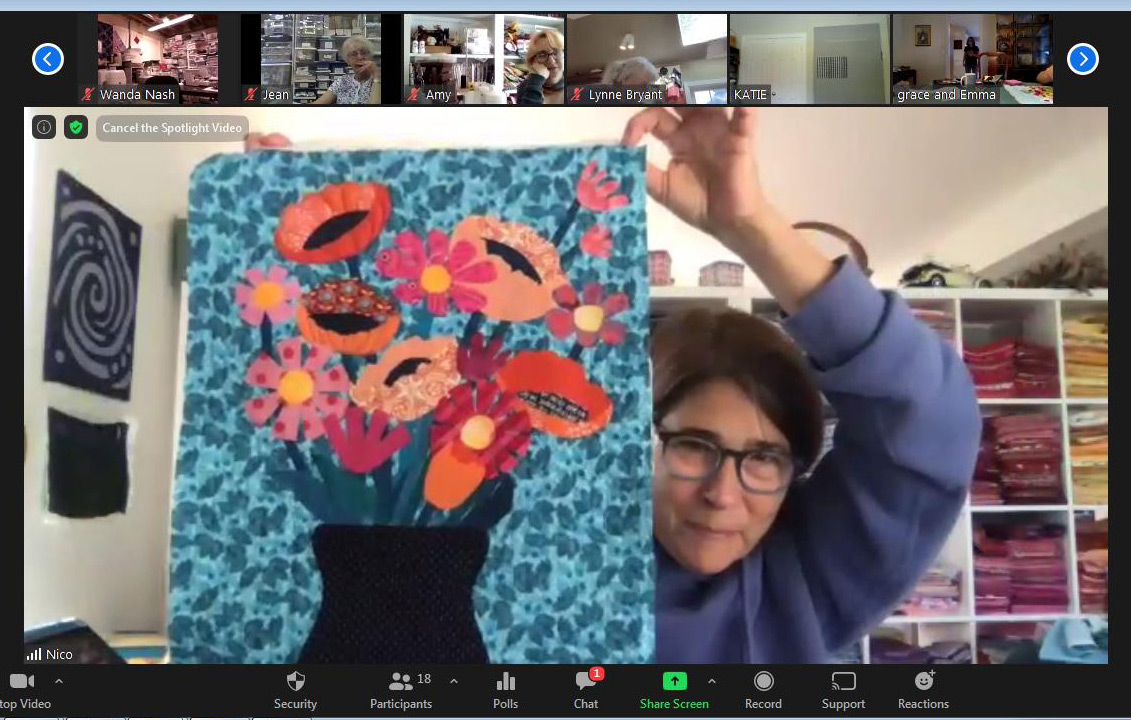
Nico got especially creative. She clustered her flowers and made a vase for them. A very nice option!
Floral Improv "in" Ann Arbor

I had a fabulous day with these ladies and I think they’d say the same. It was SO wonderful to interact in this way after so many months of near isolation!

I strongly encourage your guild to get on the “Zoom wagon,” with me, or with some other teacher. It’s just way too much fun. If a workshop seems scary, start with just a lecture.

Information about my presentations.

Ellen Lindner
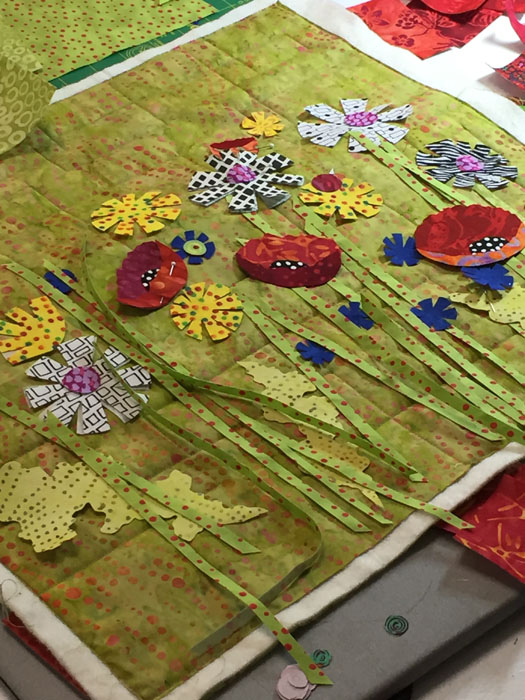
P.S. In this class students learn how to make two different types of flowers with no patterns. Then, they learn about composition and arrange their flowers. Leaves and stems are added last, and quilting begins. Students have already learned how to stitch their poppies with black thread in order to make them look more dimensional. Before you know it, it’s completely done.

0

Great First Class

Whenever I plan a new class I try it out on a group of “guinea pigs.” Such was the case this past Saturday. Twenty students showed up to take my “Love It and Leaf It” class, via Zoom. How exciting! They got the class for free, but in return had to give me feedback on both the class content and the Zoom experience. VERY valuable!

And just look at the great work they did!
This was a 3 hour class. Most of this was accomplished in that time, but the facings and frames were done after class.

"Love It and Leaf It" student work. Ellen Lindner, AdventureQuilter.com/blog

Mary Ann Shupe finished her quilt and then later framed it digitally. As you can see, she had fun with patterns.


"Love It and Leaf It" student work. Ellen Lindner, AdventureQuilter.com/blog

Deon Donovan sent me an in-progress photo of hers. Isn’t it going to be striking?


"Love It and Leaf It" student work. Ellen Lindner, AdventureQuilter.com/blog

Rebecca Chianese framed hers right away. The quilting adds a lot to it!


"Love It and Leaf It" student work. Ellen Lindner, AdventureQuilter.com/blog

Jo-Ann Jensen did a great job, (as always.)


"Love It and Leaf It" student work. Ellen Lindner, AdventureQuilter.com/blog

Kat Campau did her own thing and it works. (I can tell she likes batiks.)


"Love It and Leaf It" student work. Ellen Lindner, AdventureQuilter.com/blog

Polly Dombroski’s quilt is completely finished, just waiting for it’s frame. Nice!


"Love It and Leaf It" student work. Ellen Lindner, AdventureQuilter.com/blog

Don’t these little quilts look great when framed? Annette Moore’s is another fabulous example.

Are you wondering what I learned from this experience?
– The Zoom (virtual) platform works really well! We had no technical issues of any sort, and we were able to chat and interact the entire time. It was fun!
– My pattern was too complicated for the time frame. I wanted the students to finish the piece, AND face it, AND frame it in the 3 hours. Since that didn’t happen, I’m working on simplifying the pattern and the process.
– My guinea pigs were super helpful! BTW, one was from France, and one was from Canada. Isn’t that cool?

This short class would be a great one for introducing your guild to the virtual learning world of  Zoom. (And, of course, I have other virtual presentations available, too.)

After months of not teaching it is SO exciting to be back at it!!!

Ellen Lindner

2

New Class: “Love It and Leaf It”

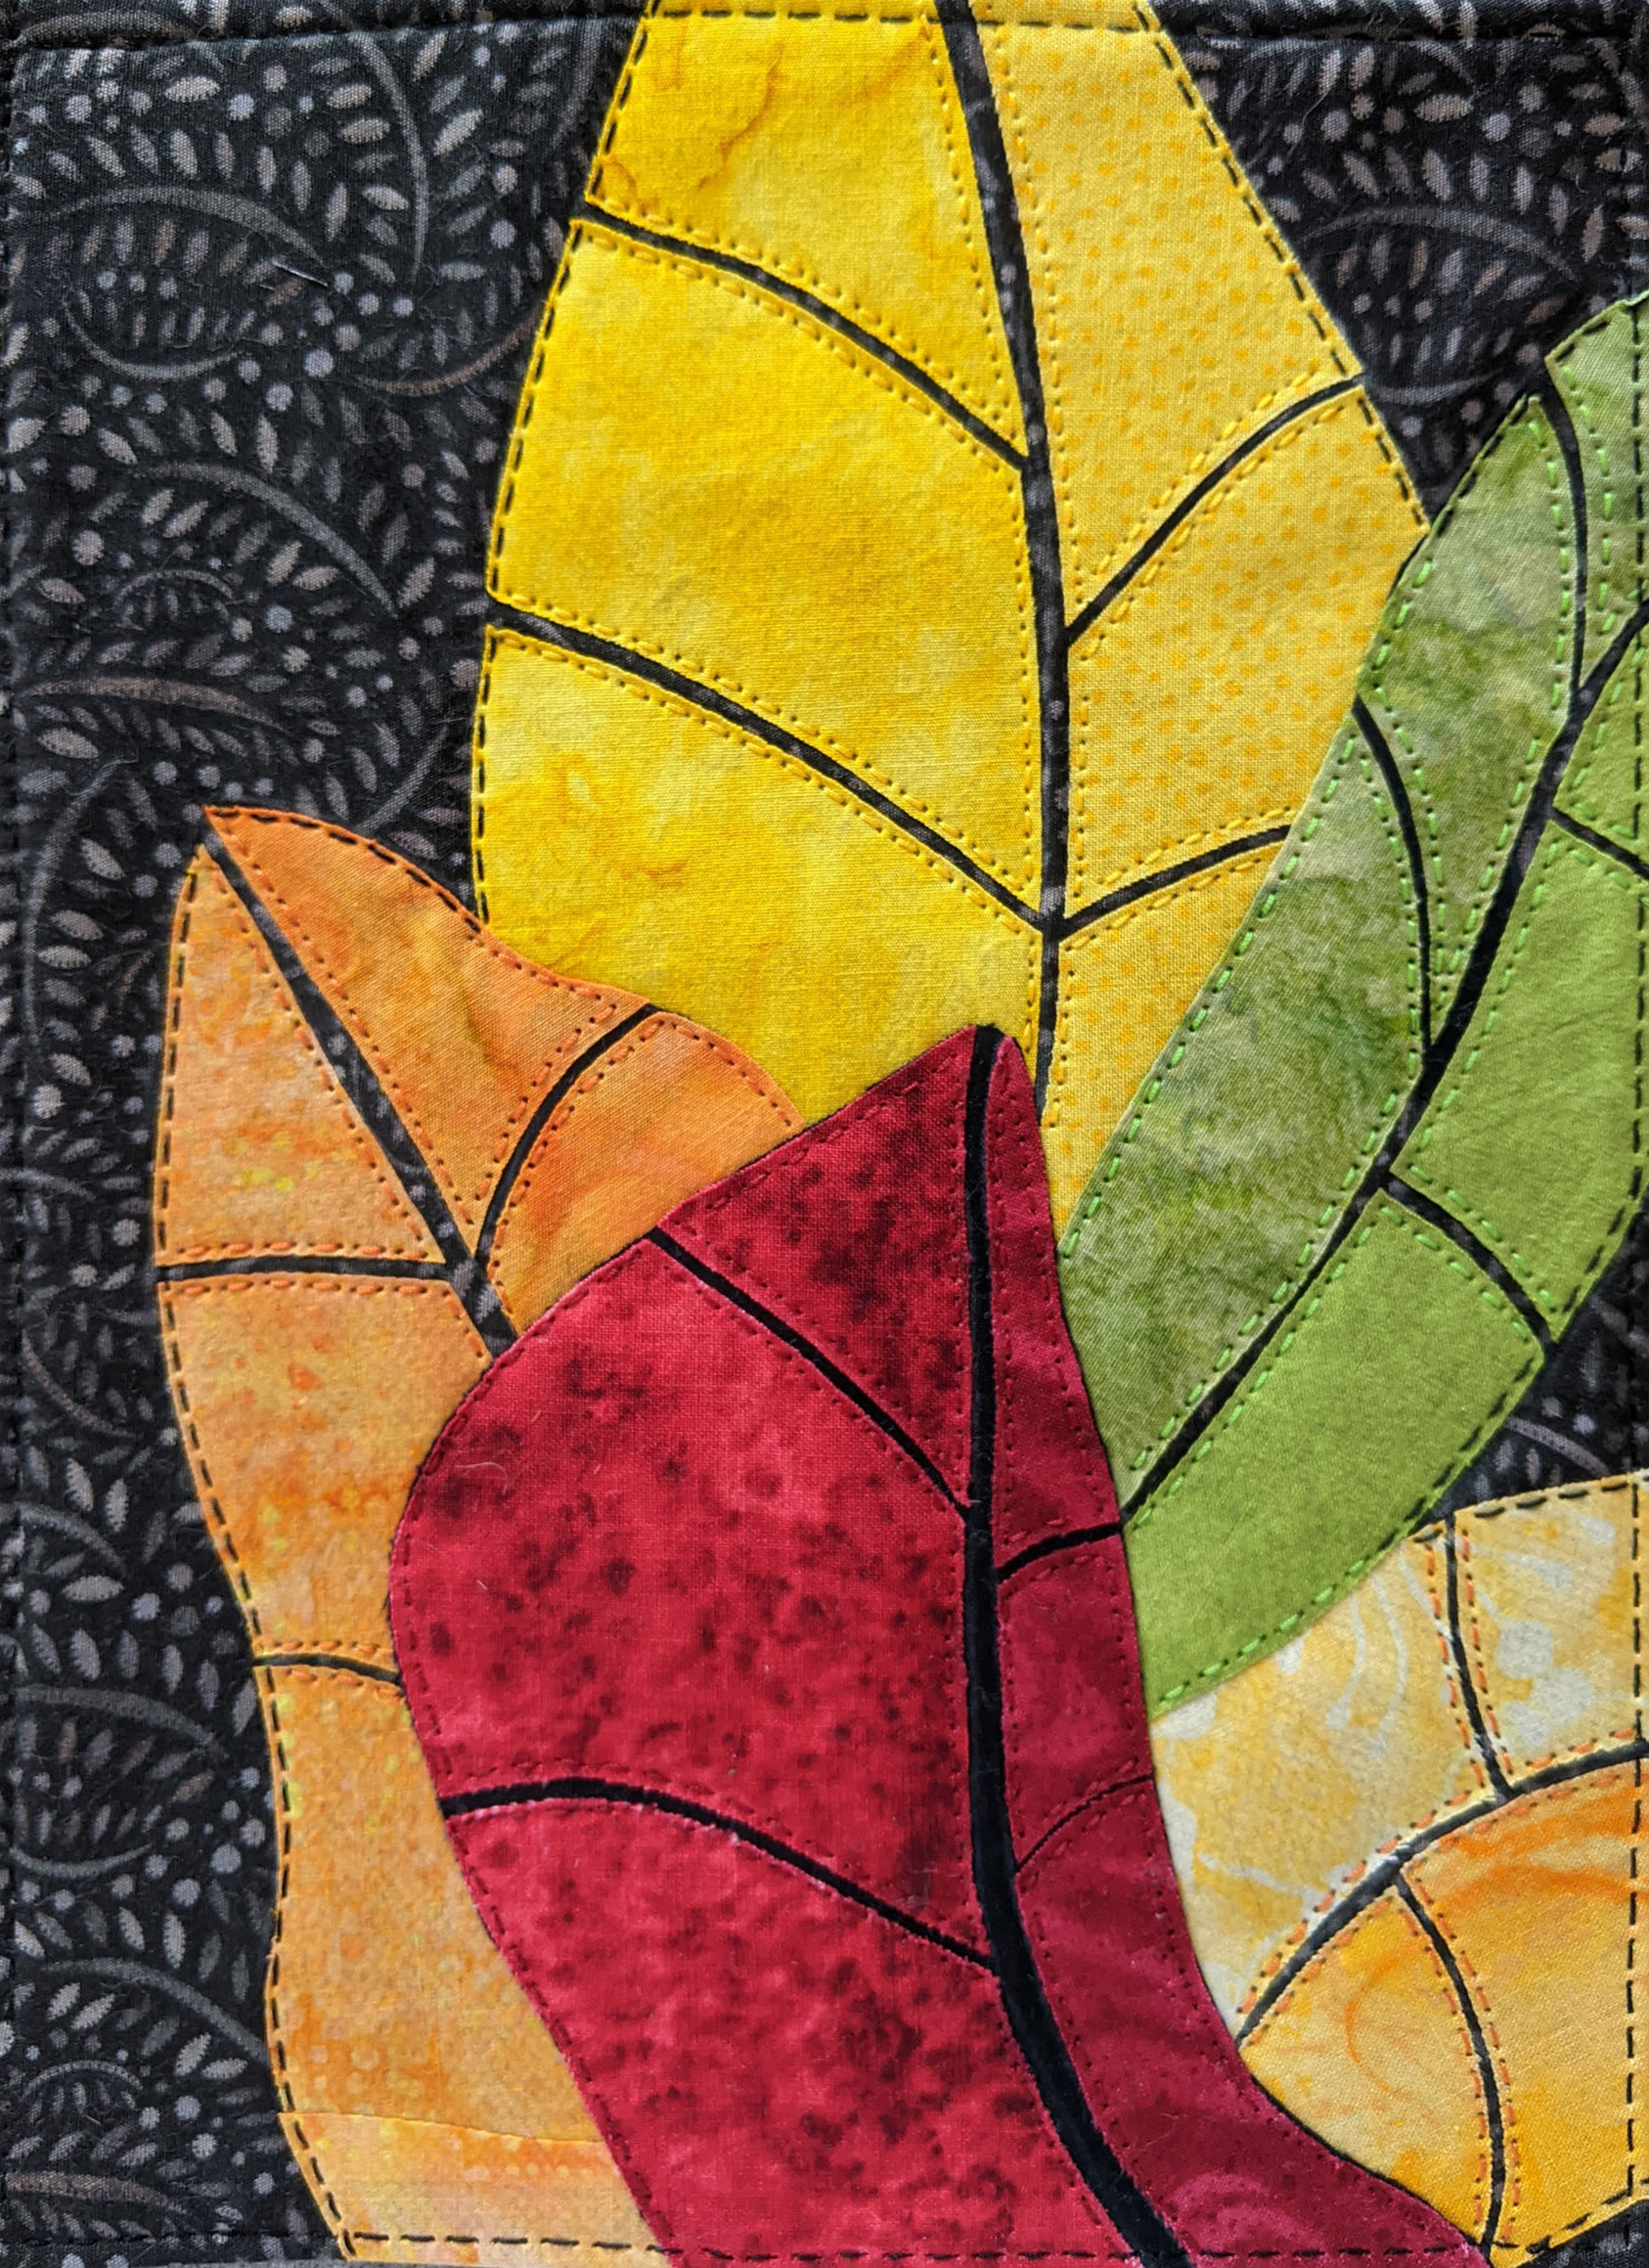
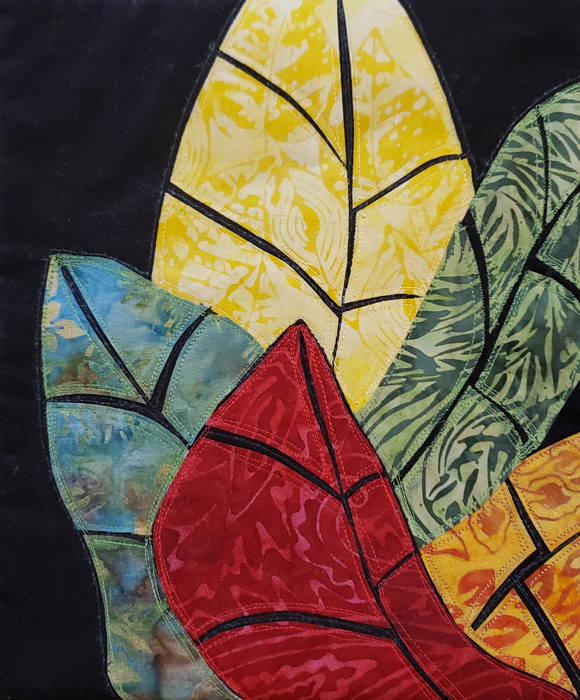
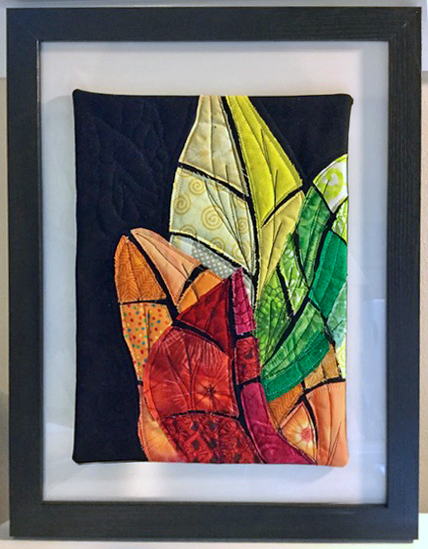
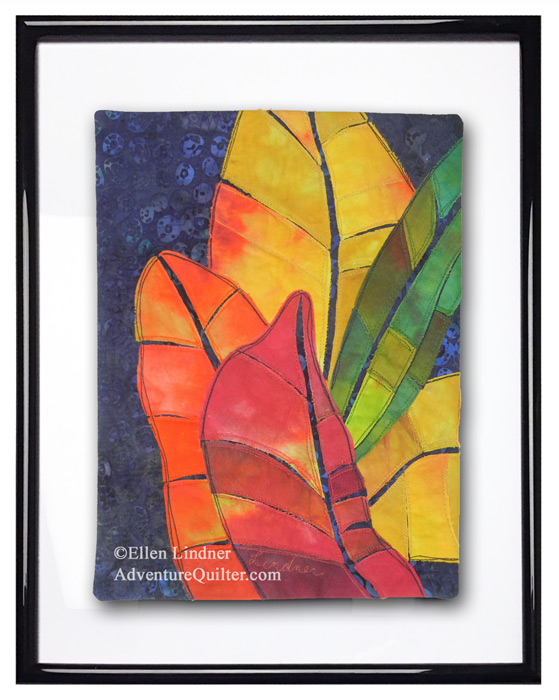
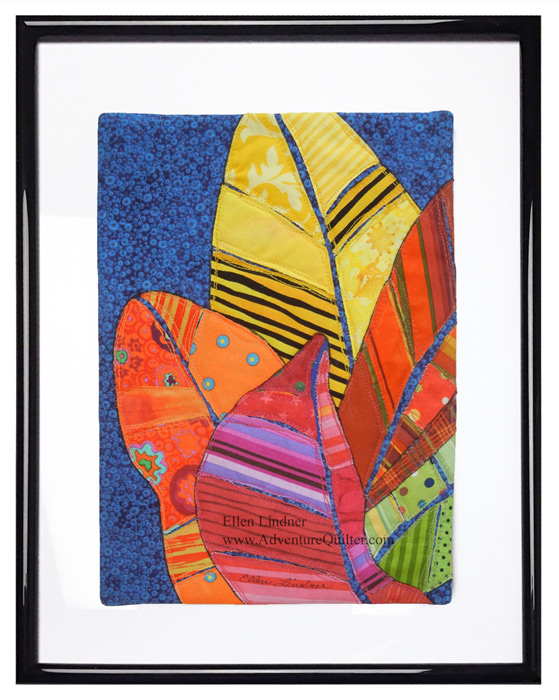
I’m really tickled with the project for my newest class, “Love It and Leaf It.”

Love It and Leaf It #2. Easy class with Ellen Lindner. AdventureQuilter.com

Isn’t it cute? In the 3 hour class, students will completely finish a small quilt like this AND frame it. I’m excited!

Love It and Leaf It #3. Easy class with Ellen Lindner. AdventureQuilter.com

I’m ready to teach this virtually, (via Zoom)
Love It and Leaf It #1. Easy class with Ellen Lindner. AdventureQuilter.com
Soon, I’ll also offer it as an on-demand online class. I think it’s going to be fun!
(And, after so many months of not teaching, I’m ITCHING to get back to it!)

If your guild is interested in scheduling this class or any of my others, you’ll find full information here. Of course, I’m doing virtual lectures, too.

Maybe I’ll see you online before too long! Gee, I’d love that.

Ellen Lindner

4

A Gold Star for My Students

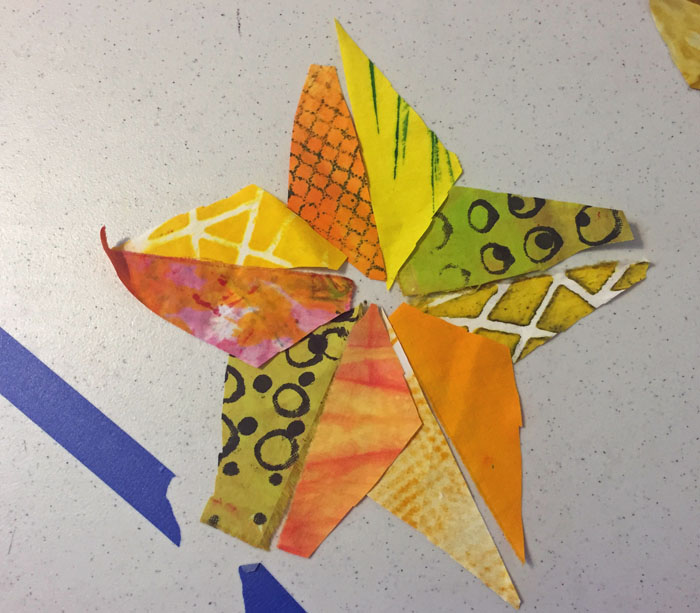
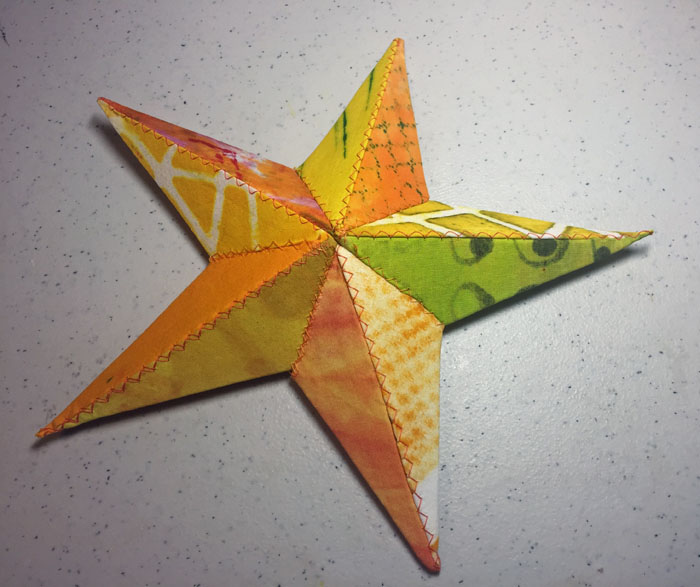
How do you reward students in an online class? I’ve decided on a digital gold star. I wanted to make a special fabric star as my starting point and a friend loaned me a 3D pattern from Fabri Flair. Perfect!

First, fabric selection. I wanted to use my hand-dyed scraps and for each piece to be different. Could I get away with a little yellow-green too?

A Gold Star for My Students. Ellen Lindner, AdventureQuilter.com/blog

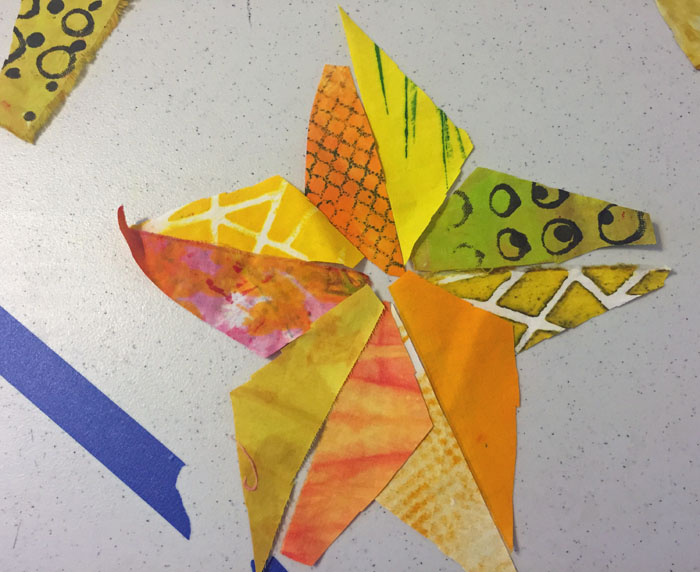
I decided on just one yellow-green. I really liked this combination!

A Gold Star for My Students. Ellen Lindner, AdventureQuilter.com/blog

It began to take shape.

A Gold Star for My Students. Ellen Lindner, AdventureQuilter.com/blog

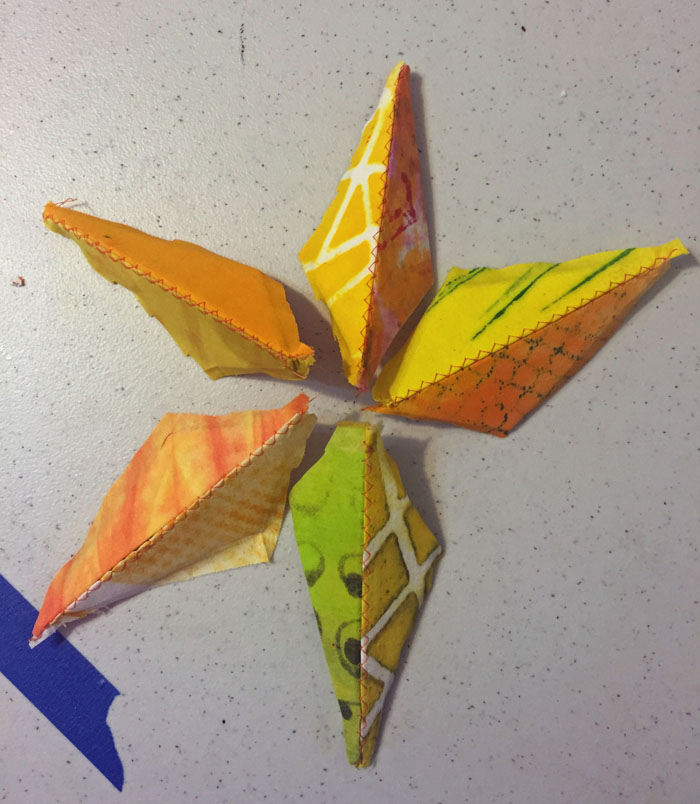
And here’s the finished star. I love it!

A Gold Star for My Students. Ellen Lindner, AdventureQuilter.com/blog

I’ll take a better photograph of it and add it to some sort of digital plaque. I think it will be a fun addition to the class interactions.

What online class you ask? Why THIS one: Double Reverse Appliqué. Check out my teaser video.

Ellen Lindner
P.S. Wondering about the blue tape on my table? It’s leftover from video recording online lessons. It showed me the edge of the video frame.

0

Thinking About a New Class

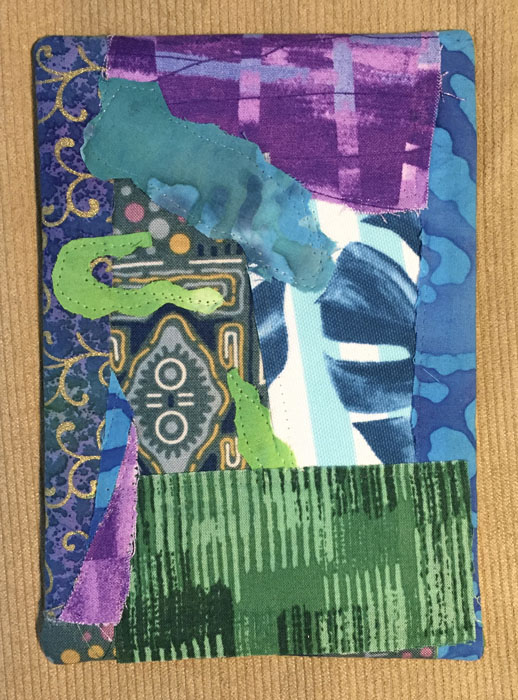
I’m thinking about turning my “Notes for a Friend” concept into a class. To try out the idea I did an informal class with two friends and it was a huge success!

Cindy had never worked abstractly before, but she jumped in and finished her note in no time flat. Didn’t she do a great job?

Cindy's completed Note for a Friend. Made in a class with Ellen Lindner, AdventureQuilter.com

Although she planned on adding hand embroidery later, she decided to skip that so she could work on a second one. She got all the way through completing the composition during our time together. She left plenty of calm areas which will look great when she adds some hand stitching.

Cindy's in-progress Note for a Friend. Made in a class with Ellen Lindner, AdventureQuilter.com

Notice that Cindy has a cardboard frame around her piece, above. This helps her visualize the final project without seams allowances, etc. Very helpful.

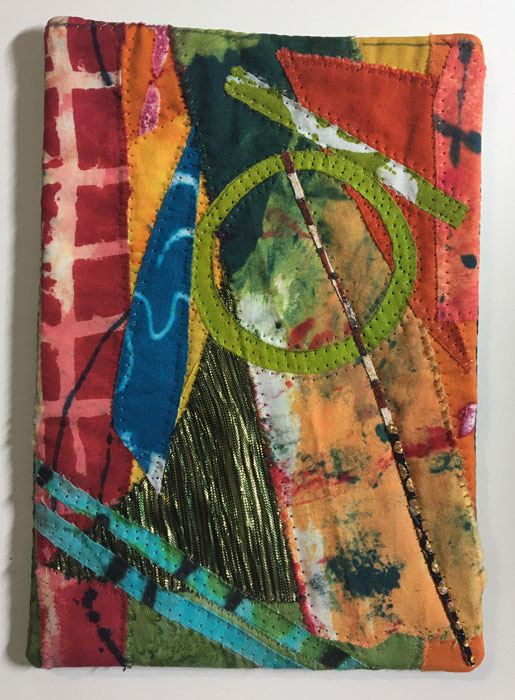
Jo-Ann was enamored with many hand-dyed scraps and their busy patterns. Using so many patterns can be quite challenging, so she took she took her time and came up with a great composition. She faced it once she got home and doesn’t it look wonderful?

Jo-Ann's completed Note for a Friend. Made in a class with Ellen Lindner, AdventureQuilter.com

She decided that it didn’t need any hand stitching due to the busy patterns already in the piece and I agreed.

It was great fun for me to work with these two and I’m excited about the idea of developing this into a class. Of course, I know it will be quite different working with 15-20 people. I’ll have to think about some streamlining techniques.

What do you think? Would you like a class making one of these tiny quilts (5 x 7?) I anticipate that most students will completely finish theirs, including facing, in class. I’d greatly appreciate your thoughts on such a class, positive or negative.

Ellen Lindner

6

Apples a la Asheville

How ’bout them apples?

Apples a la Asheville. Student results from Ellen Lindner's Double Reverse Applique class. AdventureQuilter.com/blog

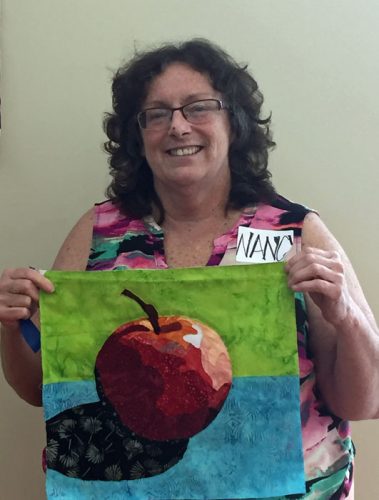
These are just a few apple projects from my recent “Double Reverse Applique” class in Asheville, NC. The women were adventurous and flexible. It definitely showed as they created a variety of wonderful pieces.

Here’s Nancy with her apple, also shown above.

Apples a la Asheville. Student results from Ellen Lindner's Double Reverse Applique class. AdventureQuilter.com/blog

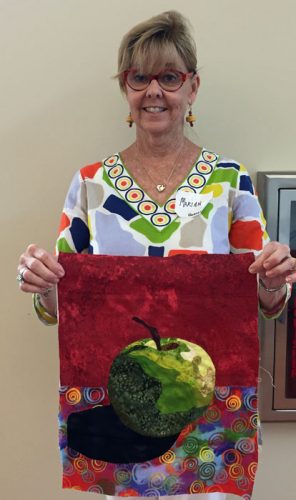
Marian put her red in the background.

Apples a la Asheville. Student results from Ellen Lindner's Double Reverse Applique class. AdventureQuilter.com/blog

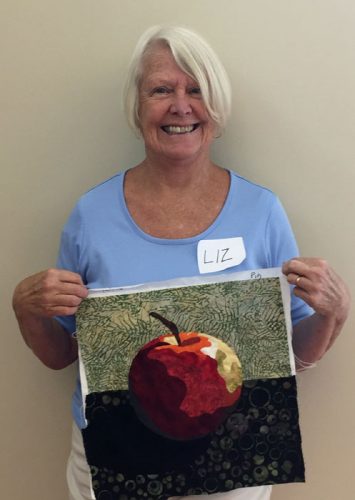
Liz used more subdued colors.Apples a la Asheville. Student results from Ellen Lindner's Double Reverse Applique class. AdventureQuilter.com/blog

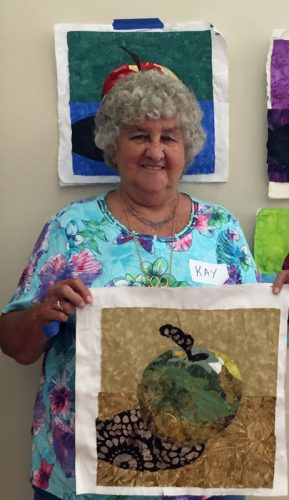
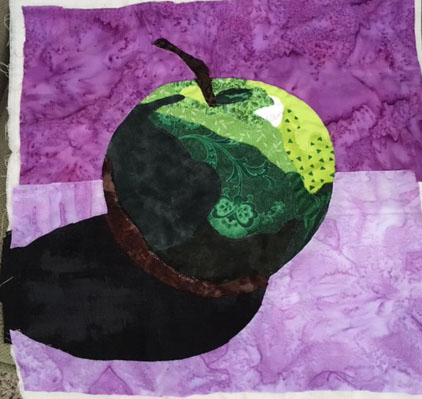
Kay didn’t even get the full supply list before coming to class, so she grabbed a bunch of green fabrics and went for it!

Apples a la Asheville. Student results from Ellen Lindner's Double Reverse Applique class. AdventureQuilter.com/blog

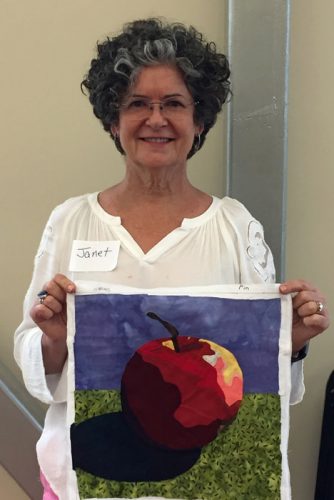
Janet stuck with classic colors.Apples a la Asheville. Student results from Ellen Lindner's Double Reverse Applique class. AdventureQuilter.com/blog

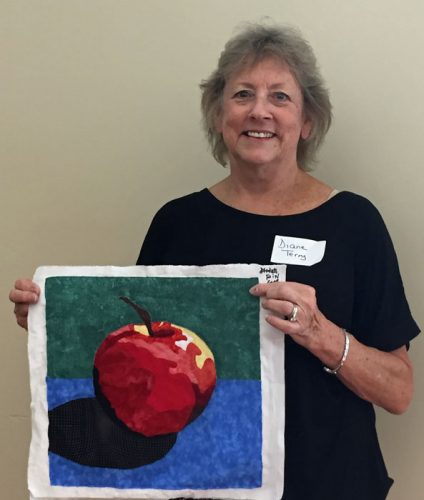
As did Diane. But look how different they are!
Apples a la Asheville. Student results from Ellen Lindner's Double Reverse Applique class. AdventureQuilter.com/blog
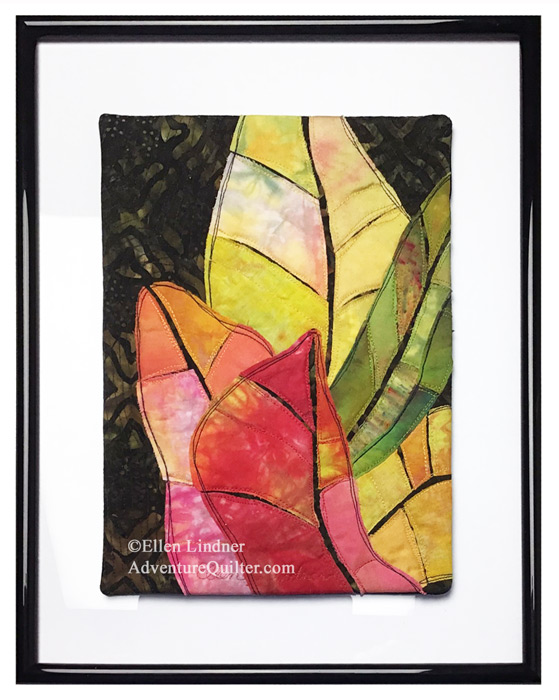
Once she got home, Chris redid the bottom portion of her piece, making it lighter. You can see her class version in the first photo.

Apples a la Asheville. Student results from Ellen Lindner's Double Reverse Applique class. AdventureQuilter.com/blog

Aren’t these wonderful? Don’t you love the variety? This class is always popular and well received. And I think these photos show why.

Great job, ladies!

Ellen Lindner
P.S. Learn more about bringing this class to your guild or check out the eBook that teaches this technique.

0

“Floral Improv” in Hollywood, FL

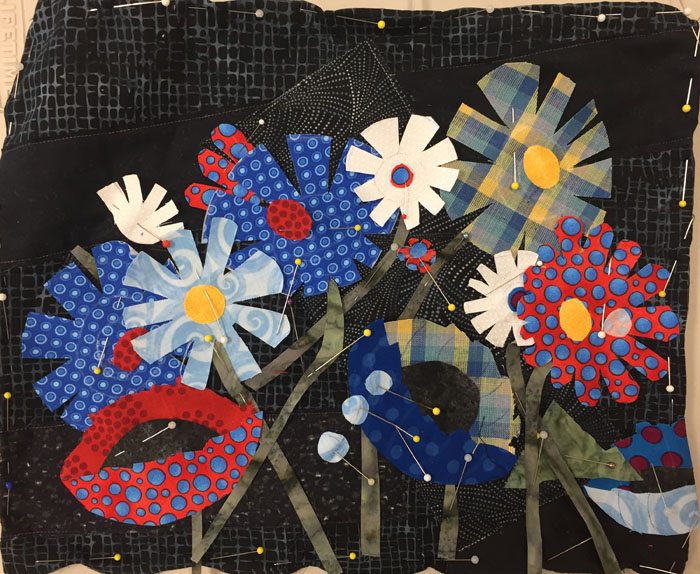
Most of my classes are geared toward somewhat traditional quilters who want to try art quilting, but aren’t quite sure where to start. Floral Improv is a perfect example of this. In it students learn how to make two types of stylized flowers without any patterns. Then, they learn about composition, and construct everything with raw edges and sketch-style stitching. Definitely new territory for most participants.

But, the group in Hollywood, FL handled it like troopers. First came the flowers.

Floral Improv in Hollywood FL. Ellen Lindner, AdventureQuilter.com/blog

Floral Improv in Hollywood FL. Ellen Lindner, AdventureQuilter.com/blog

Floral Improv in Hollywood FL. Ellen Lindner, AdventureQuilter.com/blog

Then, composing the flowers into a pleasing arrangement. No leaves and stems to start with.

Floral Improv in Hollywood FL. Ellen Lindner, AdventureQuilter.com/blog

Sorry, but I didn’t record who made this. If anyone knows, please tell me.

Finally, the stems and leaves are added.

Floral Improv in Hollywood FL. Ellen Lindner, AdventureQuilter.com/blog

Denise’s strong contrasts create a lot of drama.


Floral Improv in Hollywood FL. Ellen Lindner, AdventureQuilter.com/blog

Nora tried a few additional things on her own, which I heartily endorse.


Floral Improv in Hollywood FL. Ellen Lindner, AdventureQuilter.com/blog

Ellen successfully used some small strips (as stems) that she had leftover from a previous project.


Floral Improv in Hollywood FL. Ellen Lindner, AdventureQuilter.com/blog

Robbin chose very subtle stems and leaves, allowing the flowers to POP.


Floral Improv in Hollywood FL. Ellen Lindner, AdventureQuilter.com/blog

Betty had hers almost ready for stitching. (And, yes, we had a younger sewer visit our class.)


Floral Improv in Hollywood FL. Ellen Lindner, AdventureQuilter.com/blog

Annette added a lot of whimsy with polka dots and plaids. They really show up well against her dark background.

I did a shortened class for this group, so they didn’t get to do a lot of stitching. Can you believe they achieved all of this in only 4 1/2 hours? It was a very successful day!

Ellen Lindner
P.S. I’d love to come teach this class for your group.

2