Tag Archives | Dyed Fabrics

Dying Yardage

When dying fabric there are two types I want to produce: yardage, and specialty. Yardage has a mostly all over pattern and can easily be cut up and used. Specialty looks almost like a whole cloth design, with thought given to composition and such.

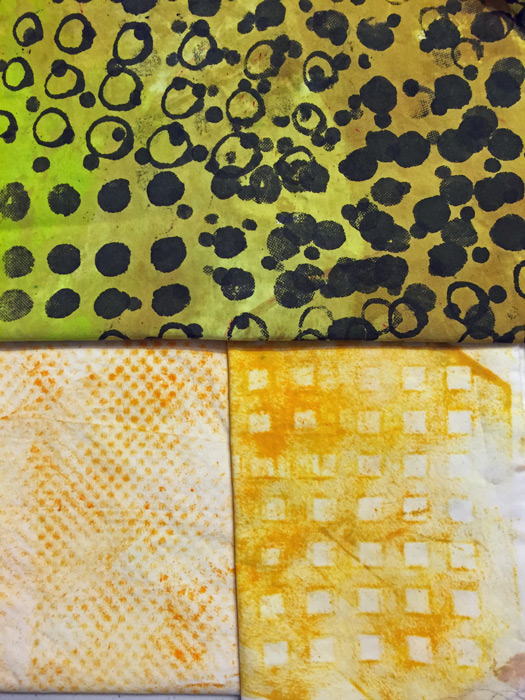
These yellow pieces fall firmly into the yardage camp. The top one had a white background initially. Can you see how such a high contrast fabric might be difficult to use? Changing the background to yellow/yellow-green makes it both more interesting and more usable.

The bottom two fabrics are both “rubbings,” (done with a foam roller.) The left texture was created by a piece of shelf liner and the right one was a plastic sink liner. I’ve discovered that I don’t like rubbings over isolated details, but these all-over ones are easy to do and they have a nice imperfection to them.

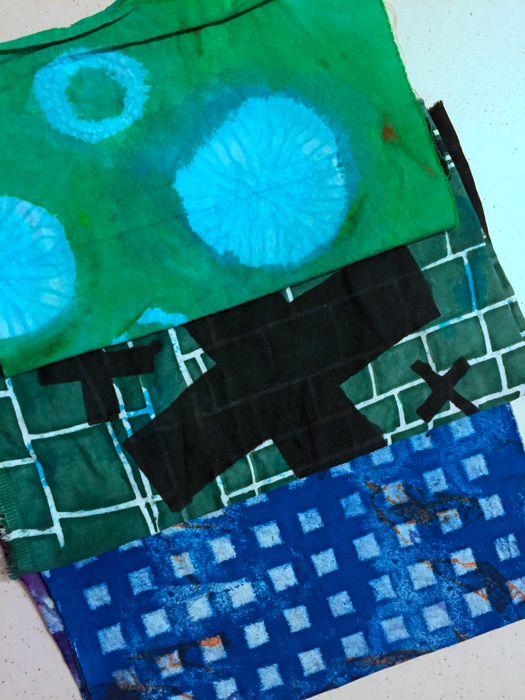
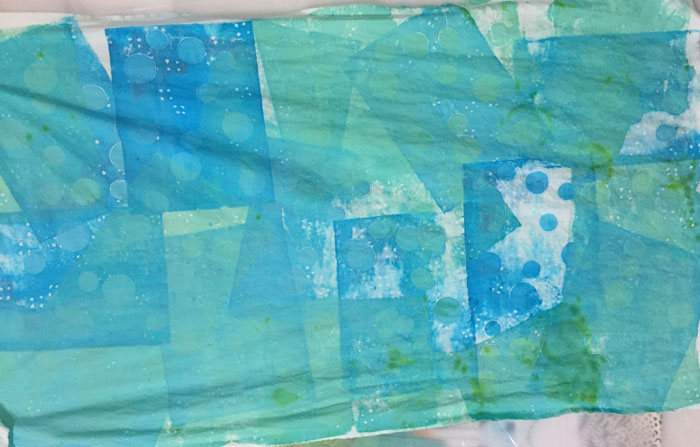
These next 3 fabrics are all re-dos. The top one was an imperfect shibori dyed fabric. The circular images were very subtle, so I played them up by painting green all around them.

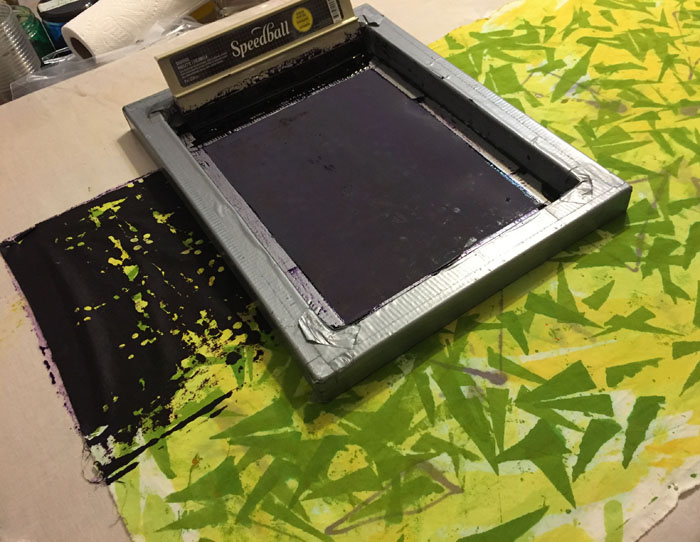
The next one was large black crosses on a white background, with a few blue blotches. Again, very hard to use due to the contrast. So, screen printing the background a dark color helped minimize that.

Dying Yardage

The bottom one, above, was an ugly experiment. I rolled on some texture. Can you tell it’s the same sink liner from the yellow fabric before it? (I think this blue version is a little too perfect. I’ll aim for some sloppiness with future texture rolling.)

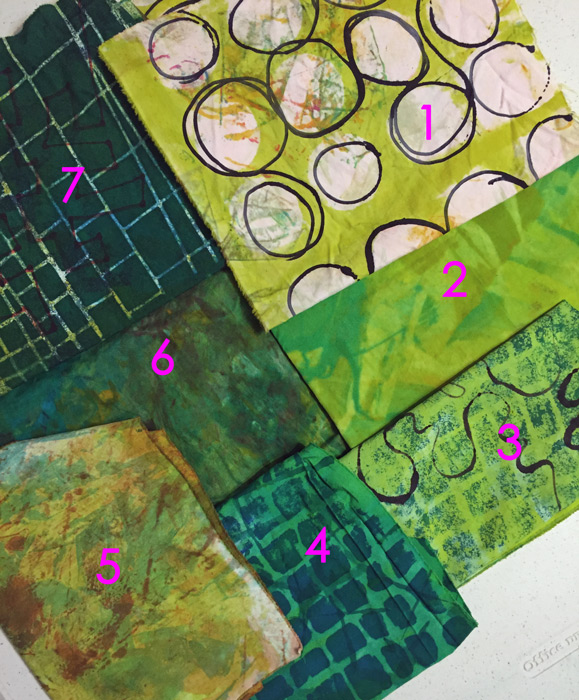
This next photo demonstrates a variety of techniques.
1- It started as a nearly white clean up rag, with some interesting marks. I screened on the yellow-green and then used a squirt bottle to add the black circles.
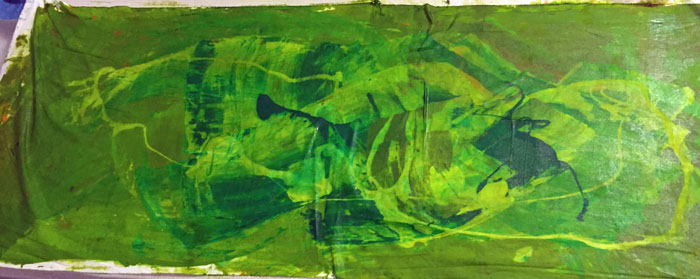
2-In a moment of laziness I tried to mix colors together directly on the fabric.
3 & 4- Both pieces originally had a white background. Again, too much contrast, so I added yellow-green to #3 and pure green to #4.
5-Some sort of ugly fabric with dull yellow-green added.
6 – A fun way to use up the last of the dye: smear on different colors and sorta smoosh them together with some clear paste.
7-A very ugly fabric was improved by the addition of a very dark screen printed design.

There’s so much to try and to learn!

Ellen Lindner

0

Accidental Learning

While dying fabric I’m learning a lot! Some of it comes from books and some of it I stumble upon.

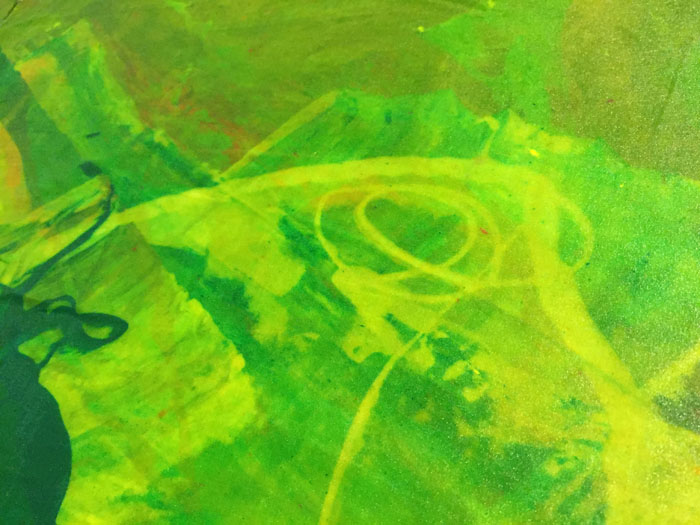
Case in point, trying to mix thickened dye colors directly on the fabric. I had heard that they wouldn’t really mix in this way, but I was feeling lazy and had to give it a try. First, I tried it with a mixture of greens and some clear dye paste.

Accidental Learning. Ellen Lindner, AdventureQuilter.com/blog

As expected, the greens were blotchy. But what was that lighter squiggly pattern? It was the clear paste, which acted as a resist to the other colors.

Bingo! That looked like something fun to play with.

Accidental Learning. Ellen Lindner, AdventureQuilter.com/blog

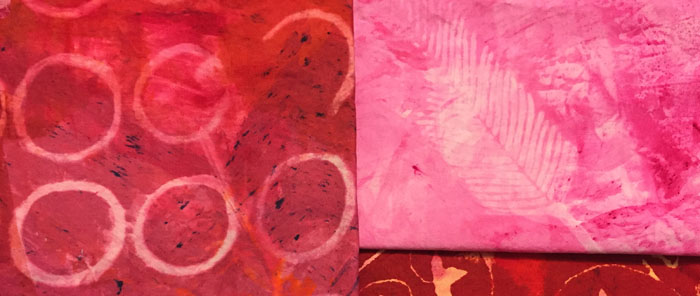
So, I tried to repeat my results with a variety of colors and patterns. Red with circles, and pink with feathers.

Accidental Learning. Ellen Lindner, AdventureQuilter.com/blog

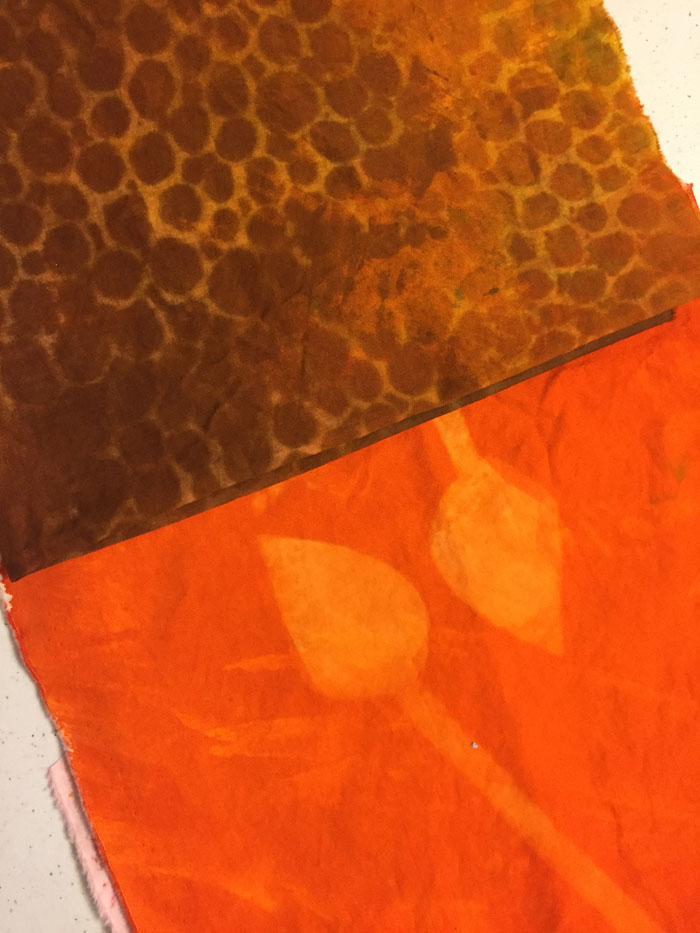
Brown circles and orange spears/leaves.

Accidental Learning. Ellen Lindner, AdventureQuilter.com/blog

Yummy! A quick and easy way to get a tone on tone pattern.

Ellen Lindner


2

Correcting and Dyeing and Correcting Some More

Ellen Anne Eddy says, “If something’s worth doing, it’s worth doing badly.” In other words, don’t expect yourself to master something right away.  If it’s worth doing it’s worth your practice time and whatever  mediocre results you get along the way. Well, I think maybe I was the poster child for this philosophy in my last dyeing session. It seemed like nearly everything I did was correcting something I’d done earlier.

Like this ugly green fabric.

Click any image for a larger view

Correcting & Dyeing & Correcting Some More. Ellen Lindner, AdventureQuilter.com/blog

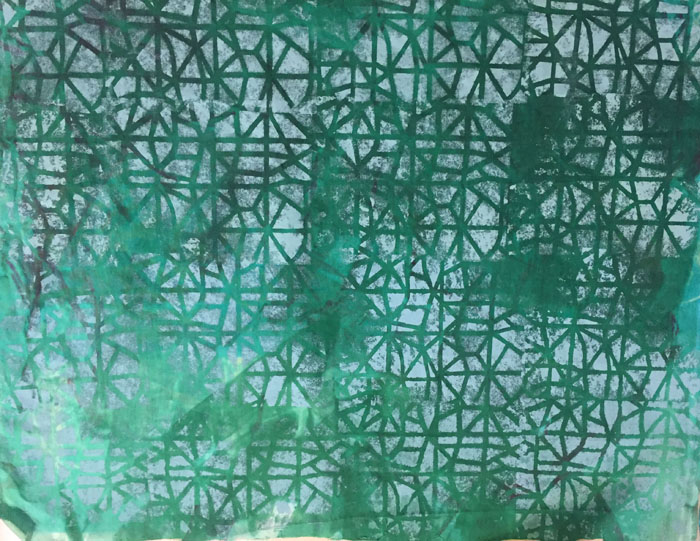
I over painted it with fabric paint, using a commercial stencil and I got this. Much better!

Correcting & Dyeing & Correcting Some More. Ellen Lindner, AdventureQuilter.com/blog

Now, the paint shows more than the original ugly fabric and that became the norm as I worked through some other fabrics.

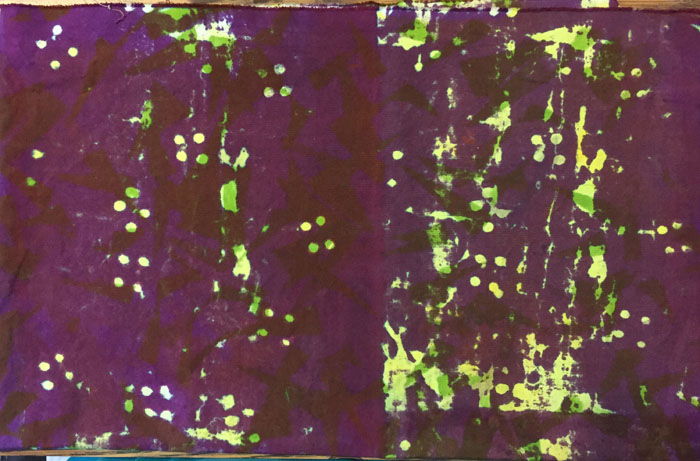
You may remember this GARISH one from an earlier dye session. That UGLY chartreuse needed to be covered! I made a stencil which would print most of the screen, leaving only a few dots of the underneath fabric showing. I tried mixing a deep berry/burgundy color, (which looked black when still wet,) and screened it on.

Correcting & Dyeing & Correcting Some More. Ellen Lindner, AdventureQuilter.com/blog

And it worked! After washing it out this is what I got. Just what I wanted. Woohoo! I love the imperfections.

Correcting & Dyeing & Correcting Some More. Ellen Lindner, AdventureQuilter.com/blog

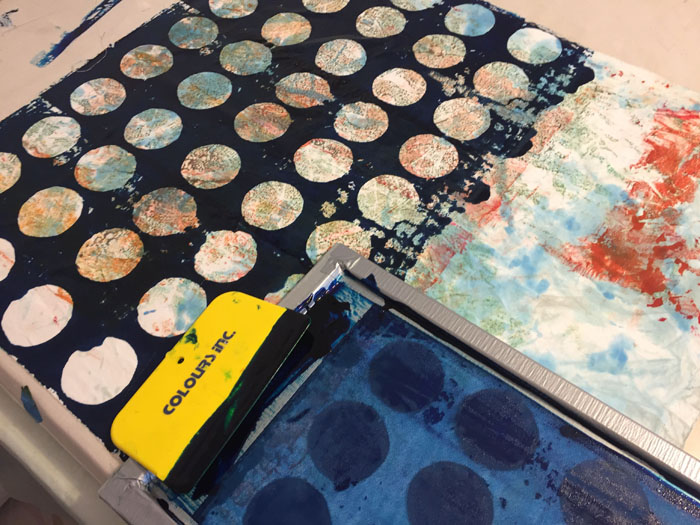
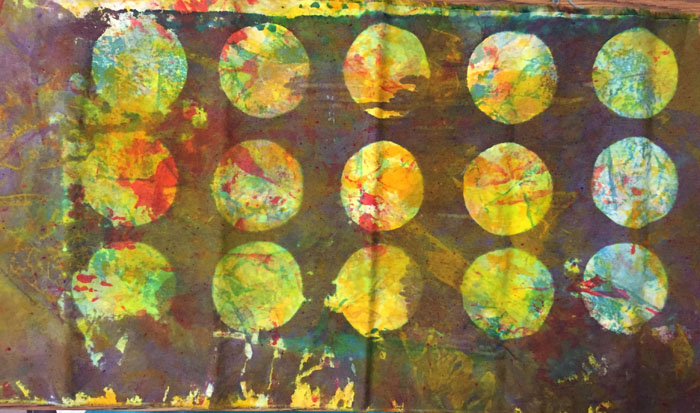
Now I was on a roll. I began to look for ugly fabrics, like this clean up rag (CUR), and to figure out how I could mostly cover them. For this “stencil” I tried something new. I cut circles from freezer paper and lightly ironed them onto the back of my screen. I wasn’t sure if they’d stay, but they did (until I later washed the screen.) In the example below I screened on what I hoped would be a dark teal. (Since dyes are transparent, there’s often a good bit of guess work involved in such scenarios.)

Correcting & Dyeing & Correcting Some More. Ellen Lindner, AdventureQuilter.com/blog

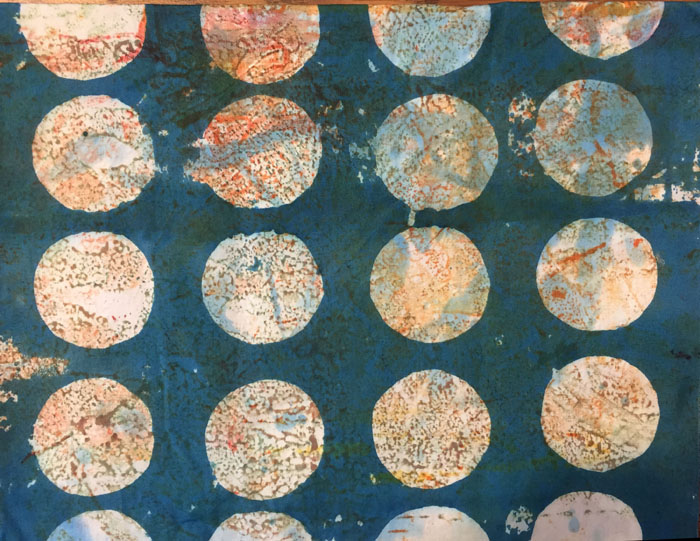
And this is what I got when I washed it out. Yes!

Correcting & Dyeing & Correcting Some More. Ellen Lindner, AdventureQuilter.com/blog

I tried repeating my good results with the same technique, this time mixing what I hoped was navy blue and adding it to this bright, and very ugly CUR.

Correcting & Dyeing & Correcting Some More. Ellen Lindner, AdventureQuilter.com/blog

As you can see, the yellow below affected the color and it ended up being a greenish brown.  No worries. This will be very usable and is actually one of my favorite fabrics.

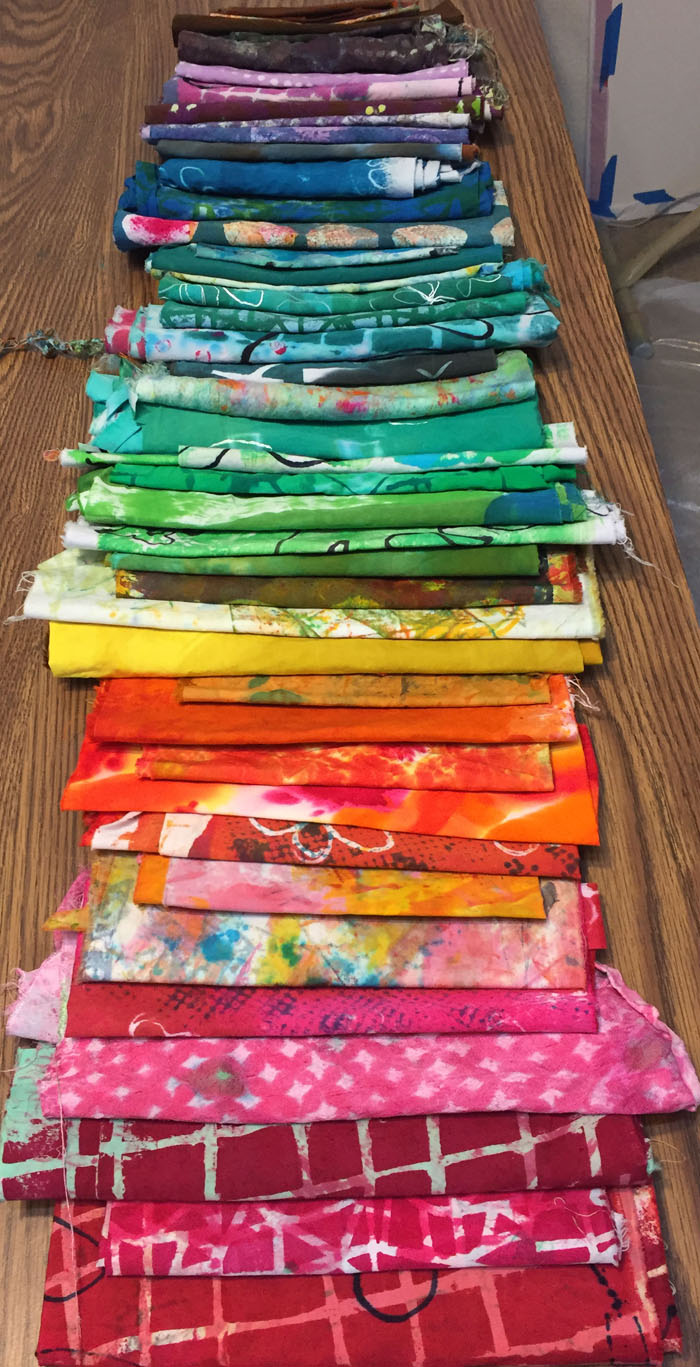
These are the results of my 2 week dyeing session: 42 pieces ranging in size from “hand towel” to 30 x 42. I’m, very happy with them.

Correcting & Dyeing & Correcting Some More. Ellen Lindner, AdventureQuilter.com/blog

I’m learning that this dyeing business requires some luck, a good bit of color theory, and an attitude of exploration. My kind of thing, for sure!

Ellen Lindner

2

Ice Dyeing

Have you tried ice dyeing? Oh my! It produces BEAUTIFUL brilliant colors and complex patterns.

At a recent group dyeing day, Dij taught us how to do it. First, she showed us various ways to bunch, scrunch, and secure the fabric. Like tie dye, the folds in the fabric affect the way the dye penetrates and they help create the patterns.

Ice Dyeing. Ellen Lindner, AdventureQuilter.com/blog

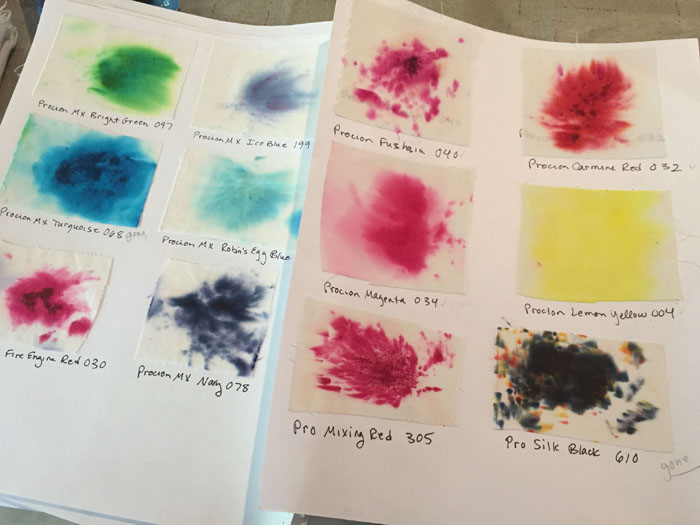
Before reaching for the dyes, Dij talked to us about color selection. She has made charts showing how each dye separates into other colors, and she keeps this in mind. (Check out the black swatch, bottom right.)

Ice Dyeing. Ellen Lindner, AdventureQuilter.com/blog

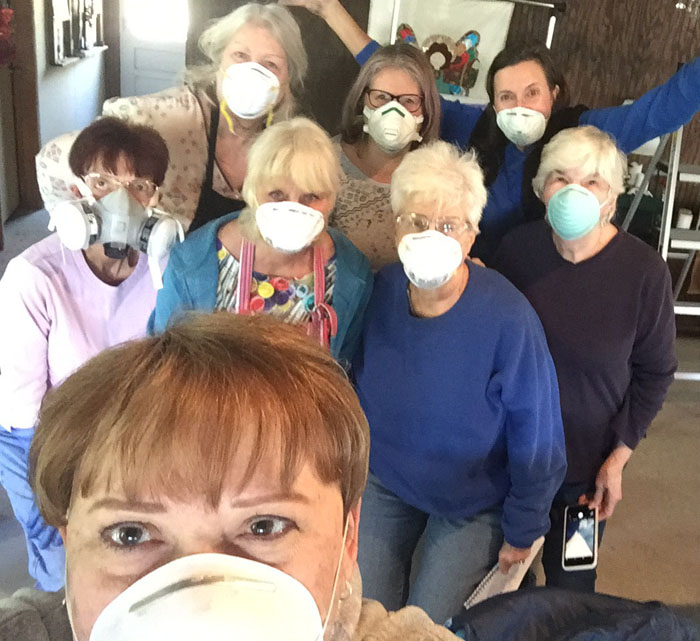
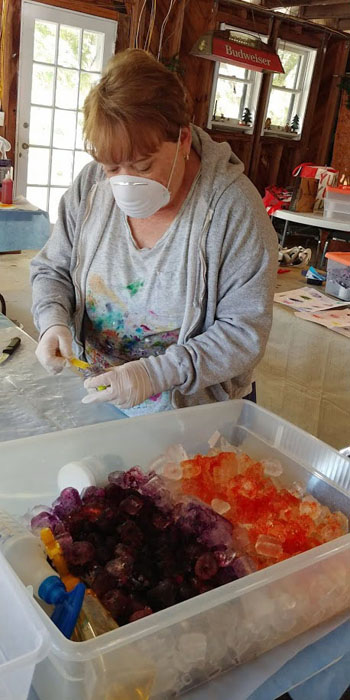
After manipulating our fabric, we placed it on elevated grids in plastic boxes and dumped a bunch of ice on top. Then, before grabbing the dyes we put on our dust masks.  VERY IMPORTANT

Ice Dyeing. Ellen Lindner, AdventureQuilter.com/blog

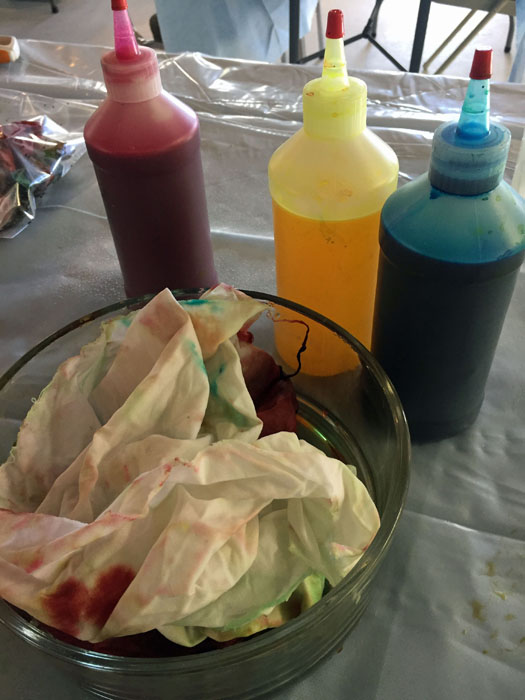
Next we sprinkled 3 colors of dry dye powder onto each fabric.

Ice Dyeing. Ellen Lindner, AdventureQuilter.com/blog

It didn’t look too great at this point.

Ice Dyeing. Ellen Lindner, AdventureQuilter.com/blog

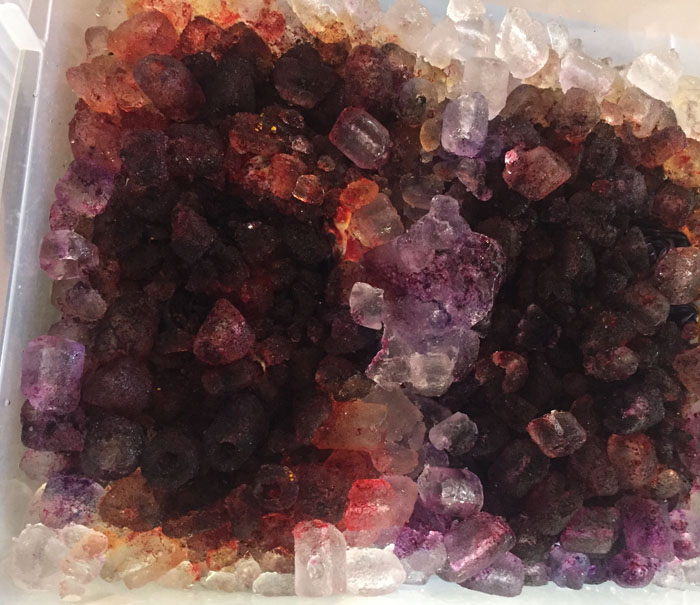
We toted our containers home and waited for the ice to melt. (This is why the fabric was elevated: so it wouldn’t sit in the resulting puddle of mixed colors.) Then, it was time to thoroughly rinse and dry, and voila!

Ice Dyeing. Ellen Lindner, AdventureQuilter.com/blog

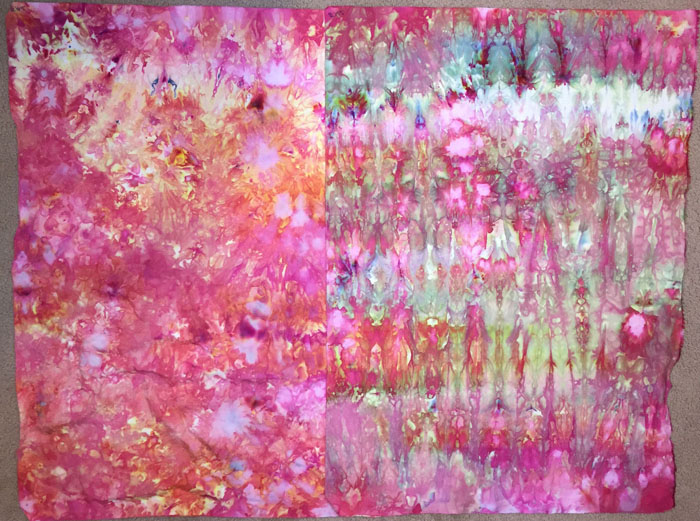
Can you believe how gorgeous these 2 fabrics are?!? The one on the left was loosely scrunched. The one of the right was folded into soft accordion folds and secured with rubber bands. I love these!

To say that all this dyeing was fun would be a huge under statement. It was joyful and exhilarating!

Ellen Lindner
 

9

Dirty Dozen Dyeing Day

My local art quilt group, the Dirty Dozen Fiber Artists,  had a dyeing day recently, at Ruth Anne’s “barn.”

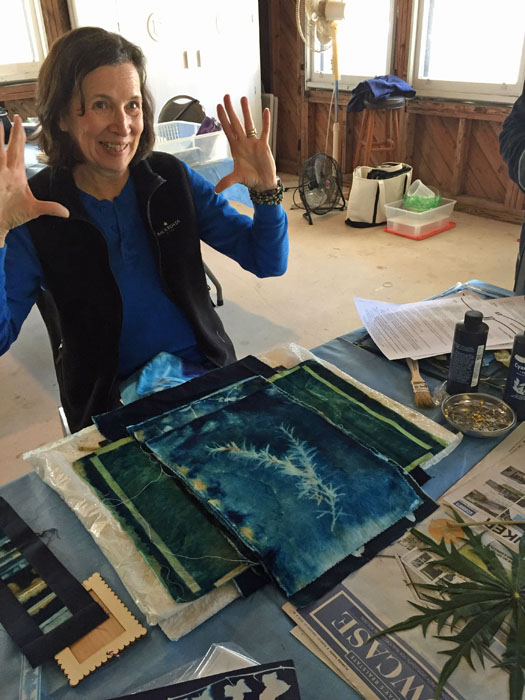
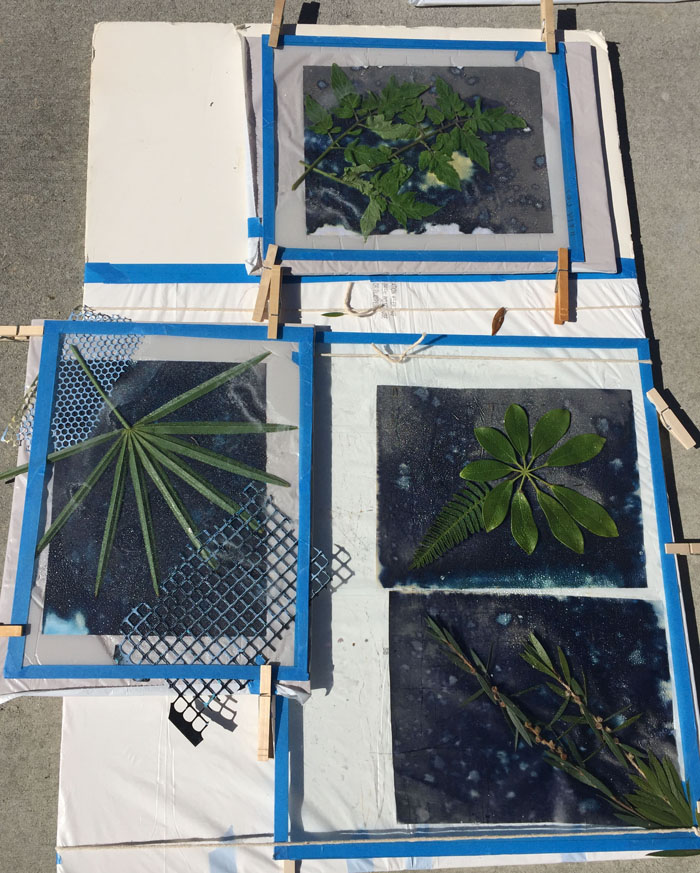
We started with Gabriele explaining wet cyanotype to us.

Dirty Dozen Dye Day. Ellen Lindner, AdventureQuilter.com/blog

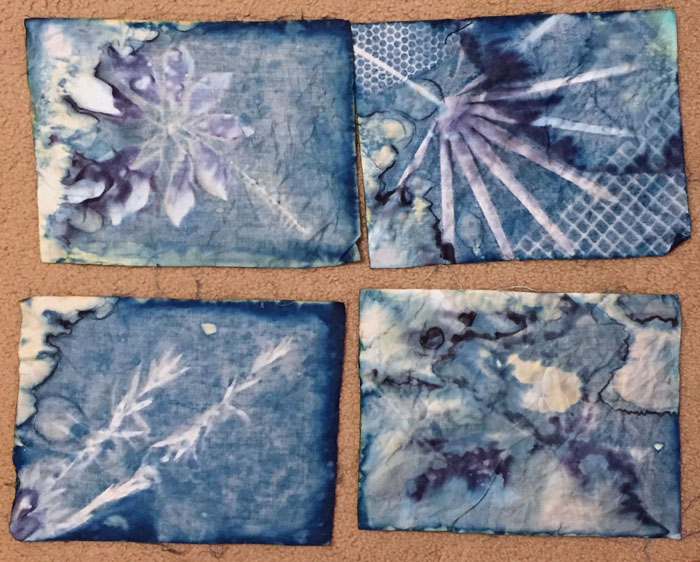
It’s similar to sun printing, but with chemically treated fabric that turns dark blue. That is, until you add water to the process. After that the results are much less predictable, but always interesting.

The treated fabric is sprayed with water and greenery or other resist items are placed on it. Glass is secured tightly on top to hold it all in place, and it’s put in the sun.

Dirty Dozen Dye Day. Ellen Lindner, AdventureQuilter.com/blog

After a few hours it’s ready to come inside for curing, rinsing and drying. This involves leaving it in a dark environment for a while and a few other techniques. Finally, it’s ready.

Dirty Dozen Dye Day. Ellen Lindner, AdventureQuilter.com/blog

And the backs are pretty, too. I think I’ll use them as yardage and actually cut them up as needed.

Dirty Dozen Dye Day. Ellen Lindner, AdventureQuilter.com/blog

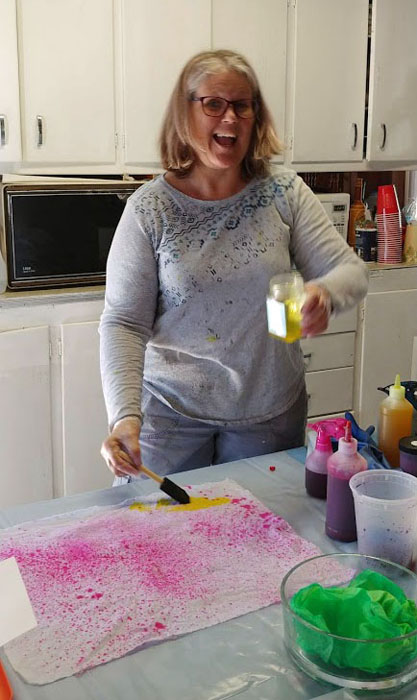
Sandy taught us about low immersion dyeing. She’s very subdued. NOT!

Dirty Dozen Dye Day. Ellen Lindner, AdventureQuilter.com/blog

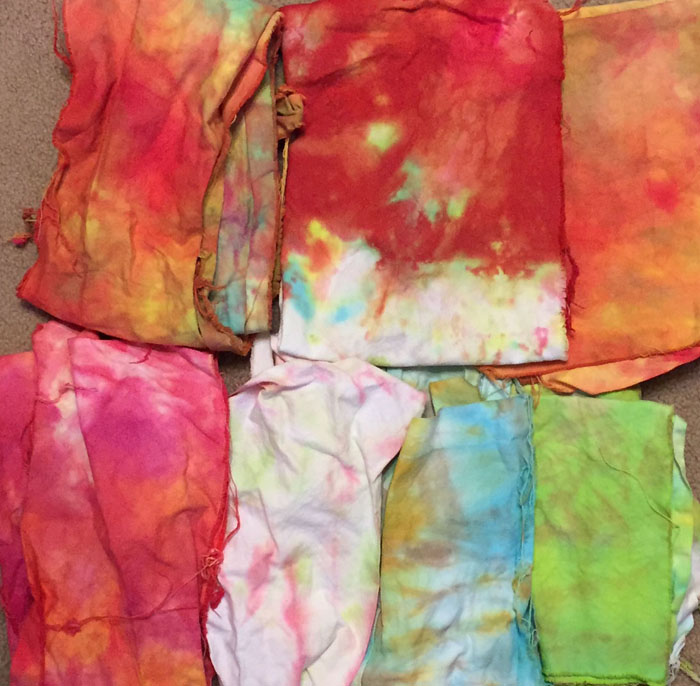
A common technique with low immersion dyeing is to manipulate the fabric in some fashion and to put it into a small space with the dye, so it stays in that shape. This prevents the dye from spreading evenly and interesting mottled colors can be achieved.

Dirty Dozen Dye Day. Ellen Lindner, AdventureQuilter.com/blog

These are some of my resulting fabrics. Very useful, right?

Dirty Dozen Dye Day. Ellen Lindner, AdventureQuilter.com/blog

We also did ice dyeing that day and I’ll show you that in my next post.

I’m SO lucky to have this intrepid group of fiber artists to hang out with!

Ellen Lindner
 

1

“Tall Grasses” Complete

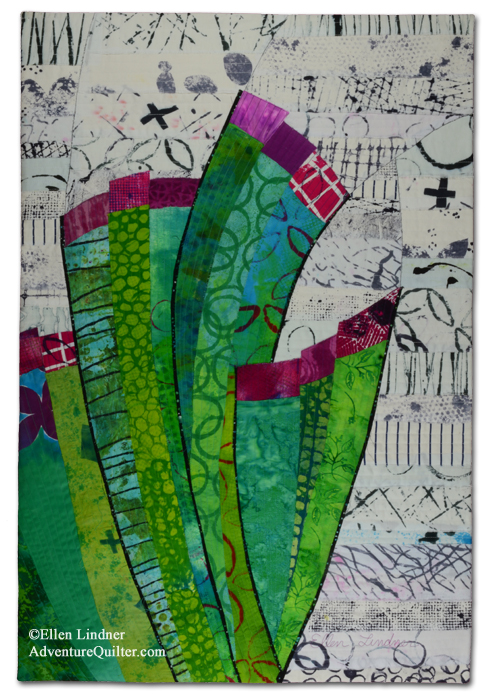
After several interruptions, I was finally able to finish my quilt, Tall Grasses.

Tall Grasses, an art quilt by Ellen Lindner. AdventureQuilter.com/blog

Tall Grasses

It was inspired by some of the landscape grasses growing in my neighborhood. When the setting sun hits them, the cream colored heads glow an almost pink. As you can see, I ran with that idea, adding my favorite bright colors, and using an abstracted representation of grass.

This is the first quilt I’ve made using almost exclusively my own hand dyed fabrics. Very fun!

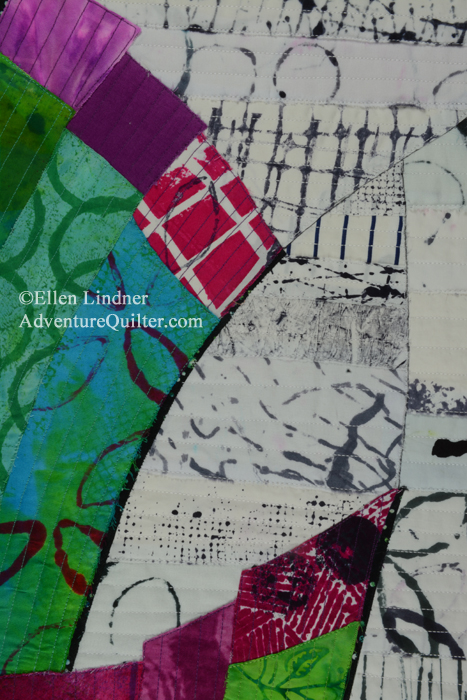
Tall Grasses - detail, an art quilt by Ellen Lindner. AdventureQuilter.com/blog

I wanted to play up the curves in the background so I drew it in with a fine permanent marker. It’s very subtle and I like it. As a matter of fact, I’m happy with the quilt in every way.

It was made as a companion to this quilt, Palm Fronds.

Palm Fronds, an art quilt by Ellen Lindner. AdventureQuilter.com

Palm Fronds

Don’t you think they’d make a good pair? Maybe I’ll make one more in the series.

Find out more information about Tall Grasses, including how to audition it in your own home.

Ellen Lindner
2

Designing with a Message in Mind

Most of my designs start with something visual. I’m inspired by a combination of colors, a particular photo, or the pattern of some fabric. I’m not particularly good at (or comfortable with) designing for a particular theme or idea.  Yet that is exactly where I found myself a short time ago.

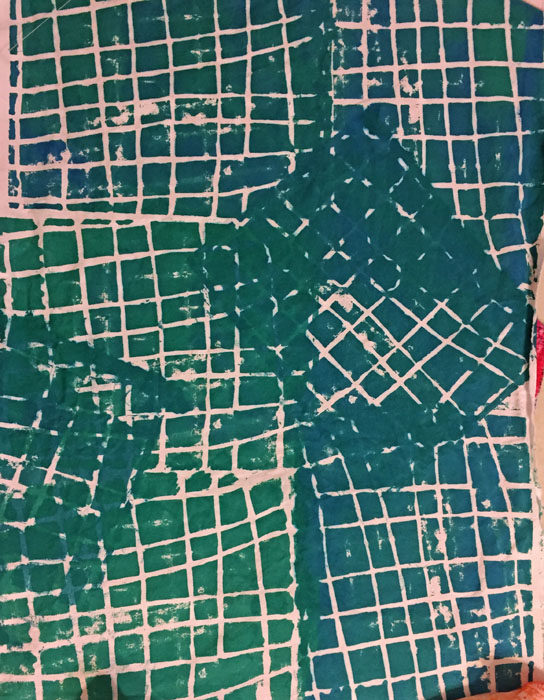
I wanted to create a piece for a regional exhibit called “Perspectives.” My idea was to do something that played up the idea of conflicting points of view. This came to me as I was creating my latest quilt and working with this fabric.

Favorite dyed fabrics. Ellen Lindner, AdventureQuilter.com/blog

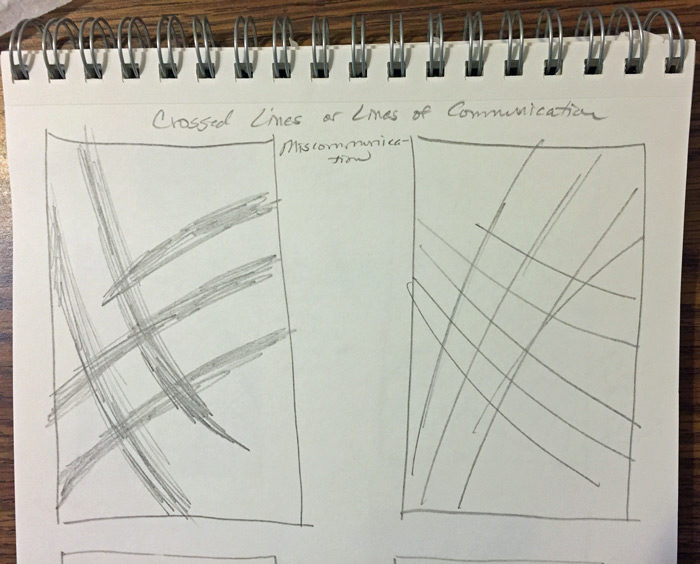
Don’t you think it could represent crossed lines of communication?  That was my idea, so I started sketching.

Designing with a Message in Mind.  Ellen Lindner, AdventureQuilter.com/blog

Hmm.  It turns out that crossed lines aren’t that great a composition.

What about lines that cross wildly?

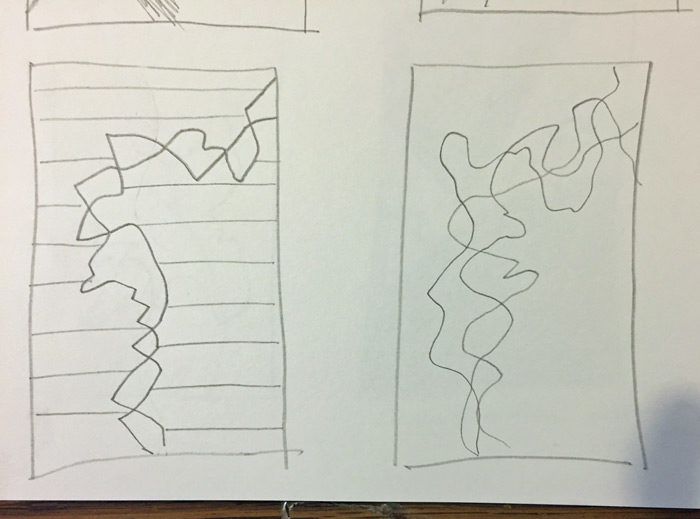
Designing with a Message in Mind. Ellen Lindner, AdventureQuilter.com/blog

Yes, that’s much more interesting. And those squiggly lines reminded me of some of the exercises I had done while reading Jane Davies’ book. Some included large bulky shapes overlaid with interesting scribbled lines.

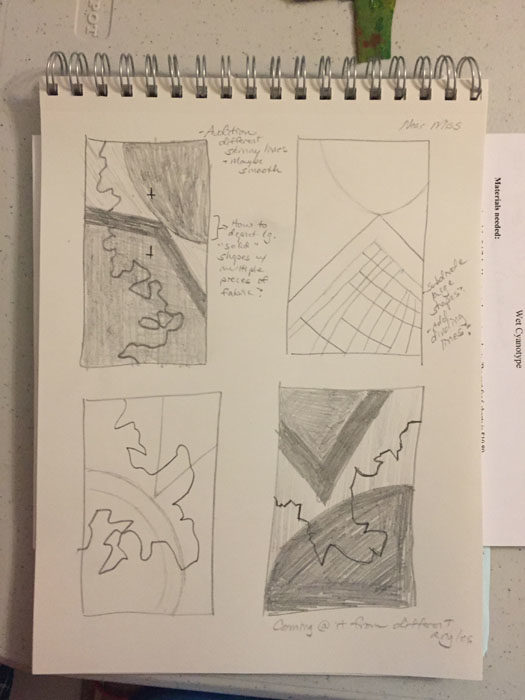
I sketched several ideas.

Designing with a Message in Mind. Ellen Lindner, AdventureQuilter.com/blog

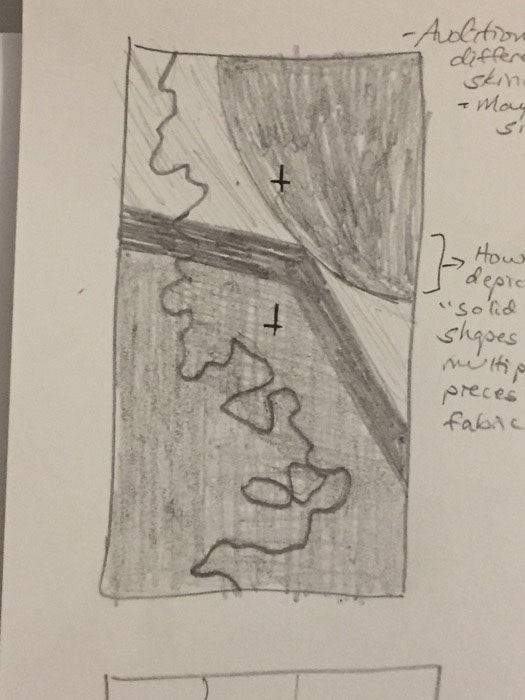
And decided on this one.

Designing with a Message in Mind. Ellen Lindner, AdventureQuilter.com/blog

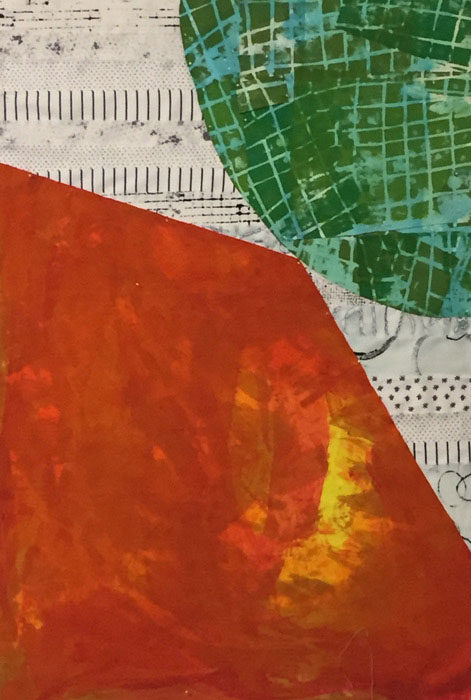
Yes, that had promise. And since it was basically just 3 large elements, I had it composed in no time (without the scribble.)

Designing with a Message in Mind. Ellen Lindner, AdventureQuilter.com/blog

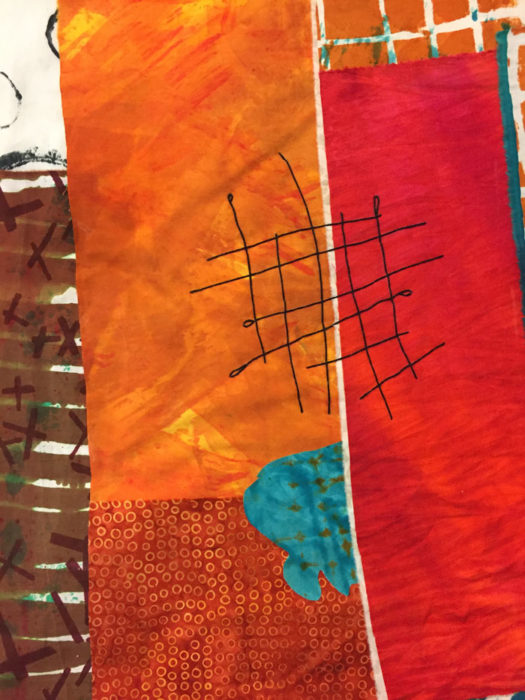
Next, I quilted it.  I knew that would make adding the black squiggle much easier.

I was off and running and enjoying the Adrenalin ride!

Ellen Lindner
P.S. The orange fabric I used is the one I “ruined” with too much bright orange. I toned it down with an overdye and I love it here. Most other fabrics are also my hand dyes.

0

“Rhythm of the City” Complete

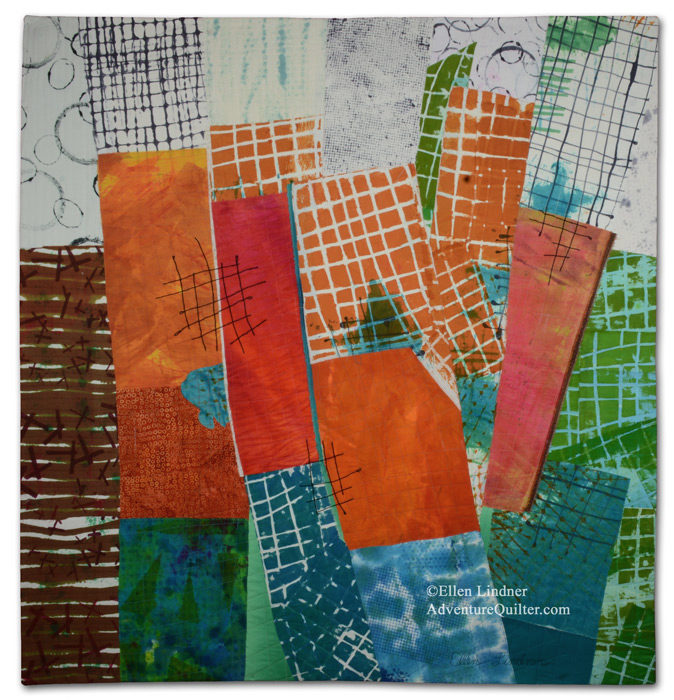
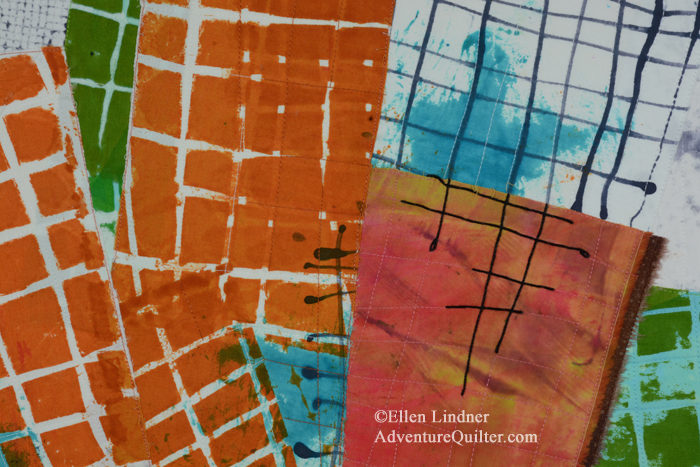
Rhythm of the City, an art quilt by Ellen Lindner. AdventureQuilter.com

My latest quilt, Rhythm of the City, is now complete.  It’s made almost entirely with fabrics I dyed myself.  I’m very happy with both the fabrics and the composition.

I added additional pattern and interest with couched heavy black thread. I think it adds a lot.

Rhythm of the City - detail, an art quilt by Ellen Lindner. AdventureQuilter.com

Completing the Composition. Ellen Lindner, AdventureQuilter.com/blog

More information about this quilt

Audition this quilt in your home

I’m looking forward to working with these fabrics again, and I have something totally different in mind.

Ellen Lindner
P.S. My Facebook followers were a big help with naming this quilt. Thanks for the suggestions, everyone!

2

Favorite Background Technique

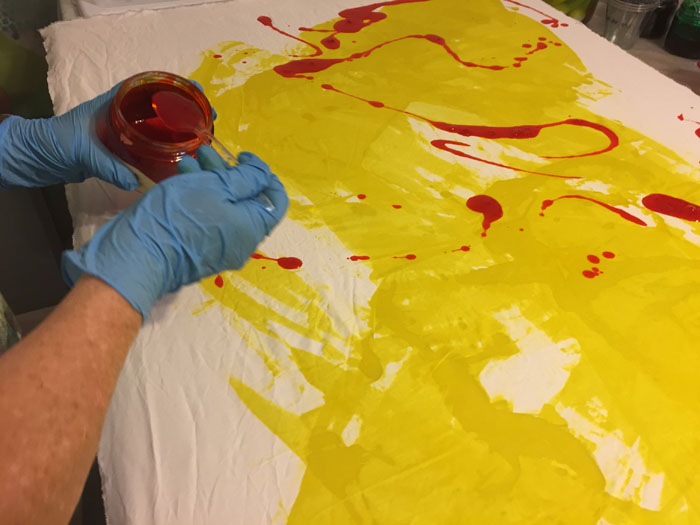
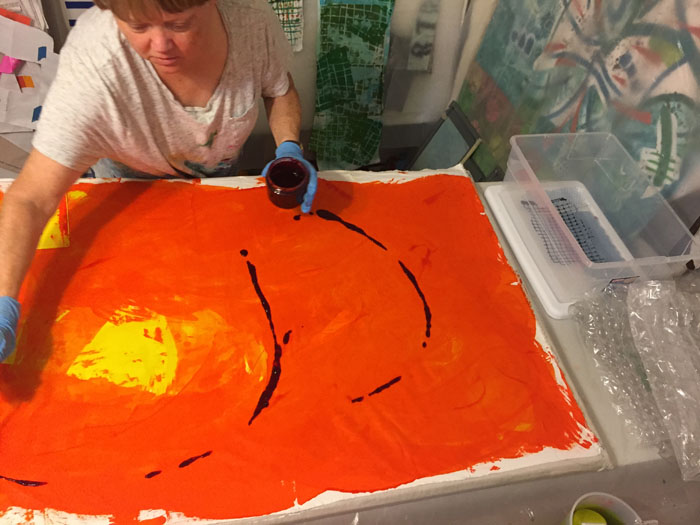
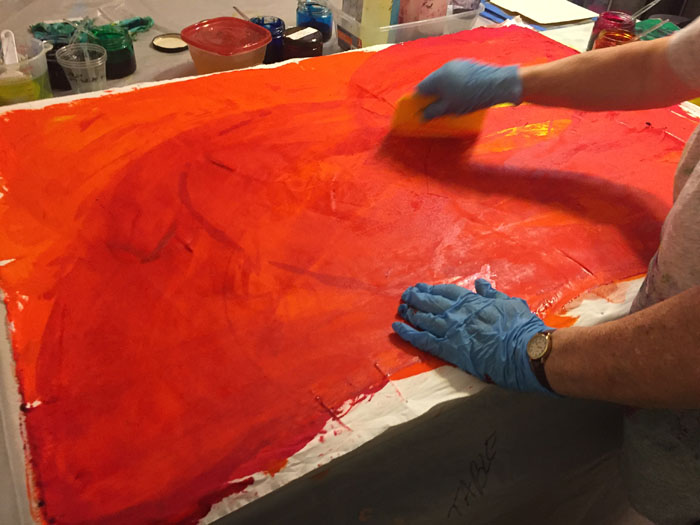
Now THIS is fun! Scoop up some thickened dye with a stiff squeegee (think large credit card,) and smear it onto some fabric. It spreads into glorious color and makes a very satisfying swishing noise at the same time.

I started with yellow and then added yellow-orange,(which looks dark orange when it’s this thick.)

Favorite background technique. Ellen Lindner, AdventureQuilter.com

But, it DID look mighty orange.  Next, I added orange. Hmm, there was no color change. Then, I realized that my yellow-orange had been contaminated with deep orange.  Oops.  This is going to be very orange!

Favorite background technique. Ellen Lindner, AdventureQuilter.com

Finally, I added red and got this, (still wet.)

Favorite background technique. Ellen Lindner, AdventureQuilter.com

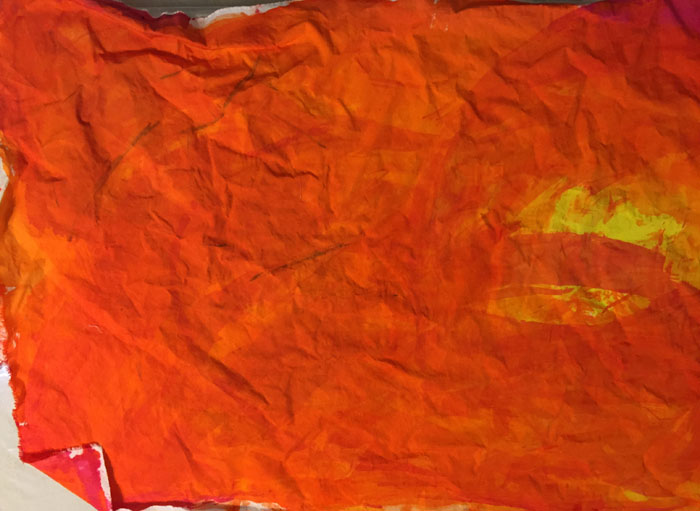
When dry it looked like this, which was more orange than I really wanted. (No surprise.)

Favorite background technique. Ellen Lindner, AdventureQuilter.com

No worries. I over dyed it and got some very useful fabric. (I took a photo, but it doesn’t really show the difference.  You’ll have to trust me on this one.)

So, my overly orange fabric isn’t a very good example of this great technique.  Here’s another one I did the same way.  Can you see how I just swept the color on?  And that became the “pattern” for the piece.

Favorite dyed fabrics. Ellen Lindner, AdventureQuilter.com/blog

See the finished fabric – one of my favorites.

If you’re a dyer you’ll definitely want to try this technique when creating a background.

Ellen Lindner
2

Oops! Dyeing Duds

You can’t get it right all the time.  And knowing that relieves a certain amount of any perfectionist tendencies.  I fully embrace the unexpected “mistakes.”  Like this one. This was created with a special type of interfacing stencil.  It’s shown wet here, which means it’s darker than it will be after washing.

Oops! Dyeing Dogs. Ellen Lindner, AdventureQuilter.com/blog

BUT.  If you have forgotten to soak your fabric in soda ash before adding the stenciled dye nearly ALL of the color will wash out.  Like this. Oh well.  It will be a nice background for something else.

Oops! Dyeing Dogs. Ellen Lindner, AdventureQuilter.com/blog

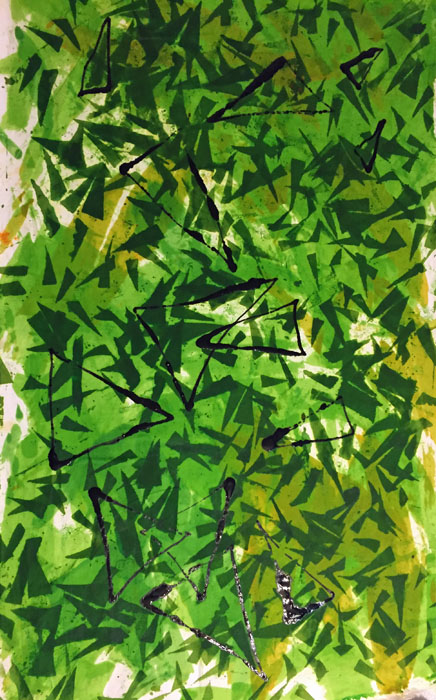
And then there’s this piece, which looks WAY better in this photo than it does in real life.  It’s a jumble of dull and dark greens.  But, that’s not the ugliest part. That part is played by the black triangles I drew on with a syringe.  Oh my! My technique was off and I got horrible blobs and runs everywhere. So, I immediately washed the whole thing, hoping the black wouldn’t have time to cure/set.  No such luck, so the dry version is almost as ugly – now with gray drawn triangles. But, oh well.  I needed another clean up rag, right?

Oops! Dyeing Dogs. Ellen Lindner, AdventureQuilter.com/blog

Check out my other posts for some decent results.

Ellen Lindner
2