Tag Archives | Dyed Fabrics

The Basics: Dying Yardage

In my mind there are two basic types of dyed fabrics: those that can be used for yardage, and those that have specialized patterns. These are a few of my yardage pieces. They fall into this category because I could cut pieces out of them in a variety of places and still get pretty similar designs.

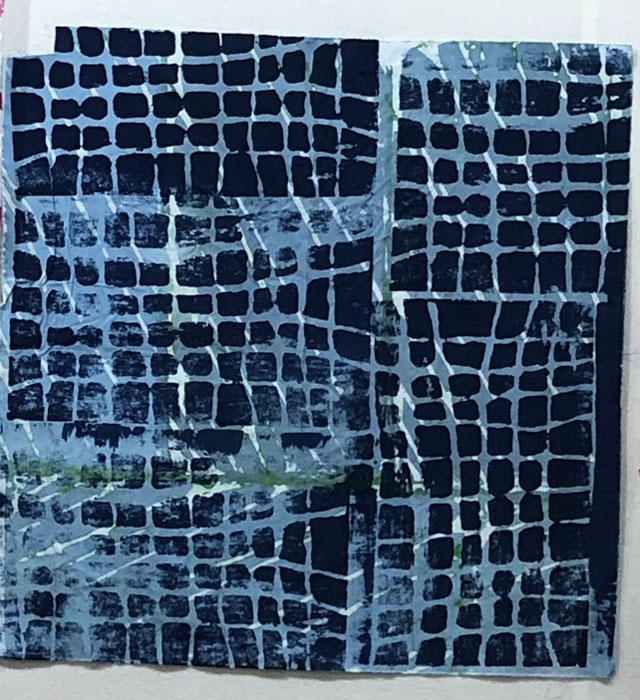
This navy grid is an over dye. The original stripey blue was too dull for my liking, so I added navy on top.

Dying Yardage. Ellen Lindner, AdventureQuilter.com/blog

The navy, green, and rust below are also over dyes.
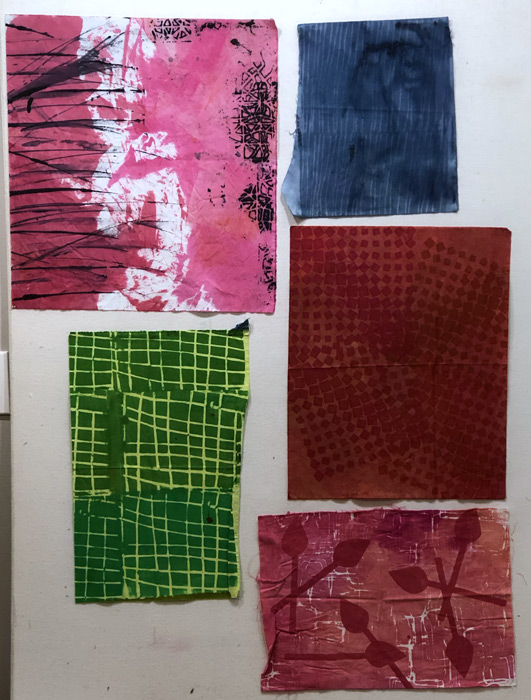
Dying Yardage. Ellen Lindner, AdventureQuilter.com/blog
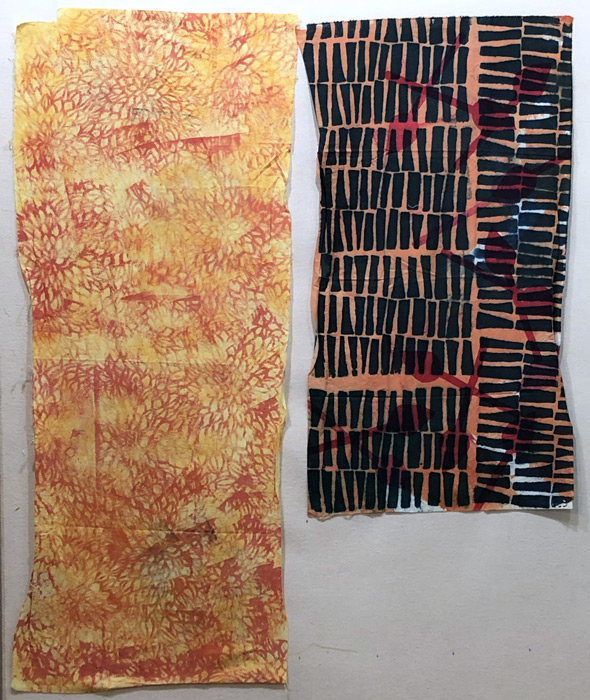
This yellow fabric was a commercial fabric that I tried a lavender rubbing on. It DID NOT look good, but it mostly faded when I washed it. This time, I tried it with an orangey-red. I think it works and that it will be useful.
Dying Yardage. Ellen Lindner, AdventureQuilter.com/blog

The navy print, above, was stenciled and the background orange was added last. I would have liked it to be a little brighter, so this one might get an over dye down the road.

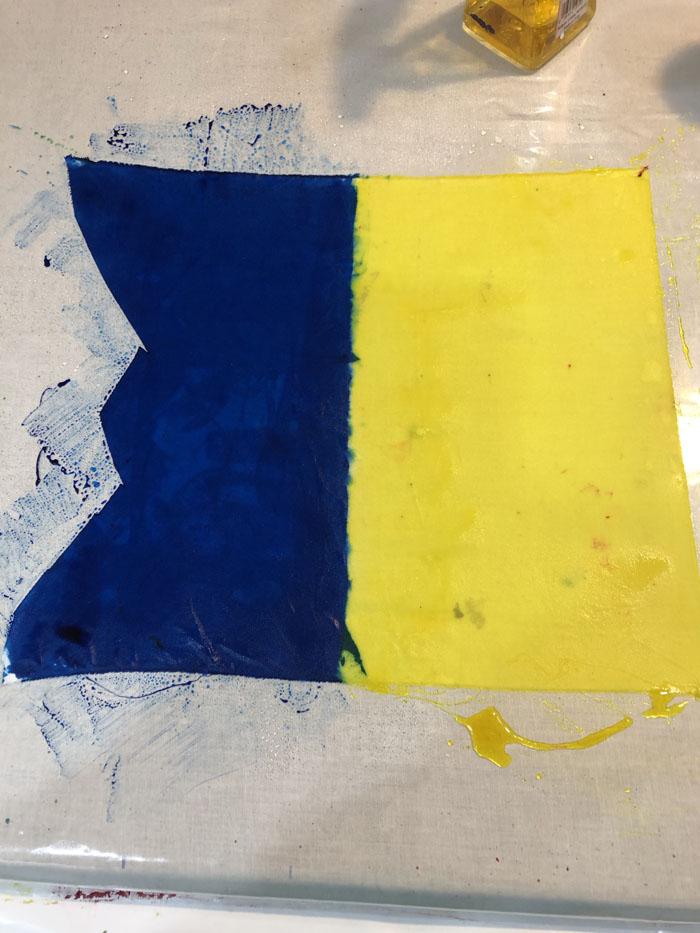
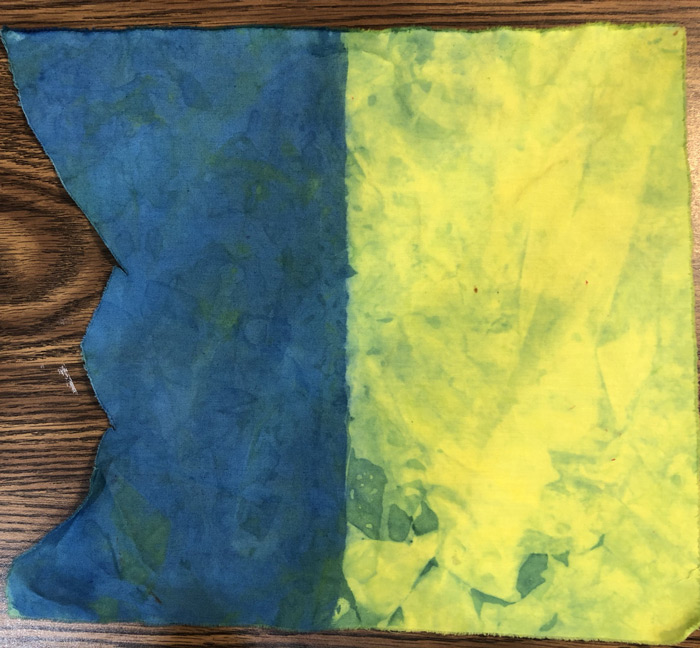
I work with thickened dyes. The thickness allows me to stencil and paint with them, knowing they’ll stay where I put them, without bleeding. But, I like that bleeding effect, too, so I did an experiment to see if I could get thickened dyes to bleed effectively. I sprayed the fabric and dye painted the two sides in blue and yellow.

Ellen Lindner's fabric dying. AdventureQuilter.com/blog

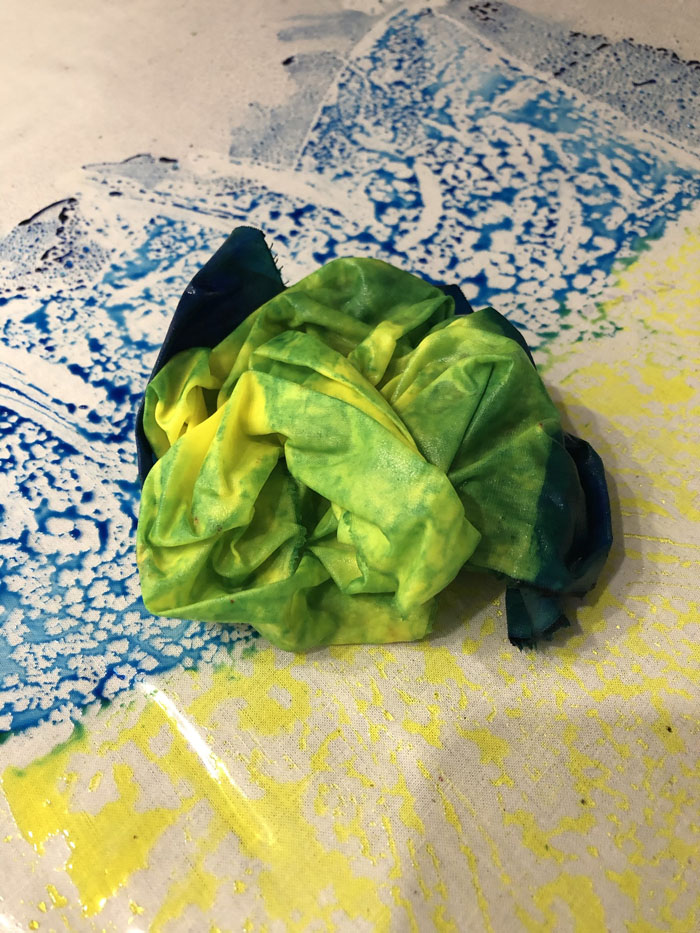
Then I scrunched the fabric up and left it that way to dry. I could immediately see that the two colors were, indeed, blending.

Ellen Lindner's fabric dying. AdventureQuilter.com/blog

These are the final results. It definitely shows promise. I’ll have to play with it some more.
Dying Yardage. Ellen Lindner, AdventureQuilter.com/blog

As you can see, this is just a tiny swatch, but I included it in this post, since I think it will be a yardage technique in the future.

Some of these yardage fabrics aren’t that exciting, but I usually find them to be quite useful.

Ellen Lindner

0

All Those Swatches!

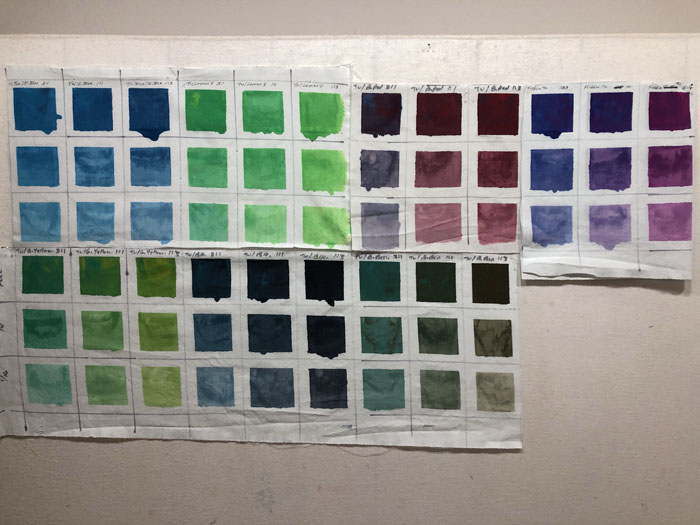
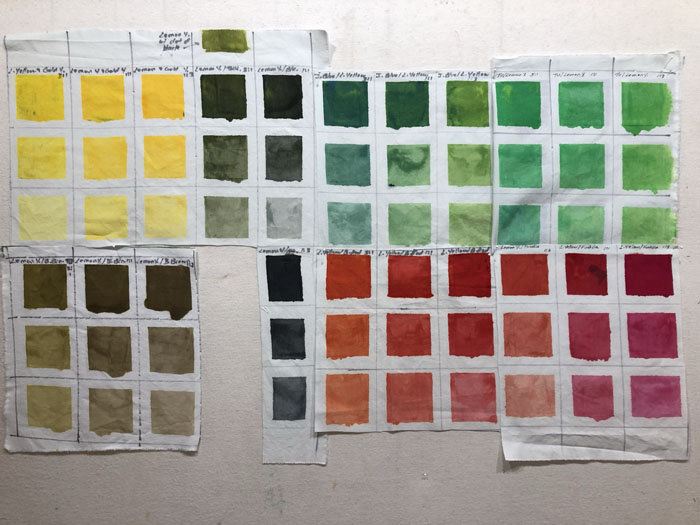
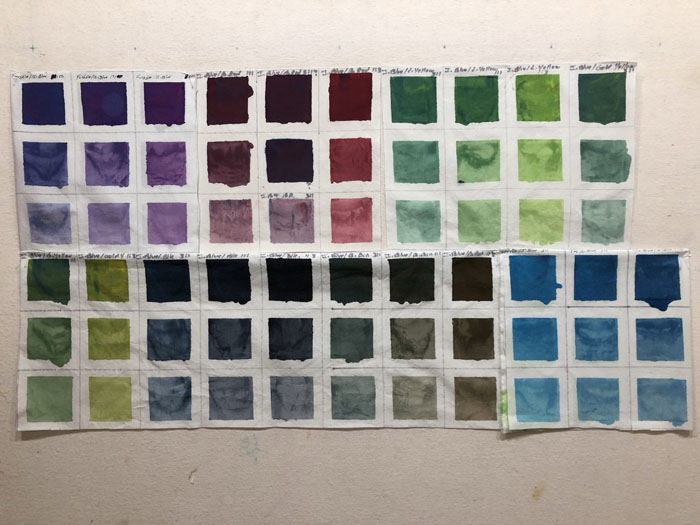
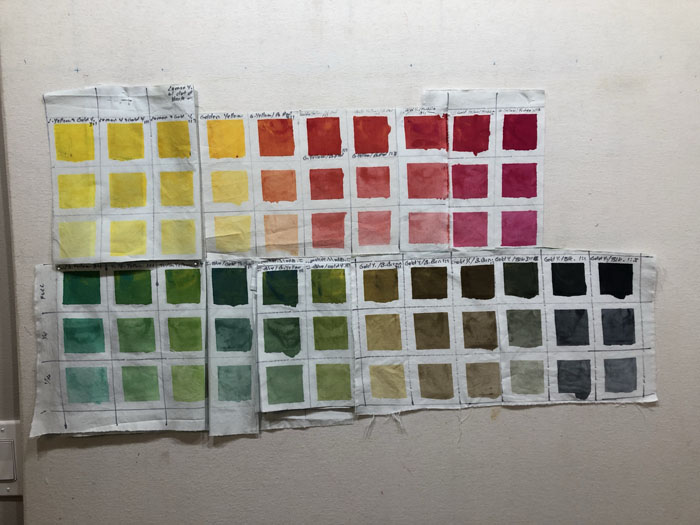
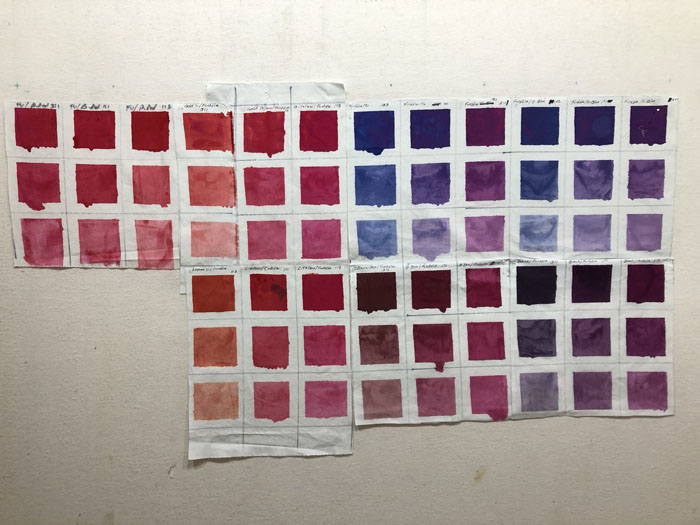
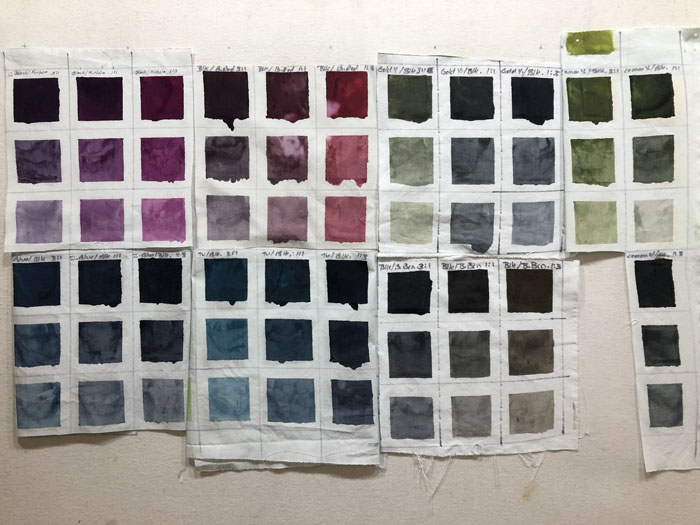
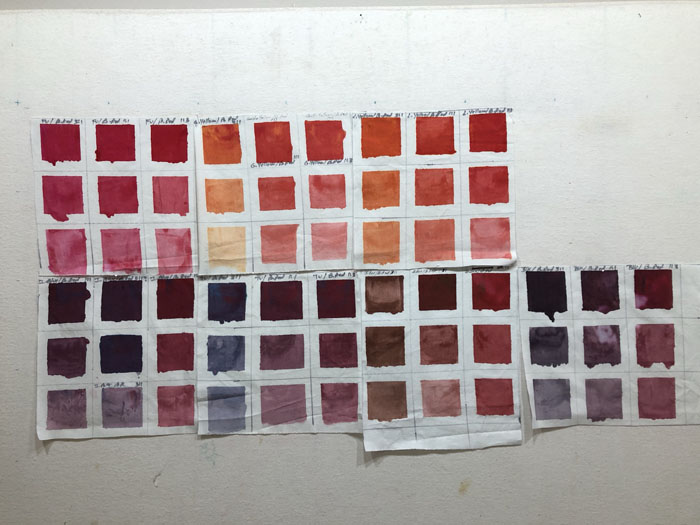
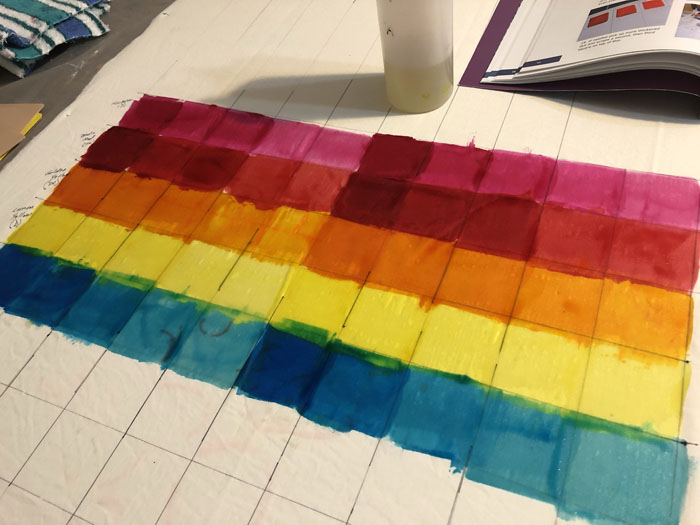
I stopped counting when I got to 250. TWO HUNDRED AND FIFTY unique color swatches! More than, actually. These are the swatches showing what each of 7 different basic colors looks like when mixed with the remaining color, Turquoise.

All Those Swatches! AdventureQuilter.com/blog

Each color combination has been mixed in 3 different proportions, and 3 different strengths. Here’s Lemon Yellow. The black I’m using has a blue cast to it. Can you see how greenish they look? (Just right of the 9 yellow squares.) A good thing to know.

All Those Swatches! AdventureQuilter.com/blog

Intense Blue:All Those Swatches! AdventureQuilter.com/blog

Golden Yellow:All Those Swatches! AdventureQuilter.com/blog

Fuchsia:All Those Swatches! AdventureQuilter.com/blog

Black:  Some  of  these  are  lovely,  aren’t  they?All Those Swatches! AdventureQuilter.com/blog

Basic Red:All Those Swatches! AdventureQuilter.com/blog

There was also a combo made with Basic Brown, but I forgot to photograph it.

Can you see how useful these will be? I’m going to sort them by color and glue them to card stock, with notes about the color combination and proportion. Oh, I’ll be so organized!

Of course, I also dyed some yardage. I’ll show you that soon.

Ellen Lindner
2

A New Dying Process

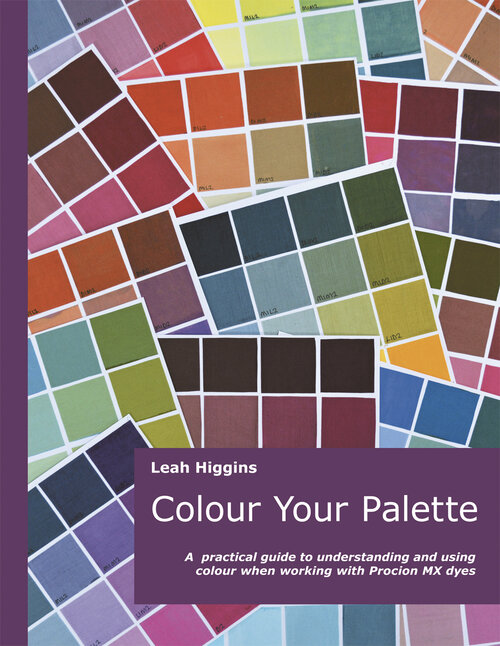
I’ve recently changed my dying process and I’m really liking it! The impetus was the book, Colour Your Palette, by Leah Higgins.

Colour Your Palette by Leah Higgins

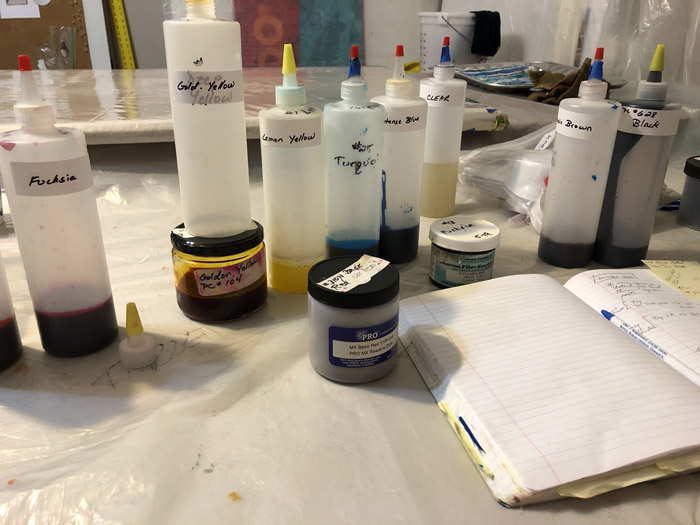
She mixes her print paste thinner than I’ve been doing and is, therefore, able to dispense her dyes from squirt bottles. I decided to give it a try, and boy do I like it!

At this new consistency, the dye flows out of these bottles beautifully. It’s VERY easy to control the dye and even to write and draw. Love it!

Another change is the addition of a glass mixing plate.

Ellen Lindner's fabric dying. AdventureQuilter.com/blog

The mixing plate has a couple of advantages over my previous method of mixing directly on the plastic. 1 – I can make notes on a piece of paper underneath, which keep me organized when I’m mixing very specific colors. 2 – I can easily pick it up for cleaning and scrape excess dye into my trash can.

In the book, Leah Higgins walks you through six very extensive exercises which help you to learn all about mixing colors. The first one was to simply print each of your basic (8) colors in a variety of strengths.

Ellen Lindner's fabric dying. AdventureQuilter.com/blog

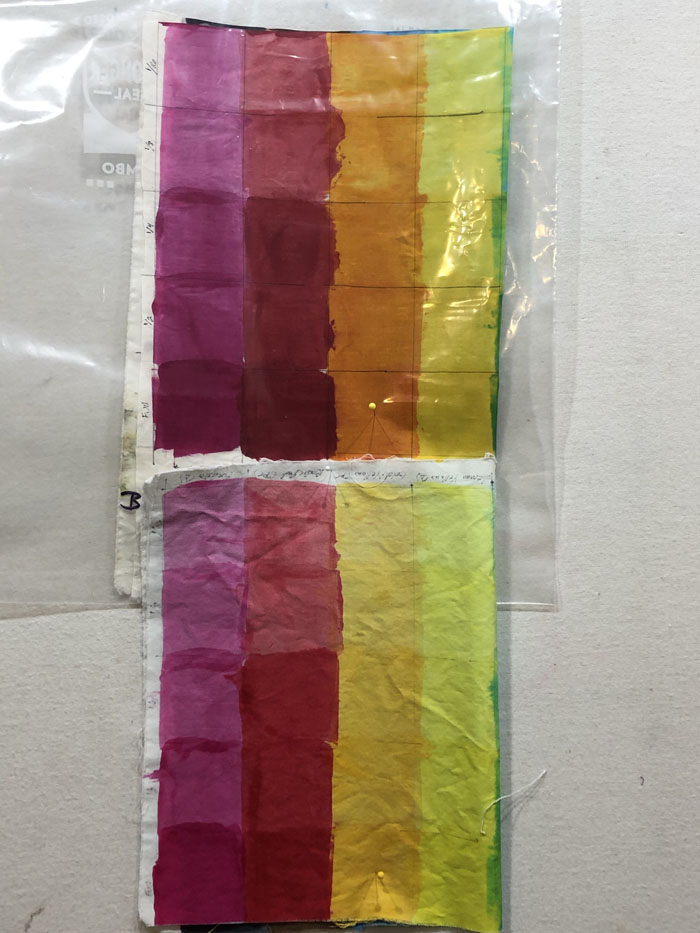
That, by itself was really useful. But, Leah takes it one BRILLIANT step further. She has you make two identical samples. You wash one and leave the other one to dry and remain unprocessed. This will serve as an example of how different things look wet and dry. VERY useful!

See what I mean, below. The top colors, in the plastic bag, are completely untreated. The ones below are washed and dried. Look for the two swatches with the yellow pins in them. These are both Golden Yellow, full strength. But, notice how much the color hue and saturation changed when washed!

Ellen Lindner's fabric dying. AdventureQuilter.com/blog

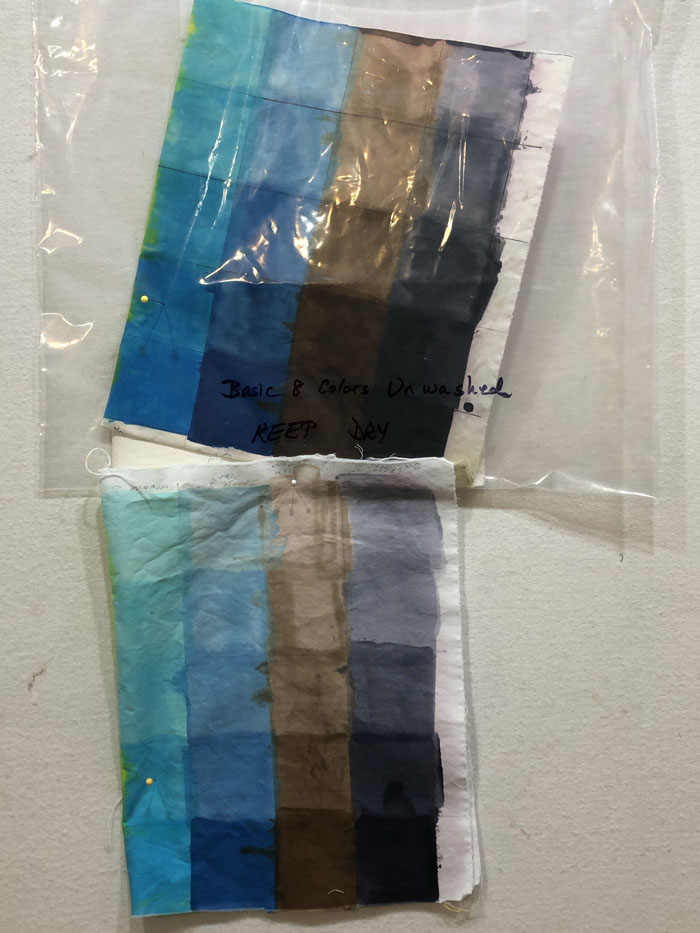
And here are the other 4 colors. Again, notice the two swatches with pins in them. They’re both turquoise, at half strength.

Ellen Lindner's fabric dying. AdventureQuilter.com/blog

I’ve done many more swatches following Leah’s instructions. And I’ve had fun dying a variety of fabrics. More about that coming soon.

If you want to know how to mix your print paste to this same consistency, all you have to do is follow the instructions that come on the package of thickener. (I used the SH print paste mix from Pro Chemical and Dye.)

Ellen Lindner
2

Fresh Fish

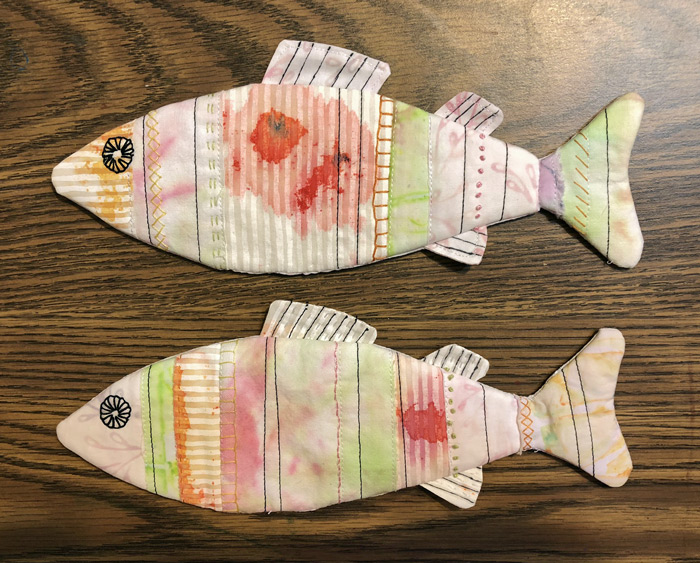
What to do when the call for art requests ocean animals smaller than 12″? This is my result: two fish for SAQA’s “Fresh Fish” project.

Fresh Fish. Ellen Lindner, AdventureqQuilter.com/blog

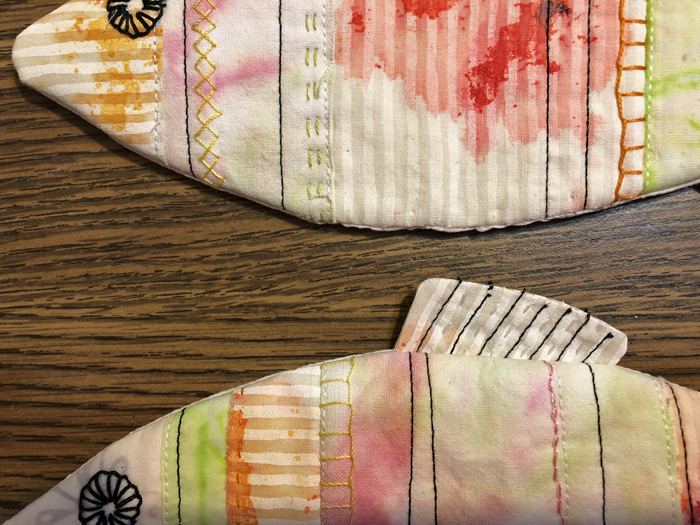
These are made from scraps, most of them hand dyed.

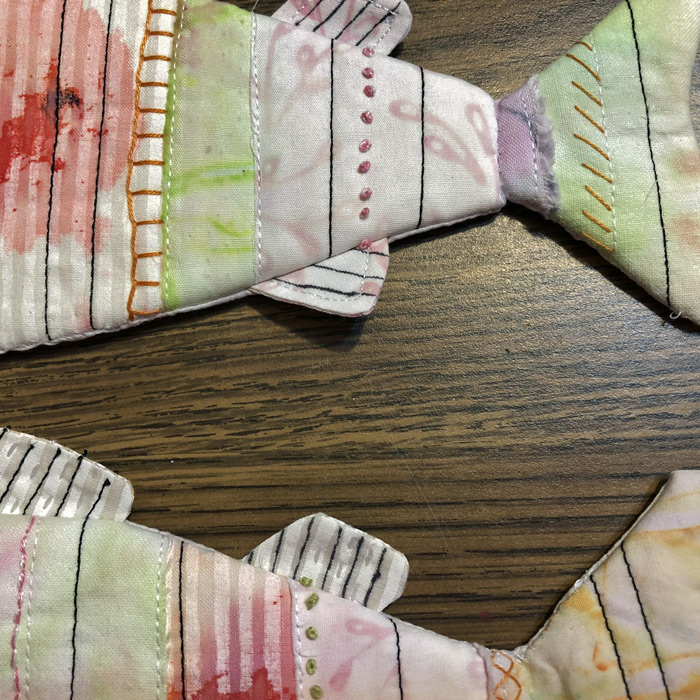
I had fun adding a little hand stitching.

Fresh Fish. Ellen Lindner, AdventureqQuilter.com/blog

It turns out that this shape is VERY hard to turn right side out. The narrow spot between the body of the fish and the tail is a problem. But, I’m happy with the result.

Fresh Fish. Ellen Lindner, AdventureqQuilter.com/blog

I’ll be mailing these off soon.

SAQA (Studio Art Quilt Associates) wants to receive 250 and anyone can donate, so join in if you’d like!

Ellen Lindner
2

Eight Leaves Later

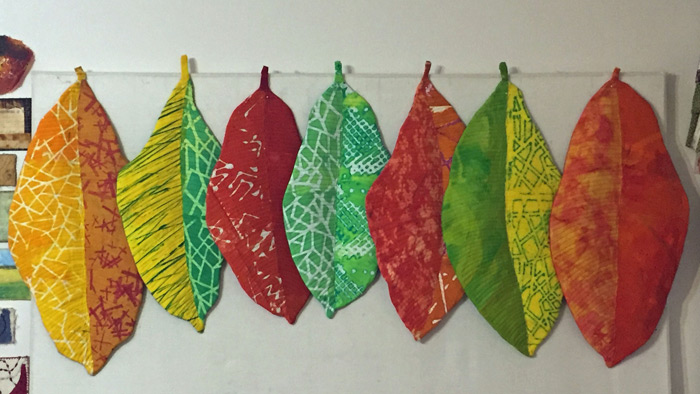
Well, I think maybe I’ve finished making croton leaves for a while. This is where it stands now.

Numbers 2-8:
Eight Leaves Later. Ellen Lindner, AdventureQuilter.com/blog

I really like the way they look together, don’t you? I think I’ll submit them as a collection to some exhibits. All the fabrics are my own hand dyes, except for one.

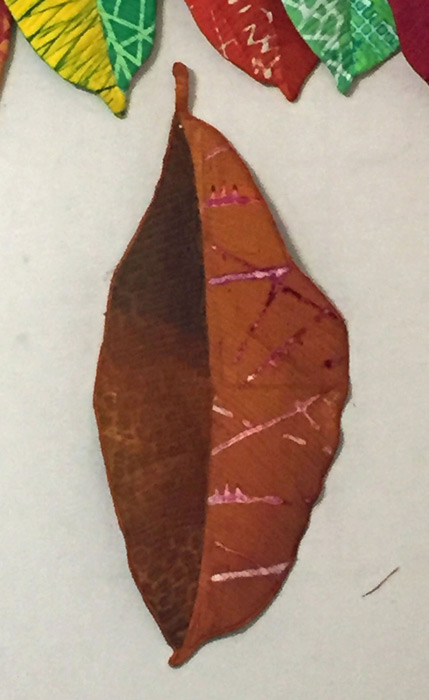
I have one more leaf, number one:
Eight Leaves Later. Ellen Lindner, AdventureQuilter.com/blog

It needs a couple of companions in rust, etc. But, I think I’ll hold off on that for a while.

These are a little tricky to photograph, so I’ll be adding them to my website slowly. See these two: Number One and Number Two.

Several people have asked for a demo on how to make these. My short answer is “Be careful what you wish for, because it’s a little complex.” However, I will share the main idea, in case you want to experiment. I used a wire mesh inside each leaf. This is the kind of pliable mesh a sculptor might use to start a piece. It gives each leaf rigidity, but it’s also malleable enough to allow me to shape the leaves. This is the especially wonderful part of using this mesh: you can quilt right through it! For the first leaf, I quilted the leaf front and again the leaf back before hand sewing the mesh inside. But, for the second one, I just sandwiched the mesh in between TWO layers of batting and went for it. It worked beautifully!

I’m giving myself points for experimenting! What have you been experimenting with lately?

Ellen Lindner
 

0

A Gold Star for My Students

How do you reward students in an online class? I’ve decided on a digital gold star. I wanted to make a special fabric star as my starting point and a friend loaned me a 3D pattern from Fabri Flair. Perfect!

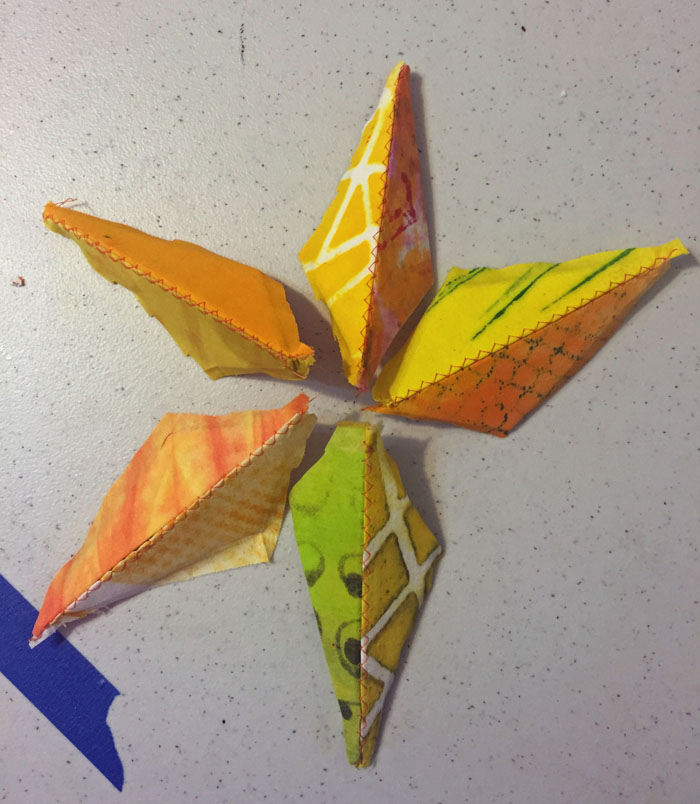
First, fabric selection. I wanted to use my hand-dyed scraps and for each piece to be different. Could I get away with a little yellow-green too?

A Gold Star for My Students. Ellen Lindner, AdventureQuilter.com/blog

I decided on just one yellow-green. I really liked this combination!

A Gold Star for My Students. Ellen Lindner, AdventureQuilter.com/blog

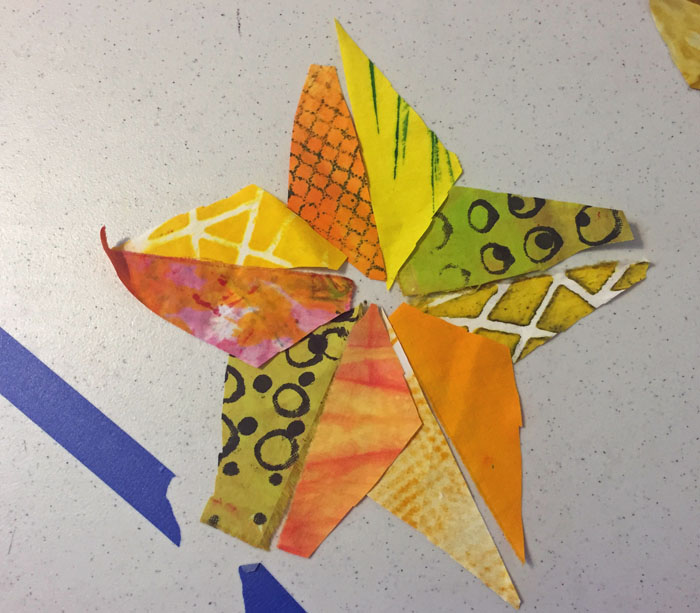
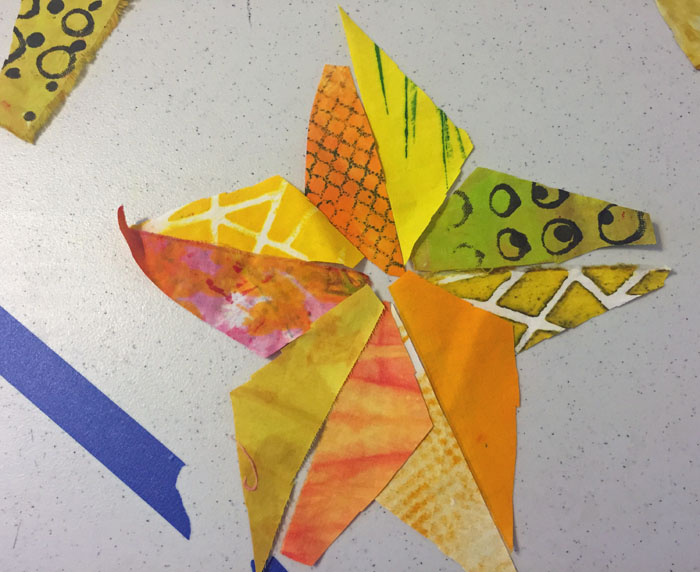
It began to take shape.

A Gold Star for My Students. Ellen Lindner, AdventureQuilter.com/blog

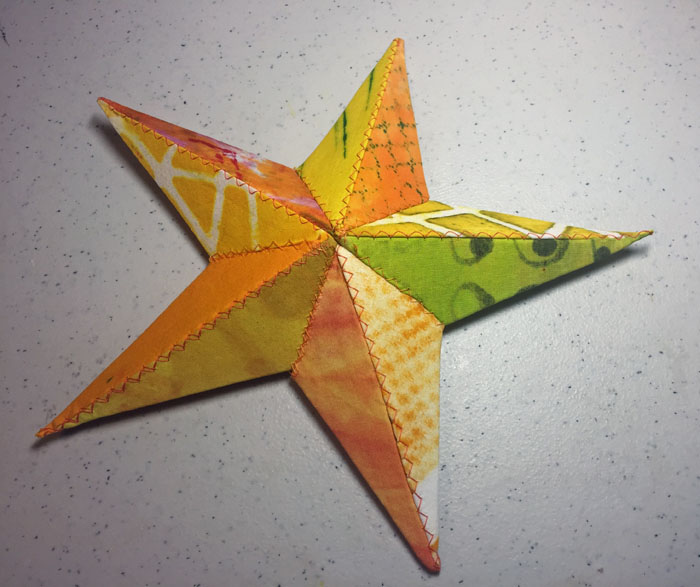
And here’s the finished star. I love it!

A Gold Star for My Students. Ellen Lindner, AdventureQuilter.com/blog

I’ll take a better photograph of it and add it to some sort of digital plaque. I think it will be a fun addition to the class interactions.

What online class you ask? Why THIS one: Double Reverse Appliqué. Check out my teaser video.

Ellen Lindner
P.S. Wondering about the blue tape on my table? It’s leftover from video recording online lessons. It showed me the edge of the video frame.

0

I’ve Been Sewing

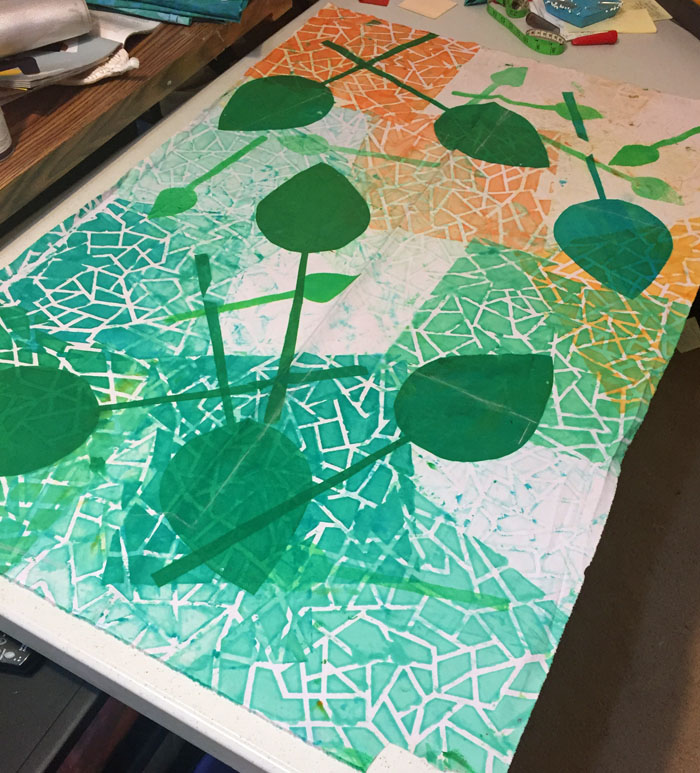
I haven’t done any garment sewing in ages, but all my luscious hand-dyed fabrics have had me thinking about using some in this way. This is the fabric that started it all. Isn’t it gorgeous?

Although I’ve been dying to use it, I wasn’t sure how to use it in combination with other large scale fabrics. But, I had smaller pieces that I thought I could use with it if the project was smaller in scale. Thus, the idea of a simple shirt came to mind. SIMPLE because I wanted to preserve the pattern of the fabric without a lot of seams or darts.

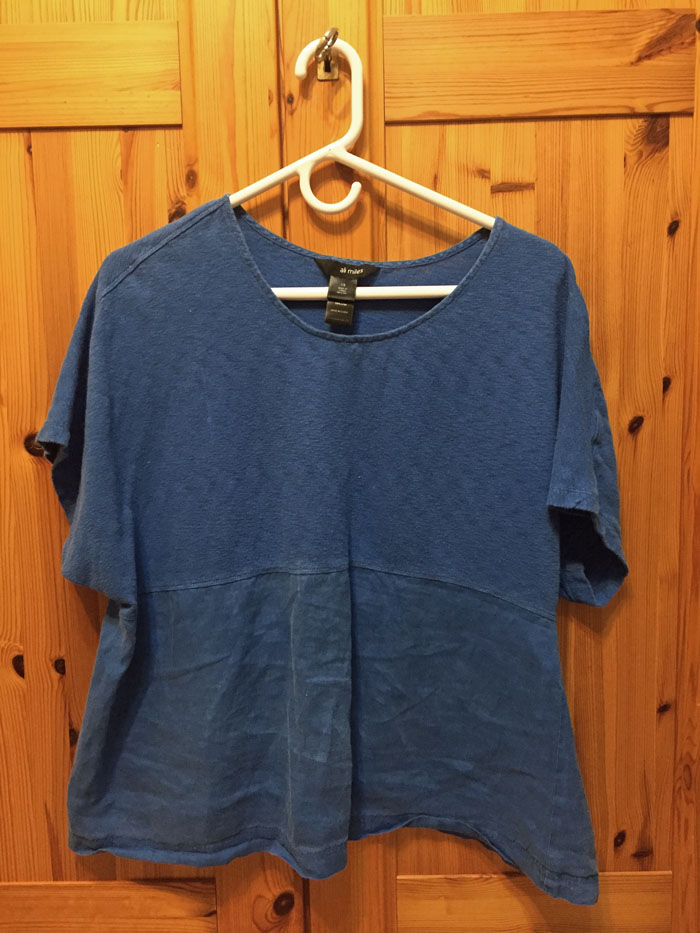
For the pattern I decided to mimic a ready-made shirt that fits me well (and is past its prime.) How’s this for simple? Only 4 pieces total: a simple T shape with a horizontal seam front and back. I thought it could work.

I used the shirt to create muslin patterns. (I didn’t take the shirt apart.)

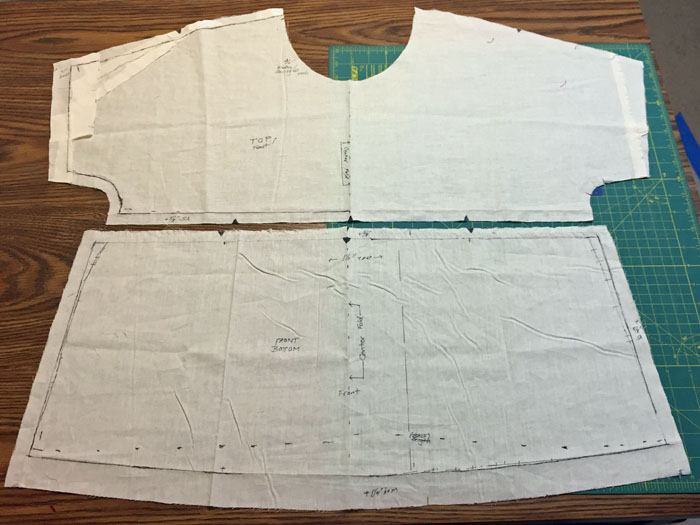
Here’s the pattern for the front. I made the bottom portion bigger, just as it is in the inspiration shirt. The extra fullness is eased in when the two parts are sewn together. (Yes, I’m short and wide, as the pattern shows.)

And here’s the back.

I basted the muslin pattern together and was happy with the fit. On to fabric selection!

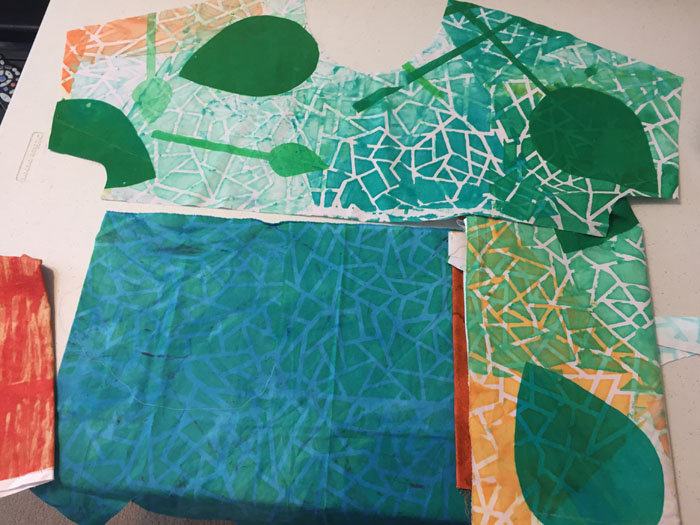
My plan was to use the prettiest part of the fabric as the top of the front. After that, I knew I’d need to patch other pieces together.

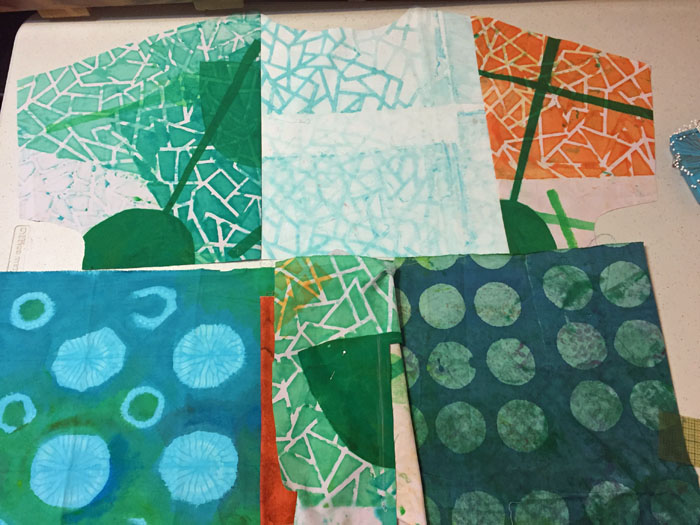
The photo above shows my auditioning of fabrics. The top piece is cut to size, but the others are folded as I pondered the best puzzle of pieces. (This ended up being the winner.)

On the back, I had to fiddle, rotate, and speculate before finding the best way to use my remaining fabric to its fullest. I was pretty happy with this layout.

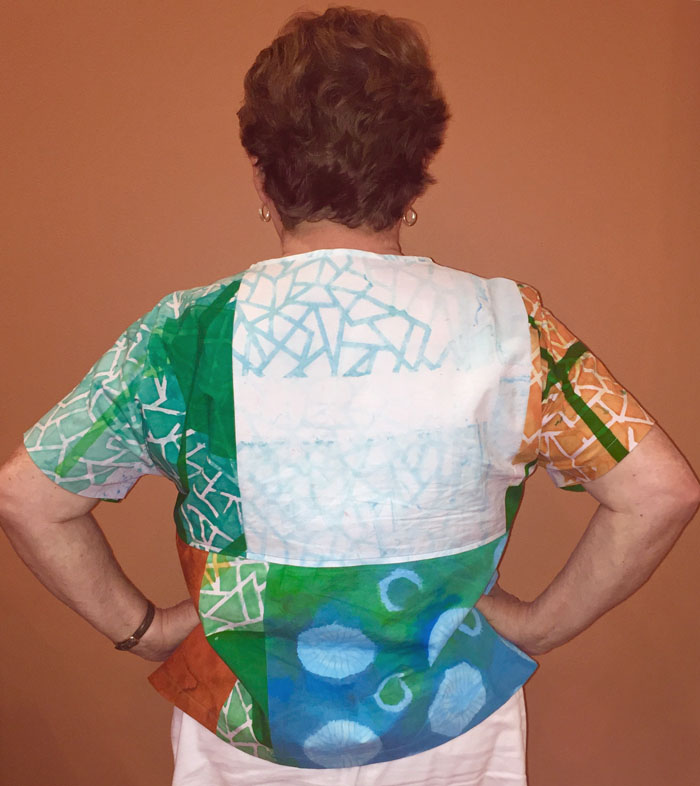
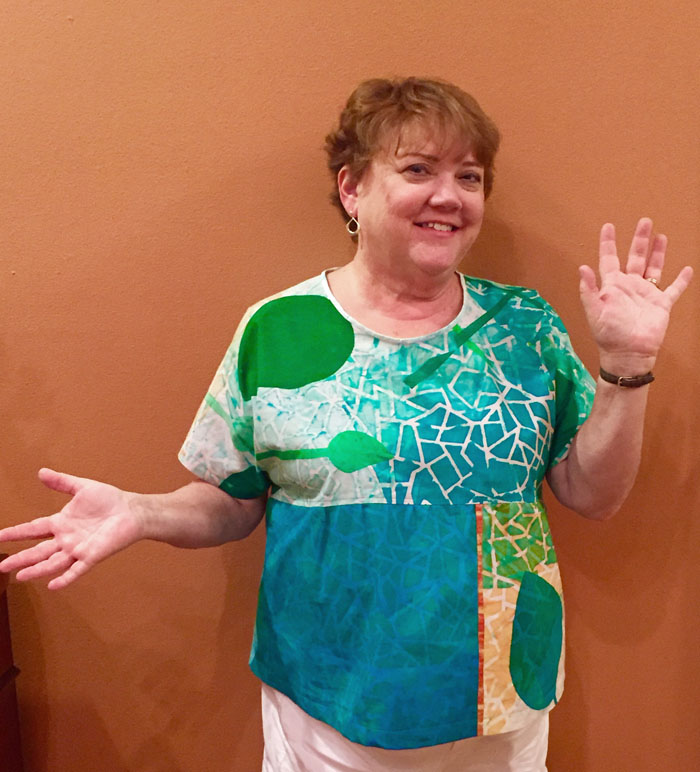
And here it is finished! I love it!

And the back.

This was a fun project and I’m very happy with the results. I think there will be more pieced tops in my future!

Ellen Lindner

13

More “Croton Story” Leaves

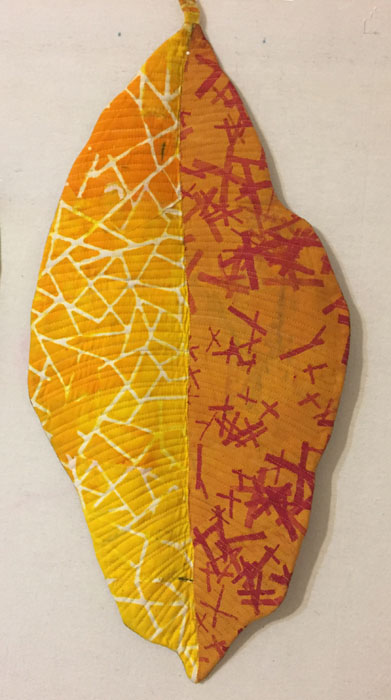
I’m apparently quite enamored with these 3D Croton Leaves. They’re all part of a larger series (or installation?) called A Croton Story. Here’s Chapter 3.


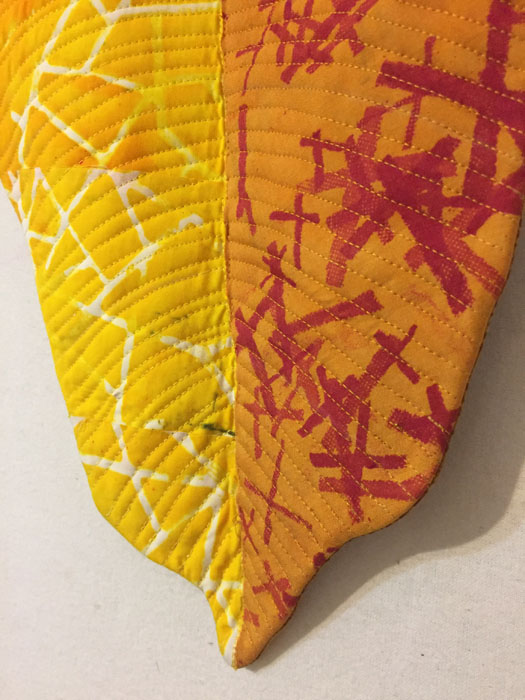
And a detail shot.

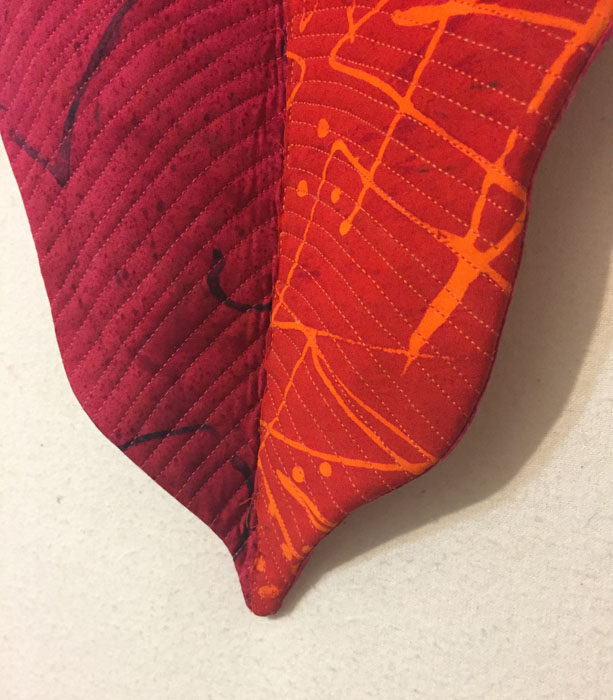
I hope you can tell that the two halves of the leaf sort of fold up around the central vein, but with quite a bit of downward curl on each side. These have wire inside to achieve that and are pretty rigid. The one above is about 24″ long.

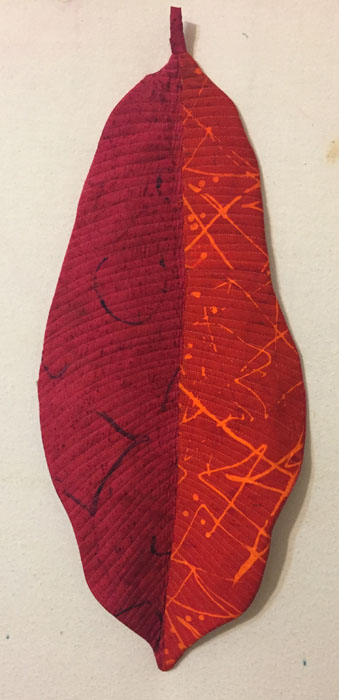
Here’s Chapter 4.

It’s only about 20″ long.

I’m getting to be pretty speedy at making these. That’s a good thing, because I want to make several more. I have visions of them all being seen together as an installation so I MUST add the needed colors! I’m having fun!

These are quick studio shots. The official ones will take quite a bit of editing to get that shadow right. (Very tricky.) I’ll add them to my website soon.

I hope you’re finding entertainment for yourself during this very unusual time.

Ellen Lindner
4

“She Looked for Blessings and Found Them” Complete

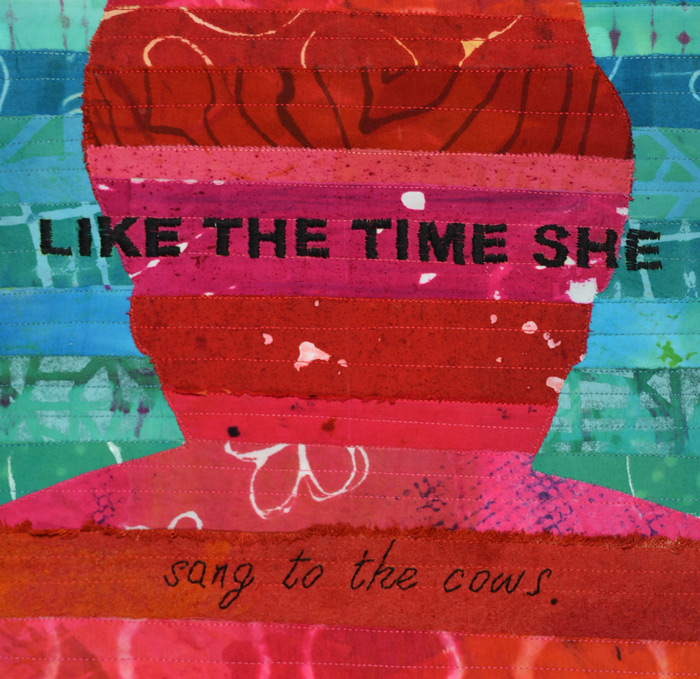
She Looked for Blessings and Found Them is the tile of my just completed self-portrait. Here’s a photo of the full quilt. It’s height matches my own, at 60″. And it’s 12″ wide.

"She Looked for Blessings and Found Them." A self-portrait art quilt by Ellen Lindner, AdventureQuilter.com

She Looked for Blessings and Found Them
(A self-portrait)

What makes this piece special are the statements I’ve stitched in telling things I’ve done over the years. Some are cute and others are not so complimentary, but the combination gives a good insight into who I am.

"She Looked for Blessings and Found Them," detail. A self-portrait art quilt by Ellen Lindner, AdventureQuilter.com

I hope you’ll check out all the detail shots which show these statements and really tell the story.

Ellen Lindner
P.S. See this quilt in-progress.


0

A Self-Portrait in Red

My art quilt group, the Dirty Dozen Fiber Artists, have a really interesting challenge going on. We’re all making self-portraits, each the height of the maker. Isn’t that a cool idea? They also have to be skinny: no more than 12″ wide.

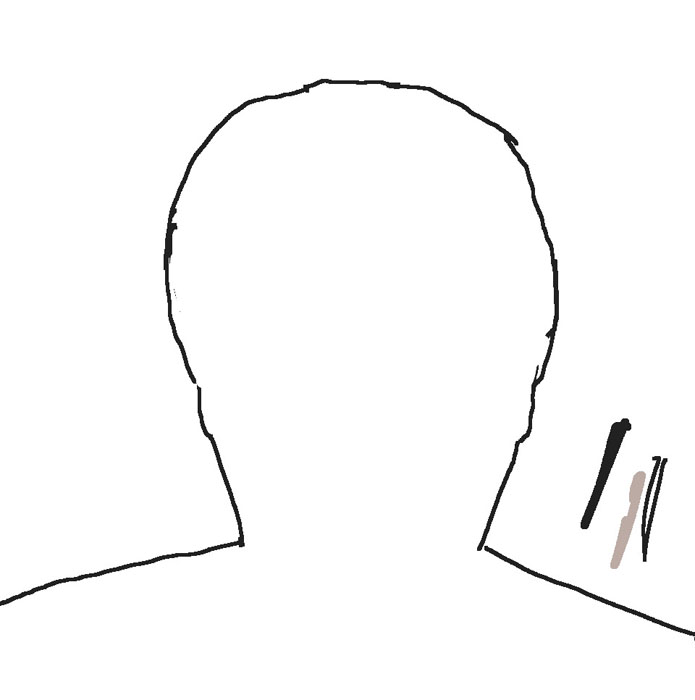
I wanted to include a lot of text in mine, stating my characteristics or attributes.  I decided  a composition with horizontal lines would lend itself to this. But, I also wanted to add my own head. That was surprisingly difficult, but I finally got it.


A Self-Portrait in Red. Ellen Lindner, AdventureQuilter.com/blog

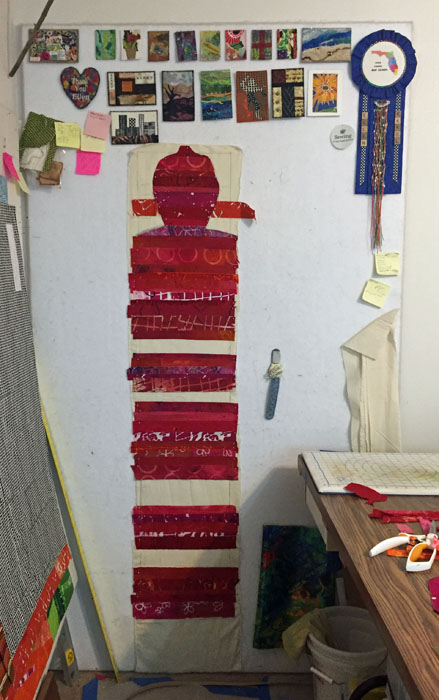
Working on my design wall, the horizontal RED stripes became my body. I used my hand dyed fabrics, paying attention to scattering in a variety of patterns and scales. But, I also aimed for a lot of quiet (near solid) areas that would show off text.

A Self-Portrait in Red. Ellen Lindner, AdventureQuilter.com/blog

My primary design wall is only 4′ tall, so I had to work on my alternate one, above. It’s 7′ tall and I’m only 5′ so it provided plenty of room. (BTW, the bump on the top of my head will be lost in the trimming and seam allowance. I always want the design to extend into the seam allowance, so the bump acheives that.)

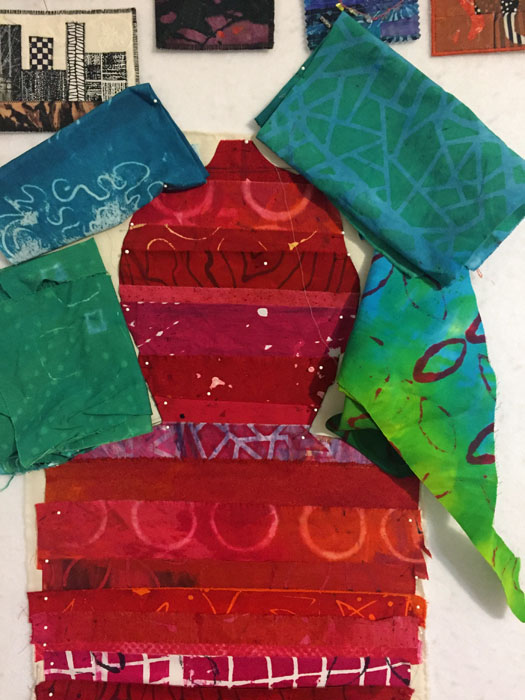
I initially planned to use orange in the background around my head. But, I worried that it didn’t provide enough contrast. A quick audition confirmed the problem.

A Self-Portrait in Red. Ellen Lindner, AdventureQuilter.com/blog

I tried again with blue-green. Much better.

A Self-Portrait in Red. Ellen Lindner, AdventureQuilter.com/blog

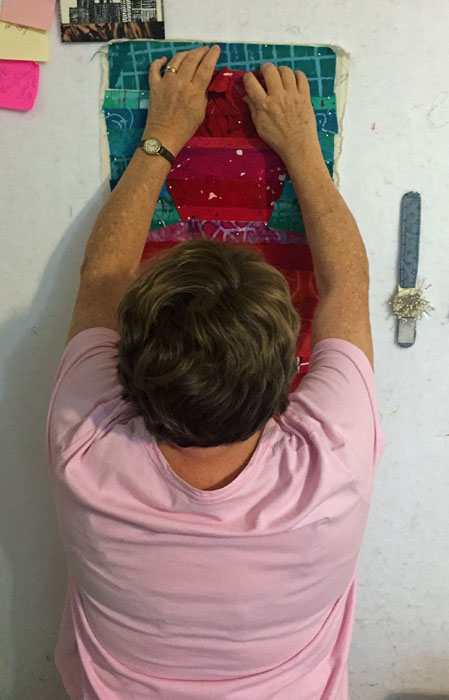
The height of this piece meant that I was frequently working above my head. S-T-R-E-T-C-H.

A Self-Portrait in Red. Ellen Lindner, AdventureQuilter.com/blog

This is what it looked like with the composition complete. No stitching or text yet. I was very happy with it!

A Self-Portrait in Red. Ellen Lindner, AdventureQuilter.com/blog

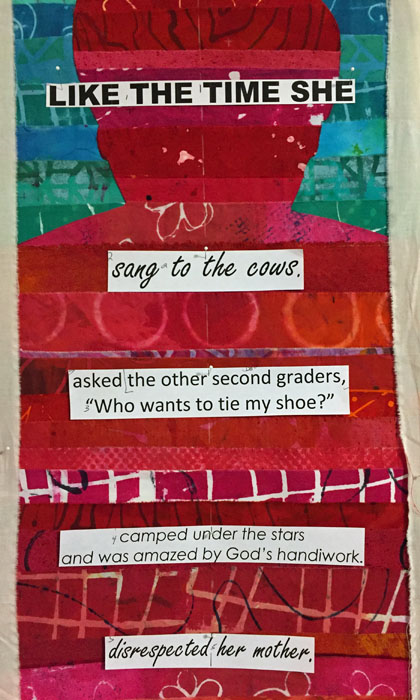
When selecting the text for my self-portrait I switched from attributes to actions. I selected some cute and complimentary things, but also some not-so-flattering confessions. I printed out everything in a variety of fonts and began to audition placement.

A Self-Portrait in Red. Ellen Lindner, AdventureQuilter.com/blog

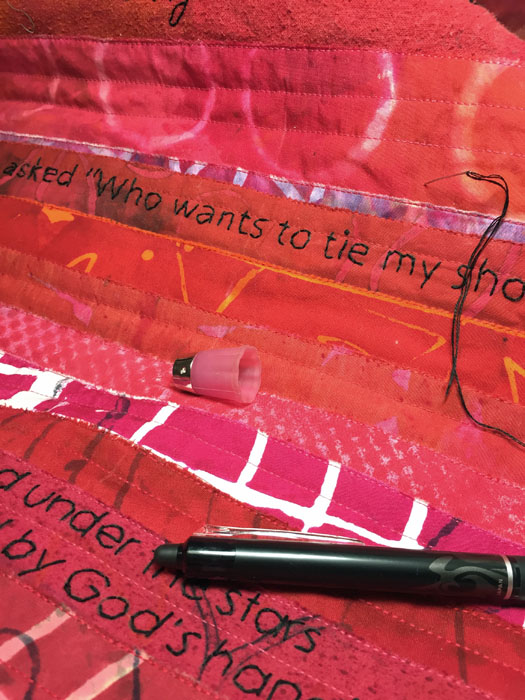
I transferred the text to the unquilted quilt. Then, I quilted it with horizontal lines. And finally, I started hand stitching the text.

A Self-Portrait in Red. Ellen Lindner, AdventureQuilter.com/blog

Oh my, that took a LONG time!!! (I think I’ll use marker next time.)

Now it’s almost complete and you’ll find it on my website soon.

Ellen Lindner
8