Tag Archives | Dyeing

New studio Flooring

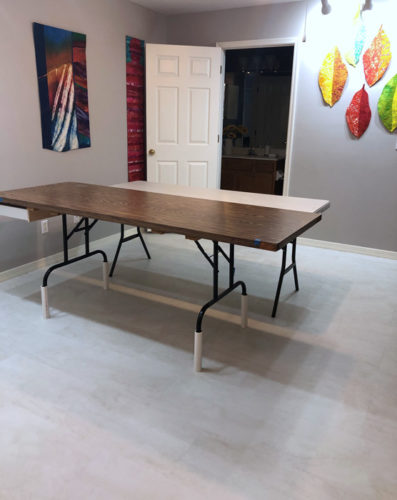
Check out my new studio flooring!

New studio flooring. Ellen Lindner, AdventureQuilter.com/blog

I just love it!

This photo was taken right after installation, before I moved ALL MY STUFF back in. I had it all piled in the dining room. Moving it in and out was QUITE the job!

I wanted new flooring to accomodate fabric dying and this is going to work great. I can just easily wipe  up dye, even after it dries. (Before, I was covering my carpeted floors with plastic for each dye session.)

Now, I can set up very quickly. I’m thinking I’ll be doing more dying. Can’t wait!

Ellen Lindner
P.S. I may have picked something a little too light. It’s definitely showing threads and such more easily, but so far I’m managing with a little increased  house keeping.

0

Color Inspiration

Slowly, over the course of a couple of months, I began to notice the same group of colors.

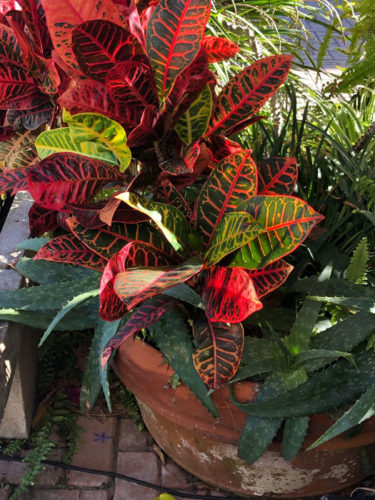
First, was a Croton plant.

Color Inspiration. Ellen Lindner, AdventureQuilter.com/blog

What pretty oranges and greens!

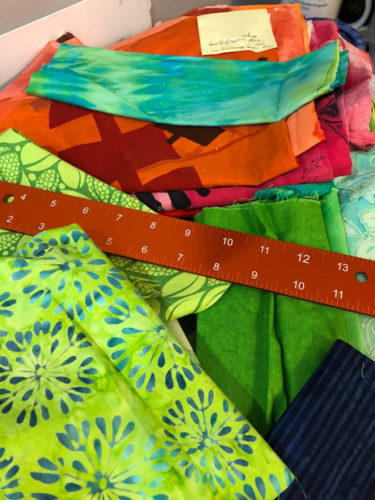
Then, I noticed the mess on my table, which had the same colors.

Color Inspiration. Ellen Lindner, AdventureQuilter.com/blog

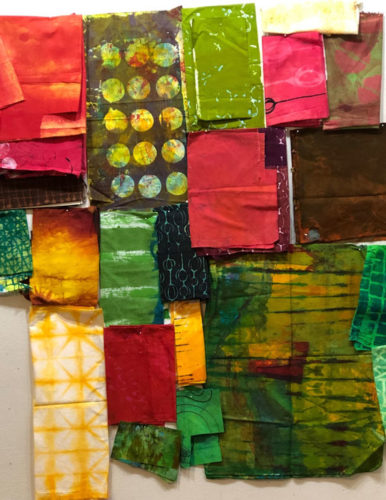
I decided to work with green, yellow-green, and orange. I pulled out all the hand dyes I had in those colors and noticed that one dark green fabric had yellow circles. What about adding yellow-orange?

Color Inspiration. Ellen Lindner, AdventureQuilter.com/blog

Yes! I dug a little more and selected the fabrics you see above. This was getting exciting!

Ellen Lindner
P.S. Where do you find your color inspiration?

0

Lessons Learned: Dying and Designing

Pat Pauly is a WEALTH of knowledge, so I really learned a lot when I took a 5 day dyeing/printing class with her.

First up: colors look different when wet vs. dry. Leslie’s samples served as examples.

Lessons Learned: Dyeing and Designing. Ellen Lindner, AdventuereQuilter.com/blog

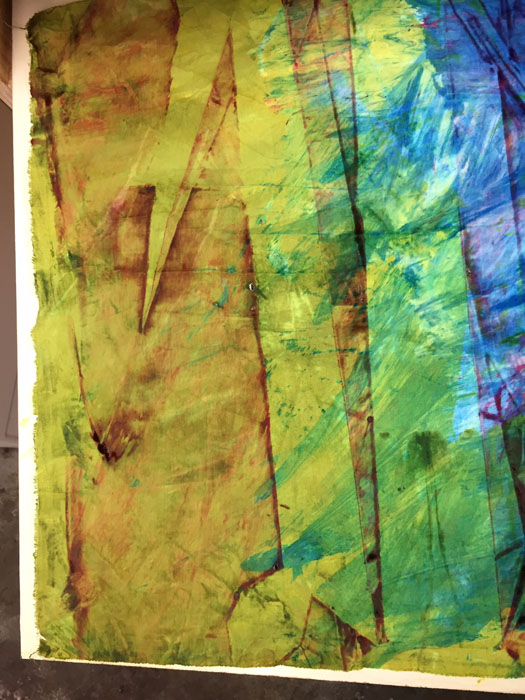
Bigger can be better. This piece, below, is about 31″ x 45″. So, Pat finally got me to work larger. And I have to say I love it.  I’ll be buying a big screen.

Dyeing with Pat Pauly. Ellen Lindner, AdventureQuilter.com/blog

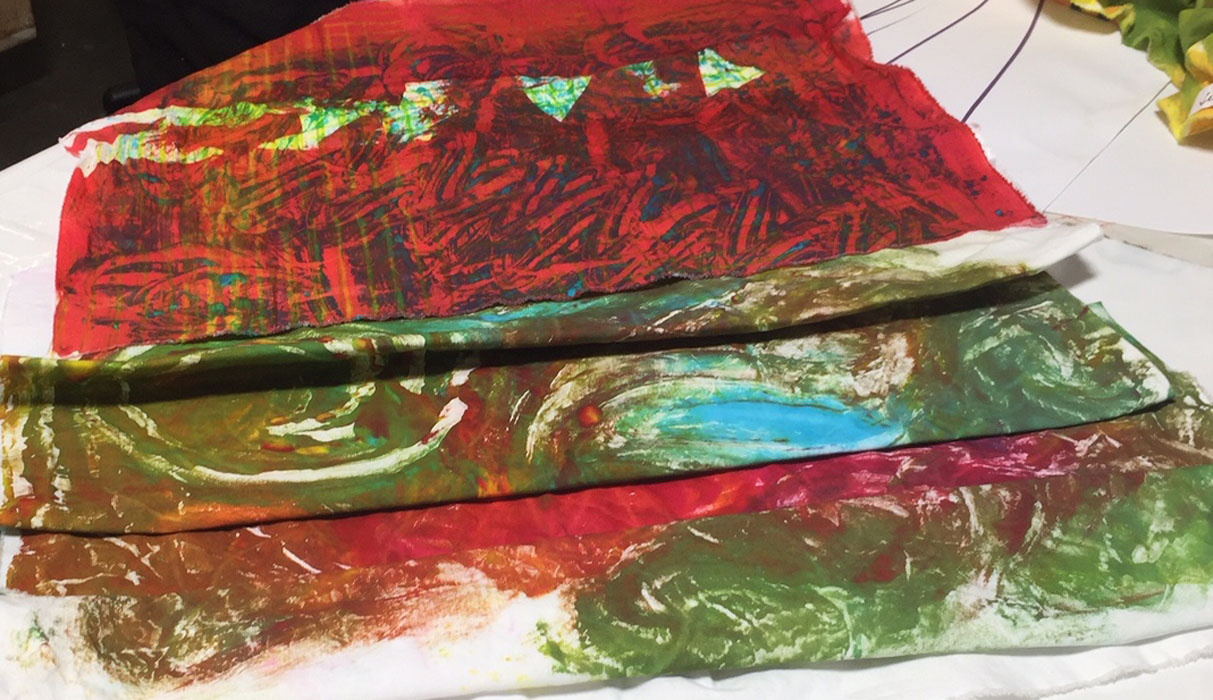
Leftover dyes work well when just smeared on. Who knew? (This is Pat’s example, below.)

Dyeing with Pat Pauly. Ellen Lindner, AdventureQuilter.com/blog

Everything goes with everything. These are my words, not Pat’s, but it seems to apply to the way she combined things. UH-mazing! To my eye, she seemed to purposely pick the most jarring fabrics to use together and then they looked good. What?

She demonstrated this over and over by folding fabrics so their disparate parts ended up playing together nicely. THIS is what I want to be able to do!

Dyeing with Pat Pauly. Ellen Lindner, AdventureQuilter.com/blog

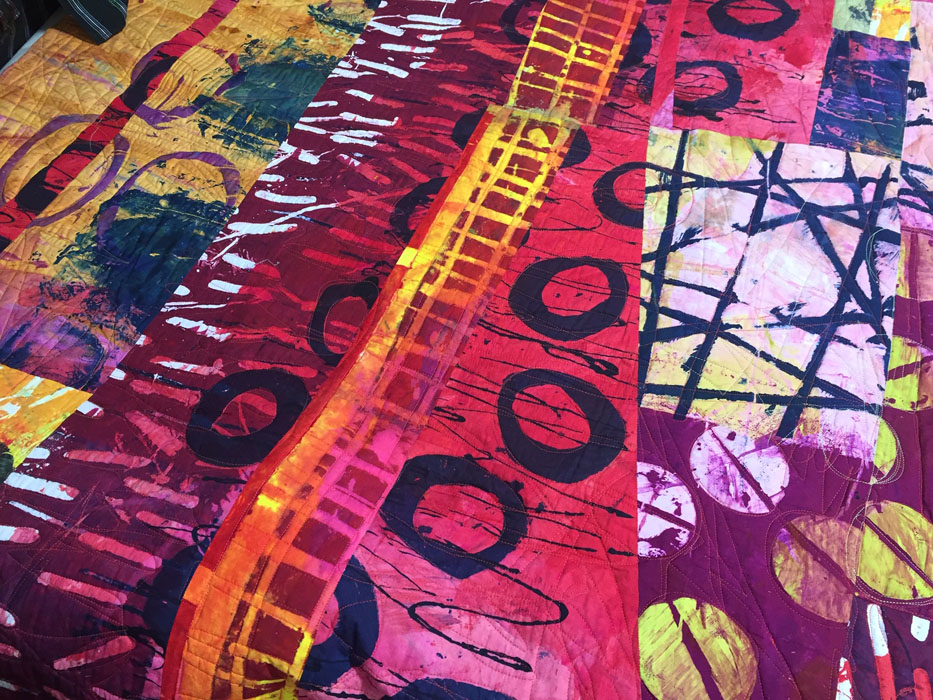
This detail shot of one of her quilts shows what I mean. I would have never used burgundy and fuchsia together, but with a little bright yellow (again, unexpected) mixed it in all works. The other thing I want to learn.

Dyeing with Pat Pauly. Ellen Lindner, AdventureQuilter.com/blog

As much as knowledge as I gained in this class it was also humbling as I realized how much I still need to explore and work on. I’m invigorated and excited to try it all!

Ellen Lindner
P.S. Pat also got me to wear long gloves, but not an apron!

0

Dying with Pat Pauly

My dyeing/print making class with Pat Pauly was amazing. She’s SO comfortable with thickened dyes and what she can do with them that it was almost hard to keep up.

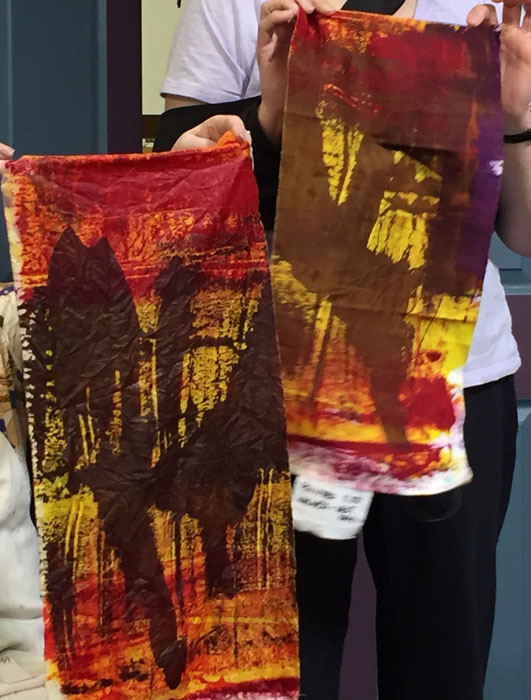
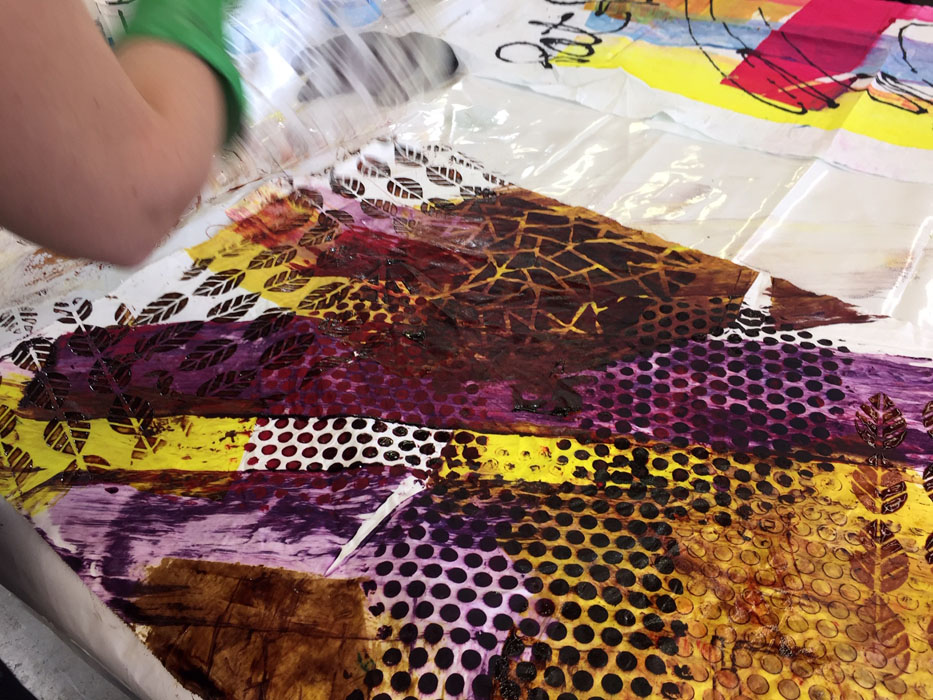
This was the first demo, about using stencils. She doesn’t use them with a screen, but just hangs on to a corner and scrapes dye through. It’s fast!
Dyeing with Pat Pauly. Ellen Lindner, AdventureQuilter.com/blog

Next, she scrapes on background color. (See the berry and yellow streaks above.) Adding the background color does alter the previously stenciled areas some, but she’s not worried about it.

Pat picks up the perfect amount of dye for the perfect spread/scrape. I haven’t mastered that yet and it does make a difference. For instance, if it’s too wet and gloppy everything smears when you do the next thing.

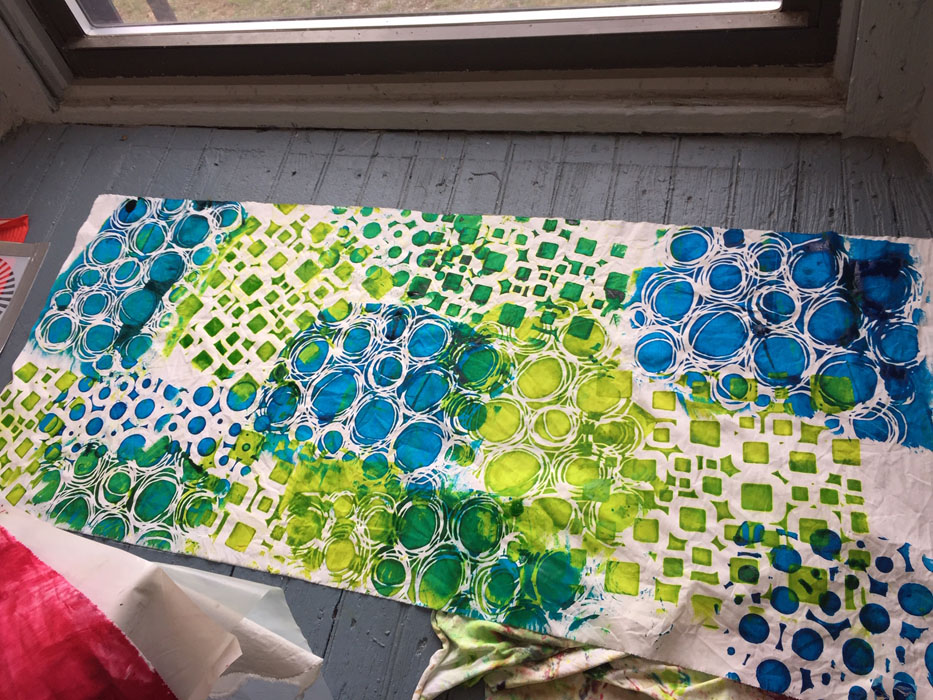
Judy (I think) had good luck with stencils. Don’t you love the colors?
Dyeing with Pat Pauly. Ellen Lindner, AdventureQuilter.com/blog

I like these “open” stencils, like those used above. They allow lots of color to print, leaving a more delicate background peaking through.

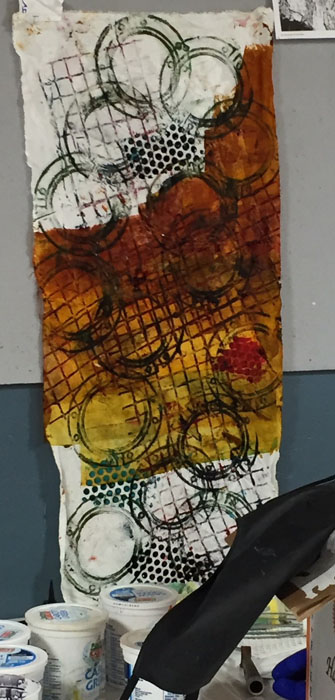
Next, we learned about putting textured items below our fabric and lightly rolling on dye. Check out Jim’s piece: those large circles are toilet flanges! (Several people headed to the hardware store after learning this.)
Dyeing with Pat Pauly. Ellen Lindner, AdventureQuilter.com/blog

Pat also talked to us about having contrast within each piece of fabric: light/dark, large/small, busy/quiet. But, she said not to aim for a whole cloth quilt fabric. I think Jim hit all the marks.

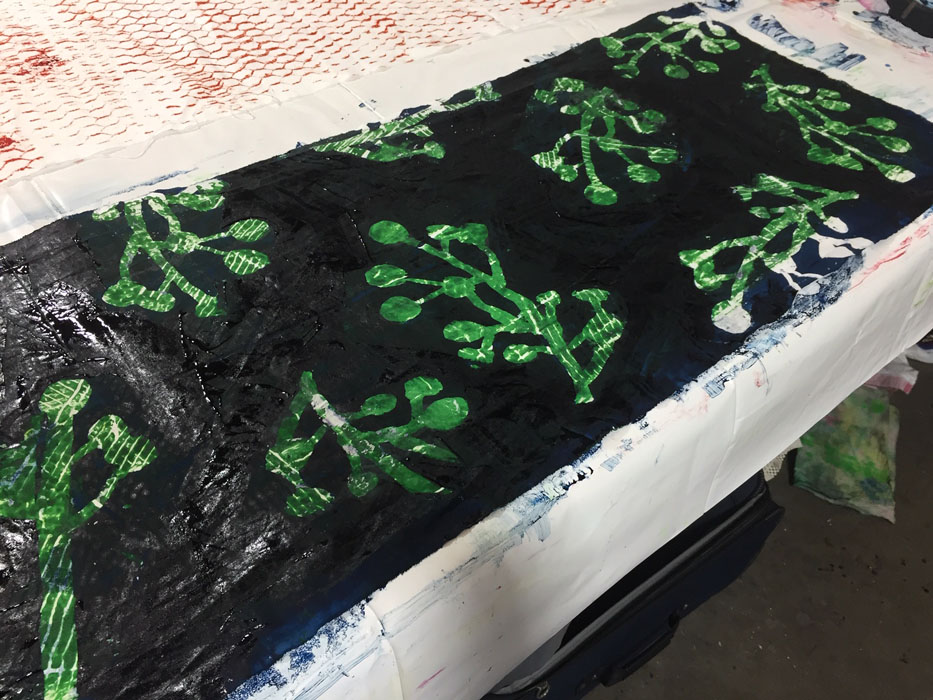
We learned monoprinting next. It was very fun to do – almost like finger painting. But, I didn’t like my results. This was a very ugly bright green monoprint. I tried to resurrect it by painting over the majority of it with a dark blue (still wet here.) Better, for sure. I made the screen with soy wax, which was rather challenging with such a detailed design.
Dyeing with Pat Pauly. Ellen Lindner, AdventureQuilter.com/blog

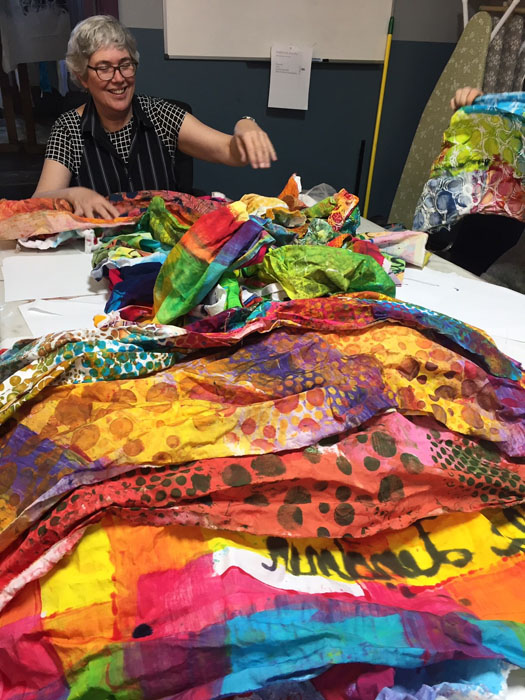
On day 2 we washed the day 1 fabrics and at the end of the day we had SUCH fun pulling that stuff out of the dryer! As you can see, Pat was pretty happy with them, too.
Dyeing with Pat Pauly. Ellen Lindner, AdventureQuilter.com/blog

I don’t have many photos of my own fabrics. This is my favorite one, in-progress.
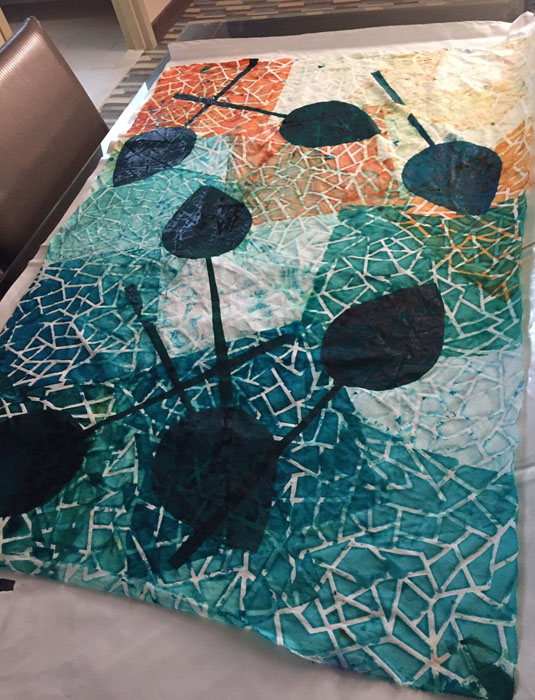
Dyeing with Pat Pauly. Ellen Lindner, AdventureQuilter.com/blog

Here’s some more work from around the room. This large piece was created by Sandy, who is an experienced dyer. It shows! She worked a lot with newspaper stencils. That’s how she made the large circles.
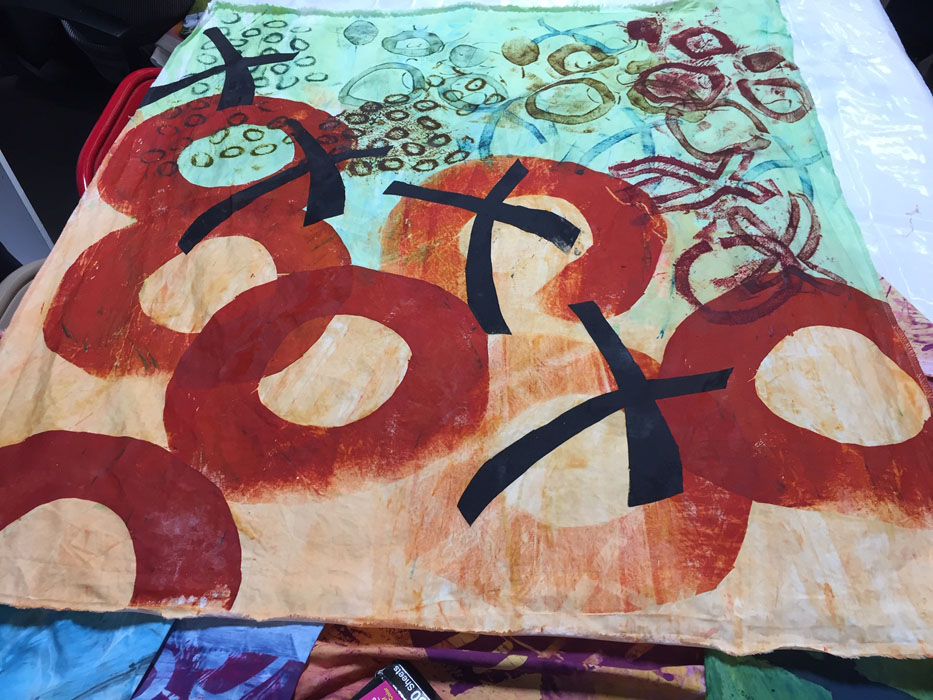
Dyeing with Pat Pauly. Ellen Lindner, AdventureQuilter.com/blog

This one, by Melinda, featured rolling over textures, stenciling and scraping color on. That scraping is really fun!
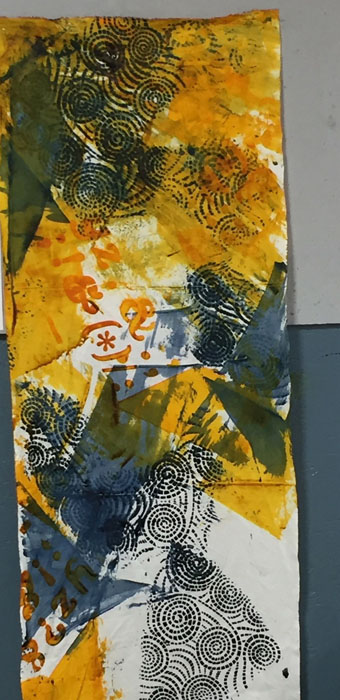
Dyeing with Pat Pauly. Ellen Lindner, AdventureQuilter.com/blog

I can’t wait till I have more time to finish up my class fabrics (~8 yards,) and then to USE these puppies!

Ellen Lindner
0