Tag Archives | Experimenting/Arting

Splicing Fabric

As I was winding down on my recent dye session, I tried a very random exercise. I loosely pleated a piece of fabric and scraped on a variety of different colors, as well as some clear paste. It was a gooey mess when I finished!

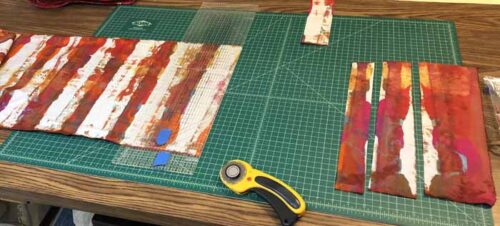
But, when I washed it out I found out that the underneath folds had not received any color. I got a roughly striped fabric. Hmm. The colored parts were great, but I didn’t want a stripe.

  Splicing Fabric

I decided to carefully cut away most of the white and then piece the colored parts together. Of course, I had to plan for seam allowances. I also saved the white parts, planning to piece them back together, too.

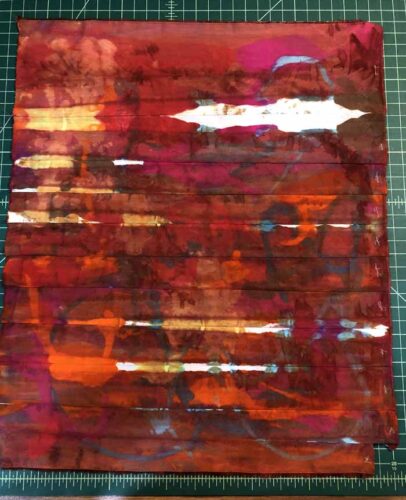
Here’s what I got. Kinda gorgeous, right? The hint of stripeyness is now appealing to me. I may need to tone down that large white blob, though.

Splicing Fabric. Ellen Lindner, AdventureQuilter.com/blog

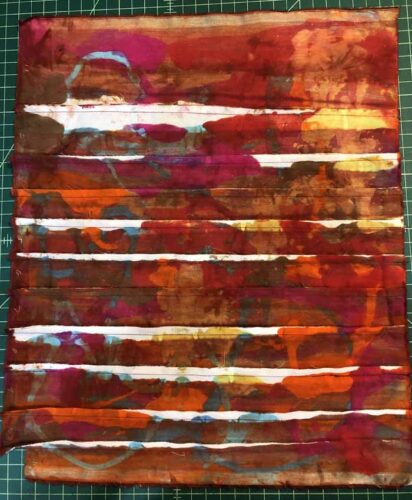
Uh oh! I accidentally pieced this with wrong sides together. The side with the seams actually shows the brighter version of the fabric.

Splicing Fabric. Ellen Lindner, AdventureQuilter.com/blog

There’s not a big difference, though. I think I can use either side, actually.

Now, what do do with it. Any ideas?

Ellen Lindner

0

Planning as I Go

As usual, my current quilt started with a high contrast piece of hand dyed fabric. This is all I had of it.

Planning as I Go. AdventureQuilter.com/blog, Ellen Lindner

What could I do to best show it off?

Planning as I Go. AdventureQuilter.com/blog, Ellen Lindner

The additional fabrics added above provided interest, but the original fabric swatch still seemed rather straight forward.

It was kinda hard to judge against white. I knew I wanted a blue background, so I added some to the design wall to help me judge the overall look.

Planning as I Go. AdventureQuilter.com/blog, Ellen Lindner

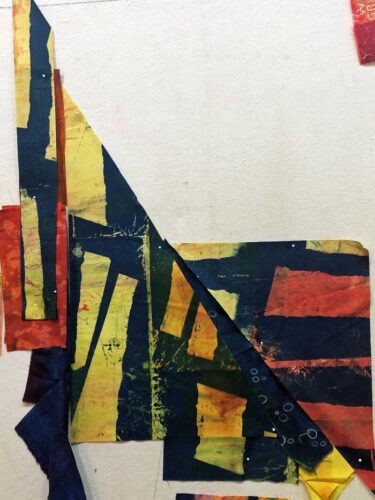
I split the featured print and splayed it apart. I thought this added energy, plus some interesting negative blue space.

I began to audition additional colors and fabrics. What about a mass of orange on the right and across the bottom? I placed folded fabrics to consider options.

Planning as I Go. AdventureQuilter.com/blog, Ellen Lindner

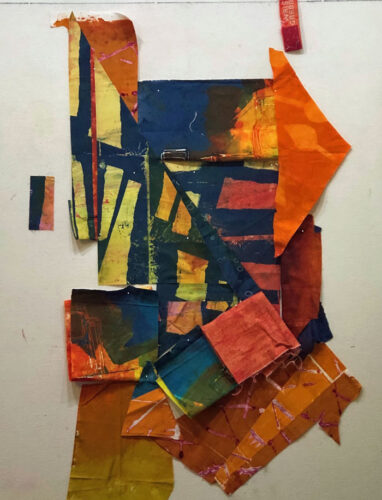
My orange fabric was limited and I knew I’d have to work with the shapes I had: sharp triangles.

Planning as I Go. AdventureQuilter.com/blog, Ellen Lindner

That didn’t seem objectionable. However, I did get rid of the vertical yellow point near the center.

As you might imagine, there was some fiddly stitching on this one. It was actually easier than I expected and I’ll show you some about how I did it in the next post.

My next question: what to do with the lower left.

Ellen Lindner

2

Empty Spools: Carol, Larsja, and Barb

I’m just back from teaching Design Your Own Nature Quilt at Empty Spools Seminar, in Pacific Grove, CA. It was fabulous!!! The beach side setting was lovely, complete with historical architecture, wind-swept trees, and the sound of the surf.

Empty Spools Seminar. Ellen Lindner, AdventureQuilter.com/blog

But, of course, the real excitement was occurring in the classrooms. I had nine fantastic students who followed the supply list and packed their artistic courage. They worked outside their comfort zones and created very dynamic quilts. Each student brought one or more inspiration photos from which she designed her quilt. We often reminded one another of the class motto, “Be inspired by your photo, not controlled by it.” Wait till you see what they did.

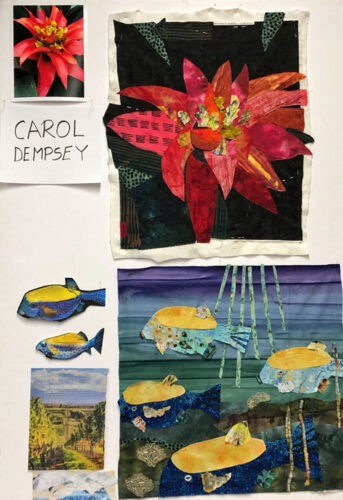
Carol had a dramatic photo of a red flower. Single color flowers are often tricky, but Carol was able to work loosely, which helped immensely.

Empty Spools: Carol, Larjsa, and Barb. Ellen Lindner, AdventureQuilter.com/blog

For her second quilt, (yes, several students made TWO,) Carol chose an image of what we think are box fish. In her inspiration photo the two fish were on a black background. As you can see, she improved upon that quite dramatically, and energized the composition with more fish.

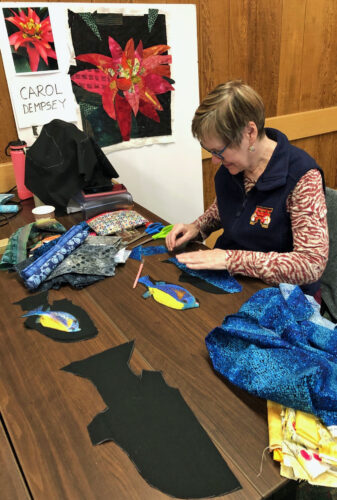
Scaling up from the sketch to the quilt is a little bit of a hurdle at first. Carol spent time making mock up fish shapes to help her get it right.

Empty Spools: Carol, Larjsa, and Barb. Ellen Lindner, AdventureQuilter.com/blog

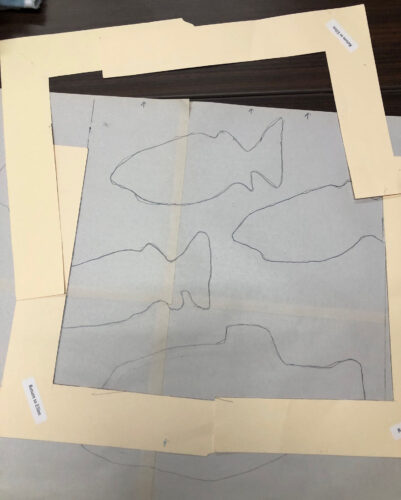
Students used cardboard L shapes to help them decide on cropping.

Empty Spools: Carol, Larjsa, and Barb. Ellen Lindner, AdventureQuilter.com/blog

One day the students toured around the classrooms to see the various projects. Most of my photos will be the display boards from that event.

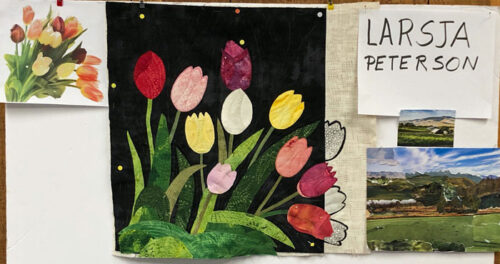
Larsja had a great tulip photo to start with. She wisely omitted several flowers and leaves to better show off the remaining ones. And to make the background (negative space) more interesting. And then check out that border! Don’t you love the “drawn” black tulips?

Empty Spools: Carol, Larjsa, and Barb. Ellen Lindner, AdventureQuilter.com/blog

Larsja really wanted to make just one quilt so she could get is mostly done. Sure enough, it’s almost completely quilted.

Like Carol, Larsja did a collage exercise with magazine pages. I’ll show you those images more clearly in a later post.

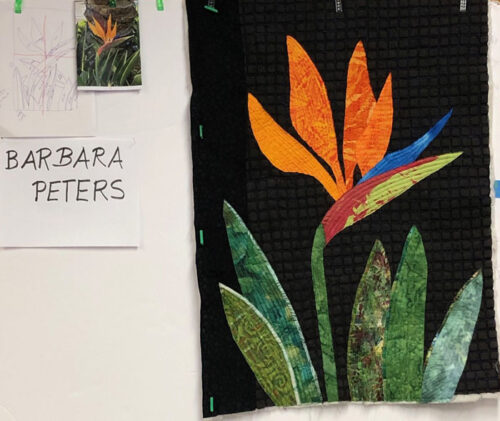
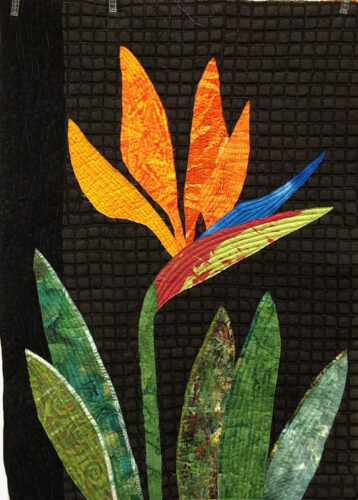
Barb used a photo of a Bird of Paradise blossom as her starting point. It was actually a double blossom, which made the distinction between petals hard to make out. Like Larsja, she omitted quite a few blossoms and did the same with the leaves. (She just scribbled over them on her photo.) She also cropped her inspiration photo quite a bit. (It’s folded on her board.)

Empty Spools: Carol, Larjsa, and Barb. Ellen Lindner, AdventureQuilter.com/blog

She finished quilting it in class. Isn’t it striking?

Empty Spools: Carol, Larjsa, and Barb. Ellen Lindner, AdventureQuilter.com/blog

It was all very exciting! More photos in the next few posts.

Ellen Lindner

0

What to do with Scraps?

What to do with scraps? Ellen Lindner, AdventureQuilter.com/blog

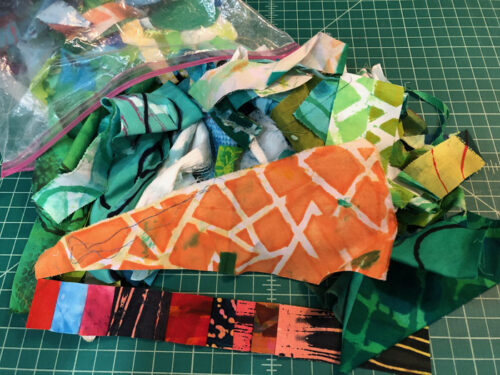
All quilters and textile artists face the question of what to do with their scraps. I mean, they MIGHT come in handy one day, so it would be good to keep them, right? But, that requires not only space, but some sort of organizational system so the scraps can be seen and used. And what size should be saved? Only yardage or tiny bits?

(I’ve visited some quilt guilds which collect tiny scraps and use them as stuffing for dog beds which they donate to a local shelter. A pretty good idea, I think.)

When I was using commercial fabrics I didn’t feel the need to save very small pieces of fabric. But now that I’m dying my own fabric those little scraps have become much more precious to me. Alas, I end up saving a lot of small bits. But then, what should I do with them?

Recently, I’ve started stitching these little pieces together, with no thought about color or matching. I just find two pieces that are approximately the same length and join them together. After a while I’ll have units that will fit each other and I can proceed with a little trimming and pressing as a go. Still without a plan.

These little units were pieced with scraps from Happy Family, so they automatically had shared colors.
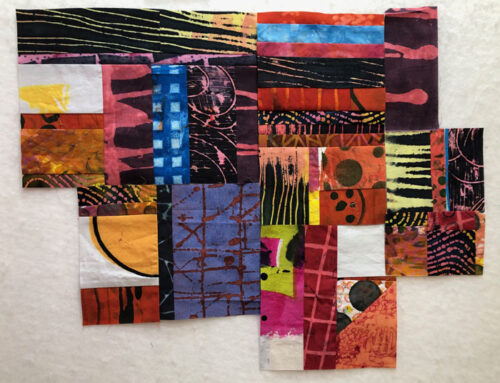
What to do with scraps? Ellen Lindner, AdventureQuilter.com/blog

I put them next to one another just to see what it looked like. Interesting, I think.

In the midst of the scrap sewing I decided to participate in a fund raising activity for SAQA (Studio Art Quilt Associates.) Hey, some of these little units could be used for that!

This call for art was rather unusual in that it called for art of one size, but with plans to display the pieces matted to a different size. That kinda threw me, since I felt like I had to make the composition look good at both sizes. Here it is full size, a whopping 6 x 8. (Note that we were not supposed to finish the edges.)
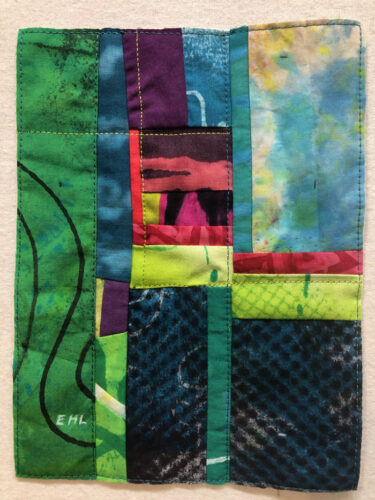
What to do with scraps? Ellen Lindner, AdventureQuilter.com/blog

And here’s what it will look like when matted. (4.5 x 6, if I remember correctly.)
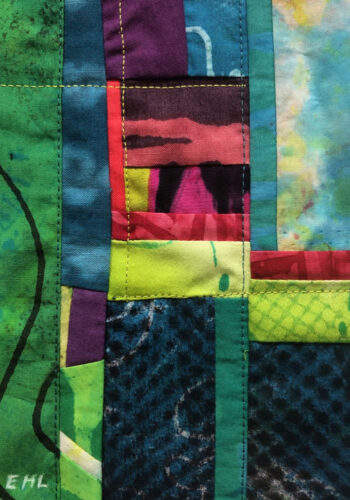
What to do with scraps? Ellen Lindner, AdventureQuilter.com/blog

Not bad, I think. I hope it will generate some bidding.

More recently, I decided to make a “prayer”/art flag. At only 5 x 8, I knew my scrap units would once again do the trick. And they did.
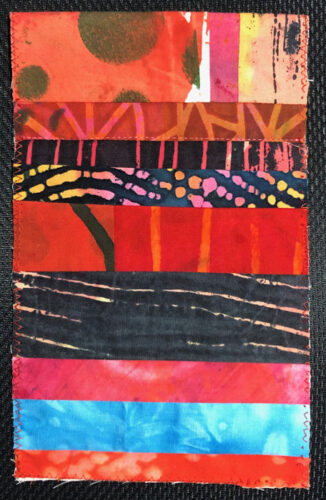
What to do with scraps? Ellen Lindner, AdventureQuilter.com/blog

My scrap units are now looking rather picked over. But, I now know they’re worth having around so I’ll be making more of then. Every now and then.
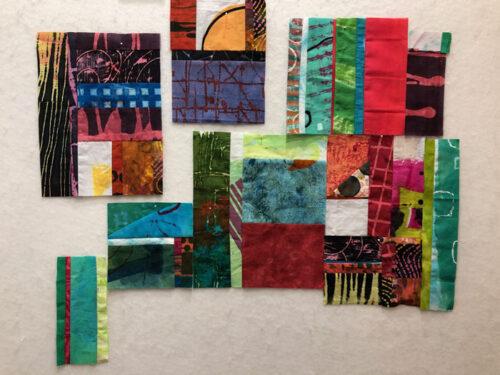
What to do with scraps? Ellen Lindner, AdventureQuilter.com/blog

And it just occurred to me that these could be pieced by hand, too. So, I could use them as a hand project, too. (Now I’m cooking.)

Ellen Lindner


0

Collaging with Magazine Pages

Do you ever hit a creative stumbling block? Or just don’t have the mental stamina to take on something major? How about a quick little collage with magazine pages.

I especially like doing this with calendar images. Since the images already relate to one another, it makes for easier going.

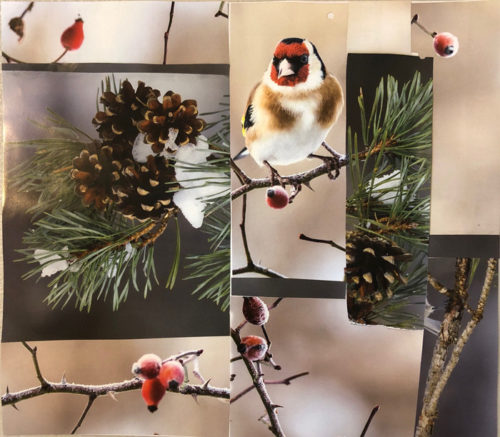
Here’s one I did with winter birds.

Collaging with Magazine Pages. Ellen Lindner, AdventureQuilter.com/blog

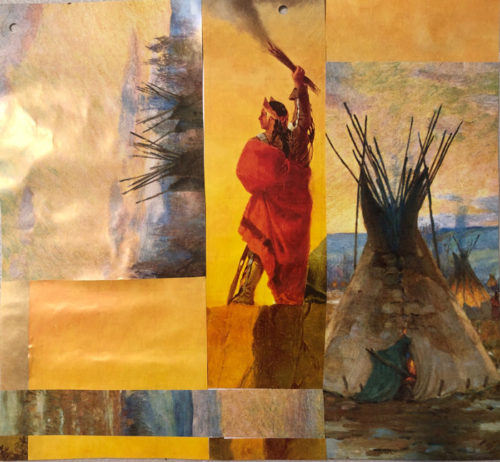
And with Western/Native American motifs.

Collaging with Magazine Pages. Ellen Lindner, AdventureQuilter.com/blog

These are NOT meant to be works of art. Or even inspiration for something else. They’re purely a playful exercise in arranging colors, shapes, and values. Just a moment of creativity. I love making them.

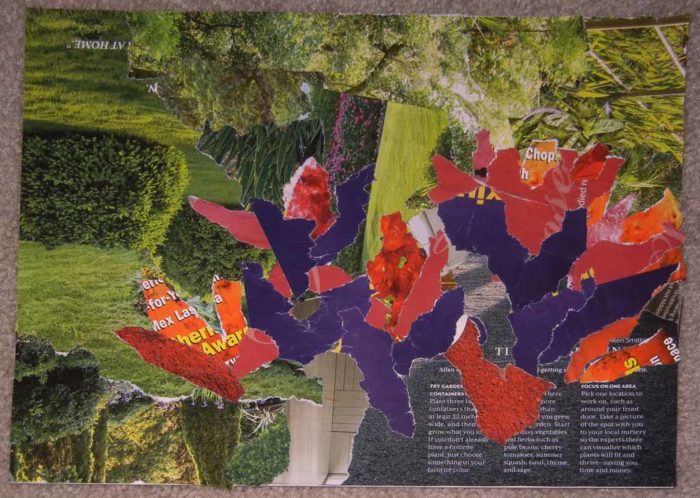
Of course, magazine pages are also great if you’re trying to make an abstracted version of something realistic. In that case, I tear the pages, knowing that everything will be somewhat imperfect: just what I need for abstracting.

Loosen Up with Torn Paper Collage. Ellen Lindner, AdventureQuilter.com

I’ve written several blog posts about this technique. See the links below.

Ellen Lindner
Links: Loosen Up with Torn Paper Collage
Torn Paper
Overcoming my Left Brained Tendencies
Three Cherries Complete


0

Twigs of Teal and Red-Orange: Getting Started

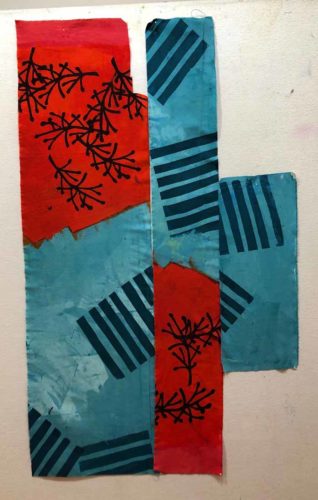
I dyed this fabric last year and it’s one of my favorites.

Teal and Red-Orange Quilt: Getting Started. Ellen Lindner, AdventureQuilter.com/blog

I was really happy with the way I had a viable design without doing anything more to it, but HOW do you design with that? I had a false start last year and am now trying again.

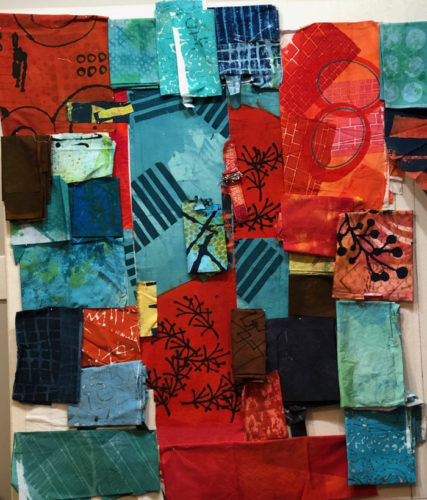
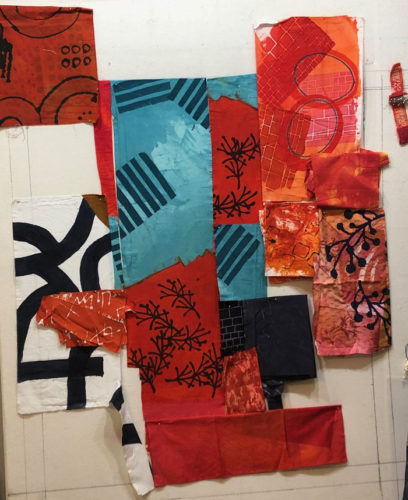
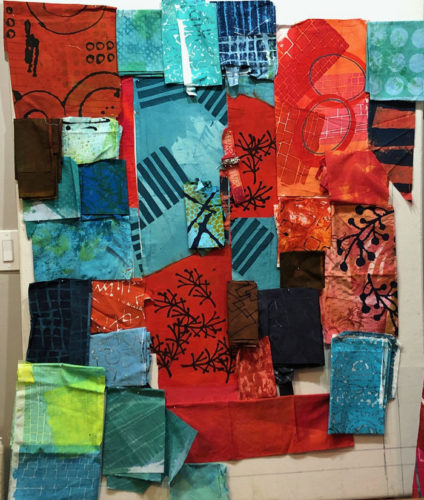
These are the collection of “featured” fabrics I thought I might be able to use. I call them featured fabrics because they have high amounts of contrast in them, which will draw the viewer’s eye. When working with such fabrics, I try to put them in place early on and then fill in with less dramatic fabrics, as needed.

Teal and Red-Orange Quilt: Getting Started. Ellen Lindner, AdventureQuilter.com/blog

Next, I pulled out every fabric I thought might work. As you can see, I like these colors and found that I had quite a collection.

Teal and Red-Orange Quilt: Getting Started. Ellen Lindner, AdventureQuilter.com/blog

But, maybe it needed something unexpected. What about accents of yellow?

Teal and Red-Orange Quilt: Getting Started. Ellen Lindner, AdventureQuilter.com/blog

Hmm. Maybe.

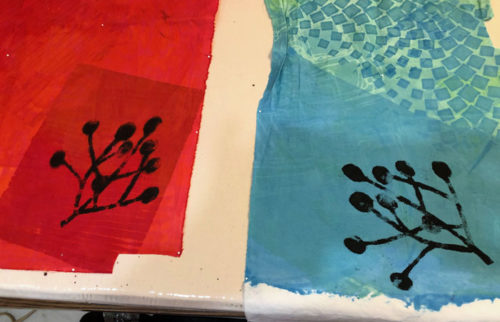
I liked the large twig (center right) on the dull orange print. But, I didn’t like the background fabric. So, I stenciled on a couple more using paint.

TTeal and Red-Orange Quilt: Getting Started. Ellen Lindner, AdventureQuilter.com/blog

These should be usable.

I had my fabric decisions (mostly) made, so it was time to start moving things around on the design wall. (The challenging, but fun, part!)

Ellen Lindner
0

“Petal Drop” Complete

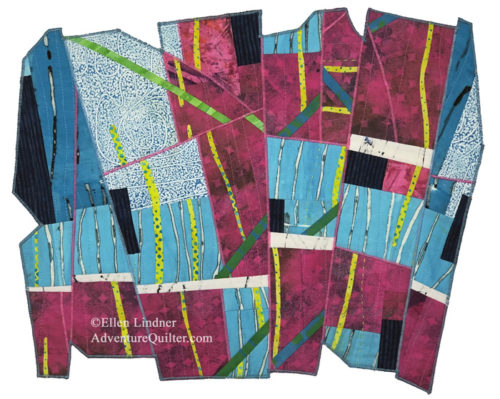
Here it is, Petal Drop. If you’ve been following along, you know it started as part of a quilted (but not faced) quilt.

Cutting Up Again. Ellen Lindner, AdventureQuilter.com/blog

After lots of slicing rearranging and stitching, this is what I ended up with.

"Petal Play" Complete. Ellen Lindner's art quilt. AdventureQuilter.com/blog

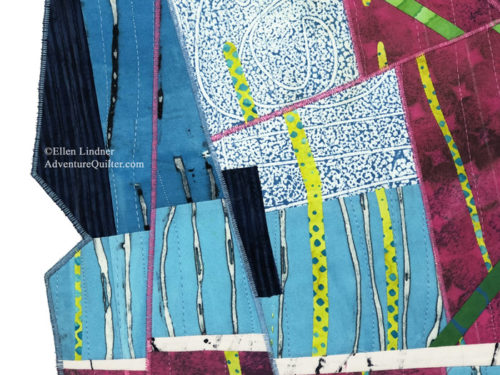
I stitched the sections back together with a loose zigzag.

"Petal Drop" Complete. Ellen Lindner's art quilt. AdventureQuilter.com/blog

And used the same stitching on the edge.

"Petal Play" Complete. Ellen Lindner's art quilt. AdventureQuilter.com/blog

The statement:
My neighbor’s tulip magnolia blooms profusely every spring. But, after a few weeks the petals begin to fall. Very soon, the ground is just as pink as the tree. It’s a lovely transition.

This piece is for sale. See more info.

Ellen Lindner
0

Cutting Up Again

Once again, I decided to cut something up. This is where I started, with an already quilted quilt.

I liked it, but realized I liked the left side better than the right.

Cutting Up Again. Ellen Lindner, AdventureQuilter.com/blog

So, after some folding and auditioning, I cut this quilt into two pieces. I set the left portion aside.

Cutting Up Again. Ellen Lindner, AdventureQuilter.com/blog

And started work on the right portion.

Cutting Up Again. Ellen Lindner, AdventureQuilter.com/blog

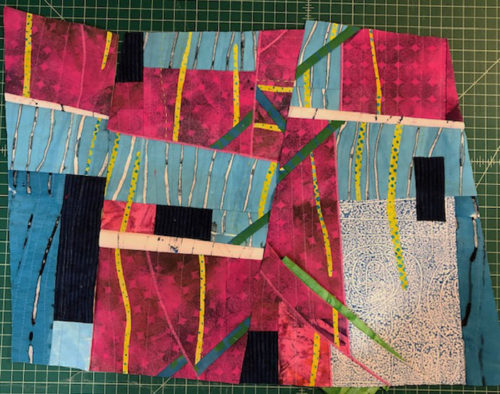
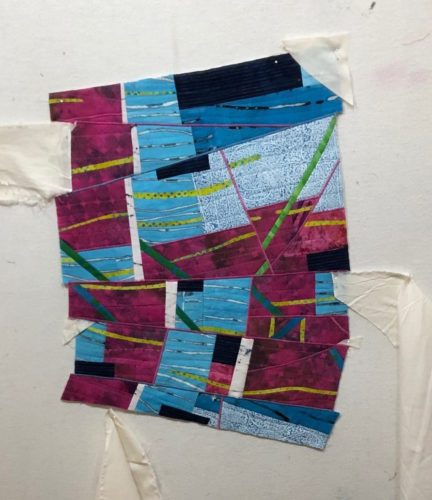
My plan was to slice into it diagonally and then join the two portions back together, using a loose satin stitch. I was surprised by how easily this technique worked. Even on curved shapes! I added some skinny stripes and continued slicing and reassembling until I got something along these lines.

Cutting Up Again. Ellen Lindner, AdventureQuilter.com/blog

It definitely had more energy! I sliced into it some more.

It was obvious that the overall shape would not be rectangular. I began to think about what those edges should look like. Should I make them even more irregular? To audition this idea I used pieces of muslin to obscure and reshape the edges in places.

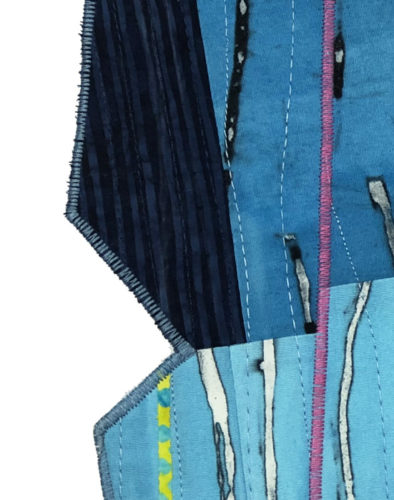
Yes! I was liking the spiky nature of these edges. I decided to pick out some stitching and cut new nooks and crannies.

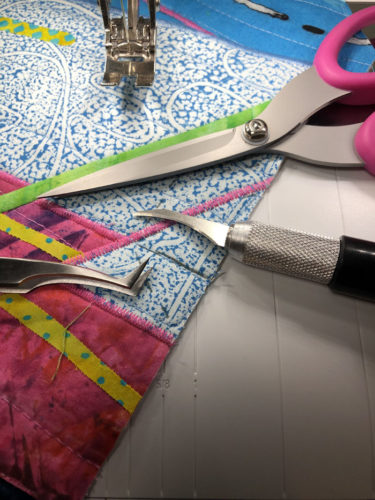
I had to use my sharpest tools to slice away the loose zigzag without cutting the fabric.

Cutting Up Again. Ellen Lindner, AdventureQuilter.com/blog

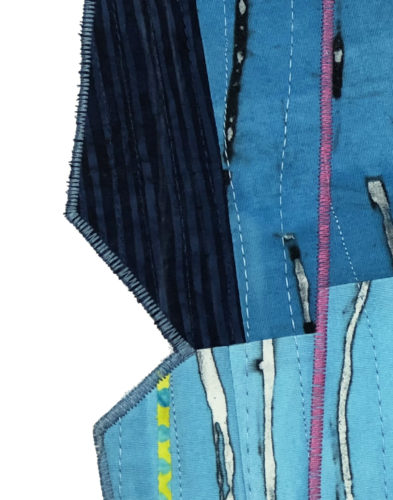
I wasn’t sure how to finish the edges, but I decided to try the same loose zigzag I’d been using for joining, and I liked it.

Cutting Up Again. Ellen Lindner, AdventureQuilter.com/blog

In the next post I’ll show you the finished quilt. I like it.

Ellen Lindner
4

I Ruined It

If you’ve been following me for a while you know that I’ve occasionally cut up quilts and rearranged them. So, when I decided this quilt needed some revision, I decided to give it a go.

The starting quilt, Beet Salad. Certainly not terrible, but it wasn’t exciting me either.

Beet Salad, an art quilt by Ellen Lindner, AdventureQuilter.com

Beet Salad

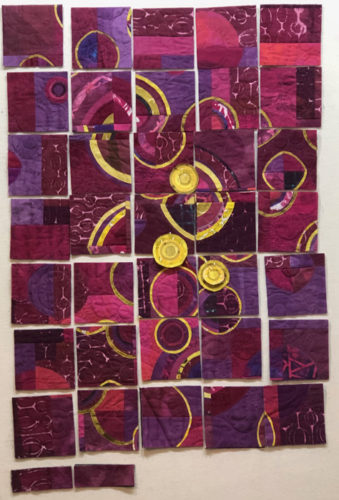
Usually, when I cut something up I do it with great intention. I aim for diagonal cuts that will show off the best parts of the quilt. This time, however, I cut it up into approximately 5″ squares. That’s probably where I went wrong.

Cutting up and rearranging "Beet Salad." Ellen Lindner, AdventureQuilter.com/blog

This photo shows an early rearrangement. It doesn’t look that different, right?

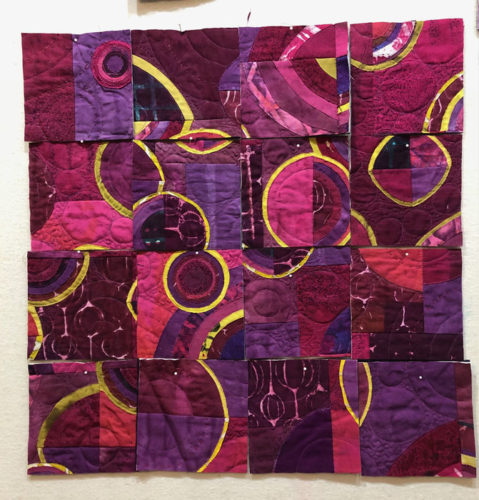
Soon, I decided to use only the pieces that had two colors. This is what I came up as my piecing plan.

Cutting up and rearranging "Beet Salad." Ellen Lindner, AdventureQuilter.com/blog

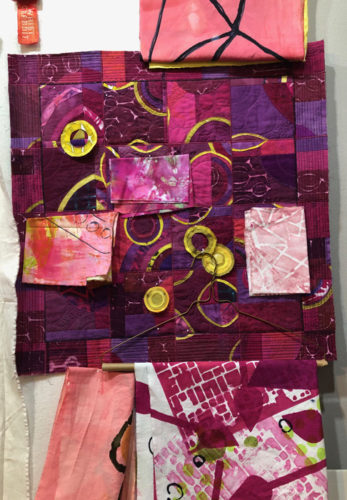
I wasn’t sure that it was better, but it did have more energy and I planned to add applique here and there. But then I got confused as I was piecing and created something different.

Cutting up and rearranging "Beet Salad." Ellen Lindner, AdventureQuilter.com/blog

It was really too hideous for me to even take a photo. But, above you can probably tell that I added a border using those singe color pieces. And I stitched over it with a lot of black thread. It was all UGLY!

I briefly entertained the idea of trying to improve it. Which is the only reason I took the photo above. In it I was auditioning some lighter versions of pink and purple. Ugh! By now I had lost my interest in this experiment and was a little bit mad at the result. I didn’t want it hanging around any more and decided to toss it. (Actually, I saved it just for free motion quilting practice.)

Oh well, on to the next project.

Have you ever cut anything up?

Actually, I did it again, recently. I’ll show you that soon.

Ellen Lindner
 

0

Reworking Those Twigs

After considering radical changes to my quilt in-progress, I was excited to implement new ideas!

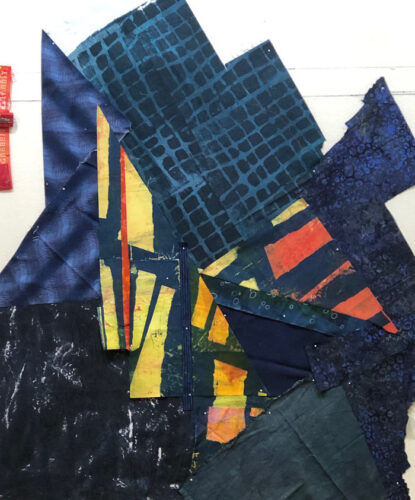
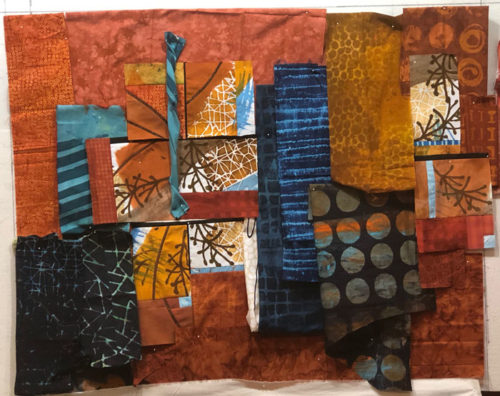
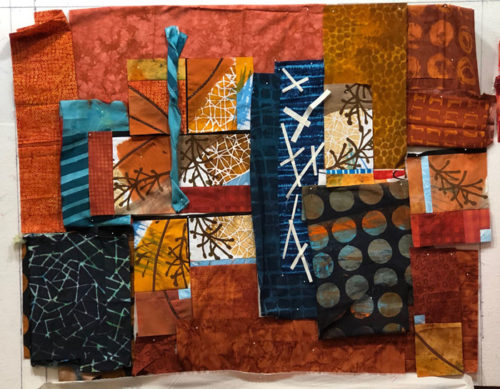
This was my initial trial and error placement. The twigs were part of the original version, along with the rust fabrics, but all the blue and black was new. I liked the arrangement and it changed very little.

Reworking Those Twigs. An art quilt in-progress. Ellen Lindner, AdventureQuilter.com/blog

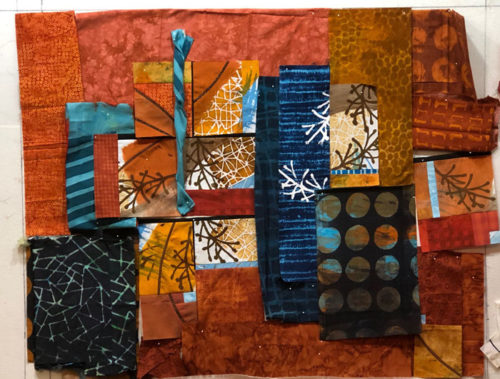
But, it needed some high contrast, right? Maybe against that dark blue. Light twigs, maybe? I auditioned the idea by placing some little snips of fabric.

Reworking Those Twigs. An art quilt in-progress. Ellen Lindner, AdventureQuilter.com/blog

Yep, I liked it, so I PAINTED on two twigs. (Kinda scary, but I had tested my idea, so I felt pretty confident.) That really drew the eyed and I was very happy with it.

Reworking Those Twigs. An art quilt in-progress. Ellen Lindner, AdventureQuilter.com/blog

(I intended to use fabric paint, but it was all dried up. Therefore, I used regular craft acrylic paint. We’ll see how it holds up.)

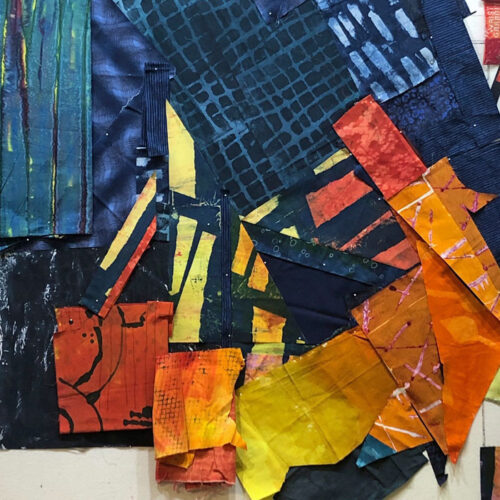
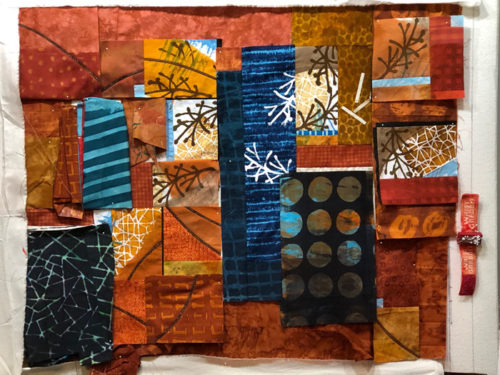
I wanted the light areas to sort of creep across the piece, in a loose diagonal. Maybe I needed more light twigs to accomplish that? Again, I auditioned the idea with some little scraps. And maybe it was time to thoroughly examine proportions too. Should the black on the left be smaller?

Reworking Those Twigs. An art quilt in-progress. Ellen Lindner, AdventureQuilter.com/blog

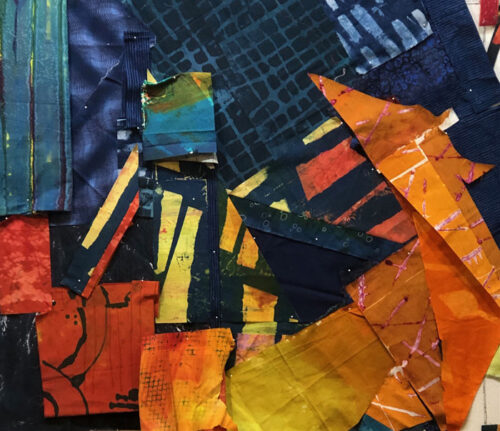
Yes! Changes in both areas and I think they helped quite considerably. At this point I had also done most of the piecing.

Reworking Those Twigs. An art quilt in-progress. Ellen Lindner, AdventureQuilter.com/blog

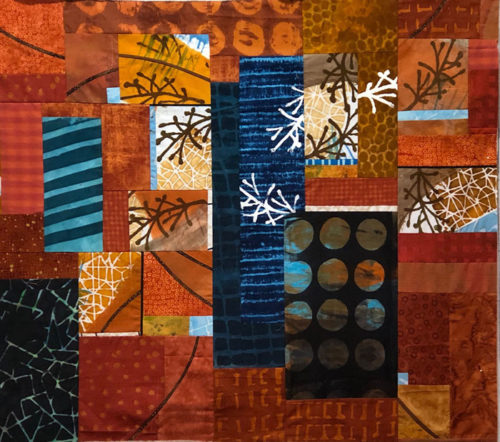
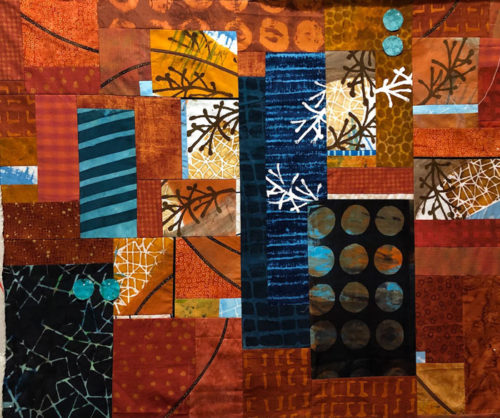
Piecing complete, below. Considering the addition of some teal circles. I like repeating both the color and the shape.

Reworking Those Twigs. An art quilt in-progress. Ellen Lindner, AdventureQuilter.com/blog

I’m starting to get really  happy with this piece. I’m SO glad I reworked it!

Any ideas for a name?

Ellen Lindner
12