Tag Archives | Hand Stitching

Florence: Santa Maria Novella

In Florence, we enjoyed visiting the church of Santa Maria Novella. It didn’t have the opulence of some churches we saw in Italy, but it also had NO CROWDS! A big plus, which gave us the opportunity to explore at our leisure.

Even a “simple” church like this had beautiful arches and high ceilings.

Florence: Santa Maria Novella. Ellen Lindner, AdventureQuilter.com/blog

And a beautiful altar.

Florence: Santa Maria Novella. Ellen Lindner, AdventureQuilter.com/blog

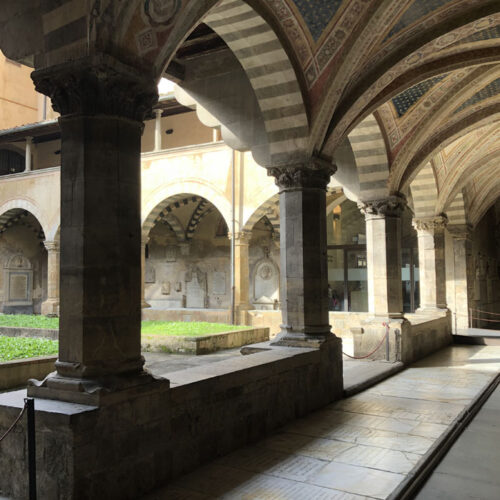
But, I think we enjoyed the outside courtyard even more.

Florence: Santa Maria Novella. Ellen Lindner, AdventureQuilter.com/blog

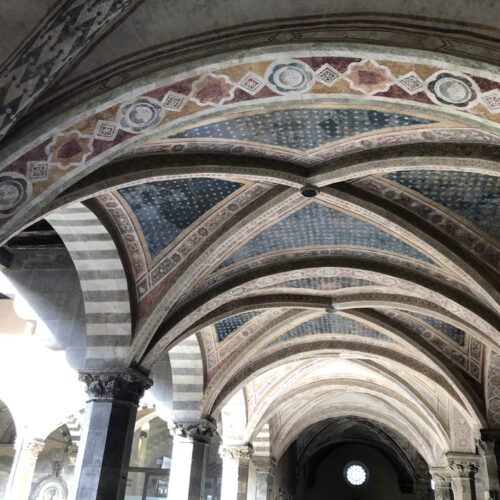
Check out these ceilings! I think they’re gorgeous.

Florence: Santa Maria Novella. Ellen Lindner, AdventureQuilter.com/blog

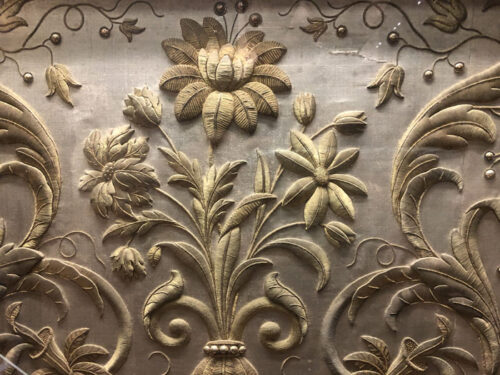
But, the thing that amazed me the most was an antique tapestry. This was from the 1400s! Stitched with gold thread, it was in very good condition.

Florence: Santa Maria Novella. Ellen Lindner, AdventureQuilter.com/blog

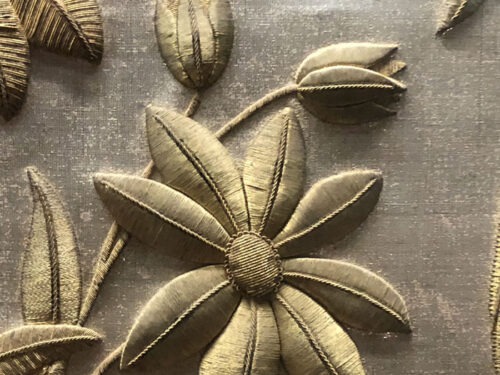
Florence: Santa Maria Novella. Ellen Lindner, AdventureQuilter.com/blog

Whoa! Can you believe it? This is padded embroidery, where a base layer of stitches is put in and then others are added over top. This blew my mind.

I forget what it was used for. Some sort of vestments, if I remember correctly. It was the only textile item on display. Shockingly, it had very little in the way of a protective environment. It was behind glass in an area with low light, but the nearby windows were open and unscreened. How has this held up so well?

It was very interesting exploring this church on our own.

Ellen Lindner.


0

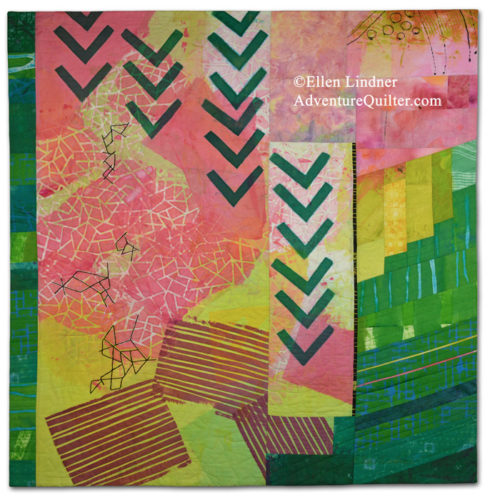
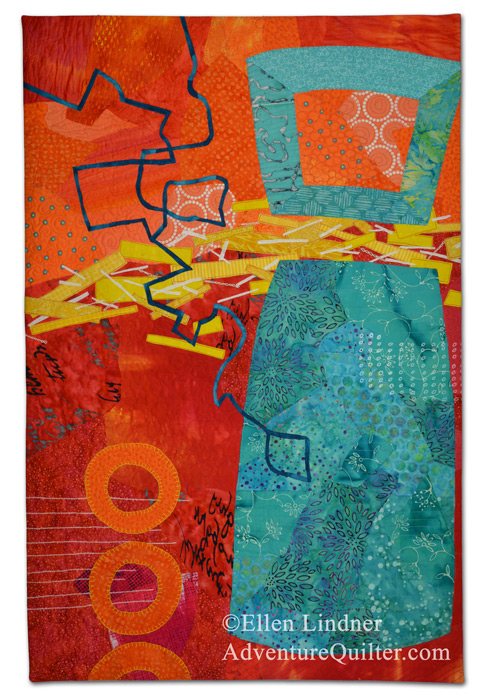
“Fragrant Canopy” Complete

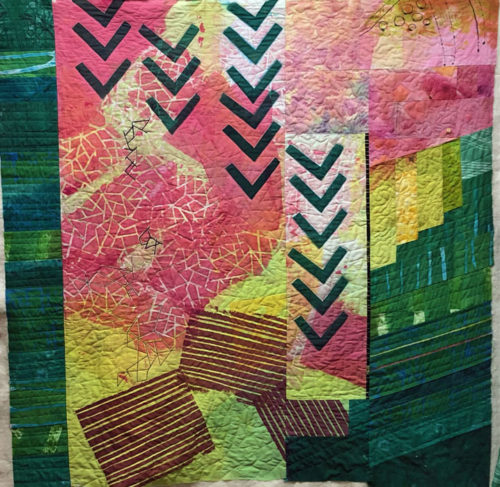
I’m SO happy with my latest quilt, Fragrant Canopy.

Fragrant Canopy, an art quilt by Ellen Lindner. AdventureQuilter.com

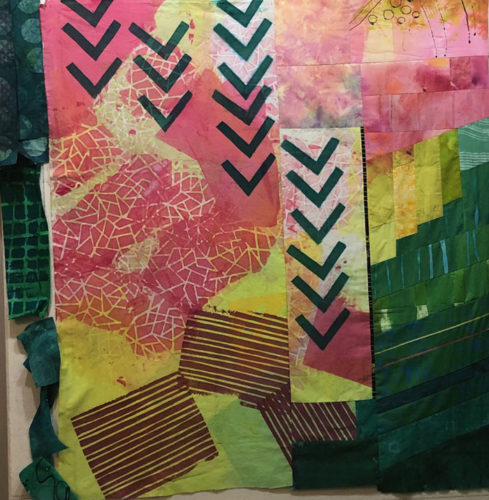
It started as one piece of fabric which I dyed/printed. That fabric makes up the left two-thirds of the completed quilt.

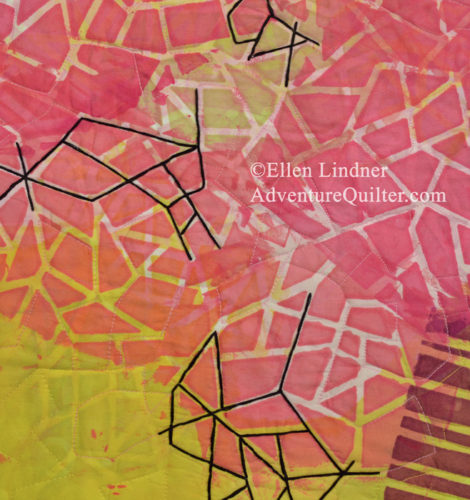
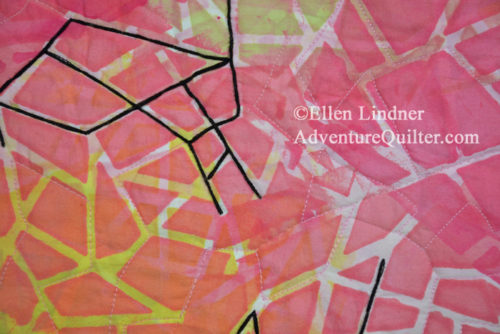
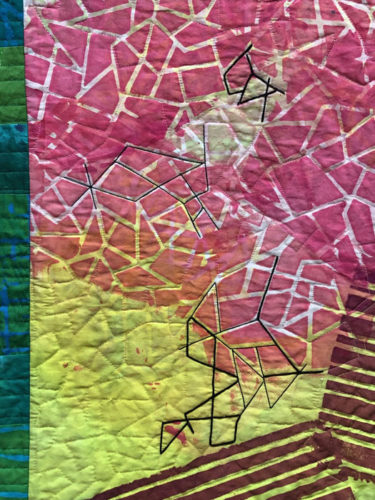
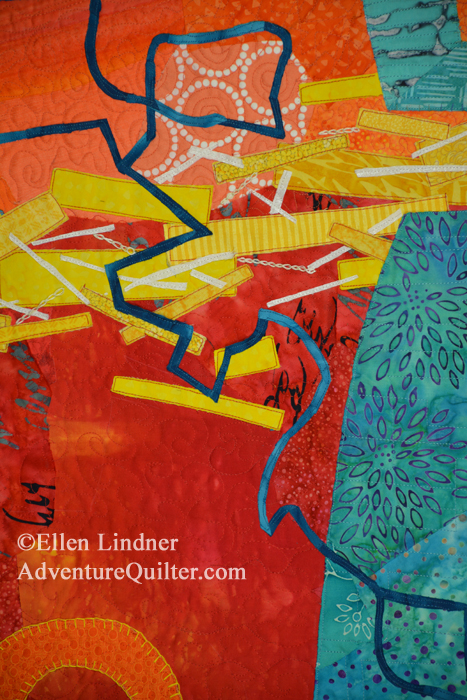
I had great fun working on the details, especially adding some black hand stitching.

Fragrant Canopy - detail, an art quilt by Ellen Lindner. AdventureQuilter.com

Fragrant Canopy - detail, an art quilt by Ellen Lindner. AdventureQuilter.com

I love everything about this quilt! Not only the results, but also the process and the things I learned.

See larger images and purchase information.

Ellen Lindner

0

A Little Bit of Black

A little bit of black can often add just the right touch to a quilt. And in the case of this piece, I NEEDED to add more black to go with what was already there.

Dyed Whole Cloth. Ellen Lindner, AdventureQuilter.com/blog

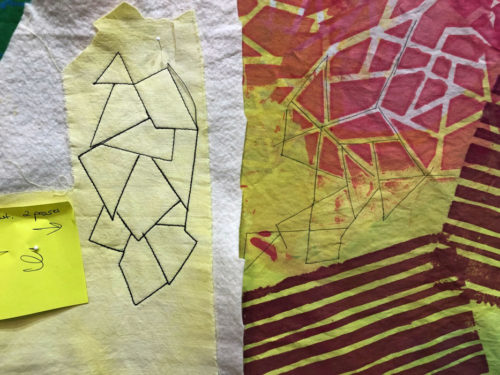
I liked the idea of playing up the sharp little lines on the left. But, how to best accomplish that? I tried stitching with a double pass, using 30 weight thread.

A Little Bit of Black Works Wonders. Ellen Lindner, AdventureQuilter.com/blog

It showed up well on my sample so I drew out a pattern and started stitching on the quilt.

A Little Bit of Black Works Wonders. Ellen Lindner, AdventureQuilter.com/blog

But, it didn’t show up that well on the quilt. Up close it was fine, but it pretty much disappeared from a distance. What else could I try? Maybe hand couching?

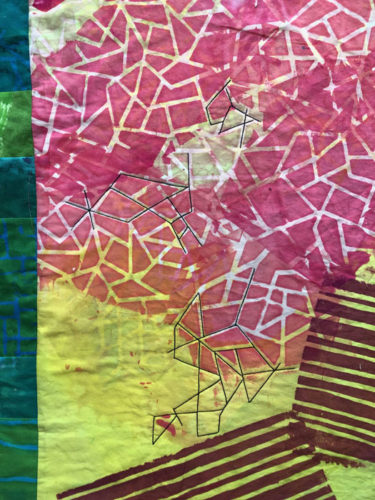
Here it is, with about half machine stitching and half overlaid with couching. It shows up much better, right?

A Little Bit of Black Works Wonders. Ellen Lindner, AdventureQuilter.com/blog

Here’s a detail shot, again in-progress. What a difference!

A Little Bit of Black Works Wonders. Ellen Lindner, AdventureQuilter.com/blog

I was loving this effect and couldn’t wait to finish it up!

Ellen Lindner
P.S. BTW, I used 6 strands of embroidery floss as the laid thread and regular black sewing thread as the working thread.
P.P.S. See other quilts with hand couching: Wishes on the Wind, post about couching, Back Yard Beauty.

0

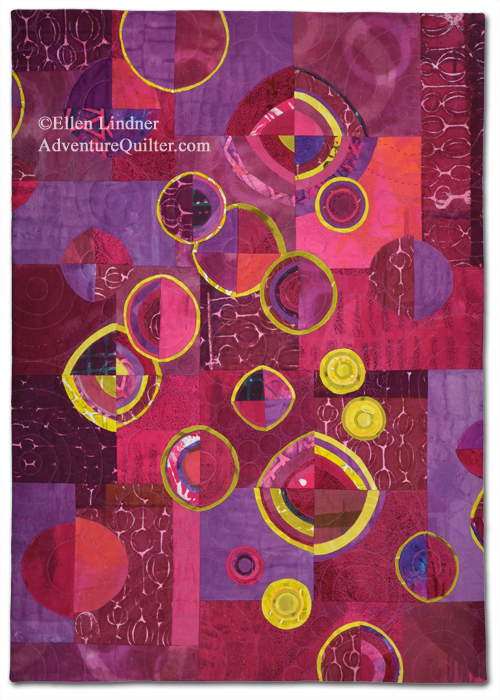
“Adrenaline Rush” Complete

Have you been following along as I’ve used my “Tetris” skills to put this quilt together?
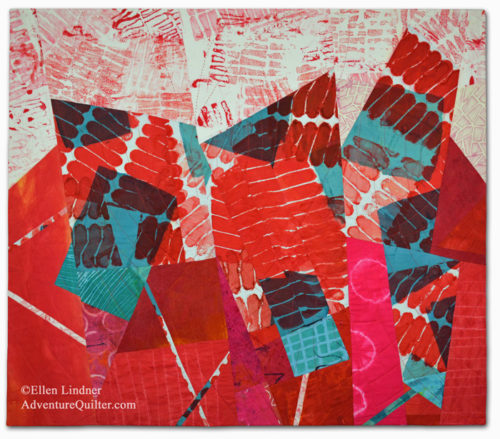
I’m calling it Adrenaline Rush.

Adrenaline Surge, an art quilt by Ellen Lindner. AdventureQuilter.comAdrenaline Rush

It was challenging at times, but I’m quite happy with the results.

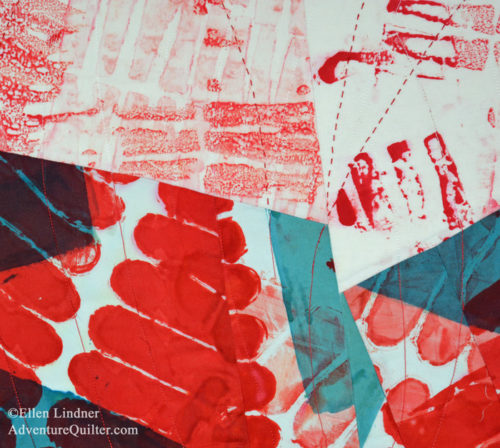
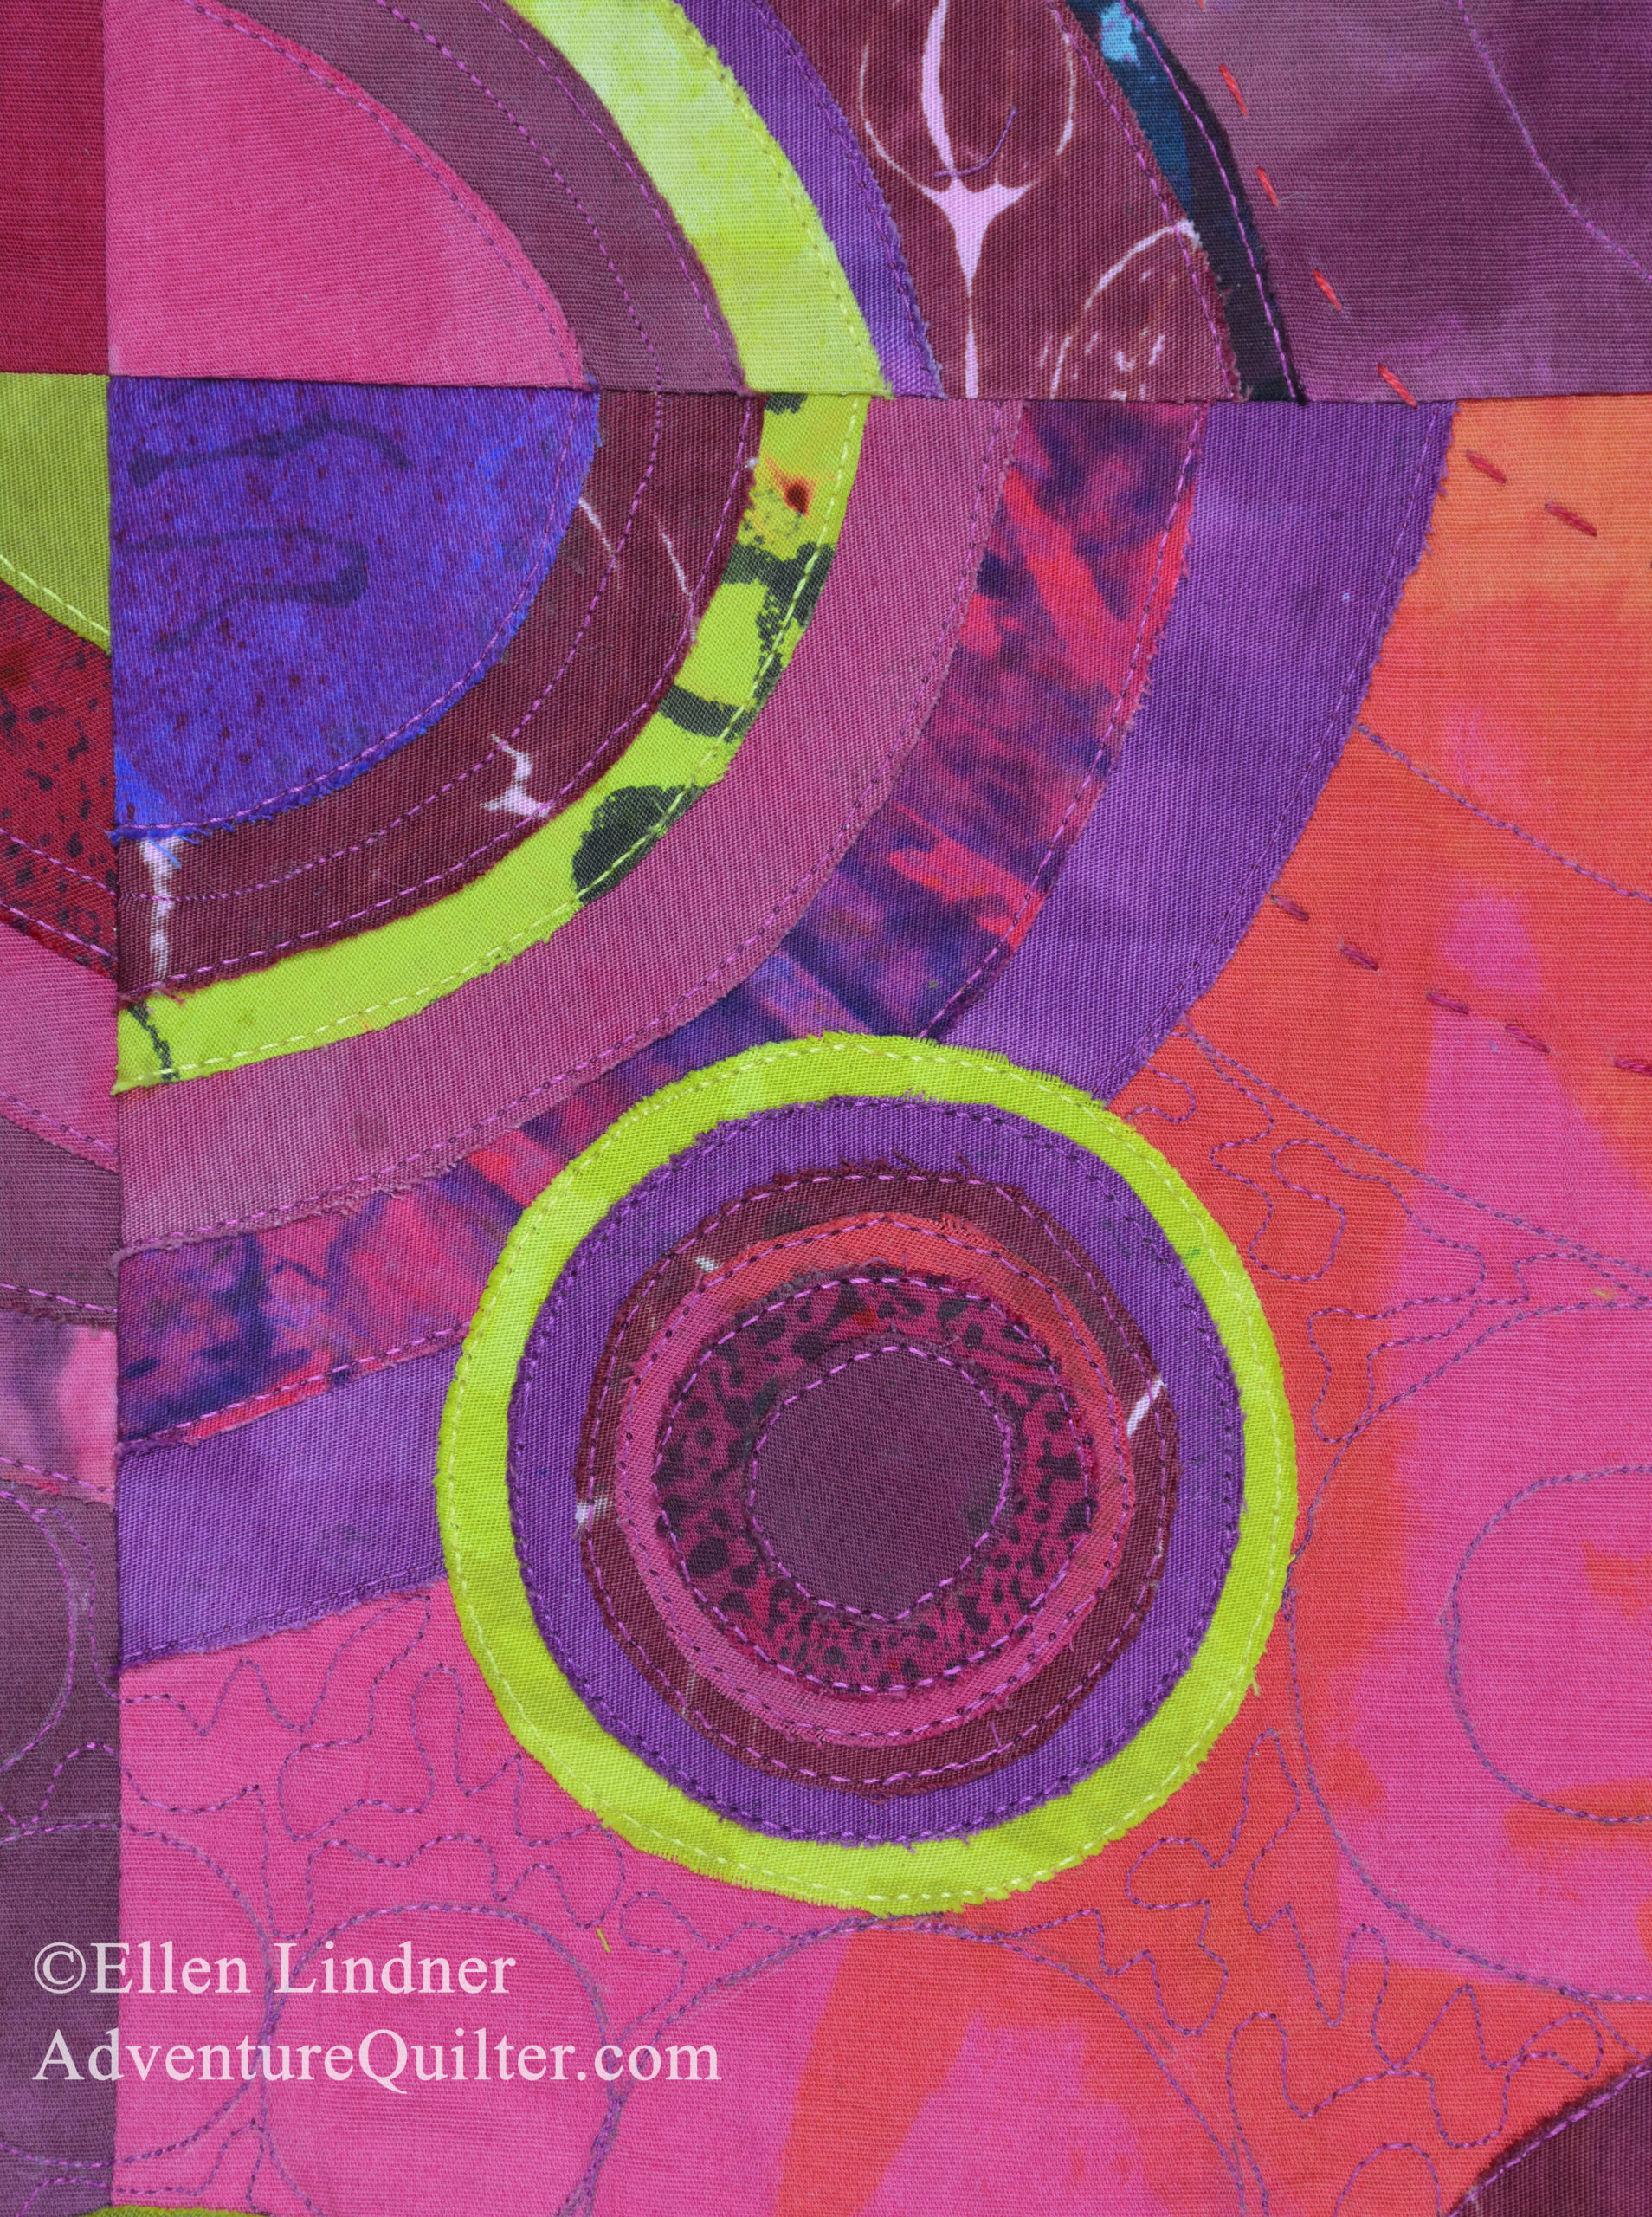
Adrenaline Surge - detail, an art quilt by Ellen Lindner. AdventureQuilter.com

I dyed/printed all the fabrics myself!

See full details for this piece.

UPDATE: This piece got one more radical change. See it here.

Ellen Lindner
P.S. I’ve got a pretty collection of scraps. I’ll have to do something fun with them.

0

The Tentmakers of Cairo, Part Two

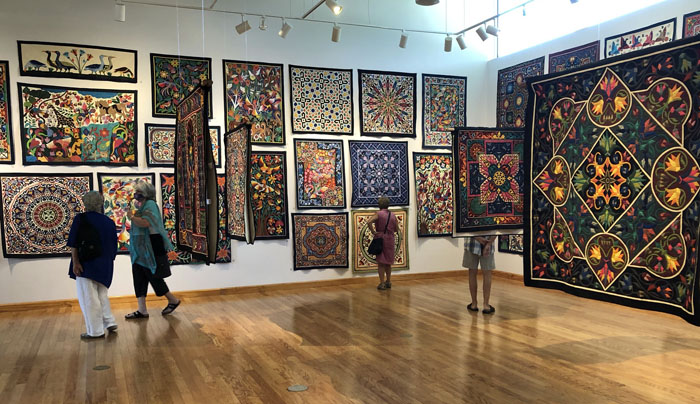
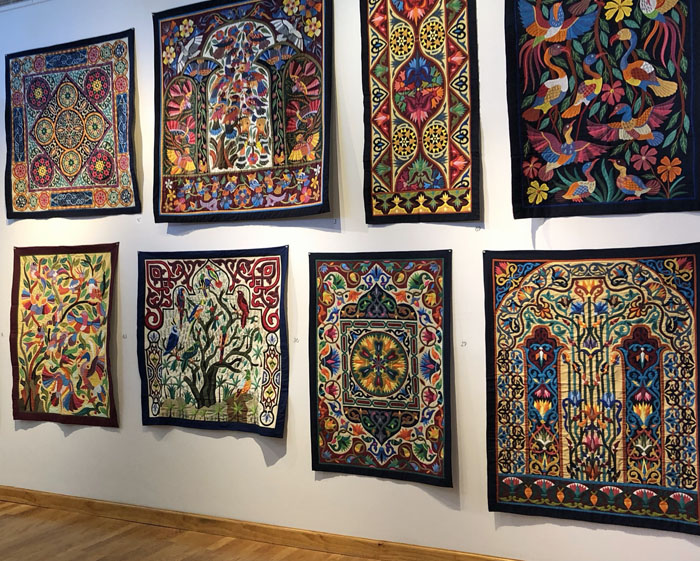
More photos from the amazing Tentmakers of Cairo exhibit.

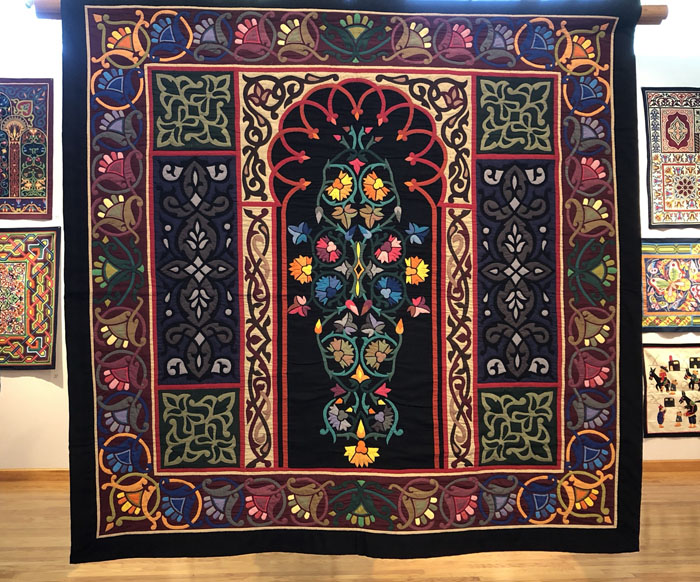
The Tentmakers of Cairo, Part 2. Ellen Lindner, AdventureQuilter.com/blog

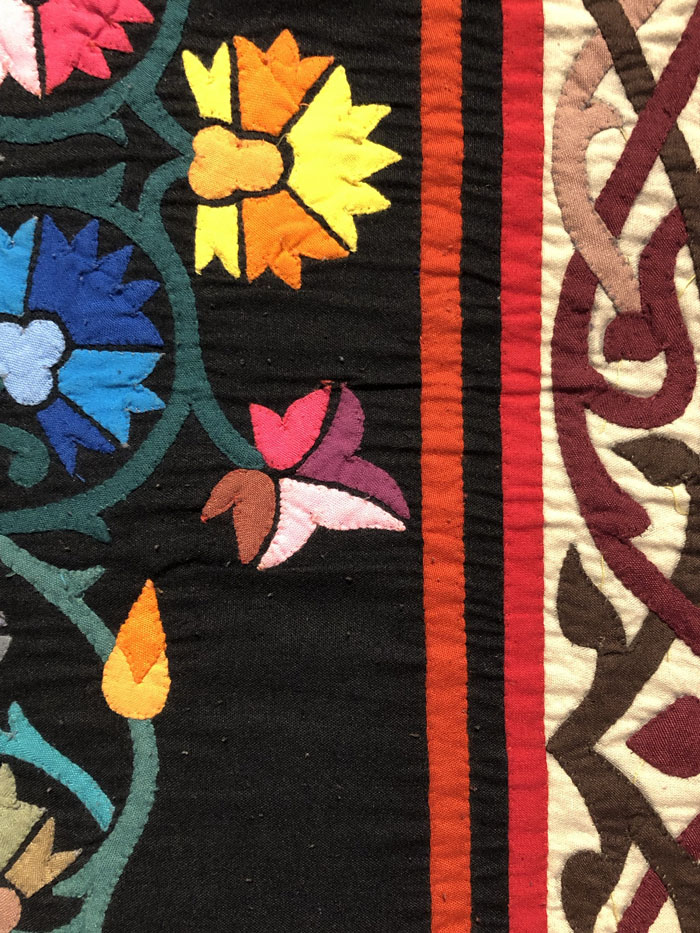
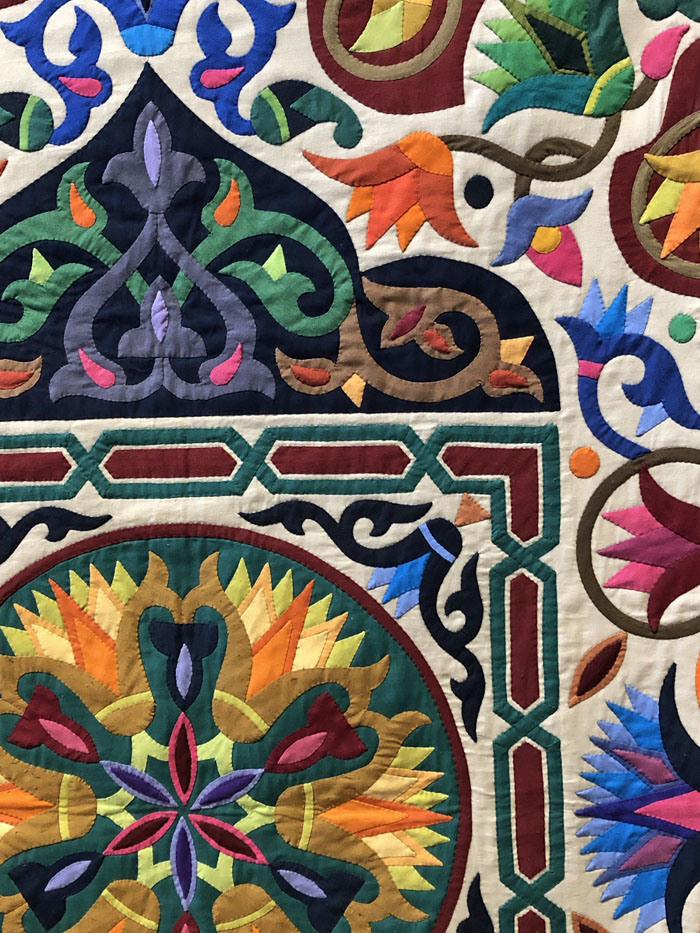
If you look closely at this detail shot, I think you can see that the design is appliqued. The stitches are very shallow so they don’t even show on the back of the background fabric, (the white/cream canvas.) There’s no batting or added backing fabric, but still the stitches don’t show through the canvas.

The Tentmakers of Cairo, Part 2.

Many of the designs are inspired by historical motifs. However, more contemporary images are also used.

The Tentmakers of Cairo, Part 2.

Embroidery is sometimes added. This is often done by wives and sisters, at home.

The Tentmakers of Cairo, Part 2.

At one time such wall hangings would have been used to decorate the inside of royal tents and outdoor settings. Today, in Egypt, they’re used mostly for important ceremonial events, such as weddings and funerals. But, they’re also sold in the West as home decor.

If you ever get a chance to see this work in person, I think you’ll enjoy doing so!

Ellen Lindner


0

The Tentmakers of Cairo, Part One

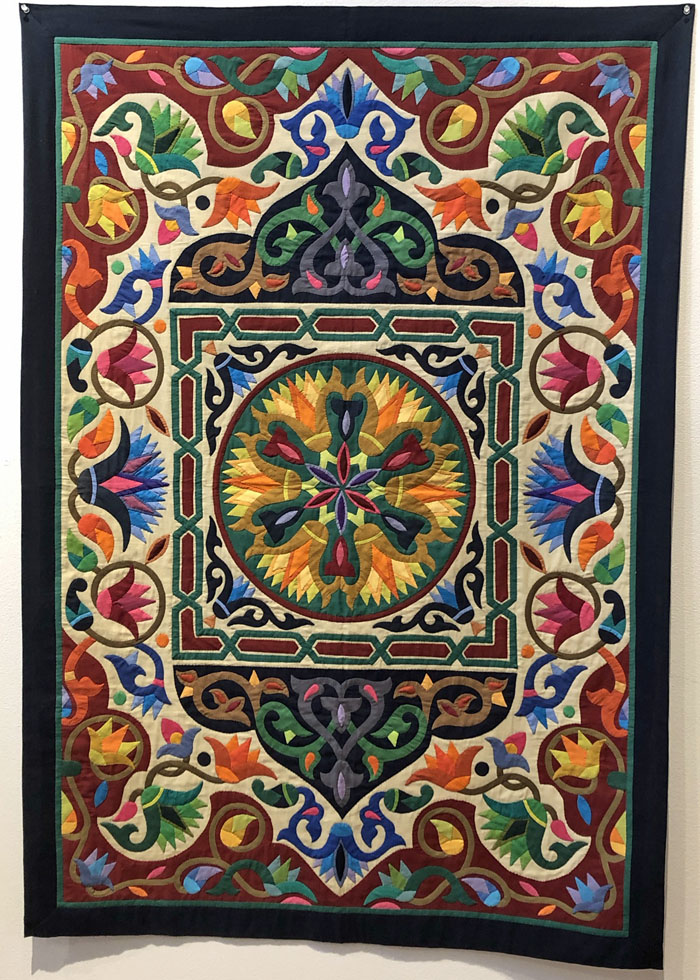
Perhaps you’ve heard of the Tentmakers of Cairo. They’re a group of men who have shops in the historic part of Cairo, where they make and sell stitched wall hangings. And they’re AMAZING!

The Tentmakers of Cairo, Part One. Ellen Lindner, AdventureQuilter.com/blog

One of my favorites


The Tentmakers of Cairo, Part One. Ellen Lindner, AdventureQuilter.com/blog

A detail shot.

See what I mean? I recently got to see an exhibit of these pieces at the Dunedin Fine Arts Center, in Florida.

The Tentmakers of Cairo, Part 1. Ellen Lindner, AdventureQuilter.com/blog

Each wall hanging is made by one man and is unique. The men work 6 days a week, for 10-11 hours each day, seated in a sort of semi cross-legged position.

The Tentmakers of Cairo, Part 1. Ellen Lindner, AdventureQuilter.com/blog

 The largest pieces (which are smaller than bed quilts) take about 4 months to complete! But only cost around $1000!

We got to see a demonstration of how they work and they are SO SPEEDY, with that needle turn applique!
See this video to get an idea.

The exhibit has closed now, but I’ll have some more great photos for you in the next post.

Ellen Lindner


1

“Beet Salad” Complete

Whew! After LOTS of rearranging and trial and error, I’ve finally finished this piece. And I’m quite happy with it.

The finished piece is 36″ x 26″. It’s available for $695.

The yellow in this detail shot looks a little yellow-green, but it will show you the circular quilting pattern, done both on the machine  and  by  hand.

I think it’s well named, don’t you?

Ellen Lindner
P.S. See recent posts about how I dyed the fabric for this, and in-progress construction photos.

14

English Paper Piecing My Way

You probably know about English paper piecing. It’s a way to use hand stitching to create very precise patterns. Each piece of fabric is first stitched around paper or cardboard. Later, the shapes are stitched to one another and, finally, the paper is removed. (Check out You Tube for a PLETHORA of different ways to do the stitching.)

Years ago I decided I needed a hand sewing project, so I made a bunch of 1″ hexagons. Or “hexies” as they’re called in English Paper Piecing (EPP) lingo. Mine are the 1″ size, which is the length of each side.
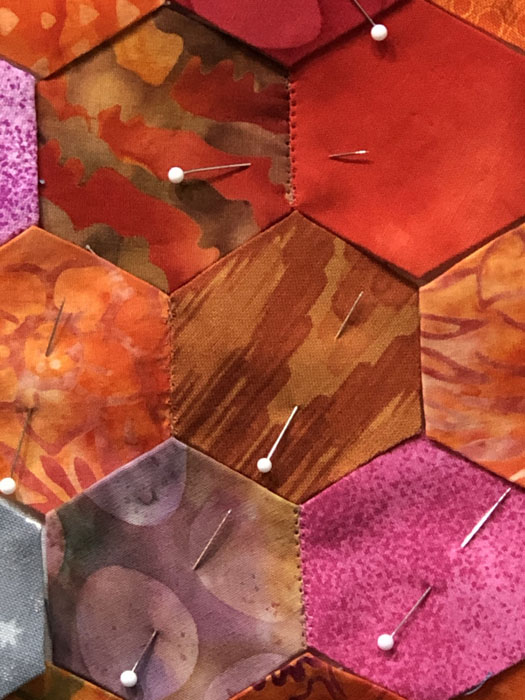
English Paper Piecing My Way. Ellen Lindner, AdventureQuilter.com/blog

Any EPP purist would probably gasp if they looked closely at the image above. It clearly shows that I’ve used machine stitching to join my hexies. NOT the norm! But, more about that in a minute.

As I said, I already had a bunch of hexies, so when Linda Kemshall, of DesignMattersTV.com talked about making them, I got reinspired.

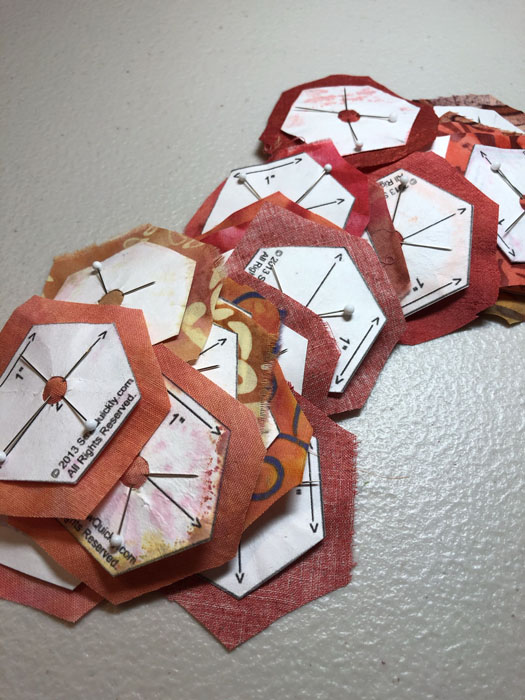
This shows a bunch of hexies ready to be stitchied. My card stock templates have a hole in the middle which serves two purposes. 1 – it givse me a way to secure the fabric to the template, with pins. 2 – it makes it easier to remove the template later because I can pop a pencil in there and easily pry it out.
English Paper Piecing My Way. Ellen Lindner, AdventureQuilter.com/blog

After hand stitching and ironing the hexies, they look like this. The ironing is done with the template still in place. Aren’t they lovely?
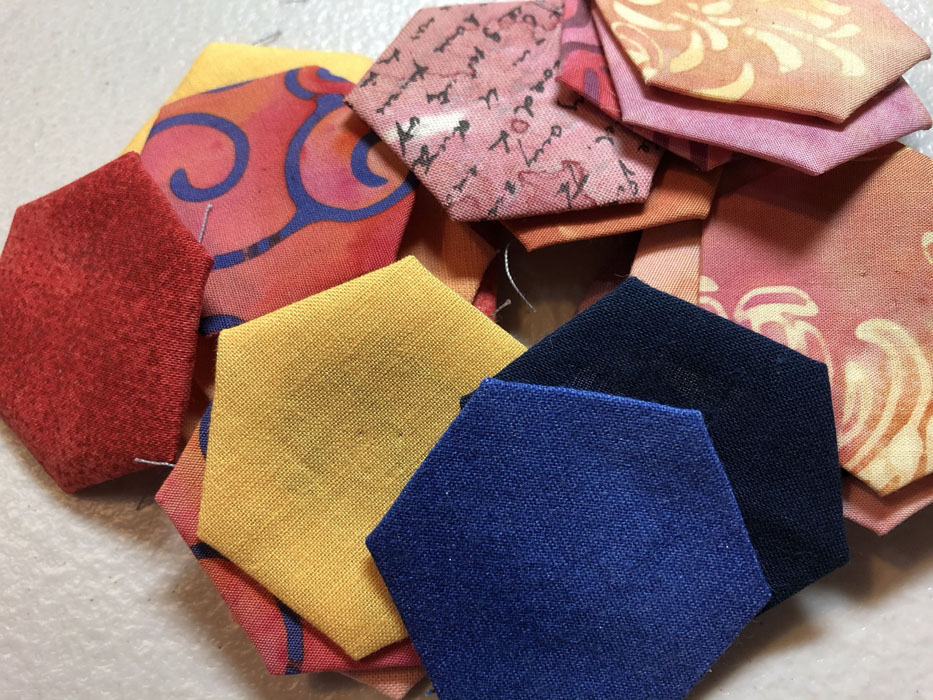
English Paper Piecing My Way. Ellen Lindner, AdventureQuilter.com/blog

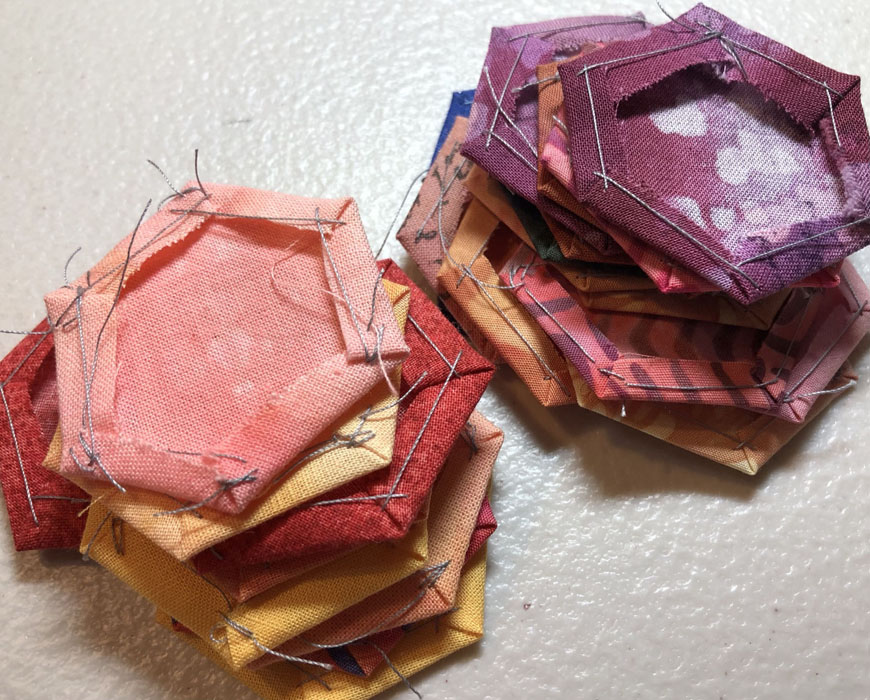
This is what they look like from the back. Apparently, you’re not supposed to remove the templates before joining them to adjacent pieces. But, I didn’t know that.
English Paper Piecing My Way. Ellen Lindner, AdventureQuilter.com/blog

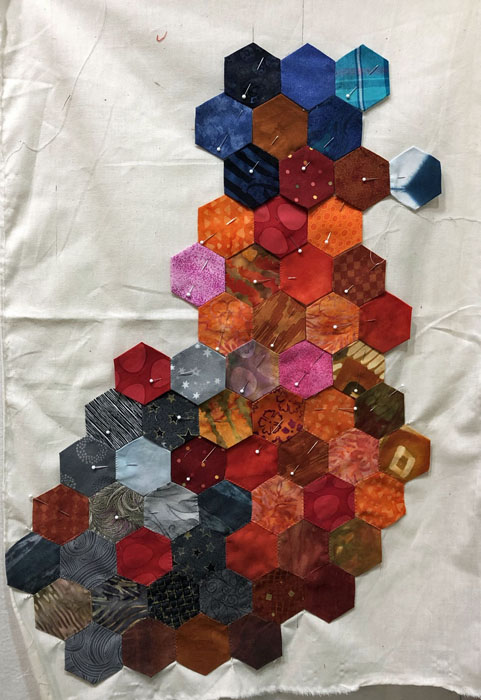
I tried hand stitching them to one another and I was NOT good at it! My stitches were quite visible from the front. (Would those templates have helped here, I wonder?) Since I wasn’t too keen on that much hand stitching anyway, I decided I could sew them to a muslin backing and use a clear thread and a zigzag stitch to attach them. So that’s what I’ve been doing.
English Paper Piecing My Way. Ellen Lindner, AdventureQuilter.com/blog

I’m really loving the effect of these gently undulating colors. I don’t have a color scheme in mind, although I seem to be leaning toward orange. I will pay attention to brightness, however, and use fabrics that aren’t too loud.

I expect this to be an ongoing pick-it-up-when-I-want-something-portable type of project, rather than something I complete all at once. At any rate, I’m having fun.

This link shows how I make my hexies.

What’s your favorite portable project?

Ellen Lindner
P.S. YouTube has a ton of other videos about making  and joining hexies.
P.P.S. Update: when searching for similar posts I found one showing that I had used this same method before. That link is below.
8

“She Has a Great Personality” Complete

I finally got around to properly photographing my latest quilt, She Has a Great Personality. It’s meant to be a self-portrait in the style of a favorite artist. In this case, that artist is abstract painter Jane Davies.

"She Has a Great Personality" Complete. Ellen Lindner, AdventureQuilter.com/blog

I thought working abstractly would be difficult, but it wasn’t too bad. I had more trouble deciding on some of the details.

I added hand stitching in several areas to help tie it all together.

"She Has a Great Personality" Complete. Ellen Lindner, AdventureQuilter.com/blog

I’m very happy with it, and I think it represents me pretty well.

Ellen Lindner

2

Fresh Fish

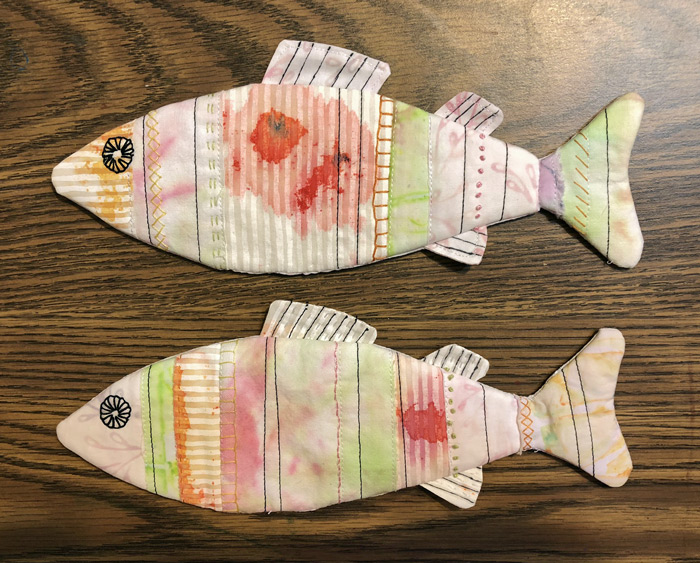
What to do when the call for art requests ocean animals smaller than 12″? This is my result: two fish for SAQA’s “Fresh Fish” project.

Fresh Fish. Ellen Lindner, AdventureqQuilter.com/blog

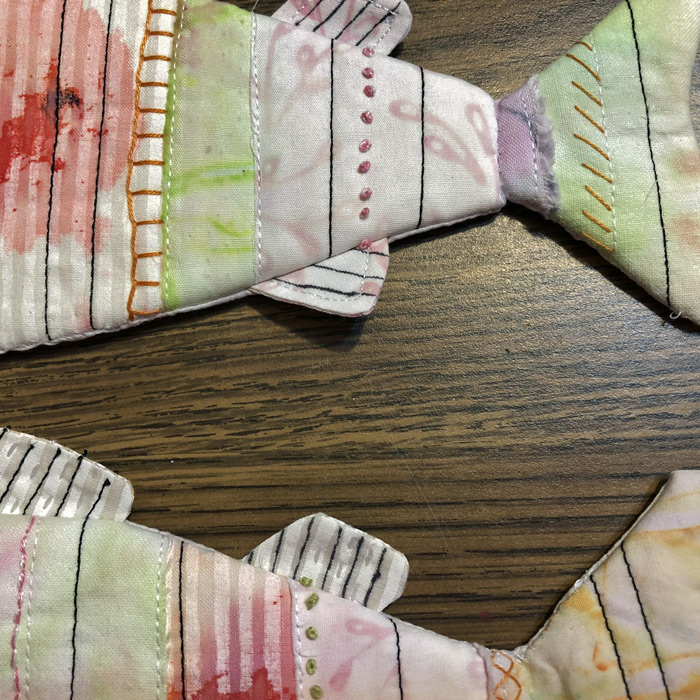
These are made from scraps, most of them hand dyed.

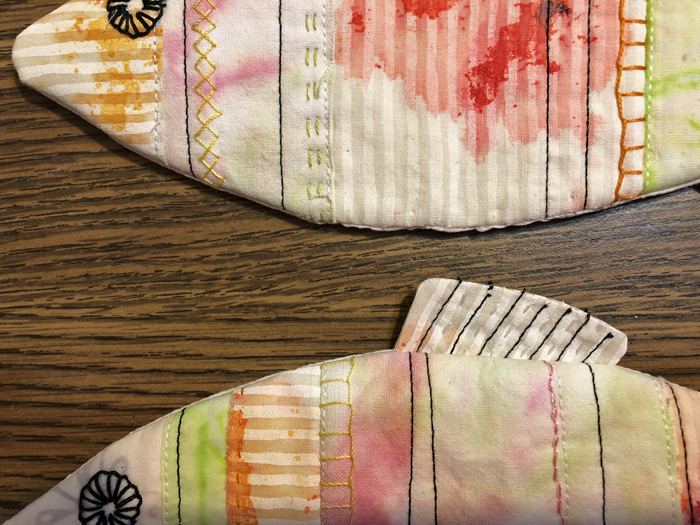
I had fun adding a little hand stitching.

Fresh Fish. Ellen Lindner, AdventureqQuilter.com/blog

It turns out that this shape is VERY hard to turn right side out. The narrow spot between the body of the fish and the tail is a problem. But, I’m happy with the result.

Fresh Fish. Ellen Lindner, AdventureqQuilter.com/blog

I’ll be mailing these off soon.

SAQA (Studio Art Quilt Associates) wants to receive 250 and anyone can donate, so join in if you’d like!

Ellen Lindner

2