Tag Archives | Hand Stitching

A Little Christmas Gift

What is utilitarian, personal, and decorative?  Why hand stitched dish towels with my personal recipes printed onto them.

Dish towels with personal recipes and hand stitching. Ellen Lindner, AdventureQuilter.com/blog

This is what I made for several close family members as Christmas gifts. My mom and sister especially appreciated them because we tend to use many of the same recipes.  So, they had fun hunting up their favorites, recognizing hand writing, and such.

Dish towels with personal recipes and hand stitching. Ellen Lindner, AdventureQuilter.com/blog

I scanned the recipes individually and created a computer file the right size.  I found that it looked too much like a photograph, so I removed most of the color and tweaked it a little on my computer.

Dish towels with personal recipes and hand stitching. Ellen Lindner, AdventureQuilter.com/blog

I had my computer image printed onto linen by Spoonflower.com .  If I remember correctly, I had 2 yards printed and that gave me enough to make eight towels.  I just hemmed them and added the hand stitching.

Which was quick and easy.

Dish towels with personal recipes and hand stitching. Ellen Lindner, AdventureQuilter.com/blog

Dish towels with personal recipes and hand stitching. Ellen Lindner, AdventureQuilter.com/blog

I changed the colors of thread for each towel, reflecting the colors of the recipient’s kitchen.

Dish towels with personal recipes and hand stitching. Ellen Lindner, AdventureQuilter.com/blog

This project was super easy and everyone really liked them. (Me too.  I have one in my kitchen drawer.)

Did you make any gifts this year?

Ellen Lindner
P.S. A little research revealed that hand stitched towels are very durable.  They can be used and washed just like any hand towel. I was even told that the towel will wear out before the stitching.


8

Quilting and Cording

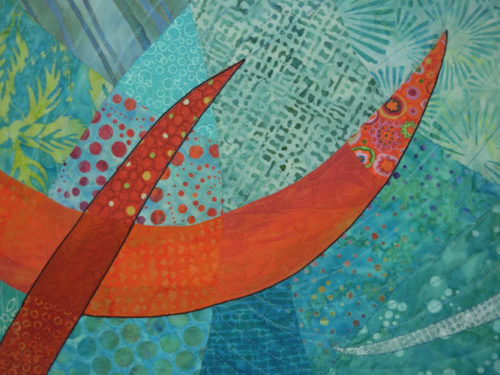
When quilting my latest piece I decided to mimic the swirls/curves in the background.

Quilting and Cording. Ellen Lindner, AdventureQuilter.com/blog

Quilting and Cording. Ellen Lindner, AdventureQuilter.com/blog

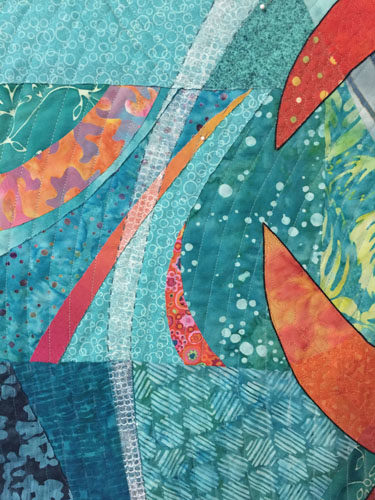
In addition to machine quilting, I also added some hand stitching around several of the curved shapes.

Quilting and Cording. Ellen Lindner, AdventureQuilter.com/blog

My main reason for doing so was to add contrast to the white curves in the light areas. I intended to stitch around all the curved shapes, but the effect was so subtle I changed my mind and used it only in the lightest areas.

Next, I turned my attention to the main motif.  I thought it needed to be set off from the background somewhat.  I considered:
– Lightening the background around the motif with colored pencils, chalk, etc.
– Using tulle to add a dark shadow around parts of the motif.
– Adding a dark line around the motif, by adding cording.

I was leaning toward the cording idea, since I had used it previously. I did some auditioning and started in.  I hand stitched a black cord in place.  That is, I used a cording stitch to capture the cord and secure it to the top of the quilt.  I did not pierce the fabric with the cord.

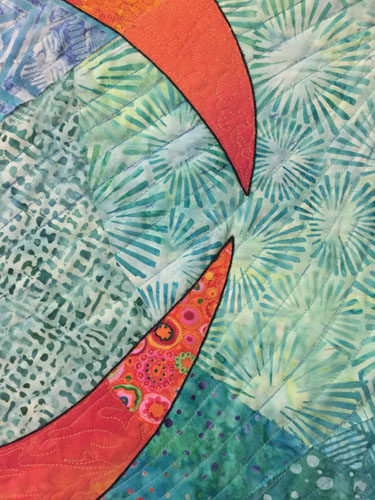
Here you can see the effect before and after the cording.

Quilting and Cording. Ellen Lindner, AdventureQuilter.com/blog

I think it set it off perfectly.

Quilting and Cording. Ellen Lindner, AdventureQuilter.com/blog

Quilting and Cording. Ellen Lindner, AdventureQuilter.com/blog

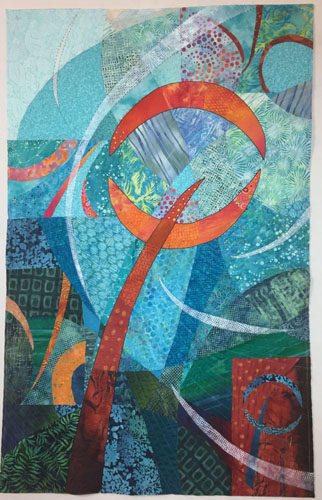
And here’s the entire quilt, ready for facing.  Almost finished!

Quilting and Cording. Ellen Lindner, AdventureQuilter.com/blog

Have you got any suggestions for a name?  I’ve got one in mind, but am still slightly undecided.

Ellen Lindner
P.S. Here’s what a hard/precise tulle shadow looks like.  It’s very effective in adding definition, but only if you want to show the top element just slightly above the background.  I wanted this motif to float, so it wasn’t appropriate here.

12

Hand Stitching Hexies

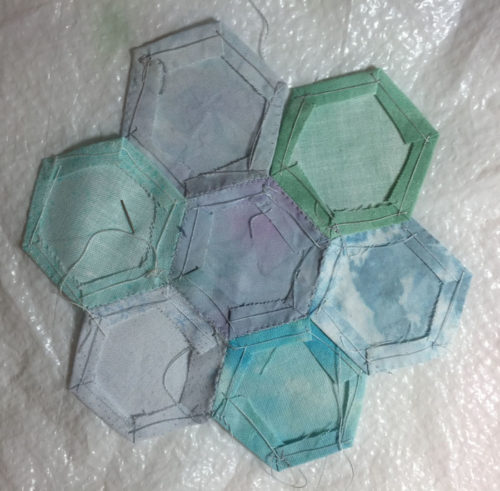
Although I seldom do any hand stitching on my quilts, I like to have a hand  project available for traveling, etc.  I’ve searched for something that will hold my interest –  for years.  First I tried yo-yos. Then small collages.  Finally, I decided to revisit hexies (or hexagons.)
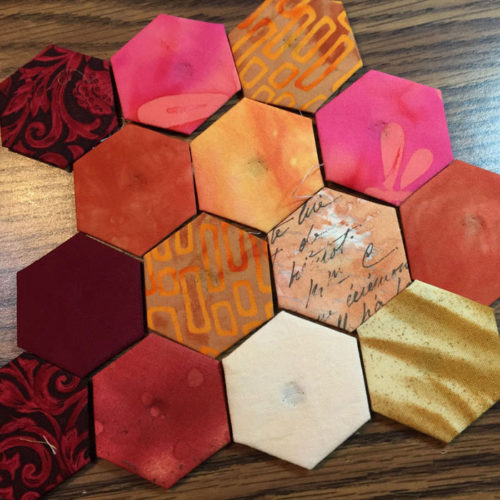
Hand Stitching Hexies. Ellen Lindner, AdventureQuilter.com/blog

These are traditionally used in English paper piecing, something I learned WAY back when.  I wasn’t sure I wanted to hand join the hexies together, but I found that I quite liked making them.  And don’t they look pretty when grouped by color?

After making a few, I began to experiment with how to easiest join them. They’re created on templates of card stock /”paper,” which is generally not removed until after they’re sewn together.  I wondered if there was some other way to stiffen them, so the card stock templates could be removed.  I tried heavily starching them, and they had plenty of body.  So, I gave it a try, appliqueing the hexies onto a plain background, and securing them with a zigzag stitch worked in invisible thread.
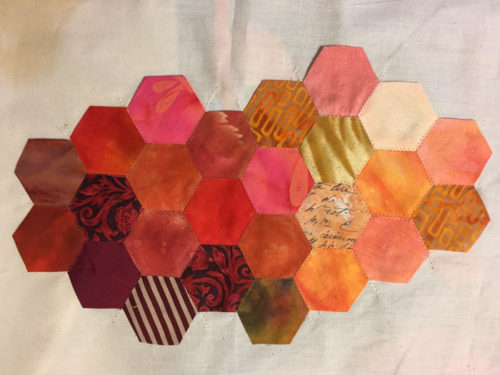
It worked really well, although all those passes to catch every edge took longer than I expected.
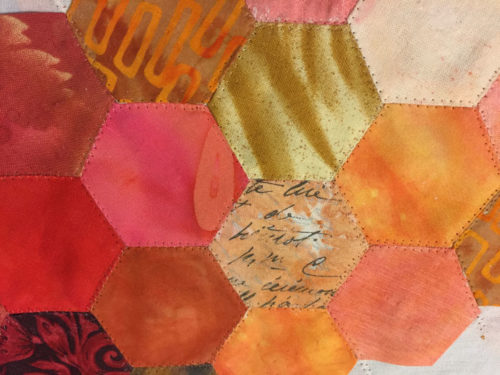
Hand Stitching Hexies. Ellen Lindner, AdventureQuilter.com/blog

I did a lot of stopping and starting to avoid double passes with the stitching.  Next time, I think I won’t worry about that and it will be much more efficient.

Eventually it occured to me that since I wanted a hand sewing project, I should at least try hand joining them.
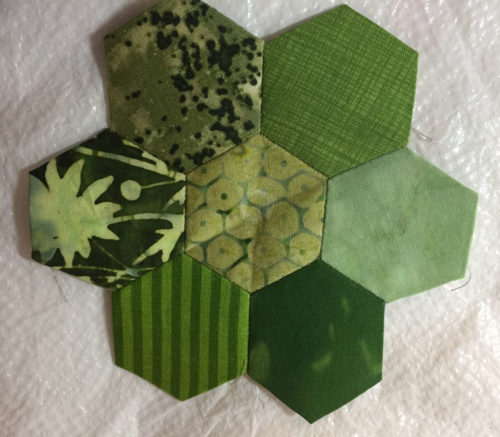
Hand Stitching Hexies. Ellen Lindner, AdventureQuilter.com/blog

And, sure enough, it worked fine.  Templates are removed only after all the surrounding seams are in place.  The holes help when removing the “paper.”  You just stick a chop stick or dull pencil in there and pry it out. I made my own templates and used a hole punch to make the holes.
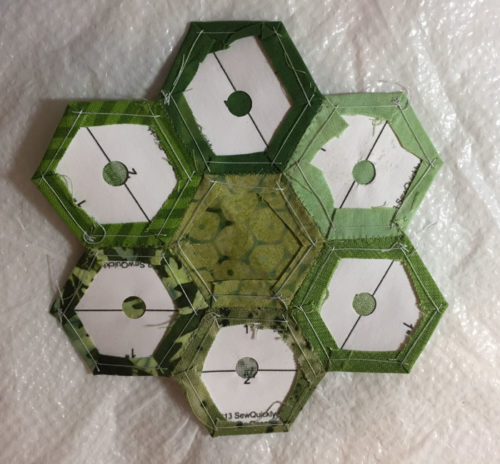
Hand Stitching Hexies. Ellen Lindner, AdventureQuilter.com/blog

So, then I wondered if I could hand stitch them without the templates, if I starched them heavily again.  I’m still working on the sample for that, and I think it’s going to work just fine.
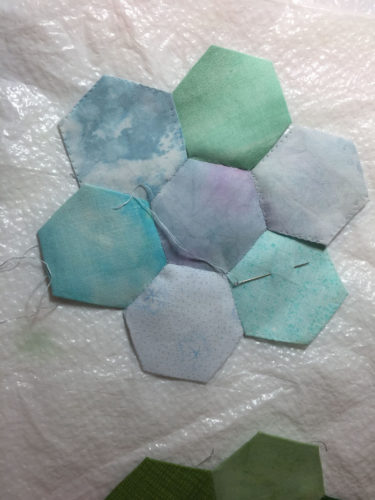
Hand Stitching Hexies. Ellen Lindner, AdventureQuilter.com/blog

Hand Stitching Hexies. Ellen Lindner, AdventureQuilter.com/blog

I’m not at all sure what I’ll be doing with these.  I’m pretty sure I’ll use them in coordinating colors, perhaps as a background for a future design.  In the meantime, making them is a fun way to dip into my scrap collection.

This little project came in handy on a recent flight, (even though the tray table was TINY.)
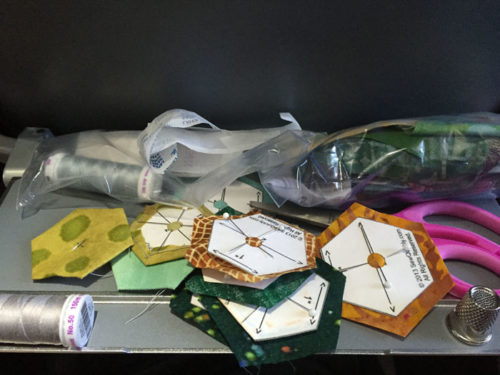
Hand Stitching Hexies. Ellen Lindner, AdventureQuilter.com/blog

Just what I needed.

If you want to try your hand at these, here are a few tutorials and tips:
– An easy to cut template (that I used.)
– Making hexies
– Joining hexies

Ellen Lindner
P.S. I also tried making hexies from circles.  The technique is easy, but I found that they weren’t very accurate, which made joining them unfeasible.  They’d still work well for applique, however.

4

“Back Yard Beauty” Complete

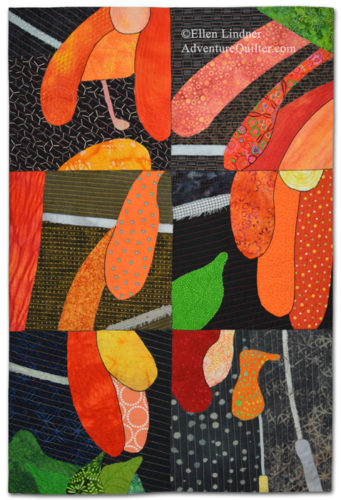
My flame vine quilt is now complete.  I’ve named it Back Yard Beauty.

"Back Yard Beauty" Complete. Ellen Lindner, AdventureQuilter.com/blog

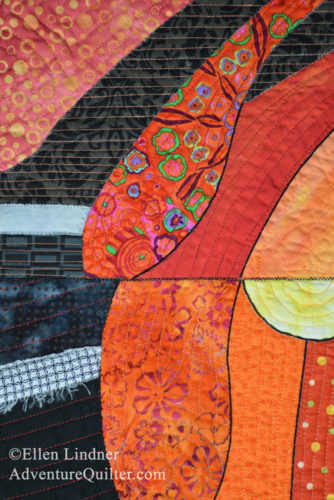
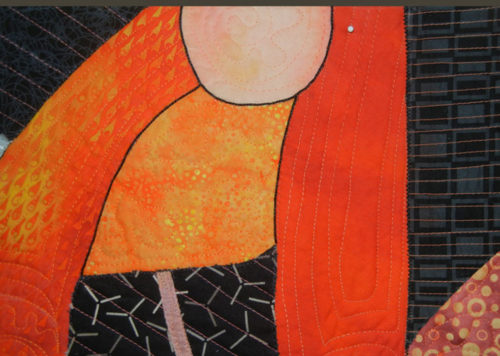
I’m quite happy with it.  Here’s a detail shot.

"Back Yard Beauty" Complete. Ellen Lindner, AdventureQuilter.com/blog

You can see more about how I made it in the previous posts.

On to the next quilt, a red bud tree!

Ellen Lindner

0

Working on My Flame Vine Quilt

The quilt I’ve been working on is inspired by a friend’s flame vine, which cascades down her back porch.  In the strong Florida sun, it’s especially striking when seen against the dark porch screening.

After finishing the orange flowers, I went on to the leaves.

Project Resurrected. Ellen Lindner, AdventureQuilter.com/blog

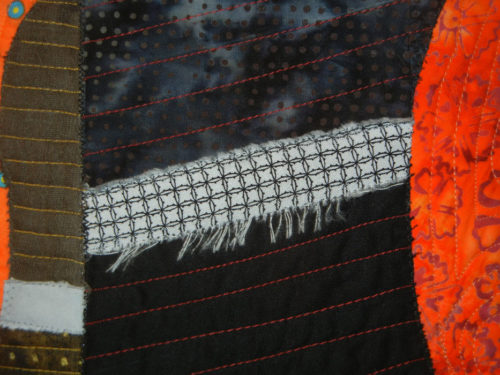
Next, I tackled the long skinny pieces.  I’m not sure what they are, but they’re some part of the plant. Let’s call them twigs.   At any rate, they were in the original photo and I liked the graphic quality they added to the abstraction.  To audition sizes I started tearing fabrics and I liked the fuzzy quality I got with some of them.  So, I just left them that way.

Working on my Flame Vine Quilt. Ellen Lindner, AdventureQuilter.com/blog

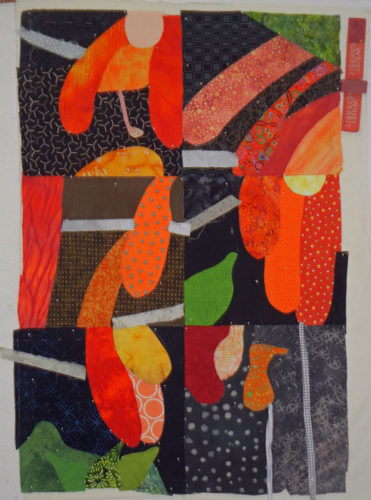
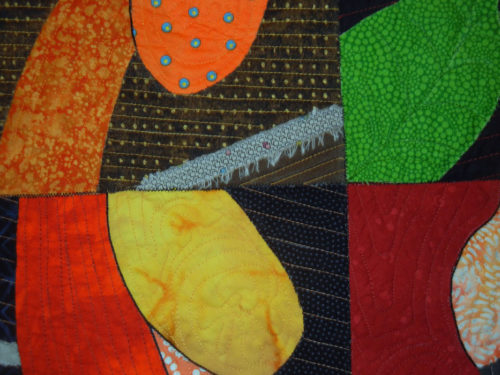
Finally, it was time to glue everything to the muslin and start stitching.  I added black zigzag around each block unit.

Working on my Flame Vine Quilt. Ellen Lindner, AdventureQuilter.com/blog

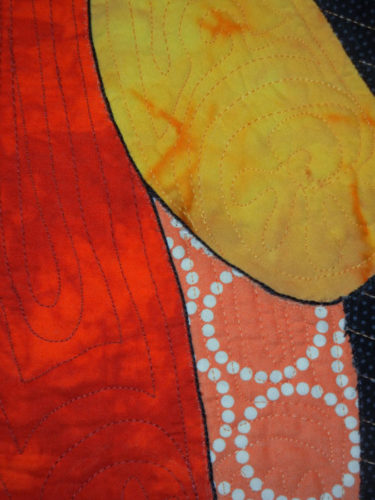
For the petals and leaves I chose an organic quilting pattern that, in part, followed the shape of the piece.  For the background, I selected parallel lines.  In each case, they follow the angle of one of the twigs.  I really like the effect.

Working on my Flame Vine Quilt. Ellen Lindner, AdventureQuilter.com/blog

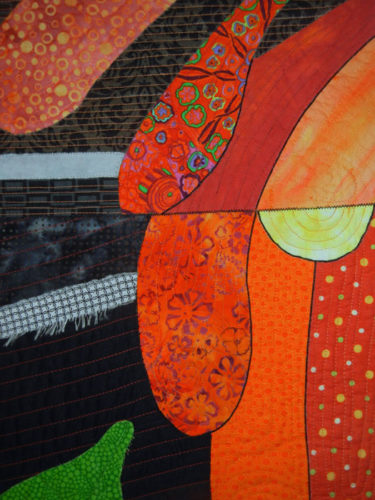
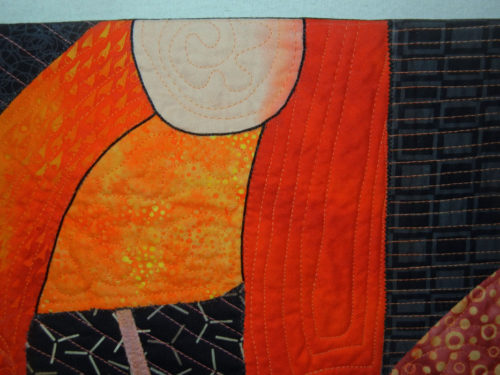
After all of this, I thought some of the petals merged a little bit too much.  To add definition, I drew around the edges with a Sharpie.  That helped, but it was partially covered by fuzzy threads, so I looked for something more significant.  I found it with a thin black cord which I hand couched on.  It gave the perfect outline.

Working on my Flame Vine Quilt. Ellen Lindner, AdventureQuilter.com/blog

On to finishing!  I faced the quilt and sprayed marked areas with water, to remove the chalk marks.
But, oops, one area bled.

Working on my Flame Vine Quilt. Ellen Lindner, AdventureQuilter.com/blog

I decided to hide it by adding more of the same.  Like this:

Working on my Flame Vine Quilt. Ellen Lindner, AdventureQuilter.com/blog

I used water soluble wax pastels, adding a little yellow and orange.  Plus, I think the extra water added faded the original spot.  Voila!  On to photo taking.

Ellen Lindner

0

“For My Own Amusement”

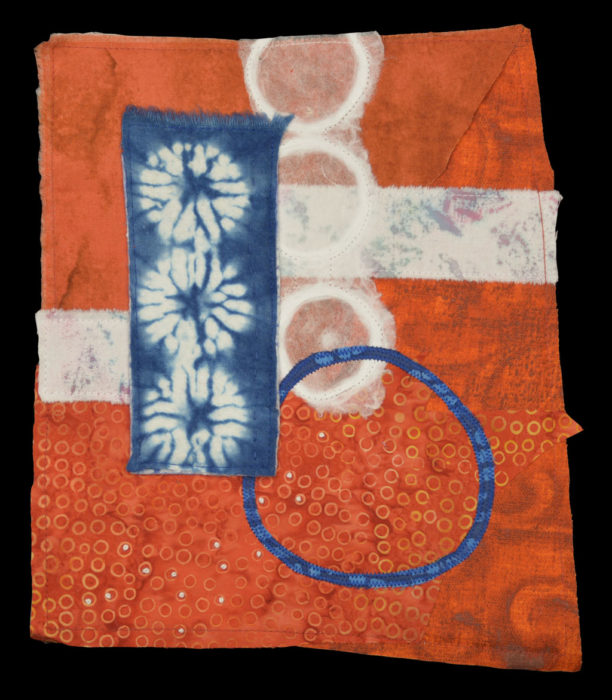
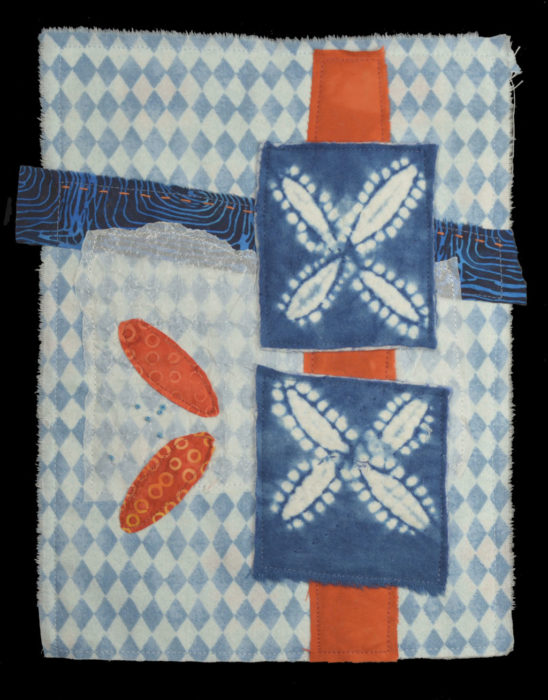
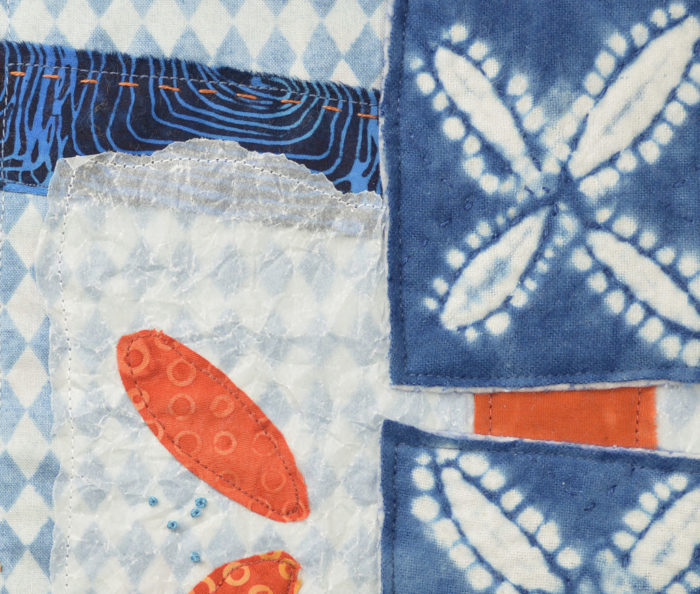
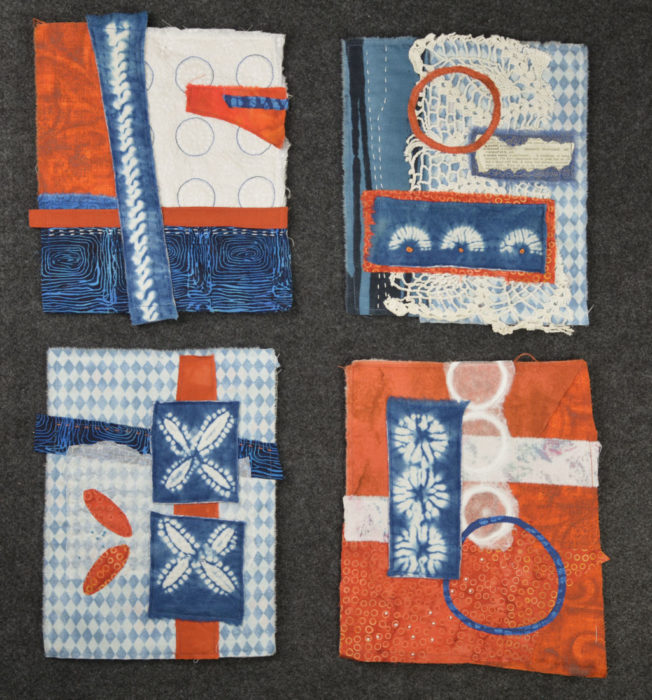
I’ve finished up the series of four pieces made from a stitched indigo sampler.  See numbers one and two here.  And numbers three and four below.
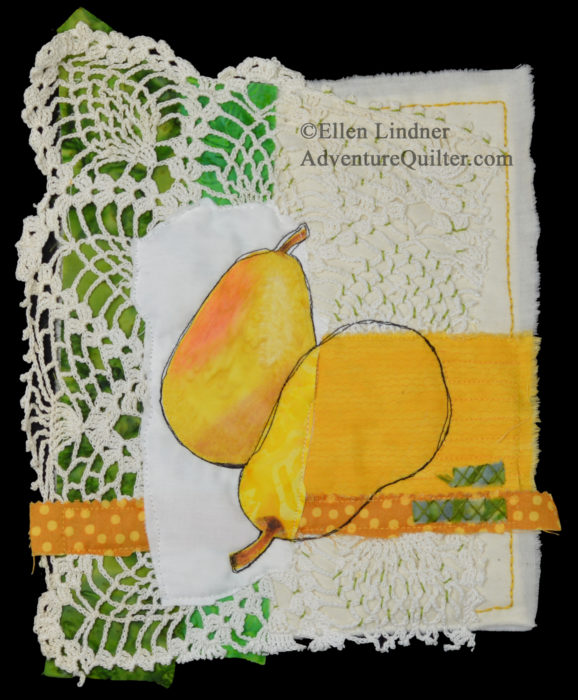
"For My Own Amusement." Ellen Lindner, AdventureQuilter.com/blog

"For My Own Amusement." Ellen Lindner, AdventureQuilter.com/blog

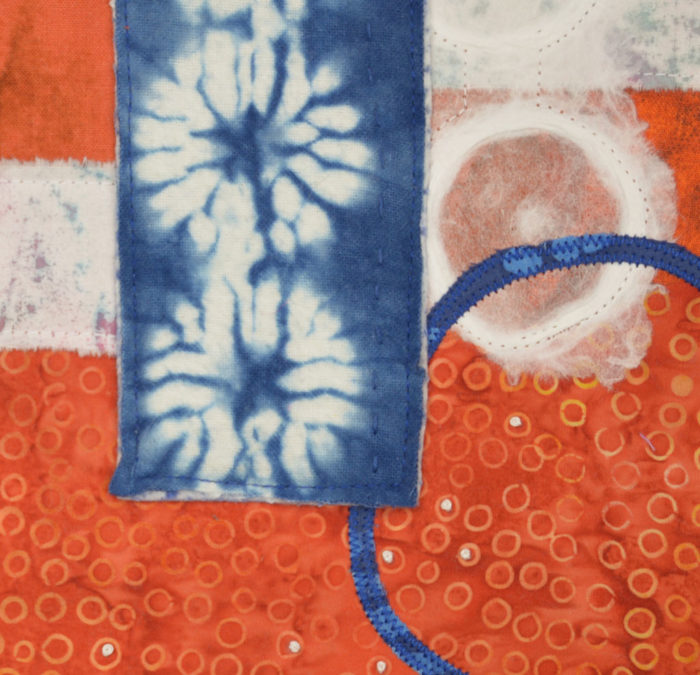
I love the art paper with the circles, above.

"For My Own Amusement." Ellen Lindner, AdventureQuilter.com/blog

"For My Own Amusement." Ellen Lindner, AdventureQuilter.com/blog

Piece #2 includes a bit of a dictionary page with the word “amusement” defined.  Since I was doing these just for fun, I thought I could use that word as part of my title.  It came to me very quickly:
“For My Own Amusement, #1-4.”

I like the way the four pieces look together.  What do you think?
"For My Own Amusement." Ellen Lindner, AdventureQuilter.com/blog

Ellen Lindner

14

Small Pear Collages

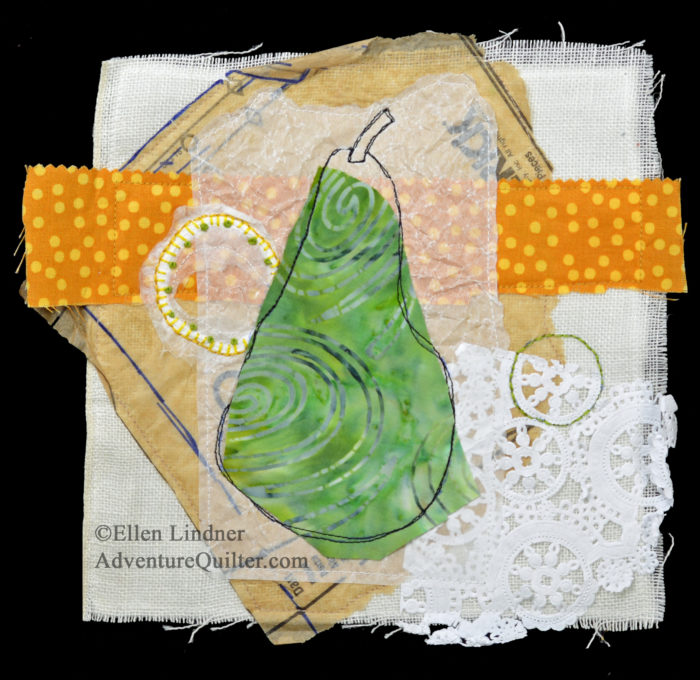
In my last post, I showed you the start of several small pear collages.  I had great fun with them as I continued to work with portions of my original pear picture, vintage linens, papers, and hand stitching.
Here’s the completed version of the one in the last post, Pear Study #1.

Pear Study #1, a small art quilt by Ellen Lindner. AdventureQuilter.com/

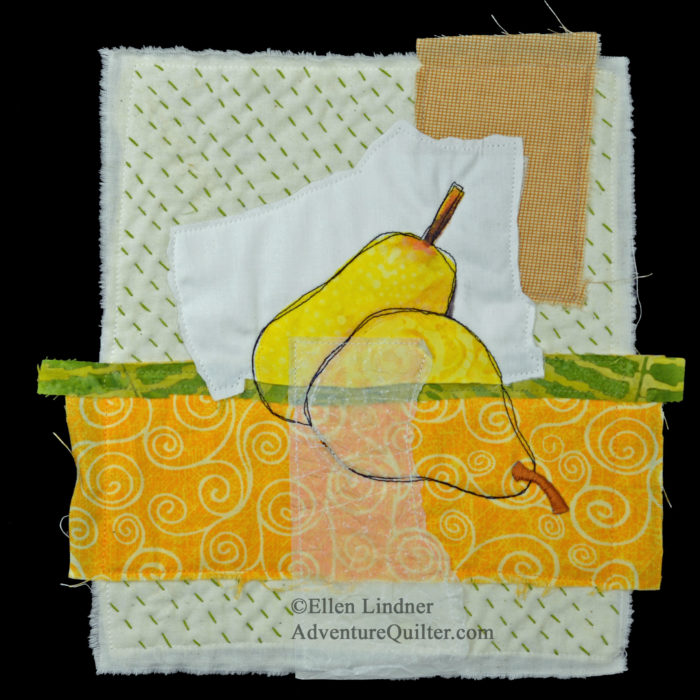
This is #2 complete.

Pear Study #2, a small art quilt by Ellen Lindner. AdventureQuilter.com

#3, complete

Pear Study #3, an art quilt by Ellen Lindner. AdventureQuilter.com

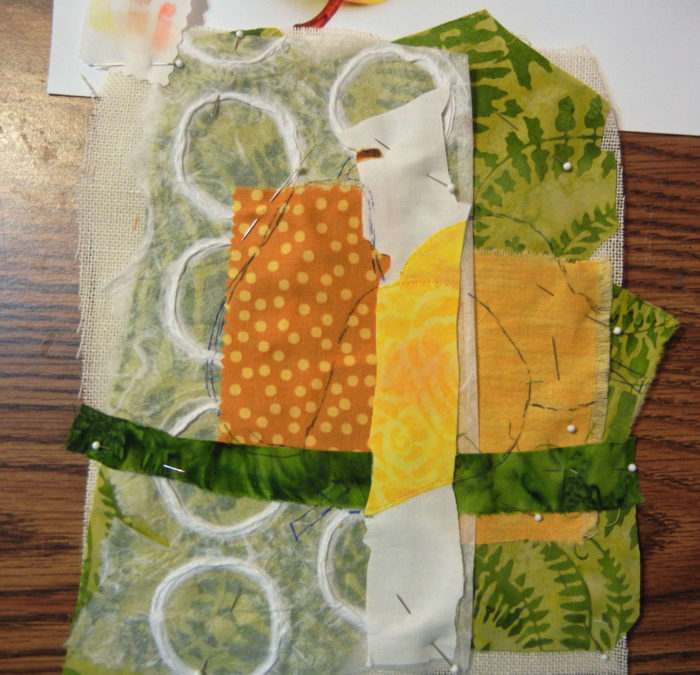
And #4, in -progress.  Scroll down to see it completed.

Collage fun. Ellen Lindner, AdventureQuilter.com/blog

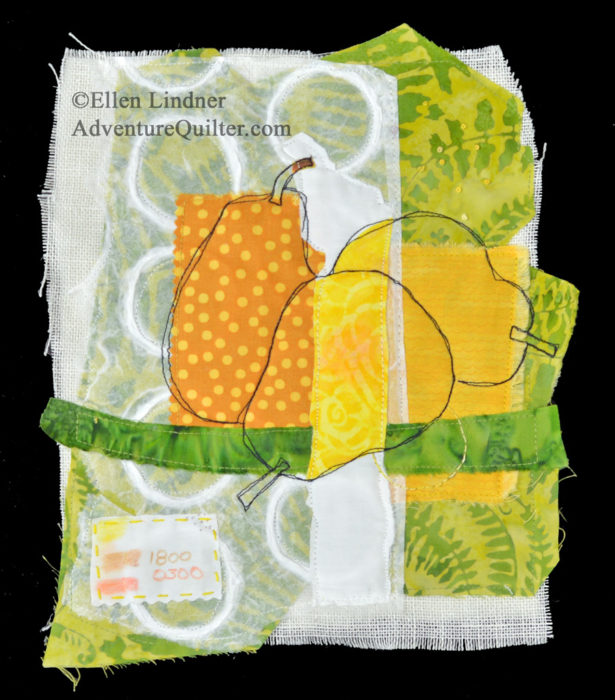
Pear Study #4

Pear Study #4, an art quilt by Ellen Lindner. AdventureQuilter.com

Can you see the piece of the original pear applique used in three out of the four?

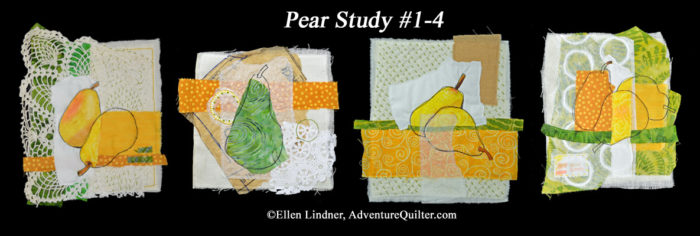
I’m very happy with these four small collages and I especially like the way they look together.

Pear Study #1-4, by Ellen Lindner. AdventureQuilter.com

Which one is your favorite?

Small works like this often benefit from additional mounting or framing. I’ve got some experience with that and will show you some options in my next post.

Ellen Lindner

12

Orlando Quilt Show: Grab and Draw

“Grab and Draw.”  That’s my new term for the kind of quilts I like: those that draw you closer from across the room and then reward you with wonderful details.  Here are more great examples  from World Quilt – FL, Orlando.

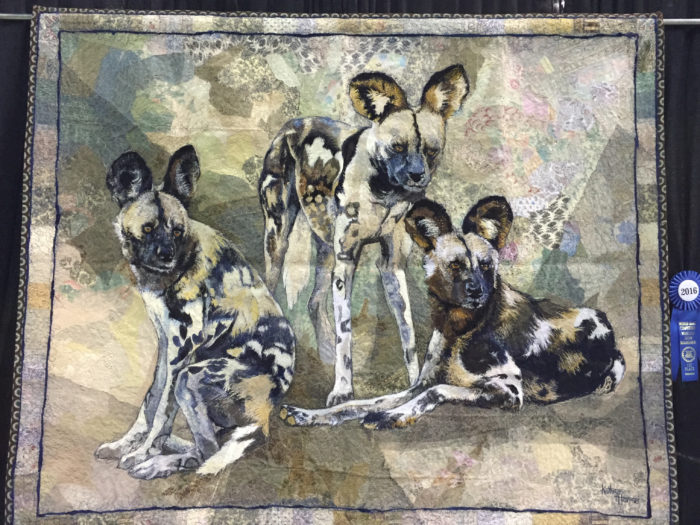
Check this out, by Kathryn Harmer Fox, from South Africa.

World Quilt Show - FL 2017. Ellen Lindner, AdventureQuilter.com/blog

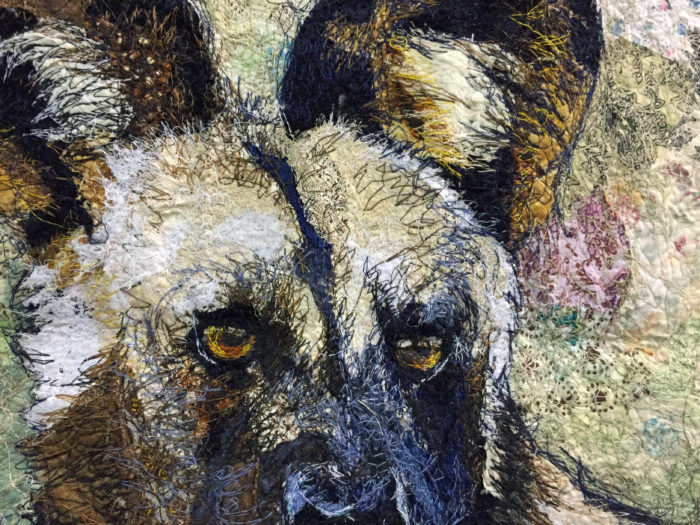
Very interesting from afar, but look at this detail shot.

World Quilt Show - FL 2017. Ellen Lindner, AdventureQuilter.com/blog

Can you believe that stitching?!?  Some of the stitches are quite long, at least 1/2″.  The wildness really adds a lot to the imagery.  What I’m not sure you can see in this photo is that there are layers and layers of stitching.  The top of the dog’s head is stitched with tons of white and cream before the contrasting stitching was added.  Wow!

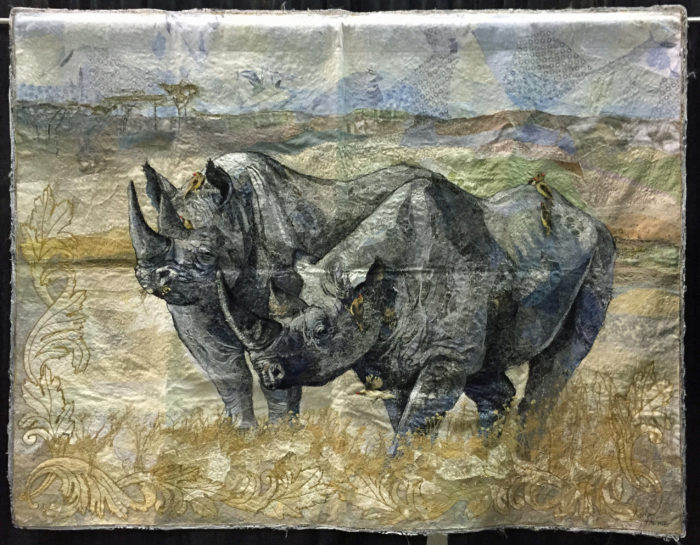
And here’s another one by the same artist.

World Quilt Show - FL 2017. Ellen Lindner, AdventureQuilter.com/blog

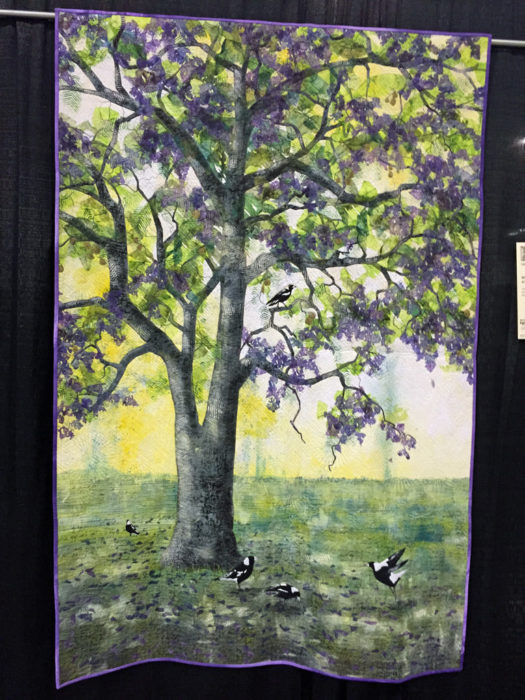
This piece by Linden Lancaster also passed the Grab and Draw test.

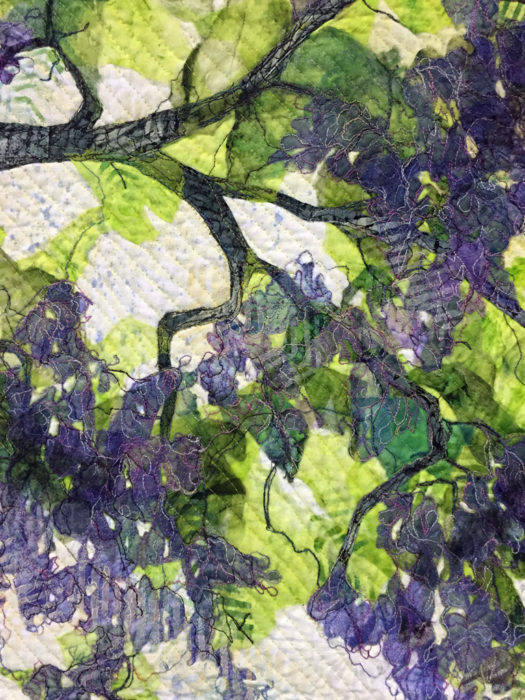
Mostly because of the way she depicted the delicate blossoms with overlaid sheers.

World Quilt Show - FL 2017. Ellen Lindner, AdventureQuilter.com/blog

I decided there was also some green paint on the background, as well as green and purple sheers.  Lovely.

Ellen Lindner

5

Orlando Quilt Show: Awesome Details

There were some really great quilts at the World Quilt – FL show last week.  My favorite kind of quilts are those that grab your attention from across the room and draw you closer, and then when you get up close you’re amazed by the details of the piece.  For me, there were several in this show that met this two-pronged criteria.

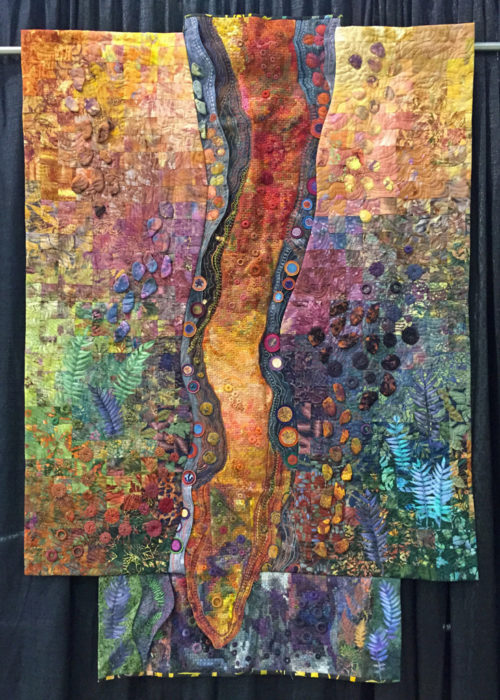
Here’s my favorite, “Pele.”  It was made by Jenny Hearn, from South Africa.

World Quilt Show - FL 2017. Ellen Lindner, AdventureQuilter.com/blog

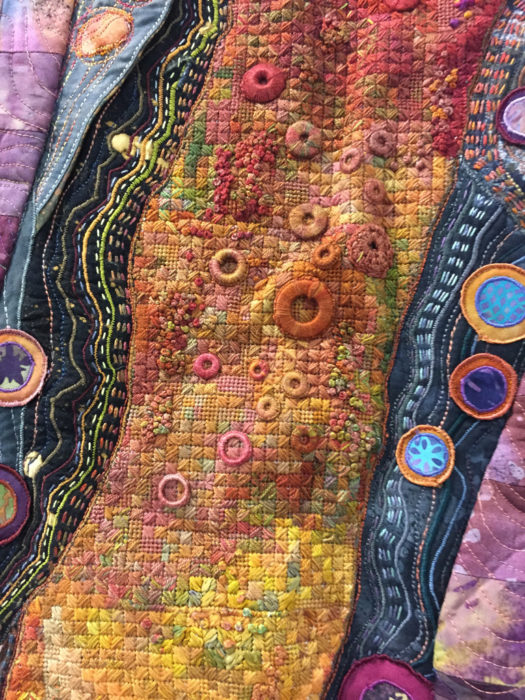
Did it “grab you from across the room?”  Great.  Now, look at these awesome details.

World Quilt Show - FL 2017. Ellen Lindner, AdventureQuilter.com/blog

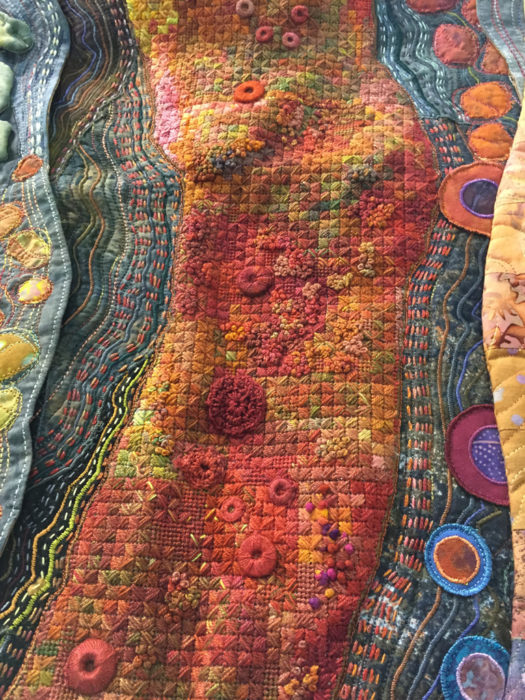
That’s right:  it’s got needlepoint in the center!  Along with heavy stitching, including what appears to be some washers wrapped with stitch.

World Quilt Show - FL 2017. Ellen Lindner, AdventureQuilter.com/blog

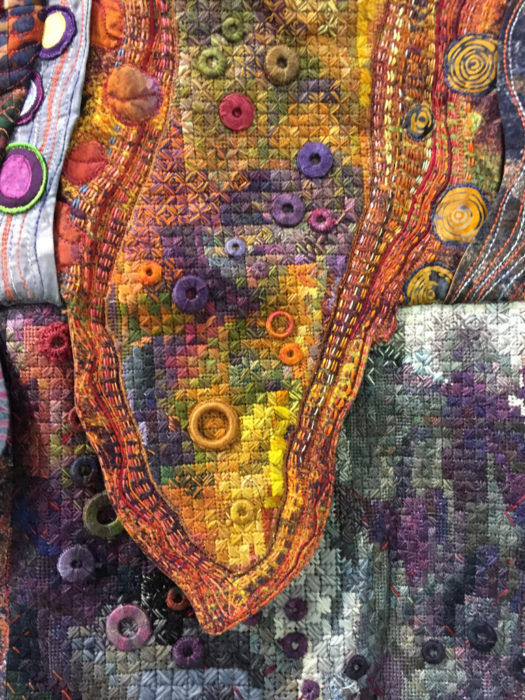
More of the same at the bottom.  The pointy part actually protrudes as a separate piece in front of the grayer background below.

World Quilt Show - FL 2017. Ellen Lindner, AdventureQuilter.com/blog

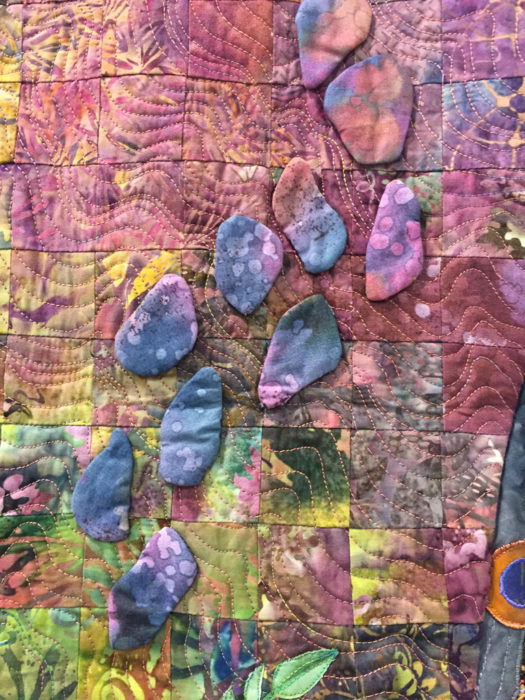
When my eyes finally strayed away from this fabulous stitching I noticed lots of little 3D elements elsewhere.  I love this quilt!

World Quilt Show - FL 2017. Ellen Lindner, AdventureQuilter.com/blog

I have more photos to show you from this show, but honestly, the other photos pale in comparison to this quilt.  They’re still great, of course, and I’ll show you in the next post.

Ellen Lindner
P.S.  This quilt is part of the traveling World Quilt show exhibit.  Unfortunately, it has suffered from being folded a lot.  Too bad Mancuso (show management) can’t figure out a way to roll or pad them better.

11