Tag Archives | Projects

Make a Fabric Postcard

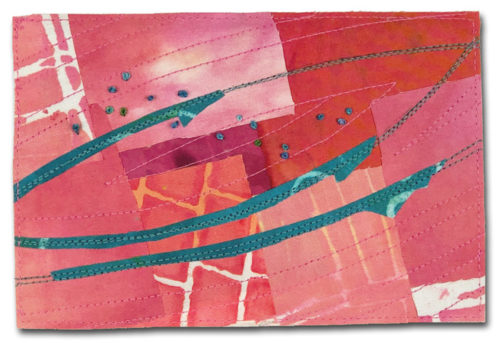
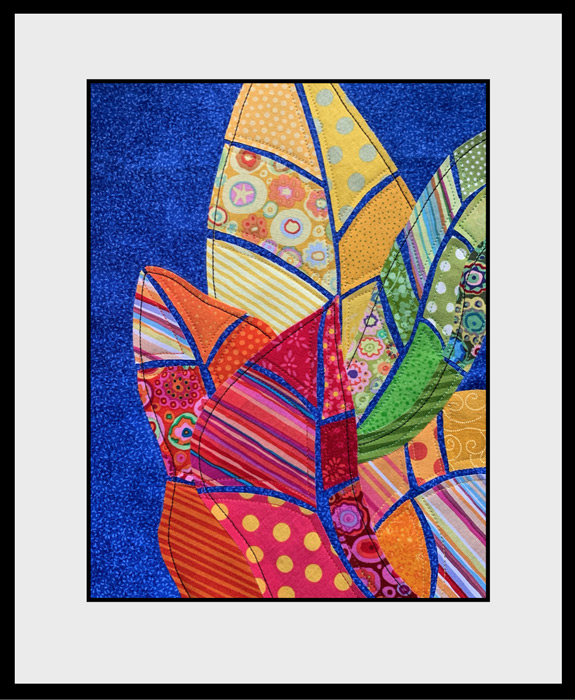
I recently made this fabric postcard as a “thank you” gift for the outgoing leader of one of my art quilt groups. I think they’re really appropriate for that sort of thing, and YES, you can mail them. (Although I make an envelope, too.)

Making Fabric Postcards. Ellen Lindner, AdventureQuilter.com/blog

Fabric postcards are super fast and easy. I’ve written a tutorial for you where you can see several more examples.

Have fun!

Ellen Lindner

2

Great First Class

Whenever I plan a new class I try it out on a group of “guinea pigs.” Such was the case this past Saturday. Twenty students showed up to take my “Love It and Leaf It” class, via Zoom. How exciting! They got the class for free, but in return had to give me feedback on both the class content and the Zoom experience. VERY valuable!

And just look at the great work they did!
This was a 3 hour class. Most of this was accomplished in that time, but the facings and frames were done after class.

"Love It and Leaf It" student work. Ellen Lindner, AdventureQuilter.com/blog

Mary Ann Shupe finished her quilt and then later framed it digitally. As you can see, she had fun with patterns.


"Love It and Leaf It" student work. Ellen Lindner, AdventureQuilter.com/blog

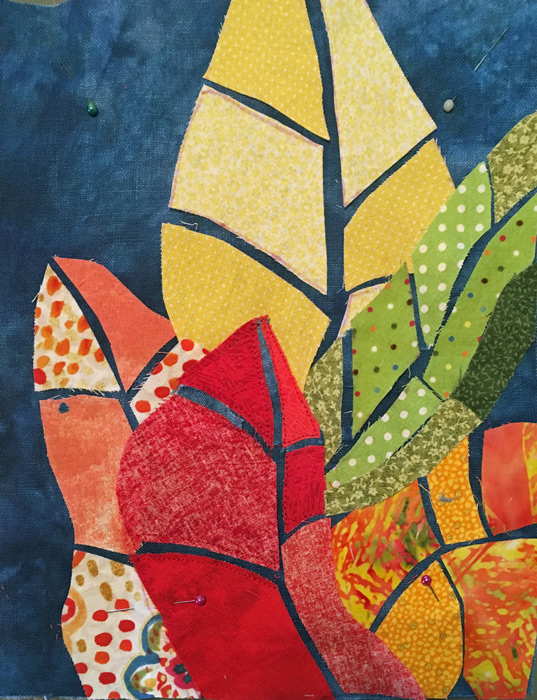
Deon Donovan sent me an in-progress photo of hers. Isn’t it going to be striking?


"Love It and Leaf It" student work. Ellen Lindner, AdventureQuilter.com/blog

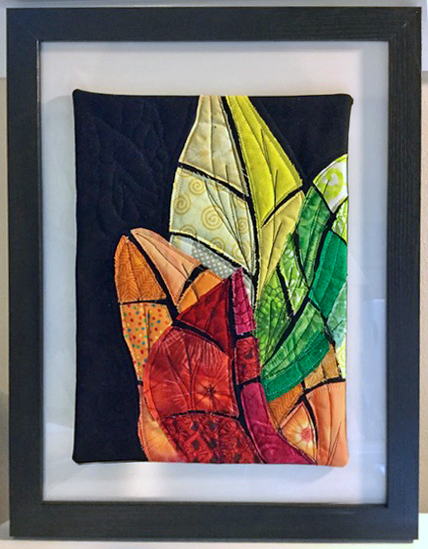
Rebecca Chianese framed hers right away. The quilting adds a lot to it!


"Love It and Leaf It" student work. Ellen Lindner, AdventureQuilter.com/blog

Jo-Ann Jensen did a great job, (as always.)


"Love It and Leaf It" student work. Ellen Lindner, AdventureQuilter.com/blog

Kat Campau did her own thing and it works. (I can tell she likes batiks.)


"Love It and Leaf It" student work. Ellen Lindner, AdventureQuilter.com/blog

Polly Dombroski’s quilt is completely finished, just waiting for it’s frame. Nice!


"Love It and Leaf It" student work. Ellen Lindner, AdventureQuilter.com/blog

Don’t these little quilts look great when framed? Annette Moore’s is another fabulous example.

Are you wondering what I learned from this experience?
– The Zoom (virtual) platform works really well! We had no technical issues of any sort, and we were able to chat and interact the entire time. It was fun!
– My pattern was too complicated for the time frame. I wanted the students to finish the piece, AND face it, AND frame it in the 3 hours. Since that didn’t happen, I’m working on simplifying the pattern and the process.
– My guinea pigs were super helpful! BTW, one was from France, and one was from Canada. Isn’t that cool?

This short class would be a great one for introducing your guild to the virtual learning world of  Zoom. (And, of course, I have other virtual presentations available, too.)

After months of not teaching it is SO exciting to be back at it!!!

Ellen Lindner

2

A Gold Star for My Students

How do you reward students in an online class? I’ve decided on a digital gold star. I wanted to make a special fabric star as my starting point and a friend loaned me a 3D pattern from Fabri Flair. Perfect!

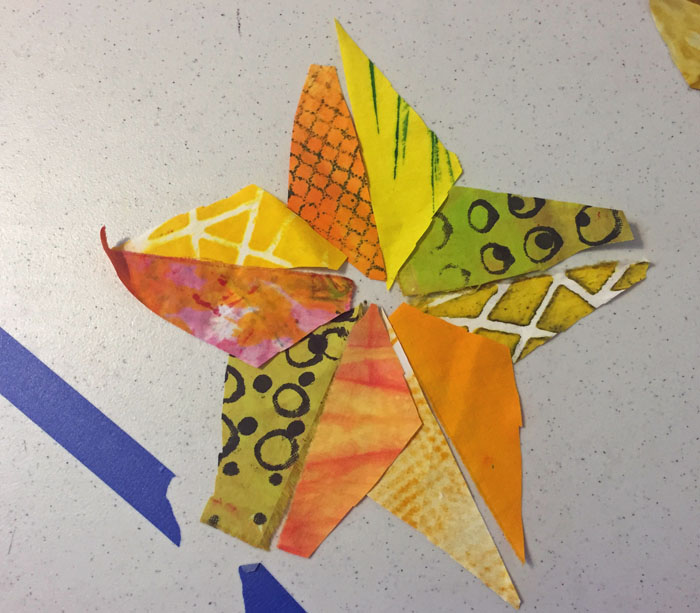
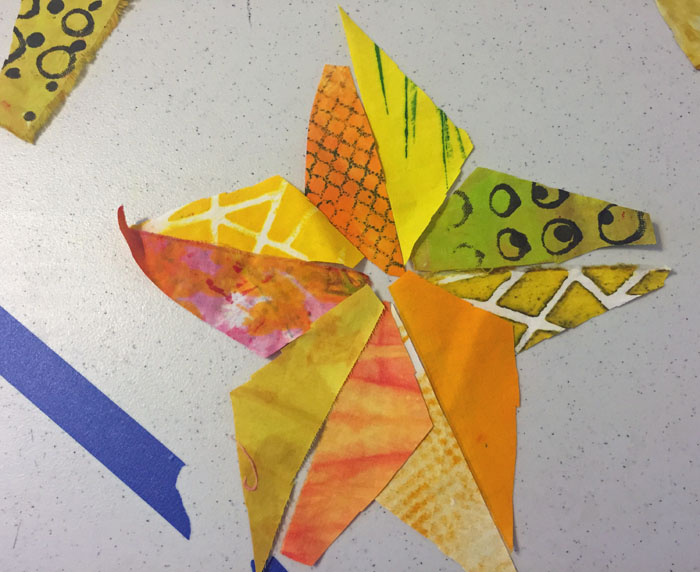
First, fabric selection. I wanted to use my hand-dyed scraps and for each piece to be different. Could I get away with a little yellow-green too?

A Gold Star for My Students. Ellen Lindner, AdventureQuilter.com/blog

I decided on just one yellow-green. I really liked this combination!

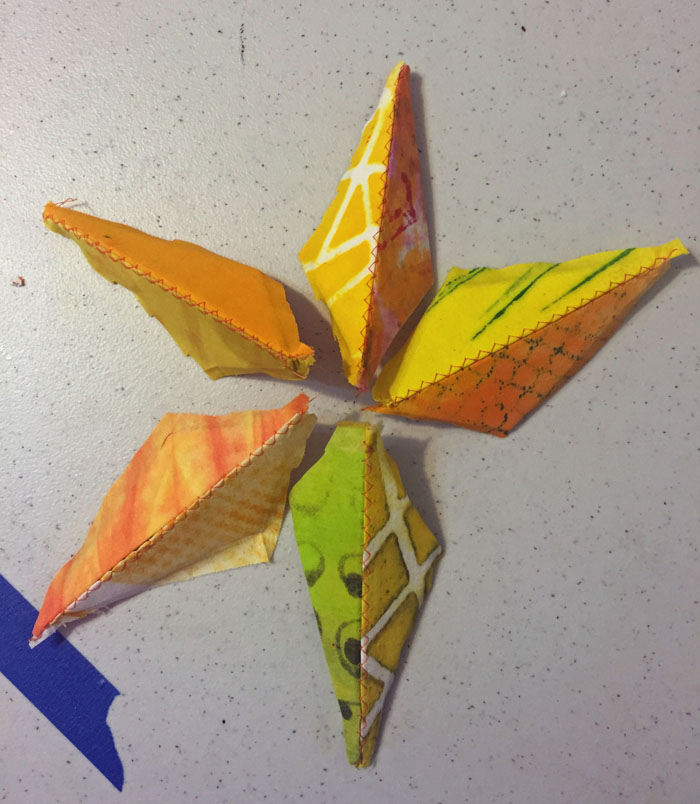
A Gold Star for My Students. Ellen Lindner, AdventureQuilter.com/blog

It began to take shape.

A Gold Star for My Students. Ellen Lindner, AdventureQuilter.com/blog

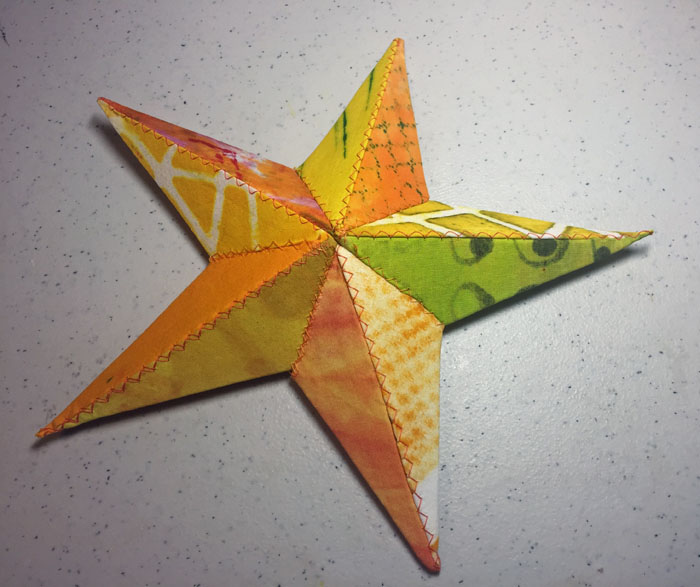
And here’s the finished star. I love it!

A Gold Star for My Students. Ellen Lindner, AdventureQuilter.com/blog

I’ll take a better photograph of it and add it to some sort of digital plaque. I think it will be a fun addition to the class interactions.

What online class you ask? Why THIS one: Double Reverse Appliqué. Check out my teaser video.

Ellen Lindner
P.S. Wondering about the blue tape on my table? It’s leftover from video recording online lessons. It showed me the edge of the video frame.

0

I’ve Been Sewing

I haven’t done any garment sewing in ages, but all my luscious hand-dyed fabrics have had me thinking about using some in this way. This is the fabric that started it all. Isn’t it gorgeous?

Although I’ve been dying to use it, I wasn’t sure how to use it in combination with other large scale fabrics. But, I had smaller pieces that I thought I could use with it if the project was smaller in scale. Thus, the idea of a simple shirt came to mind. SIMPLE because I wanted to preserve the pattern of the fabric without a lot of seams or darts.

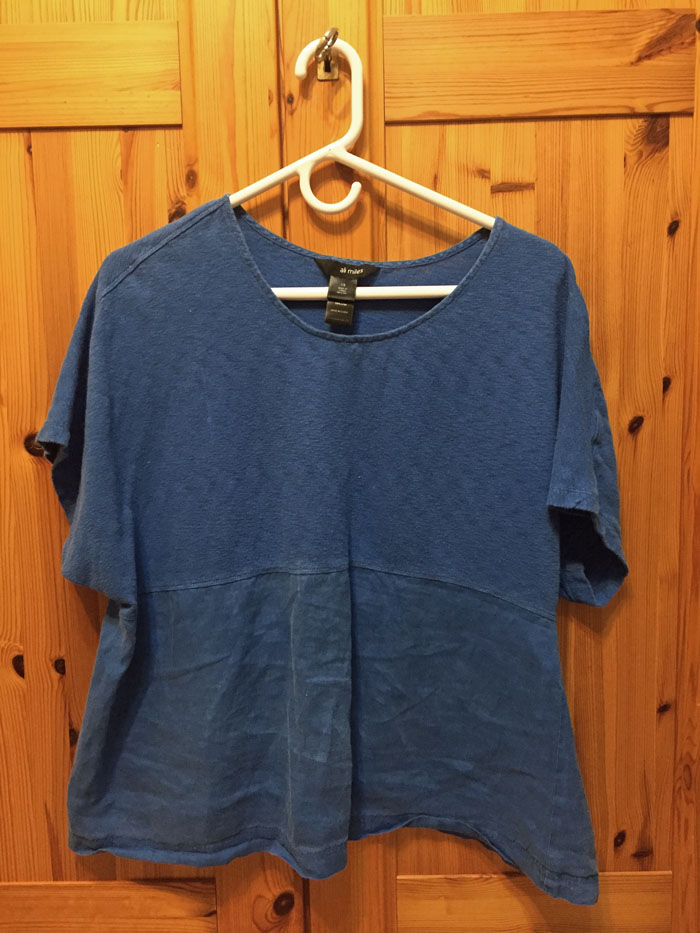
For the pattern I decided to mimic a ready-made shirt that fits me well (and is past its prime.) How’s this for simple? Only 4 pieces total: a simple T shape with a horizontal seam front and back. I thought it could work.

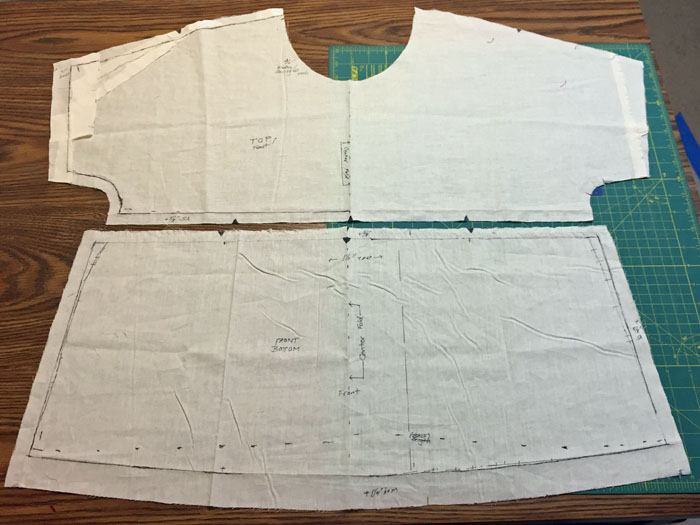
I used the shirt to create muslin patterns. (I didn’t take the shirt apart.)

Here’s the pattern for the front. I made the bottom portion bigger, just as it is in the inspiration shirt. The extra fullness is eased in when the two parts are sewn together. (Yes, I’m short and wide, as the pattern shows.)

And here’s the back.

I basted the muslin pattern together and was happy with the fit. On to fabric selection!

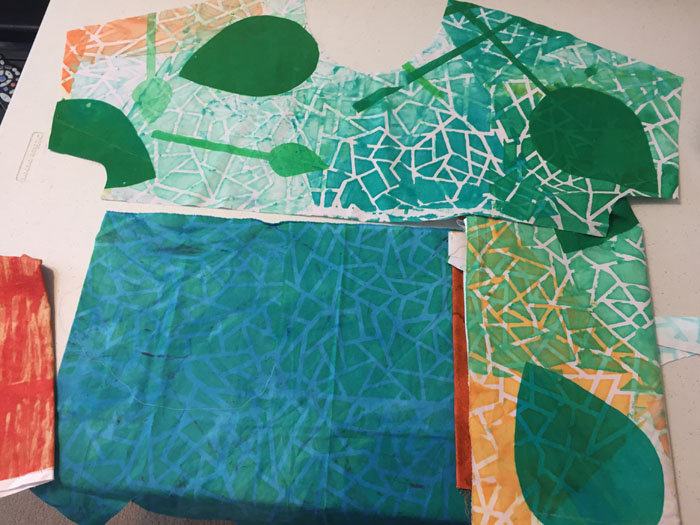
My plan was to use the prettiest part of the fabric as the top of the front. After that, I knew I’d need to patch other pieces together.

The photo above shows my auditioning of fabrics. The top piece is cut to size, but the others are folded as I pondered the best puzzle of pieces. (This ended up being the winner.)

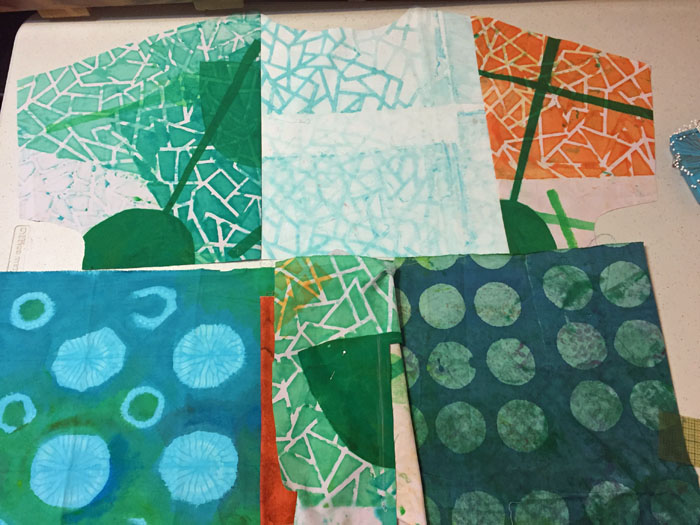
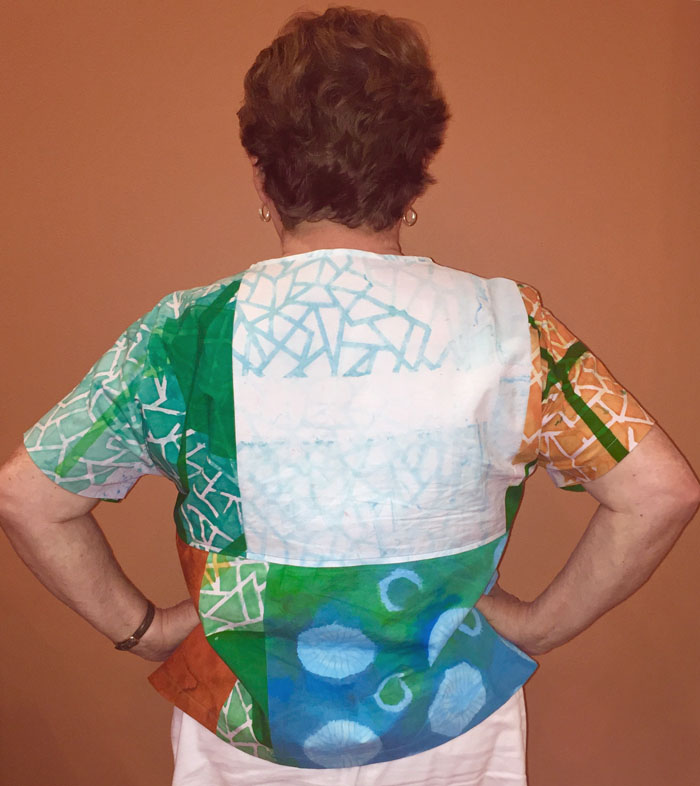
On the back, I had to fiddle, rotate, and speculate before finding the best way to use my remaining fabric to its fullest. I was pretty happy with this layout.

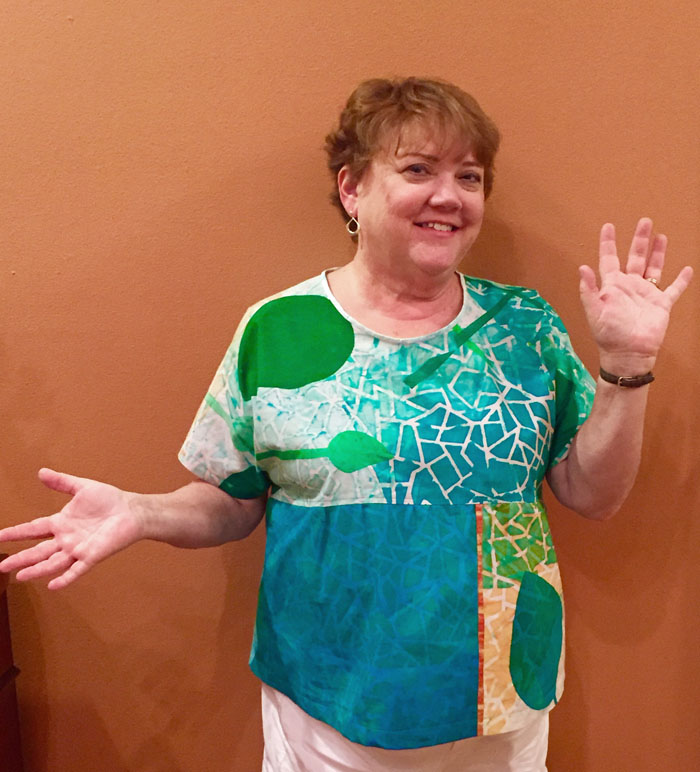
And here it is finished! I love it!

And the back.

This was a fun project and I’m very happy with the results. I think there will be more pieced tops in my future!

Ellen Lindner
13

Fabric Wrapped Ornaments

Remember the ornament I showed you in the last post? The one I made for my sister?

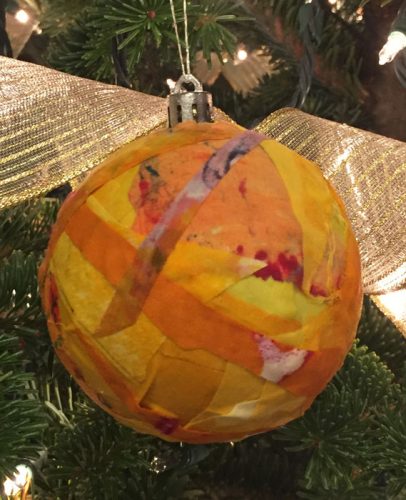
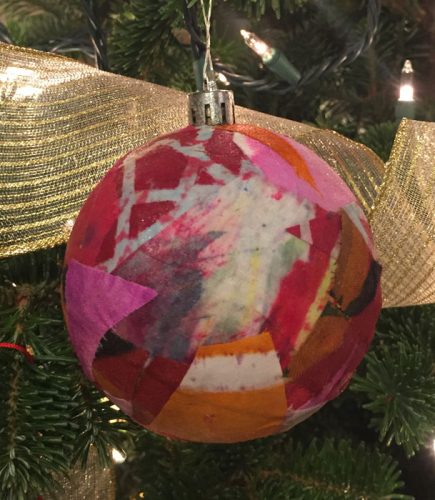
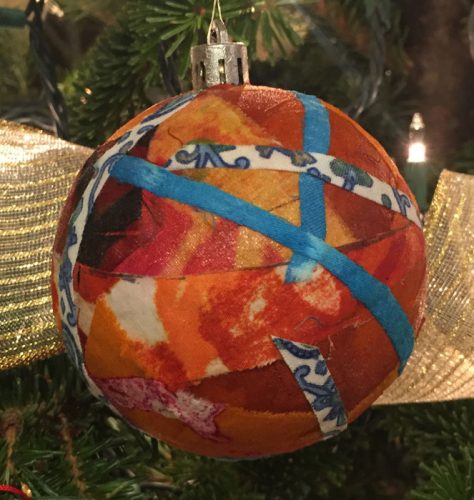
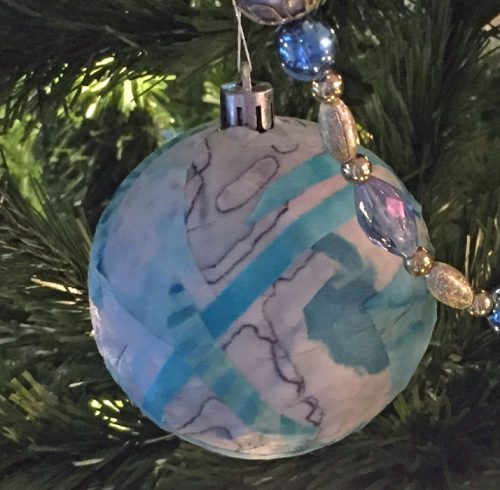
I made several others, each using my hand dyed scraps.

Fabric Wrapped Ornaments. Ellen Lindner, AdventureQuilter.com/blog

Fabric Wrapped Ornaments. Ellen Lindner, AdventureQuilter.com/blog

This one is for my husband. He’s a big Florida Gators fan and their colors are orange and blue.

Bonus content: We have a prankster friend who loves to leave Florida State paraphernalia around our house. As you might guess, Florida and Florida State are BIG rivals! Recently this friend left FSU ornaments all around our house and yard.

And guess what I did with them?

Yep.

I obliterated the FSU logo with fabric! Go Gators!

Merry Christmas,
Ellen Lindner
0

Christmas Decorations Old and New

This year I’ve been making some fabric wrapped balls as Christmas ornaments. My hand dyed scraps have been perfect for this.

I made one for my sister, to go in her home of soft blues, greens, and greys.

Christmas Decorations Old and New. Ellen Lindner, AdventureQuilter.com/blog
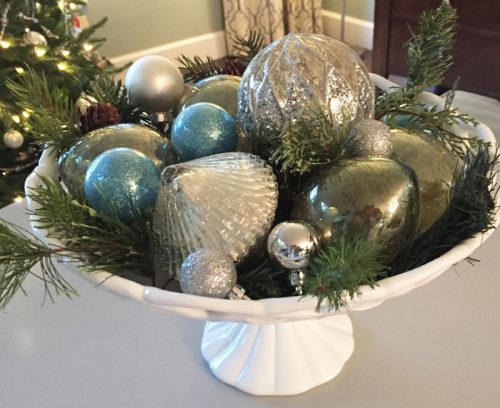
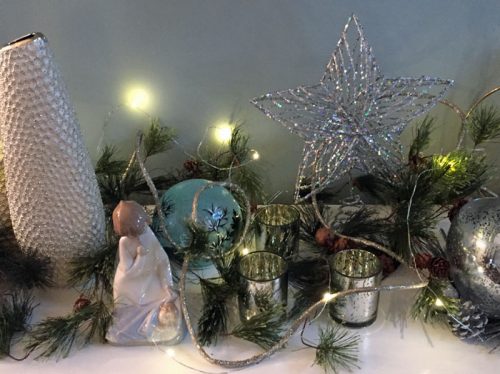
Her home is beautifully decorated for the holiday. Here’s just a sampling.

Christmas Decorations Old and New. Ellen Lindner, AdventureQuilter.com/blog

Christmas Decorations Old and New. Ellen Lindner, AdventureQuilter.com/blog

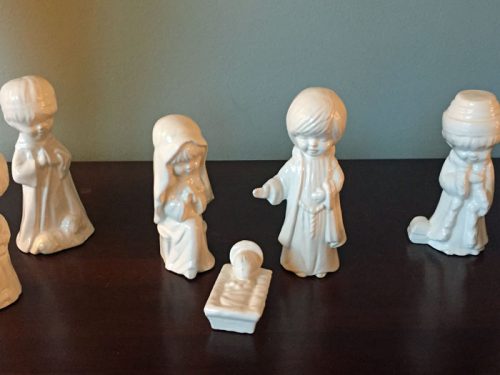
She and I both have these out-of-date ceramic nativity sets.

Christmas Decorations Old and New. Ellen Lindner, AdventureQuilter.com/blog

They’re certainly not what either of us would choose now, but we love them. Not because of their appearance so much, but because we’ve each had them for nearly 40 years. I smile as I arrange mine, enjoying the feel of slick ceramic beneath my hands. Remembering a simpler time. And thanking God for the gift of His son.

Isn’t it amazing how deeply such attachments bury themselves into our hearts? I know we all have special Christmas decorations and traditions. I’d love to hear about yours.

Merry Christmas,
Ellen Lindner
0