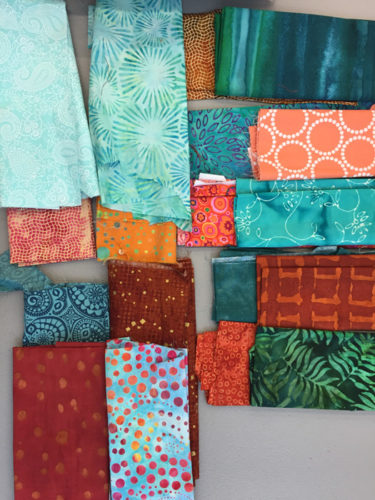
After working in black and white to create sketches, it was time to make them up in fabric. (Fabric with color!) This is the palette I selected. My usual favorites.
These are my first four. I used my favorite 2 sketches, plus mini-crops from them.
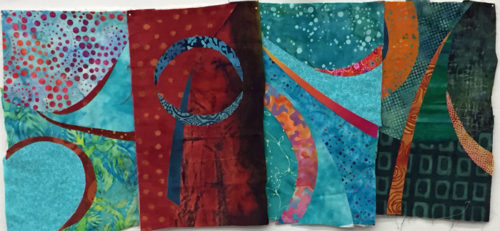
Rosalie’s idea was for us to create multiple units and then join them together. But, I began to lose enthusiasm for that idea. Although I really liked these four units, I didn’t like the idea of creating a quilt with a gridded format. I discussed it with Rosalie and she agreed. So, I decided to focus on just one motif. However, with Rosalie’s encouragement (insistence?) I decided to incorporate the four stitched units into the background of my future piece.
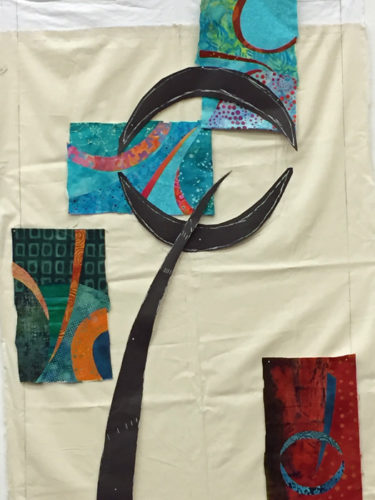
Above, you can see the arrangement of those pieces and my black paper “place holder” for the future primary motif. (Thanks to Olan who provided the white fabric I needed to extend my background muslin.)
I drew lines on the muslin to help me make sweeping curves throughout the background. I was excited about this idea.
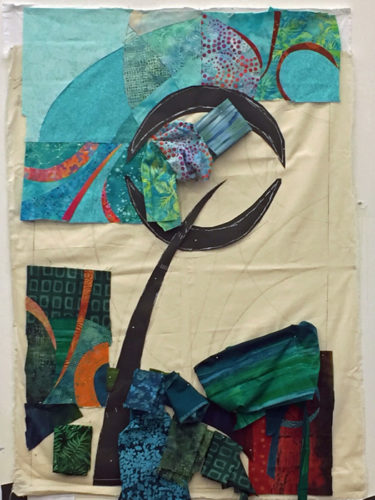
I got pretty detailed where one line crossed another and used a different fabric for each little shape.
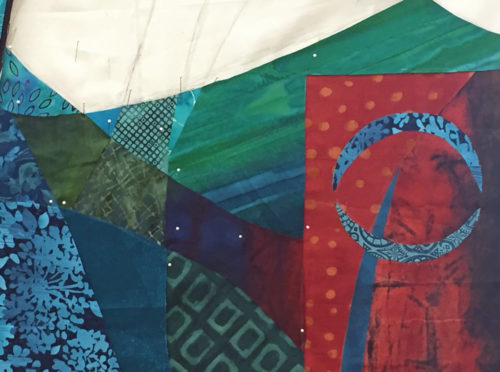
Here it is near completion of the background. As you can see, I pinned up potential fabrics as I worked. Once selected, each fabric was cut to shape, often with an “underlap” for the adjacent piece, and pinned in place.
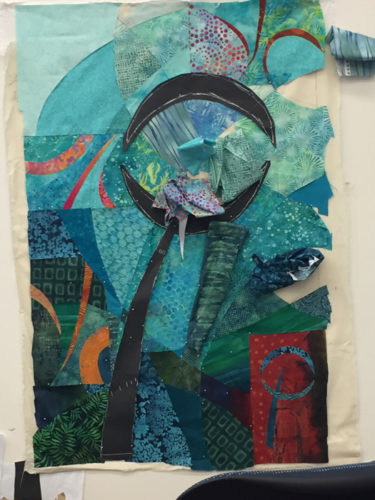
And here the background is complete, and glued. I was VERY happy with it. Next, I worked on selecting fabrics for the main motif.
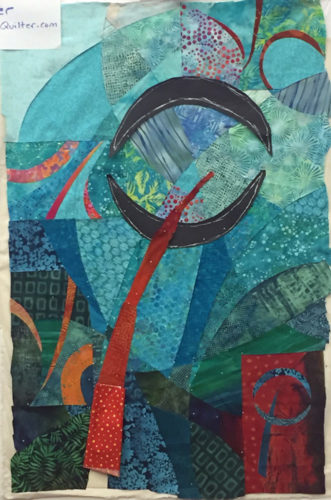
Auditioning motif fabrics.
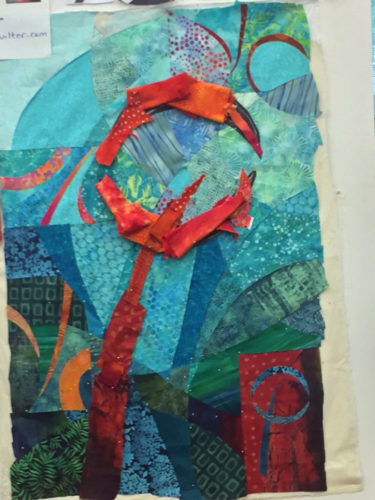
The final class arrangement.
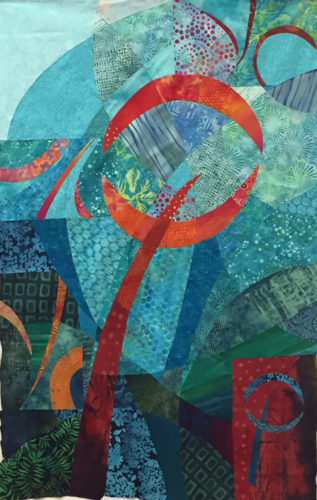
I’m pretty happy with this. I will add quite a few more arcing tapered lines in the background. However, when I got home I was so tired of looking at it I needed a break from it. So, it’s on my design wall FOLDED IN HALF so I can only see the back. I’ll get back to it with new eyes in a few weeks. Do you ever do that sort of thing?
Ellen Lindner
P.S. A miracle happened: with the exception of that white piece of background fabric, I actually had everything I needed in a five day class!


Delicious! Feel like I am vicariously, virtuall, visually there! Makes me want to reenact it all. Wonderful capture of a valuable lesson.
Thanks, Cindy. It was pretty intense making this piece – only because I pushed myself by sewing about 10 hours every day! (I’ll like it more when that memory fades.)
This looks like it was a great class, and I love the piece you’re developing!
Thanks, Kristin. The class was very good and I’m happy with my piece.
Amazing (color) outcome from your black sketches. And yes, some pieces need to sit on the design wall a while before the inspiration/idea/solution comes forth!
Thanks, Martha. I’ve got some other projects going on, so my QBL piece might get to “age” a while.
Love your finished piece!
Thanks, Donna!