Archive | June, 2016

Abstract Fun: Adding Elements

After altering the background of my quilt, so it didn’t completely copy the sketch, I took a different approach as I added the various elements.  I decided to copy them fairly closely, but to give myself PLENTY of latitude when altering them.  This is the sketch.
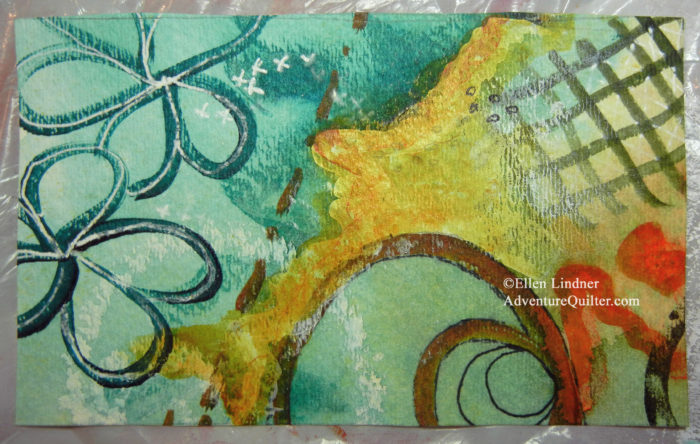
ketch for abstract art. Ellen Lindner, AdventureQuilter.com/blog

And this is the background.

Abstract art quilt in-progress. Ellen Lindner, AdventureQuilter.com/blog

I added the two large flowers, my favorite of the elements.
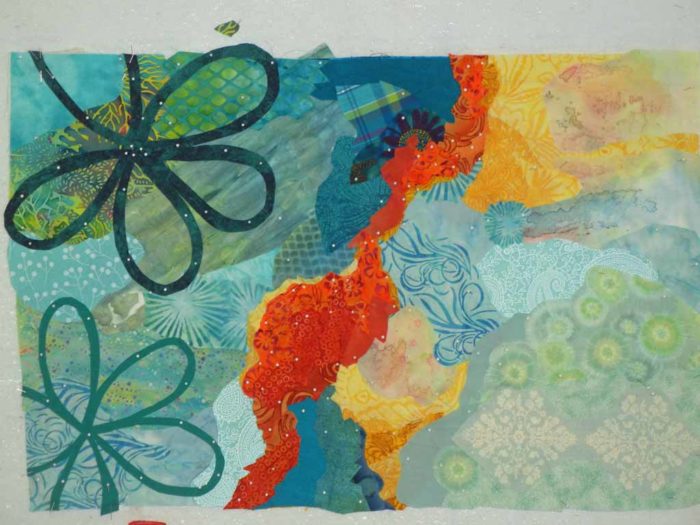
Abstract art quilt in-progress. Ellen Lindner, AdventureQuilter.com/blog

Then the brown semi-circle.  I wasn’t too sure about using it at all, but I thought I had to at least audition it.
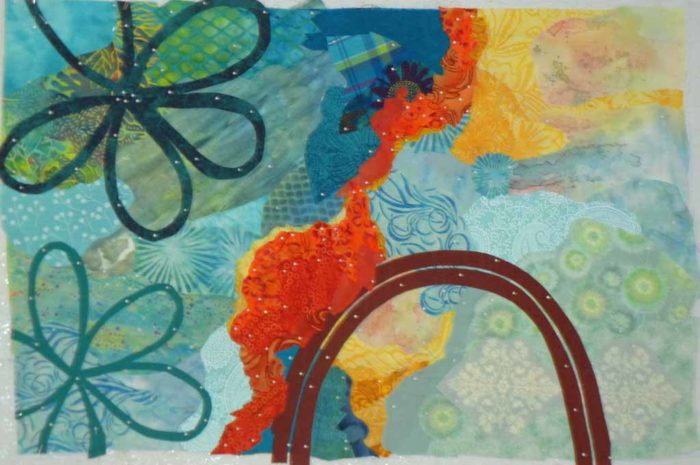
Abstract art quilt in-progress. Ellen Lindner, AdventureQuilter.com/blog

My first brown cut was too skinny, so I added another line beside it.  But, I HATED the shape of it!  A change was definitely needed!

Back to a single line, with a shorter shape.  And another partial circle nestled in.  As you can see, I also added some orange shapes on the right.  I thought that color needed to be repeated somewhere, so I let the sketch suggest the location.
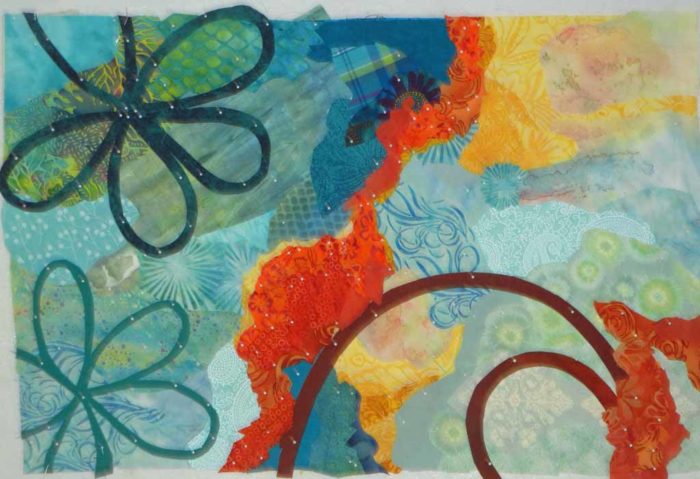
Abstract art quilt in-progress. Ellen Lindner, AdventureQuilter.com/blog

I really disliked the hash marks, especially since they were done in a muddy olive-green color.  But, again, I felt like I had to at least try them.
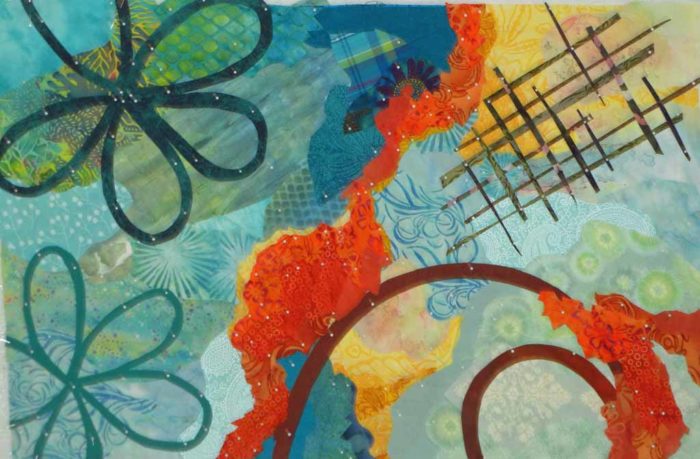
Abstract art quilt in-progress. Ellen Lindner, AdventureQuilter.com/blog

I made mine skinnier and more irregular.  Perhaps they weren’t so bad, after all.

Looking back at the sketch perhaps you can see a faint whitish circle in the lower left corner.  It was made with a white paint stick, which served as a resist to the wet paint added later.  I wanted to add something similar to my quilt, but decided to alter the location.
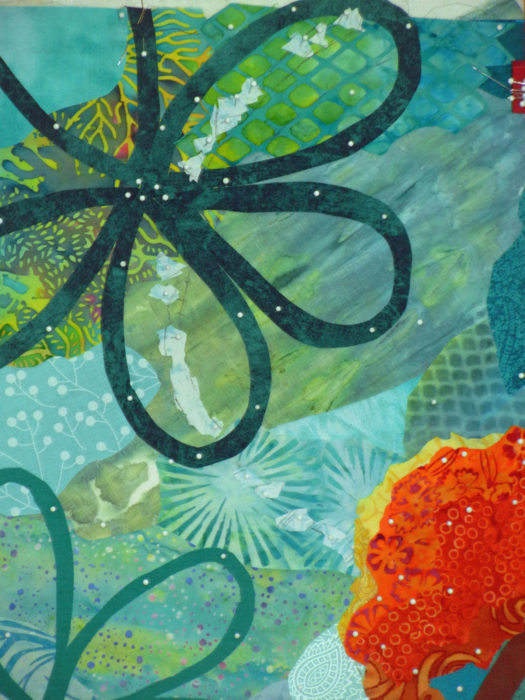
Abstract art quilt in-progress. Ellen Lindner, AdventureQuilter.com/blog

I like the faint sketchy character of it.

Finally, I shrunk the size of the right orange shape and added white lines to the flowers.
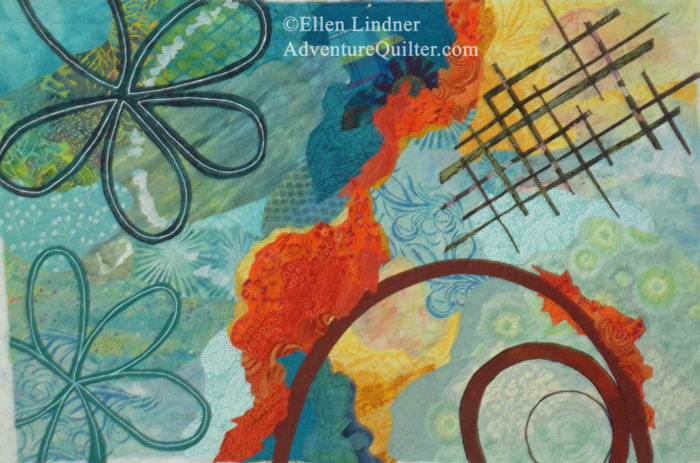
Abstract art quilt in-progress. Ellen Lindner, AdventureQuilter.com/blog

I’m really loving this!  Next will come some hand stitching and quilting.

Ellen Lindner

4

Abstract Fun: Background

Oh boy, have I been having fun!  Remember my “Paint Mojo” exercise and the three sketches it produced?  I loved one of them so much I had to immediately try to recreate it in fabric  use it as the inspiration for a quilt.  (Did you the notice the shift in my thought process there?  I want to produce work LOOSELY.  If I just copy a loose sketch it’s still copying.  Not what I want.)

Here’s the sketch I was working from.  (The yellow-orange is more orange in real life.)

ketch for abstract art. Ellen Lindner, AdventureQuilter.com/blog

Since I wanted to work loosely I set some limitations for myself, so as not to accidentally copy.  First, I studied the sketch closely and selected fabrics that exactly matched my colors.  I also studied the composition, knowing that I wanted to emulate it, not actually copy it.  And then I put the sketch away.

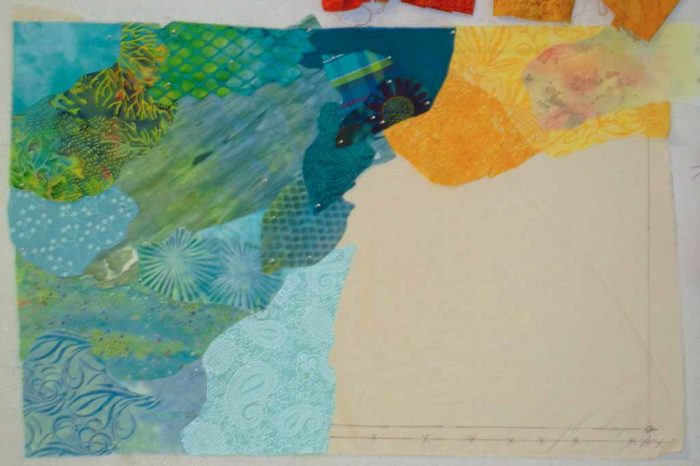
Working on a muslin base, I began to arrange and layer fabrics.

Abstract art quilt in-progress. Ellen Lindner, AdventureQuilter.com/blog

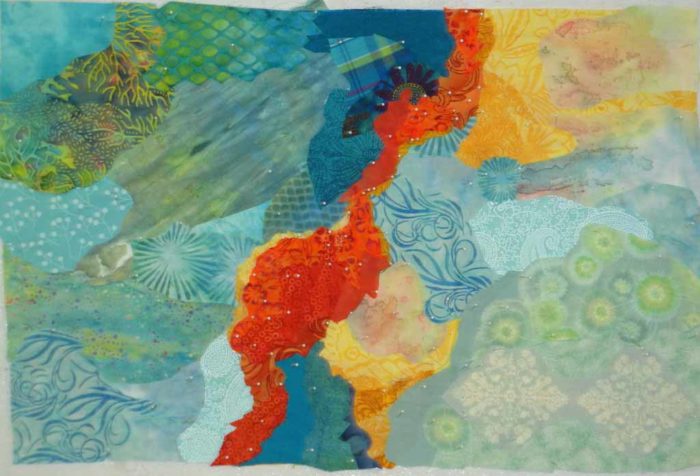
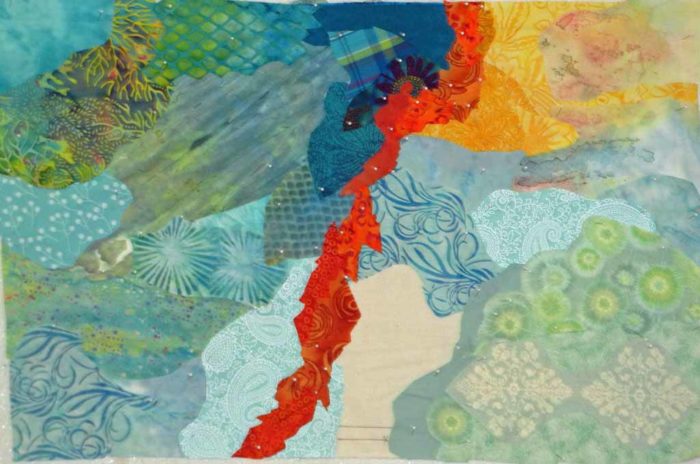
 I knew I was deviating from the sketch and I figured that was a good thing.  I switched the center shape to orange.  I love orange with blue-green.  (Although the orange is much softer than it appears in these photos.)

Abstract art quilt in-progress. Ellen Lindner, AdventureQuilter.com/blog

Abstract art quilt in-progress. Ellen Lindner, AdventureQuilter.com/blog

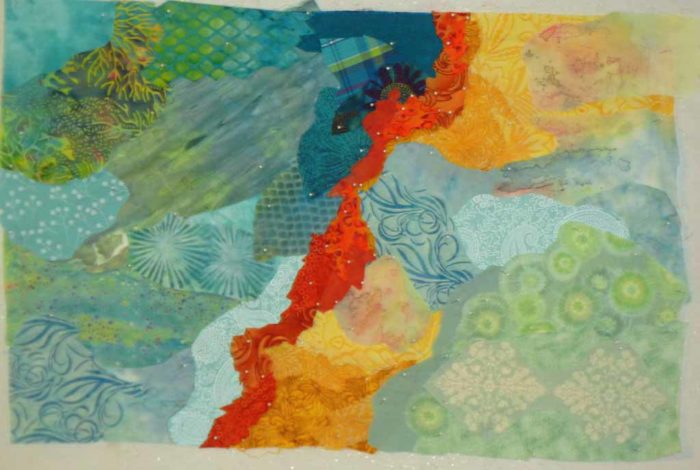
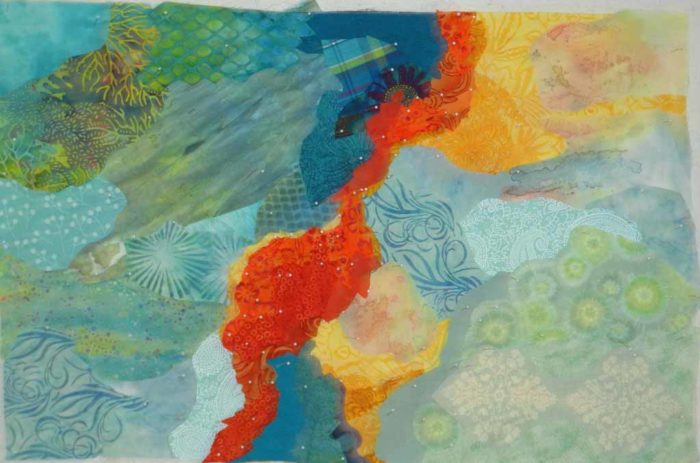
Once I had the muslin covered it was time to do A LOT of tweaking.  I spent a good bit of time on the shape of the central orange element.  I thought it was important for it to undulate and for the width to change in an interesting way.  I also added a thin yellow line to the edge of it, in places.

Abstract art quilt in-progress. Ellen Lindner, AdventureQuilter.com/blog

I completed the background without ever looking at the sketch again.    And I was very happy with it. In my next post I’ll show you the addition of the graphic elements.

Ellen Lindner
0

It Was Bound to Happen

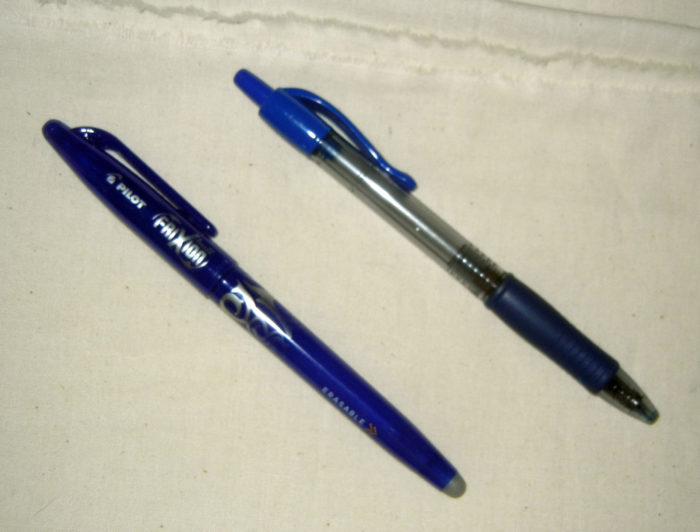
 Below, left, is my blue Frixion pen.  I write on fabric with it and then erase it by applying heat.

Oops, that was the wrong pen. Ellen Lindner, AdventureQuilter.com/blog

Above, right is my blue ink pen, with permanent ink.

Until today they lived in the same container.  And then it happened:  I picked up the ink pen instead of the Frixion one and drew on my quilt with blue ink!  GASP!

Thankfully, I was marking an area to be stitched with black thread.  I was able to cover the marks pretty well with SEVERAL passes of black stitching.

Whew.  Heart beating again.

And I moved ALL the ink pens to another drawer.

Ellen Lindner
P.S.  This is NOT the worst mistake I’ve ever made!

2

“Tomato Encore”

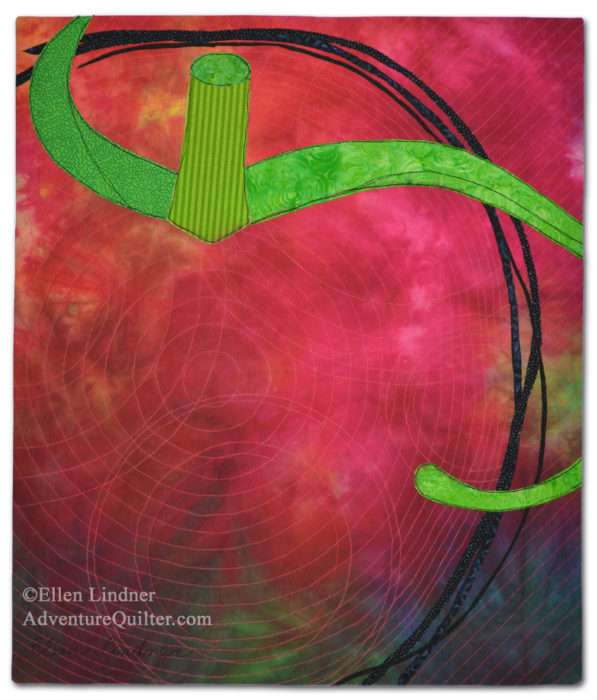
Well, I did it!  I managed to push my brain into abstraction territory and I created this tomato.

Tomato Encore, an art quilt by Ellen Lindner. AdventureQuilter.com/blog

It’s called Tomato Encore.  

I kinda love it.  Partly because of the imagery, and partly because I’m proud of myself for FINALLY working loosely!

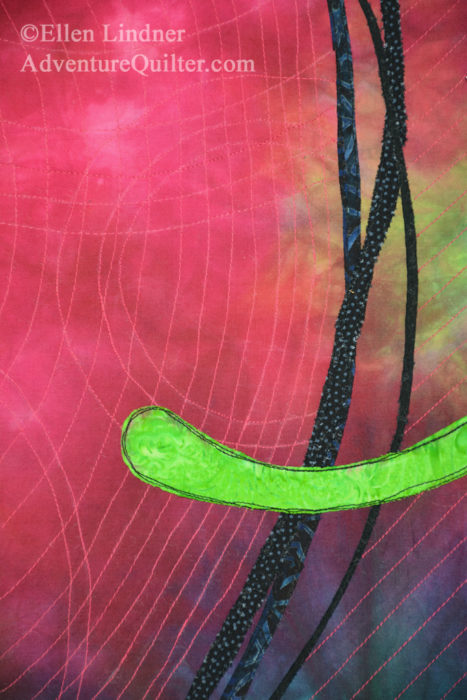
Here’s a detail shot.

Tomato Encore - detail, an art quilt by Ellen Lindner. AdventureQuilter.com/blog

I’m continuing to work on some loose experiments, in hopes of shifting into a somewhat more abstract process of creating my quilts.  At the very least, the journey is fun!

Ellen Lindner
P.S.  You might enjoy some of the related posts about this whole tomato/abstraction journey.

2

Cardio for My Right Brain

As I mentioned in a recent post, I’m left-brained, meaning that I tend to be rather literal with my art.  Since I want to change that I’m actively “exercising” my right brain – the creative side.  I’ve been doing a variety of activities to strengthen my creative muscles.  Most recently, they’ve been the ones found in Paint Mojo, by Tracy Verdugo.

This book focuses on random, playful creating, rather than getting caught up in over thinking. As I’m doing the exercises I’m focusing on PROCESS, rather than product.

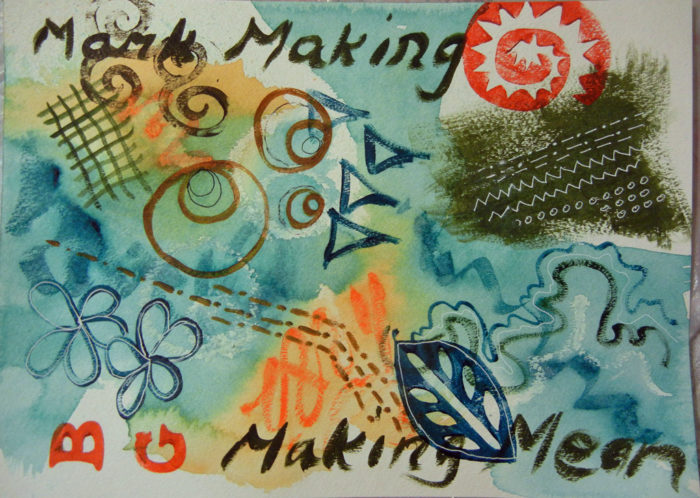
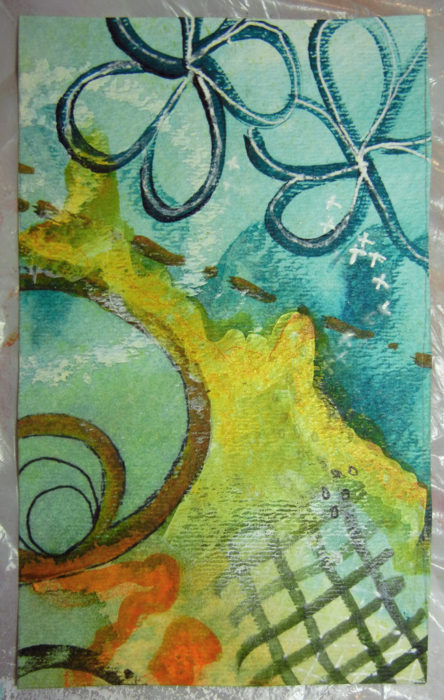
I especially liked the first exercise.  It involved making what I’m calling “ugly paper.”  There were a series of prompts to follow.  Things like mixing and using a dark color, dripping paint onto the paper, adding stamping, etc.  At the end it looked like quite a hodge podge of unrelated elements.  See what I mean?

Cardio for my Right Brain. Ellen Lindner, AdventureQuilter.com/blog
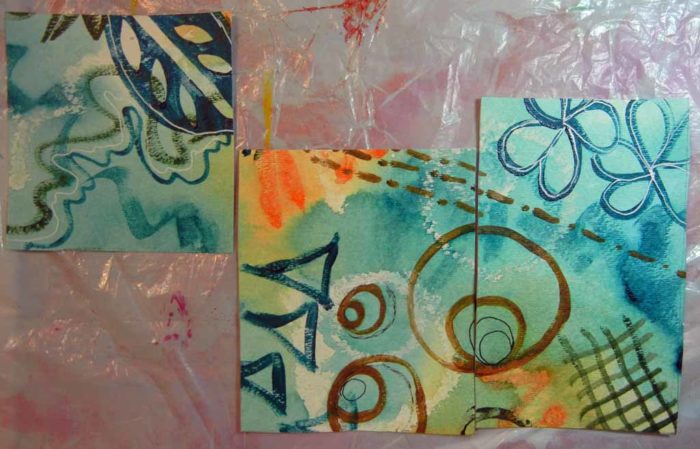
But, no worries.  Because the next instructions were to identify and cut out several sections with potential.  I turned it upside down for a fresh perspective and used L-shaped pieces of cardboard to visually crop and select sections.  I found 3.

Cardio for my Right Brain. Ellen Lindner, AdventureQuilter.com/blog
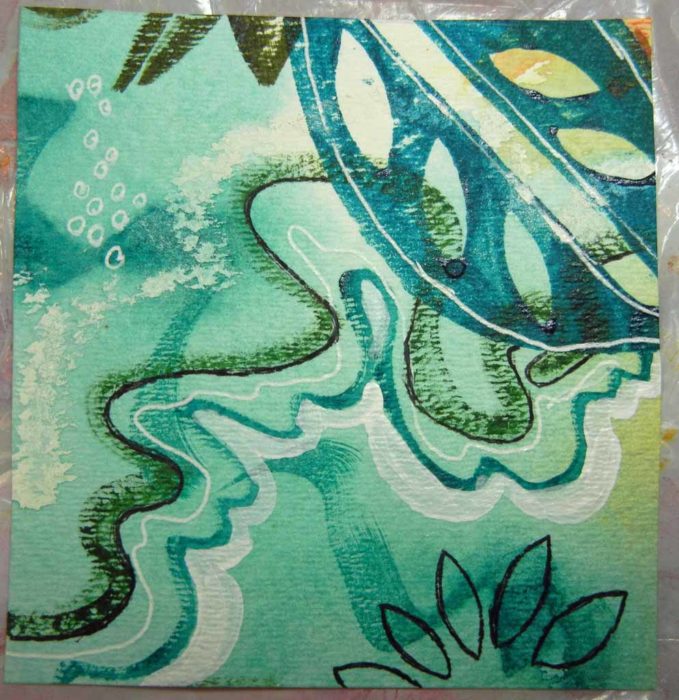
Next came suggestions for how to improve the pieces.  This is the left piece after the addition of some black and white skinny lines.  Low and behold I really like it!

Cardio for my Right Brain. Ellen Lindner, AdventureQuilter.com/blog
This is the center section which I over painted with yellow, among other things.  Not too successful, but a very intriguing PROCESS.

Cardio for my Right Brain. Ellen Lindner, AdventureQuilter.com/blog
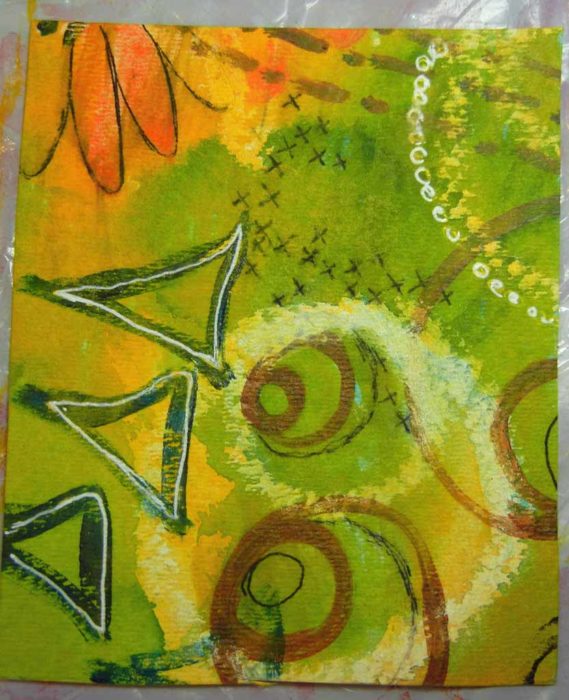
The 3rd section is my favorite, although I think I’d rotate it to the left.  I added the center color to this one (which looks MUCH better in real life.)  It’s really yellow-orange without any green.

Cardio for my Right Brain. Ellen Lindner, AdventureQuilter.com/blog

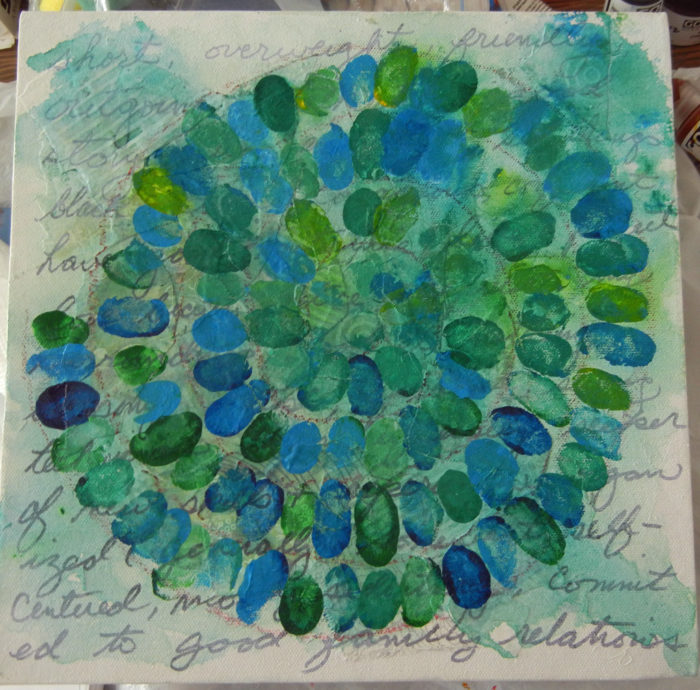
Now that was fun!  On to the next exercise, which involved a little more introspection.  The instructions said to first write about yourself, then partially paint over it.  Next draw a circle, choose your paint colors and add your thumbprints to it.

Cardio for my Right Brain. Ellen Lindner, AdventureQuilter.com/blog

Spraying it with water made the colors run and blend.  But some glued on (leftover) white-on-white fabrics resisted the color.  I liked that effect!

Cardio for my Right Brain. Ellen Lindner, AdventureQuilter.com/blog

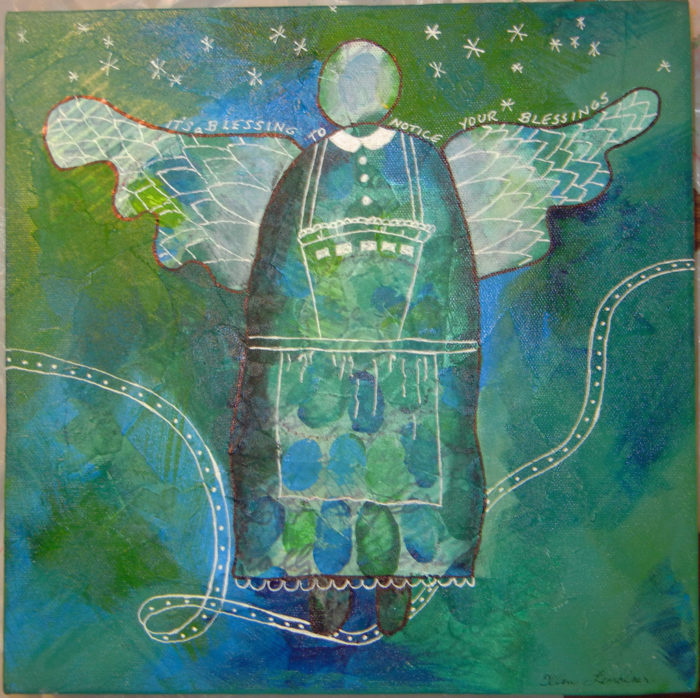
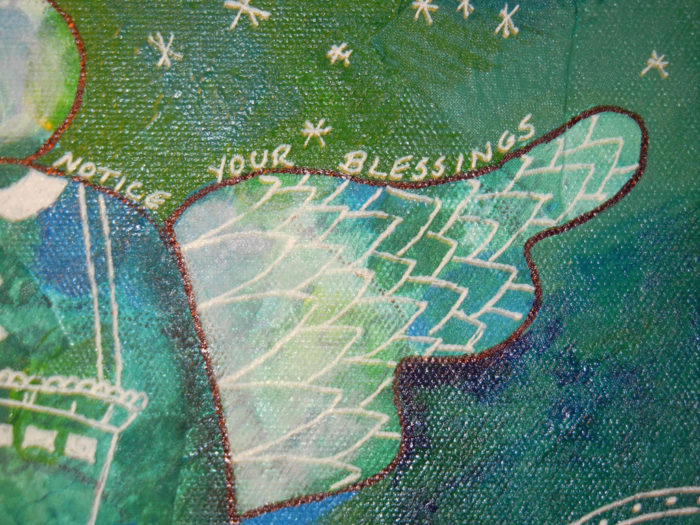
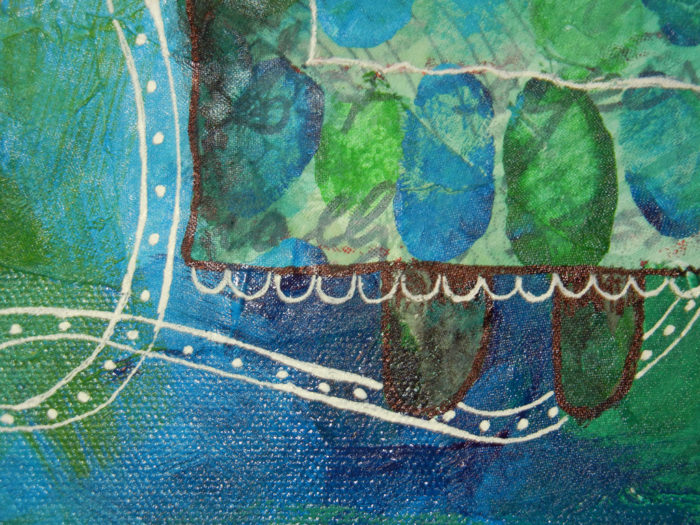
Final instructions were to draw a large motif and paint out the background.  I chose an angel and ended up with this.  Can you see those thumbprints still visible?

Cardio for my Right Brain. Ellen Lindner, AdventureQuilter.com/blog

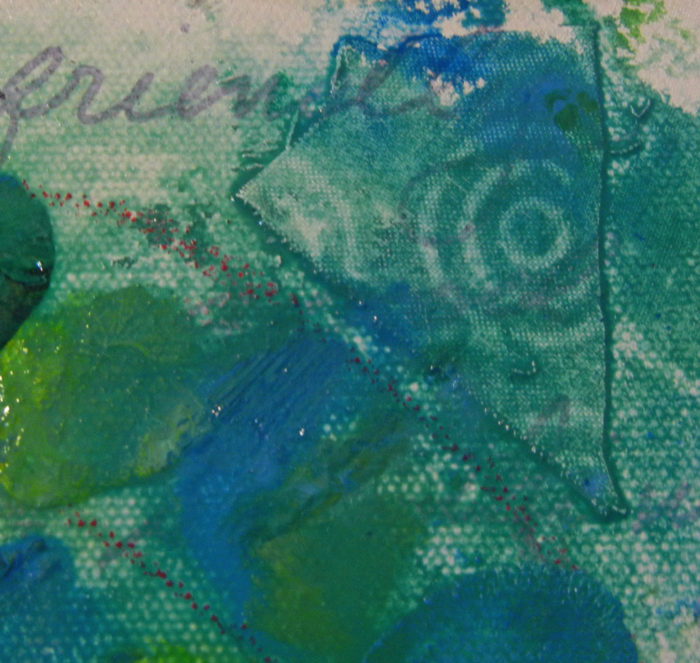
Some detail shots:

Cardio for my Right Brain. Ellen Lindner, AdventureQuilter.com/blog

Cardio for my Right Brain. Ellen Lindner, AdventureQuilter.com/blog

Not bad, I think.  Oops, there I go again  thinking about the end result!  Ignore that.  The PROCESS was fun and engaging.

It’s very fun to work freely and quickly with paint like this.  I’m not sure how/if it will translate to fabric later but I feel like it WILL enhance my right brain skills.  I plan to work about a week or so on this type of thing.

Got some paint?  Want to join me?

Ellen Lindner


4

Dye Day

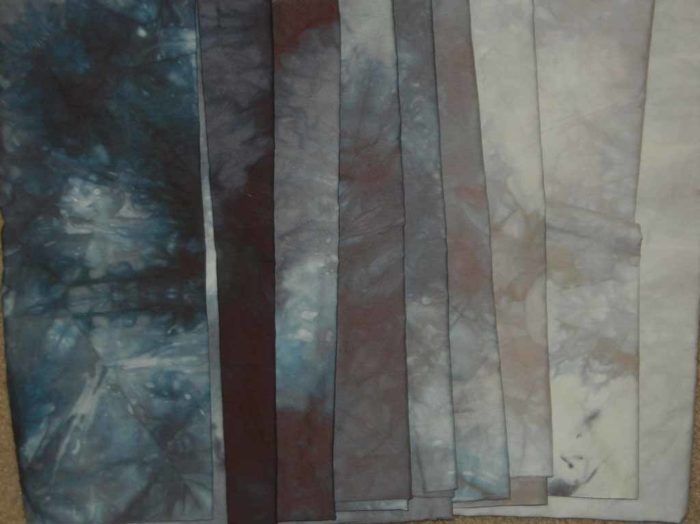
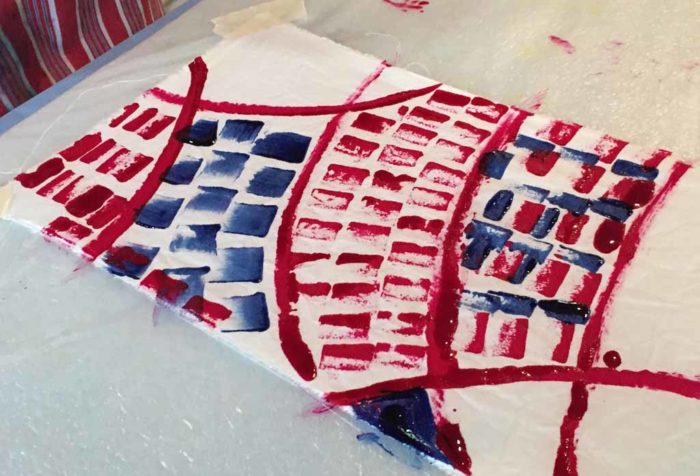
My friend, Ruth Anne, once invited a group of us to her “barn” for a messy project.  This time it was dyeing.  Our first project was to dye 8 different gradations of black.  All with the same dye, just in different saturations/strengths.  Since black dye is made up from other colors, it will sometimes separate in some interesting ways.  That’s what I was actually hoping for with mind.  So, I didn’t mix it well.  I just scrunched the fabric and stuck in a bag.

And these are the results.  The photo doesn’t do it justice, since there are some dark blues and maroons in there.  Cool, huh?A day of dyeing. Ellen Lindner, AdventureQuilter.com/blog
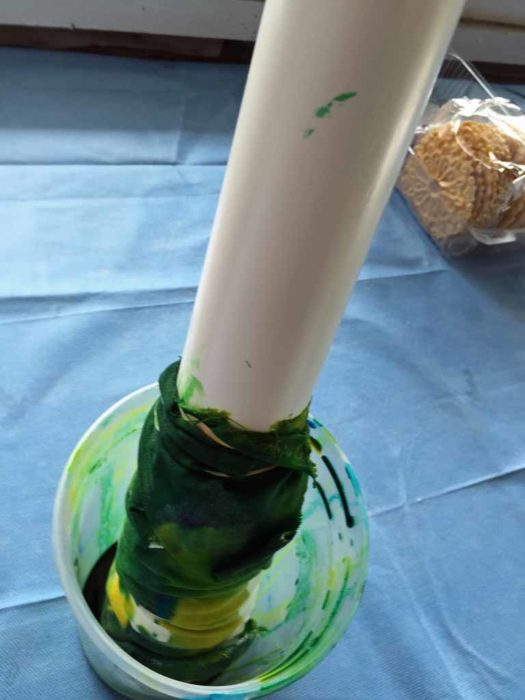
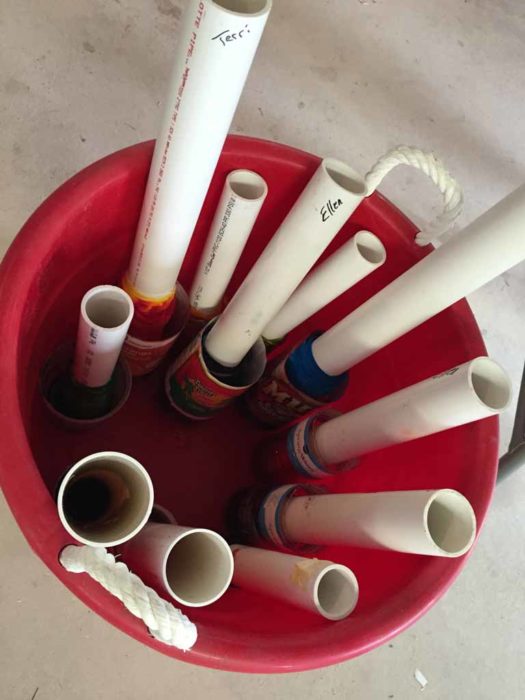
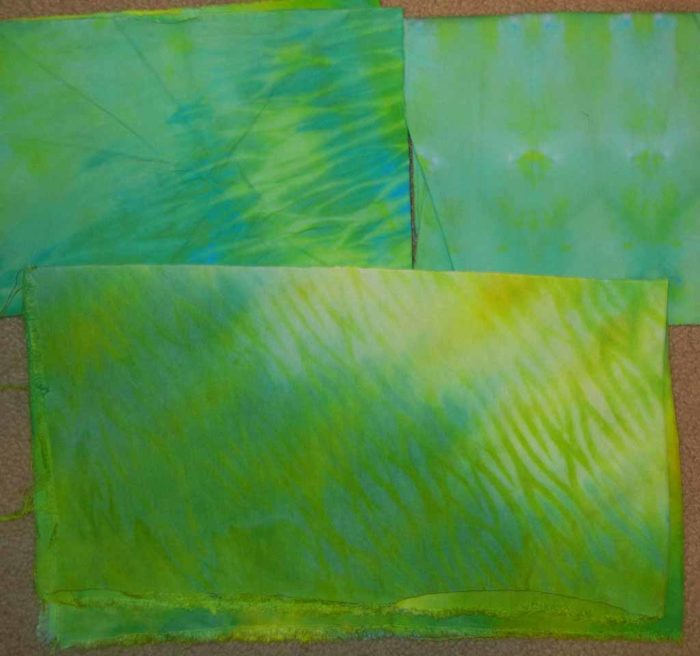
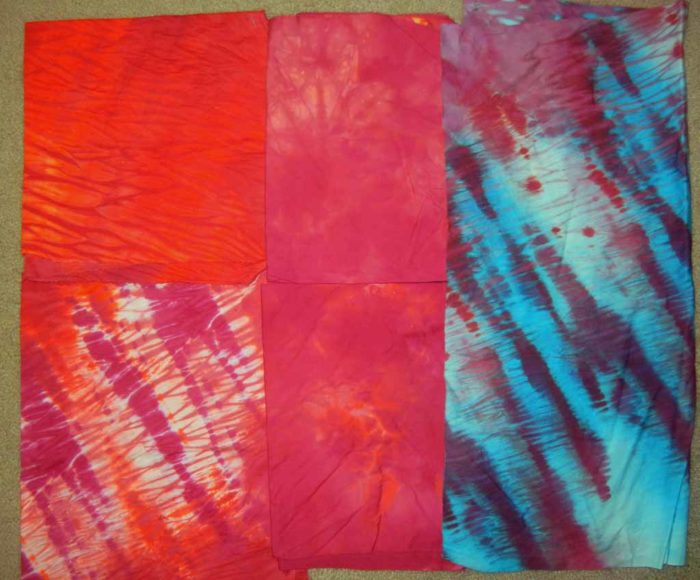
Next, we did shibori.  After wrapping our fabric around poles, we applied the dye and left it to soak.  We used things like cut off 2 liter bottles.

A day of dyeing. Ellen Lindner, AdventureQuilter.com/blog
Ruth Anne was very organized.  She had a big bucket for us to set our containers in.  This held them upright and worked very well.

A day of dyeing. Ellen Lindner, AdventureQuilter.com/blog

I clearly used too much dye and didn’t get the contrast I would have liked.  Still very pretty, though.

A day of dyeing. Ellen Lindner, AdventureQuilter.com/blog

A day of dyeing. Ellen Lindner, AdventureQuilter.com/blog

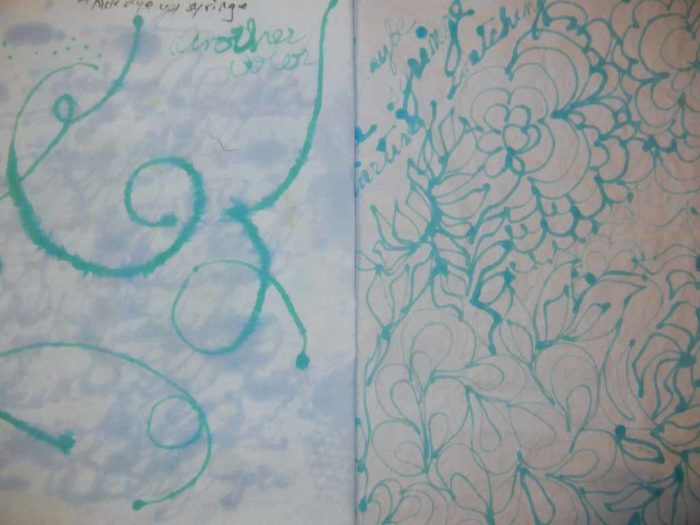
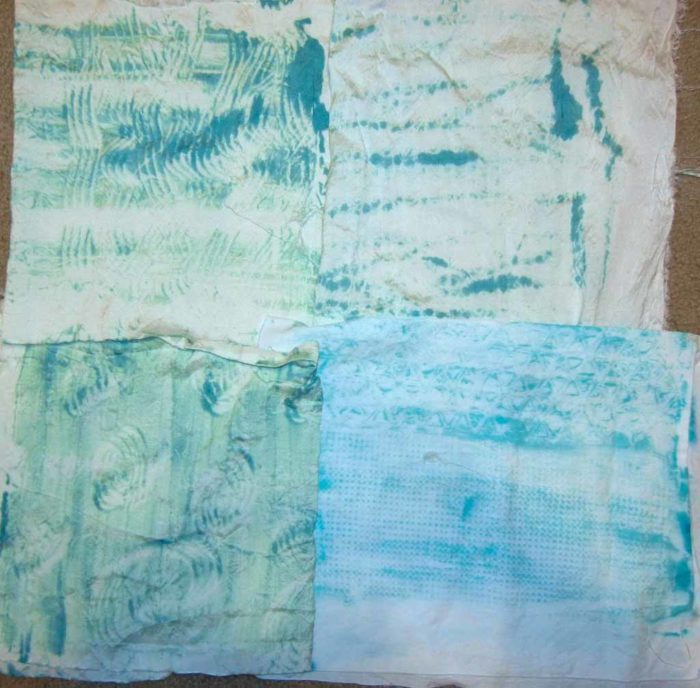
Our final technique of the day was writing with a syringe and thickened dye.  I got two very different results when I used two different fabrics.  The one on the right is cotton, which worked well.  The one on the left is something unknown.  You might say that the colors look the same, but no.  The blue-green lines on the left piece were supposed to be dark blue.  And the pale greyed blue in the background is the same blue-green dye I later used on the right.  Can you believe the difference?

A day of dyeing. Ellen Lindner, AdventureQuilter.com/blog

We also tried other things with our thickened dye.  Laura painted with hers.

A day of dyeing. Ellen Lindner, AdventureQuilter.com/blog

And I tried some mono-printing.

A day of dyeing. Ellen Lindner, AdventureQuilter.com/blog

I think some practice would help with this technique.

Any way you look at it, though, dyeing fabric is always fun!  And I’ve never gotten anything truly ugly.  There’s always a use for the resulting fabrics.

Ellen Lindner


6

Overcoming My Left Brain Tendencies

You know about the left and right sides of the brain, right?  The left side excels at logical thinking.  Categorizing, sequencing, etc. but sees things mostly black and white.  The right side is the creative side.  It considers many options and sees many shades of grey.

Well, I’m mostly left brained.  My brain automatically sorts, sequences, and plans.  Yes, I can create art, but it’s not as automatic for me.  Sometimes I need some warm up exercises (or days!) to get me into the creative groove.  And it tires me out after awhile.  I’m envious of those of you who can work on your art all day.  I HAVE to take a break and go read my email, balance the checkbook, or do SOMETHING that’s black and white, rather than open ended.  All those art choices can wear me out!

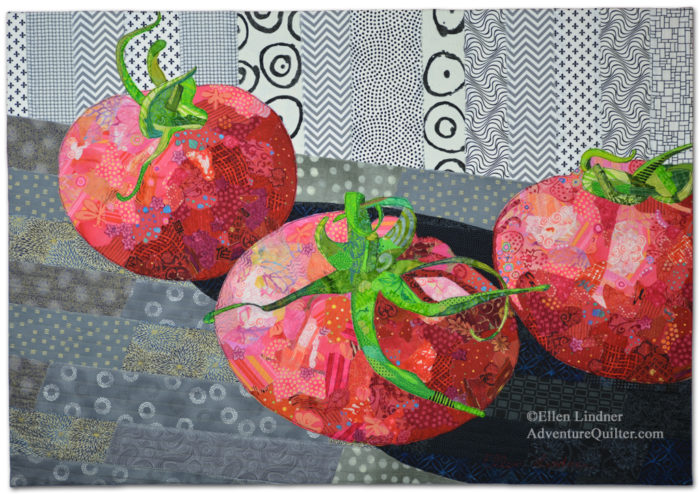
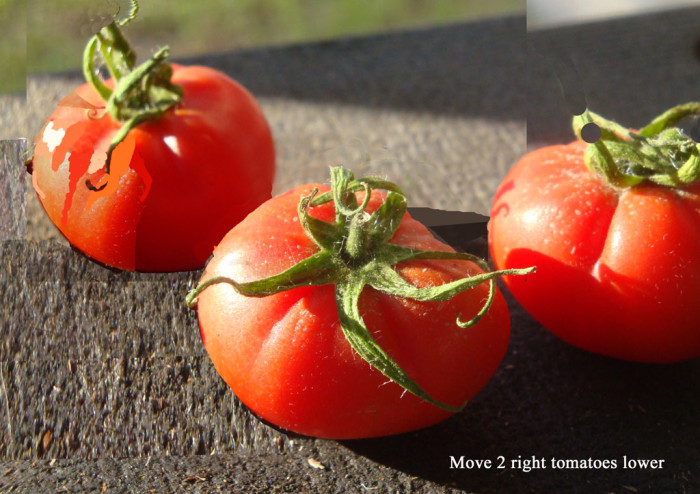
My left brain was quite happy with my recent tomato quilt.  After all, I basically copied a photo with fabric as the medium.  There’s nothing wrong with that and I like the quilt very much.

Vine Ripened, an art quilt by Ellen Lindner. AdventureQuilter.com

Vine Ripened

Ellen Lindner's tomato quilt in-progress. AdventureQuilter.com/blog

But, as I was finishing the quilt, I had a nagging dissatisfaction with my process.  Not the quilt itself, but my thinking.  I’m an artist, after all.  Did I really bring my hand, my vision, to the piece?  Did I alter it to make it better?  Well, maybe a little.  But, it seemed like I had maybe taken the easy way out.  I wanted to push myself more.  To abstract the image somehow.

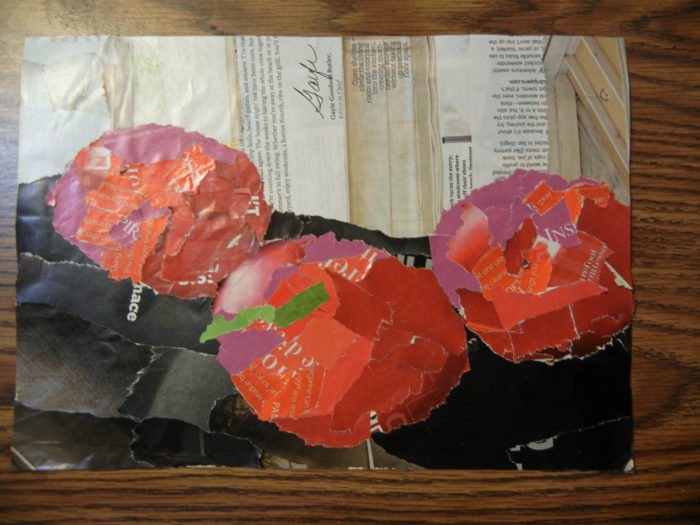
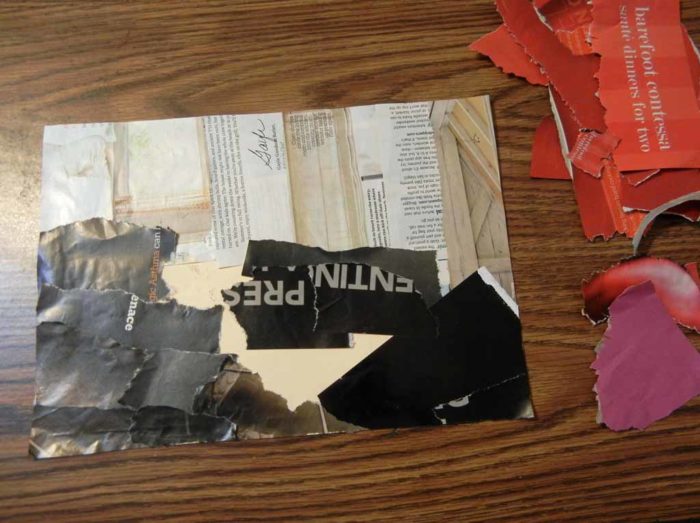
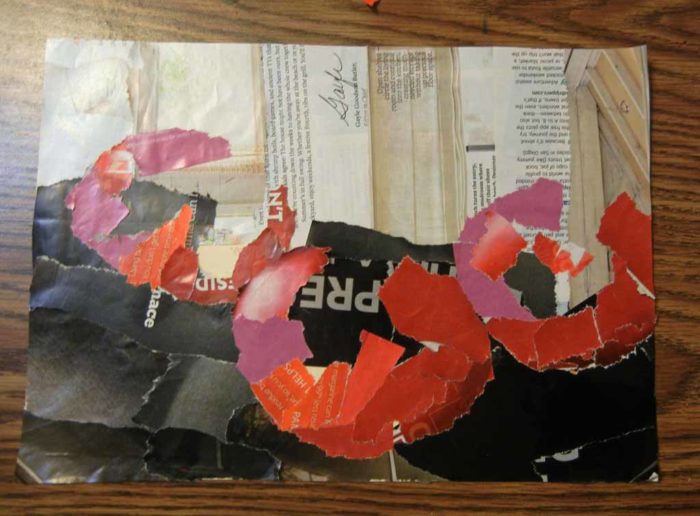
In the past, I’ve had luck creating torn paper collages from magazine pages.  The inaccuracy of tearing causes the image to be looser.  This can often be a good way to abstract an image.  So, I decided to give it a try, again.  I tore a bunch of images and text from a magazine and got to work.

Ellen Lindner, torn paper collage. AdventureQuilter.com/blog

Ellen Lindner, torn paper collage. AdventureQuilter.com/blog

Hmm.  It was starting to look just like the fabric version.  Not really what I wanted.

This is as far as I got before I became completely bored with the exercise.

Ellen Lindner, torn paper collage. AdventureQuilter.com/blog

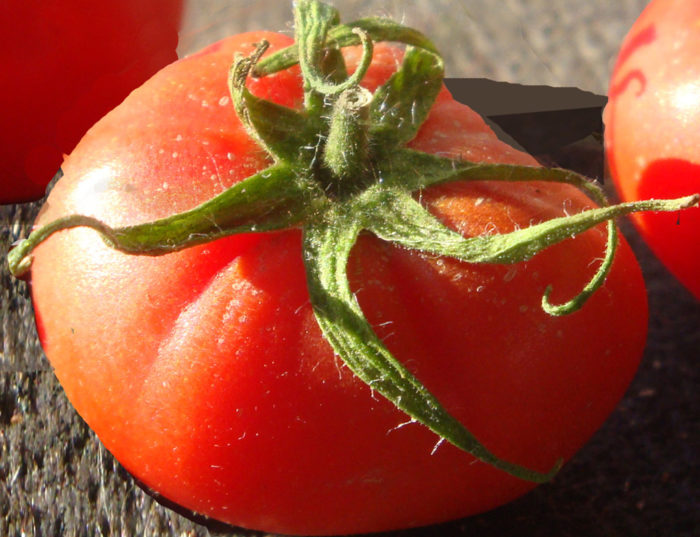
Well, that was no great success, but what did I expect when referencing the same image?  Clearly, I needed to change my focus.  Maybe I’d have better luck with a single tomato.  My favorite one, with the great curving leaves.

Ellen Lindner, inspiration photo. AdventureQuilter.com/blog

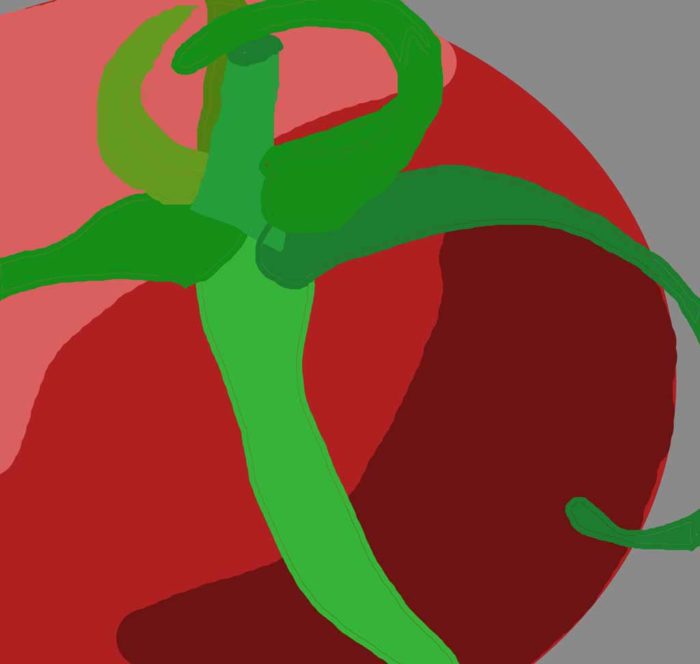
Using photo editing software, I loosely drew the main components of the tomato, putting each leaf and shape on a separate layer.  That way, I could manipulate each item individually.

Abstracting a tomato. Ellen Lindner, AdventureQuilter.com/blog

I began to ask myself some questions about this tomato:
What is my favorite part?
What can I leave out and have it still represent a tomato?
How can I represent the round shape more abstractly?

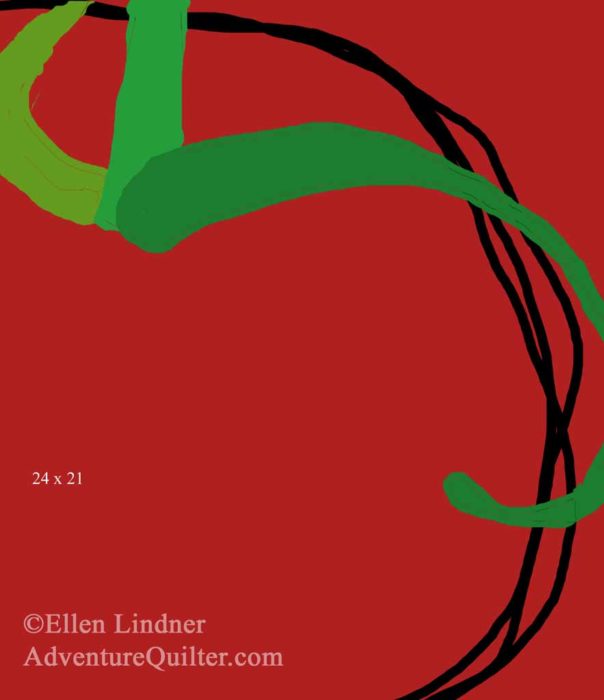
After LOTS of experimenting I came up with this sketch.

Abstracting a tomato. Ellen Lindner, AdventureQuilter.com/blog

What do you think?  I was kind of in love with it.  It was my first ever graphic abstract design.

I didn’t really intend to make another quilt when I started this process, but I just couldn’t resist.  Here’s the start.

Tomato quilt, early progress. Ellen Lindner, AdventureQuilter.com/blog

It should go quickly, so stay tuned.

I’d love to hear your ideas for creating abstract designs.  Please comment if you have tips.

Also, I’m going to need a name for this piece.  Send me your suggestions.

Ellen Lindner
 

14