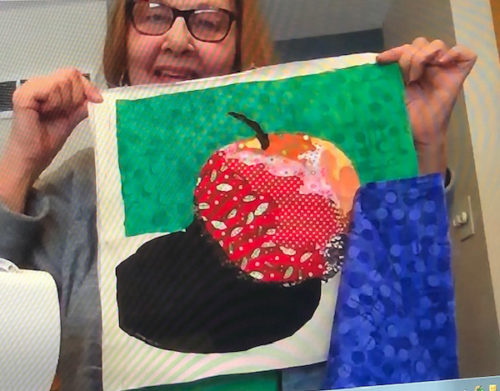
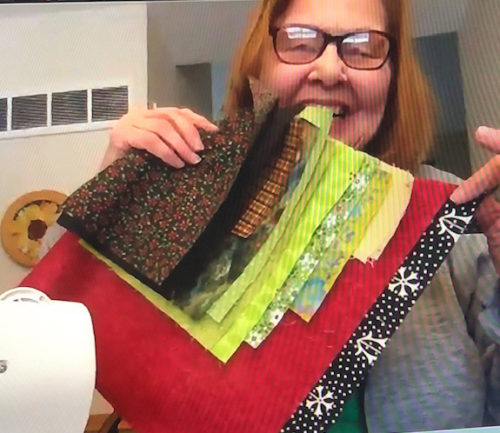
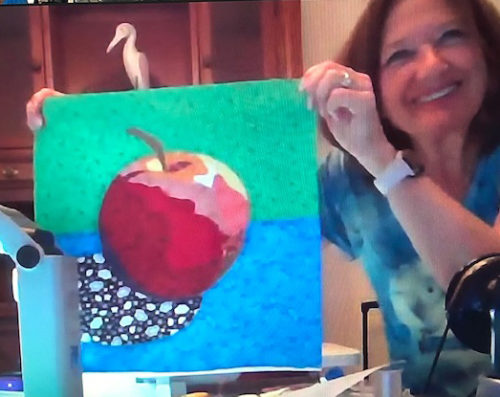
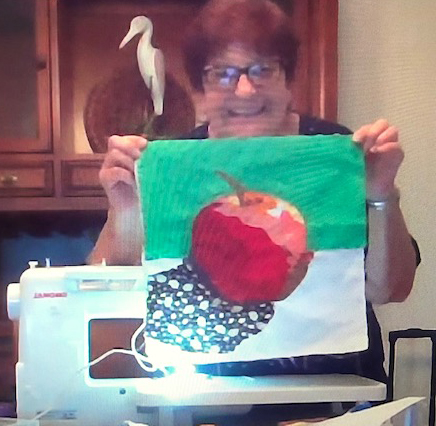
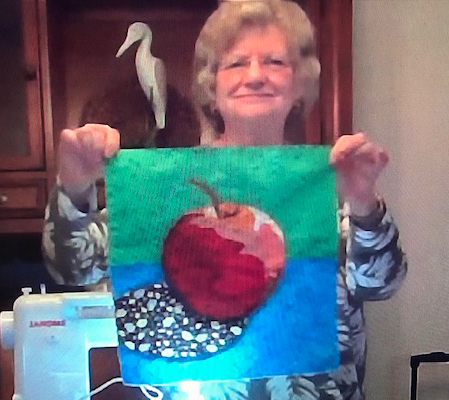
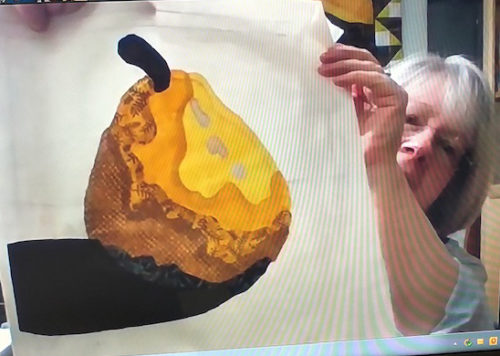
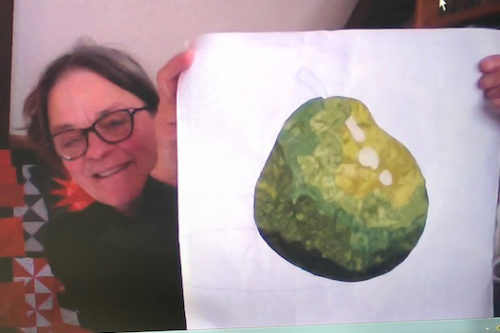
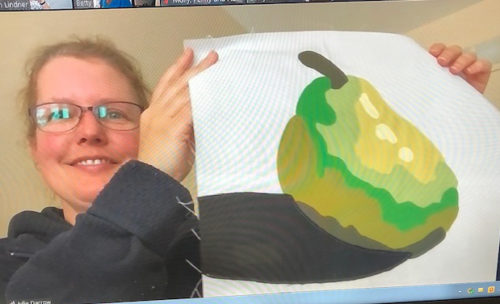
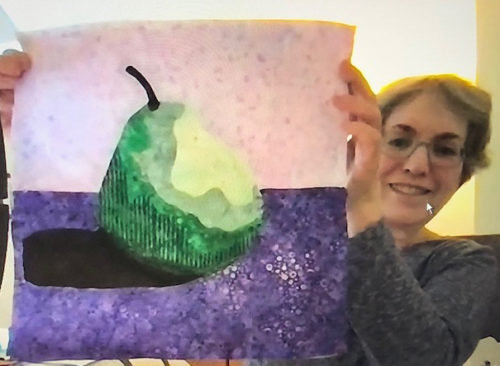
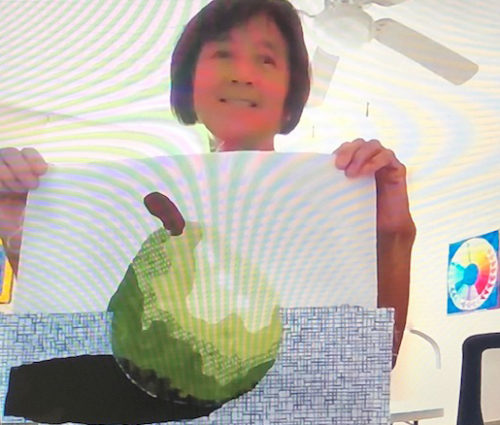
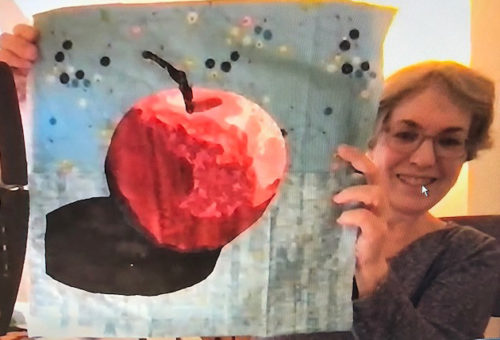
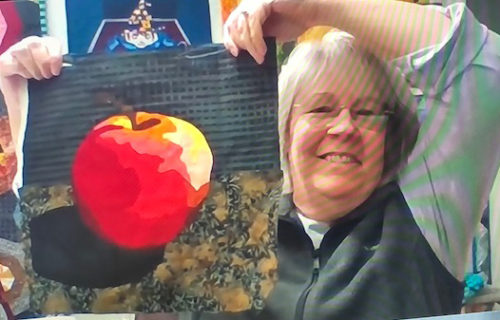
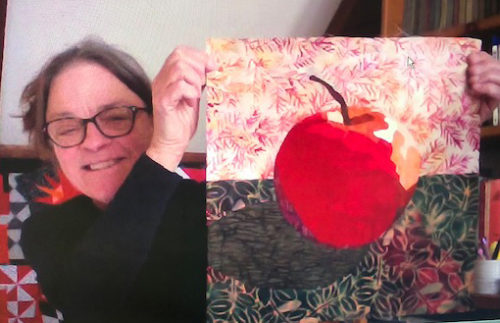
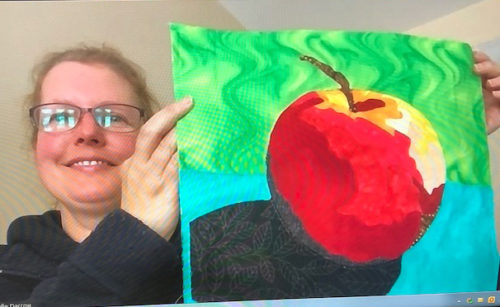
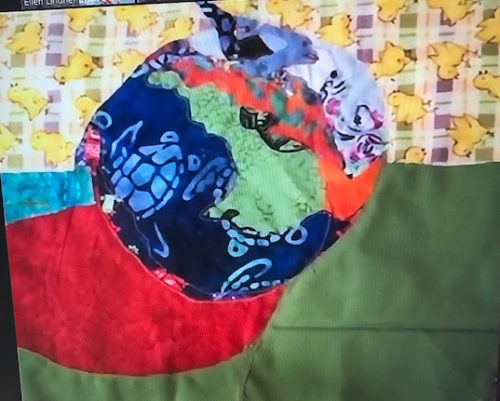
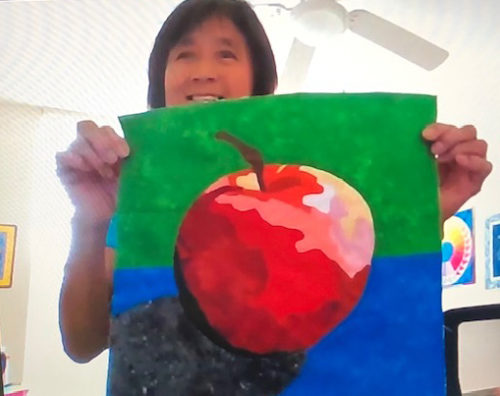
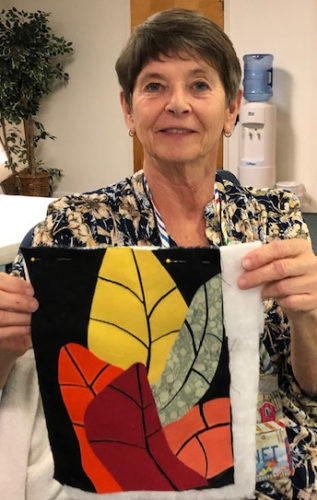
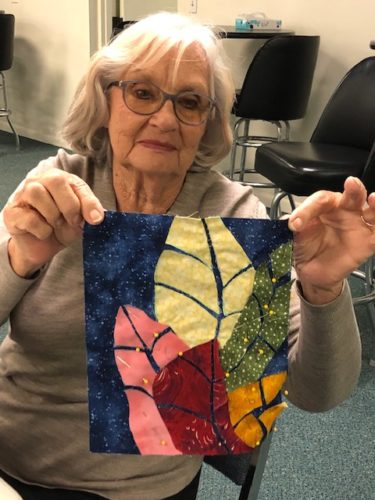
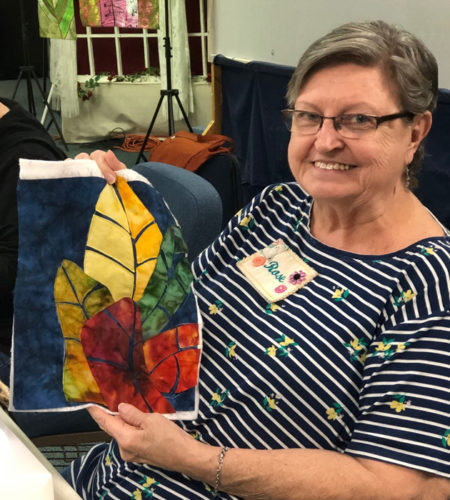
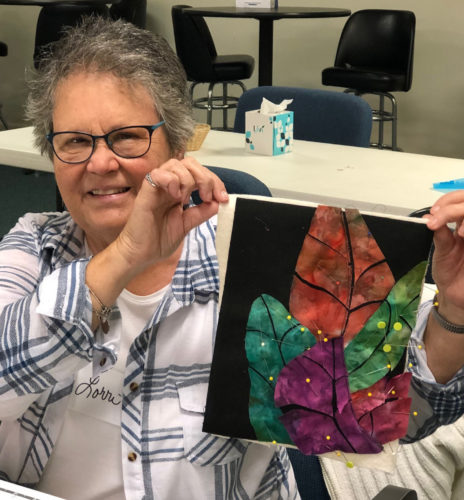
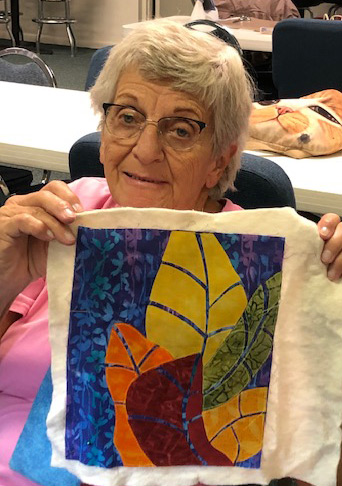
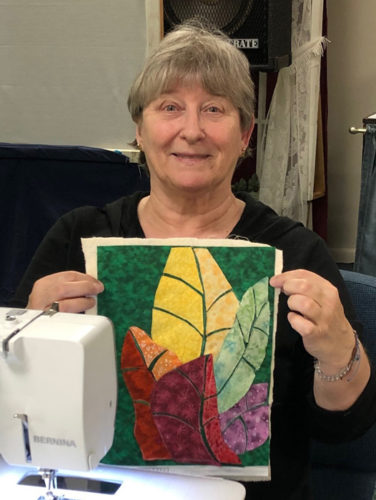
In a recent Double Reverse Applique class, the students finished their apples in about four hours and had plenty of time to start on their pears. Aren’t they looking great?
Mary S.
I love seeing the different colorways. Each on is unique.
Mary A.
Julie
Cathy
Betty
These ladies really stayed on task quite well, and it shows in their productivity. It’s very exhilarating to be in the class!
You can learn this technique on your own by purchasing the eBook, or the online class.
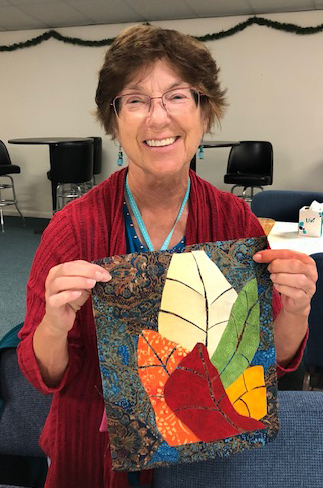
Carol chose a lovely medium-scale printed fabric for the background. It was the first time I’d had a student make such a choice, but it worked beautifully. (Can you tell she’s happy with it?)
Janet chose mostly solid fabrics, which worked well. As long as there’s contrast with the vein fabric any leaf fabrics work.
Don’t you love Jackie’s pink leaf against her dark blue background?
It sure was fun to be interacting with my students in-person again!
Gee, I hope some of these ladies will send me photos of their finished and framed pieces!
Ellen Lindner
P.S. This class is a really good choice for a Zoom class, since you don’t have to spend a lot of time in front of your computer.
Well, after two years, I finally got to teach an in-person class recently. I taught the class “Love It and Leaf It” to a welcoming group in Avon Park, FL. Of course, we had fun!
Rose did a great job on her quilt. Don’t the veins make it pop?
Lorri had a beautiful piece of hand-dyed (looking) fabric which she was able to use for all the different colors. Very creative and effective.
Kay chose a dark blue for her background, which was equally effective.
And Janice chose green. Don’t all these varieties look awesome?
This was only a three hour class so, you can see they got A LOT done. Most of them had their pieces quilted. All that was left to do was to face them and pop them in a frame.
I’ll show you the remaining photos in the next post.
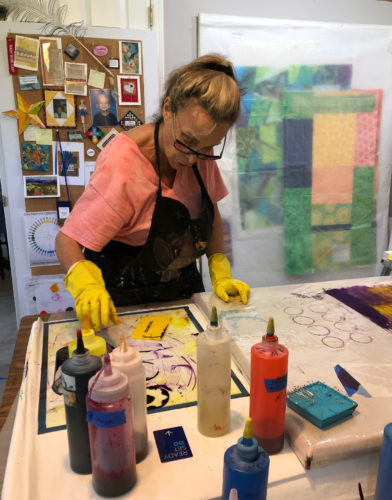
When you combine one of your favorite activities (dyeing fabric) with one of your favorite people you KNOW you’re going to have a good day! Such was the case when my friend, Perlie, came for a dye play day. She’s an experienced dyer, but we have very different ways of working, so it was interesting to “cross pollinate.”
She loves to work with masks, because they don’t leave a hard straight edge, the way a stencil does.
She used complementary colors and just look. I love it!
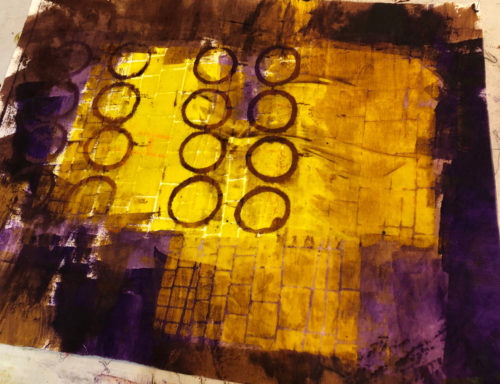
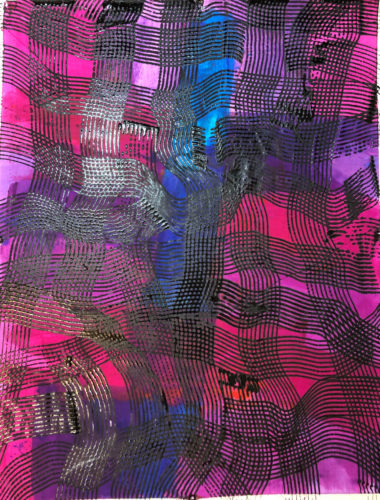
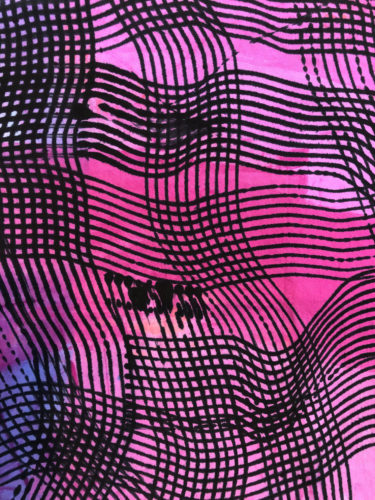
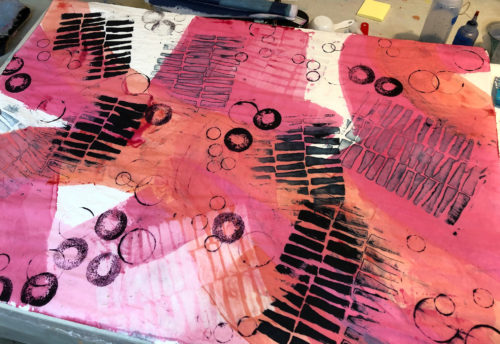
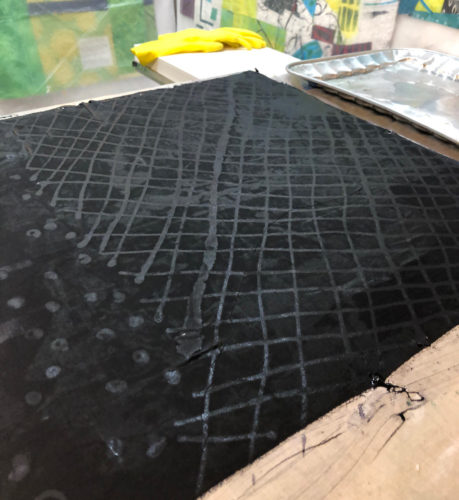
Perlie introduced me to a new tool: a squirt bottle with a comb-like attachment. It’s used for adding dye to your hair and works beautifully for creating a series of parallel lines. Like this (shown wet.)
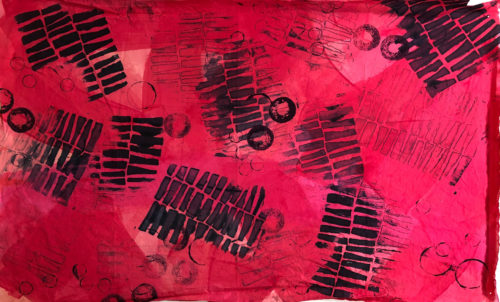
And here it is dry. Even the blobs are interesting.
I love those criss-crossed lines!
Now it’s all cleaned up and waiting for my next dye session.
Want to see my dyeing set up? Check it out on my video page.
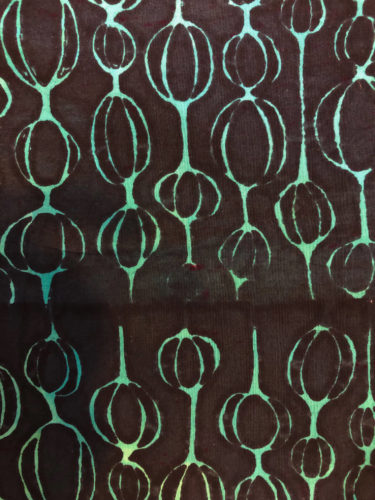
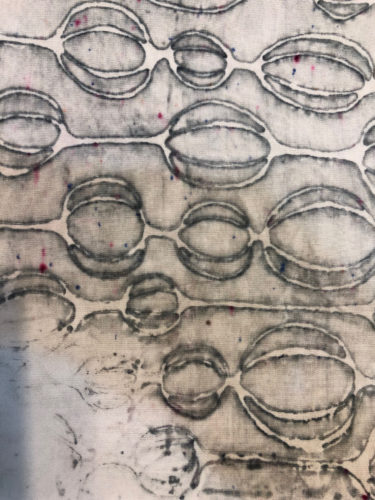
When dyeing fabric, it’s not at all unusual for me to wash out a fabric, decide it needs more, treat it (again) with soda ash, and continue on. Such was the case with this one. The eyeballs/ovals on this piece were originally pale yellow. Well, that was just creepy! It looked like a lot of animals watching you from the dark. I added a pale blue throughout, which gave me pale green and blue “eyeballs.” Much better!
Earlier, I used the dirty stencil with clear paste to get this. I think it will be very useful as a “white.”
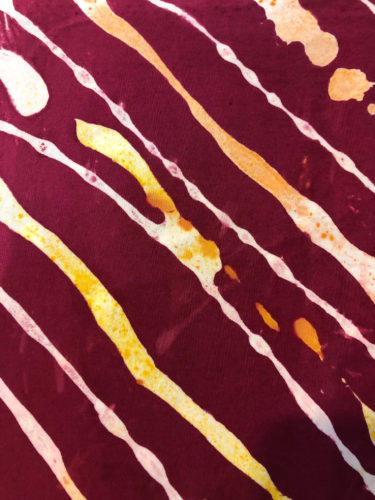
This one is a deconstructed screen print. At the end of my previous dye session, I had drawn some orange lines onto a stencil and let them dry. Then, during my recent dye session, I used that screen with a sort of berry color. Initially, the dry lines acted as a resist and I got white stripes. But then, they began to dissolve (deconstruct) and I got orange stripes. Pretty cool, I think.
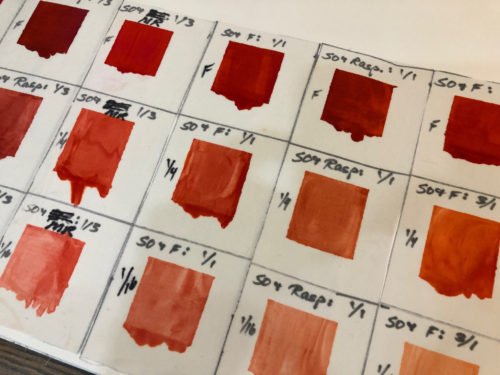
I’ve been wanting to dye some luscious terra cotta and rust colored fabrics, but wasn’t having good luck with my usual primary mixtures. Therefore, I bought some “Strong Orange” and set about learning what it would do.
First, I made swatches of it mixed with each of my other colors. Yes, it took A WHILE. But, I felt like I really needed to understand the color and what I could expect from it.
I mixed about 70 of these combinations!
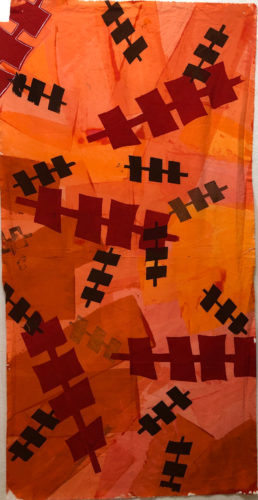
My efforts paid off, though, when I made this piece. It was the first thing I did with strong orange and the colors turned out pretty much exactly as I wanted. I made the two stencils with newspaper. That worked well and I like them a lot. Maybe I’ll make more durable ones next time.
I really love this fabric. (Except, I should have left more white – again.)
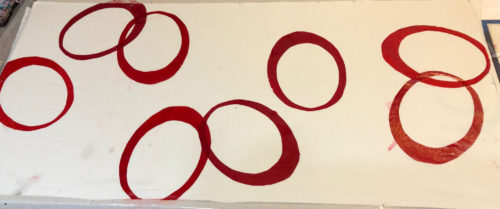
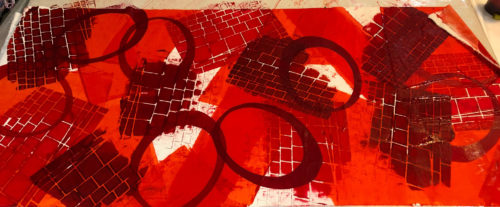
With my newfound orange knowledge I made a large oval stencil and got to work on the next piece. I was careful to consider how these colors would look DRY. (A very easy thing to forget or misjudge.)
This is what it eventually looked like, wet. (Yay, I did a little better leaving some white!)
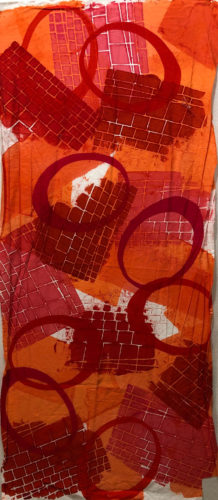
And here it is dry. I’m very happy with it.
I think Strong Orange and I are going to get along well.
I’m beginning to realize that dyeing fabric is an endless process of learning. Although I can now predict much better what my results might be, I still miss the mark pretty routinely. And, of course, I’m still trying new things, so I can always count on surprises with that.
But it sure is a heck of a lot of fun. In part for these very reasons. The unpredictability is exciting. Case in point:
I was pretty happy with this print, seen here wet.
I should have remembered that the colors would be MUCH paler once dry. Indeed that was the case and I dyed it again with stronger versions of the same colors. I also covered a little more of the white with that second round.
And, it still wasn’t dark enough so I repeated the process. This time, however, I wasn’t disciplined enough to leave the white alone. So, t his is what I got.
The colors are strong, which is what I wanted, but it would definitely be more usable if I had left some white. Maybe I’ll stamp some on.
Next, I tried using clear thickened paste as a resist.
It actually worked pretty well. This is the back, shown below. The pattern shows up better than on the front, but I’m not sure how pretty it is. I think I’ll aim for a more delicate design next time.
I’ve finished my “kiwi quilt,” and I’ve named it Bounty Down Under.
This photo shows it in the “tetris,” or puzzle stage. I’d about decided where I wanted the largest pieces, but then I had to figure out how to fill in and make it all fit. It definitely kept my brain engaged – which I love.
In this photo I had changed the top a good bit. Then, it was time to fiddle. By that I mean noticing details and adjusting them. In this case, I was looking at the way the two blue shapes came together near center, high. Can you see how their top edges formed a perfect line? Although that wasn’t objectionable in any tangible way, I wondered if shifting things out of alignment might be more interesting.
So, I tried shifting the left side upward. Indeed, I did like it better. I had to chop off some good parts of the top left to do this, but I decided it was worth it.
I got brave and decided to cut into some of my specialized fabrics. These are hand dyes that have a variety of motifs, scales, or colors. They’re not “yardage” and are a little more challenging to use. These were my starting three.
The left fabric reminded me of kiwifruit, so I began to think of it as “my kiwi quilt.”
I tried out other fabrics to add to the mix. Some dark blue definitely helped.
This was my “final” selection.
It was a little intimidating to cut into that kiwi fabric. Since the motif was so large I didn’t want to whittle it down too much. This was the first cut.
And another.
And another. Taking it from one piece to four.
Time to “Tetris” these pieces together, and to make a few more to get the job done.
It was getting quite energetic and I was liking it.