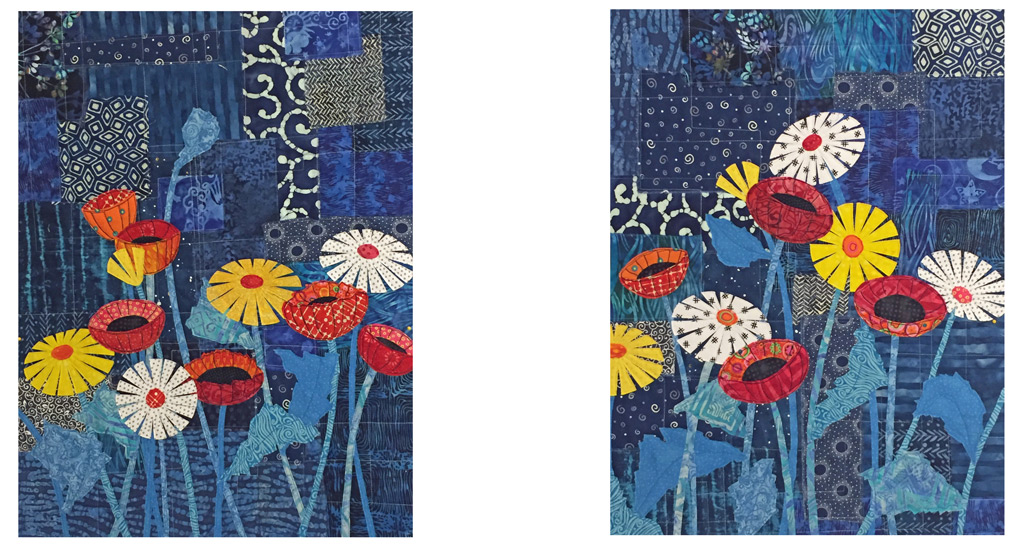
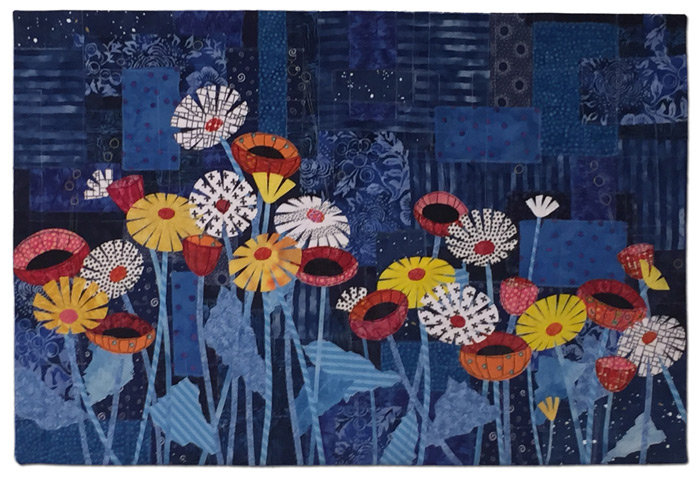
In addition to the fabulous work of Lorraine Turner, the Dunedin Fine Arts Center, (in Dunedin, FL) has an abundance of textile art on display. One of the exhibits is the “New Quilts from an Old Favorite: Bowtie.” Although they all include (or reference) the bowtie block, they’re very creative.
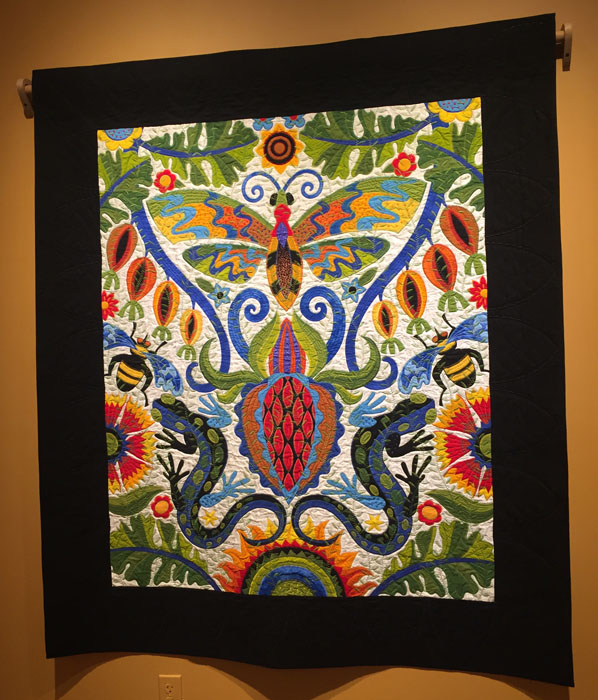
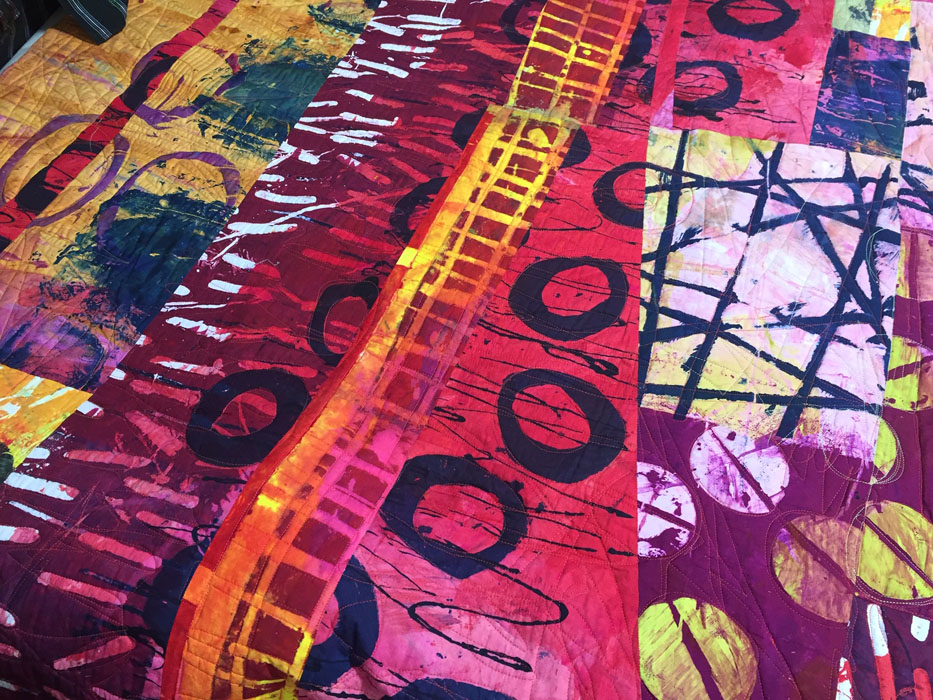
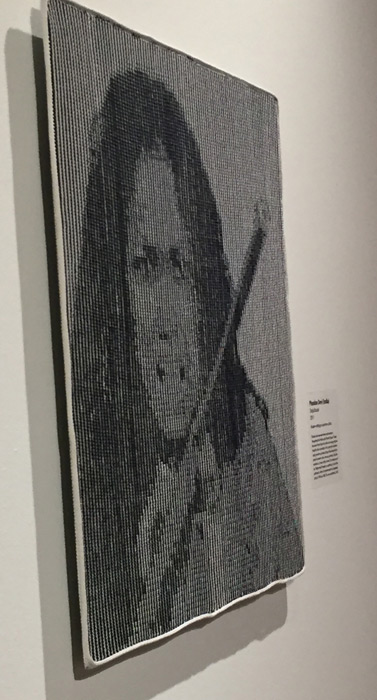
Another space features the work of Jane Sassaman. She’s known for her use of bright colors, stylized floral imagery, and satin stitching.
This is her quilt Illinois Album.
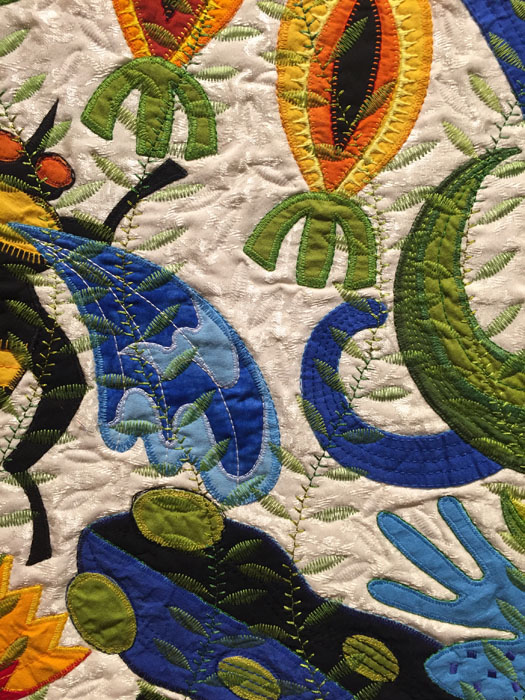
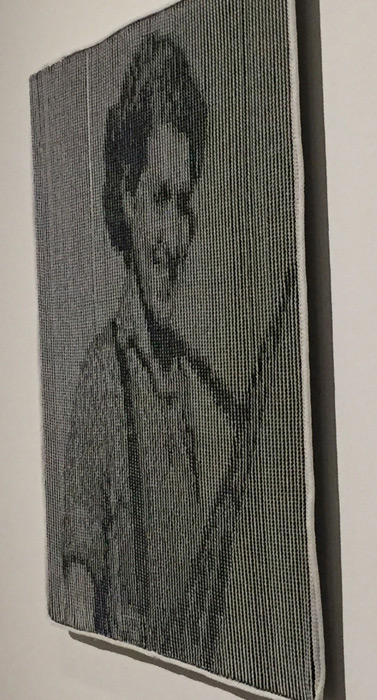
And this is a detail shot.
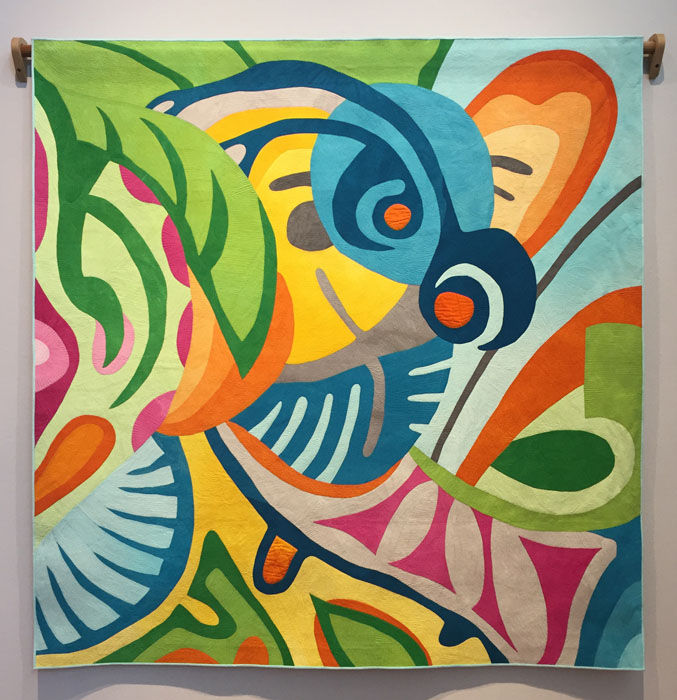
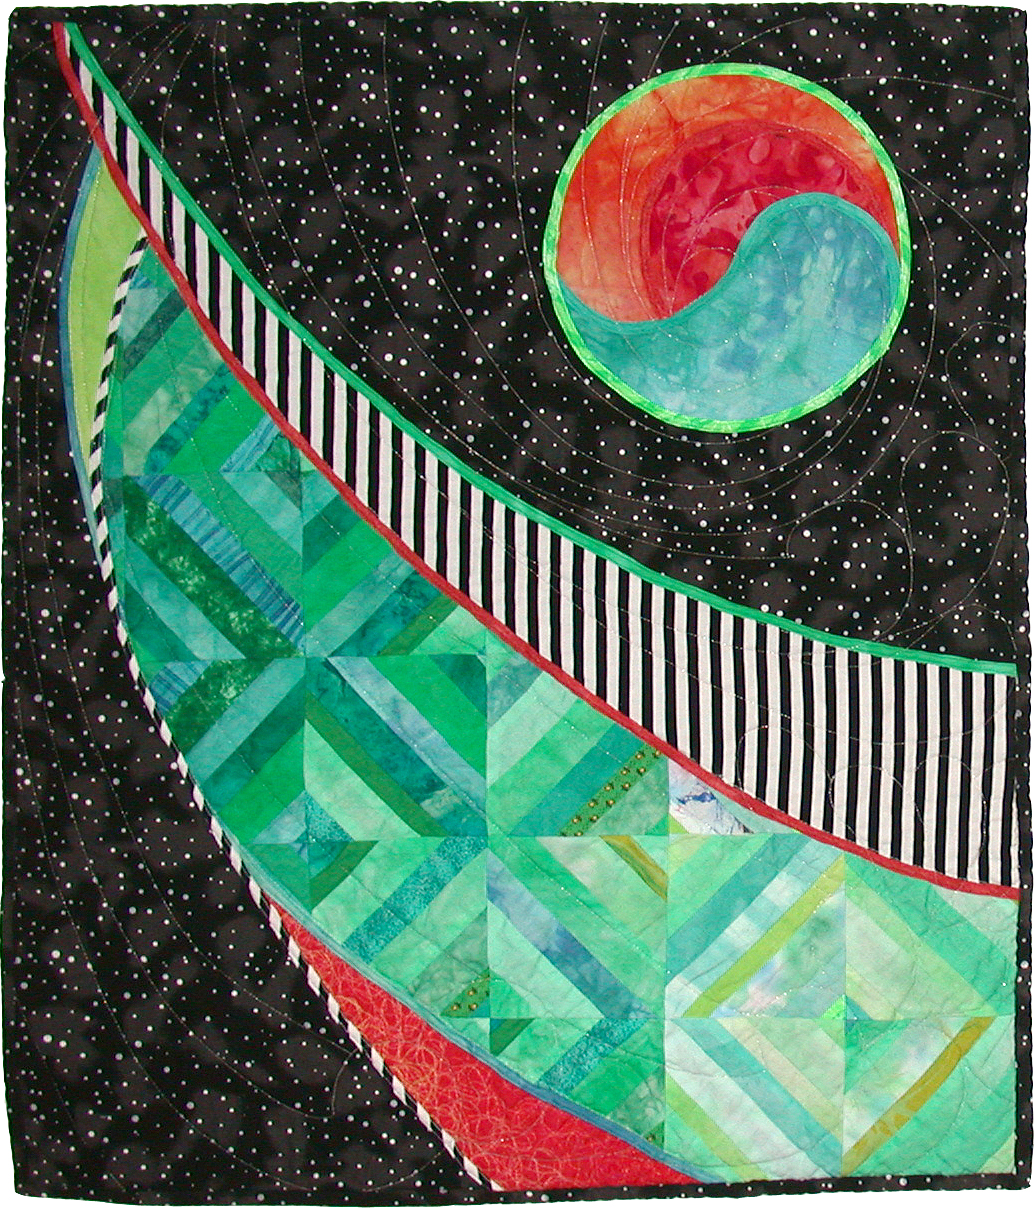
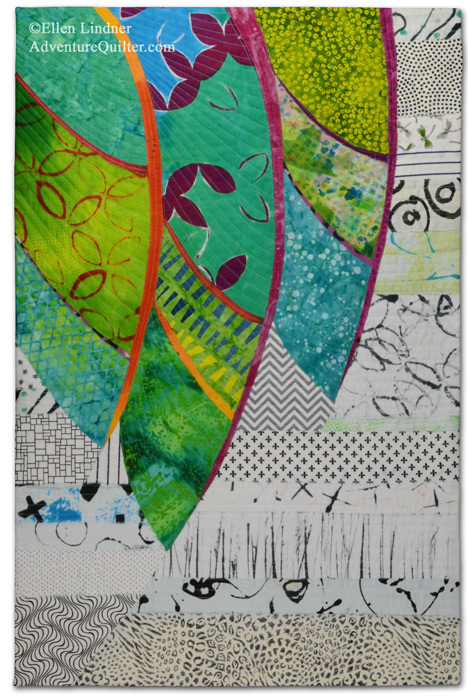
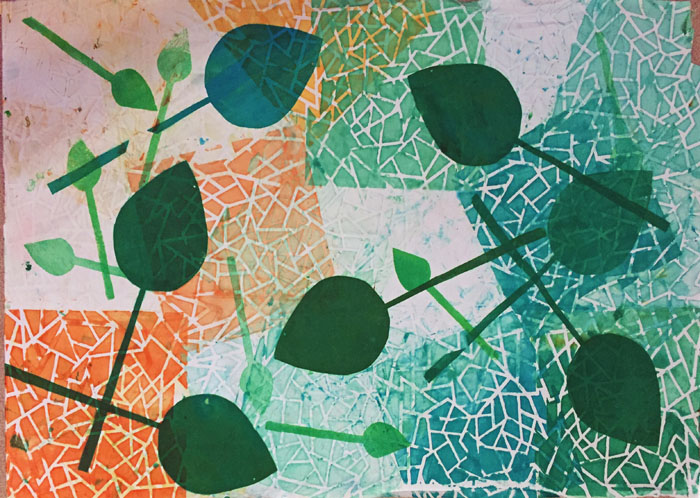
Another gallery showcased the work of Sheila Frampton Cooper. She creates abstract designs, using bright colors and solid fabrics.
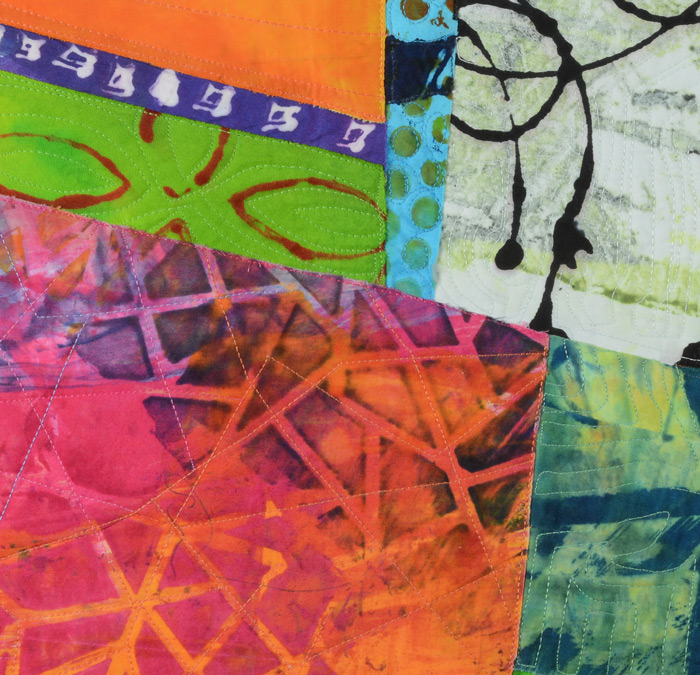
This is her Venus in the Garden.
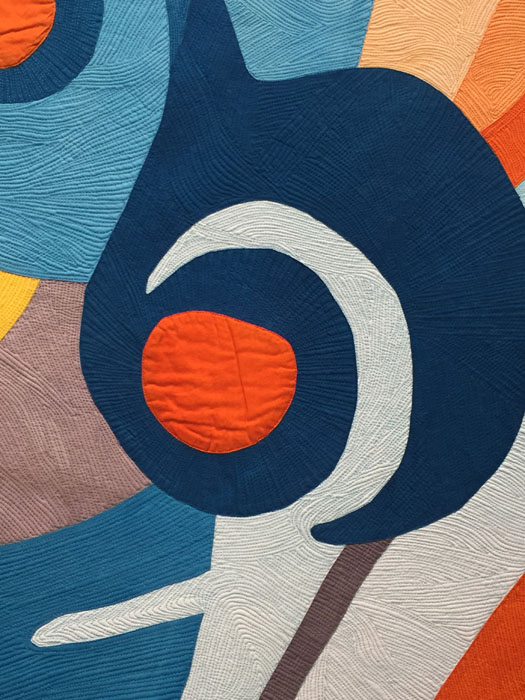
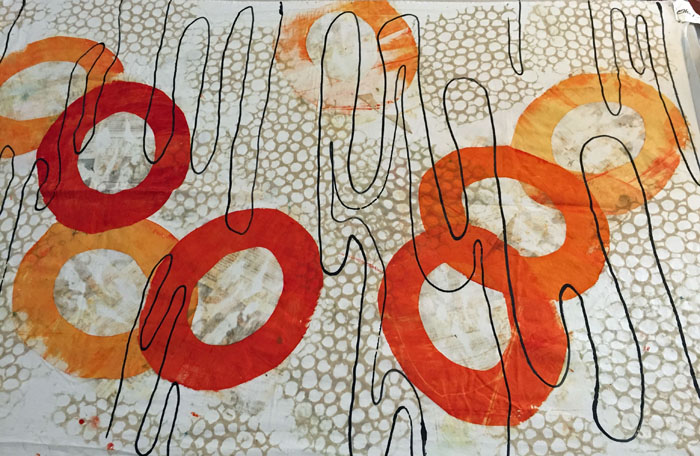
And a detail shot.
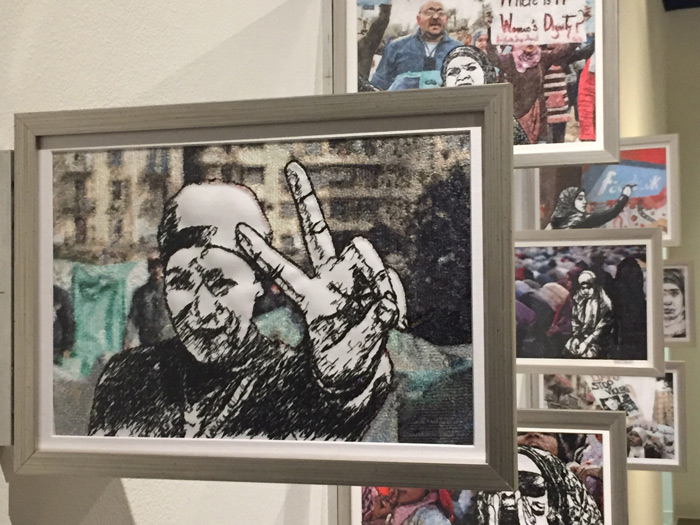
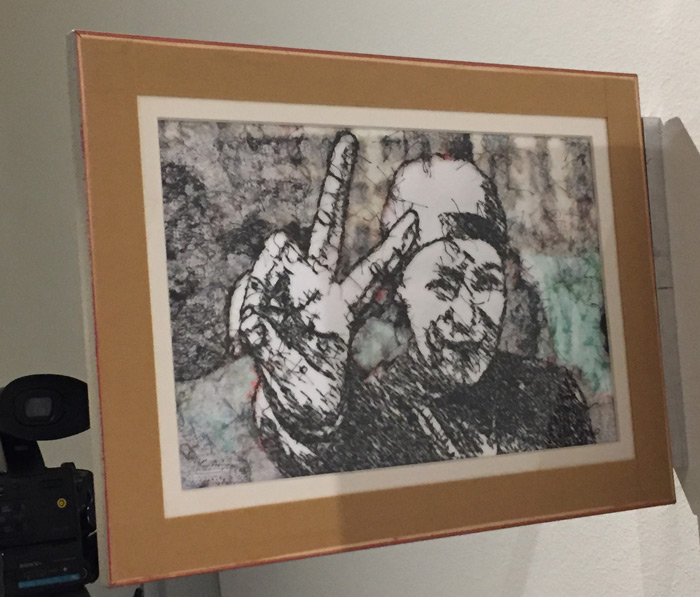
We enjoyed these quilts but my group was really blown away when we saw the work upstairs. That exhibit featured the work of the Tampa Bay Surface Design Guild. These creative artists presented a very diverse array of textile art.
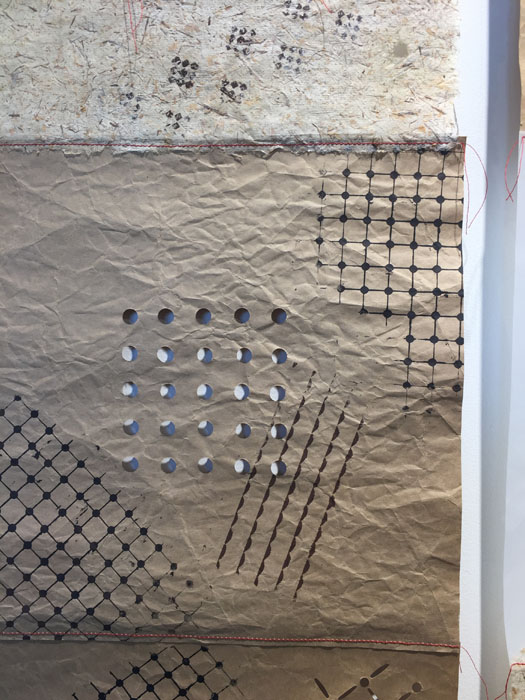
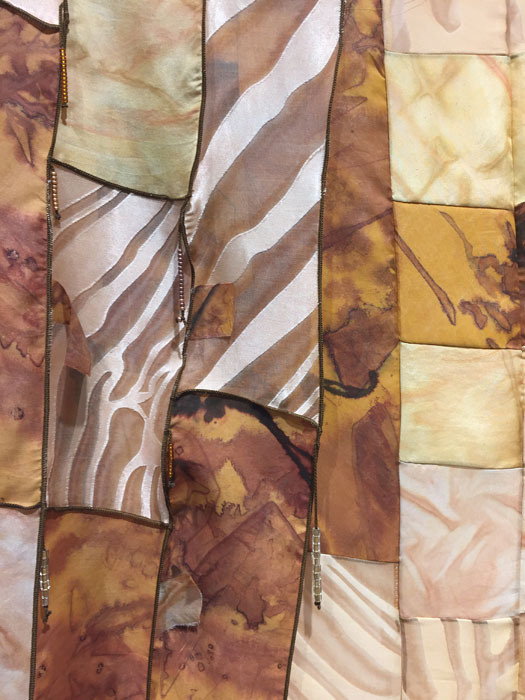
This is called Through the Veil and it was made by Aida Sheets and Sarah Butz. Materials include a variety of papers: handmade tree bark paper, vellum, and brown wrapping paper. They were rather loosely held together so the whole thing floated slightly away from the wall.
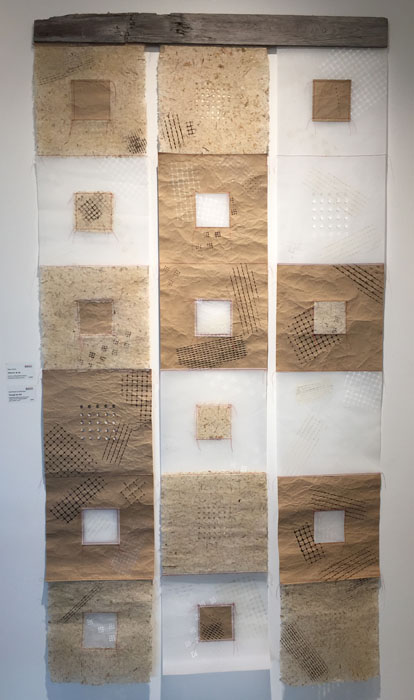
As you can see in this detail shot, the papers were printed and perforated, adding more subtle interest. We loved this piece!
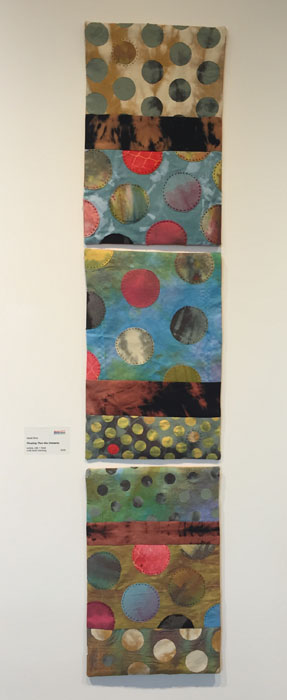
This piece was also made by Sarah Butz, called Floating Through the Universe.
Tattered Garment Jacket, by Sandra Black was another group favorite.
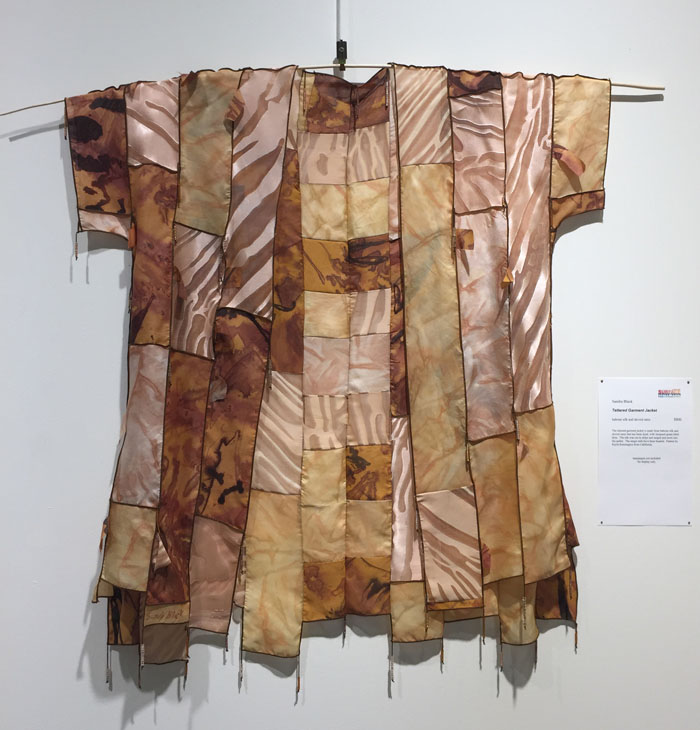
I think you can see that the serged seams are exposed, and other little texture items have been added.
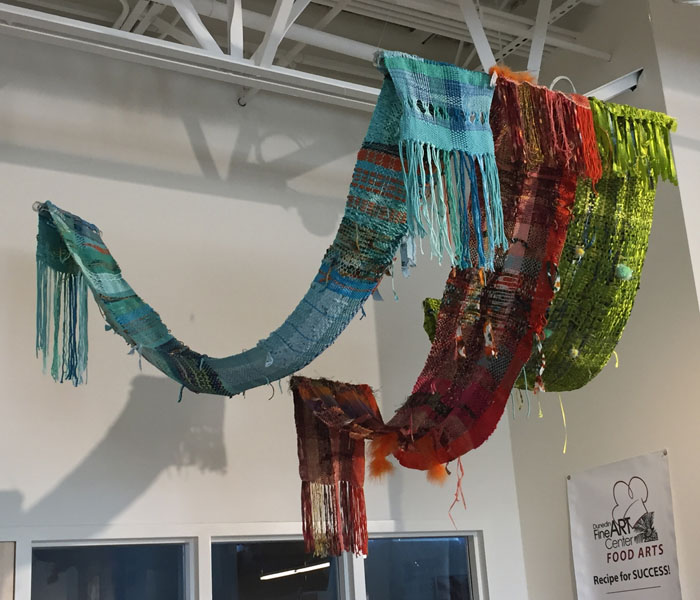
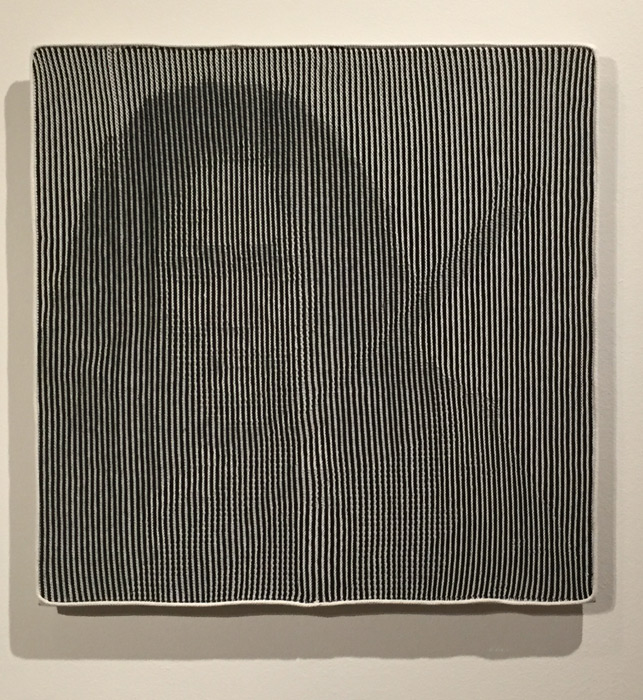
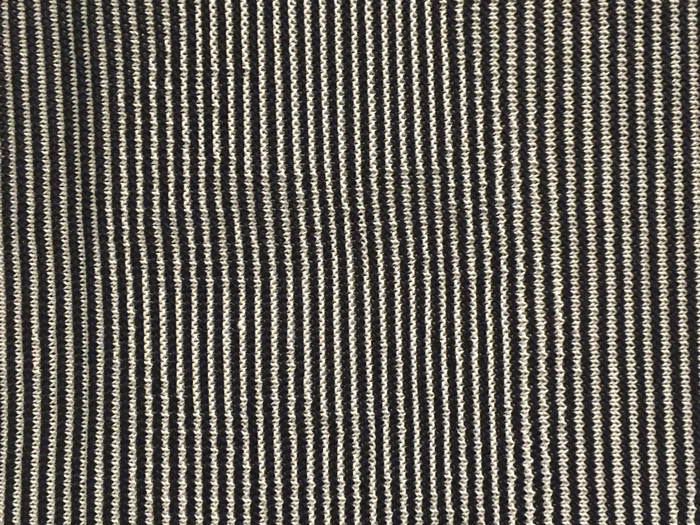
Sherry Dorst Created these wonderful woven pieces, Gift 1, 2, & 4. They were some of my favorites. How can you not like all that color draping from the ceiling?
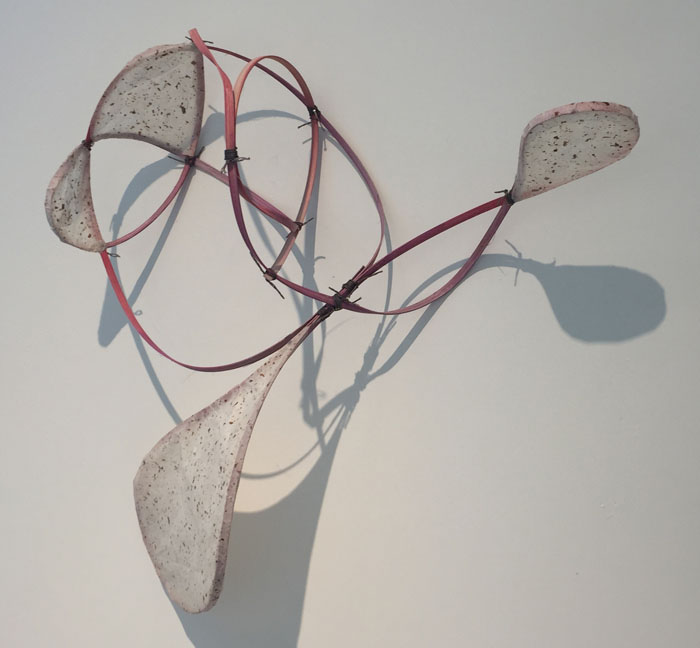
But, the piece I wanted to take home was this one. It’s called Moebious Volley, by Carolyn Kosser. Don’t you think it would look good against my “paprika” colored dining room walls?
I think you’d really enjoy a visit to the Dunedin Fine Arts Center to see all these wonderful textile pieces! If you’re near Tampa before August 18th, you’ll have your chance.
Ellen Lindner


