SAQA’s “Forced to Flee” exhibit is very powerful. It recently opened in Melbourne, FL at the Ruth Funk Center for Textile Arts. As you might imagine, many of the pieces had to do with the refugee crisis, but others showcased the horrors of war, and the power of nature. There are 30+ pieces in the exhibit, so this is just a little taste.
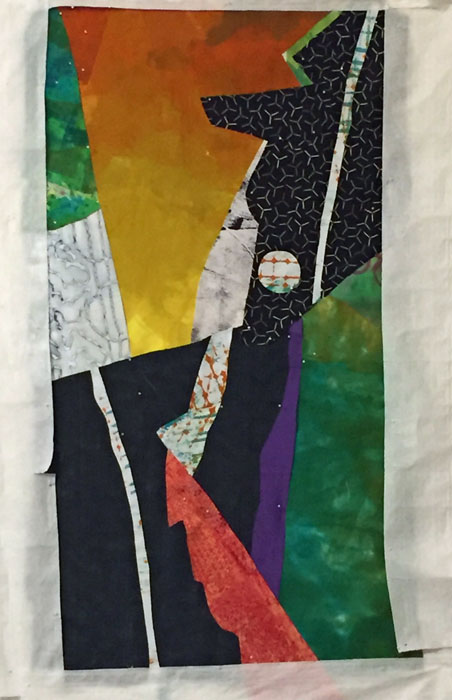
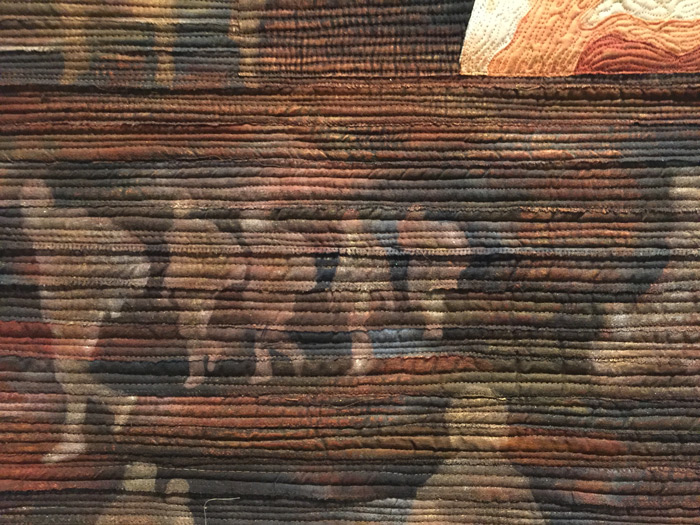
This piece, by Eunhee Lee is called “They are Also Us.” It was chosen for the featured wall image, and rightly so. It’s a very moving piece.

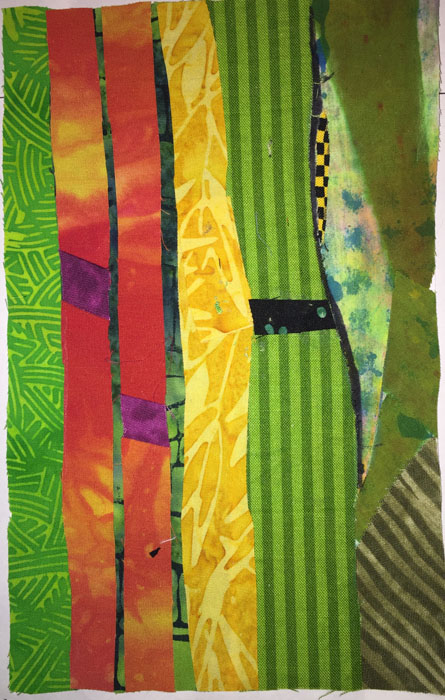
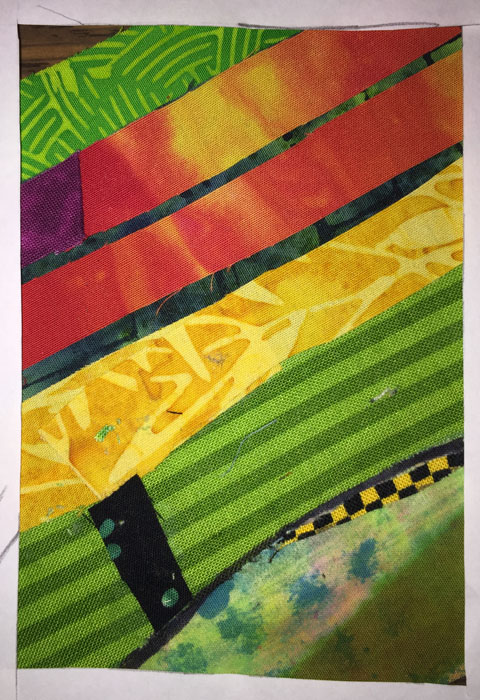
I remember seeing this quilt online and being very struck by it. But, what I didn’t notice until I saw it up close was the imagery of people fleeing in the background.
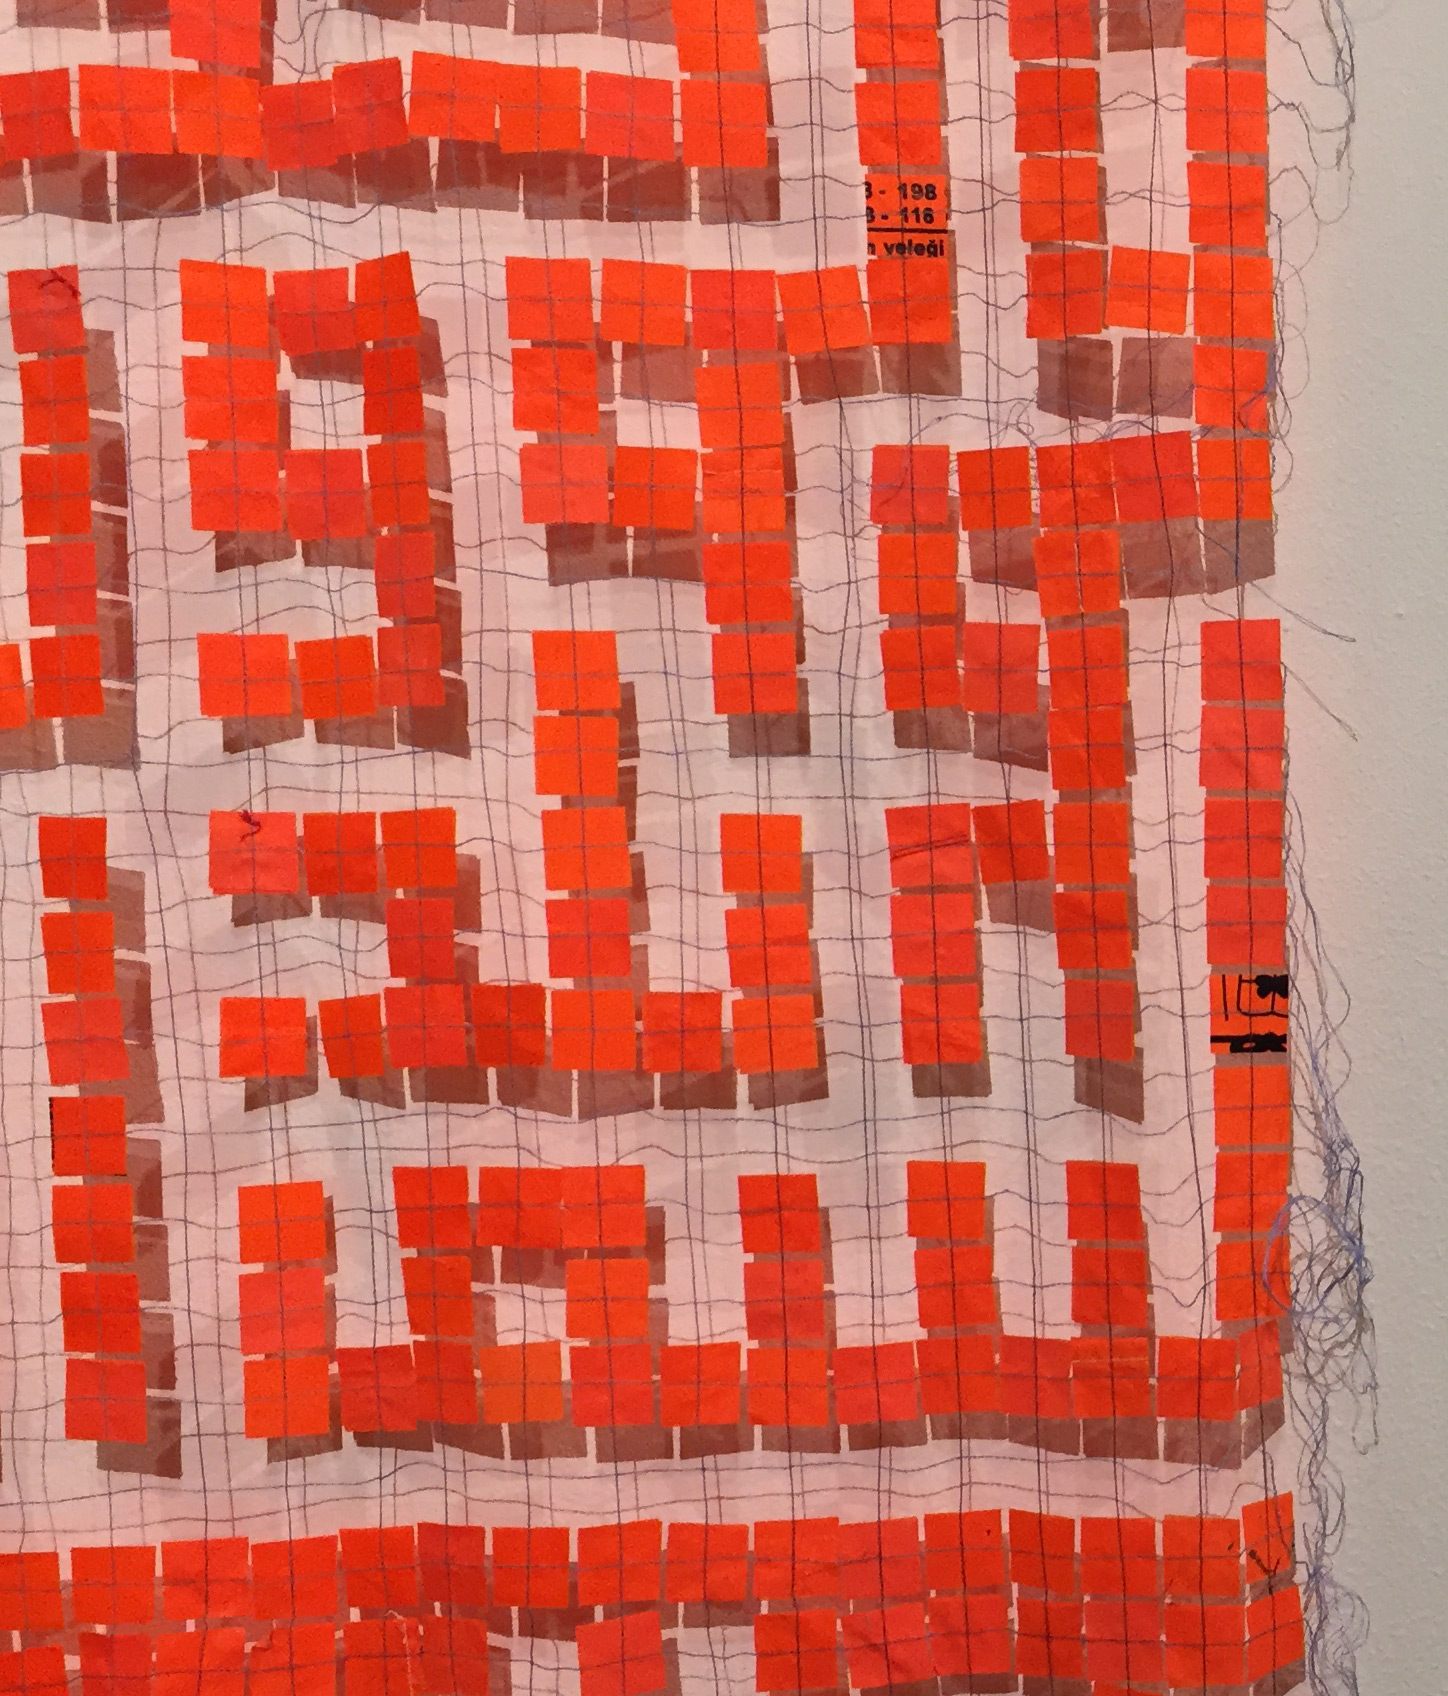
Mary Palmer’s piece, “Prayer,” was about 8 feet tall. The shapes are the characters of a Muslim prayer.
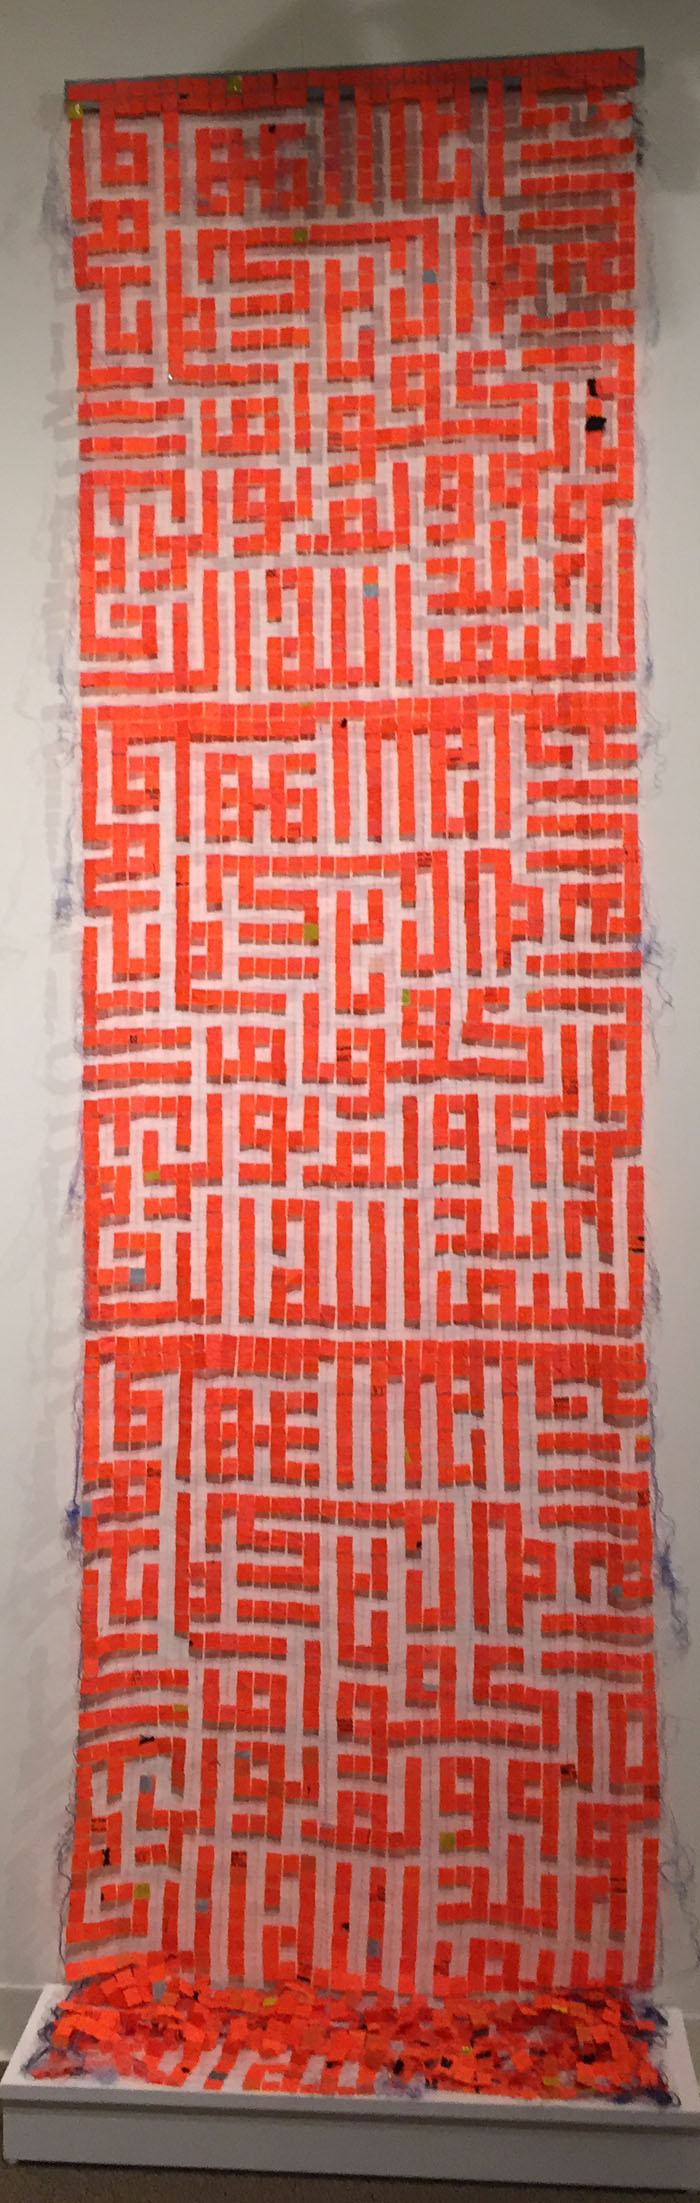
It’s made from life jacket fabric cut into squares and stitched in a very open pattern.
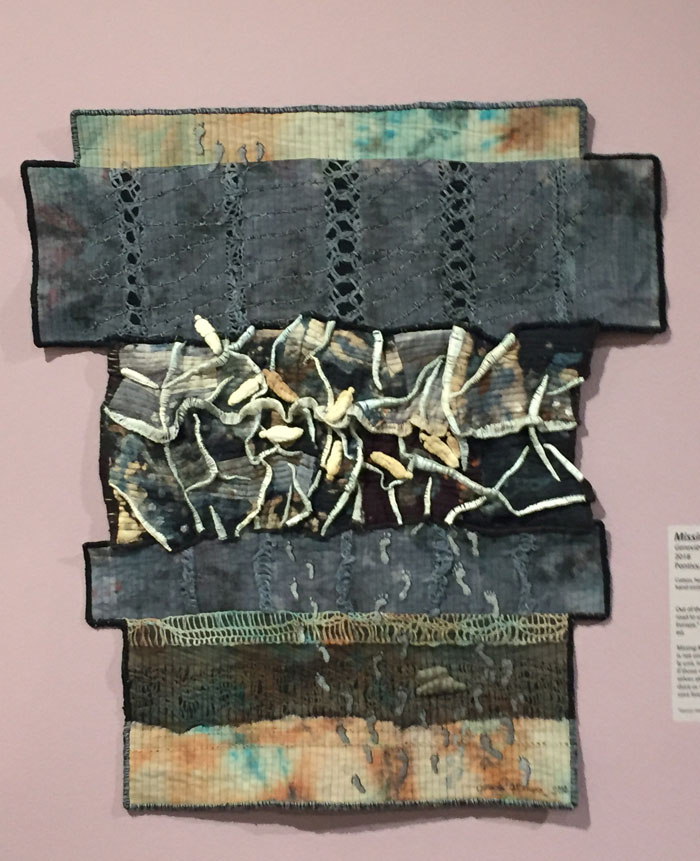
Karen Tauber’s piece also featured heavy use of life jacket fabric and imagery. It’s called “Life Jacket Graveyard of Lesvos,” and it depicts the “Mountain of Misery” created as thousands of refugees discarded their jackets and rafts on this small Greek island.

As you can tell by the shadows on the wall, the bottom portion is extremely three dimensional.
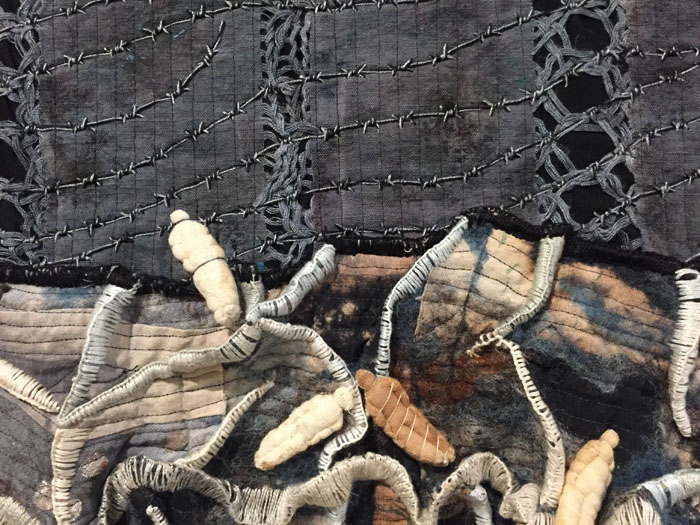
“Missing Migrants” is the name of Genevieve Attinger’s piece, shown below.
As you can see in the detail shot below, she’s used tiny little “mummy” dolls to represent the people. Barbed wire depicts their final obstacle.
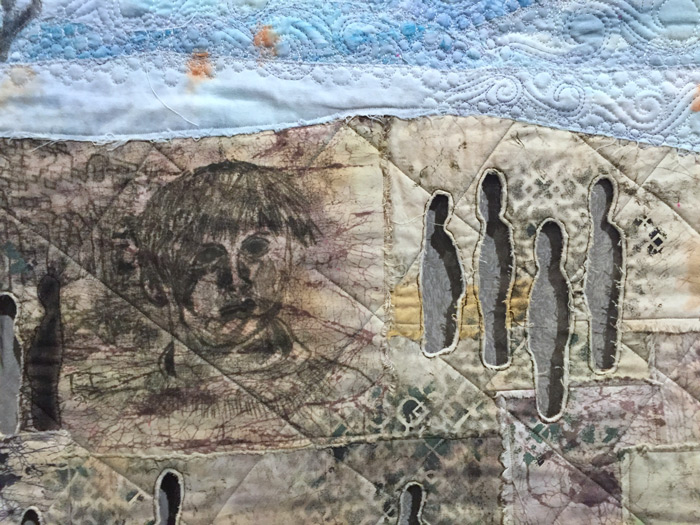
Claire Passmore also shows the refugee’s journey, reading from bottom to top. Her title asks the question, “Lucky Ones?”
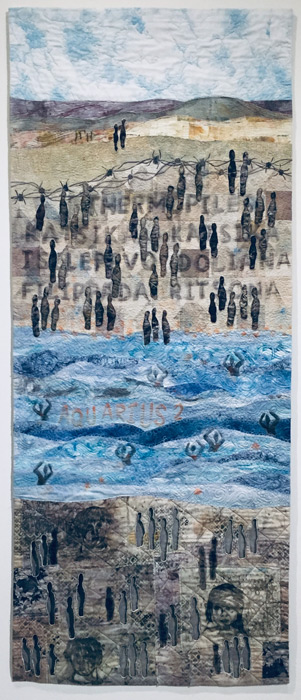
She depicted those who died with sheer bodies, as seen below. Very moving.
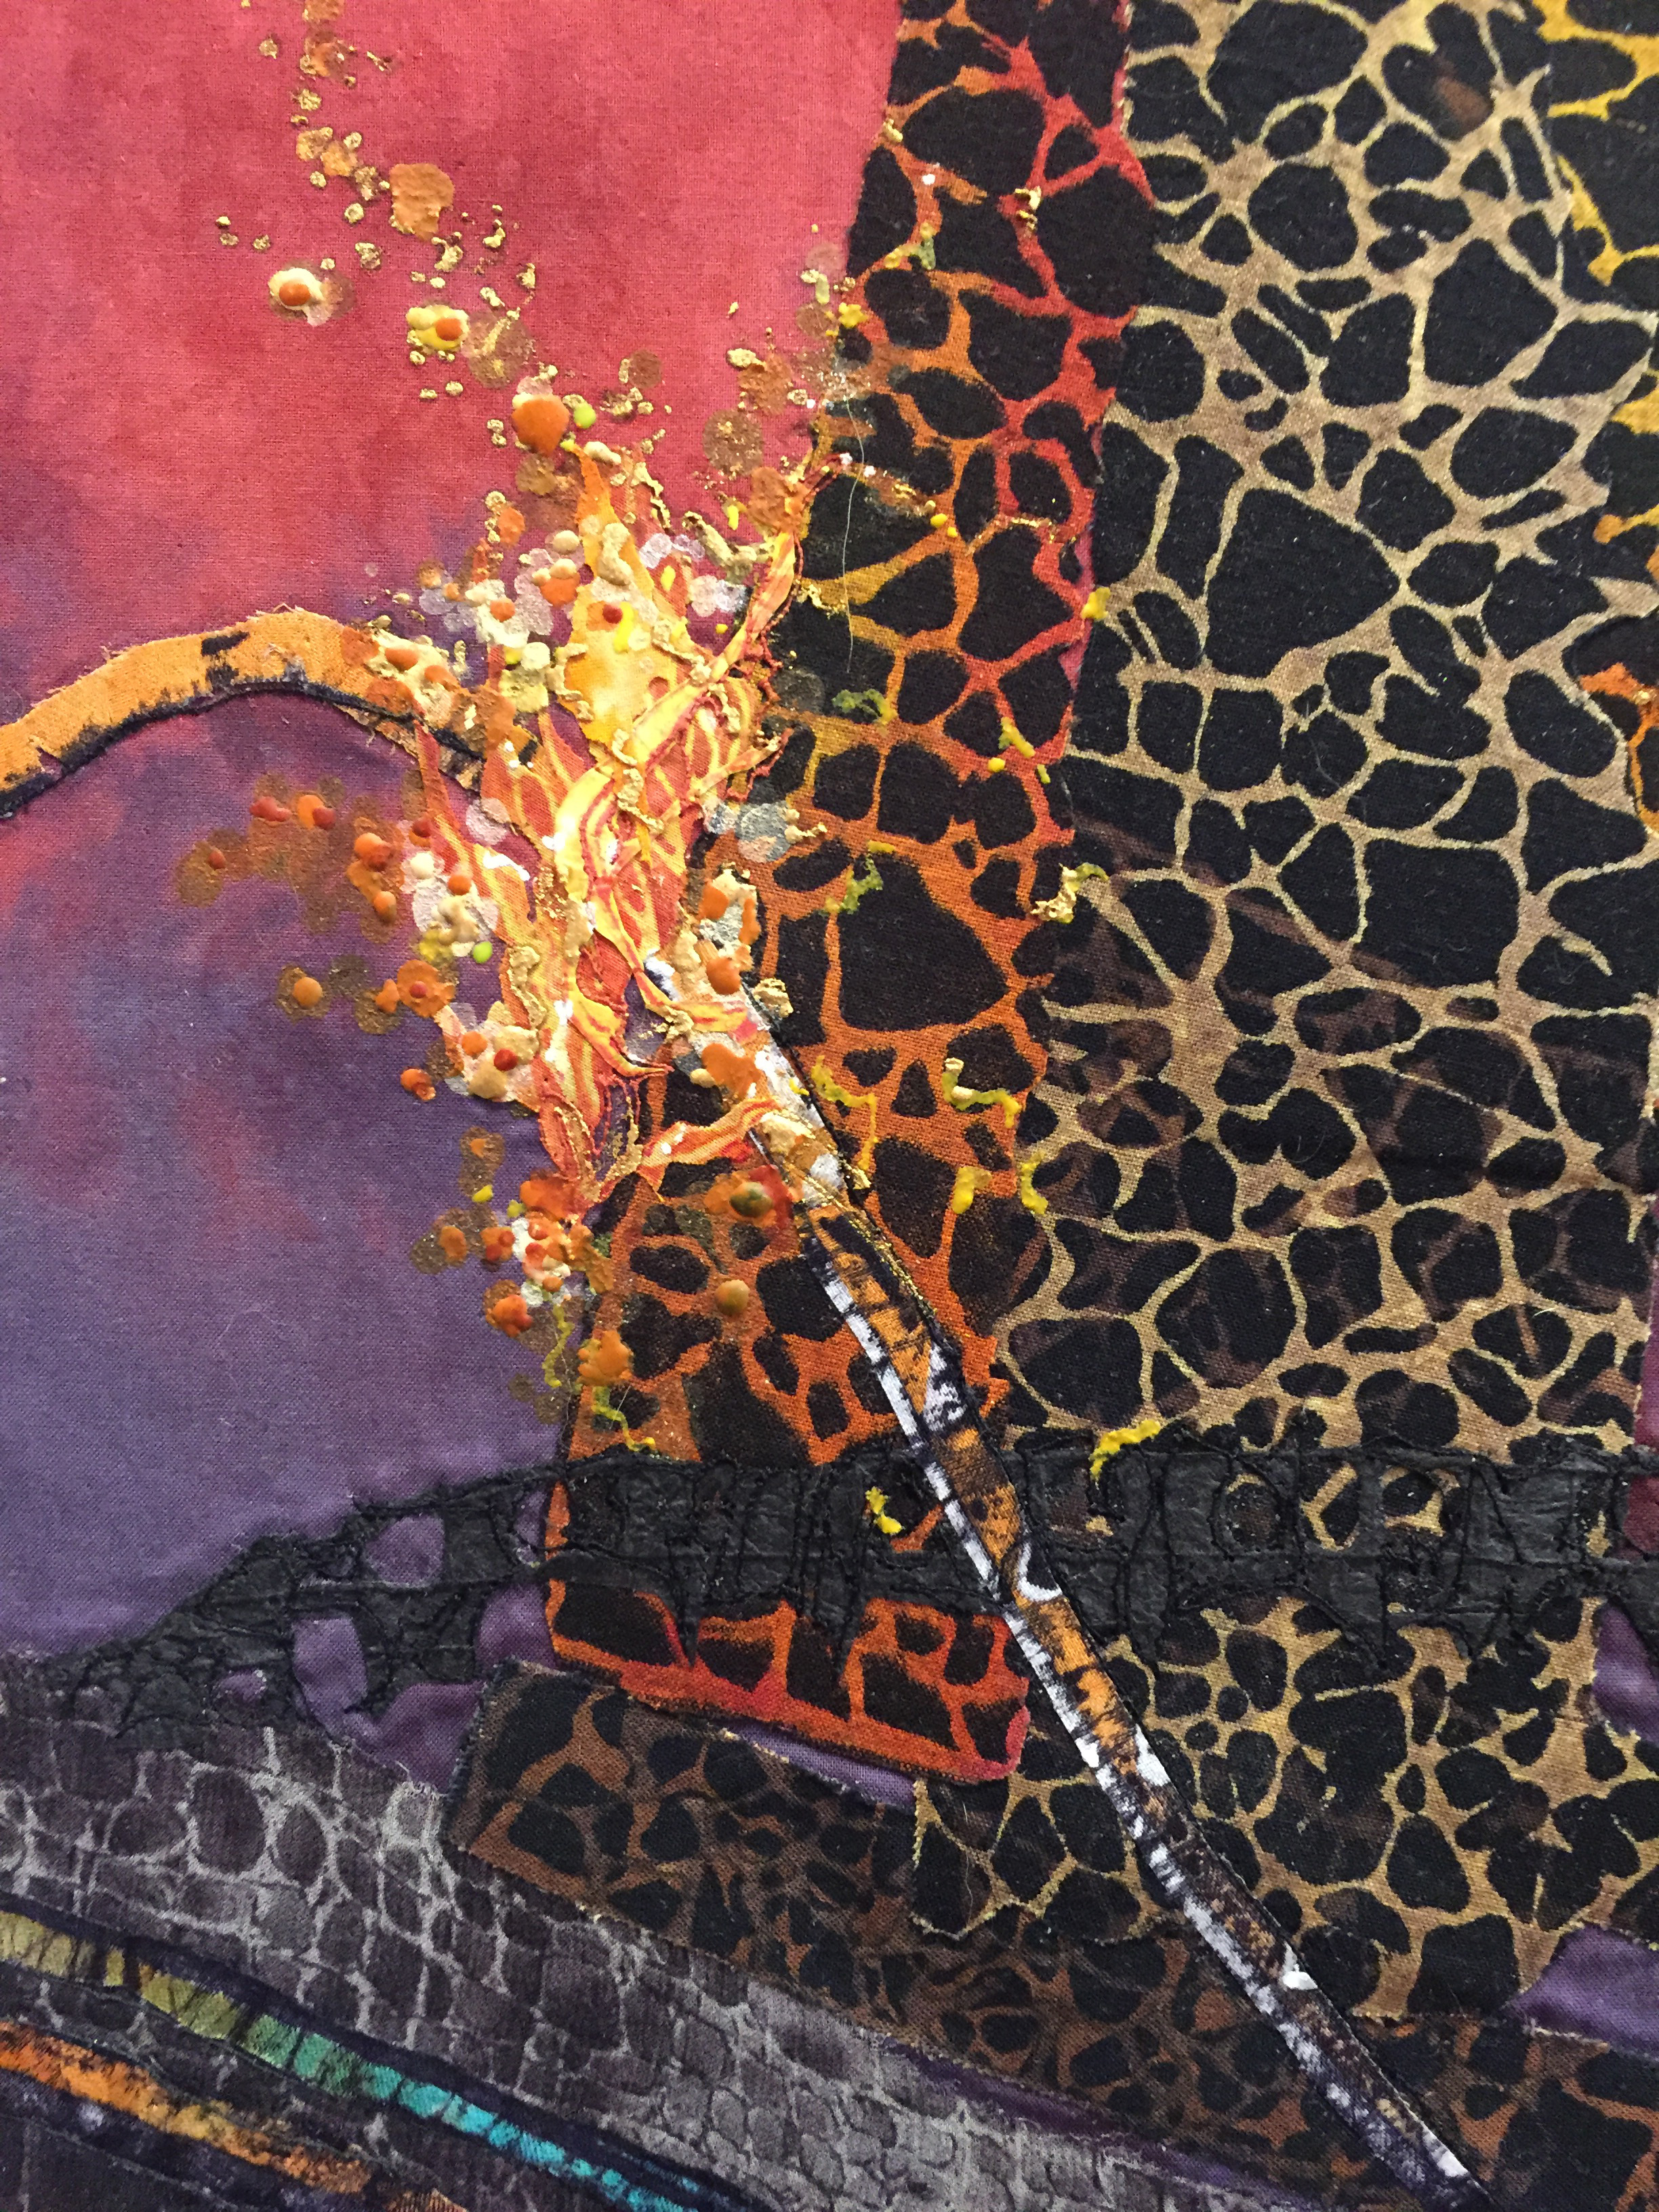
And here’s one of the few pieces that didn’t focus on refugees. It’s called “Firestorm,” by Grace H. Wever. It depicts the firestorms which raged in bombed cities during World War I.
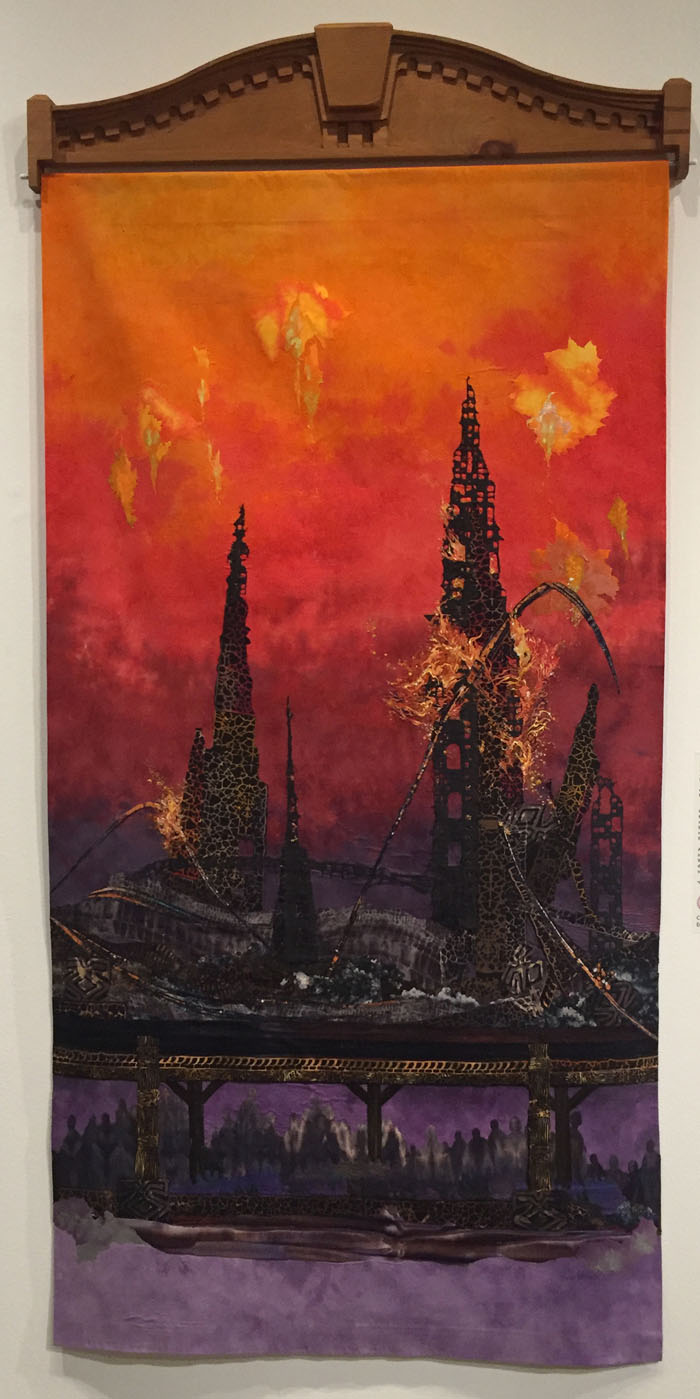
She depicted the fire very effectively with a variety of materials and techniques. It almost looked like it would burn you if you touched it.
All the artists in this exhibit approached their subjects in very thoughtful ways. The layers of meaning and subtle details gave strength to their stories.
Although not a happy upbeat exhibit, it is WELL worth visiting. It’s on display until August 24th, so you’ve got plenty of time to see it. (And it’s free!)
Ellen Lindner