Who says Florida doesn’t have seasons? We have hurricane season, don’t we? One year ago, Hurricane Irma had just skirted Florida on its way northward. Due to the power of the storm and the projected path, the governor of Florida issued an order for mandatory coastal evacuations, and urged people in many other areas to evacuate voluntarily.
As a result, a mass exodus ensued with around SIX MILLION Floridians hurrying to safer ground. This resulted in more problems: huge traffic jams, fuel shortages, and packed hotels all the way to North Carolina. A few days later, the entire migration happened again in reverse.
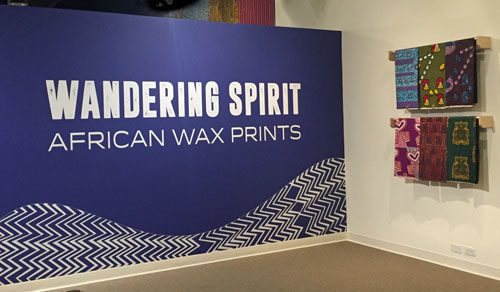
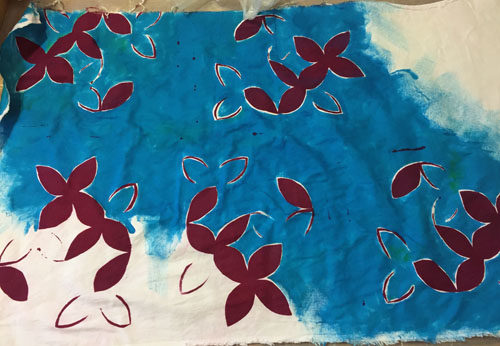
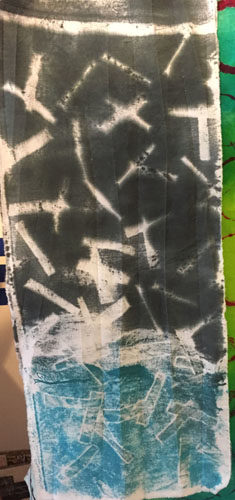
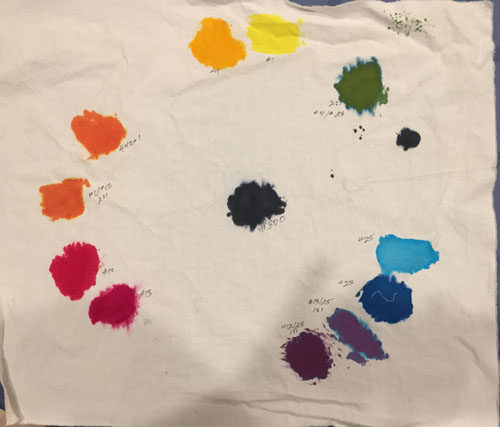
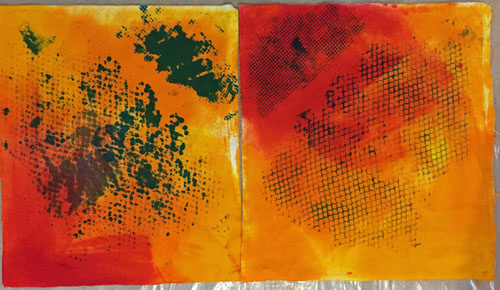
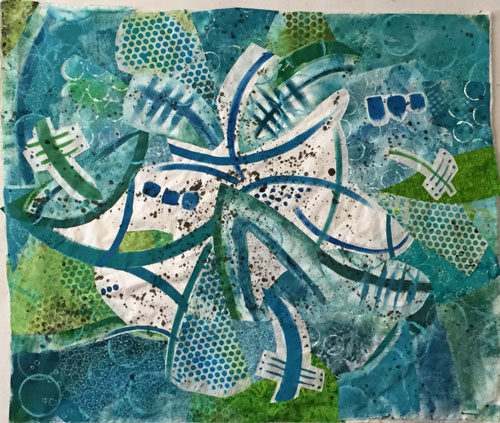
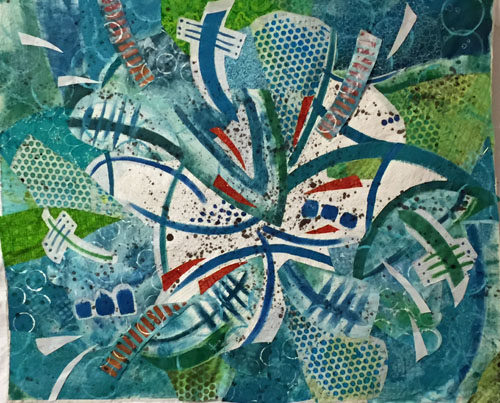
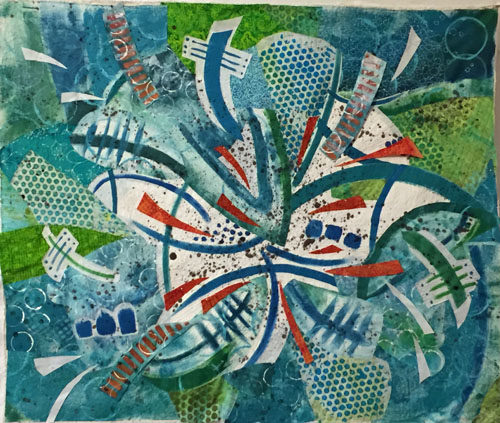
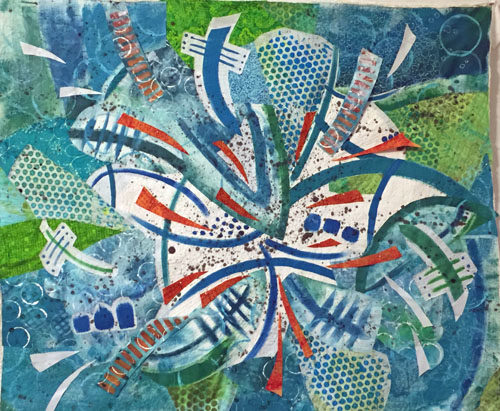
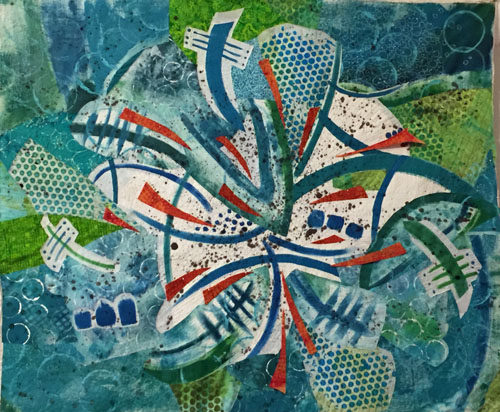
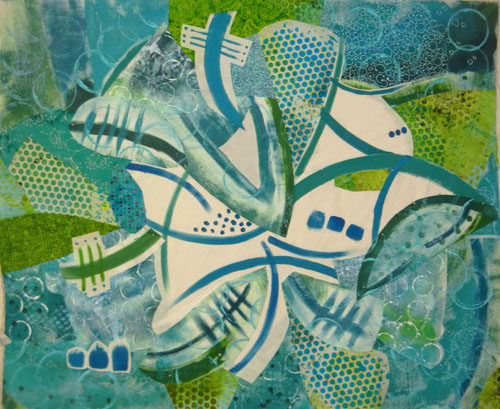
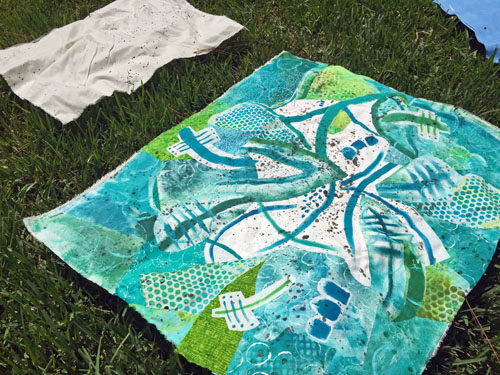
All this popped into my head when I read about an exhibit called “Forced to Flee.” Plus, I had played around with this little number about a year earlier.

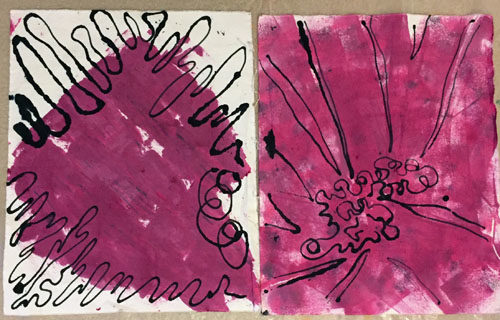
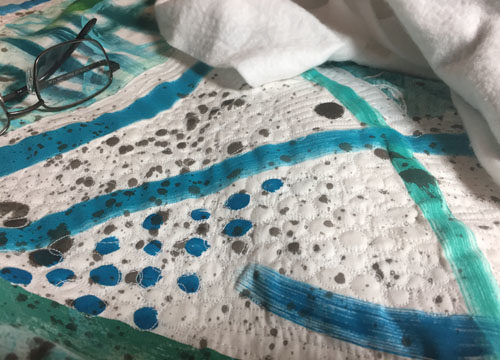
I wasn’t trying to make a hurricane motif, but was simply having fun sewing down raw-edged strips. But, in the right context I thought it could surely look like a hurricane as seen on a weather forecast. And so, my ideas for a hurricane quilt began to evolve.
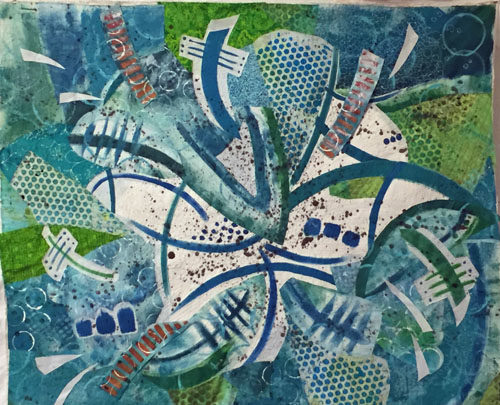
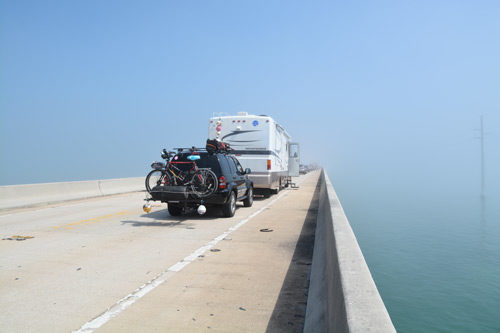
But, how to depict the mass exodus of cars? Well, it just so happens that my husband and I had been caught in a 6 hour traffic jam in the Florida keys and I had taken a few photos of the traffic at a standstill. (Because it’s not every day that the guy in the camper in front of you gets out with his fishing pole and casts over the side of the road/bridge.)
Maybe I can merge these two images somehow. Off to do some sketching.
And to those of you in the path of Florence, stay safe!
Ellen Lindner