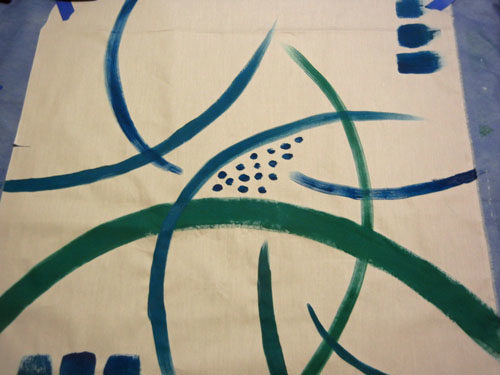
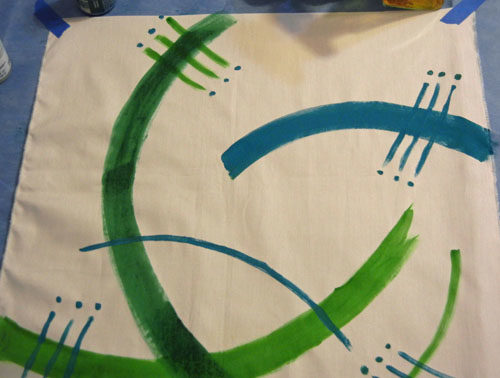
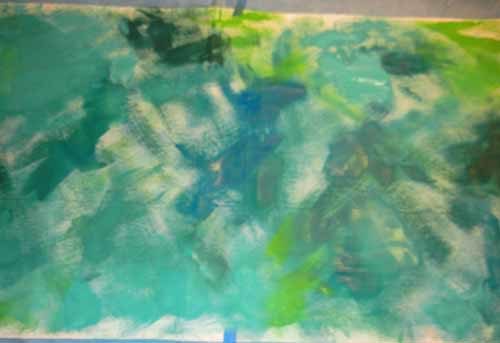
Well, after painting those (challenging) fabrics I had to figure out what to do with them.
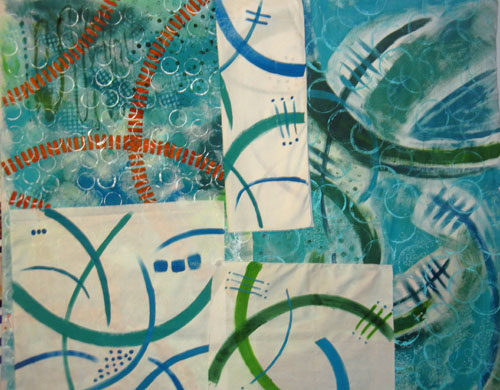
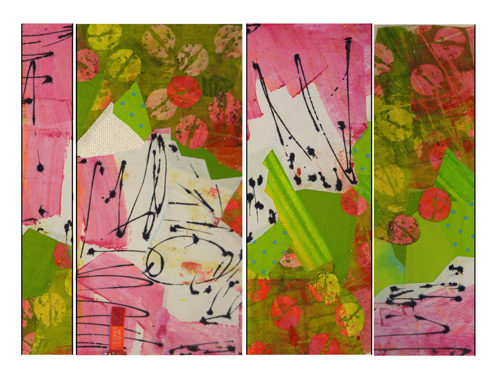
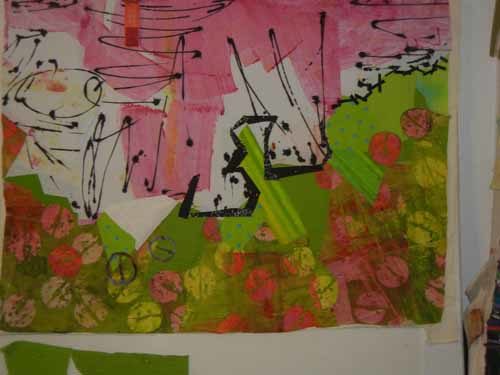
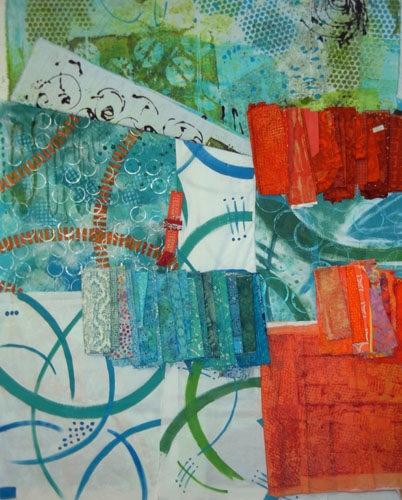
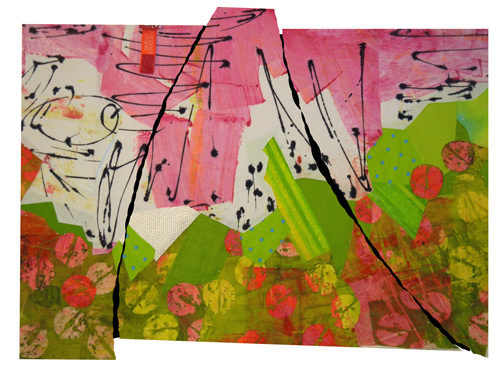
Since I wasn’t crazy about some of them, I knew I’d need to cut isolated portions and motifs for use. I had NO IDEA what my composition might look like, but I started cutting out sections and MINDLESSLY sticking them up on my design wall.
Apparently my brain likes order because I soon found myself adding each piece so that it filled the space left by previous pieces. Soon, a design was emerging.
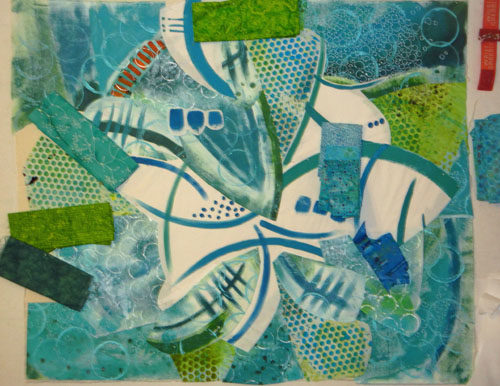
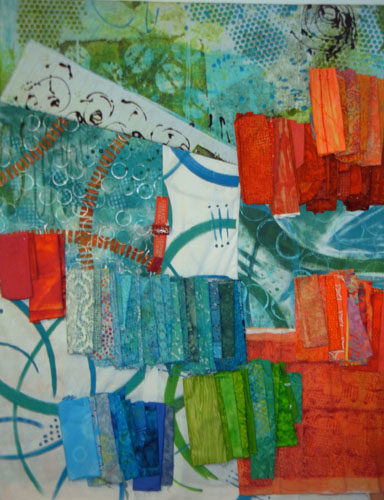
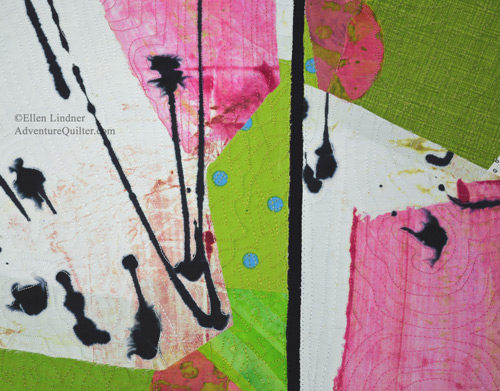
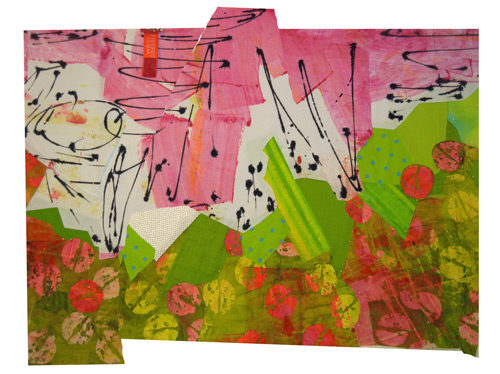
I did make one very conscious decision at this point: I decided to place the pieces with the white background near center, since I knew these high contrast pieces would attract attention.
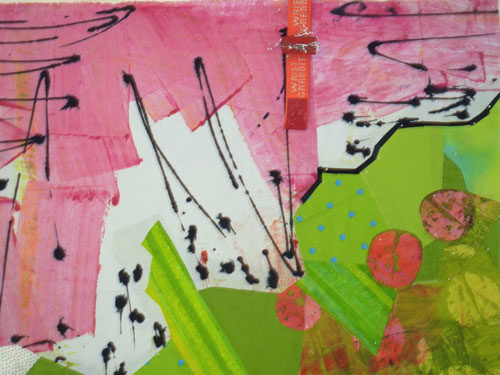
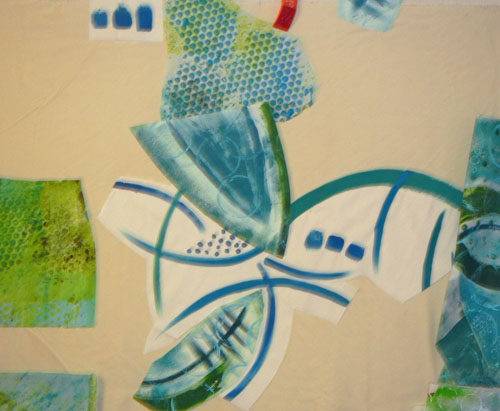
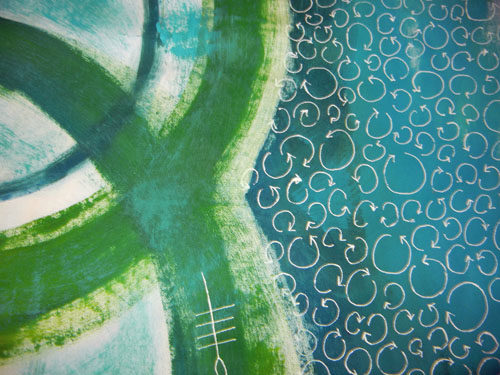
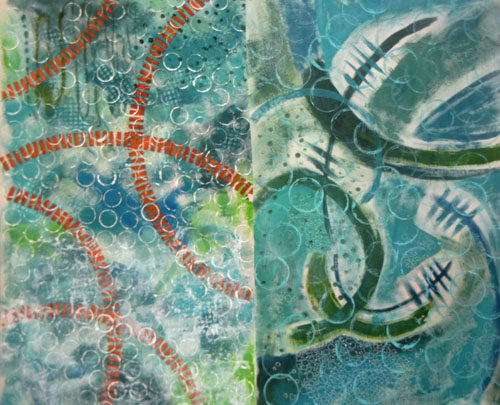
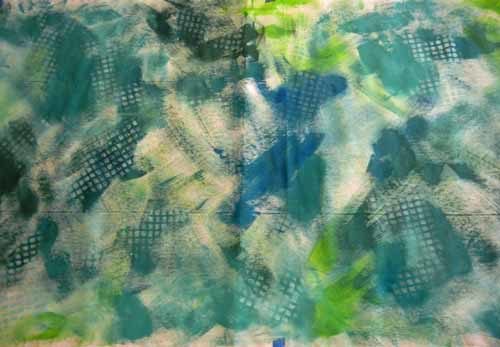
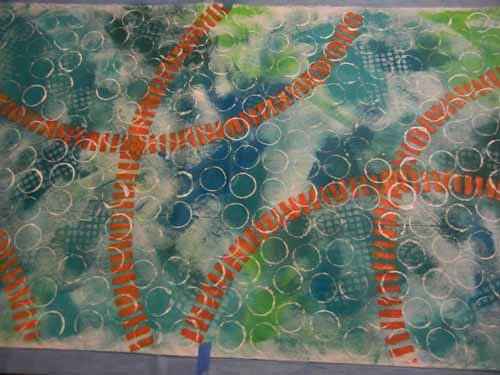
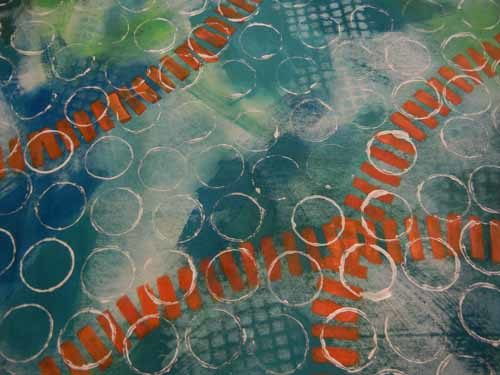
And so it went. I had found a dotted piece of blue and green and added it to the mix. It worked well and expanded the color palette.
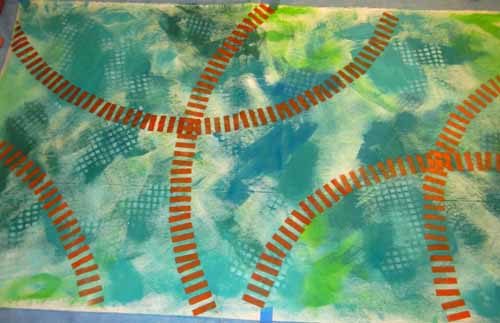
I threw in a little of the orange, too, of course. It was looking wild and I was trying hard not to over think it!
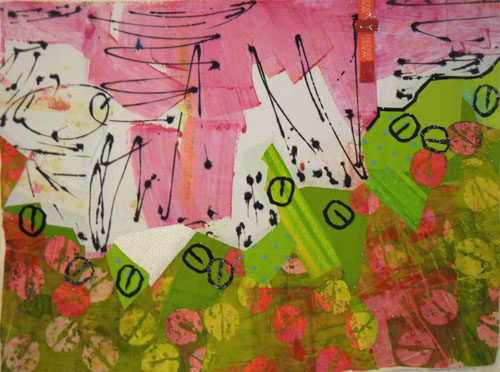
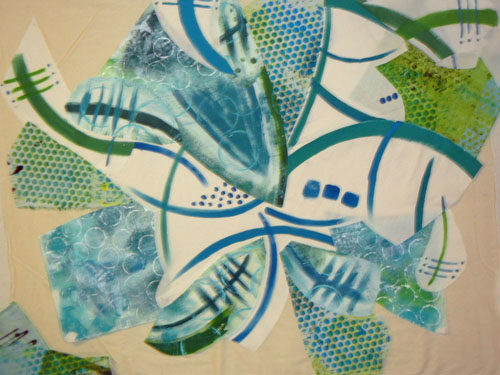
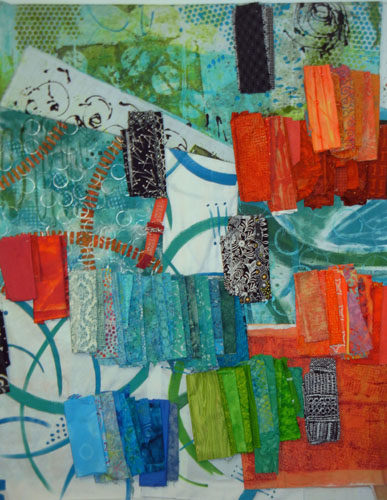
I had some gaps and auditioned commercial fabrics to fill in.
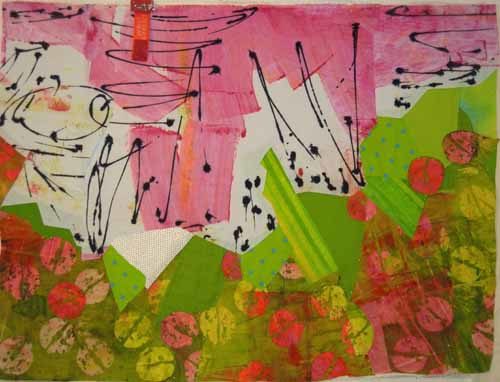
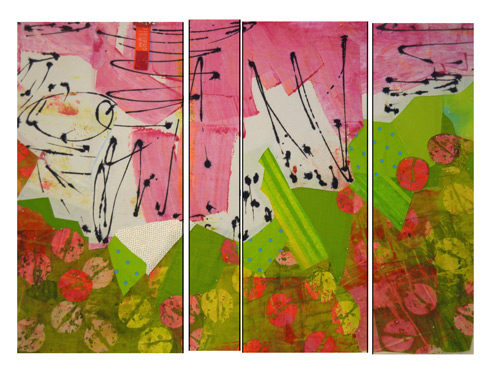
Before long I had the base muslin fabric covered. Now, it was time to examine what I had with a very critical eye. Was this wacky combination heading in a usable direction? Should I start all over with something calmer? If I continued, I knew some editing/deleting would be in order.
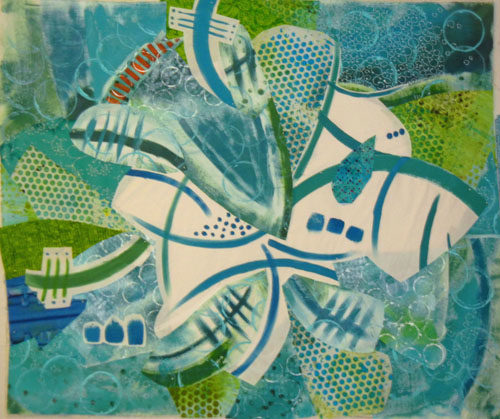
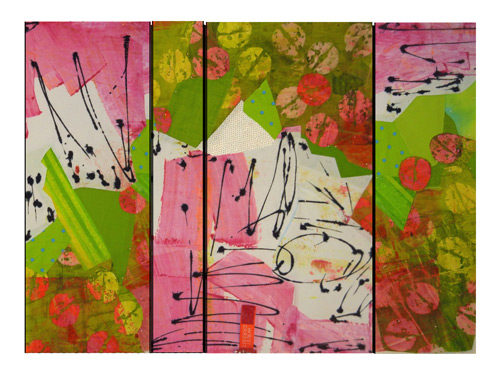
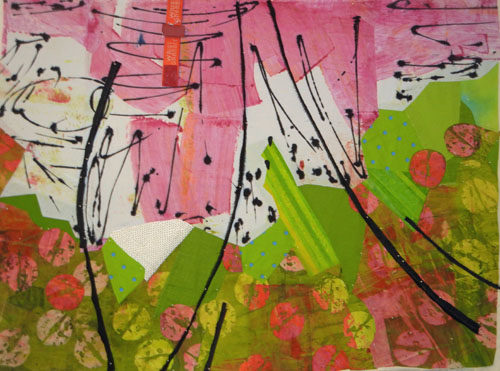
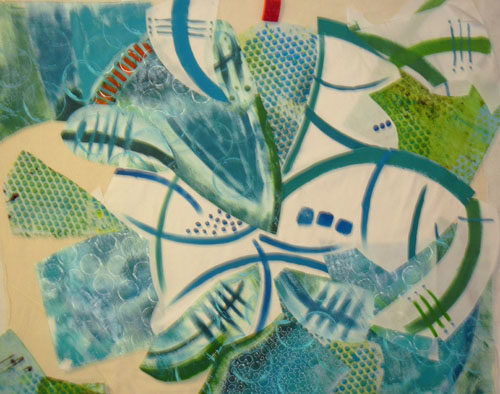
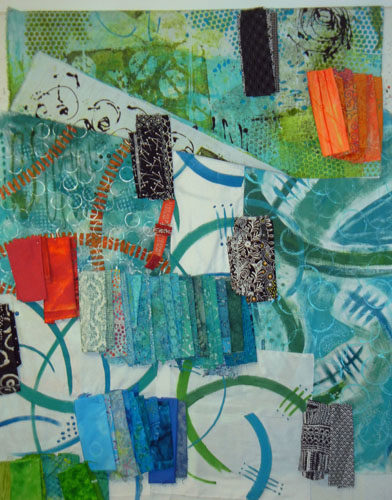
I removed (temporarily???) the orange, replaced the too bright blue lower left, and moved things a little. I felt like I was getting close.
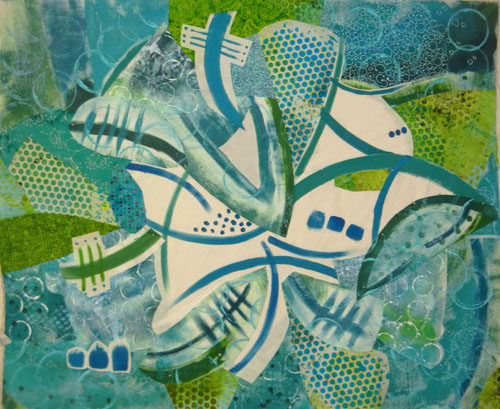
Future questions:
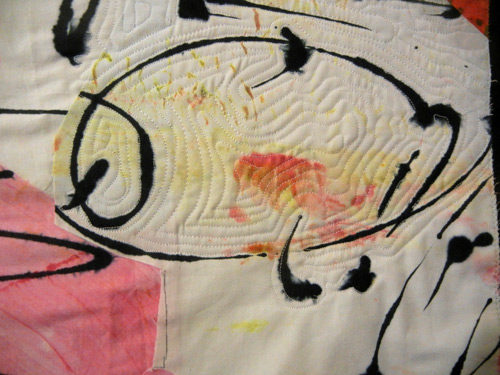
– The white areas seem so blank. Should I add something small scale in that area?
– Does it need something lower right?
– I’d like to add the orange back, but how can I best do that?
– Does it need something darker? Black, even?
About this time I decided on a tentative name, “Splash.” That would certainly affect some future decisions.
Thanks for joining me on this wild ride!
Ellen Lindner

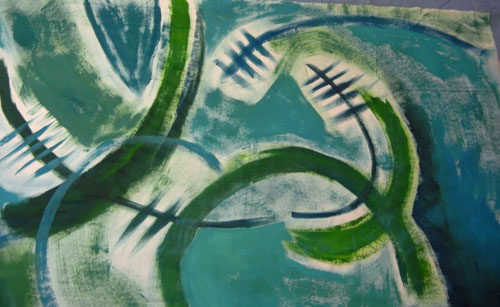


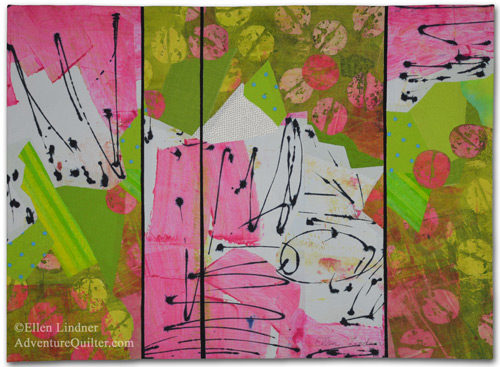

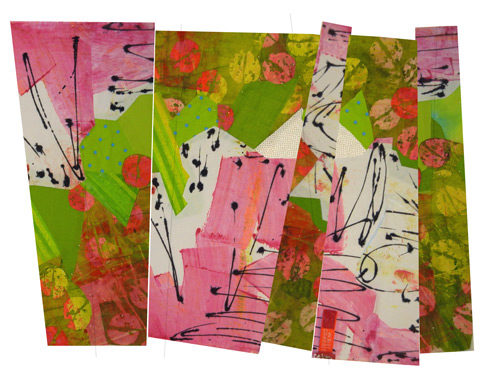

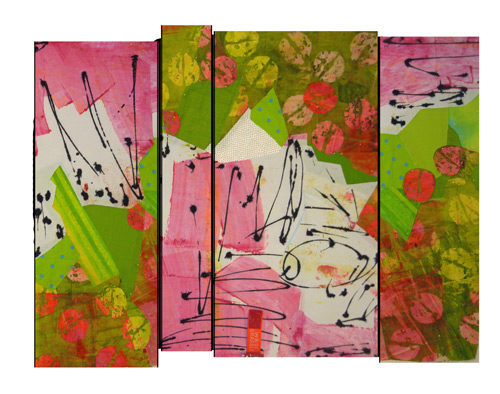
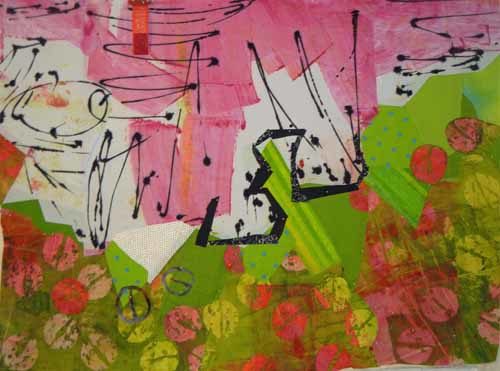
 It looked a little boring after some of the earlier arrangements. What if I flipped some of the panels?