I recently attended the opening of a quilt exhibit in a very nice museum, the Elliott, in Stuart, FL.

The exhibit shows the progression from traditional and utilitarian quilts to art quilts and even includes some pieces that PUSH the definition of quilt.
The exhibit space is pretty large. Here, you can see about 2/3 of it.

The exhibit runs loosely chronologically from left to right. These older quilts are either owned by the museum, or submitted by the relatives of the makers.
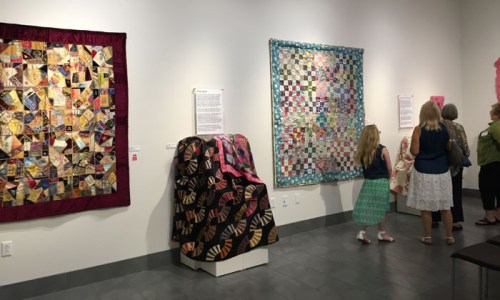
The large quilt below was made by the grandmother of Cathy Heeter. Then, Cathy used it as inspiration for a smaller one, shown at left.

Very cool, right?

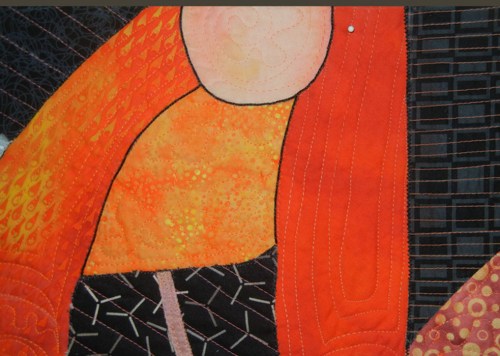
Continuing around the room, there were several quilts that bridged the gap between traditional quilts and abstract art.

These three pieces were made by Linda Ludemann and were inspired by pansies.

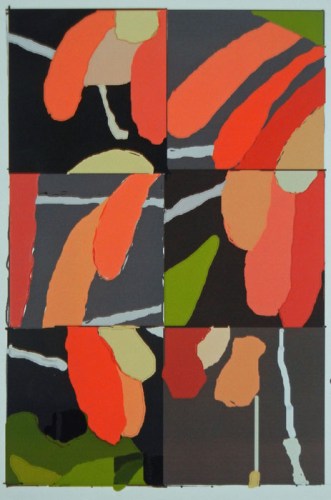
Then, some representational quilts. The top trio were made by Michele Sanandajian. And the bottom five by Luanne Carson.

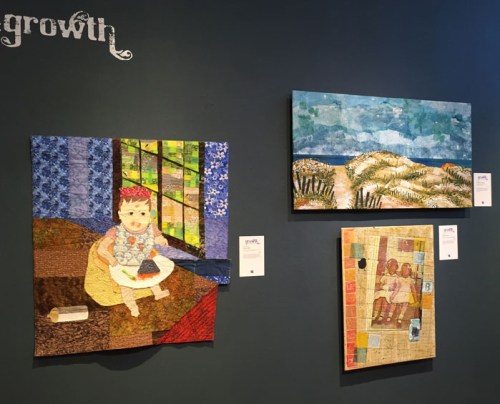
Gabriele DiTota created a vibrant 3D piece.


I’ll show you more images in the next post, as the quilt story unfolds. (You’ll even see something fairly controversial.)
This is a very nice exhibit, but it only runs through July 15th. If you want to see it don’t delay! Need more reasons to visit? The museum includes a large collection of antique cars and other vehicles and machines. Plus, it’s RIGHT AT the beach. There’s something for everyone.
Ellen Lindner


 (Yes, she dyed the fabric above, shown under the chair. She’s got skills!)


 One of my readers, Suzanne Sanger, decided to give it a try and was kind enough to share her results with me (and with you.)