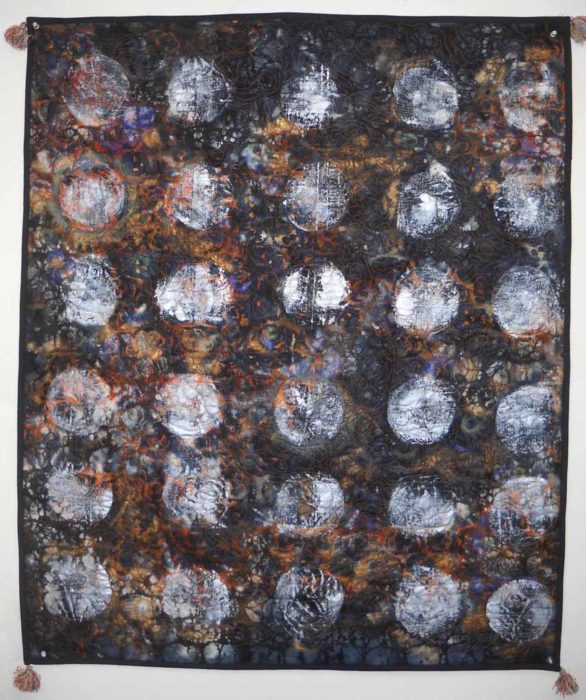
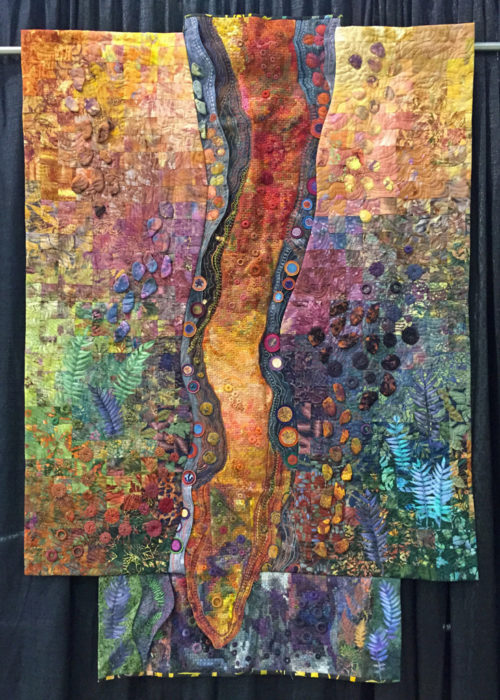
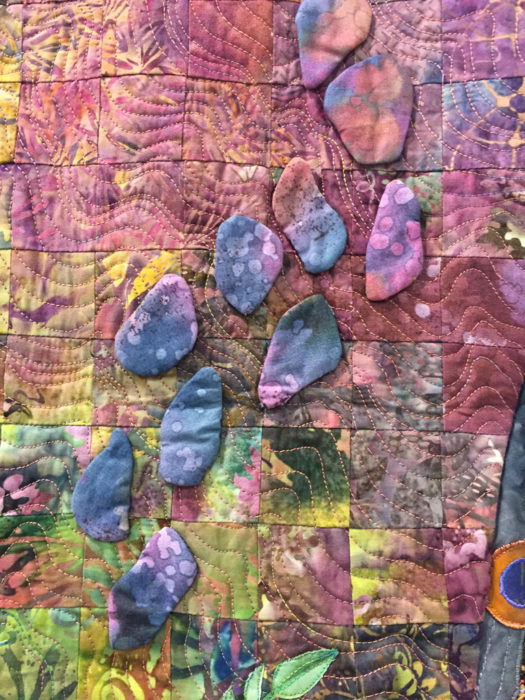
While making Deliberation I purchased quite a few rust-colored fabrics. Several of them were purchased online as part of a collection. So, along with those rust colors, I received many luscious oranges, reds, and fuchsias. I really liked them and began to plan how I might use them.
I love hand-dyed quilts with many similar colors of the same hue. I’m not into dyeing, but I suspected I could buy something similar. And I was right. Soon, I had a collection of solid and near-solid fabrics in a tight color combination of orange to fuchsia. Knowing that I’d need some different values and accent colors, I also purchased some neutral browns, as well as yellow-greens and purples with a hand stamped look.
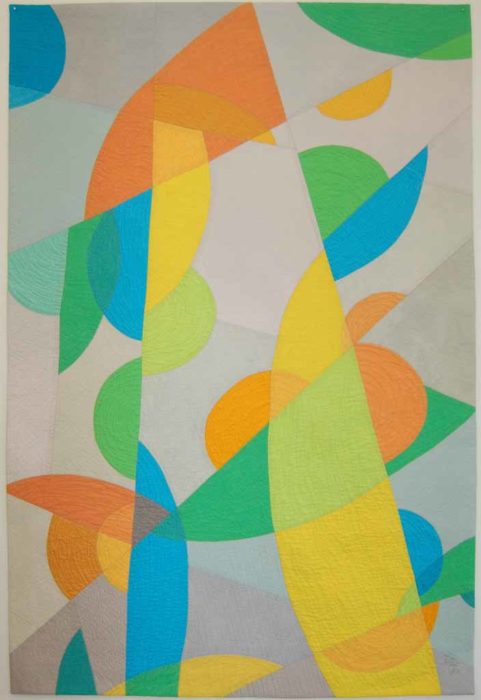
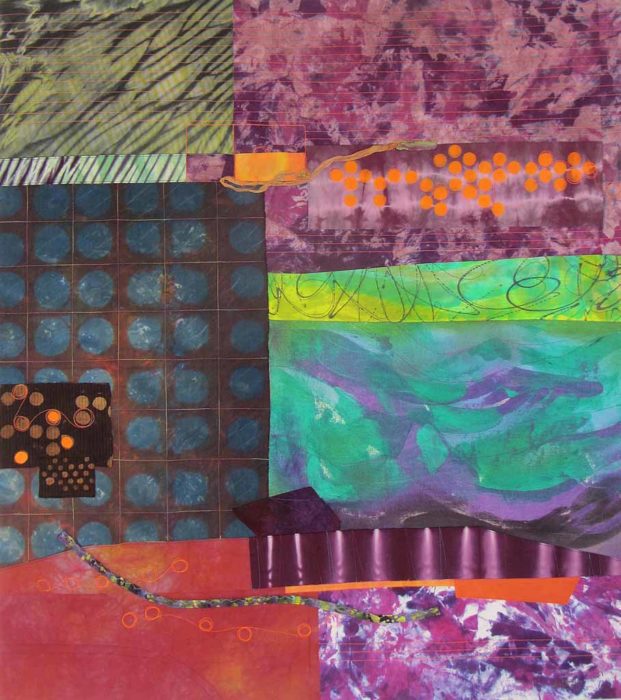
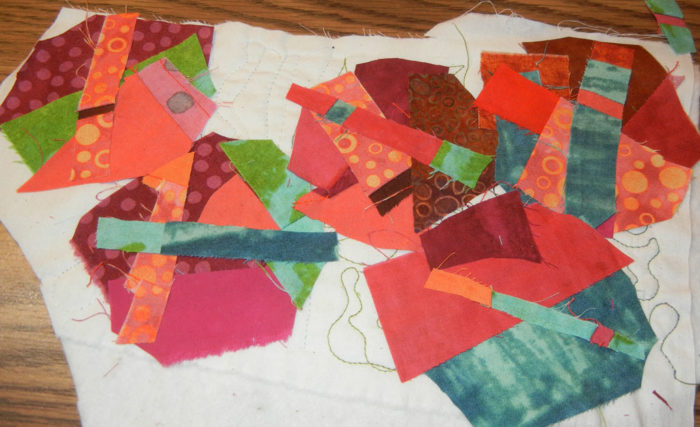
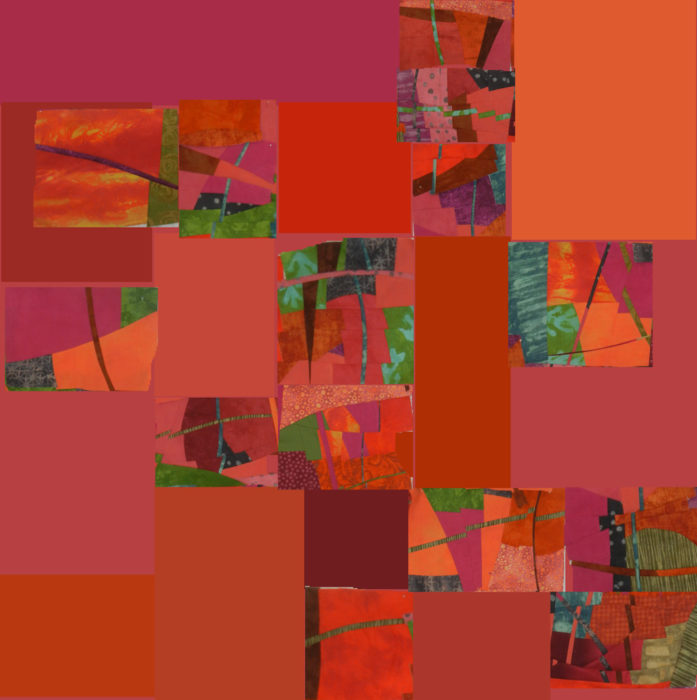
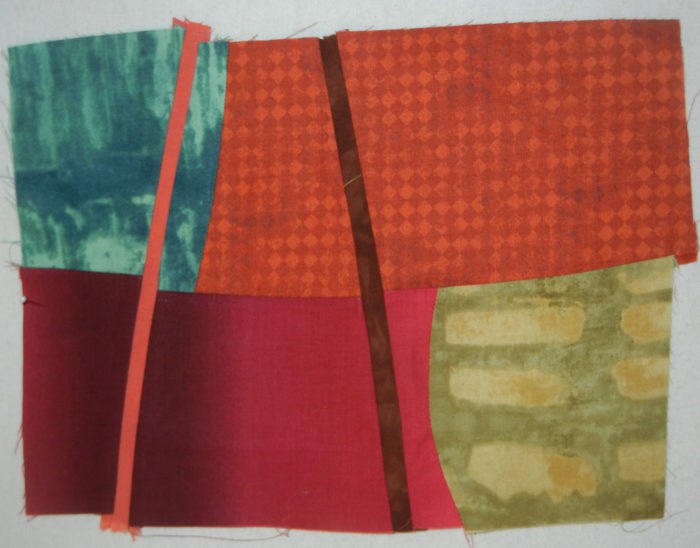
This is what it looked like when I auditioned the combination on my design wall.
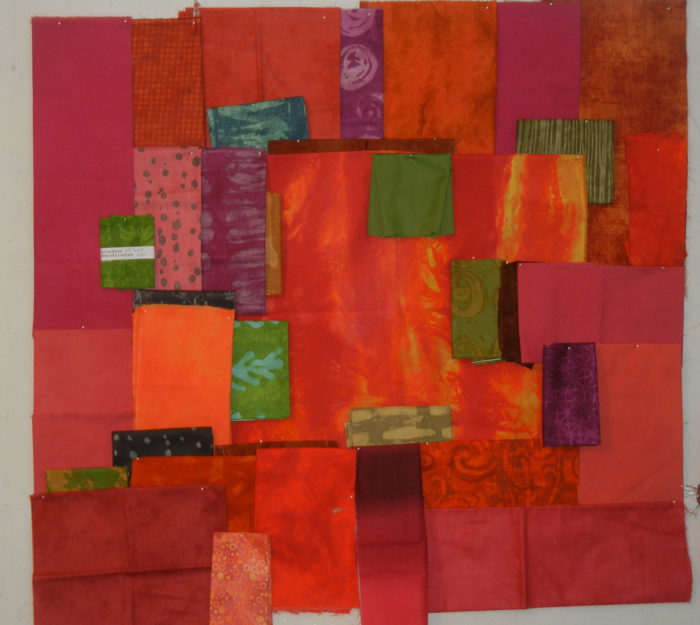
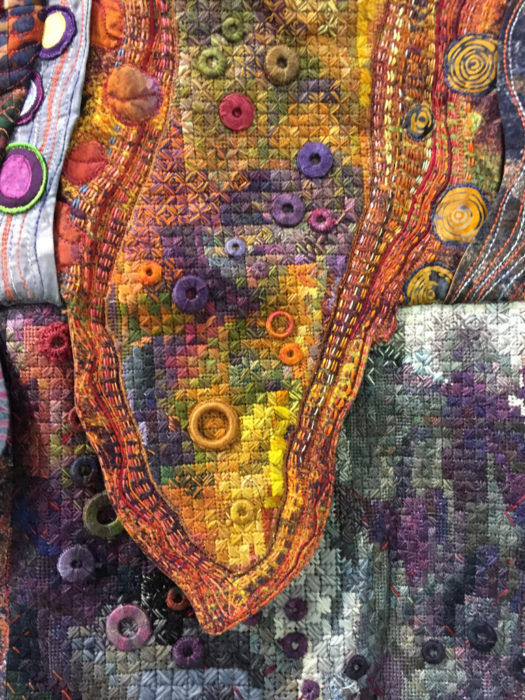
As you can see, I auditioned them in the proportions in which I intended to use them. (Very important.) The major colors are shown in large quantities and the accent ones in small shapes. I liked the combination so I proceeded with cutting rectangles: largish ones from major colors and small ones from accents. My plan was to use improvisational piecing, which simply means that no patterns are used. (See the P.S. note)
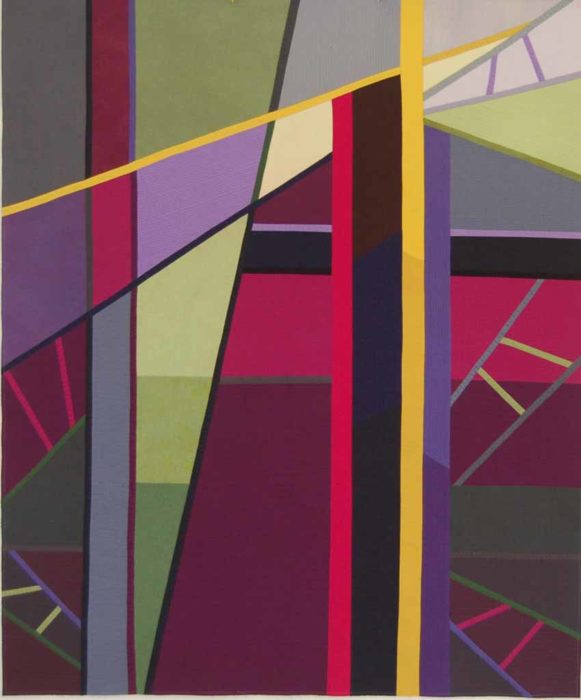
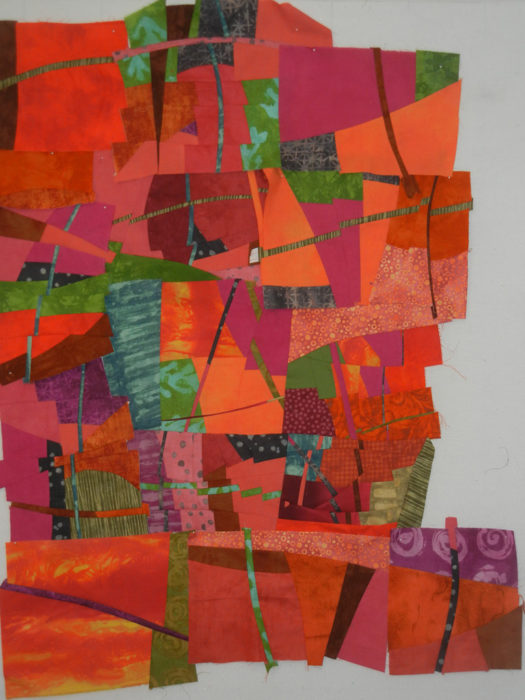
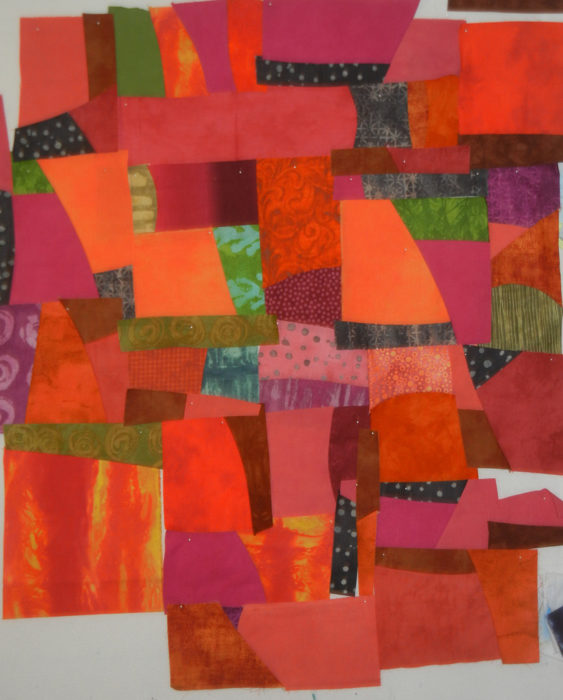
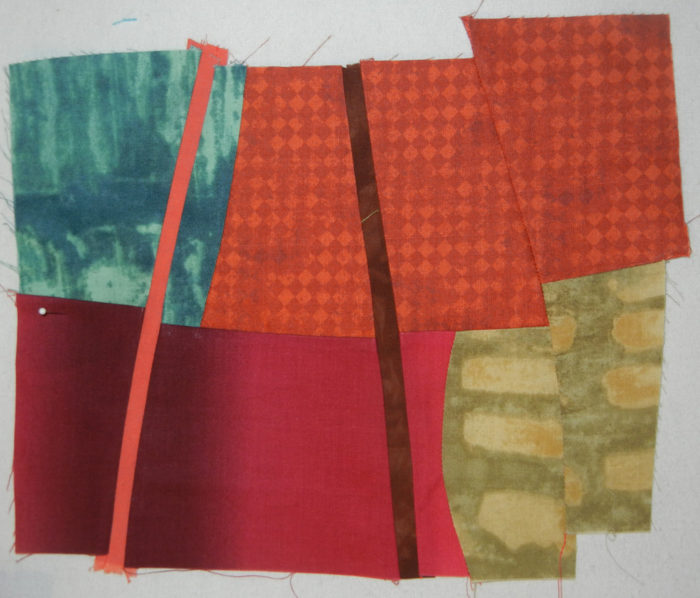
Next, I pieced together couples made up of one large and one small piece. I put them back on the design wall and checked proportions again. I made some adjustments by sewing a few new blocks, adding some dark neutrals, and trimming down some of the existing ones. Once I had the proportions to my liking I felt like I could forge ahead without a lot more planning. Notice that all the seams were curved and many were diagonal. In the photo below I was just getting started cutting and rearranging the first round of shapes.
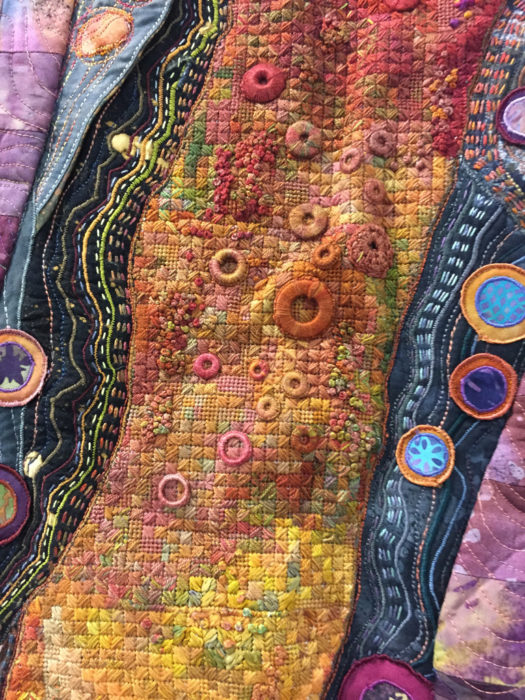
At this point, I was confident in my plan and ready to get started. With improvisational piecing it’s great fun to slice into things and sew them back together with a shifted orientation. Or to insert skinny strips of contrasting colors. My plan was to do plenty of both. My idea was to make a bunch of “blocks,” some with lots of tiny pieces and others with just one alteration. Then, I intended to let the intricate pieces create a focal point and to use the simpler pieces around the edges.
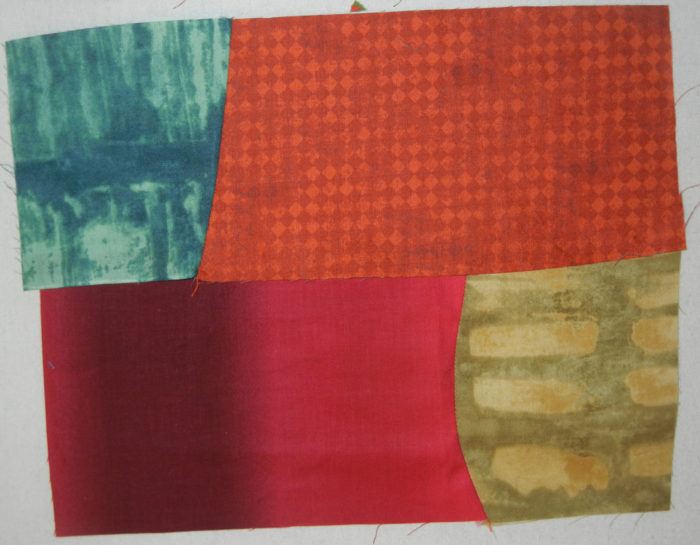
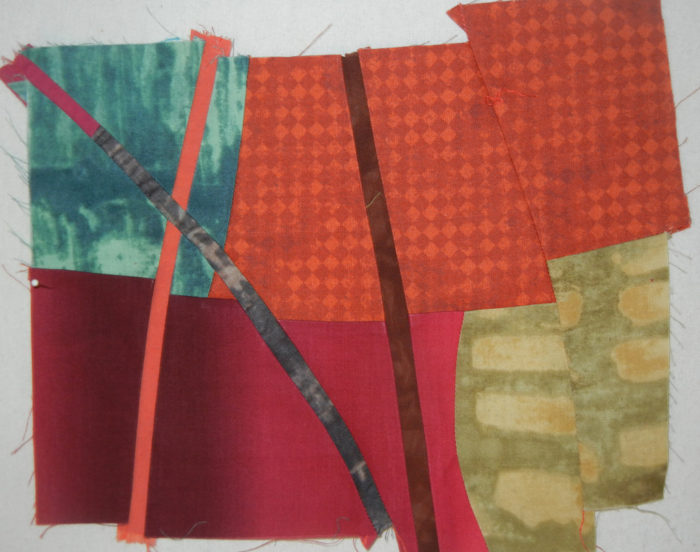
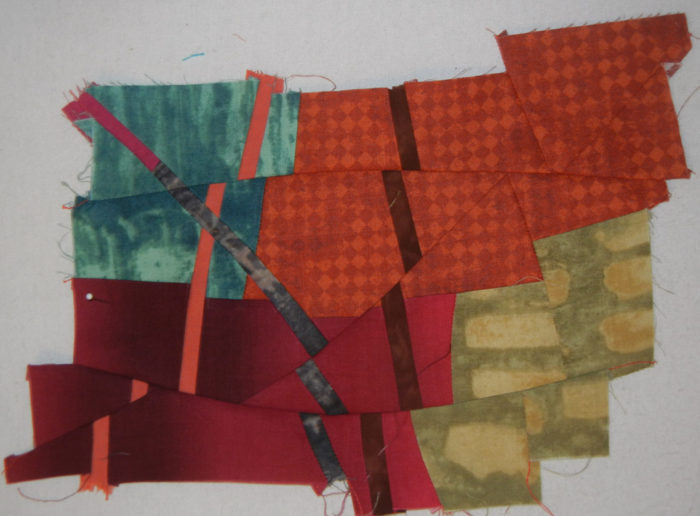
This is an example of what I did as I combined and altered two “couples,” making them into one block.
The two couples joined with a horizontal seam:
Two skinny strips inserted:
Right side cut and shifted:
Another skinny insert added. This one was a scrap from earlier trimming and therefore had two colors in it.
Two more cuts and shifts added: diagonal and horizontal.
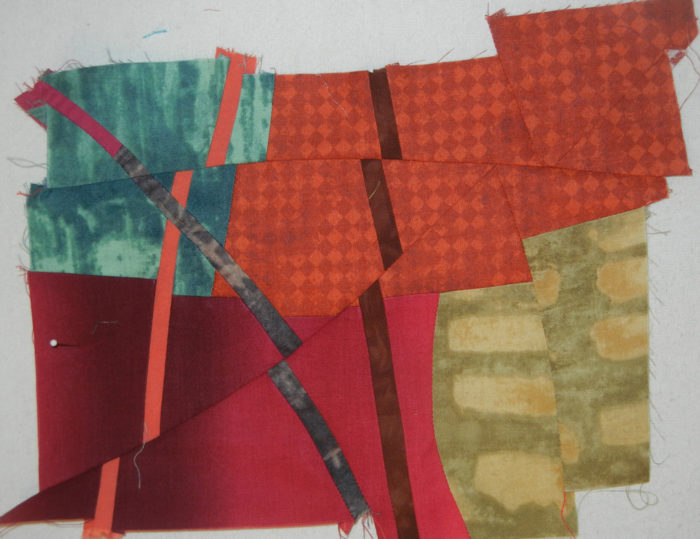
A final horizontal shift.
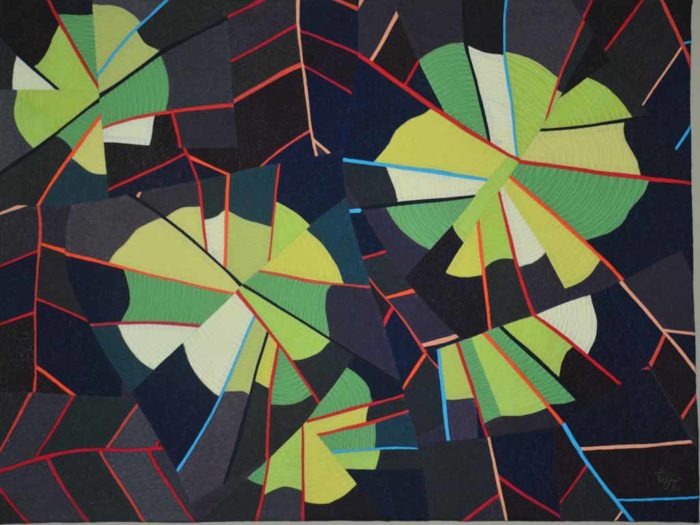
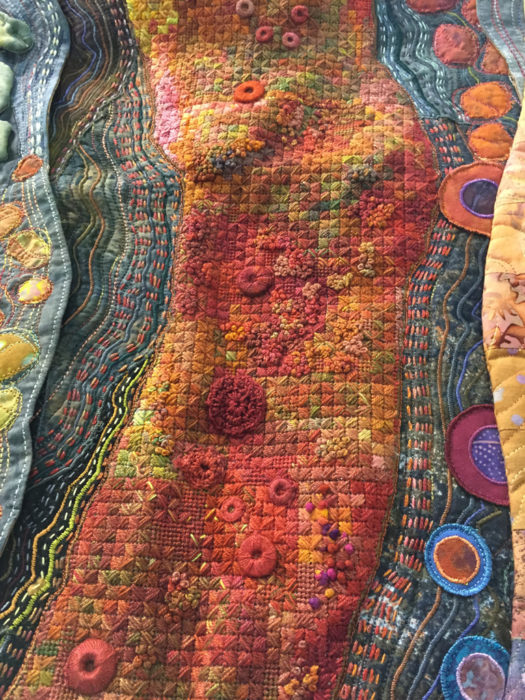
This is the final version of the most intricate block. I won’t square it up any more than necessary. I’ll leave it like this until I’m ready to join blocks together. At that point I’ll trim only as needed, but it’s very unlikely that it will end up as a rectangle.
All of this is easy, so it’s quite addicting to slice and alter!
Ellen Lindner
P.S. There are lots of things online about how to do improvisational piecing, although most of them have to do with straight seams. I learned from Quilting Arts TV, series 1600 with Pat Pauly.
Here’s a good YouTube video about free cutting and piecing curved seams:
https://www.youtube.com/watch?v=9mIwp8TZtfU
P.P.S. My old blog has some info about improvisational piecing, too:
Getting started
Putting blocks together