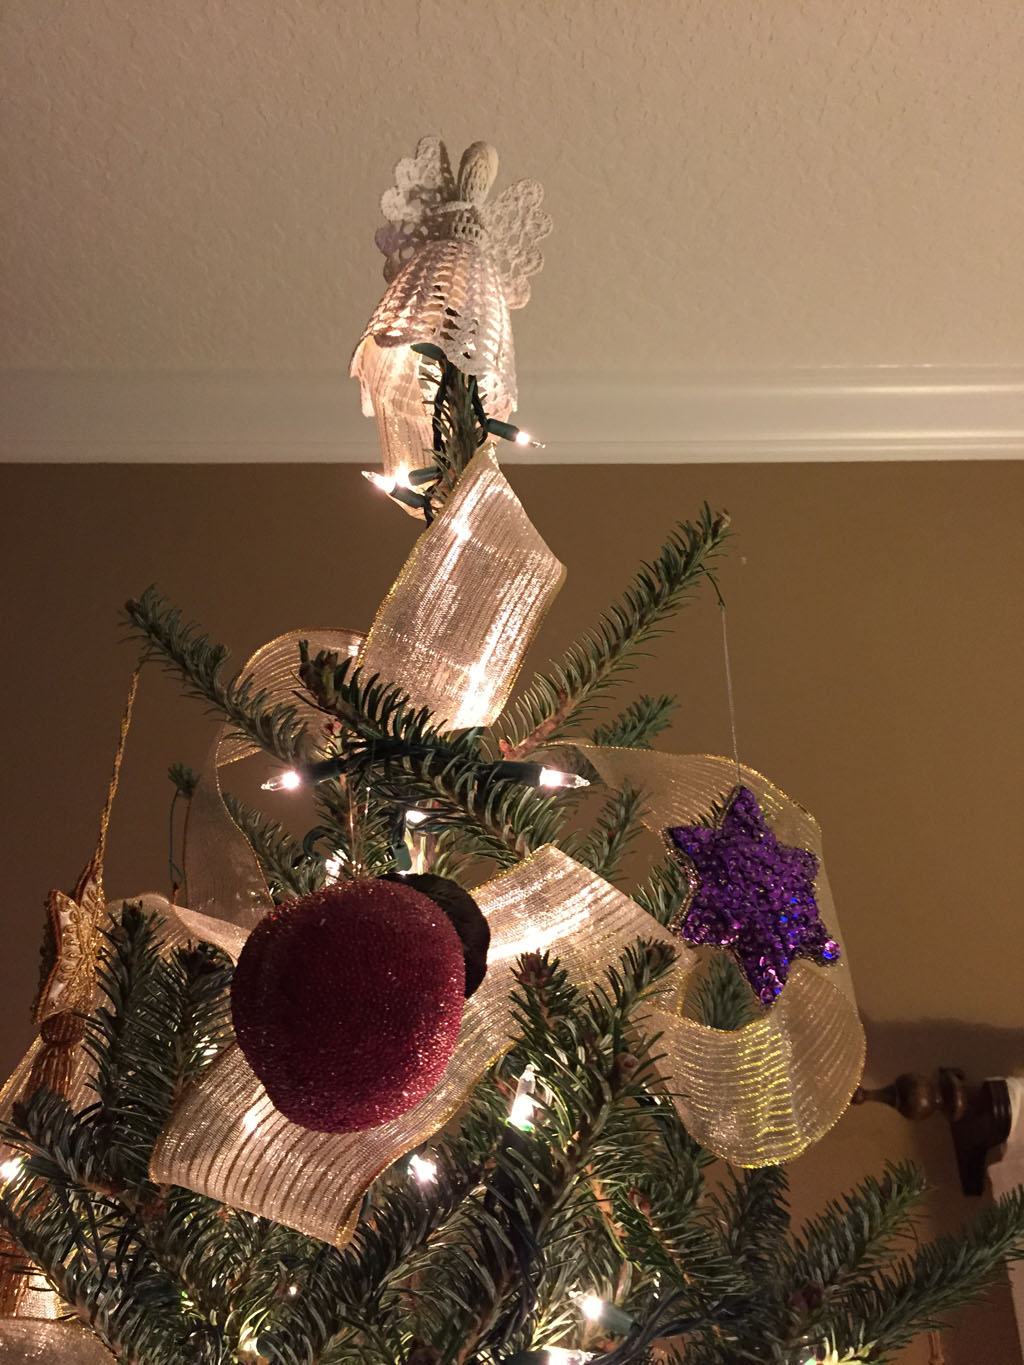
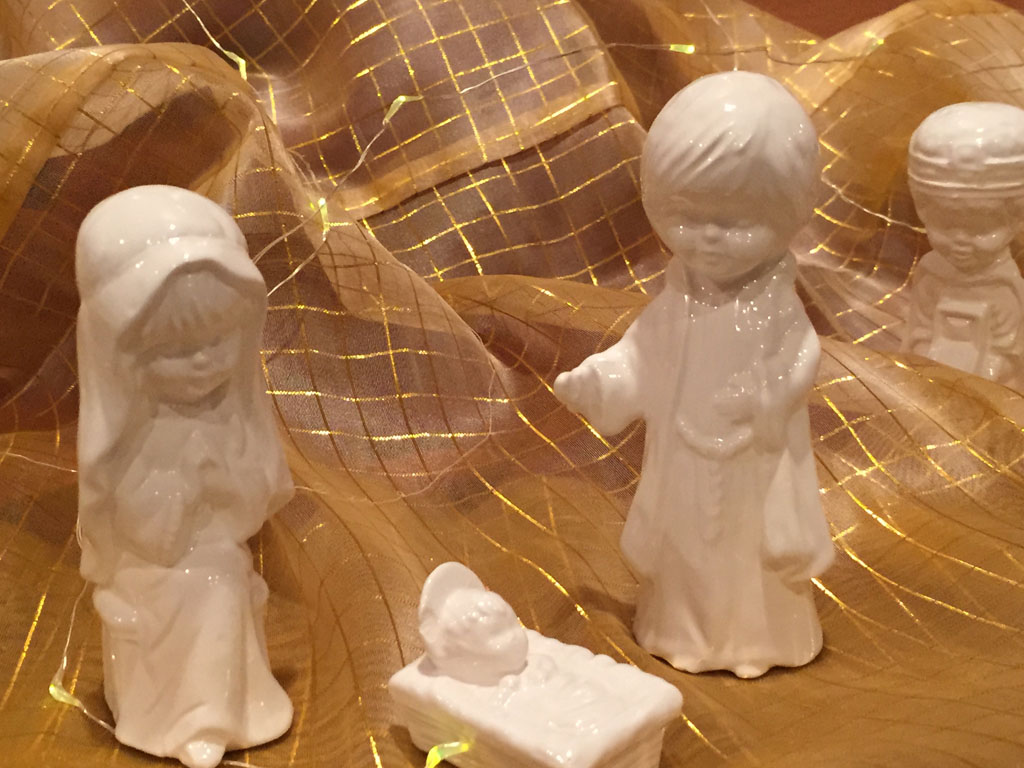
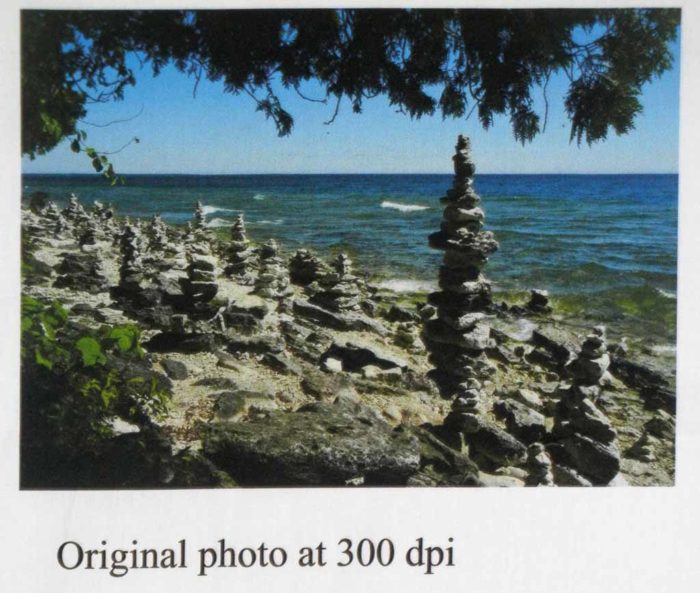
As I mentioned in the last post, my art quilt group, Dirty Dozen Fiber Artists, often has group challenges based on drawing inspiration from a particular photo. This was the photo we selected for our 2009 challenge.
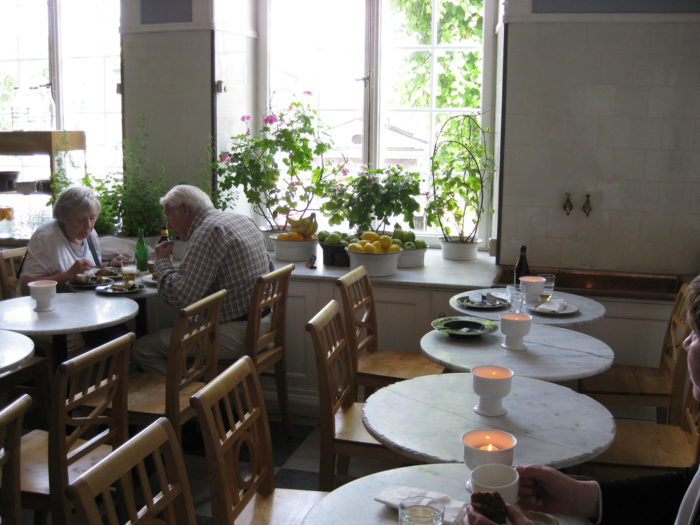 Photo credit: Martha Wolfe
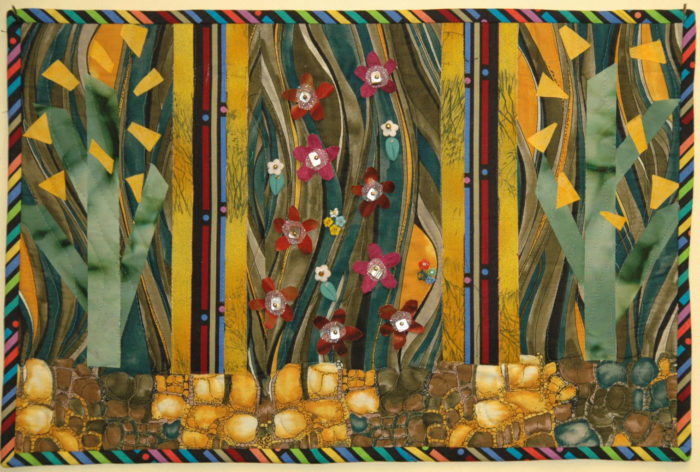
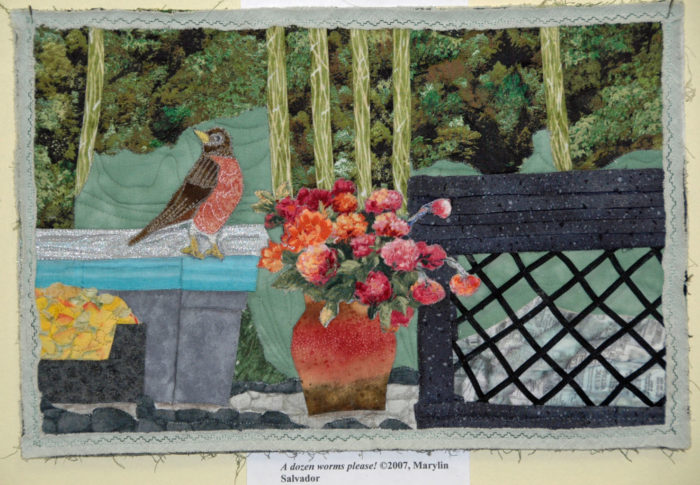
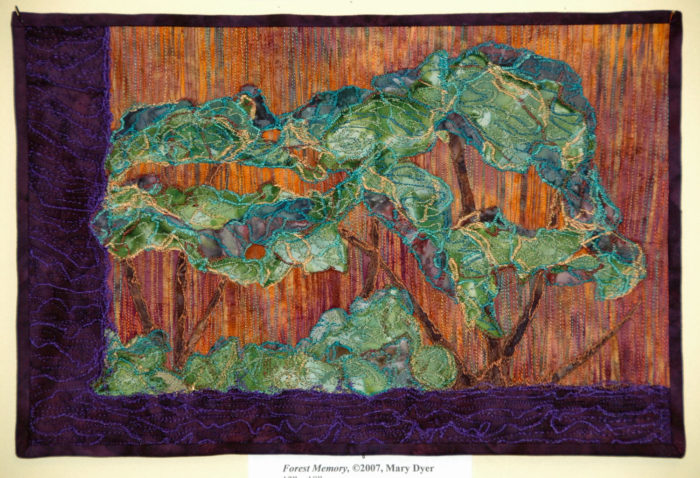
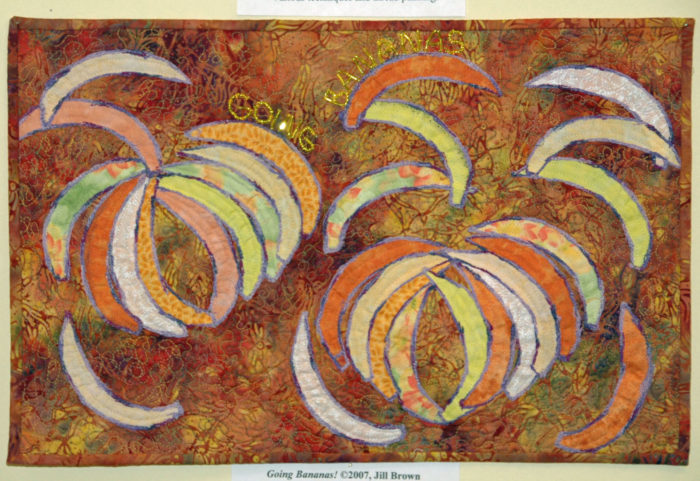
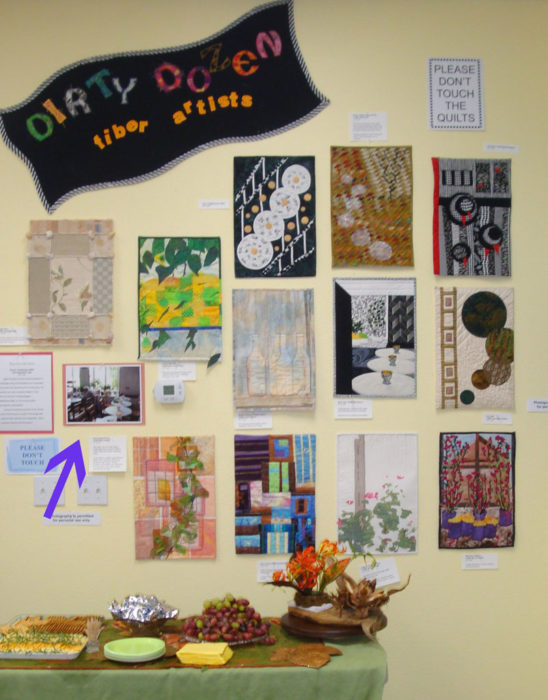
We decided on a vertical orientation, with measurements of 18″ x 12″. Here’s the group display. Very different, right?
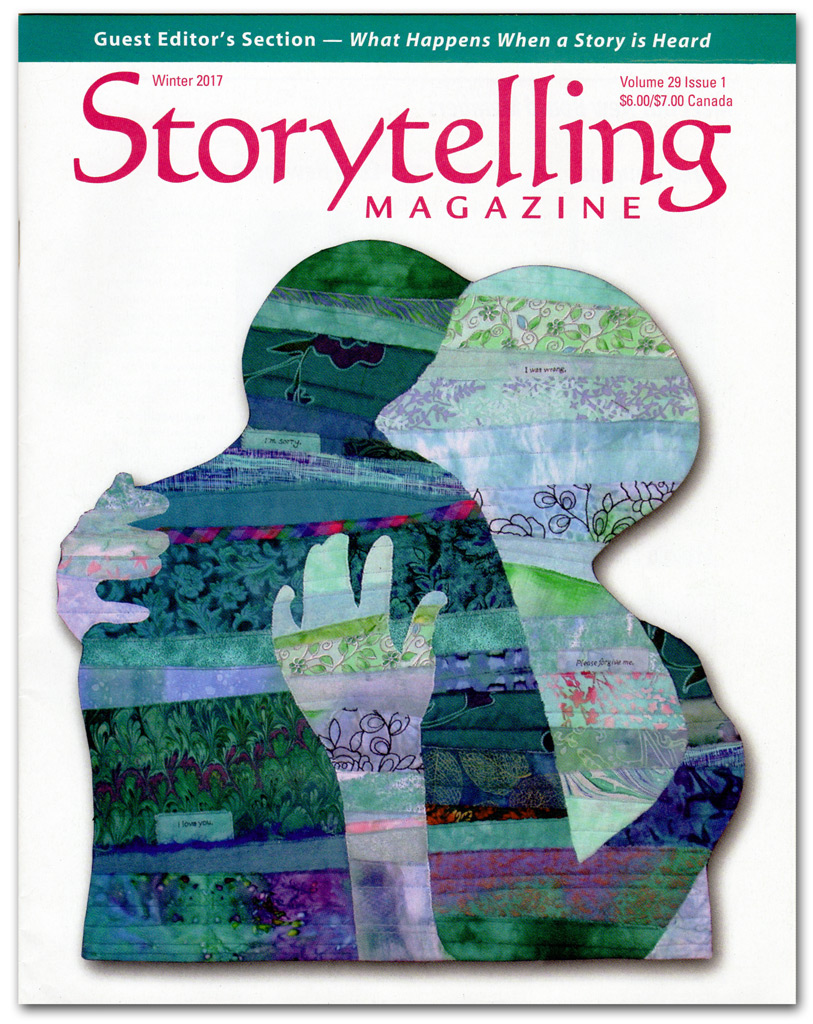
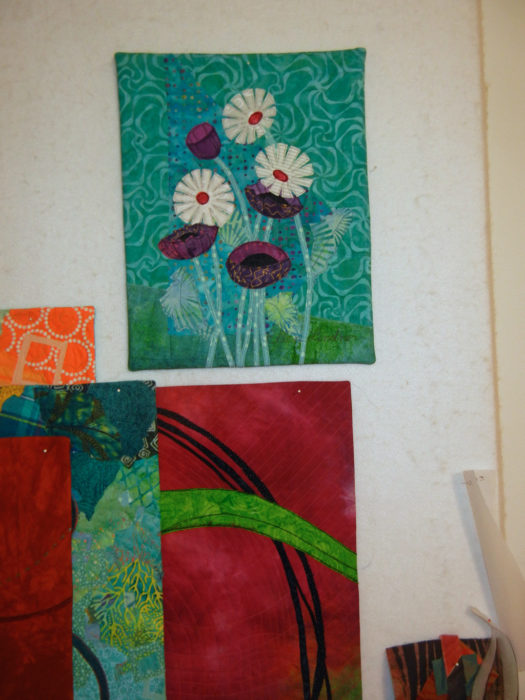
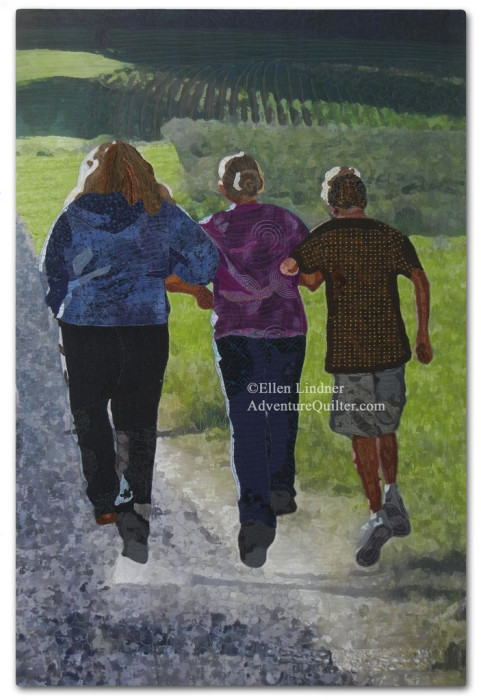
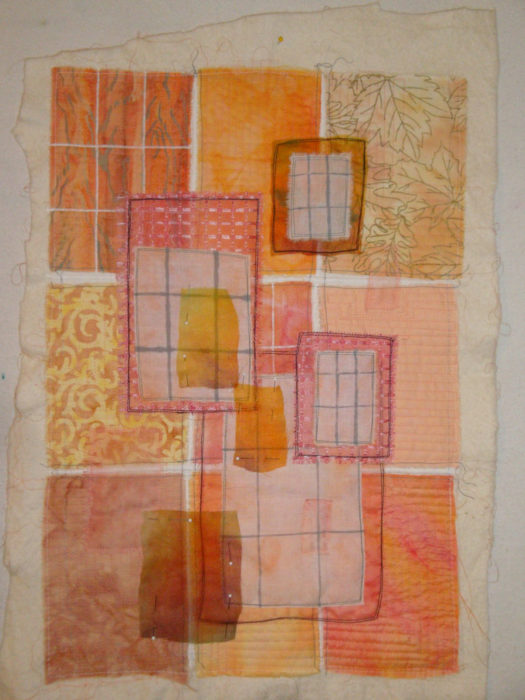
This was my piece, Northern Light.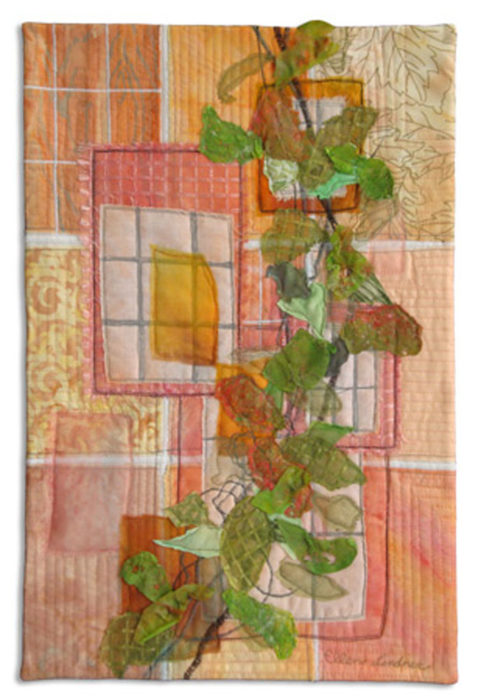 I never really cared for this quilt, I think maybe because of the color combination. Whenever I’m disappointed with a quilt I like to examine it and think about what worked and what didn’t. These are some things I think I did well:
– Used the soft peach glow of the candles as the predominant color.
– Mimiced the grid lines of the windows as design elements.
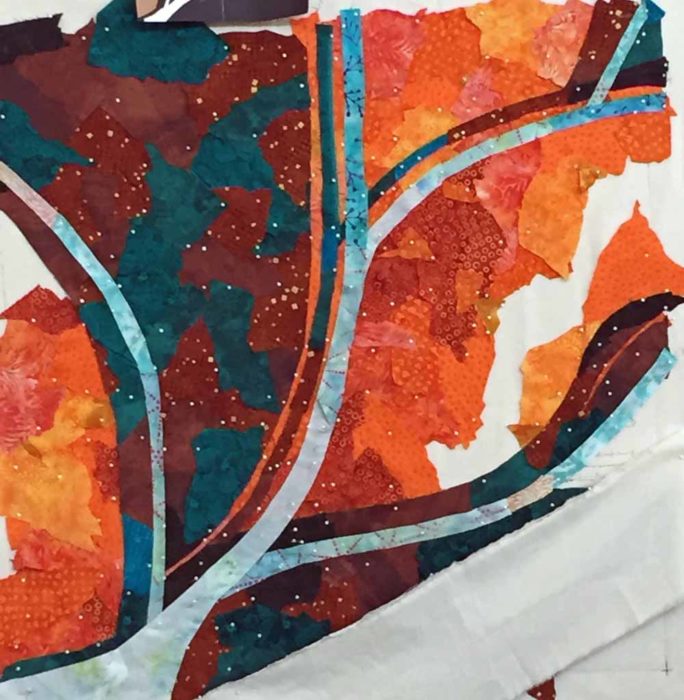
– Created interesting leaves, inspired by the foliage in the windows.
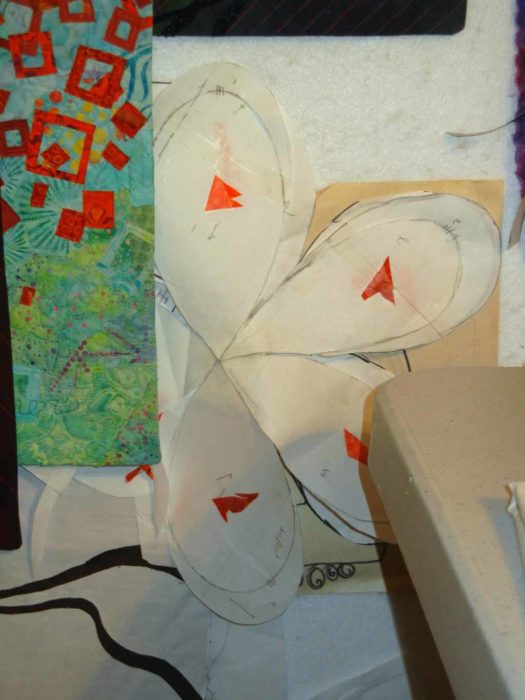
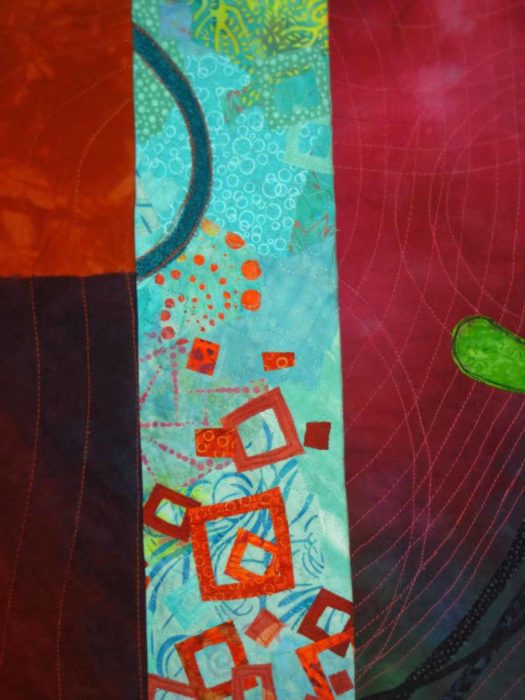
Here are those leaves up close. Some are stitched sheers. Others are painted and melted plastics. I like the way they curl and buckle, lifting away from the quilt surface. That might be something to try again on a future quilt.
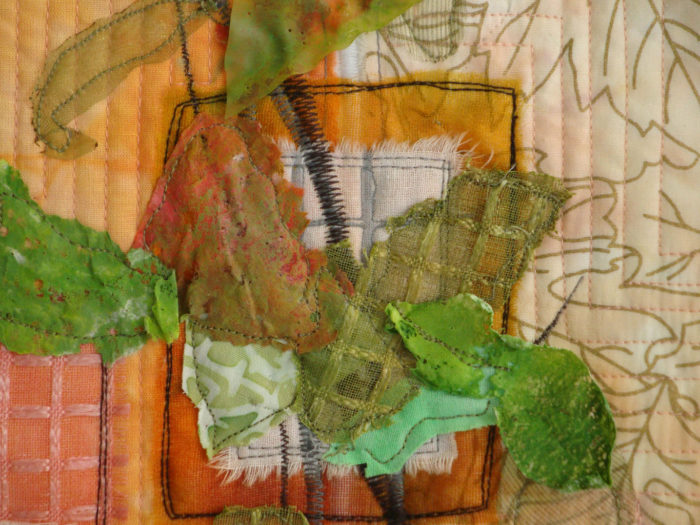
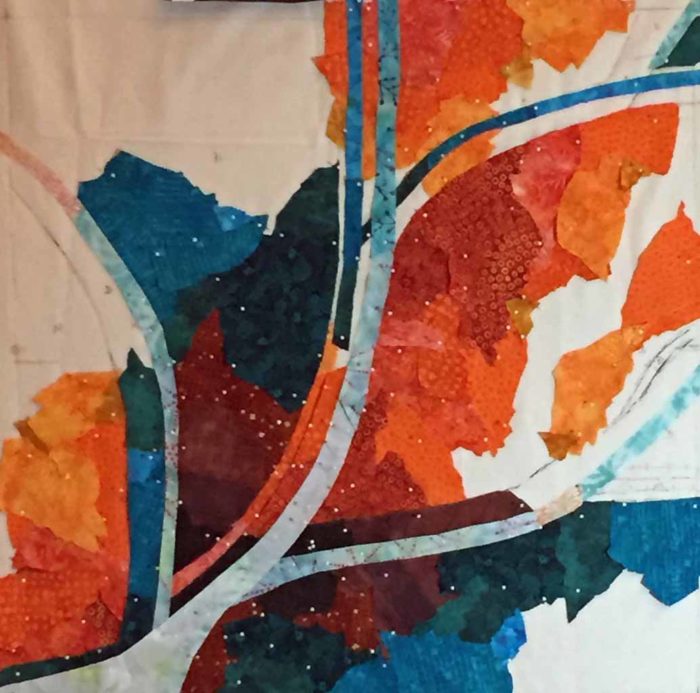
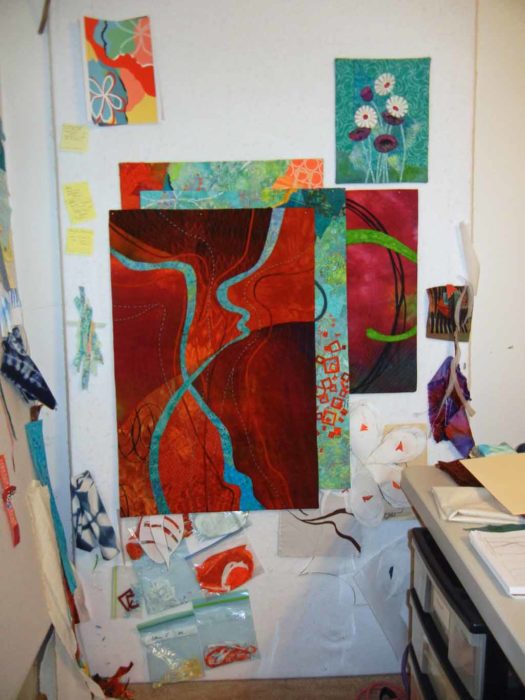
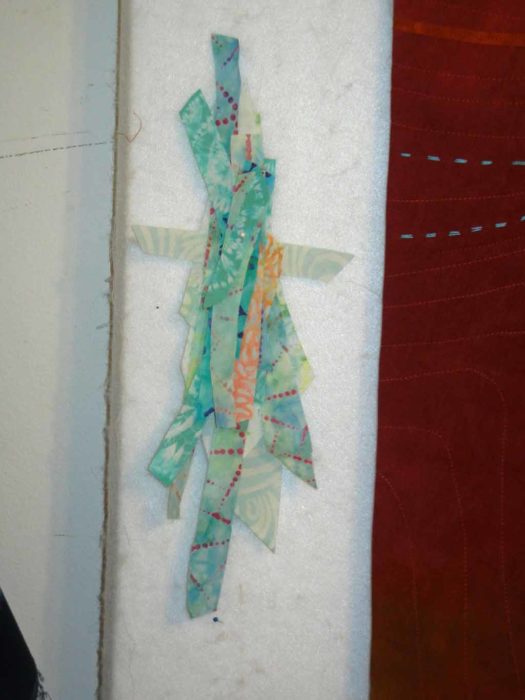
However, I think the combination of peach and yellow-green just doesn’t work. And maybe the whole foliage thing is a little heavy handed. To test that theory, check out the in-progress background, below. I think it was better before I added the leaves.
If I were doing this quilt again, I think I’d keep the background about the same. Then, I’d add a FEW leaves in maybe a rust color. NOT green, something sorta monochromatic.
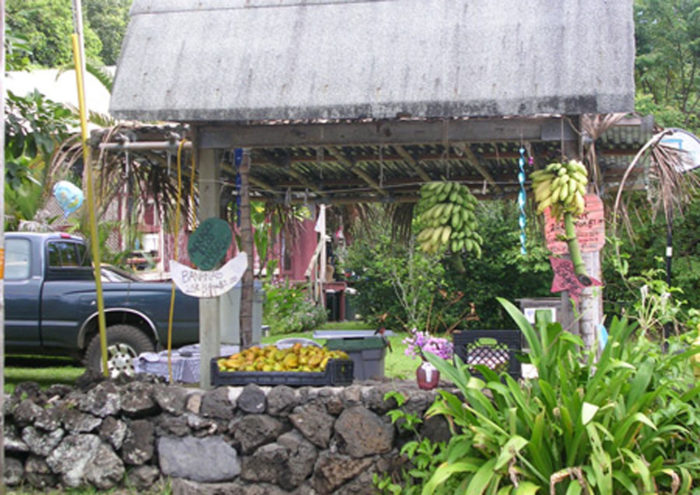
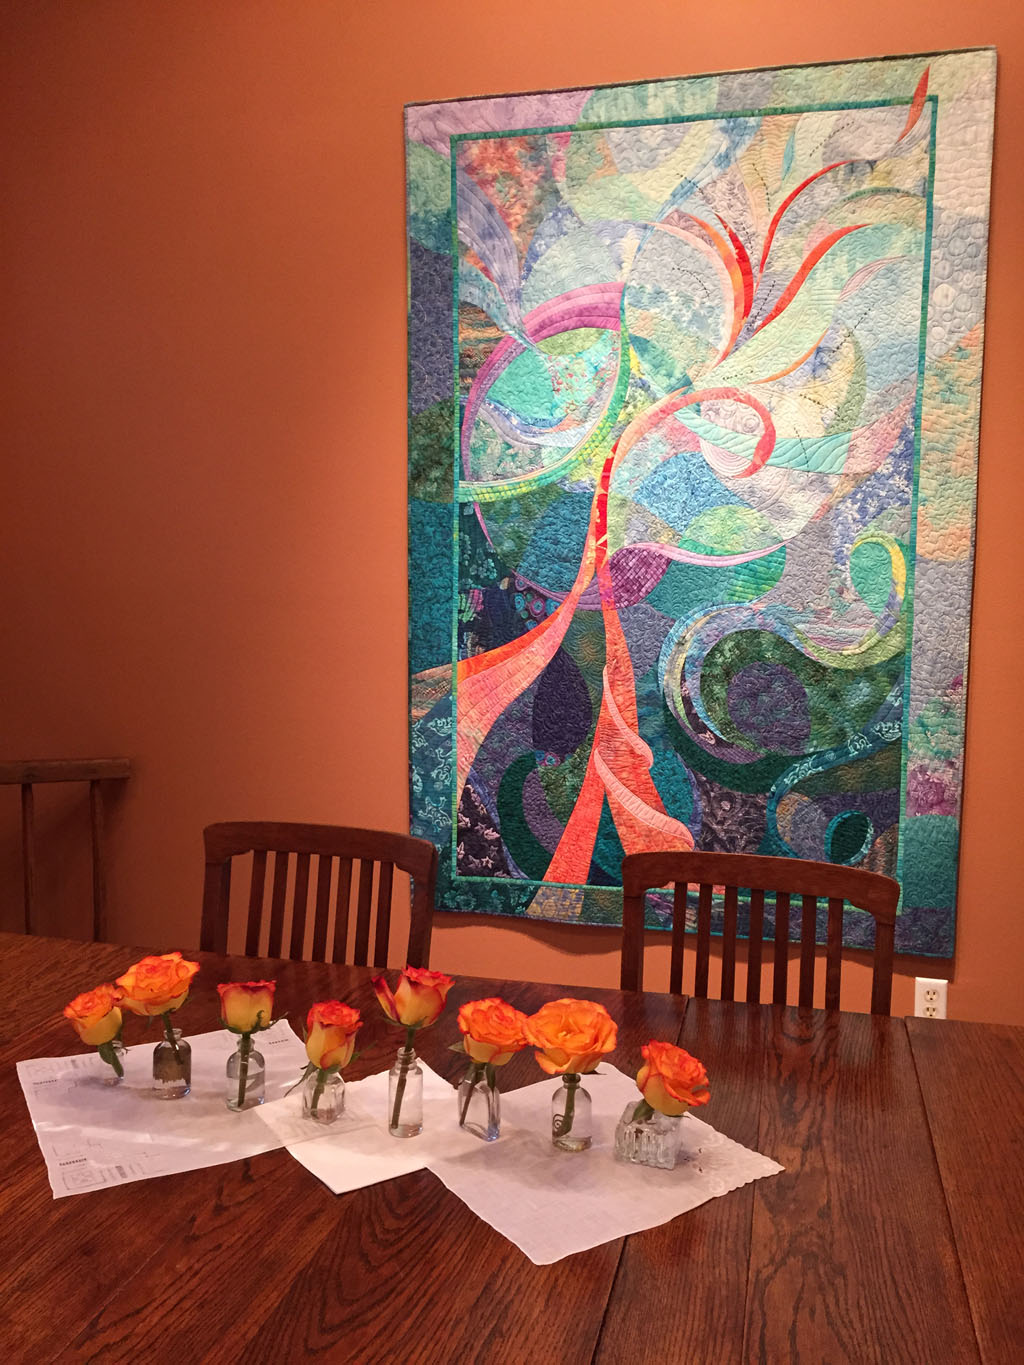
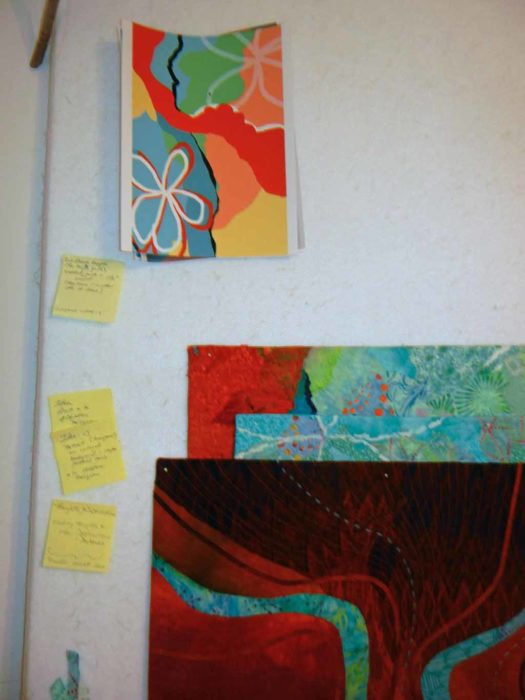
So, remembering to be inspired by the photo and not controlled by it, I’ve started on a new challenge. This is the inspiration photo. Photo credit Kathryn Robinson
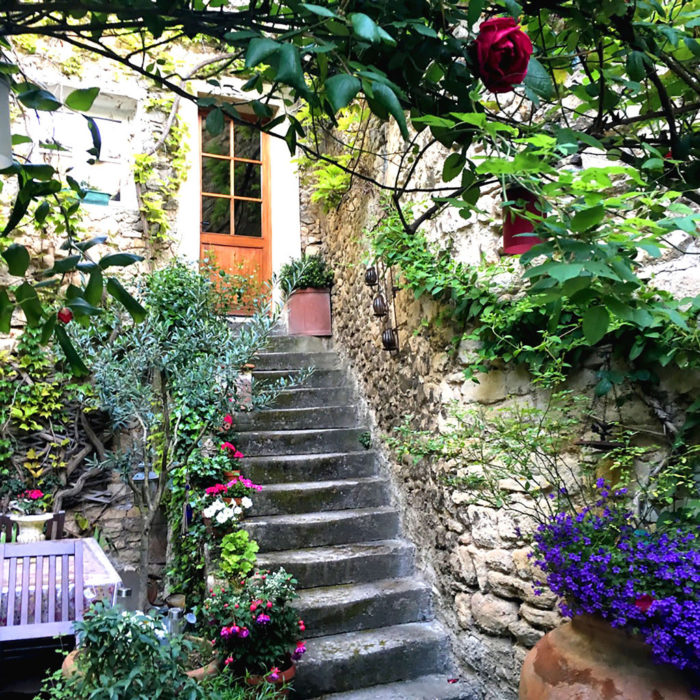
This photo was taken in southern France. We selected it because it has a lot of different components, which gives us many options for working with it.
What would you want to mimic from this photo? Colors, shapes, foliage, flowers, steps, the door, the bench? Oh yeah, we’re using a vertical orientation: 36 x 24. Would that influence your decision?
I can guarantee all the resulting quilts will be very different! Mine is nearly complete, but I’m not allowed to show it until the March unveiling. (That’s hard for me!) Of course, you’ll be the first to see it, after the DDFA gals, that is.
Ellen Lindner