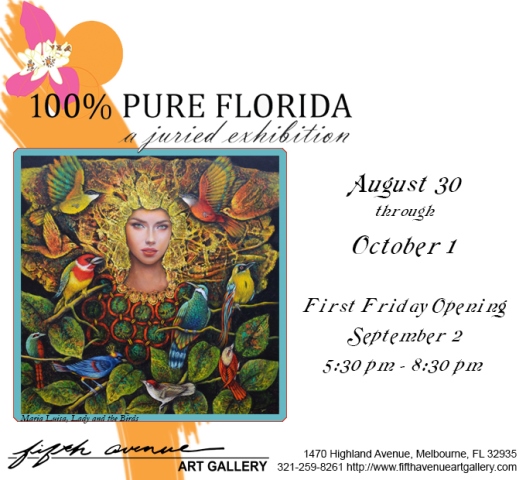
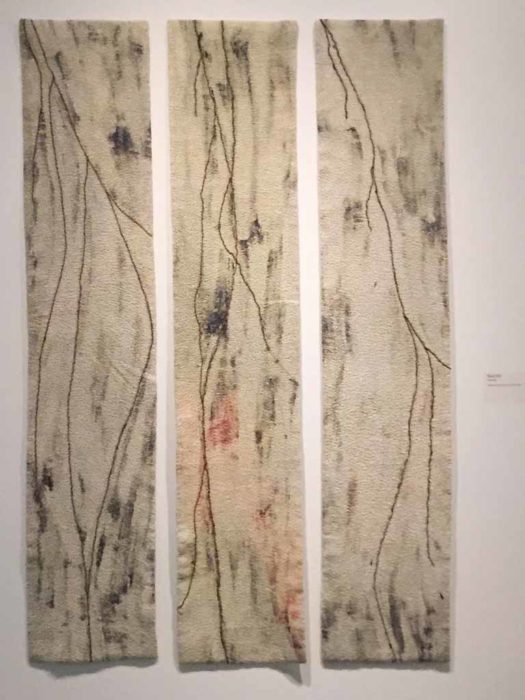
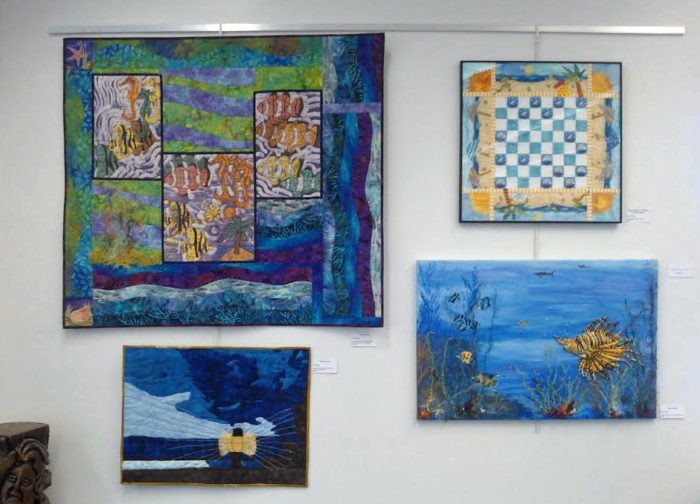
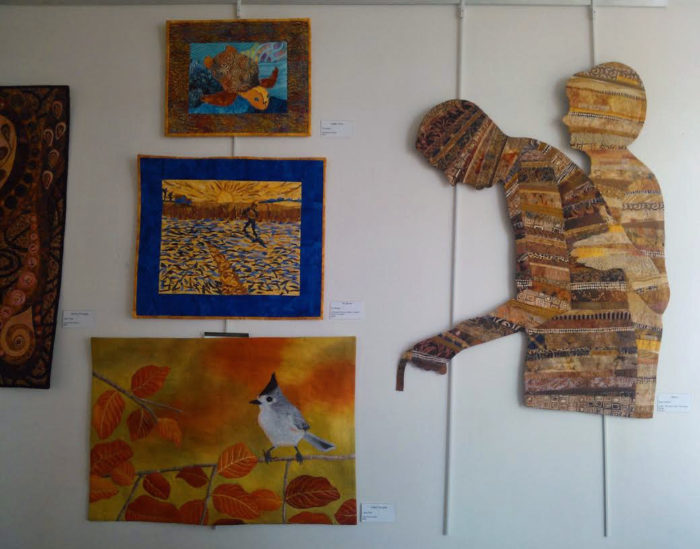
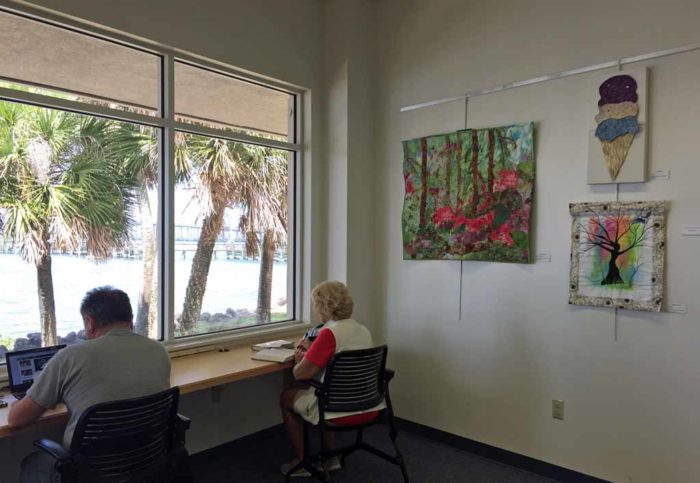
It was a very good night for fiber at the opening of 100% Pure Florida, in Melbourne, FL. There were four fibers pieces in the juried show, which included 50+ pieces.
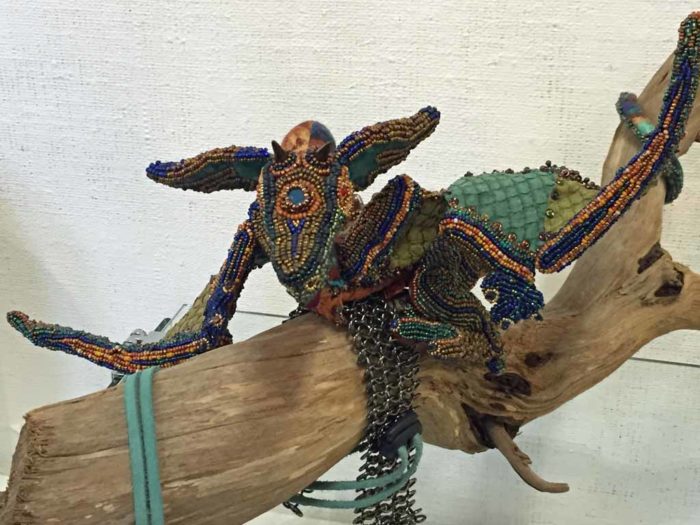
Just take a look at this beaded dragon, made by Jennifer Shibona. Although it looks great as a sculpture, it’s also wearable. See the metallic cuff under the dragon’s belly? You wear that on your wrist and the dragon’s tail wraps around your arm. Pretty cool, right?
Jennifer also had a beautiful, and very large, beaded necklace on display.
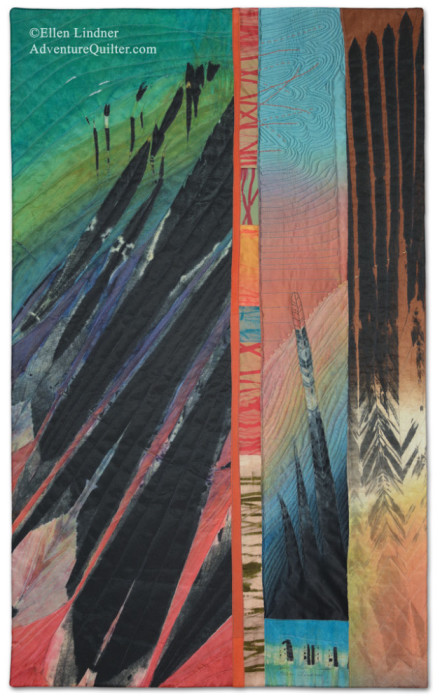
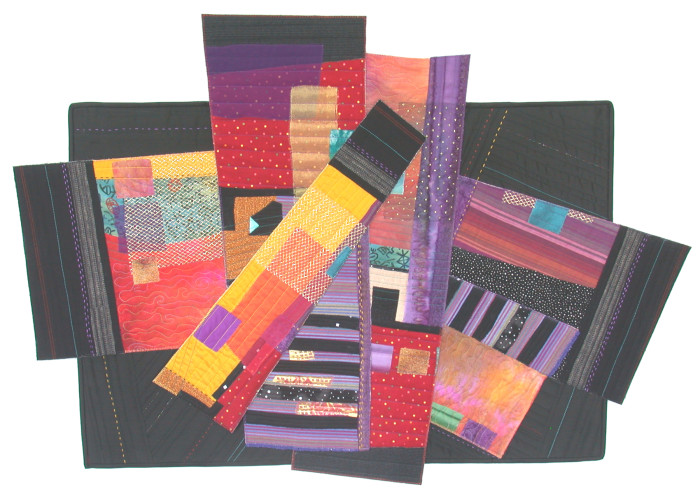
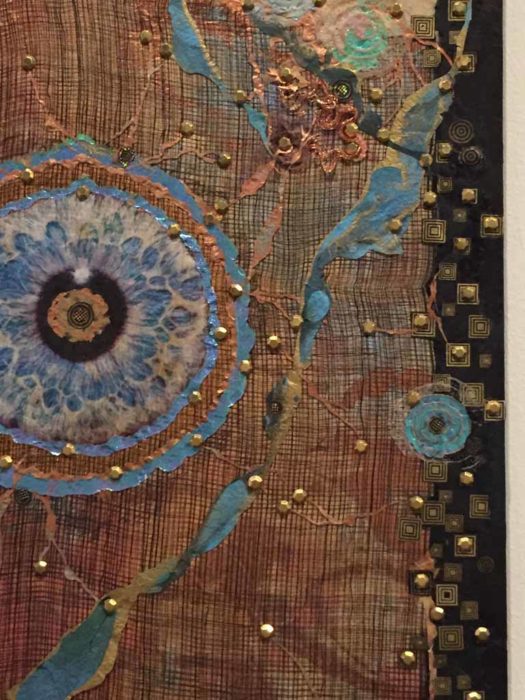
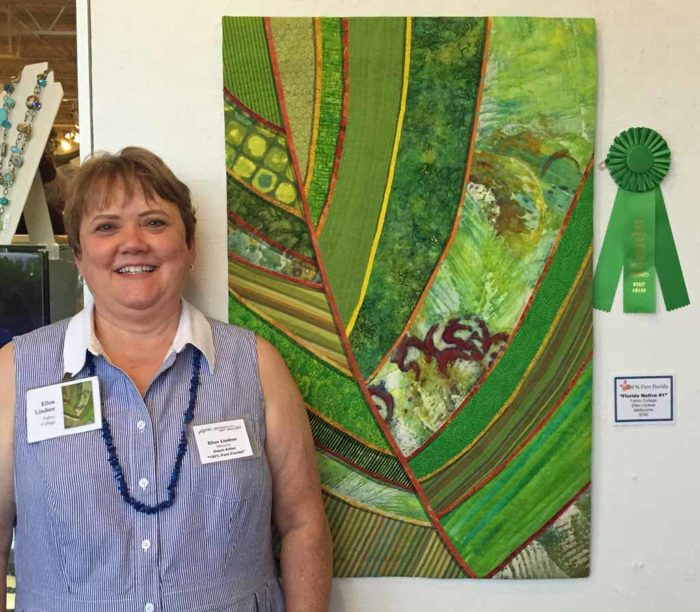
But, things got really exciting as the awards were announced. First came six awards of merit, and I won one. Woohoo!
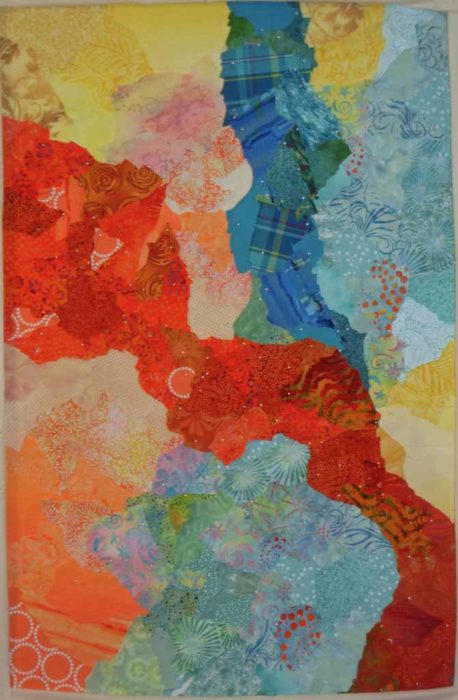
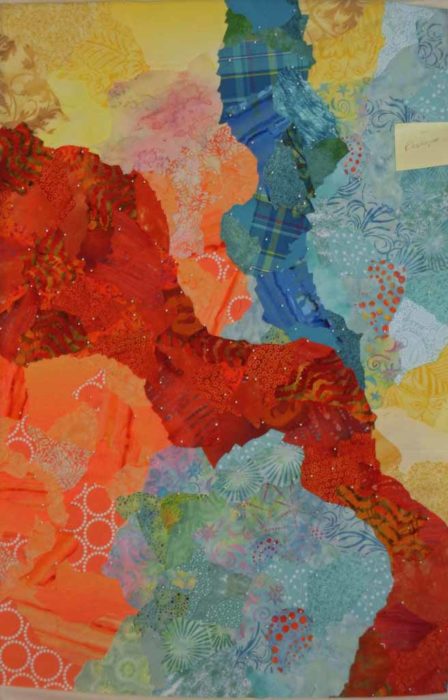
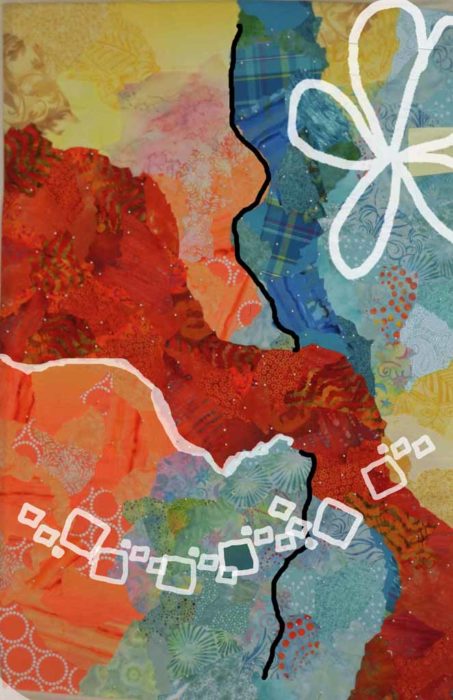
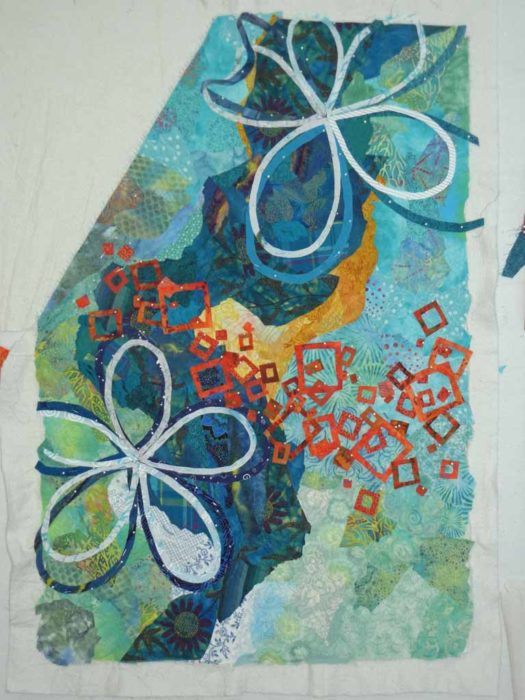
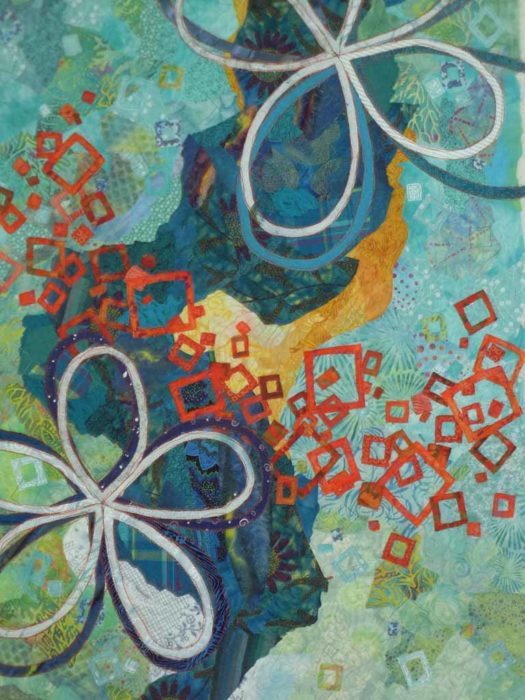
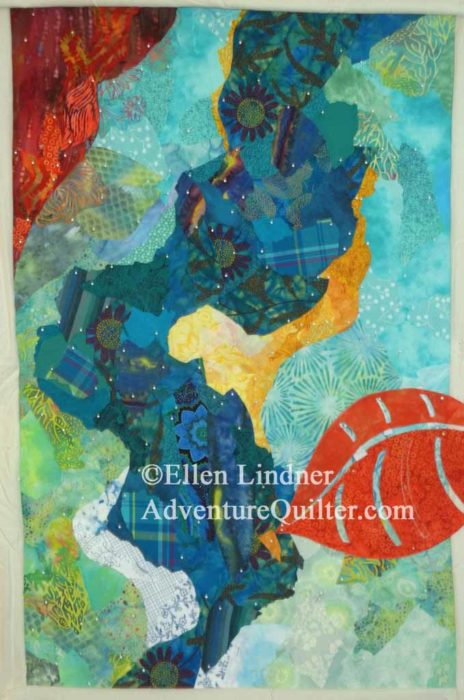
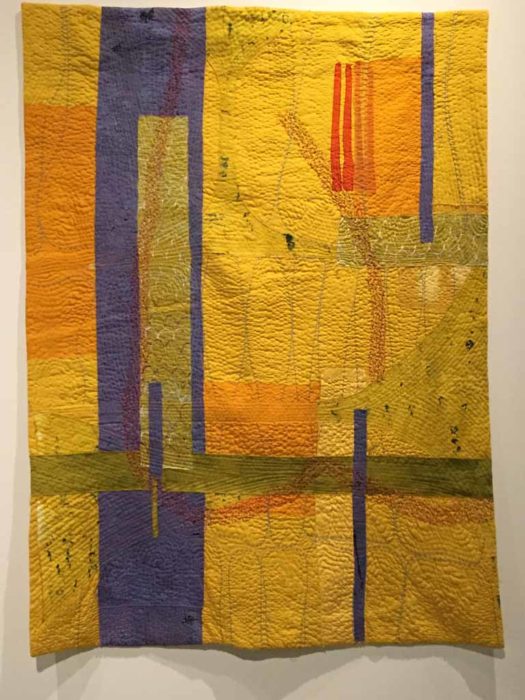
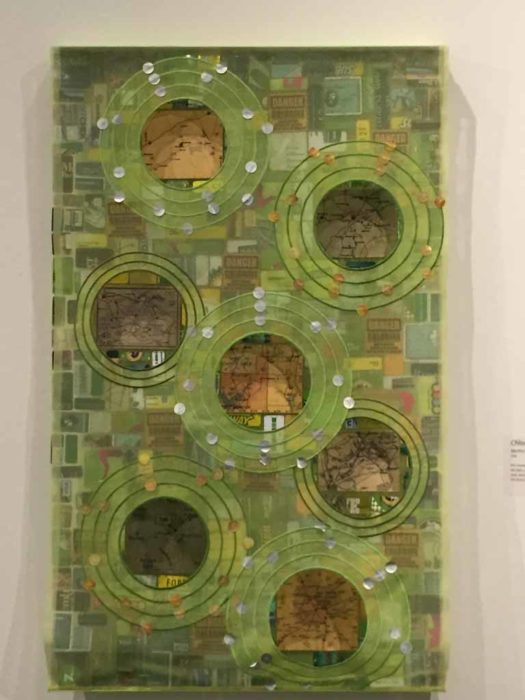
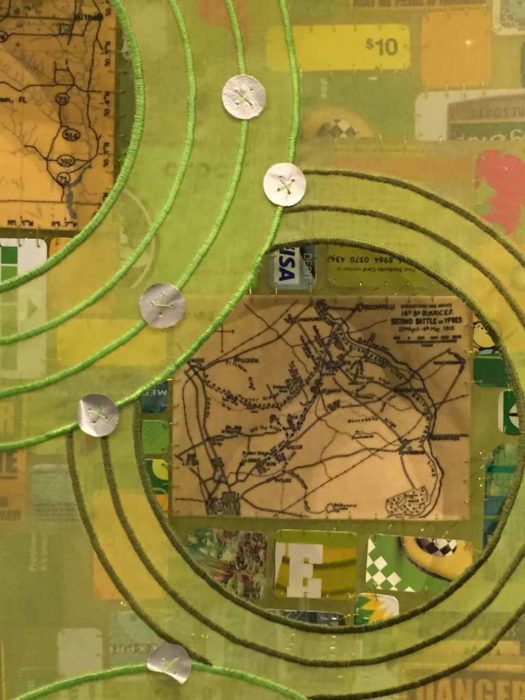
The excitement was building as third place and second place were awarded, and finally it was time for Best of Show. And the winner was…drum roll please…more fiber art! This time, the award went to Gabriele DiTota for her piece, Foliage.
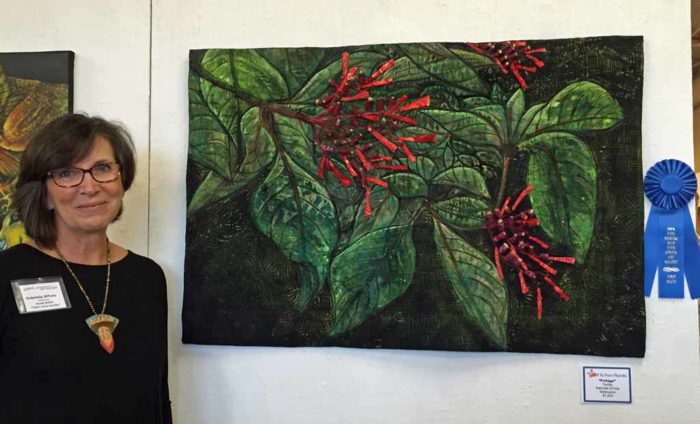
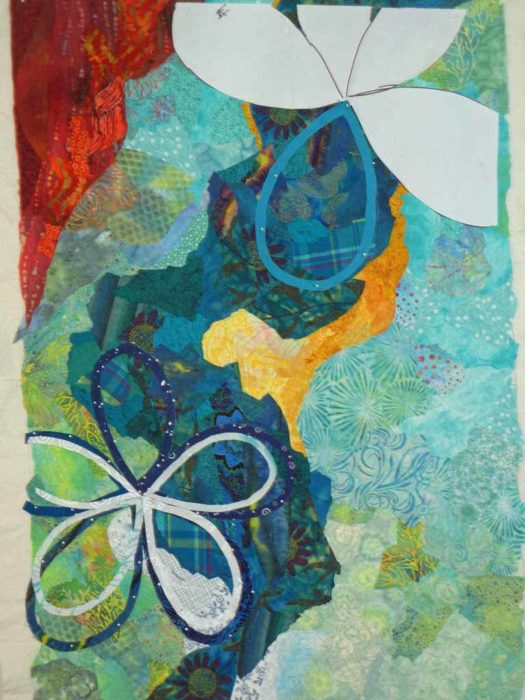
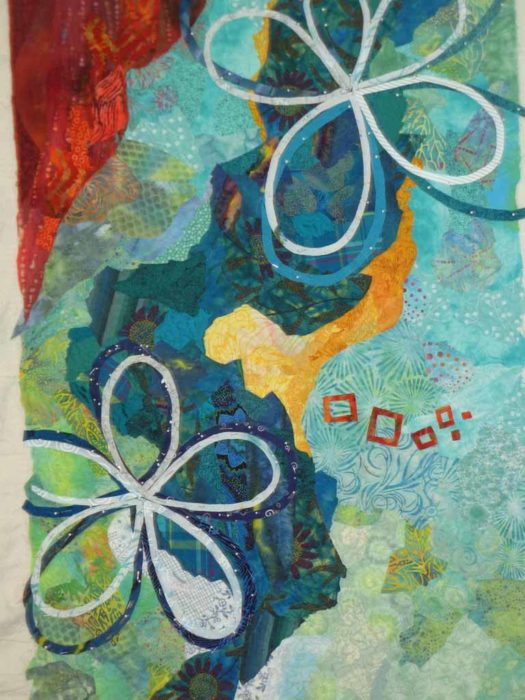
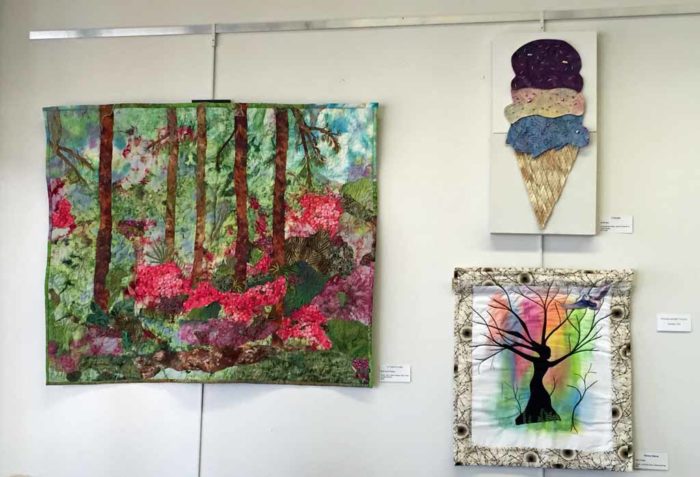
What you can’t tell in the photo is that the red buds are all stand-alone 3D objects which stick out from the quilt. It’s a great piece! See it on her website.
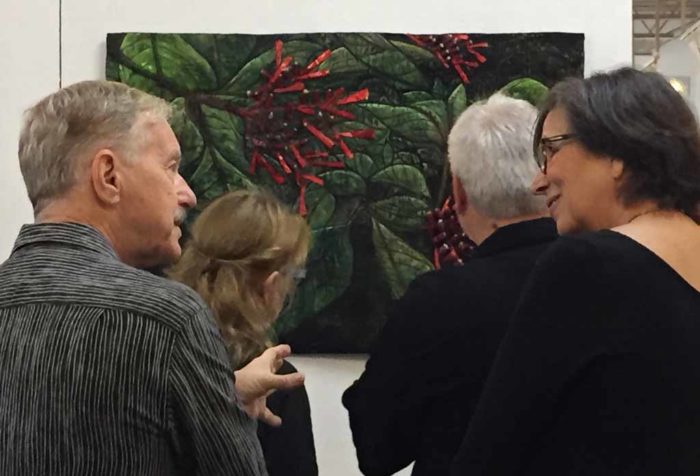
Gabriele was really overwhelmed. This was her first time entering a quilt in a mixed media show, so she was completely surprised. What a thrilling moment! Her piece got lots of attention, both before and after the announcement.
Her prize? A nice cash award AND a solo show next year! How exciting! I’m overjoyed for my friend.
I’ll show you the other winners in the next post.
Ellen Lindner
P.S. BTW, marketing tip: Notice how my name tag has my artwork on it? That’s a great conversation starter.