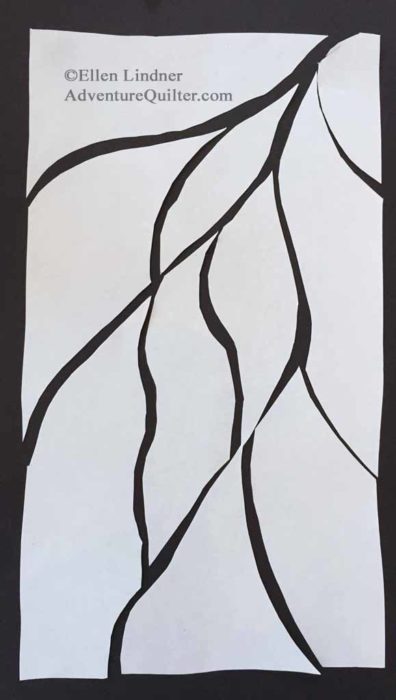
After coming up with a design, Elizabeth likes to audition a wide variety of value options. To do this, she had us stack paper in 3 values and then use a utility/craft knife to cut the design through all three. Finally, you glue them together in various combinations.
Here’s my dark-on-light version.
I also made a light-on-dark version. But, I still had brown cutouts and a bunch of unused black and white pieces.
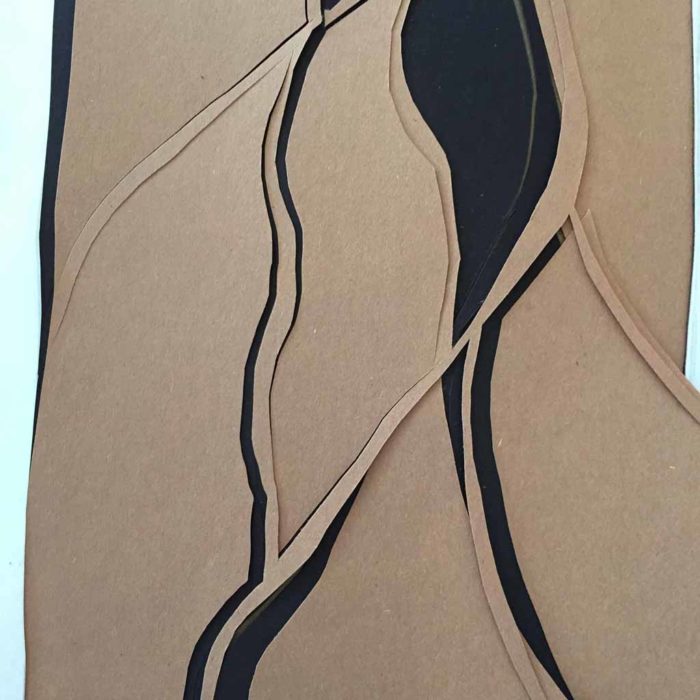
As I was about to address those Elizabeth stopped by and said something brilliant. “These little skinny lines are the most intersecting of all.” She was looking at the little gaps showing in my stack of cut shapes, above. And she was right! That immediately sent me in the direction of adding little skinny lines. I was excited!
This was my next iteration. MUCH more interesting, right? The little skinny white lines are intentional gaps between the shapes. The black lines are drawn in to highlight the overlapping shadowy spots.
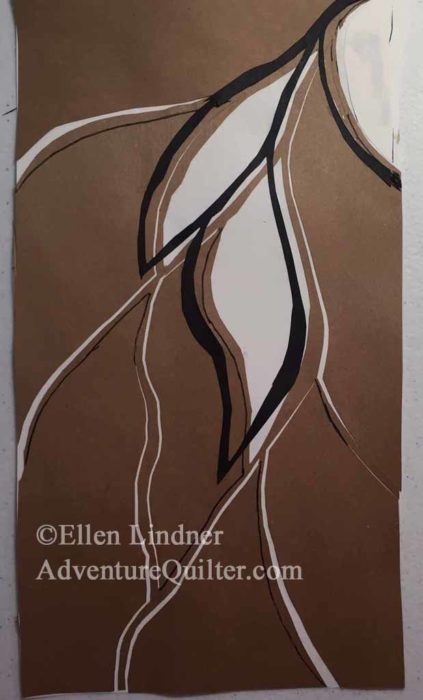
I was very happy with this! Still, it was time to crop and to look for even more interesting compositions. I did this on a black/grey/white copied version.
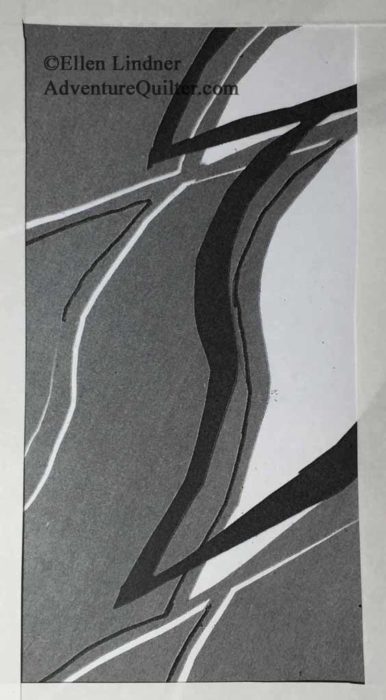
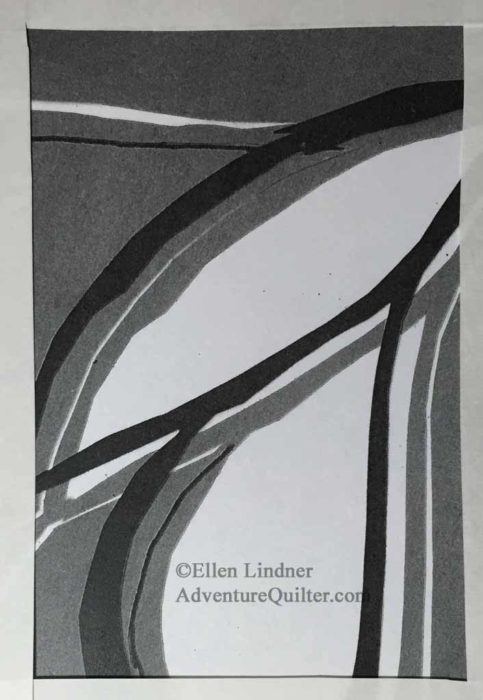
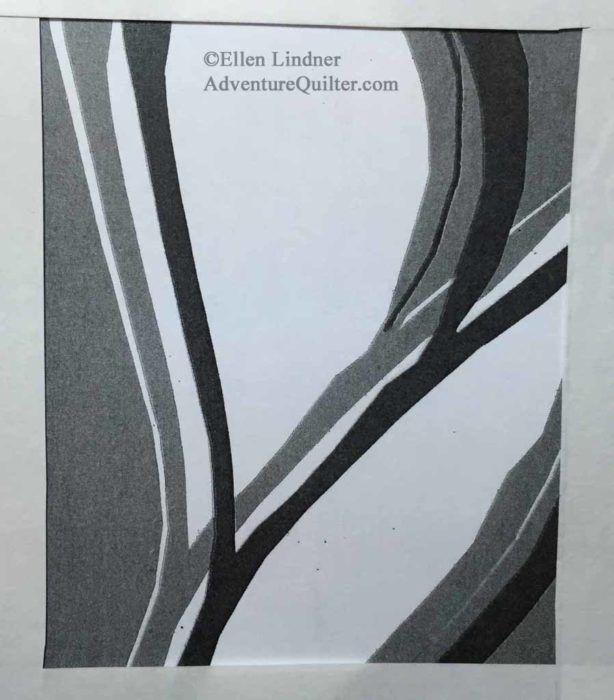
I found several interesting options, but I liked this next one the best.
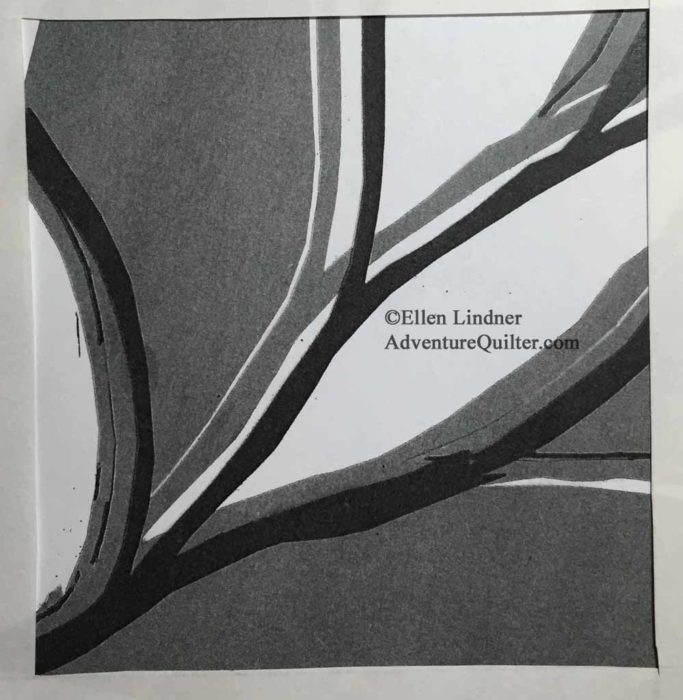
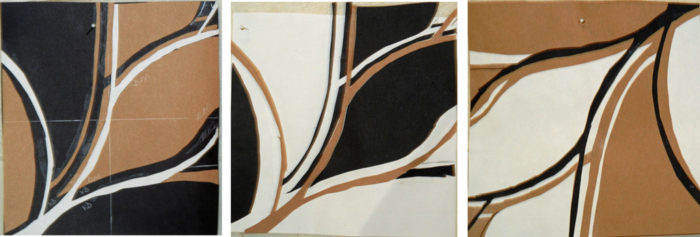
So, what did I do? I, once again, cut 3 different value shapes from this design and glued up 3 different versions.
But wait, there’s more! The day wasn’t over, yet. So, instead of reaching for fabric I went back to some of my earlier sketching ideas. Elizabeth had suggested something that sounded like great fun: randomly throwing a scattering of berries/squares onto paper and them connecting them.
A nice splattering of “dots.”
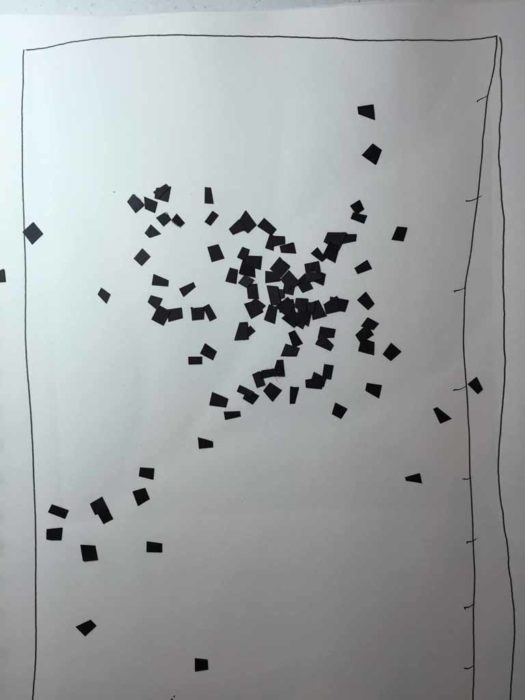
I couldn’t really connect them easily because they kept wanting to lift off. Instead, I thought I’d draw around each one, then remove it. Then later connect the draw shapes.
What a disappointing hodge-podge. Maybe some cropping would help.
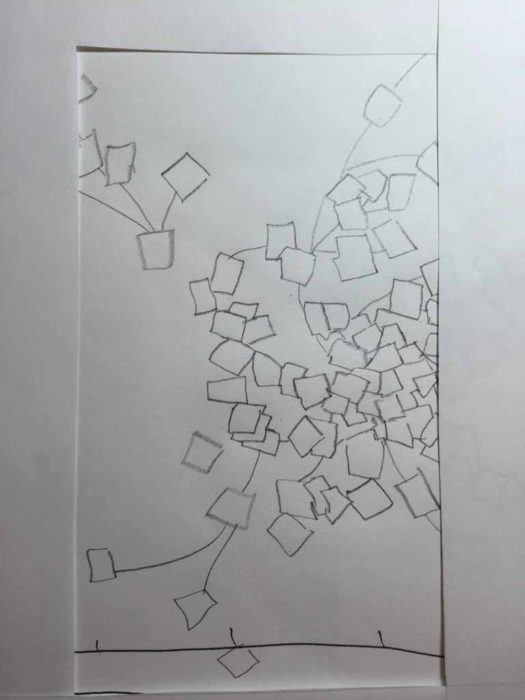
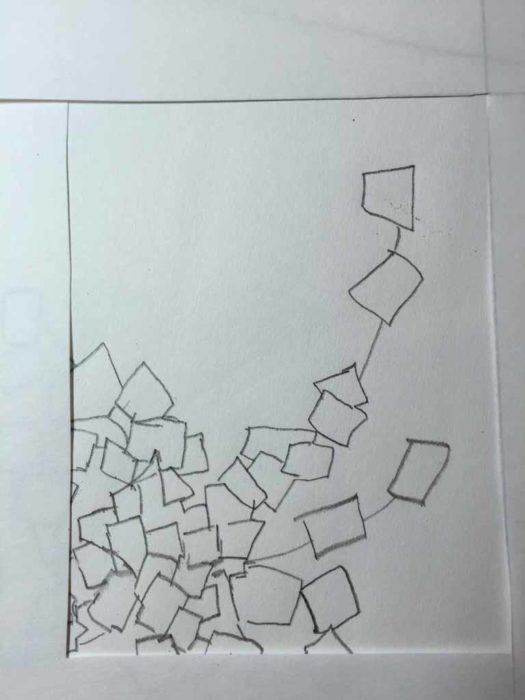
Well, it did help, but I think it will be a LONG time before I feel like revisiting this idea. And when I do, will the shapes become round berries or stay as small squares???
What a FULL day of sketching! I won’t run out of ideas any time soon.
Ellen Lindner


Hmmm, I have a tiny container of little, little triangles, why I can’t seem to throw them away confounds me…maybe I’ll play a little.
I love your freedom
Yes, Ingrid! Do it!
Maybe you don’t like connecting the squares, but I see a hummingbird (bill on the upper right, tail lower left) or other tropical bird in your squares. And “Deja View” has an awesome line of dancing line of squares
You’re right, Michele. Now I see it too! I love how we can look at the same image and see different things. Thanks for commenting.