Flowers and foliage are always popular subjects in my class, “Design Your Own Nature Quilt,” and this time was no different.
Jodi had a FABULOUS photo, that she had taken, of some colorful leaves.
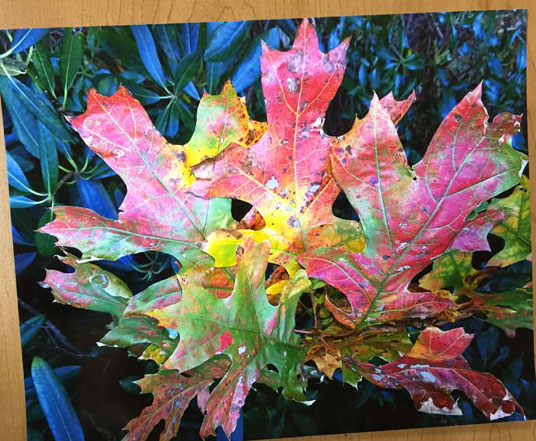
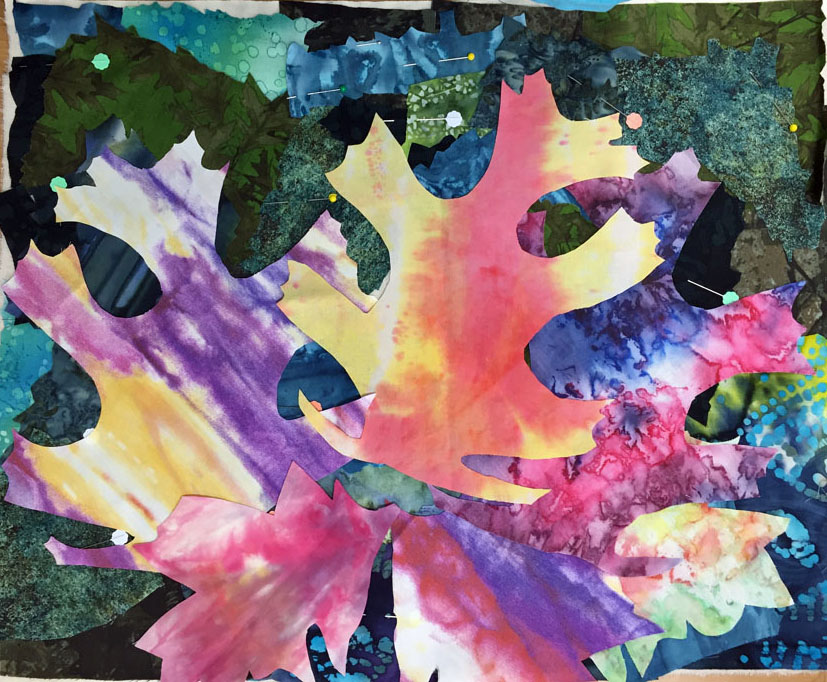
She wisely created an interesting dark background to set off the brighter leaves. Then she bravely cut into some hand dyed fabrics for her leaves. Later, she’ll add some veins with stitching. Won’t it be great?
Gail also used one of her own photos. (Note the registration marks which she referenced when composing her quilt.)
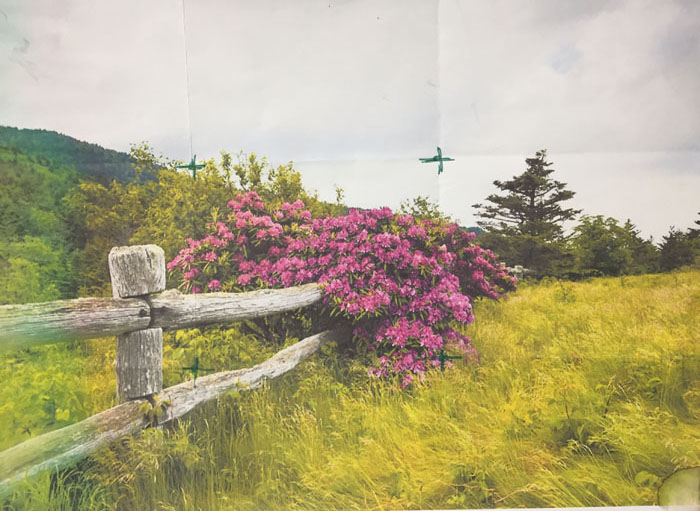
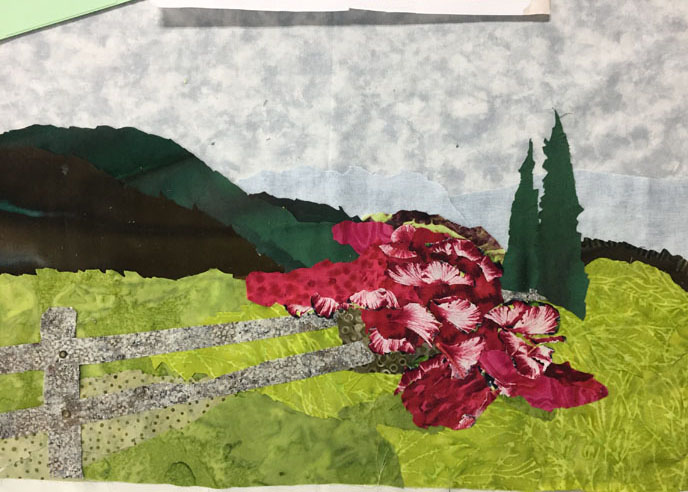
As you might imagine the pink bush of flowers was rather challenging. Especially trying to make it look like the photo! But, after trying a few things, Gail embraced the value of looseness and created a really effective pink bush. She’ll do a little shadowing on the fence and be ready to quilt it.
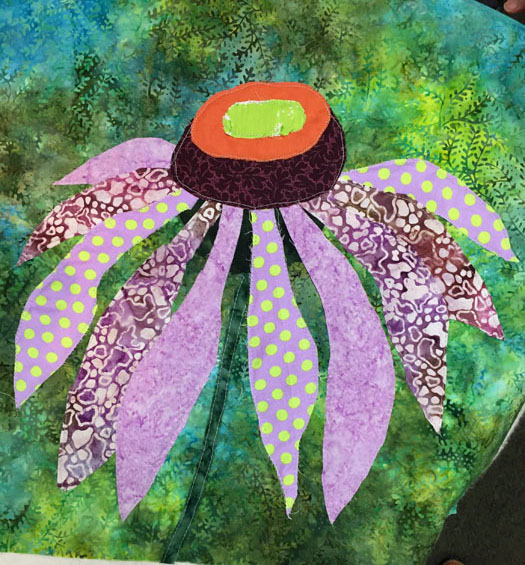
Martha started with this photo of a lone cone flower.
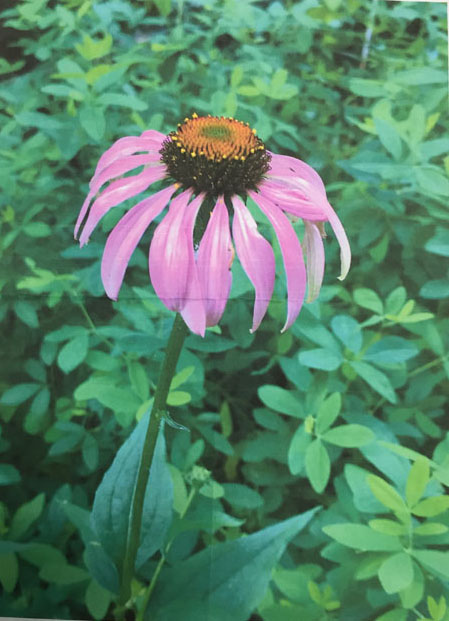
She wanted to really showcase this solitary blossom, so cropped it almost into a square. Her use of different lavenders added interest to the petals. She’ll add plenty of French knots to the top. That will give it a lot of texture and finish it off nicely.
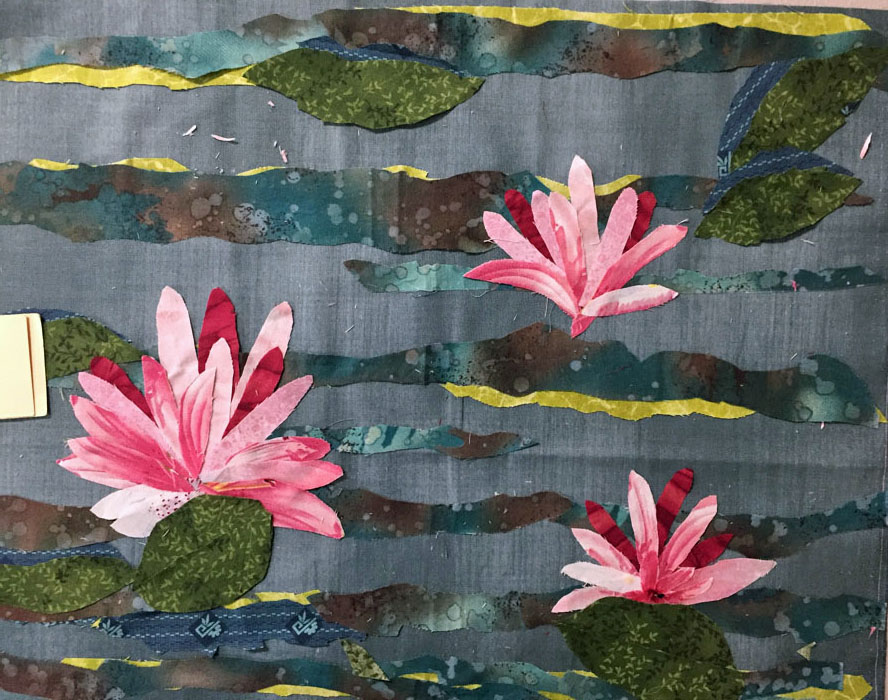
Pat had a great starting photo, but with a lot going on. She knew she’d need to simplify things some.
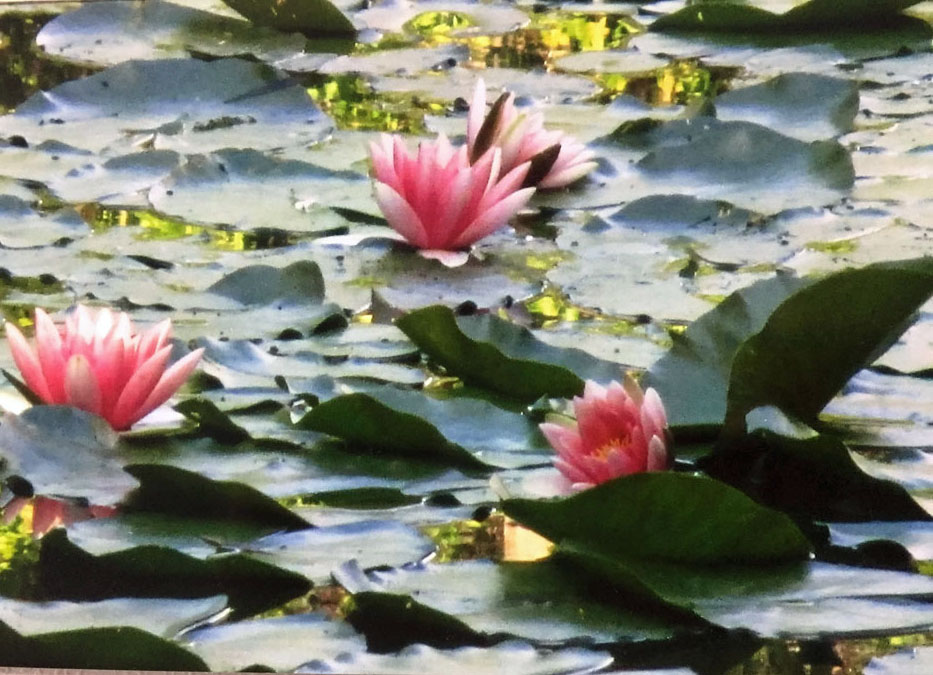
The perfect background/water fabric went a long way toward depicting the water, so she was able to focus on the flowers. (By the way, did you notice how much better her dark water sets off the flowers than the lighter photo background did?) A nice bonus. This is really going to be great.
Carol composed this Jack-in-the-pulpit pretty quickly.
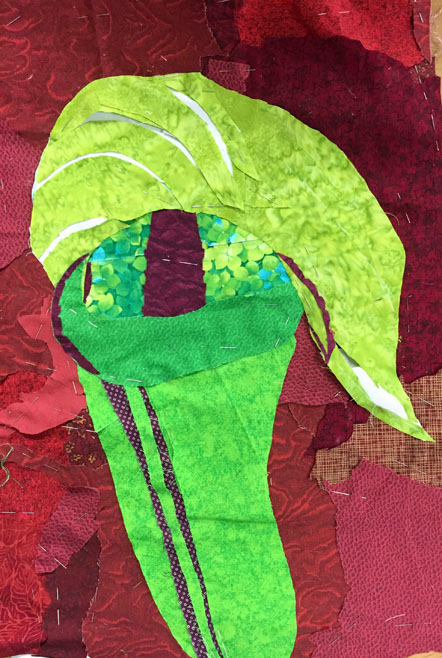
As you can see, she has several little tiny lines of fabric in it. These can be problematic, but I have a trick for dealing with them. Rather than cutting little tiny fiddly pieces of fabric, I have the students cut them bigger than needed. Then, they cut the adjacent piece to size and slip the larger-than-needed fabric underneath. The edge of that adjacent piece properly defines the edge/shape of the tiny little piece. Can you see what I mean, above? Look at the top green curvy section that has 4 white lines showing. Those 4 lines are actually one larger piece of white fabric. The green fabric on top has been cut to reveal just enough of the white.
Carol pronounced this trick “The best tip of the day.” It really came in handy on her wonderful little quilt. (By the way, Carol was so speedy that she made good progress on a second quilt! I didn’t get any good photos of it, however.)
This group of women was very talented and very fun to work with. (And they fed me home-cooked desserts!) I hope I get to visit Brevard Art Quilters again one of these days.
Ellen Lindner
P.S. Find out more about bringing this class to your group.


No comments yet.