I really enjoy teaching my class “Design Your Own Nature Quilt!” In it, students learn about design and composition, then use their own photos to create a quilt. The results are always great and the process is exhilarating. (Actually, the process can also be a little intimidating but the students are told to pack their artistic courage, so it works out well.)
The only downside to this class is that I keep selling the class samples. Finding myself in that situation, once again, I’m about to make a new one. I thought you’d like to see a little about my process, so I’ll be posting about it here on my blog.
This is my inspiration photo.
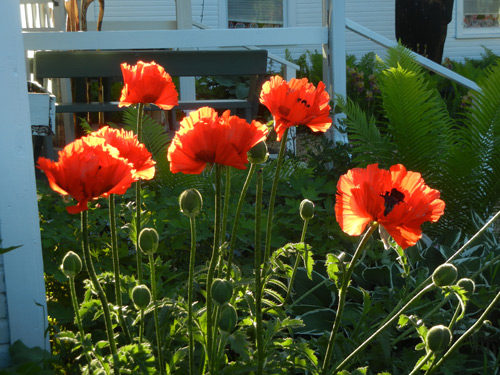
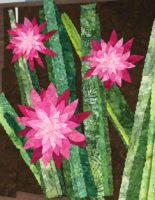
Don’t you love the bright colors and back lighting? It’s great, but is this the best composition for a small quilt? Since the flowers are vertical, would a vertical composition be better? And, do I really want to create ALL those flowers in a small scale? Maybe I’d prefer something like this.
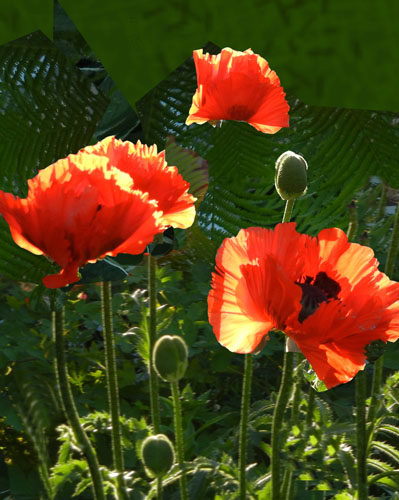
Look closely. This is more than just a crop. Things have been moved around a little. When doing so, I thought about focal points, sweet spots, balance, weight, and contrast, all things students learn in this class.
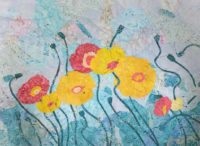
And this is my loose sketch. (copyrighted)
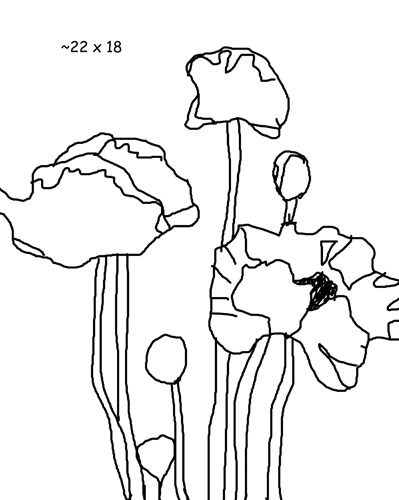
I like it. Soon, I’ll be composing the background with a variety of green and blue-green fabrics. Keep watching and send me your questions.
Also, I’ll be teaching this class online soon. See full details.
Ellen Lindner

Good design! Selling your class sample over and over is a happy problem to have.
Thanks, Martha. (Yes, it is a good “problem.”) 🙂
I really enjoyed taking your Floral Improv class up in The Villages. I am attempting my own design on a table runner. Wish me luck!
EXCELLENT, Pam! You don’t need luck. You’ve GOT this.
That was a fun class. Everyone had such great results and I’ll post photos to my blog before too long.
Oh goodie! A new project! I love following your works in progress. I fear I’m becoming a fangirl of yours.
Fangirl, I mean Lif, It IS so fun to get started on something new! Glad to have you following along.
I loved that class and the quilt I made from it. I think I’ll try another one – I still have my notes. I highly recommend this class!
Thanks, Dij! So far, everyone has had really good results with it.
How do you define “sweet spots”?
Good question, Mich Ke. A sweet spot is a spot that works well as the location for the focal point. There are 4 sweet spots. You can find them by imagining a tic-tac-toe game, (or 2 vertical lines and 2 horizontal ones, each dividing the space into thirds.) Sort of like a 9-patch composition. The sweet spots are where those 4 lines cross. Here’s a link: https://www.interaction-design.org/literature/article/the-rule-of-thirds-know-your-layout-sweet-spots
Hi Ellen, two questions and a comment.
1. When will you be teaching this again online. I’m not available this time around 🙁
2. What program are you using to move stuff around on your photo, photoshop?
LOVE what you’ve done with with composition.
Barbara
Hi Barbara,
Thanks for your compliment. I’m having fun with this. I’ll be teaching this class online starting June 1st. Too bad you’ll miss it. I don’t plan to teach it again until next summer. (Maybe your quilt group would like to have me come do it in person?)
I used Photoshop Elements to move things around. I like it. It’s a very popular software which means it’s easy to find tutorials, etc. HOWEVER, it’s not that user friendly initially. I highly recommend a good tutorial book or class. I always buy the book from “Teach yourself Visually” series that’s appropriate for any new software.