Tag Archives | Classes

Apples in Port St. Lucie: Part One

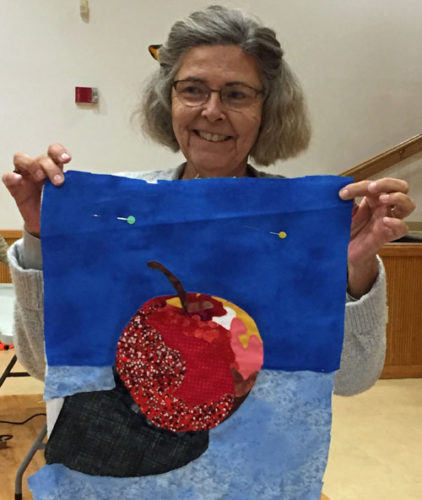
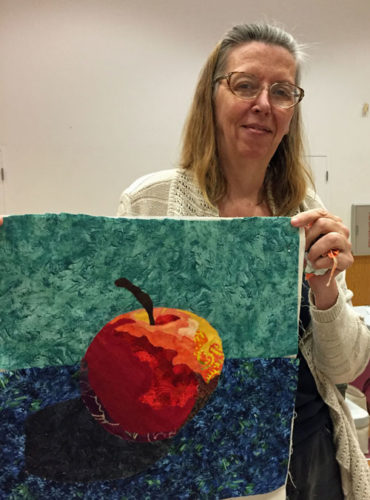
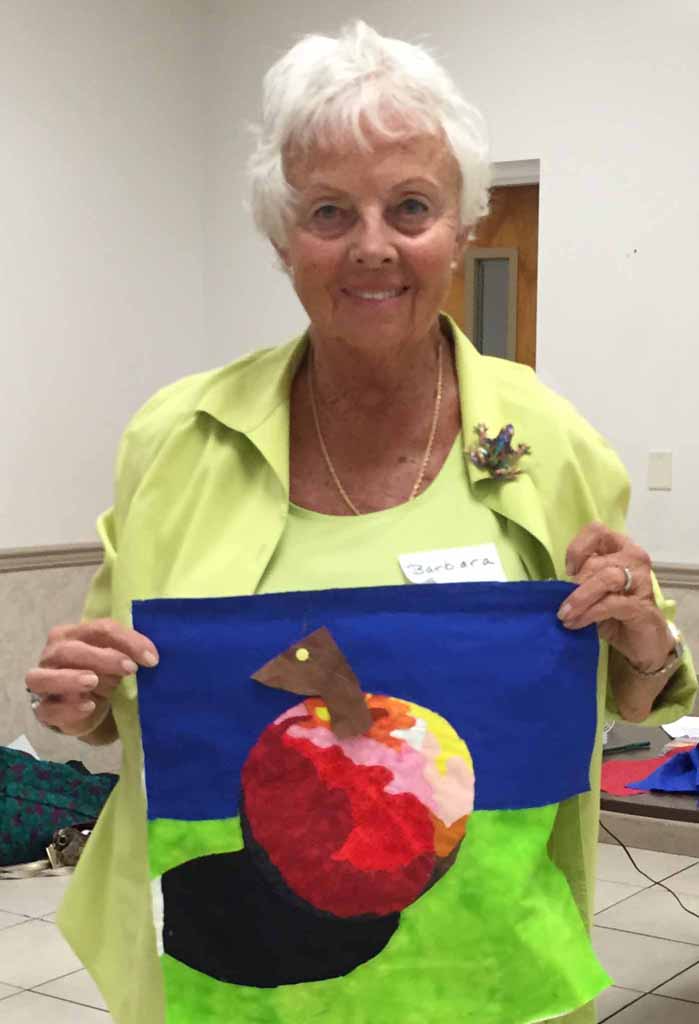
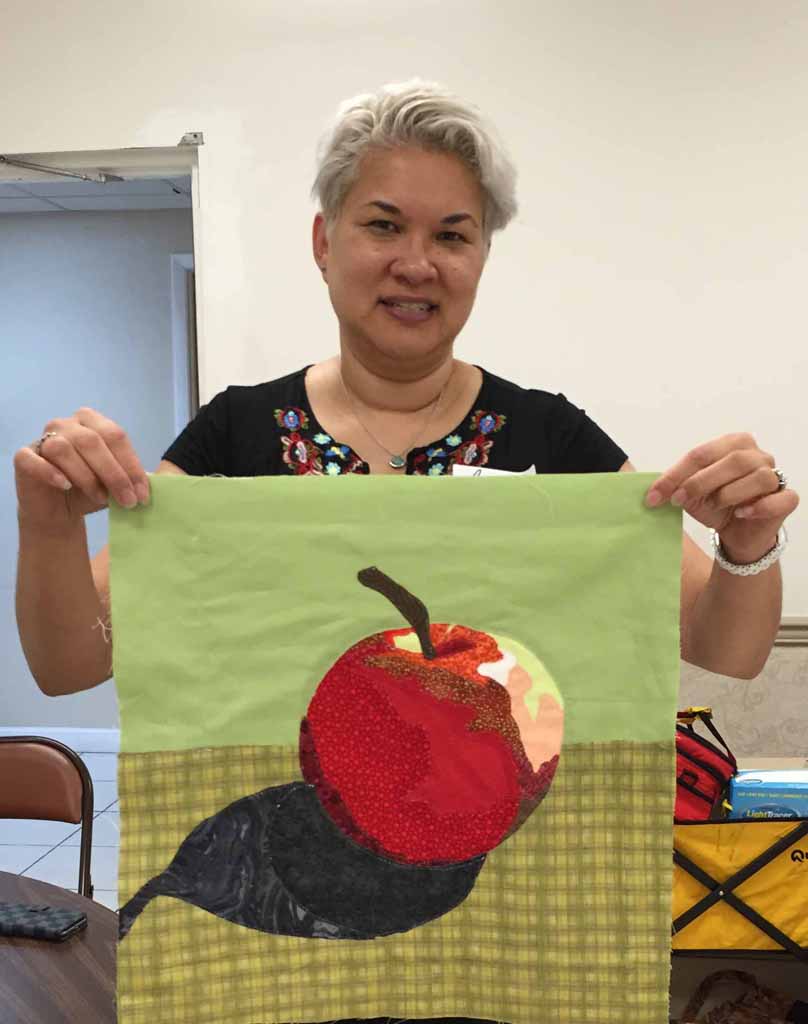
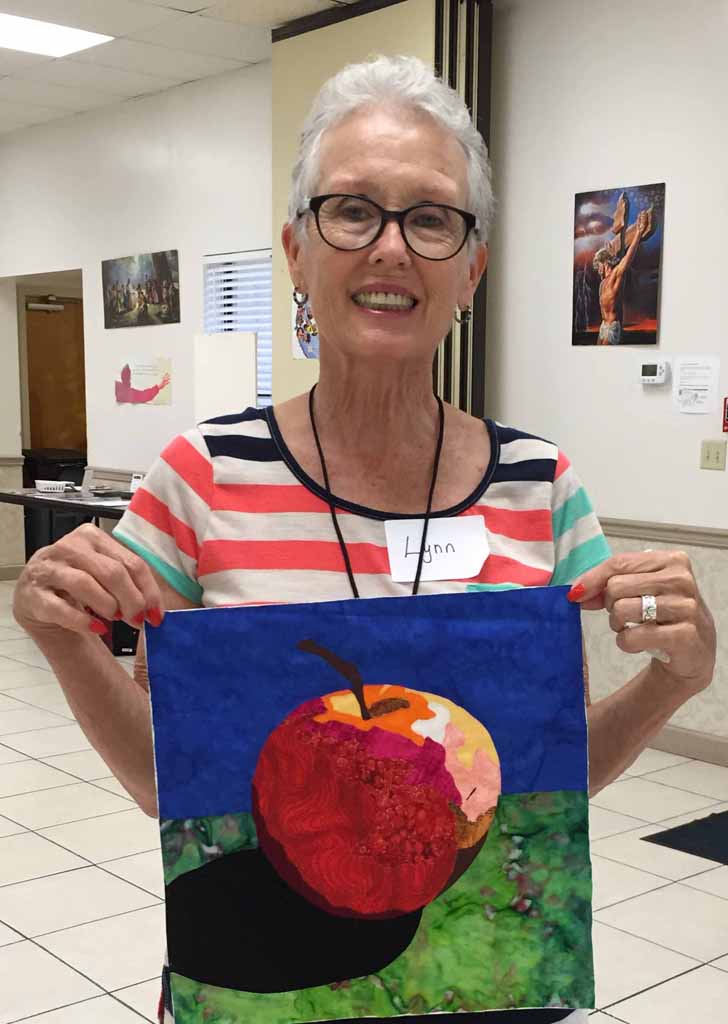
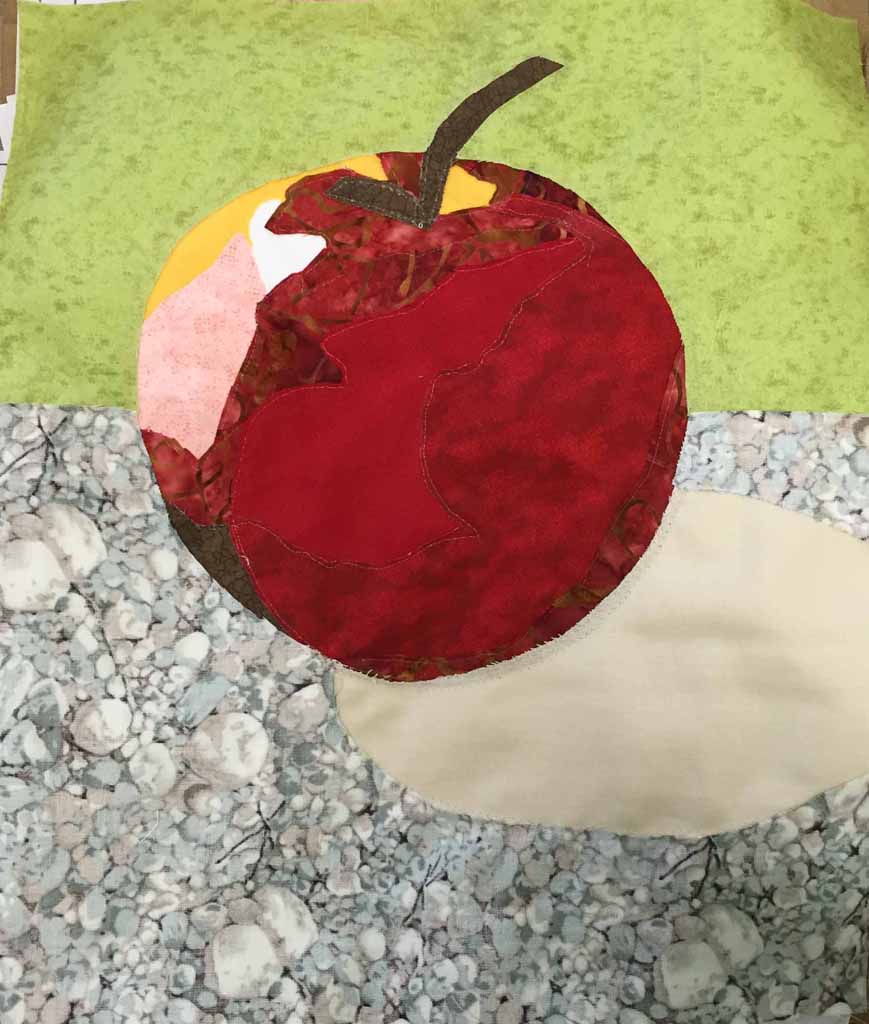
Everyone loves the apple project in my “Double Reverse Applique” class, and the Thimblebuddies of Port St. Lucie, FL were no exception.  I did a class with them this past week and the results were great!

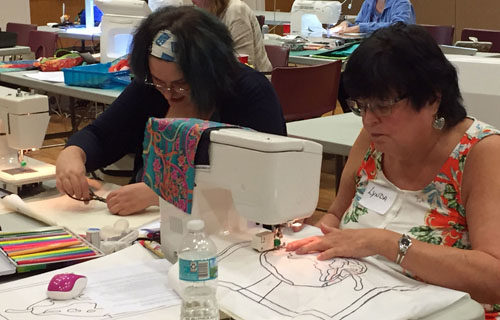
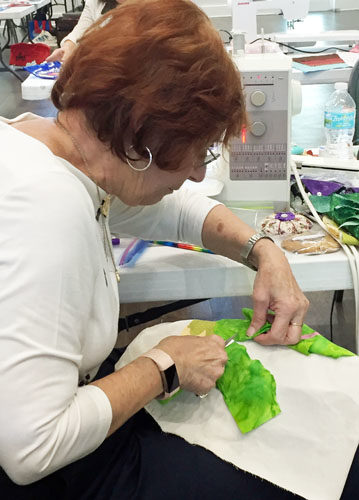
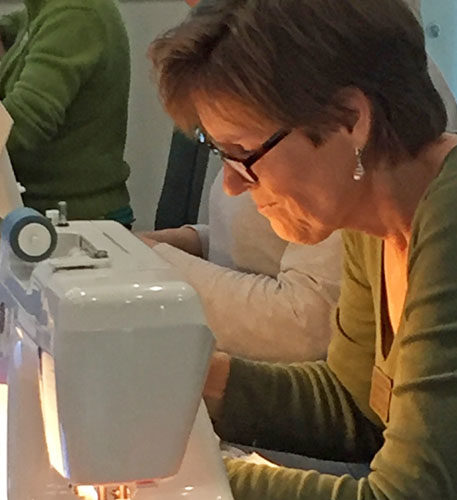
The technique requires a little concentration, especially at first.

Apples in Port St. Lucie. Ellen Lindner, AdventureQuilter.com/blog

This mother-daughter duo shared a table and made great progress.

Apples in Port St. Lucie. Ellen Lindner, AdventureQuilter.com/blog

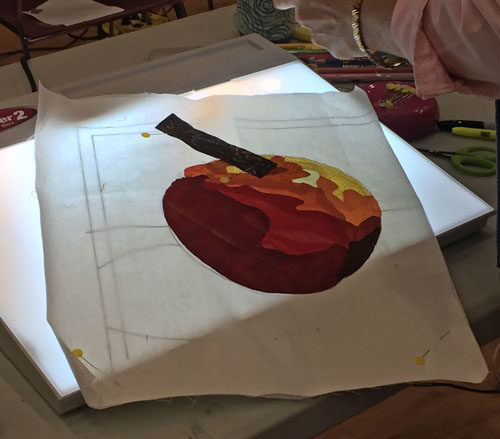
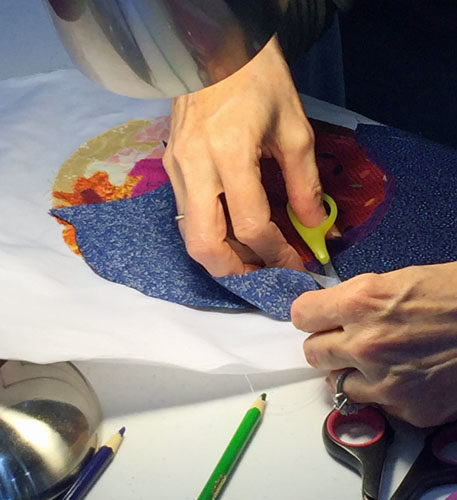
A light box is integral to the technique.

Apples in Port St. Lucie. Ellen Lindner, AdventureQuilter.com/blog

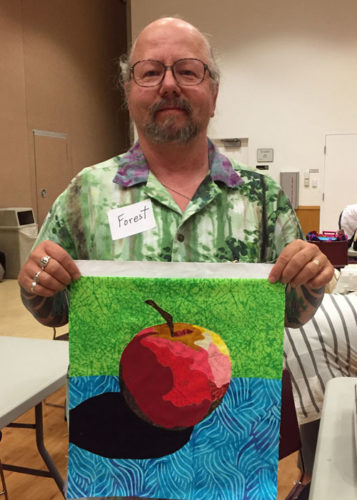
Check out Forest’s apple.

Apples in Port St. Lucie. Ellen Lindner, AdventureQuilter.com/blog

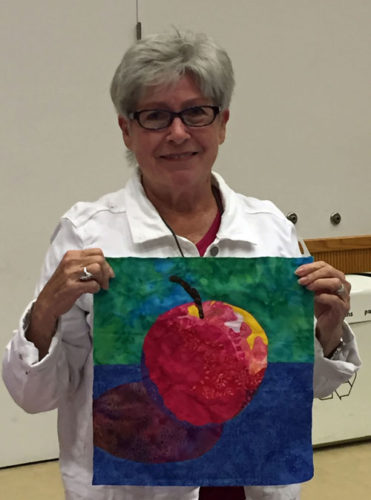
And Sheila’s.

Apples in Port St. Lucie. Ellen Lindner, AdventureQuilter.com/blog

Here’s Ann Marie’s.

Apples in Port St. Lucie. Ellen Lindner, AdventureQuilter.com/blog

And Marian’s.

Apples in Port St. Lucie. Ellen Lindner, AdventureQuilter.com/blog

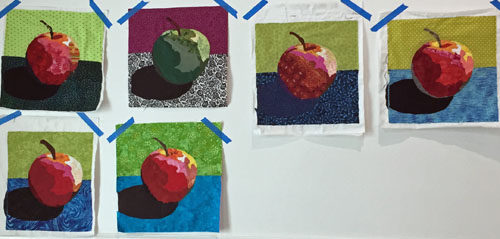
Aren’t they great?  And there are more!  I’ll show you those next time.

Ellen Lindner

2

“Poppies Ablaze” Complete

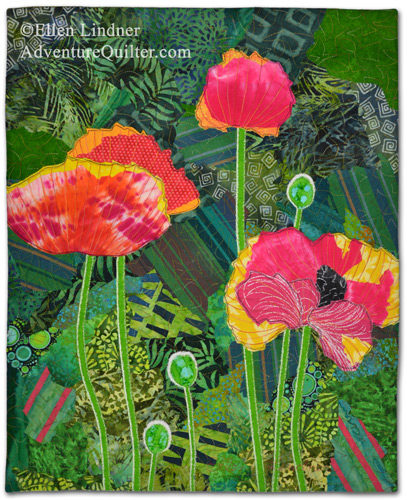
My latest quilt, Poppies Ablaze,  is now complete.

Poppies Ablaze, an art quilt by Ellen Lindner. AdventureQuilter.com

I’m very happy with it, plus I had a lot of fun working on it!

Poppies Ablaze, an art quilt by Ellen Lindner. AdventureQuilter.com

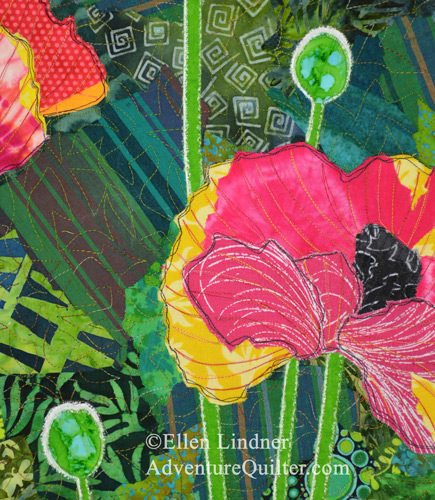
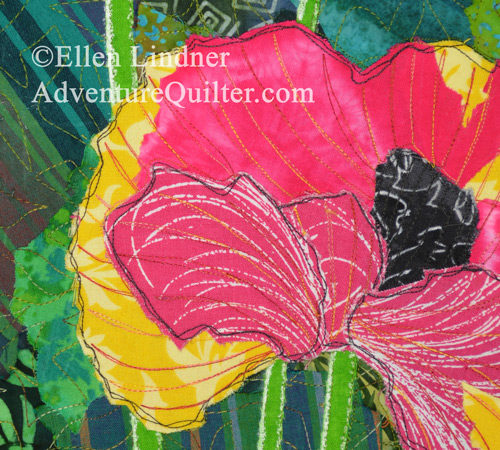
This very close detail shot shows the double black outline stitching which I love to use.

Poppies Ablaze, an art quilt by Ellen Lindner. AdventureQuilter.com

This piece is the newest sample for my class “Design Your Own Nature Quilt.”  (This class is currently underway online and it’s not too late to join in.)

I can’t wait to make another class sample!  These are fast and fun. See more class samples here.

Poppies Ablaze is 21″ x 17″ and is available for 325.

Ellen Lindner


10

Floral Improv in The Villages: Part Two

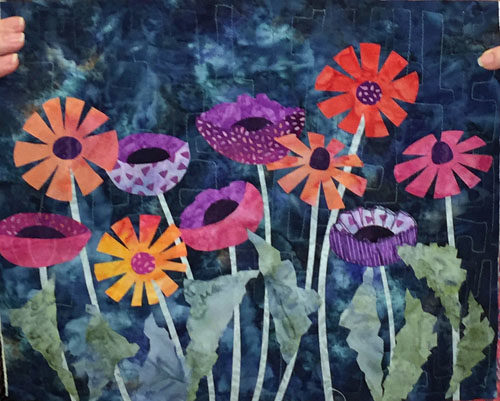
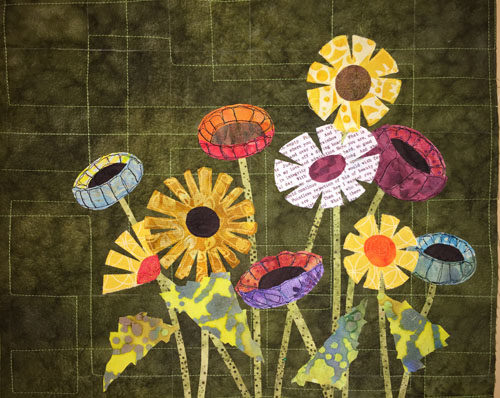
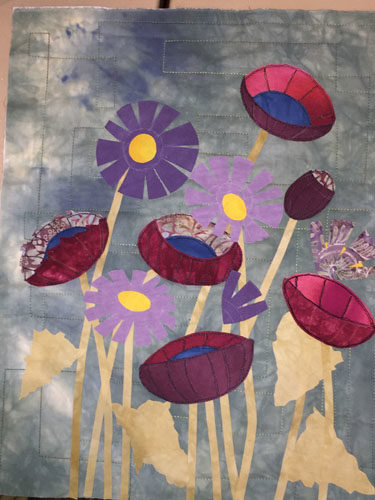
My “Floral Improv” class is a very productive one.  In one day students:
– Make flowers without a pattern
– Design an effective composition
– Add stitching
– Learn how to use a facing for finishing

But, more importantly, the students always get fabulous results!

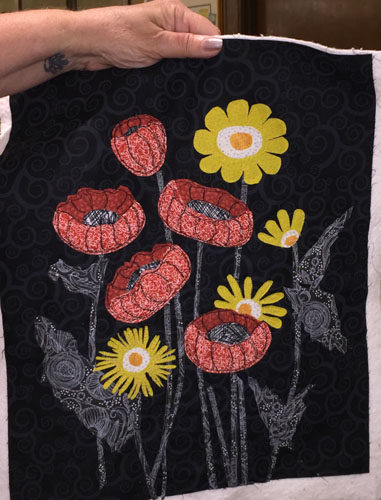
Pam’s dark background was very effective and her leaf fabric was perfect.

These students quickly overcame their inhibitions and were FEARLESS.  Bette was one of THREE students who had never done free motion quilting before!  Each of them did a little research before class and finished their projects in class!  Awesome.

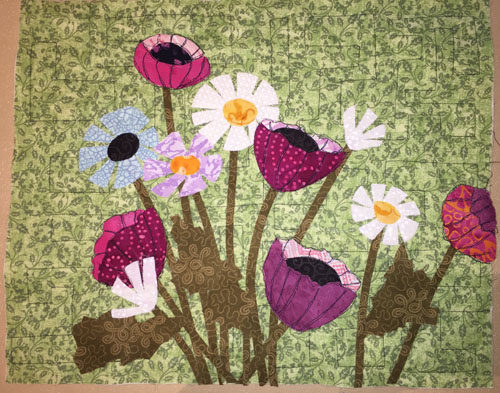
Linda’s complementary red-violet and yellow-green worked really well. Once trimmed and faced, her right flower will go off the edge.  I like that effect.

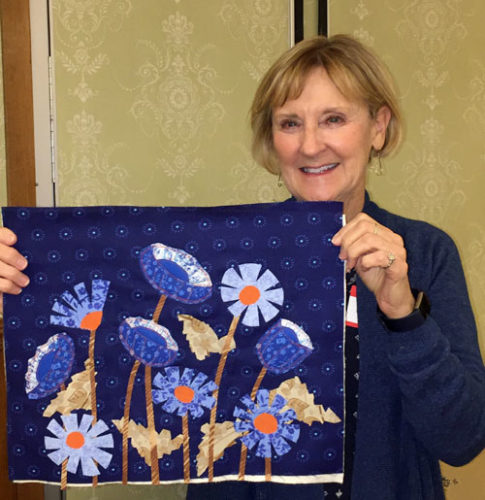
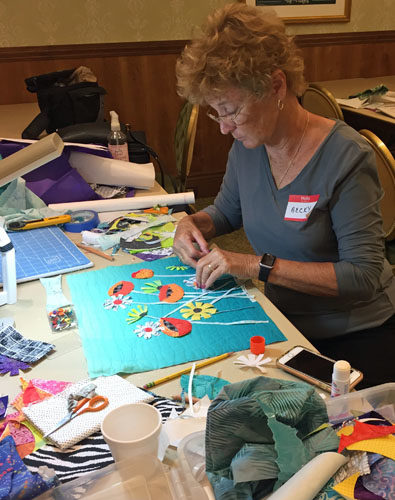
Becky’s combo is also complementary: blue-green and red-orange.  These colors always POP, as you can see.

In Pat’s piece, you get a good sense of the importance of the contrast stitching on the poppies.  Very nice!

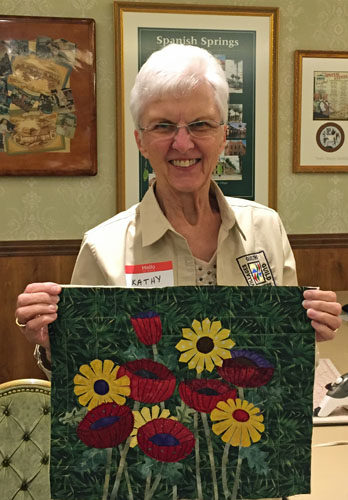
Kathy was very happy with her piece.  For good reason.

Check out the stems in Regina’s quilt.  Since they’re high contrast, their graceful shapes become major elements.  Lovely.

Kat made her project slightly over sized because she intended to make it into a pillow.  She added a vase to hold ALL THOSE FLOWERS.

It was a delightful day!

Ellen Lindner
P.S. Find out more about this class.
P.P.S. See Part One of this post.
P.P.P.S. See the Floral Improv Gallery

0

Floral Improv in The Villages: Part One

I always love teaching and a recent class in The Villages, FL was no exception.  The class was called “Floral Improv” and we had a GREAT time together!

Although I didn’t get photos of every quilter with her results, I think you can see the joy on the faces of those I did capture.  They were thrilled to accomplish so much in one day!

Lynn had to leave early, but still managed to complete her entire composition and start on the outline stitching.

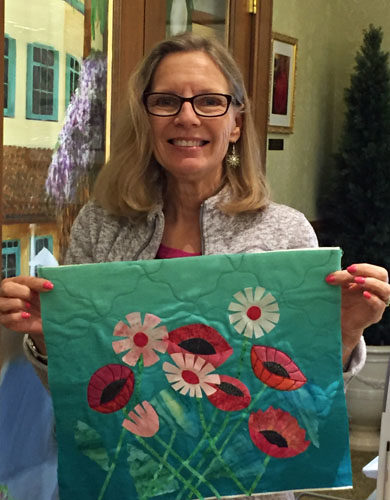
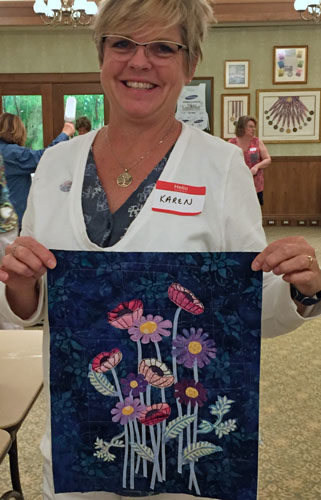
Karen completely finished her piece in class and was delighted with it.  Can you see her “fussy cut” leaves?  She used various motifs cut from a perfect fabric.

Students arrive with their backgrounds already quilted and their fabrics already fused.  Therefore, they’re ready to start creating flowers right away – WITHOUT patterns.  We start with daisies, which are super easy. Next come the poppies.  Flower units are made and set aside until it’s time to compose everything.  A few design tips from me and then everyone jumps in.

Flowers are positioned first, then stems, and finally leaves. Everything is fused in place and it’s time to stitch it all down.

Black thread is used on the poppies to add petals and definition. It really adds a lot.

Donna’s results were cheerful and lively.

Don’t you love Polly’s patterned flowers and “jagged cut” leaves?

Mary selected a diagonal design and quilted the background with sharp angles.  A very nice contrast.

Alice’s soft background allowed the dark flowers to pop.

But wait, there’s more!  Look for the next post with more of these wonderful class results.

Ellen Lindner
P.S. Find out more about this class.
P.P.S. See the Floral Improv Gallery

2

Instant Art Quilt again

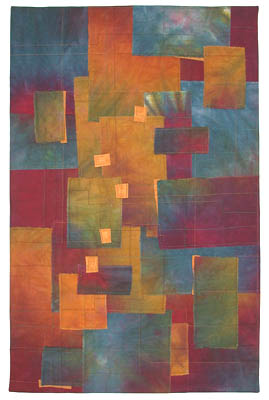
I used to teach a class called Instant Art Quilt.  In it, students started with a gorgeous piece of hand dyed fabric, (the kind you’re afraid to cut up,) and I lead them through tearing it up and rearranging the pieces.

Learn with Ellen Lindner. AdventureQuilter.com

After Image, a class sample

The results were always beautiful and my students really enjoyed the class.

Carole Grant's results from Ellen Lindner's Instant Art Quilt class. AdventureQuilter.com

By A. Carole Grant

“This has been such a fabulous class…can’t remember when I
have enjoyed one so much!” A. Carole Grant

You can see many examples of the technique in the IAQ Gallery.

Vivan Milholen's results from Ellen Lindner's Instant Art Quilt class. AdventureQuilter.com

By Vivan Milholen

In the busy-ness of my latest website redo I never got around to adding this class to my website.  I’ve finally remedied that and am looking forward to teaching it again. Find all the info here.

I’d love to come teach this class for your guild!

Ellen Lindner
P.S. See older blog posts about teaching this class in various places: Mt. Dora, FLThe Villages, FL, Orlando, FL

0

Planning a New Class Sample

I really enjoy teaching my class “Design Your Own Nature Quilt!”  In it, students learn about design and composition, then use their own photos to create a quilt.  The results are always great and the process is exhilarating. (Actually, the process can also be a little intimidating but the students are told to pack their artistic courage, so it works out well.)

The only downside to this class is that I keep selling the class samples.  Finding myself in that situation, once again, I’m about to make a new one.  I thought you’d like to see a little about my process, so I’ll be posting about it here on my blog.

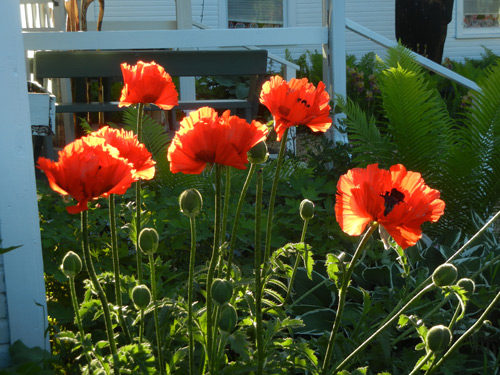
This is my inspiration photo.

Planning a New Class Sample. Ellen Lindner, AdventureQuilter.com/blog

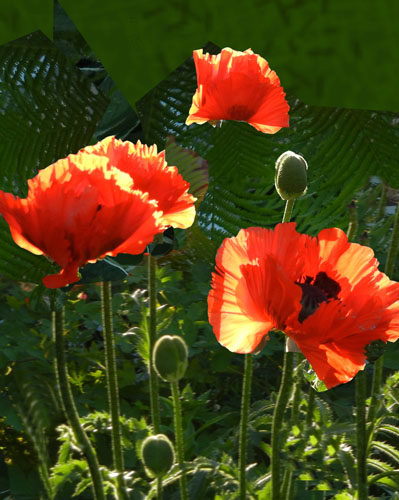
Don’t you love the bright colors and back lighting?  It’s great, but is this the best composition for a small quilt?  Since the flowers are vertical, would a vertical composition be better?  And, do I really want to create ALL those flowers in a small scale?  Maybe I’d prefer something like this.

Planning a New Class Sample. Ellen Lindner, AdventureQuilter.com/blog

Look closely.  This is more than just a crop.  Things have been moved around a little. When doing so, I thought about focal points, sweet spots, balance, weight, and contrast, all things students learn in this class.

And this is my loose sketch. (copyrighted)

Planning a New Class Sample. Ellen Lindner, AdventureQuilter.com/blog

I like it.  Soon, I’ll be composing the background with a variety of green and blue-green fabrics. Keep watching and send me your questions.

Also, I’ll be teaching this class online soon. See full details.

Ellen Lindner

12

Lots of Apples in Palm Harbor

Teaching classes is so much fun!  Add to that the satisfaction students get from mastering something new and it’s one big Adrenalin surge for all of us. This was the case when I recently taught “Double Reverse Applique” in Palm Harbor, FL.

With Double Reverse Applique (DRA) the pattern is stitched from the back and loose fabric is trimmed from the front.

Lots of Apples in Palm Harbor. Ellen Lindner's "Double Reverse Applique" class, AdventureQuilter.com/blog

Lots of Apples in Palm Harbor. Ellen Lindner's "Double Reverse Applique" class, AdventureQuilter.com/blog

A little concentration helps!

Lots of Apples in Palm Harbor. Ellen Lindner's "Double Reverse Applique" class, AdventureQuilter.com/blog

And by the end of the class you get this!

Lots of Apples in Palm Harbor. Ellen Lindner's "Double Reverse Applique" class, AdventureQuilter.com/blog

Aren’t they great?  I love how different they all ended up.

I always try to deliver a high quality class and I’ve been repeatedly told that I succeed.  How nice! I’d love to teach for your group, too.  See my class offerings.  Not able to attend a class?  There’s also an eBook version of this class, available for immediate download.

Ellen Lindner

0

QBL Classmates at Work

My classmates at Quilting by the Lake worked hard and did some amazing work.  I somehow missed final images for most of them, but these few will give you an idea.

Rosalie Dace, our teacher, circulated around the room almost non-stop.  She gave one-on-one advice to each student.
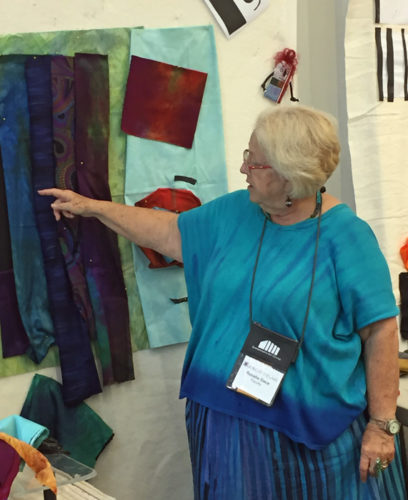
QBL Classmates at Work. Ellen Lindner, AdventureQuilter.com/blog

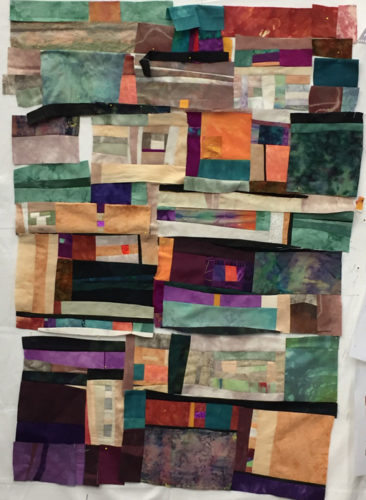
Barb worked late each night and almost completely assembled her piece by the end of the week. (Here it is still in-progess.)  It was inspired by a stone wall, but she took a lot of liberties with her color choices.  I loved it.
QBL Classmates at Work. Ellen Lindner, AdventureQuilter.com/blog

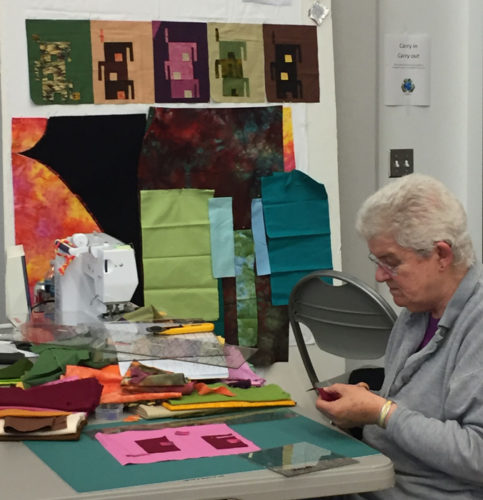
Peg started with rectangles and turned them into house shapes.
QBL Classmates at Work. Ellen Lindner, AdventureQuilter.com/blog

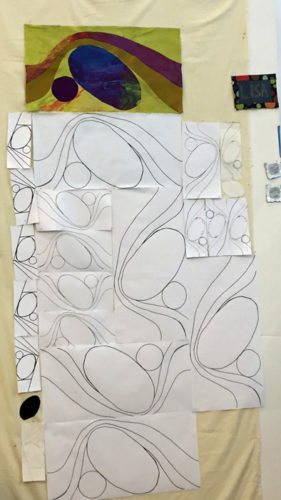
This is Lisa’s piece very early on.  Hers is the one inspired by her engagement ring.  She quickly mastered curved piecing and it’s a good thing.  As you can see, she has quite a few yet to do.
QBL Classmates at Work. Ellen Lindner, AdventureQuilter.com/blog

I wish I had a photo of Lisa’s work further along.  She used some wonderful hand dyed fabric and many bright colors.  It was really singing at the end of the week.

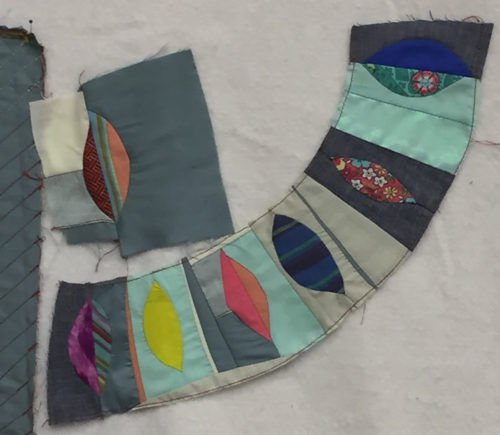
Olan was the only man in our class (or at QBL for that matter,) but it didn’t seem to phase him in the least.  He pieced these intricate feathers as part of a very large stylized piece.
QBL Classmates at Work. Ellen Lindner, AdventureQuilter.com/blog

Emily went for a minimalist look and for good reason.  When she began to play with these fabrics, they interacted so well she didn’t want to break up the composition.  She hand appliqued them in place and her top is finished!
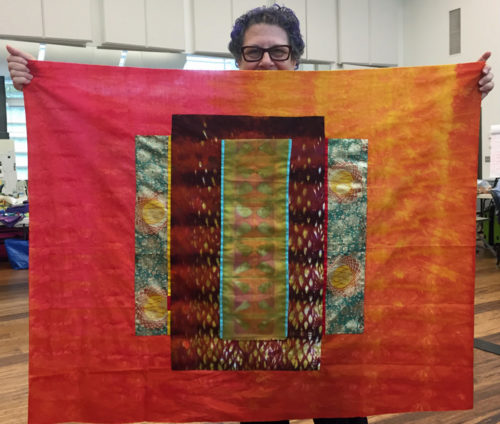
QBL Classmates at Work. Ellen Lindner, AdventureQuilter.com/blog

My neighbor in class was Annemarie and she brought these vibrant colors.  I knew I’d like her piece when I saw them.
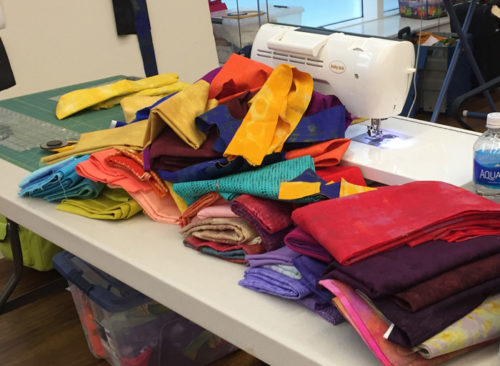
QBL Classmates at Work. Ellen Lindner, AdventureQuilter.com/blog

Sure enough, here it is.  I love the composition and contrast!  It was my favorite.  This is it at the very end of the week.  She just had a few more seams to stitch.
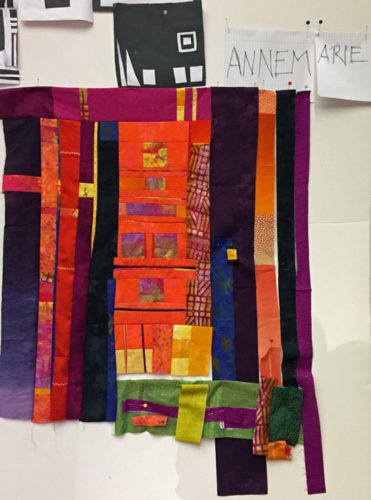
QBL Classmates at Work. Ellen Lindner, AdventureQuilter.com/blog

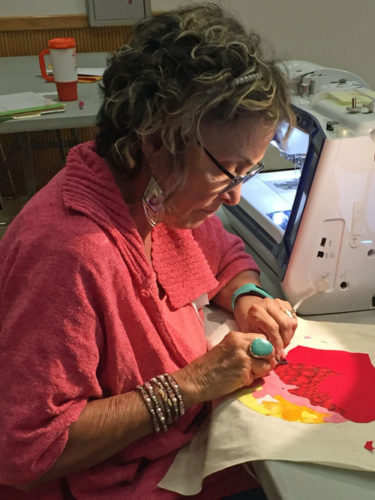
One of the great things about taking a class is learning from your classmates.  I definitely did that!

Ellen Lindner
P.S.  If any of my classmates read this, I’d love to receive photos of your finished pieces.  With your permission, I’ll add them to this post.
 

2

More Black and White Exercises

One of the great things about taking a class is that you get to learn from everyone around you.  In my class with Rosalie Dace, she was very good about going around the room and coaching everyone.  And she didn’t mind eavesdropping, so I overheard quite a few good tips.

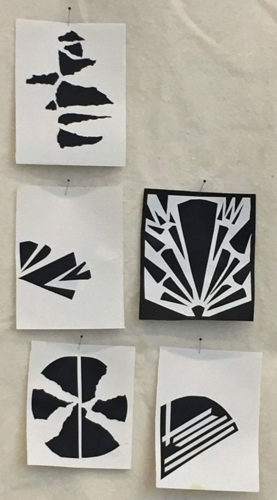
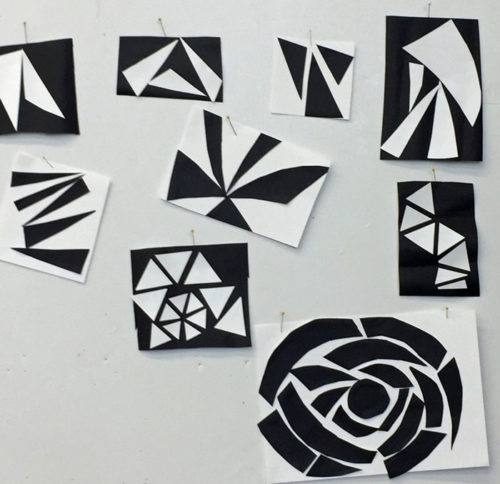
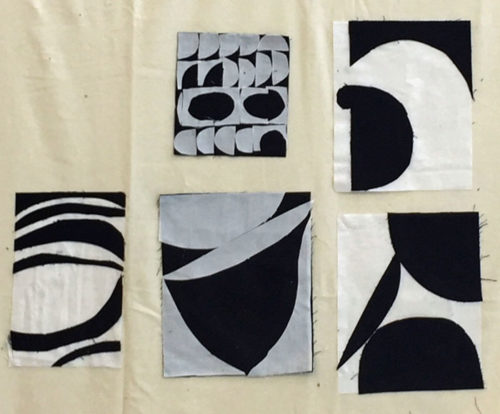
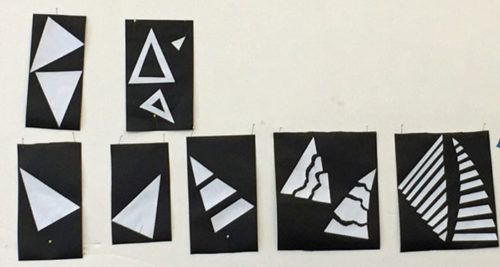
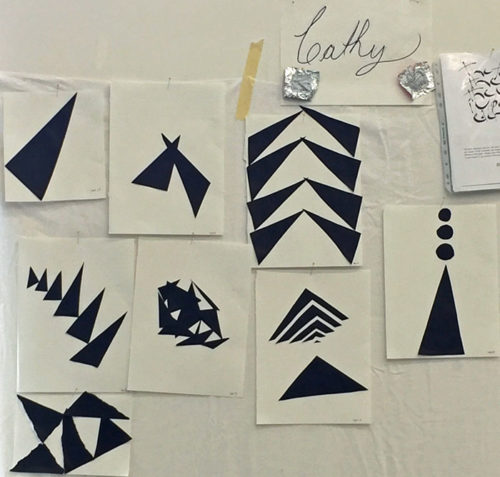
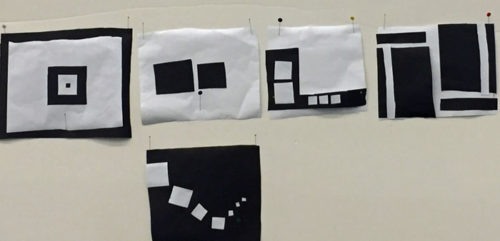
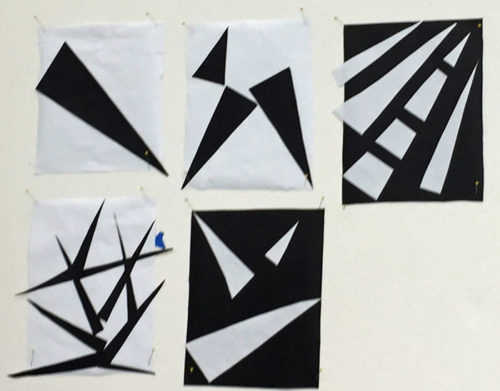
I thought you’d enjoy seeing how some of my classmates tackled their black and white exercises.  Each one started with a single shape that was then altered, multiplied (maybe) and explored at least three more times.

When Stephanie alternated the values in her shapes she got something that looked almost like a rib cage.

A Class with Rosalie Dace: Black and white exercises. Ellen Lindner, AdventureQuilter.com/blog

Olan cut his very exact shapes with an exacto knife.

A Class with Rosalie Dace: Black and white exercises. Ellen Lindner, AdventureQuilter.com/blog

Mary’s sharp triangles morphed into a large flower.

A Class with Rosalie Dace: Black and white exercises. Ellen Lindner, AdventureQuilter.com/blog

Lisa used her engagement ring as a jumping off point.  Thus, the curves, which emulated her oval stone.
A Class with Rosalie Dace: Black and white exercises. Ellen Lindner, AdventureQuilter.com/blog

Kenna did an awful lot with a basic triangle.

A Class with Rosalie Dace: Black and white exercises. Ellen Lindner, AdventureQuilter.com/blog

And look what Cathy did with the same shape.

A Class with Rosalie Dace: Black and white exercises. Ellen Lindner, AdventureQuilter.com/blog

Annemarie’s composition seemed pretty basic at first, but wait until you see what she did with it.

A Class with Rosalie Dace: Black and white exercises. Ellen Lindner, AdventureQuilter.com/blog

More triangles.  Betsy used very sharp ones.  Almost like thorns.

A Class with Rosalie Dace: Black and white exercises. Ellen Lindner, AdventureQuilter.com/blog

What a lot of diversity!  These little sketches turned into some really awesome quilts.

Ellen Lindner

2

An Abundance of Apples in West Palm Beach

The ladies from Palm Beach County Quilters’ Guild made excellent progress on their apple projects during a recent Double Reverse Applique class.

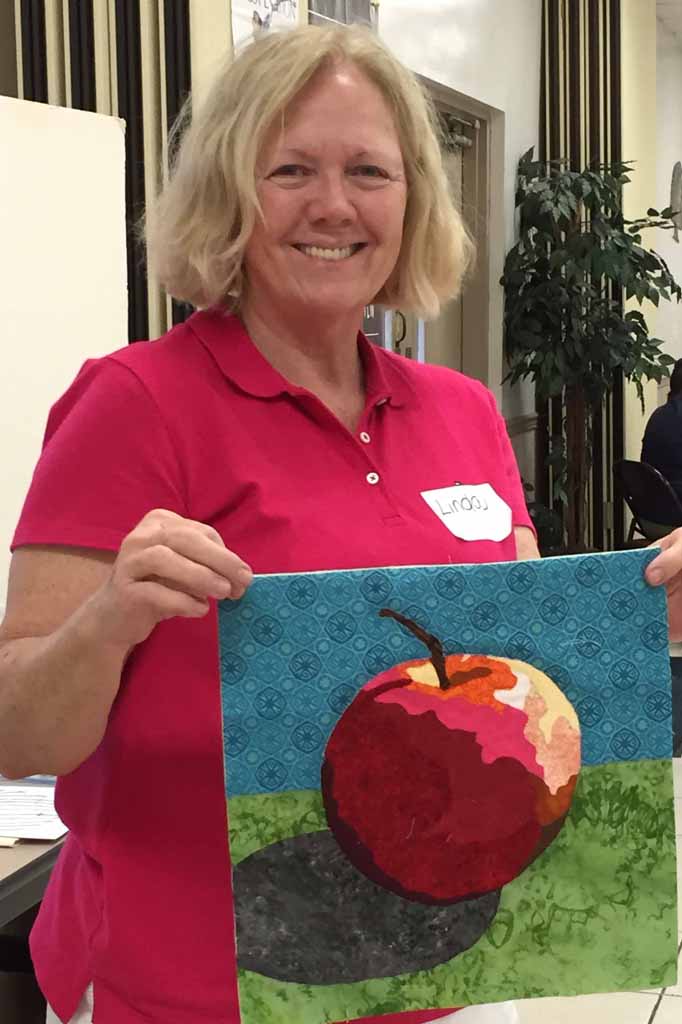
Linda was all smiles about her results.

Double Reverse Applique class with Ellen Lindner. AdventureQuilter.com/blog

At the end of the day Barbara’s was complete, except for the stem.Double Reverse Applique class with Ellen Lindner. AdventureQuilter.com/blog

Lorna was the first to finish.  We all thought her bottom fabric did a nice job of implying a table cloth.

Double Reverse Applique class with Ellen Lindner. AdventureQuilter.com/blog

Guild president, Lynn, was delighted to finish something in class.

Double Reverse Applique class with Ellen Lindner. AdventureQuilter.com/blog

Maggie left her shadow blank, initially.   But, when I saw her the next day, she’d changed it to black and was very happy with it.

Double Reverse Applique class with Ellen Lindner. AdventureQuilter.com/blog

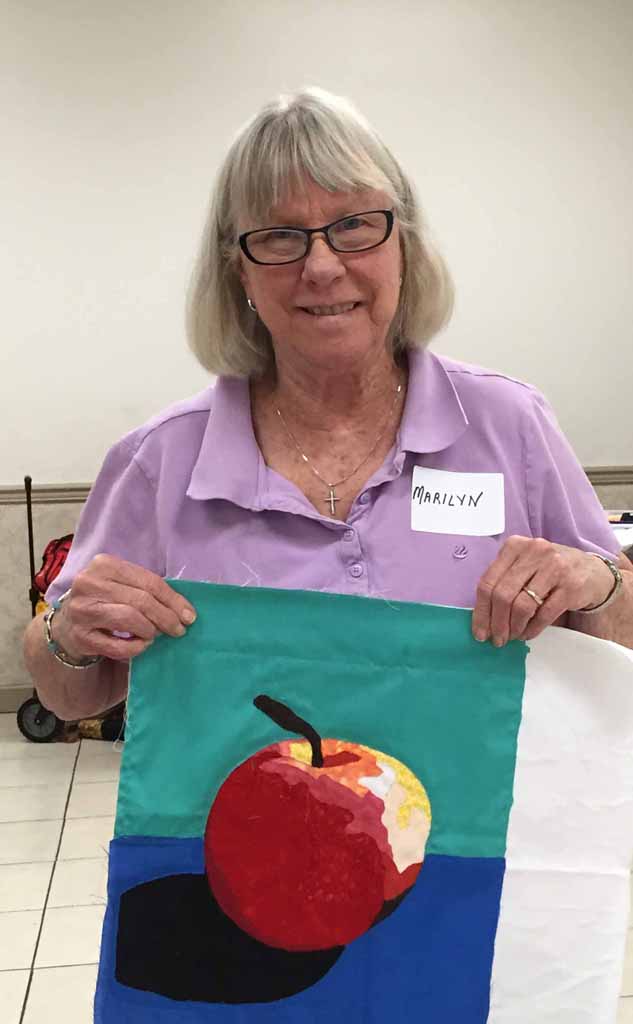
Marilyn was one of the bravest in class, since she was VERY new to free motion stitching!  Didn’t she do a great job?

Double Reverse Applique class with Ellen Lindner. AdventureQuilter.com/blog

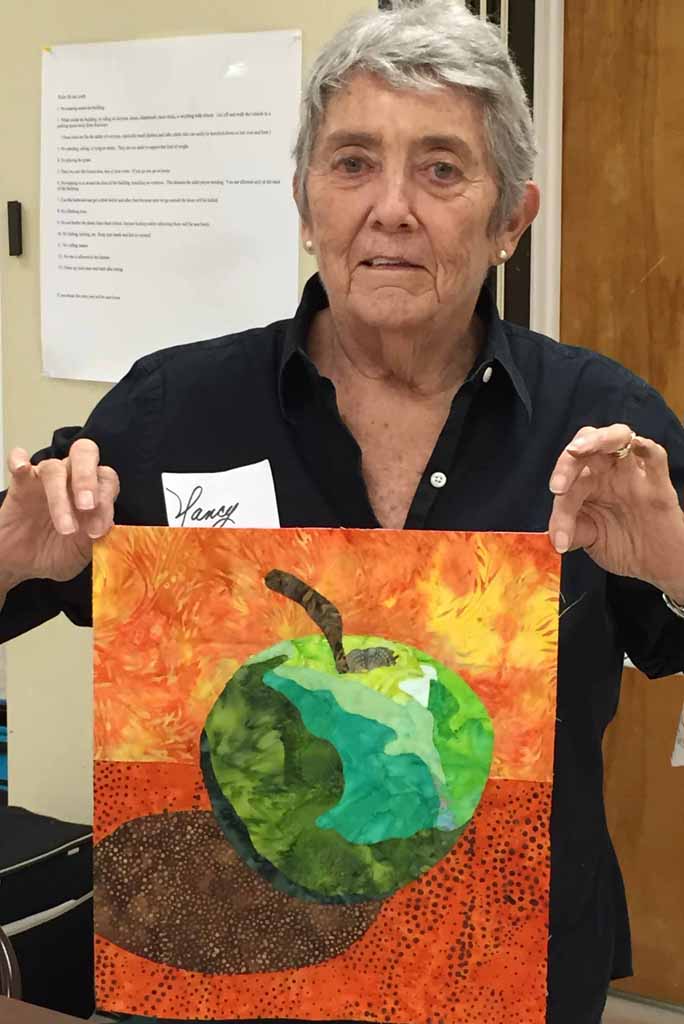
We all loved Nancy’s green apple, (which she had completely quilted and faced by the next morning.)

Double Reverse Applique class with Ellen Lindner. AdventureQuilter.com/blog

I love it when students put their own spin on things.  Nancy did just that by adding a little critter to her apple.  Can you see him?

Double Reverse Applique class with Ellen Lindner. AdventureQuilter.com/blog

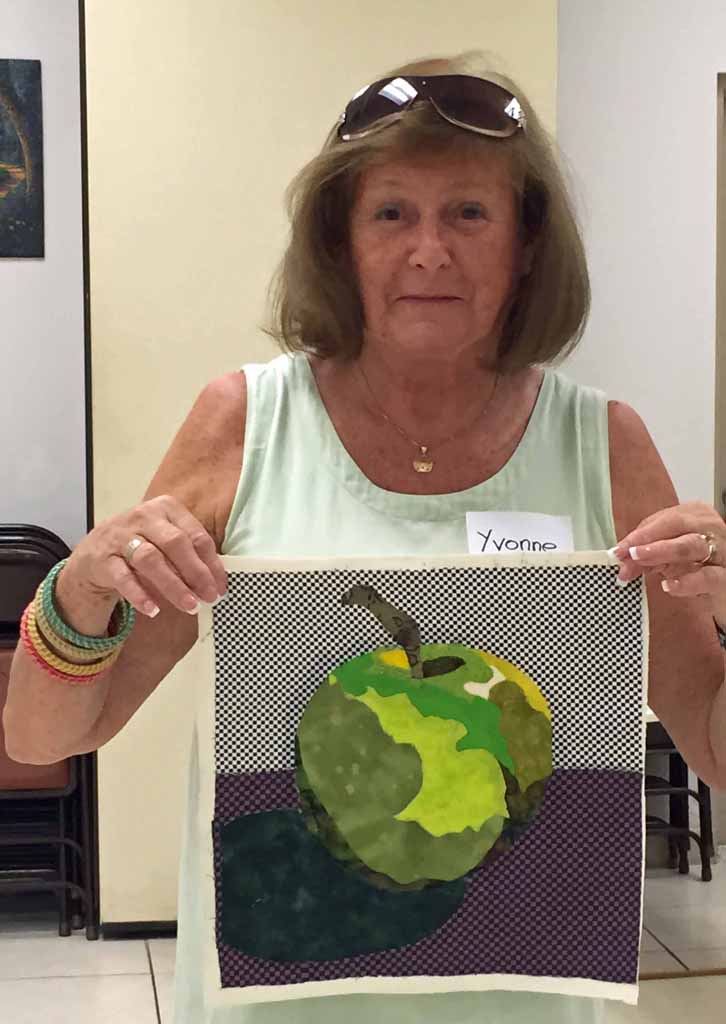
Yvonne was WAY out of her comfort zone, since she normally does needle-turn applique.  This class utilizes raw edge collage, so it was completely new to her!  It didn’t faze her though, as you can see.

Double Reverse Applique class with Ellen Lindner. AdventureQuilter.com/blog

This is a fun, fast, and accurate technique.  And one that’s always fun to teach!

Ellen Lindner
P.S.  Check out my ebook with all the content of this class.  And a gallery of Double Reverse Applique quilts.  (NOT all apples.)

3