Tag Archives | Nature

“Love It And Leaf It” in San Diego

The San Diego women in my “Love It and Leaf It” class had a great time and did wonderful work! I didn’t save my photos properly, but several of them were kind enough to send me photos after class.


Student work from Ellen Lindner's "Love It and Leaf It" class. AdventureQuilter.com

Diane Deckerhouser

The expression on Diane’s face, above, is a good example of the delight each student felt as she finished her composition.

Shelly’s perfect “running stitch” adds a nice bit of contrast to her quilt.

Student work from Ellen Lindner's "Love It and Leaf It" class. AdventureQuilter.com

Shelly Gragg

In this class, I not only show the students how to face their small quilts, but also how to frame them with “the Ellen technique.” Iris used a different technique, but the effect is the same. Doesn’t the mat and frame elevate it?

Student work from Ellen Lindner's "Love It and Leaf It" class. AdventureQuilter.com

Iris Williams

Corky’s blue background worked very well with her fabrics.

Student work from Ellen Lindner's "Love It and Leaf It" class. AdventureQuilter.com

Corky

Working from home (like everyone else,) Karen was seduced by her lovely stash fabrics and altered the colors quite dramatically. I think it’s very successful.

Student work from Ellen Lindner's "Love It and Leaf It" class. AdventureQuilter.com

Karen Brow

I don’t know who made this one, but didn’t it turn out great? They all did!

Student work from Ellen Lindner's "Love It and Leaf It" class. AdventureQuilter.com

Unknown San Diego maker

This is an easy and fast class: only 3 hours. In January, I’ll be teaching it at Road@Home, the virtual version of the Road to California show, which had to be canceled this year. I’d love to see you in class. See the details here.

Ellen Lindner

0

What a Trip!

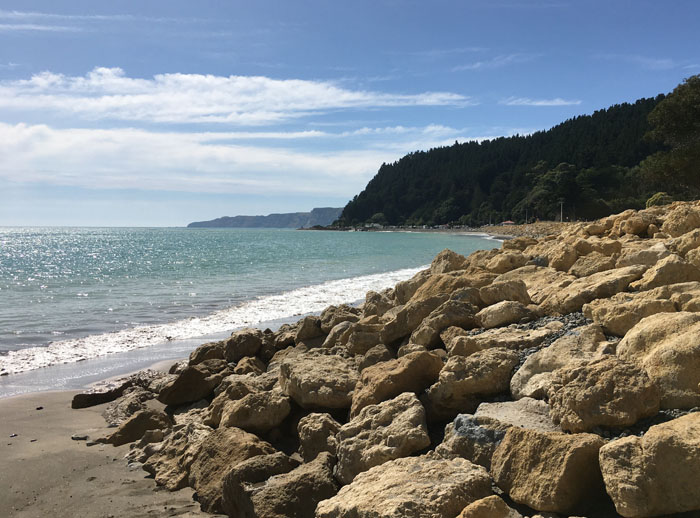
I recently went on the vacation of a lifetime, to Hawaii, Australia, and New Zealand! My favorite thing was the scenery in Hawaii and New Zealand. Here’s just a sample.

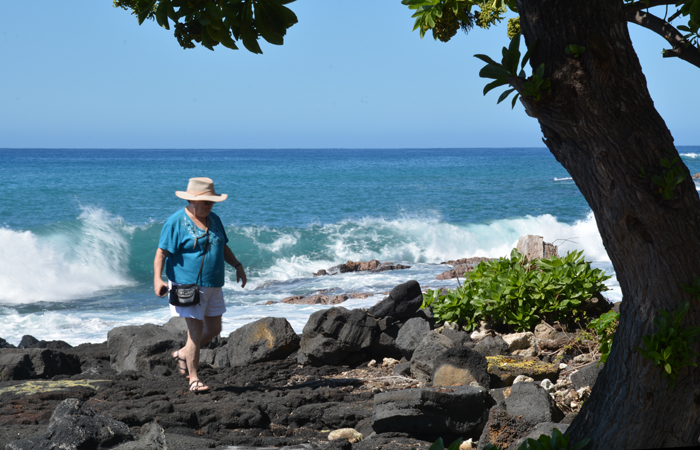
The beach in Kona, Hawaii (on the big island.)

What a trip! HI, Aus and NZ. Ellen Lindner, AdventureQuilter.com/blog

What a trip! HI, Aus and NZ. Ellen Lindner, AdventureQuilter.com/blog

The turquoise water, white waves, and black lava rocks created a wonderful contrast!

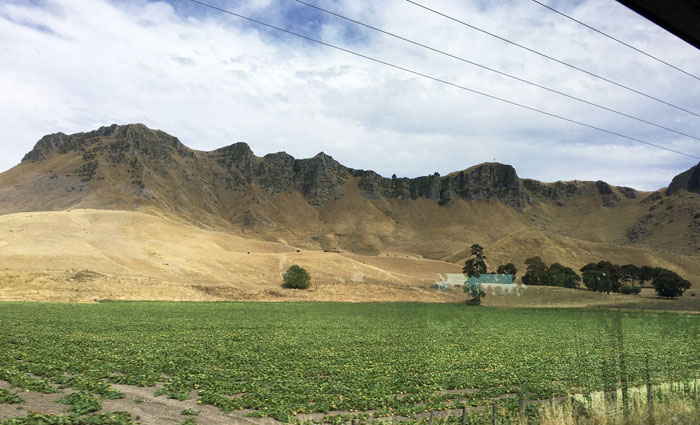
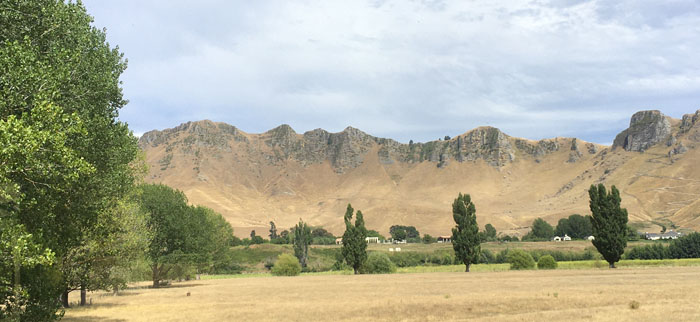
Much of New Zealand had steep hills and mountains caused by earthquakes. It was very dramatic.

What a trip! HI, Aus and NZ. Ellen Lindner, AdventureQuilter.com/blog

What a trip! HI, Aus and NZ. Ellen Lindner, AdventureQuilter.com/blog

The tan hills reflect the dry conditions, although irrigation keeps the agricultural industry vibrant. As a matter of fact, New Zealand is so conducive to growing things that the same trees that are grown for lumber in California reach maturity in half the time in NZ.

What a trip! HI, Aus and NZ. Ellen Lindner, AdventureQuilter.com/blog

The photo above was taken on a working sheep station (ranch.) Which shows you just how abundant such stunning views are. Gorgeous!

There was inspiration everywhere!

Ellen Lindner

0

Working on My Flame Vine Quilt

The quilt I’ve been working on is inspired by a friend’s flame vine, which cascades down her back porch.  In the strong Florida sun, it’s especially striking when seen against the dark porch screening.

After finishing the orange flowers, I went on to the leaves.

Project Resurrected. Ellen Lindner, AdventureQuilter.com/blog

Next, I tackled the long skinny pieces.  I’m not sure what they are, but they’re some part of the plant. Let’s call them twigs.   At any rate, they were in the original photo and I liked the graphic quality they added to the abstraction.  To audition sizes I started tearing fabrics and I liked the fuzzy quality I got with some of them.  So, I just left them that way.

Working on my Flame Vine Quilt. Ellen Lindner, AdventureQuilter.com/blog

Finally, it was time to glue everything to the muslin and start stitching.  I added black zigzag around each block unit.

Working on my Flame Vine Quilt. Ellen Lindner, AdventureQuilter.com/blog

For the petals and leaves I chose an organic quilting pattern that, in part, followed the shape of the piece.  For the background, I selected parallel lines.  In each case, they follow the angle of one of the twigs.  I really like the effect.

Working on my Flame Vine Quilt. Ellen Lindner, AdventureQuilter.com/blog

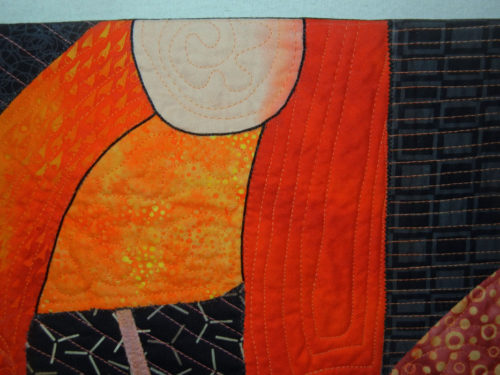
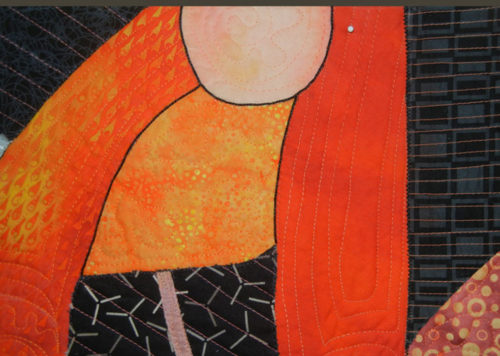
After all of this, I thought some of the petals merged a little bit too much.  To add definition, I drew around the edges with a Sharpie.  That helped, but it was partially covered by fuzzy threads, so I looked for something more significant.  I found it with a thin black cord which I hand couched on.  It gave the perfect outline.

Working on my Flame Vine Quilt. Ellen Lindner, AdventureQuilter.com/blog

On to finishing!  I faced the quilt and sprayed marked areas with water, to remove the chalk marks.
But, oops, one area bled.

Working on my Flame Vine Quilt. Ellen Lindner, AdventureQuilter.com/blog

I decided to hide it by adding more of the same.  Like this:

Working on my Flame Vine Quilt. Ellen Lindner, AdventureQuilter.com/blog

I used water soluble wax pastels, adding a little yellow and orange.  Plus, I think the extra water added faded the original spot.  Voila!  On to photo taking.

Ellen Lindner

0

“Bush Berries” Complete

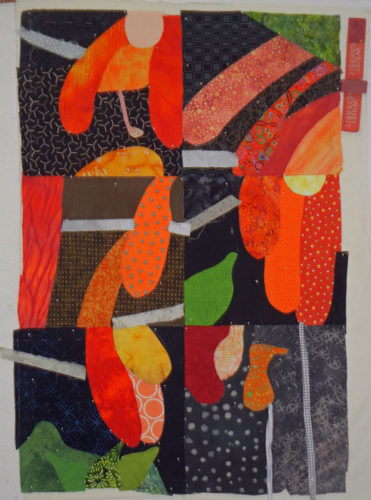
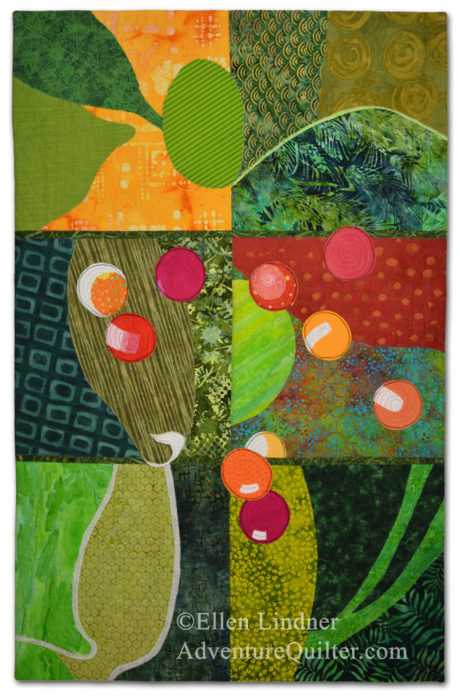
Here’s my finished abstract quilt, Bush Berries.

Bush Berries, an art quilt by Ellen Lindner. AdventureQuilter.com

Bush Berries

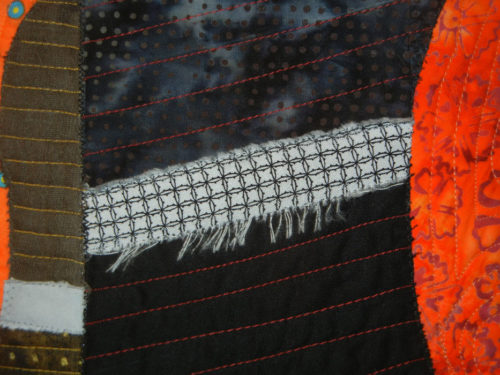
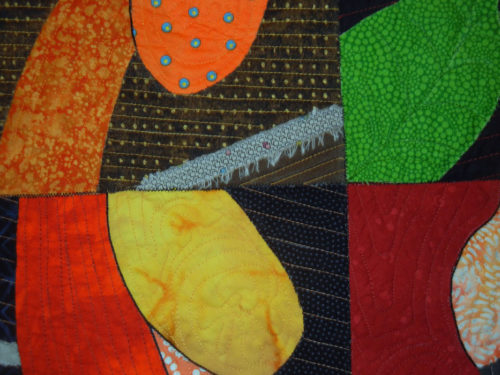
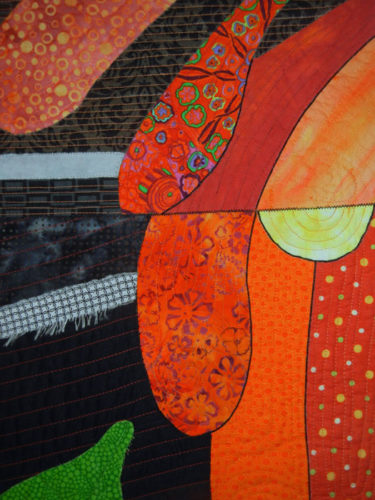
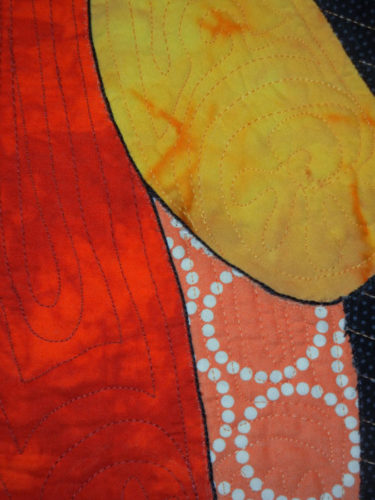
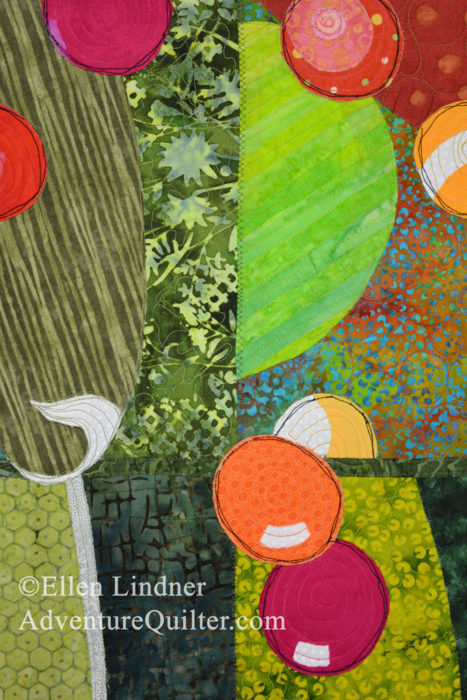
And a detail shot:

Bush Berries - detail, an art quilt by Ellen Lindner. AdventureQuilter.com

Bush Berries,   ©2017
36h x 24w, $895

It was very enjoyable to make and it went together much faster than most of my quilts.  Click on the links below to see the fun abstracting technique I used.

Ellen Lindner


2

Leaf Quilt Progressing

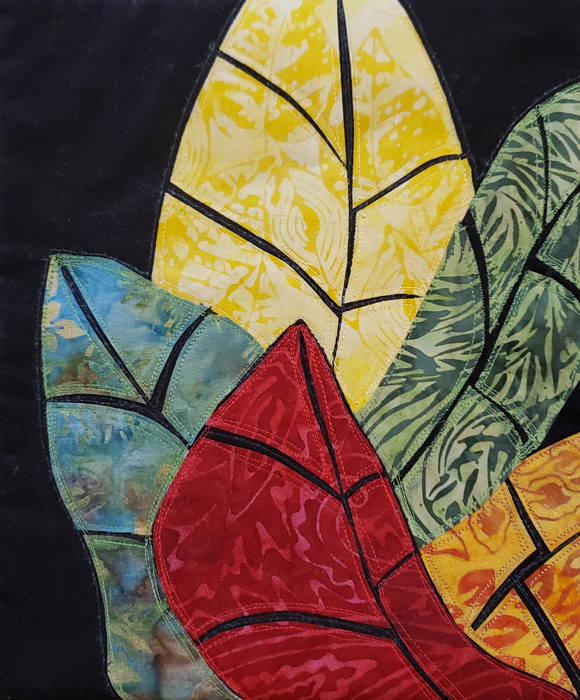
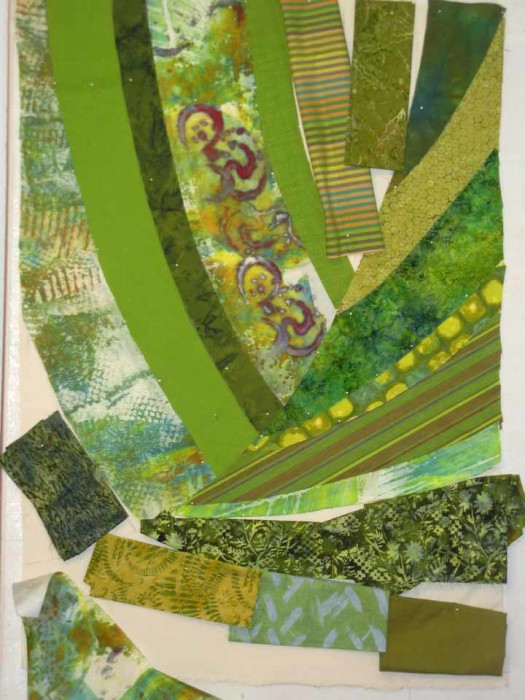
After getting started on two big leaf quilts, things went pretty smoothly.  (The photos in this post show the left quilt.)  Having previously drawn the design on a large piece of muslin, I auditioned which green to use where.
Ellen Lindner creating a leaf quilt. AdventureQuilter.com/blog

Can you believe I had to buy MORE fabric?  Very unexpected.

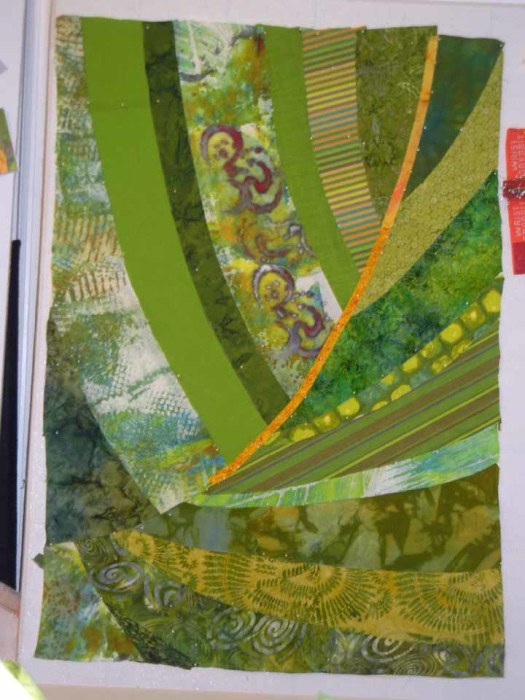
Here’s the final arrangement of greens.  Which ended up being not so final after all.
Ellen Lindner creating a leaf quilt. AdventureQuilter.com/blogEllen Lindner creating a leaf quilt. AdventureQuilter.com/blogEllen Lindner creating a leaf quilt. AdventureQuilter.com/blogEllen Lindner creating a leaf quilt. AdventureQuilter.com/blogEllen Lindner creating a leaf quilt. AdventureQuilter.com/blog

I was beginning to audition vein colors and widths.  I loved the color above, but thought it was a little fat.  More experimenting was needed.

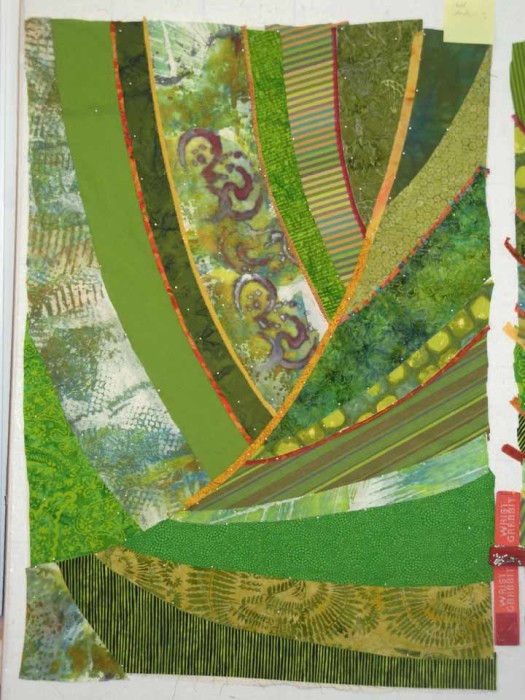
In the photo below, I’ve changed some of the bottom right fabrics and I was continuing to add veins.  I REALLY liked these colors!
Ellen Lindner creating a leaf quilt. AdventureQuilter.com/blog

Here’s the final version, with veins complete.  I was quite happy with it.
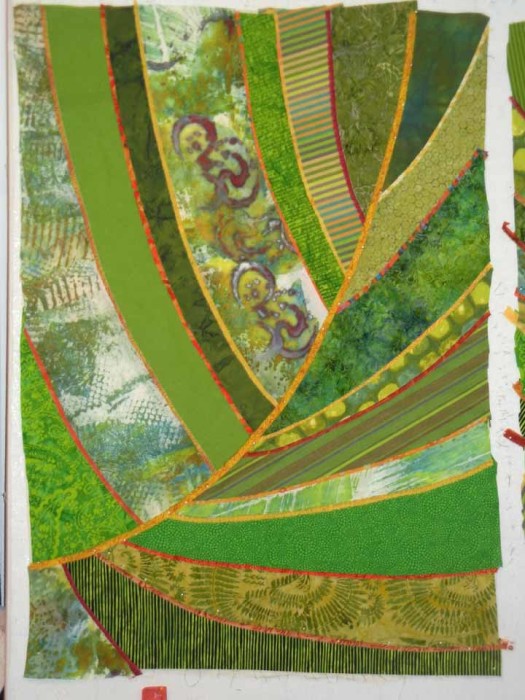
Ellen Lindner creating a leaf quilt. AdventureQuilter.com/blog

Then, I got to thinking about adding shadows to make the veins looked raised.  I did a little experimenting and decided to do this with two layers of black tulle.

I covered the entire quilt with the tulle (2 layers.)  Next, I decided on the light source and did some crazy calculating (and guessing) to determine the correct width of the shadow at each location.  I drew in the shadow dimensions and stitched them with dark monofilament thread.  Finally, I cut away the extra tulle.

In the photo below the entire quilt has tulle on it.  I’ve stitched the first few shadow lines, on the right. allowing me to cut away the tulle in those areas.  I was pleased to see that it was developing as I had hoped.
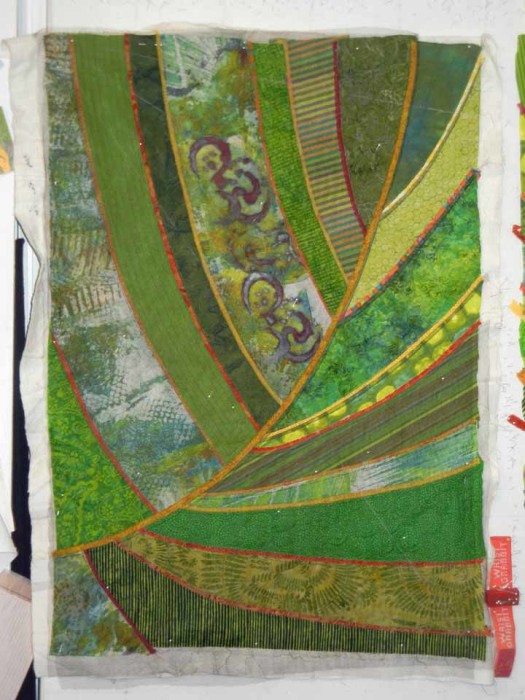
Ellen Lindner creating a leaf quilt. AdventureQuilter.com/blog

In the next photo, the left side is still covered with tulle and the right has had the shadows completed.
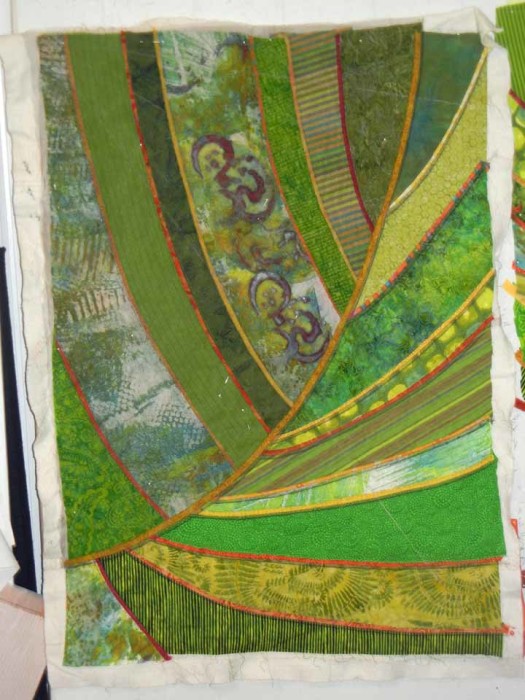
Ellen Lindner creating a leaf quilt. AdventureQuilter.com/blog

And here it is finished.

Ellen Lindner creating a leaf quilt. AdventureQuilter.com/blogEllen Lindner creating a leaf quilt. AdventureQuilter.com/blogEllen Lindner creating a leaf quilt. AdventureQuilter.com/blogEllen Lindner creating a leaf quilt. AdventureQuilter.com/blogEllen Lindner creating a leaf quilt. AdventureQuilter.com/blogEllen Lindner creating a leaf quilt. AdventureQuilter.com/blogEllen Lindner creating a leaf quilt. AdventureQuilter.com/blogEllen Lindner creating a leaf quilt. AdventureQuilter.com/blogEllen Lindner creating a leaf quilt. AdventureQuilter.com/blogEllen Lindner creating a leaf quilt. AdventureQuilter.com/blogEllen Lindner creating a leaf quilt. AdventureQuilter.com/blogEllen Lindner creating a leaf quilt. AdventureQuilter.com/blog

I think the shadow effect worked perfectly.  What do you think?

Want to see it up close?  I know you do, so here it is.
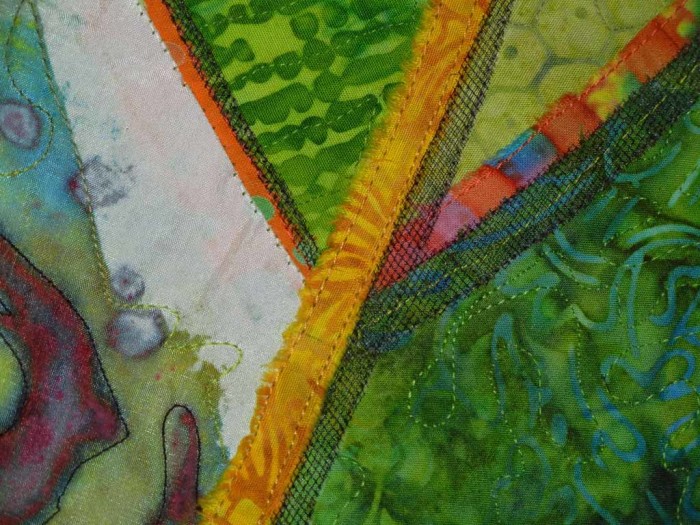
Ellen Lindner creating a leaf quilt. AdventureQuilter.com/blog

I think I might use clear thread next time.

The left quilt is now almost complete.  I’ll wait to trim and face it until the second quilt is finished, so I can make sure they’re the same size.

BTW, I’ve used tulle to add a shadow, or to change a color many other times.  See several examples on this page.  
– Misty Morn 
required four layers of black tulle to create the shadows in the foreground.
– Blue tulle was used to created the shadows on the oranges in Lakeside Citrus.
– Black oraganza (more opaque than tulle) was used for the berry shadows in Ripening.
– Two layers of black tulle created the border for Autumn Breeze.  Can you see how the interior image continues right into the border?

TIP:  Using tulle in this way is very easy.
– Start with a piece significantly larger than needed.  Pin well.
– Stitch along desired lines.
– Trim closely.
Because tulle is extruded plastic it will not ravel!  (Other woven sheers generally ravel very badly.)

Have you ever used tulle to alter a color?

Ellen Lindner

15

Surrounded by Sandhills

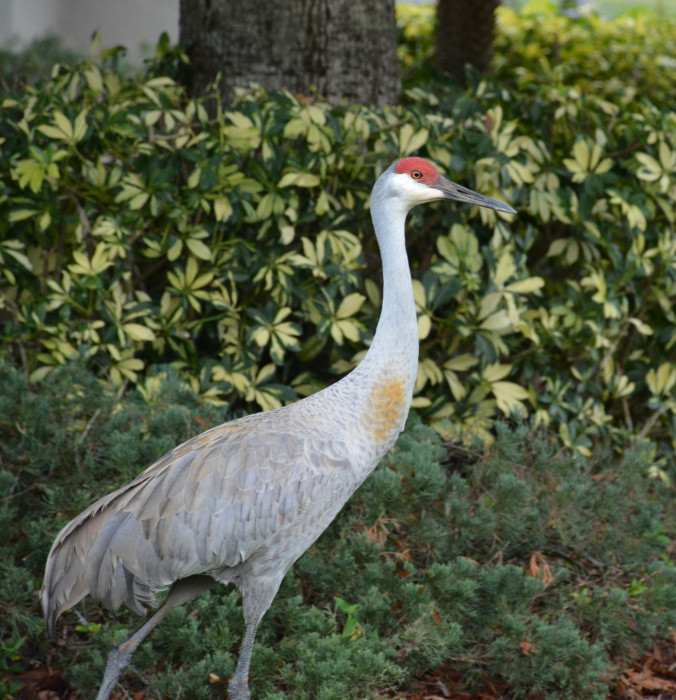
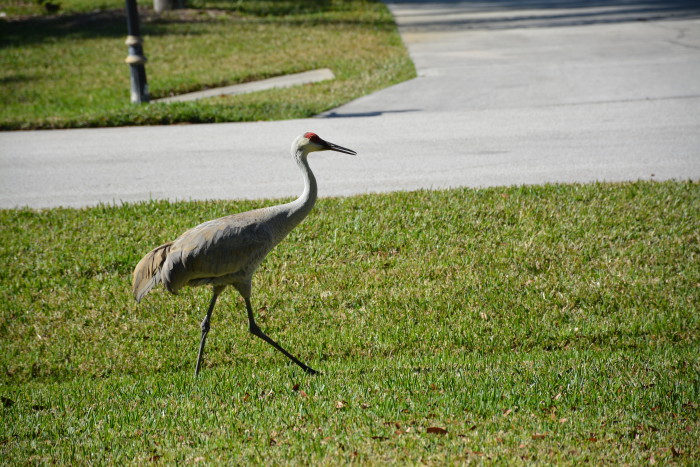
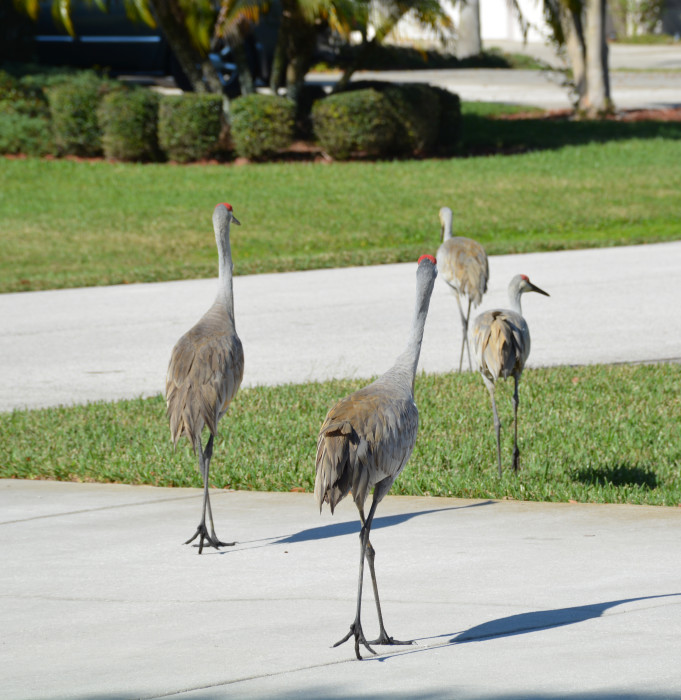
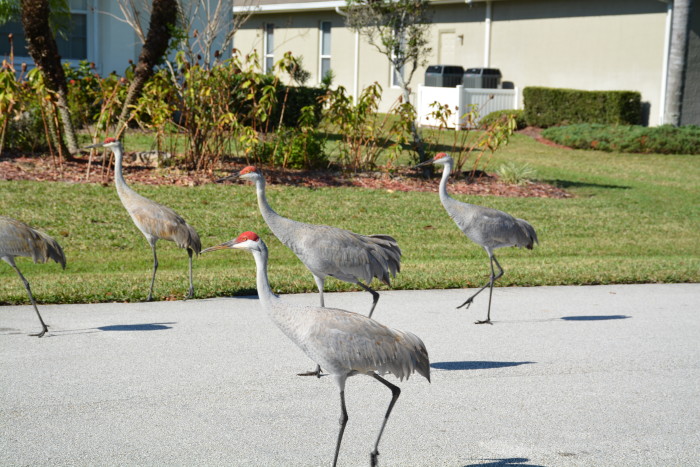
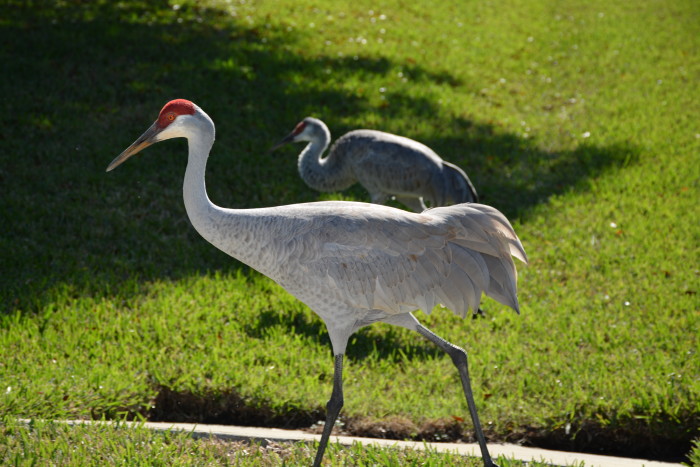
We’re lucky to have many Sandhill cranes in my neighborhood.  They’re an endangered species and, to me, rather unusual.  They are very tall, almost 5 feet.  They generally walk slowly with their heads moving gracefully forward and back as they go.  We don’t seem them fly very often, but they can easily do so.  And they have a very distinctive warble.

crane 1

Shortly after receiving a digital SLR camera as a gift, a group of cranes moved through my front yard and I went outside to photograph them and to learn about my camera.  (Think large 35 mm style camera that creates digital images.)

I guess I startled them because they began slowly moving away, down the street to the right.

Sandhill crane. Ellen Lindner, AdventureQuilter.com

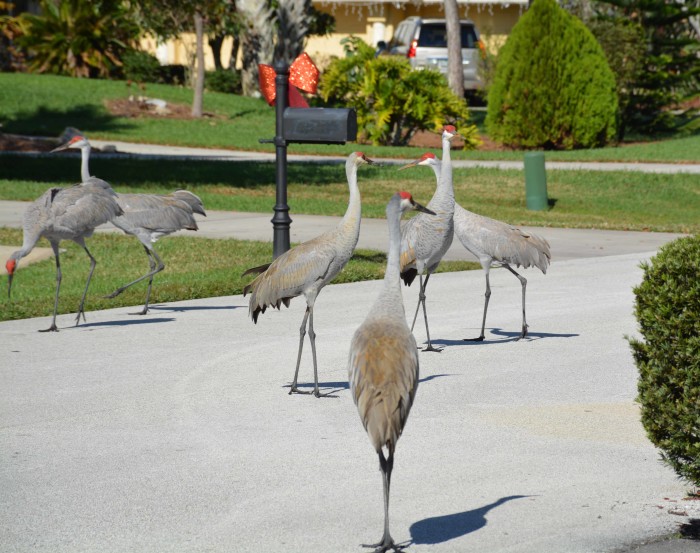
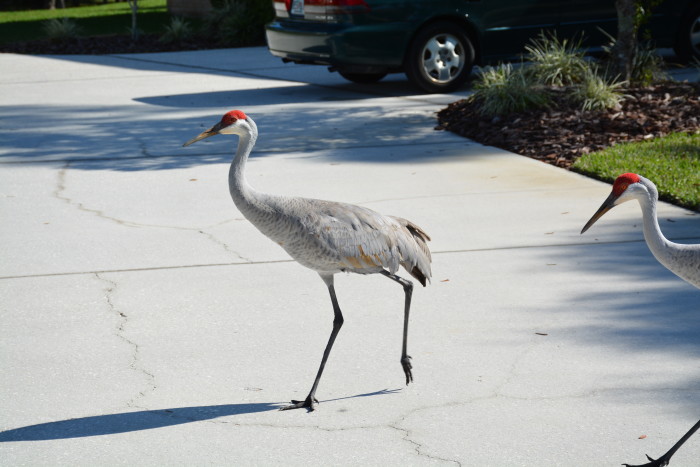
There were about nine of them altogether, but I never got all of them in one shot.

Sandhill cranes. Ellen Lindner, AdventureQuilter.com
But then, something unusual began to happen.

Sandhill cranes. Ellen Lindner, AdventureQuilter.com

It seemed that they may have changed their minds about the direction they wanted to travel.

Sandhill cranes. Ellen Lindner, AdventureQuilter.com

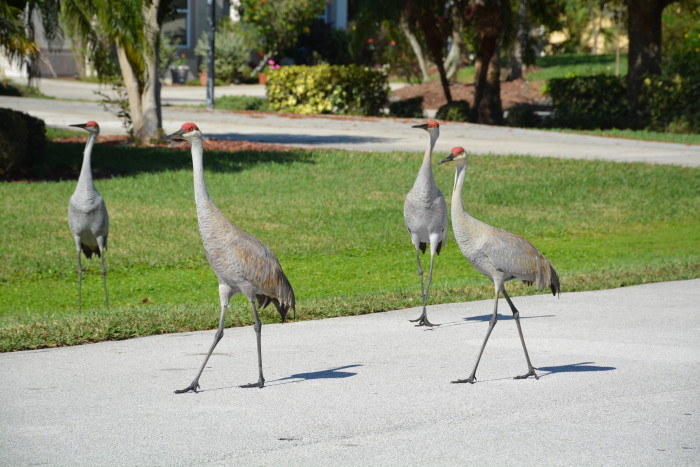
Sure enough, they turned around and started back toward me, moving right to left.

Sandhill cranes. Ellen Lindner, AdventureQuilter.com

Sandhill cranes. Ellen Lindner, AdventureQuilter.com

I was standing in my driveway and they came closer and closer.  Because I had the camera up to my eye, I was slow to pick up on what was happening next.  The birds were now circling back around me to my left!  It was almost like they were curious.

Sandhill cranes. Ellen Lindner, AdventureQuilter.com

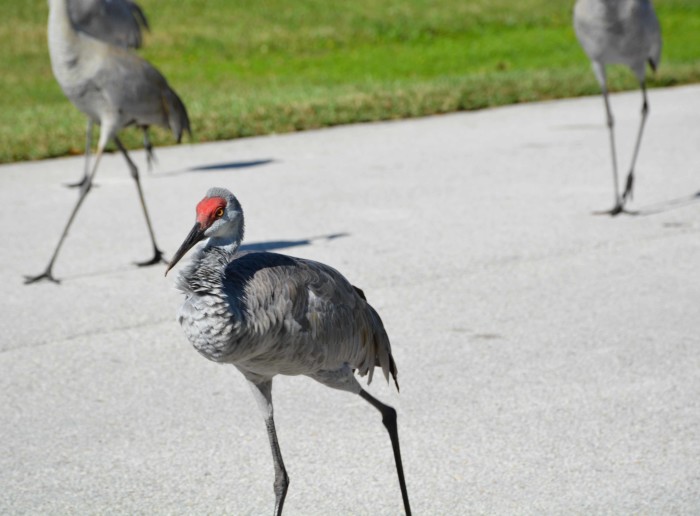
What was going on here?  They came extremely close and eventually, circled between me and my house.

Sandhill crane. Ellen Lindner, AdventureQuilter.com

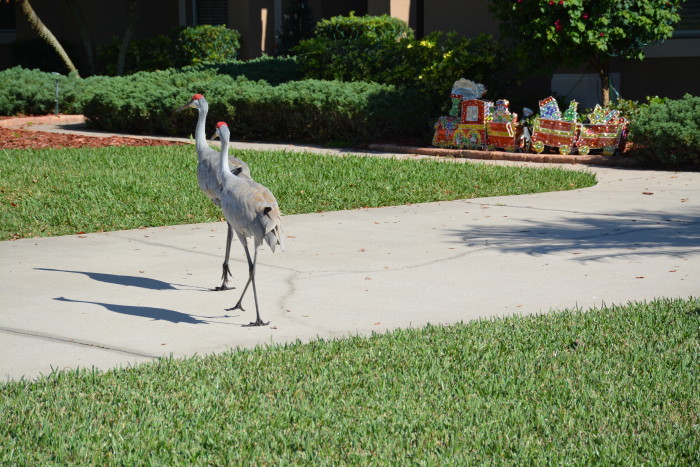
Now having turned 360 degrees back to their original direction, they traveled across my neighbor’s yard and continued on their way.

Sandhill cranes. Ellen Lindner, AdventureQuilter.com

This was all very unusual bird behavior.  The only thing I can figure is that they were attracted to the clicking shutter noise of my camera.  Maybe I’ll have to test that theory again one of these days.

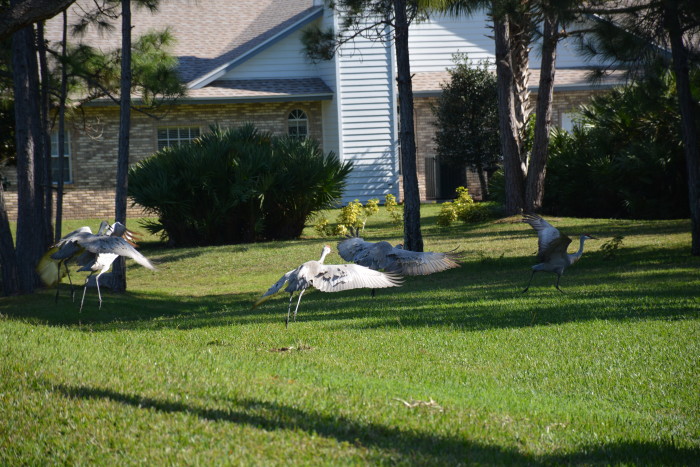
I watched them a bit longer and captured this shot of several taking flight.

Sandhill cranes. Ellen Lindner, AdventureQuilter.com

They’re very majestic birds and I’m glad to have them in our neighborhood.

Ellen Lindner

5