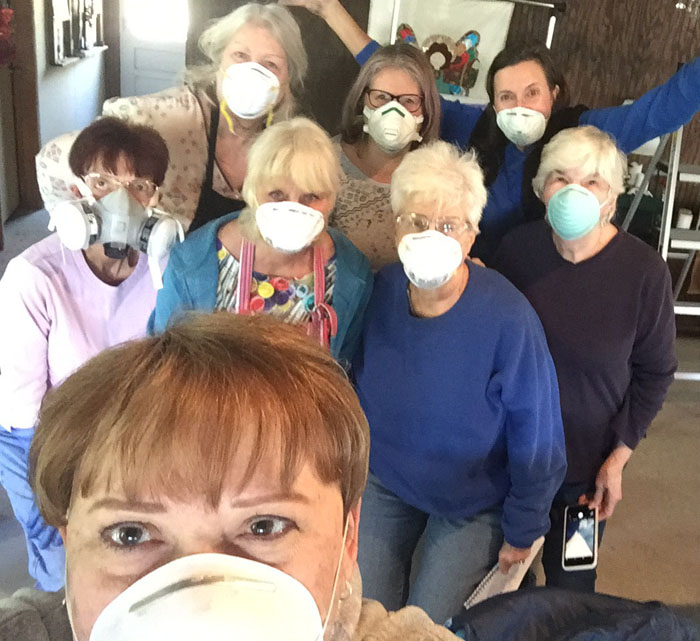
The students in my recent “Floral Improv” class, in Tallahassee, FL, produced wonderful results!
After learning to make simple daisies and poppies, we talked about design and composition and they spent some time working on their arrangements.
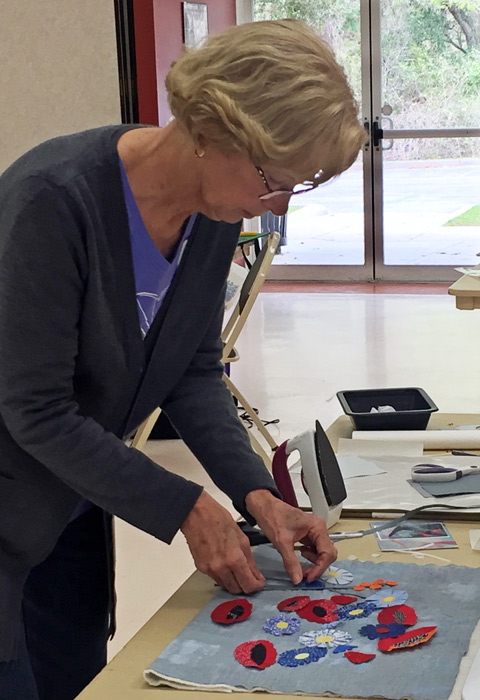
Elizabeth at work
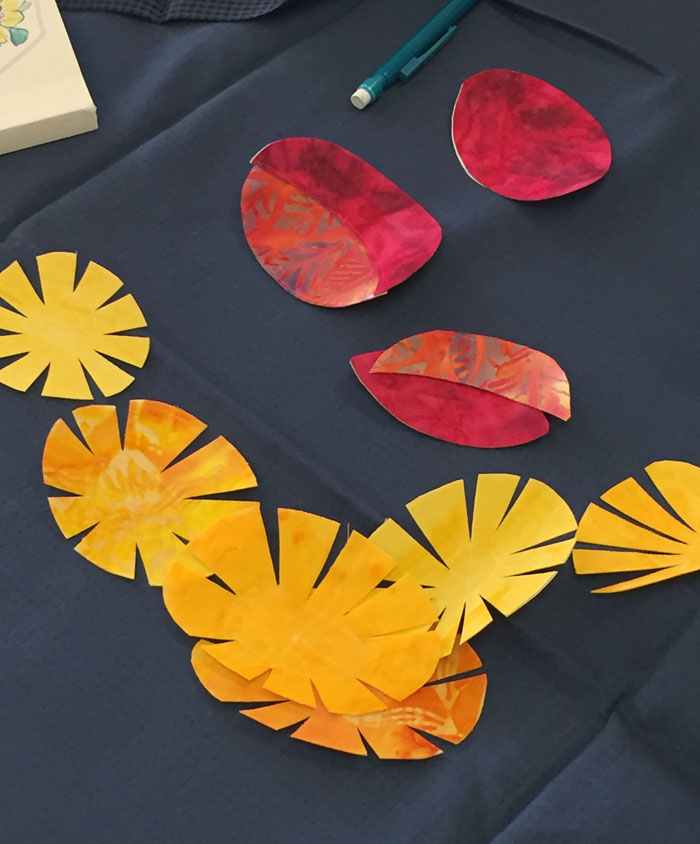
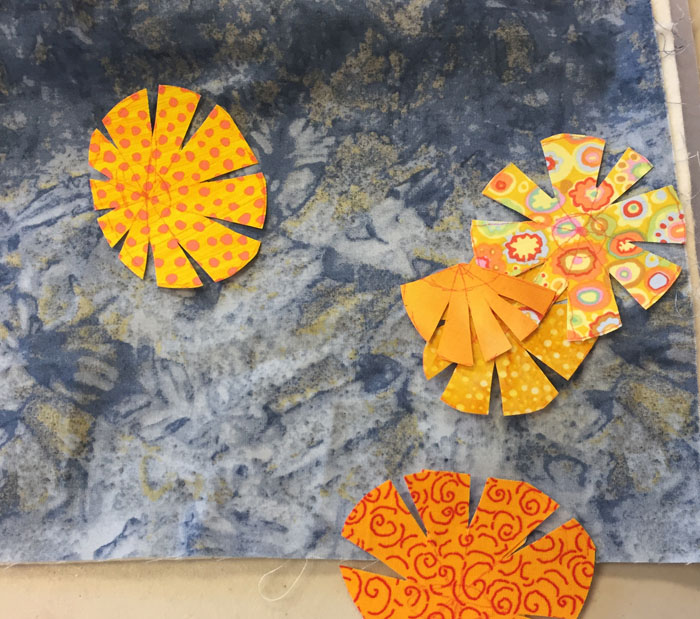
Flowers were placed first, then stems, then leaves.
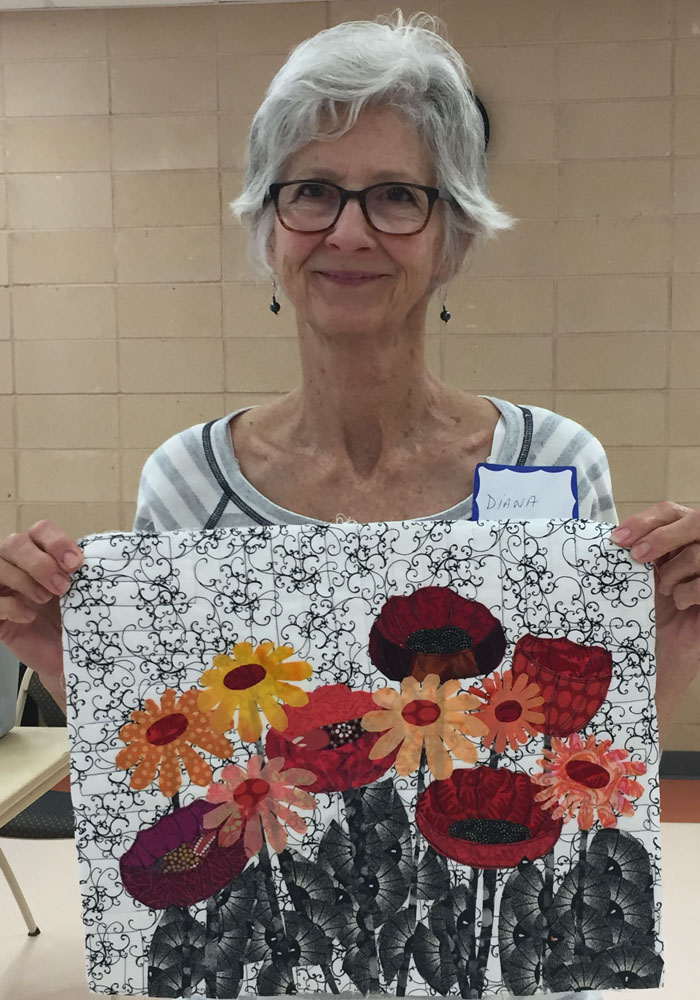
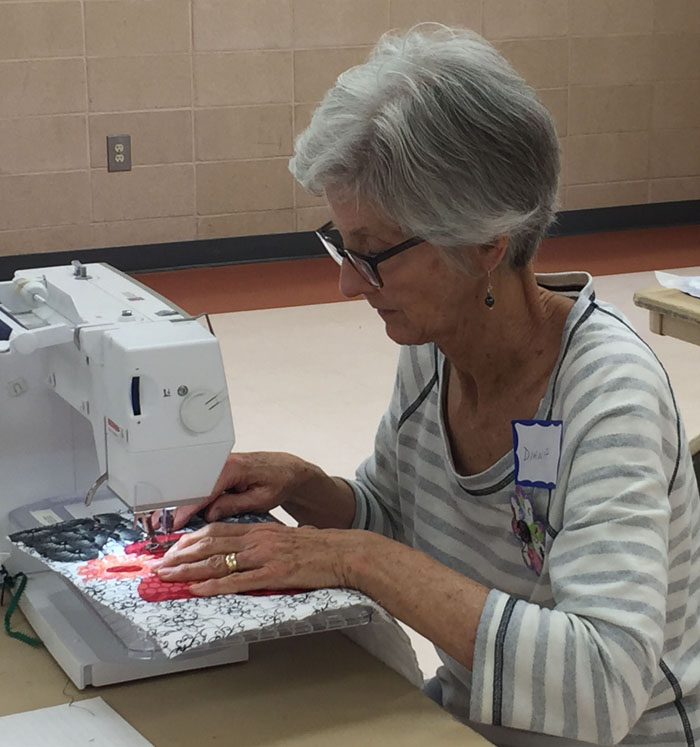
Diana with her stitching in-progress
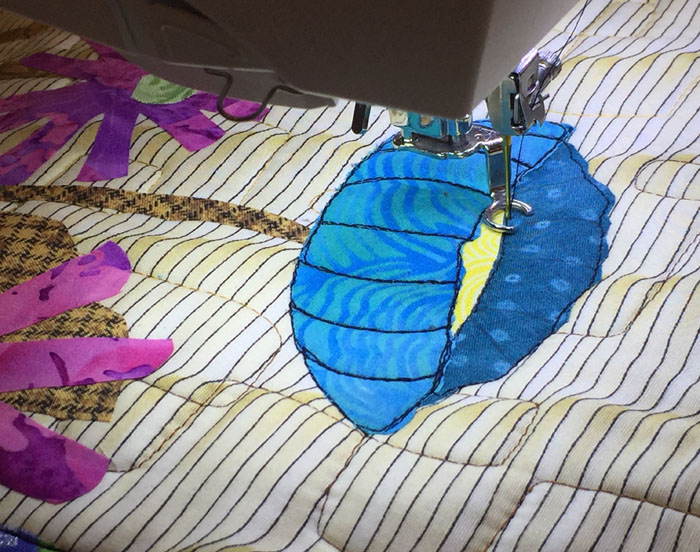
Next came the stitching. This is especially important with the poppies because details are added with black thread.
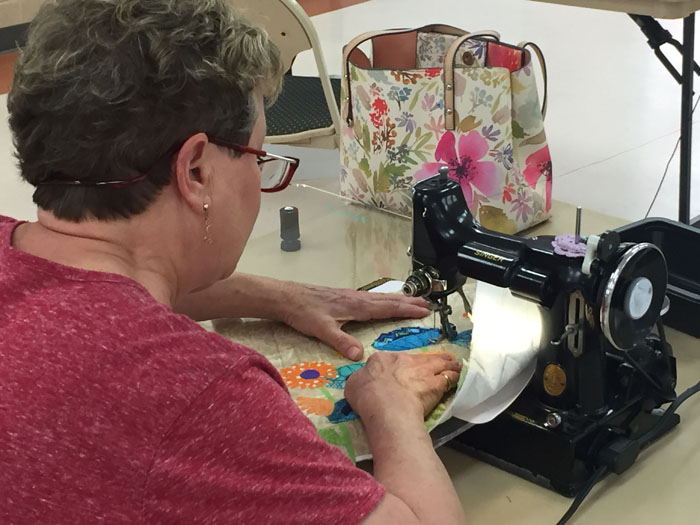
Elizabeth stitching away
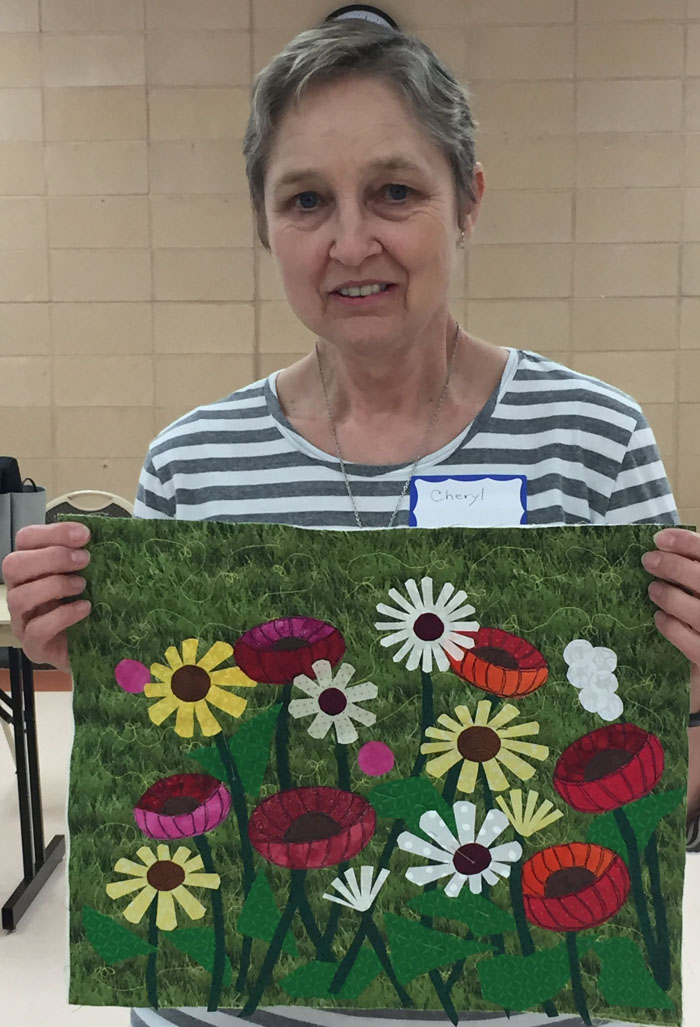
Cheryl nearly finished hers!
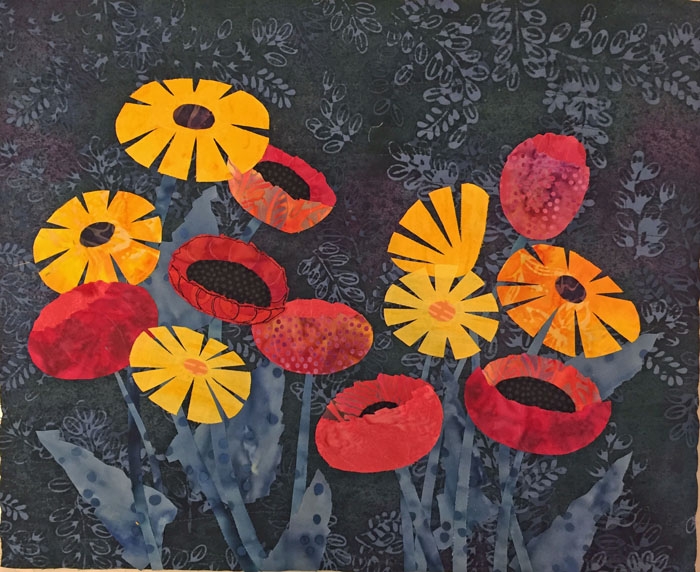
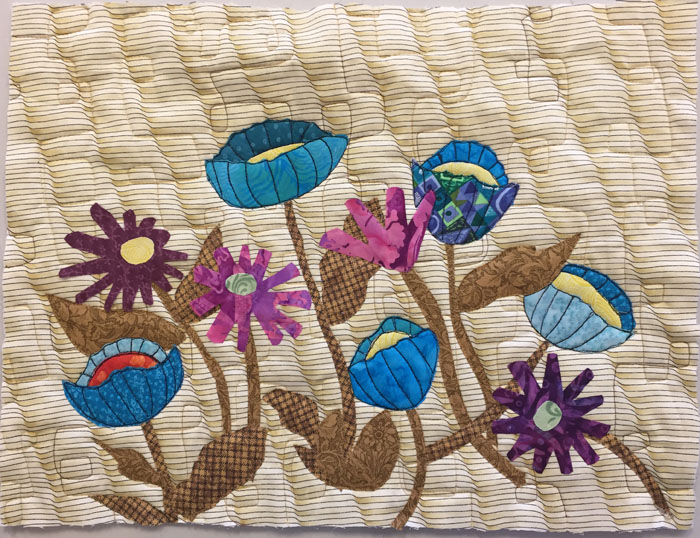
Kerry with her completed piece. (She used dark green thread on her poppies.)
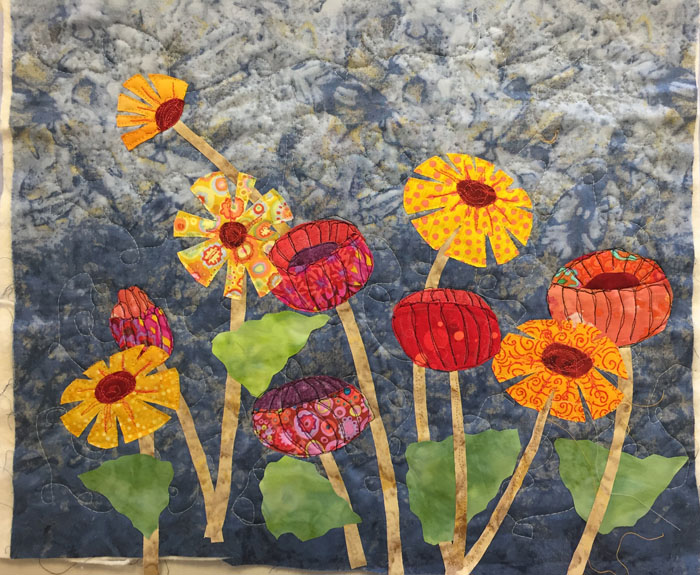
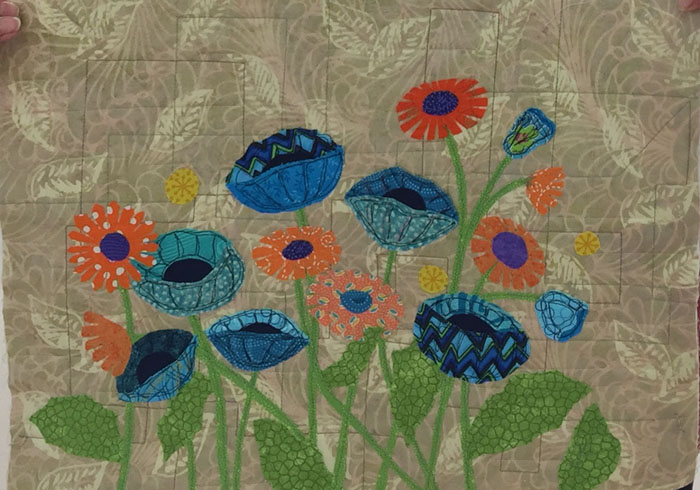
Pam with many flowers stitched. Notice her background quilting. Students bring their quilt sandwiches to class already stitched and this is the pattern I suggest.
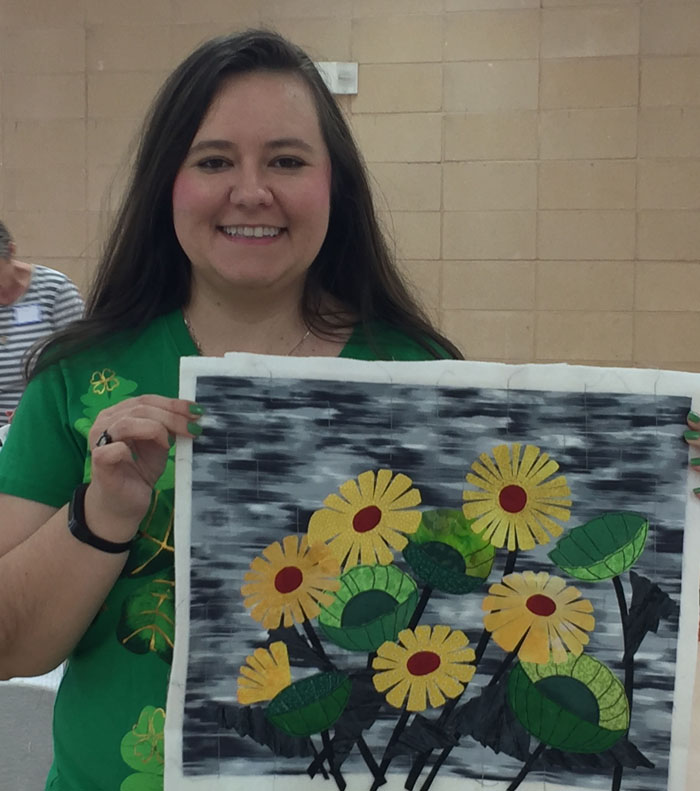
Erin with most of her stitching complete. She’s a brand new art quilter and was thrilled with her results!
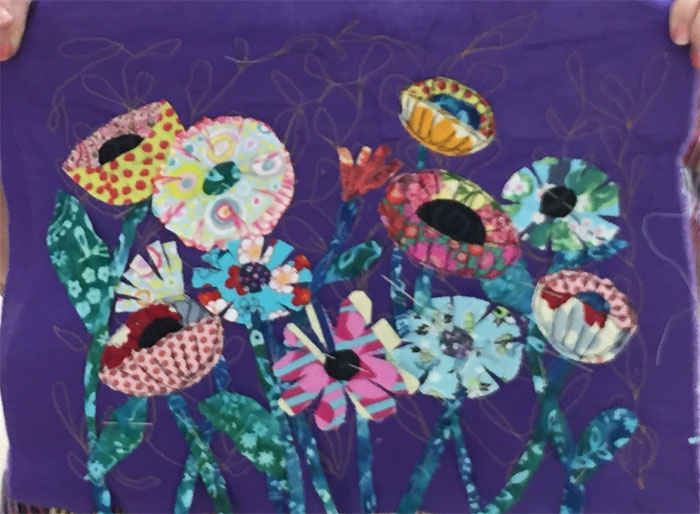
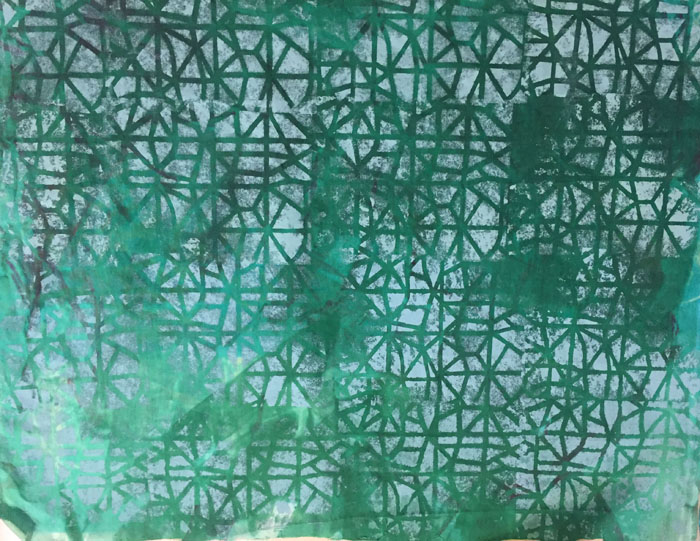
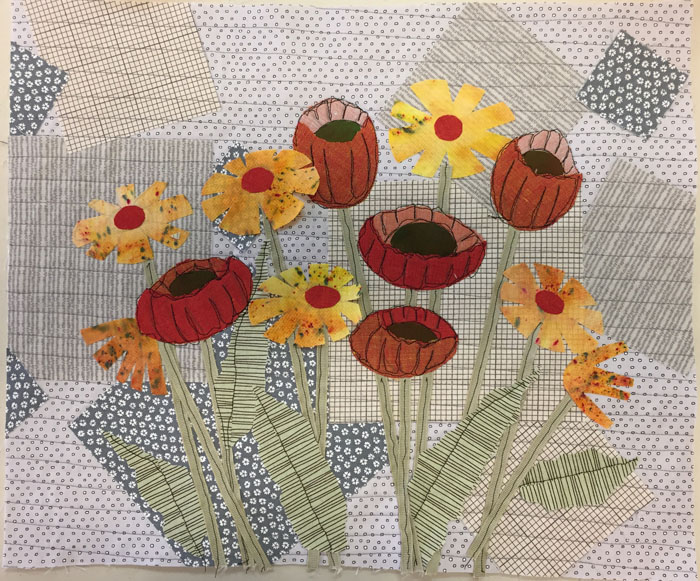
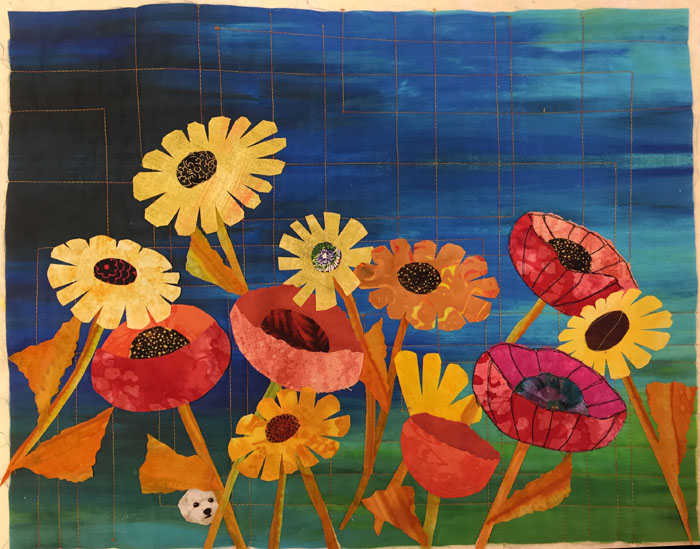
Leslie’s patterned fabrics gave an interesting pop-art look to her composition.
For leaves and stems, I encourage the students to select fabrics close to the background, so contrast will be minimized and the blossoms will be the stars of the show.
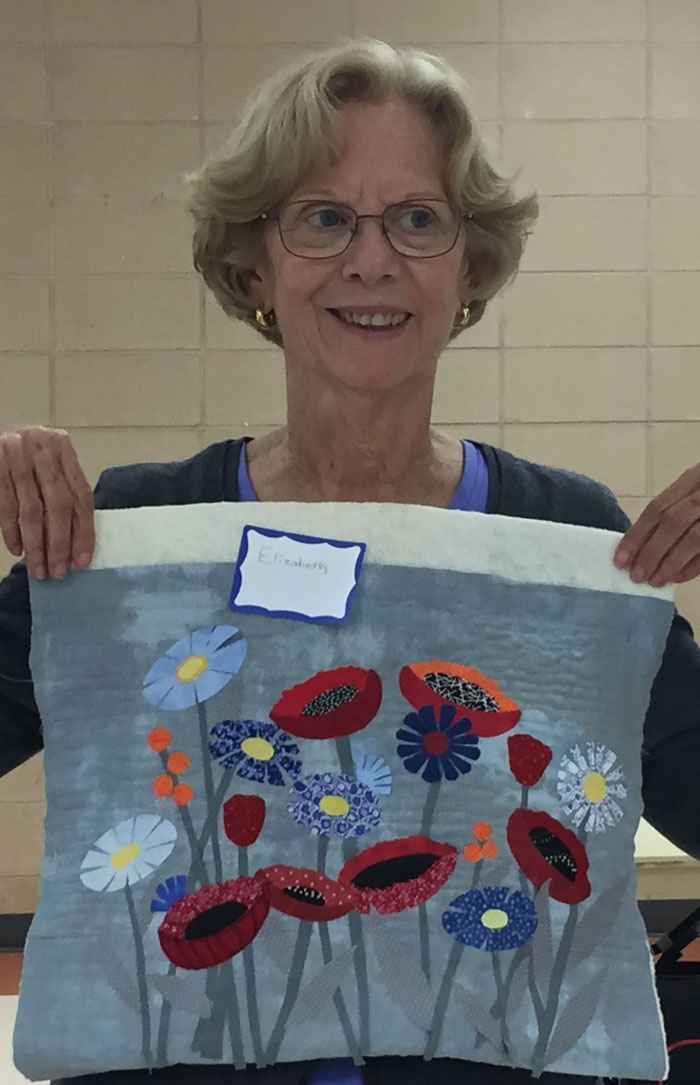
Elizabeth with partial stitching complete
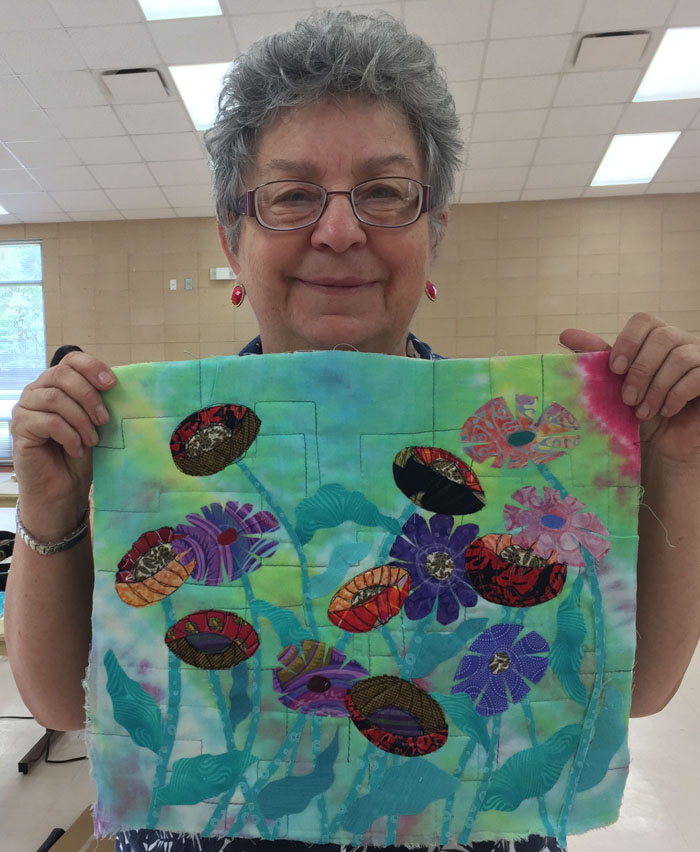
As the class coordinator, Ruth worked hard both in class AND before and after!
And just look at her results. Can you see how much definition the poppy stitching adds?
From Erin with her first (or second?) art quilt, to Kerry and Diana’s black leaves, and Leslie’s print flowers, this group was not afraid to experiment. I loved it!
Ellen Lindner
P.S. Learn a little bit about design: Composition here, and Focal point here.