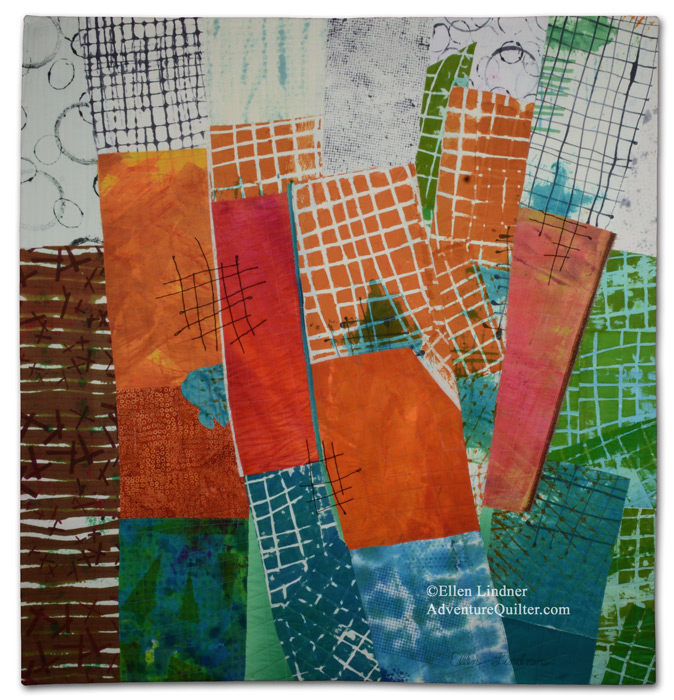
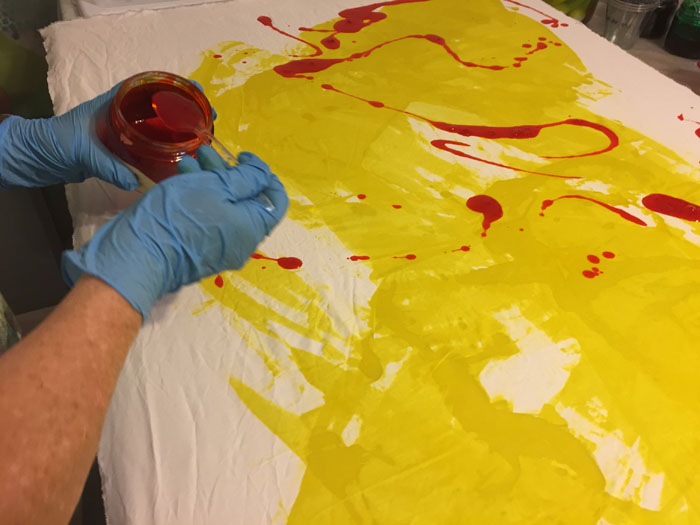
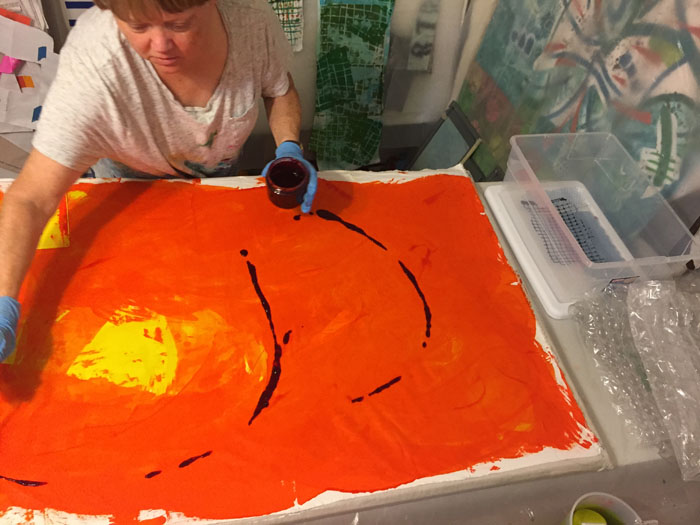
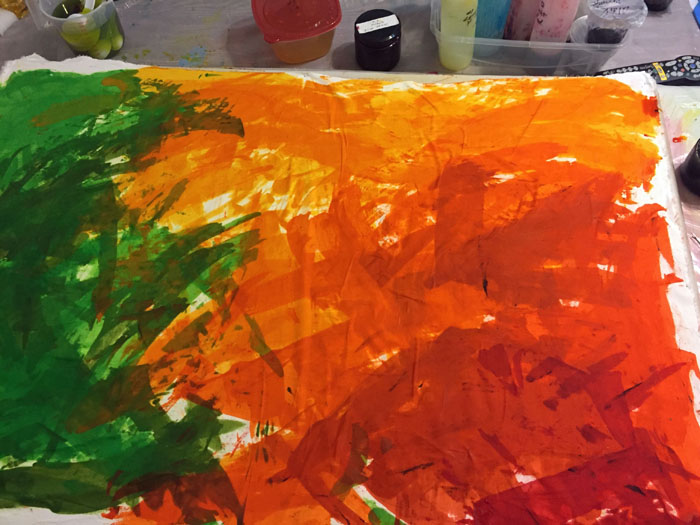
After dyeing ALL THOSE FABRICS I was really anxious to cut into them. Of course, I started with one of my favorite fabrics and selected additional fabrics to go with it.
Click any image for a larger view

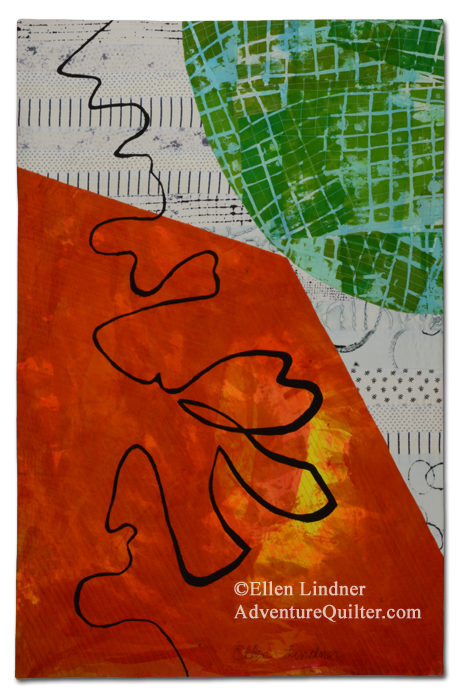
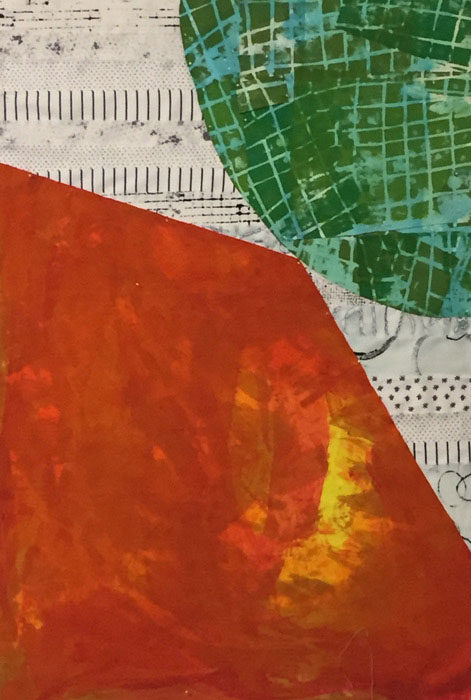
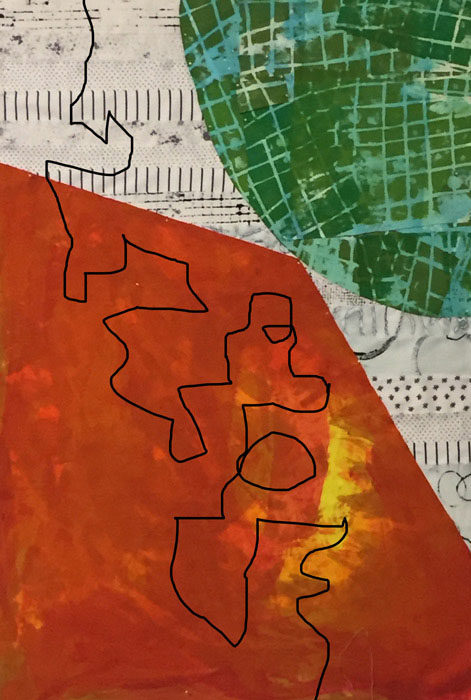
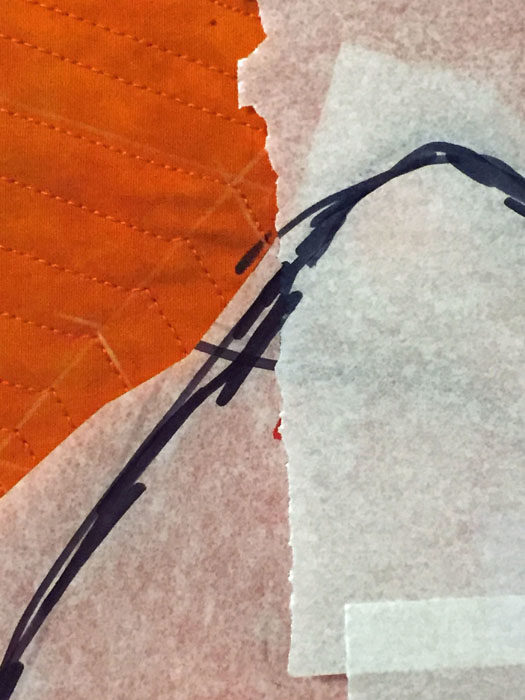
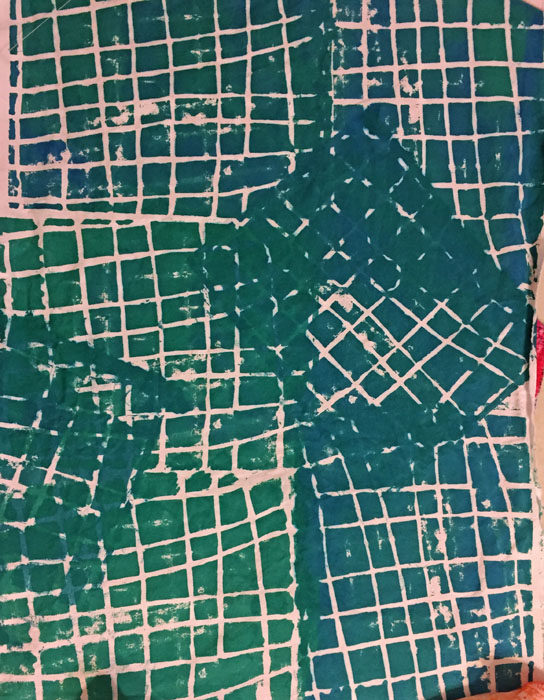
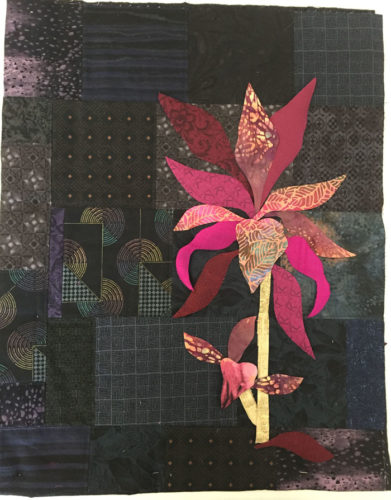
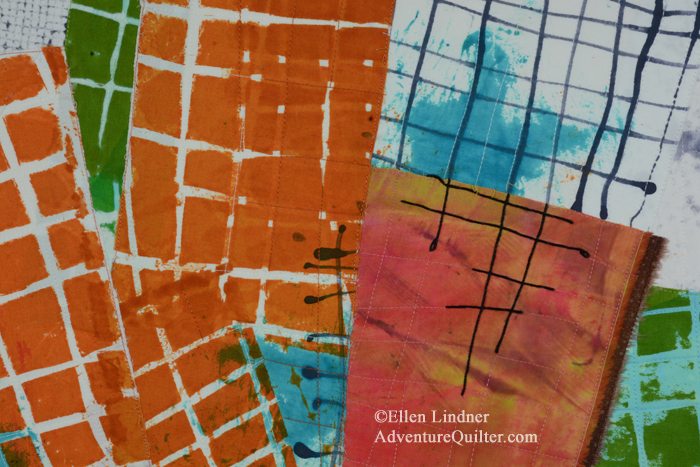
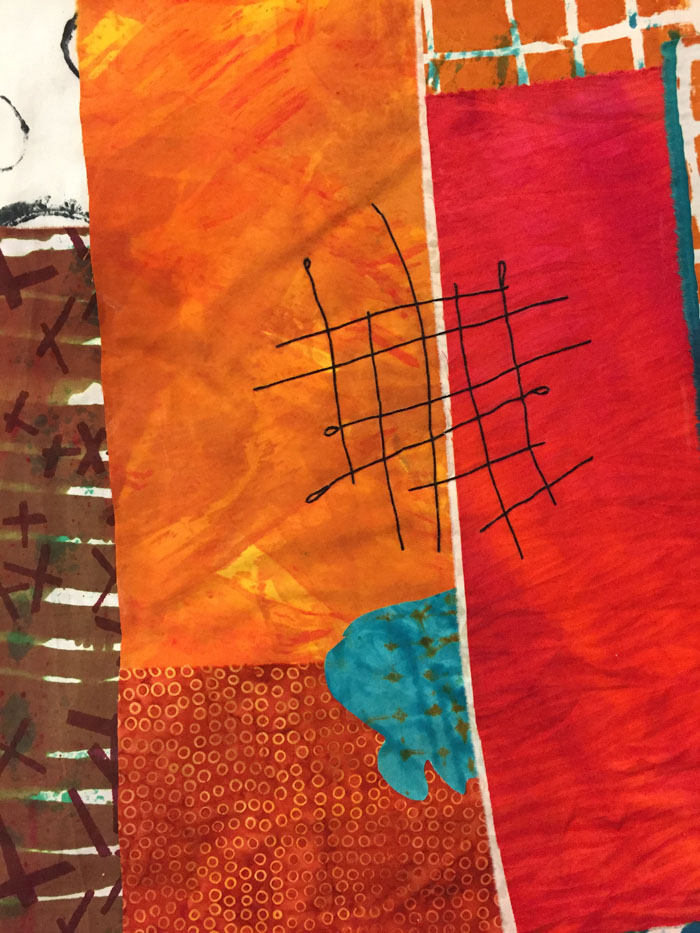
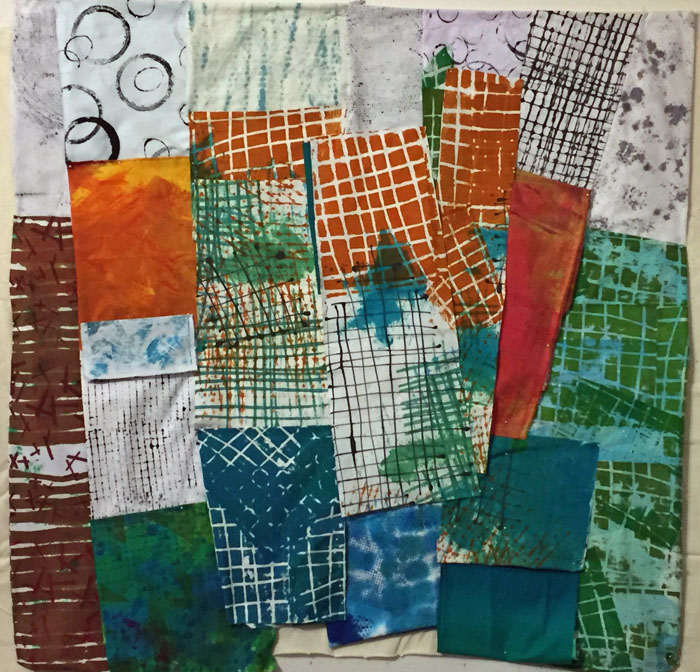
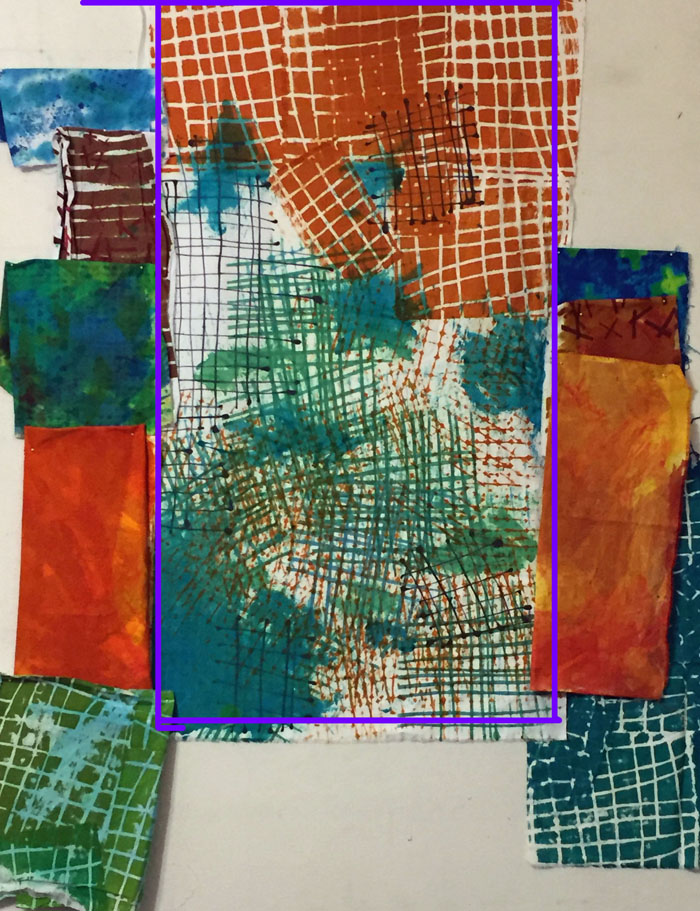
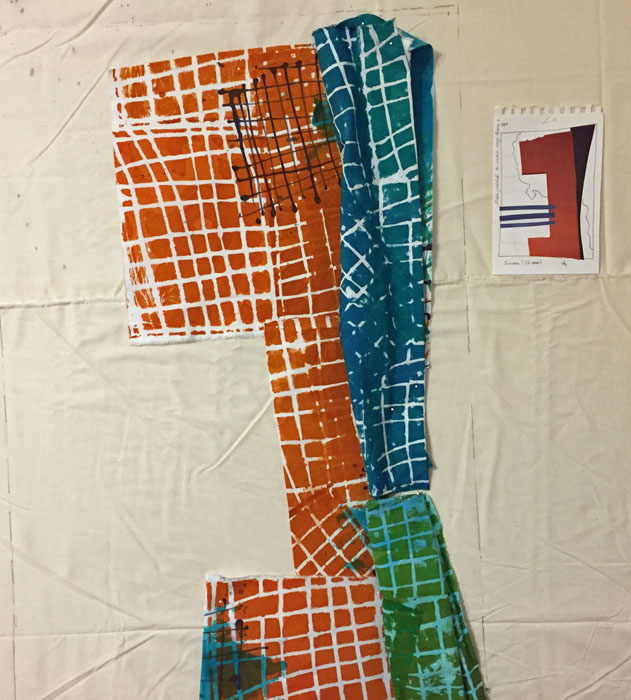
The part outlined in purple, above, is all one piece of fabric: one of my favorites. It’s fairly large, at about 3/4 yard. I printed it with cutting up in mind. My goal was to have multiple colors and multiple patterns that could go together. I think I succeeded with that, but cutting it up and rearranging it proved more difficult than I had imagined.
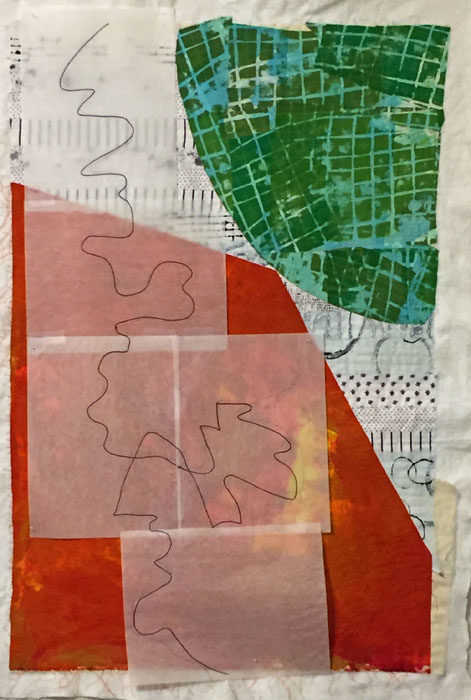
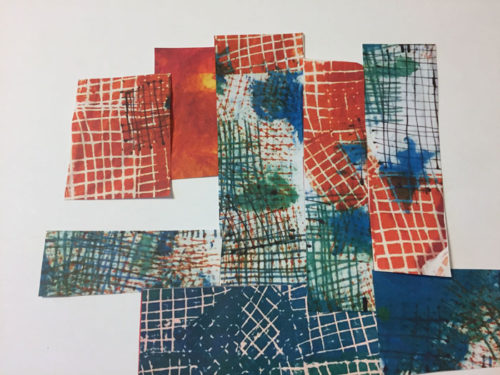
In one of my more brilliant moments, I decided to print out this fabric (and some others) on paper and to initially work them in this fashion. This proved to be very helpful.
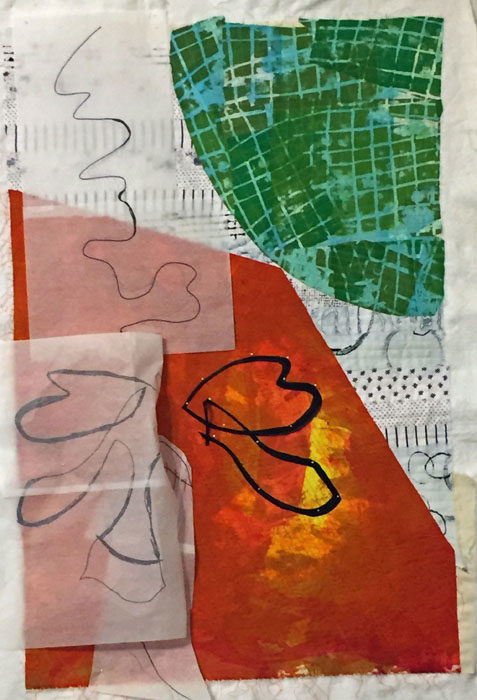
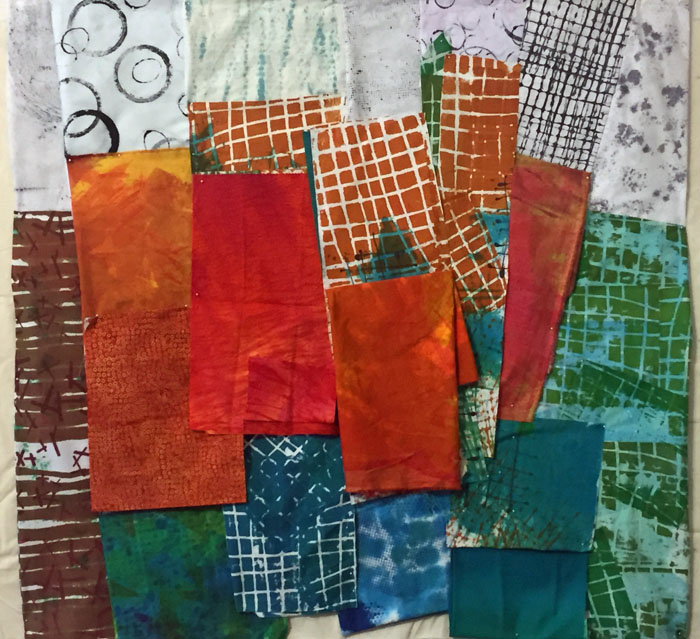
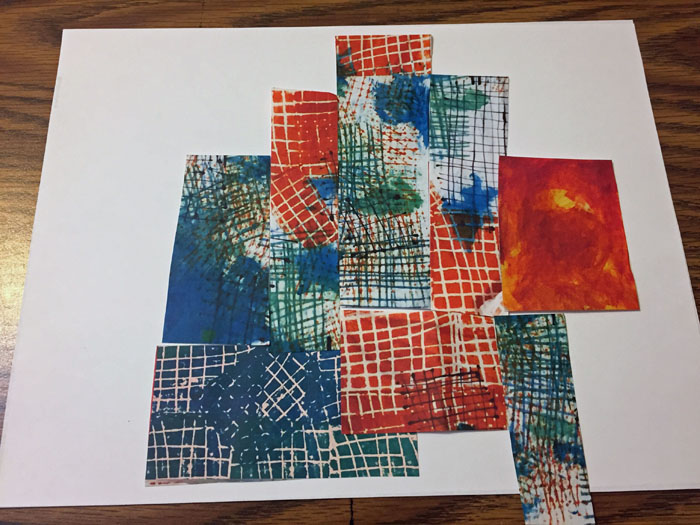
For my first attempt I cut the “fabric” into 3 approximately equal vertical panels. I rearranged them and even turned one upside down. As you can see, this created lots of energy, but it was pretty chaotic.

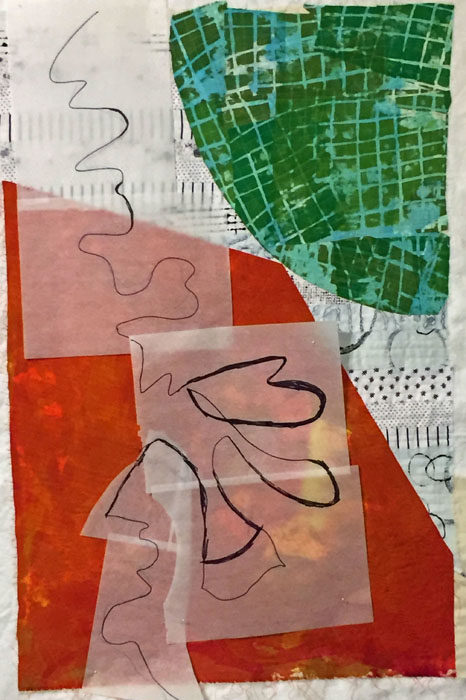
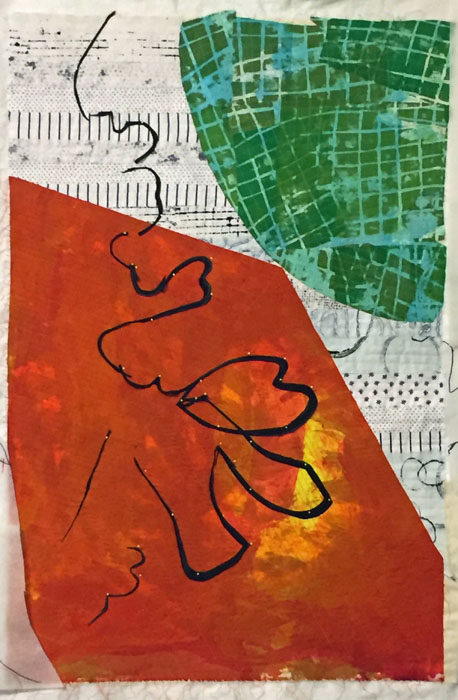
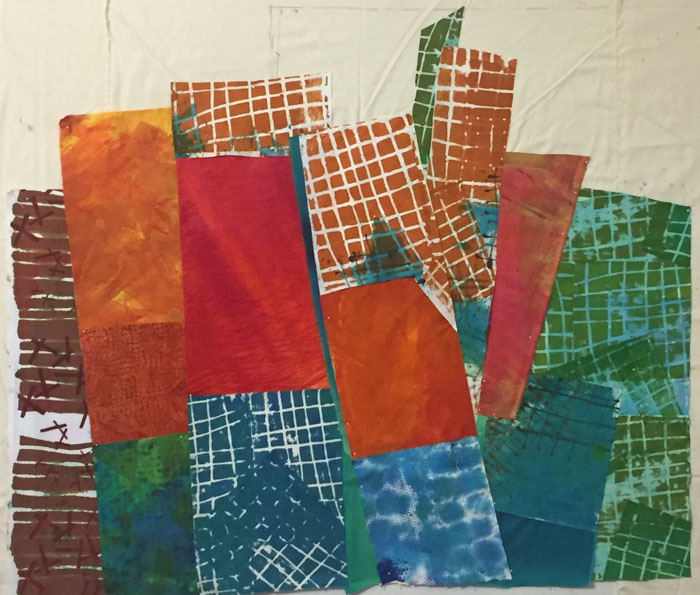
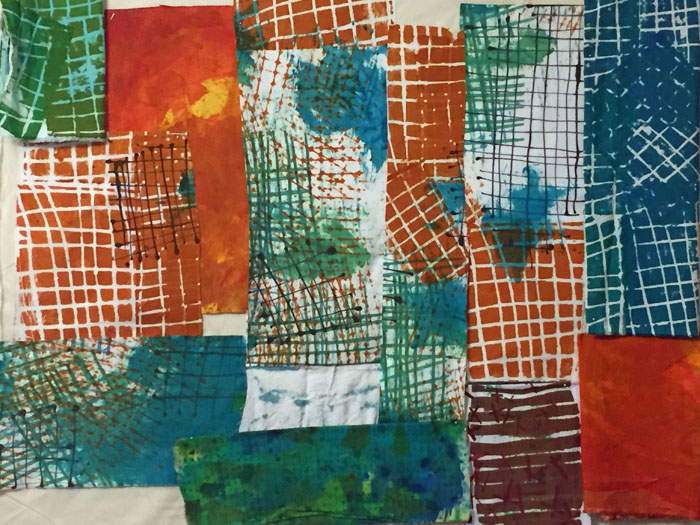
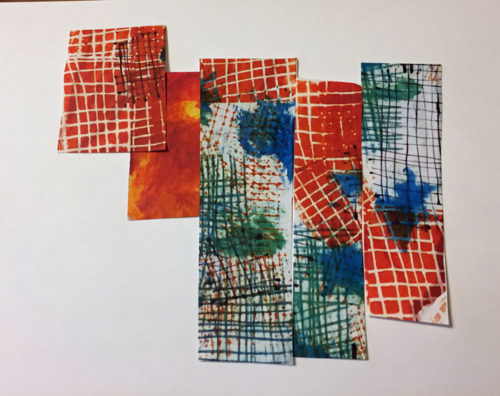
Next version: I cut off one end of the orange gridded portion, which allowed me to break up some of that busy gridded section with a more solid piece. I liked the result, as well as the jagged shape of the top.
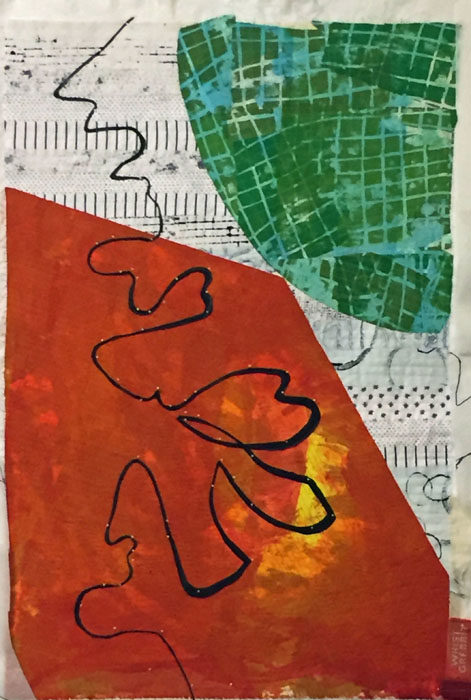
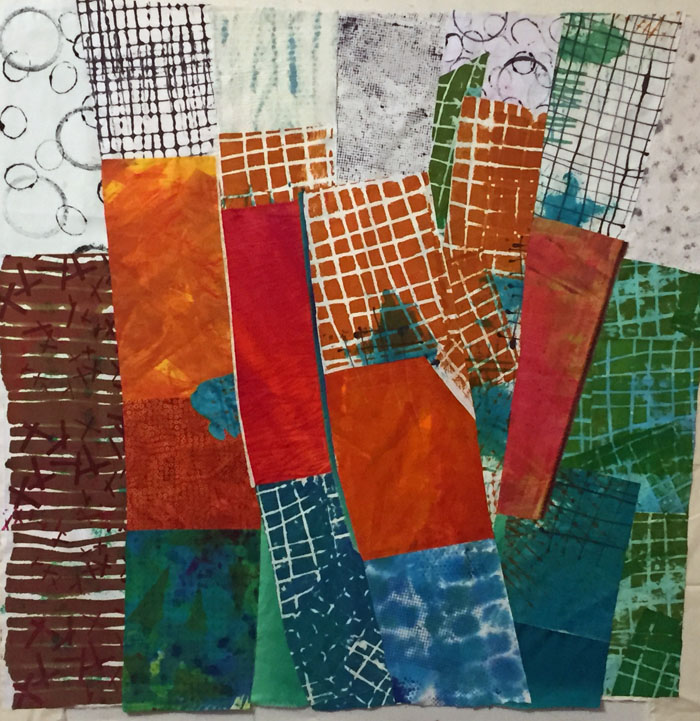
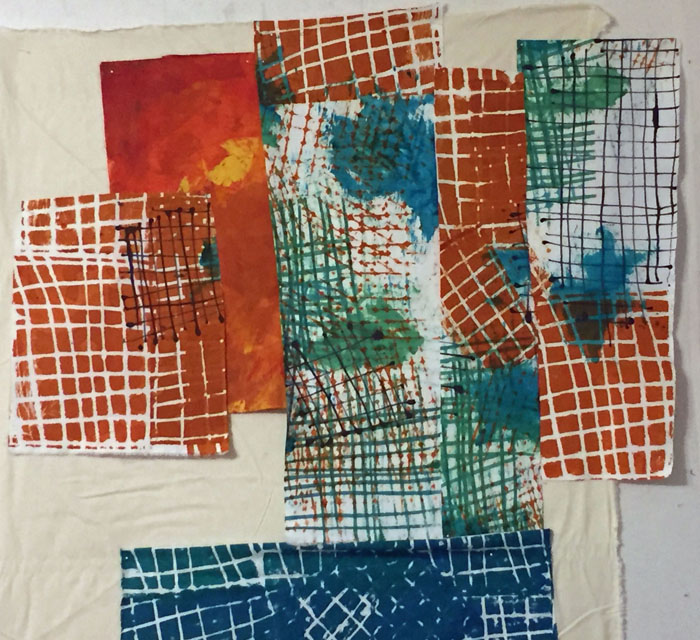
3rd paper version: I was trying to edit it down to the stuff I felt fairly certain about. That included:
– Cutting the fabric vertically
– Cutting the fabric at least once again
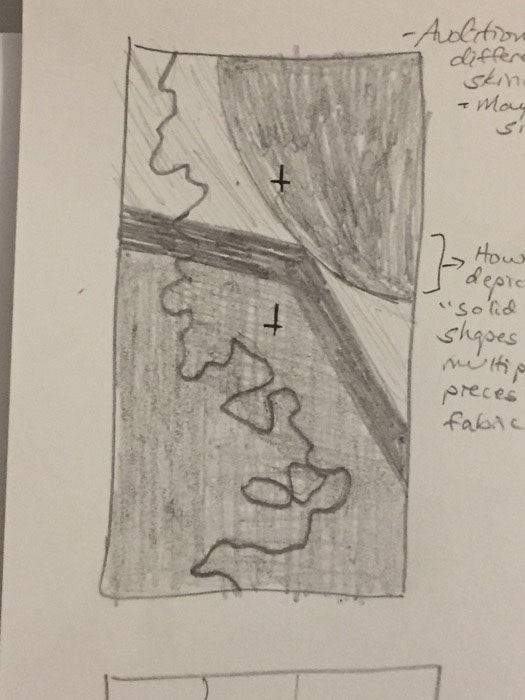
– Adding some “solid”
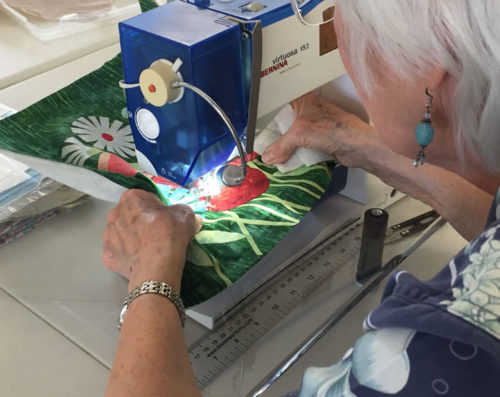
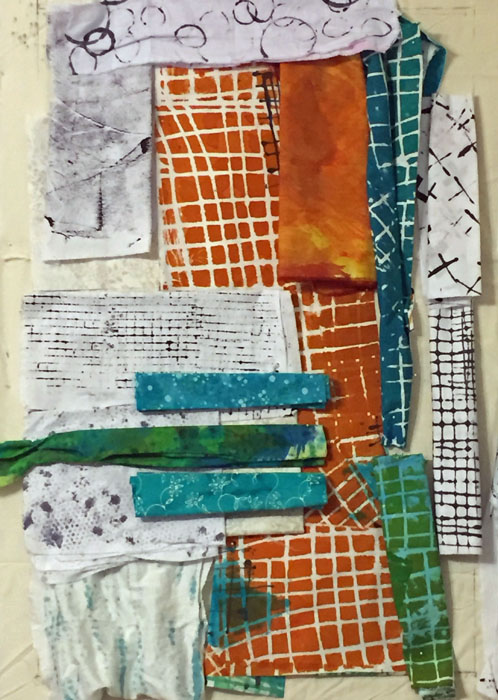
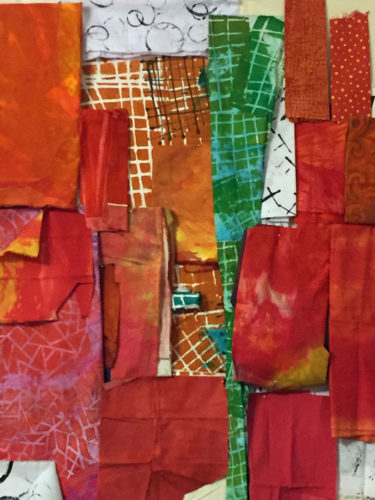
At this point I felt like I had enough knowledge to move into slicing fabric. (Eeep!) This was my first attempt, with mostly folded fabrics pinned into place for audition purposes. My conclusion? Great colors but FAR from cohesive!

And then this.

At least I edited some things out, but it still looked very busy. At this point I began to suspect that my FAVORITE fabric could be to blame. Oh, I hoped I was wrong! I sure didn’t want to lose any of it!
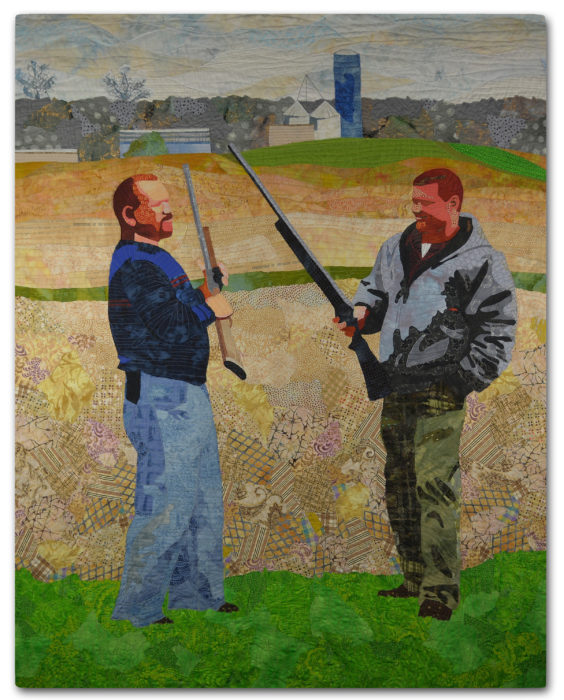
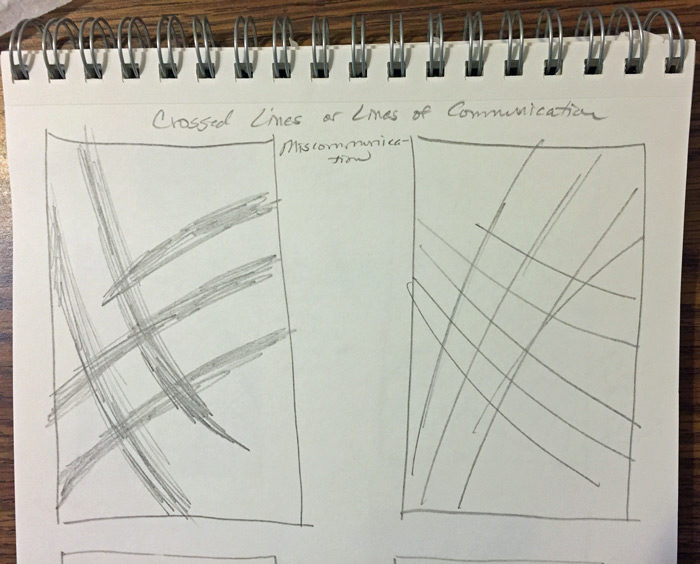
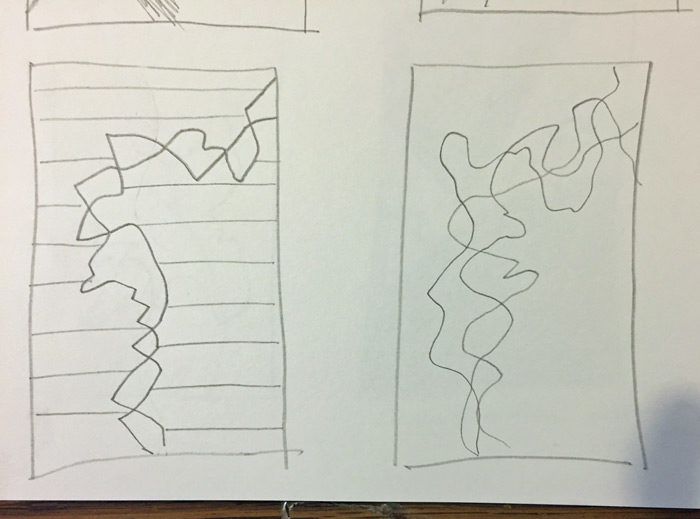
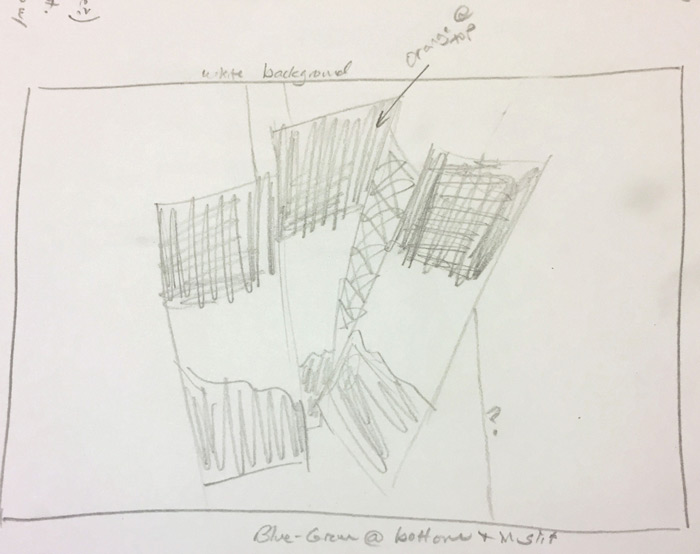
I was a little stumped at this point, so I pulled out my sketch books. I searched for a design I might like to work with and auditioned my fabrics with it. See that sketch in the photo below, on the right.

And here it is with my fabrics. As you can see I’m not cutting the fabric, but rather, folding it and pinning it into place.
I thought that had a good bit of promise.
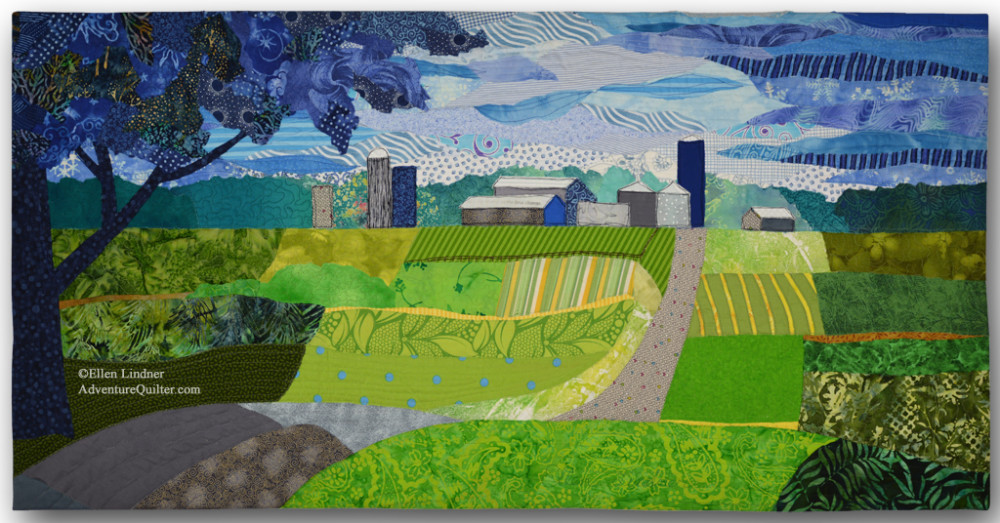
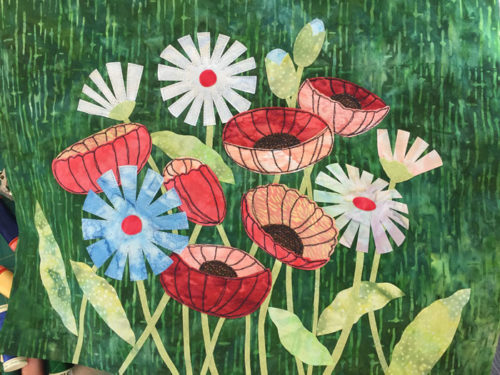
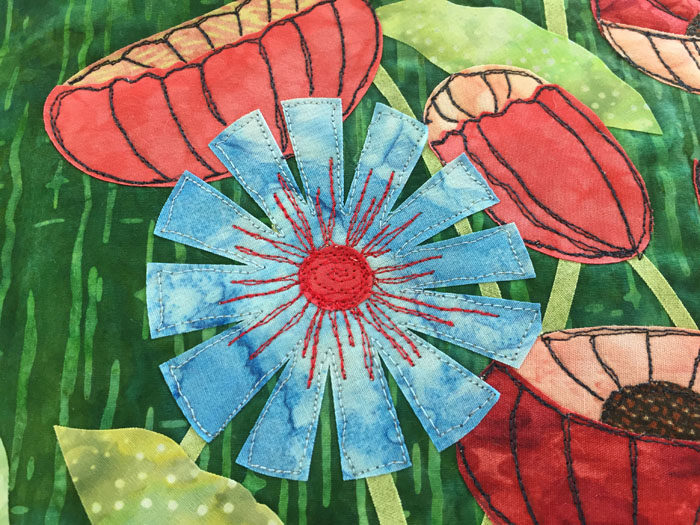
But, what if these gridded fabrics became a small part of the story rather than the stars? I added a bunch of near solids and liked the selection quite a lot.
Although both of these ideas appealed to me quite a bit I still really wanted to feature that favorite fabric. However, I think this “sketching with fabric” helped me to break me free from being unable to consider anything else. I’ll show you where I went next in an upcoming post.
Ellen Lindner
P.S. Please give me some feedback on the image size your prefer in these posts. I love to use the larger size of the first image, but I’m afraid it will require scrolling in smaller devices. Which size do you prefer? (Click Contact Ellen at the very bottom to send me an email.) Udpate: Thanks to Kristin’s suggestion, I’ve now set all the images so a click on any of them will show a larger version. Brilliant suggestion, Kristin!