In preparation for my next dyeing session, I’ve been making stencils. Of course, I did some of the typical sort in which you cut through stiff plastic. Then, I learned about interfacing stencils. These are used with screen printing, which is something I’m trying to learn more about.
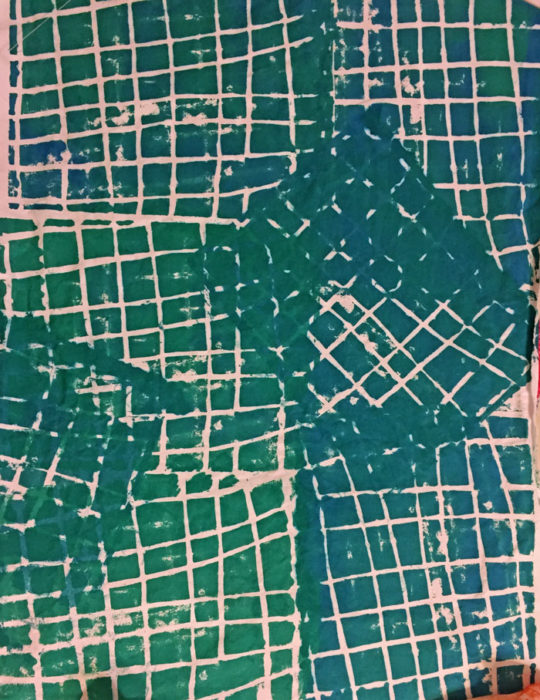
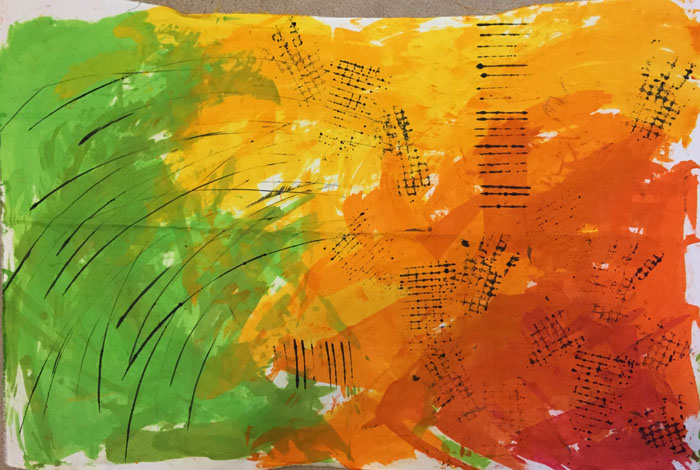
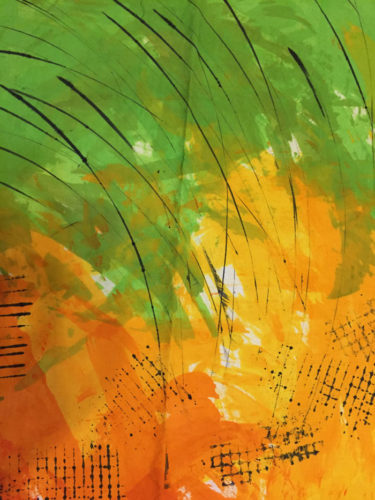
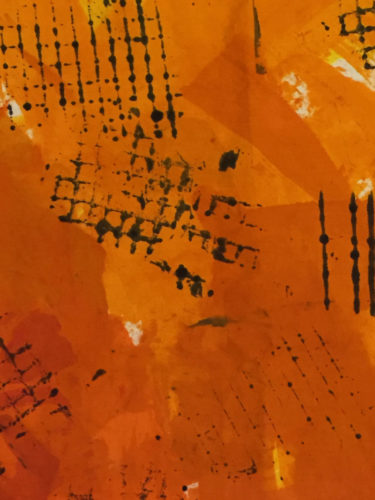
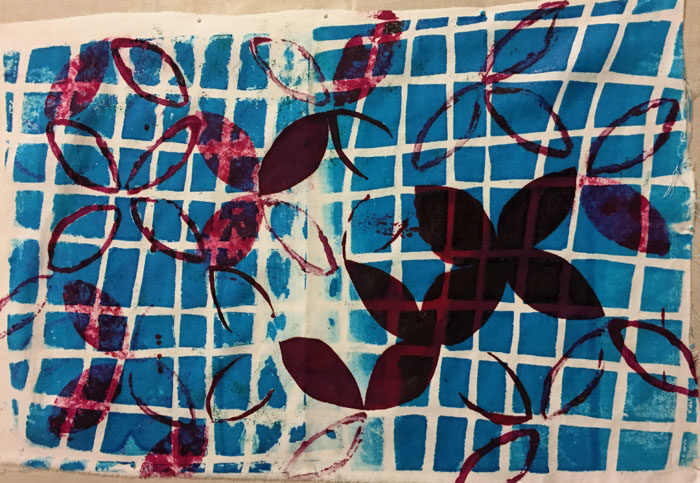
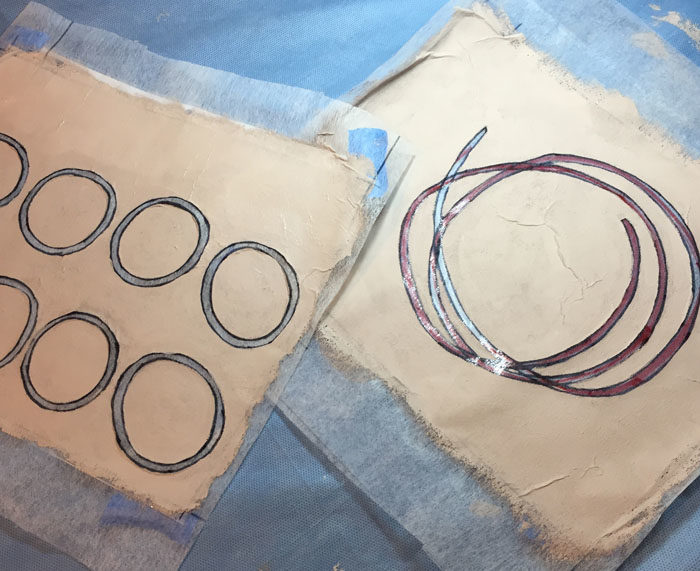
The basic idea is to paint onto interfacing the area you do not want to print. These were my first two, hand painted with household paint.
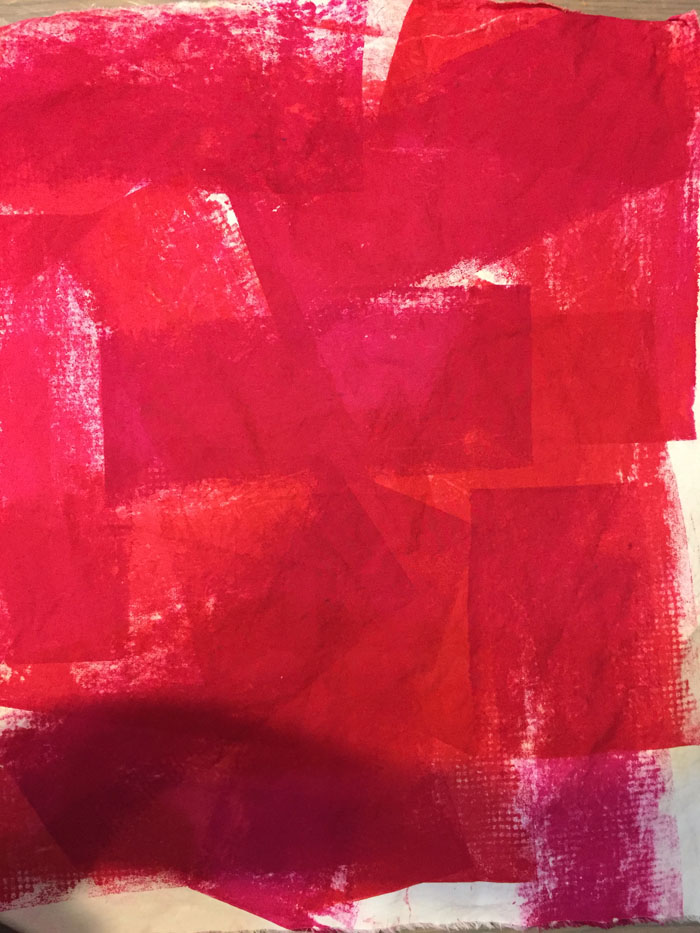
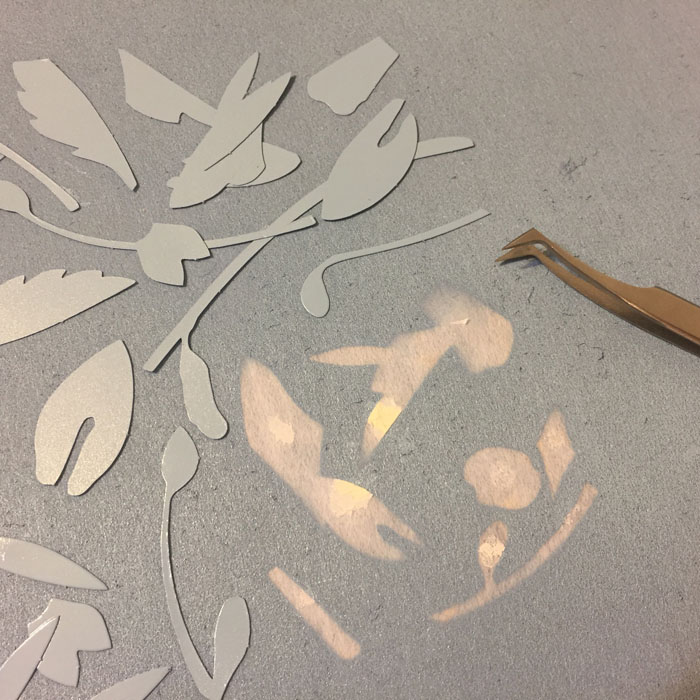
Next, I tried painting over freezer paper shapes that had been ironed onto the interfacing. This worked well.
It takes about 3 layers of acrylic paint, dried between applications.
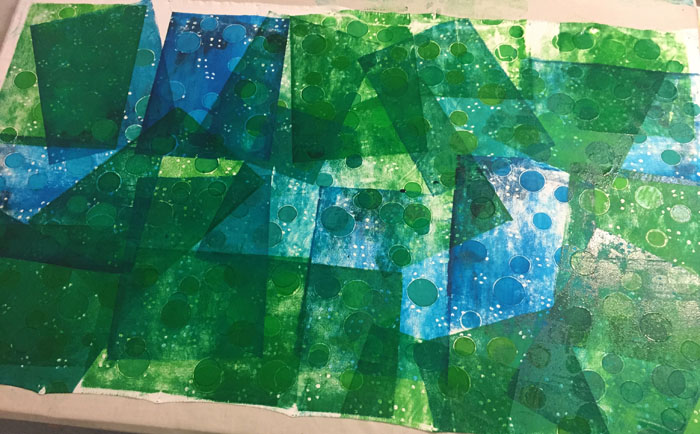
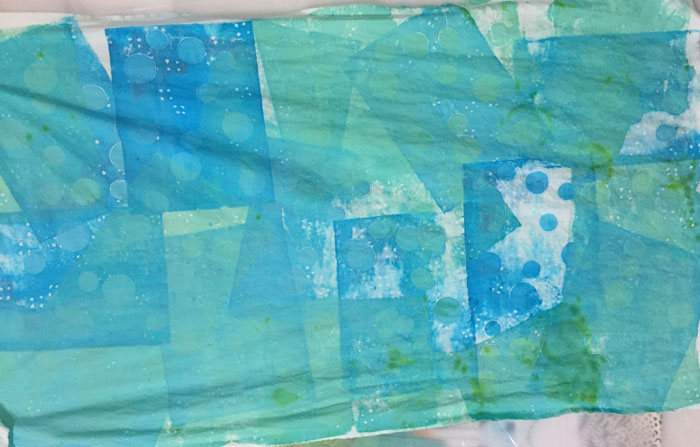
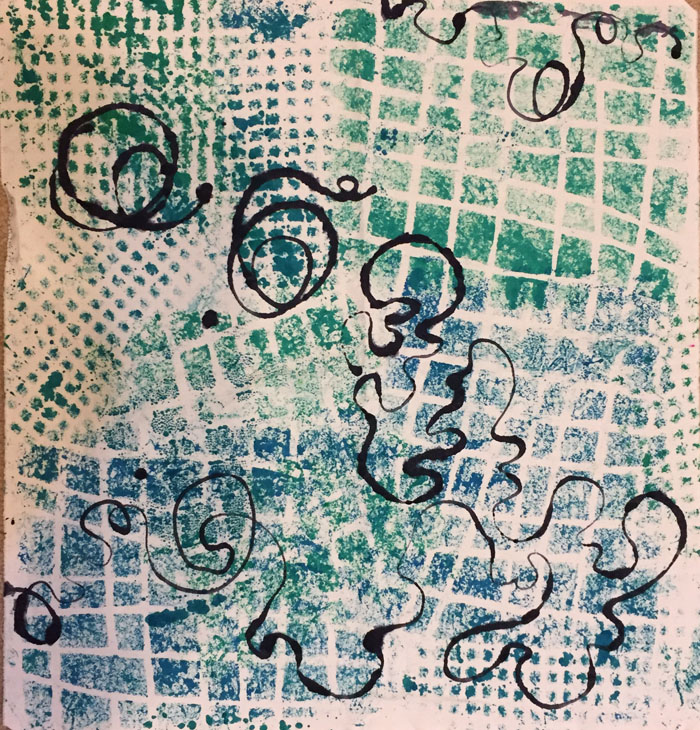
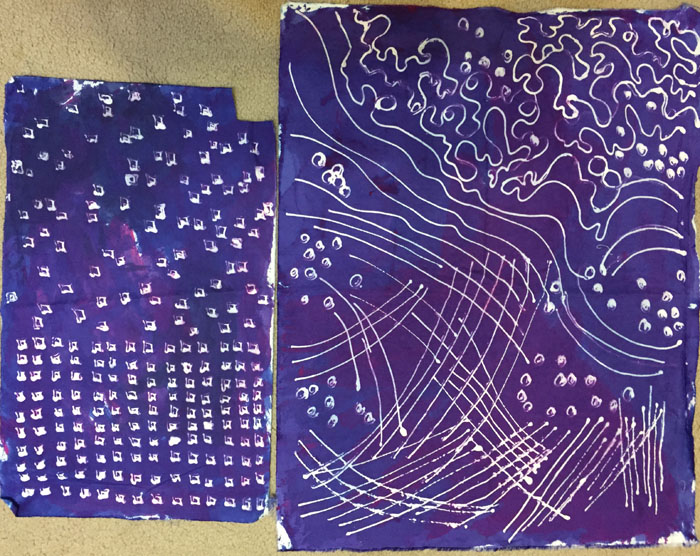
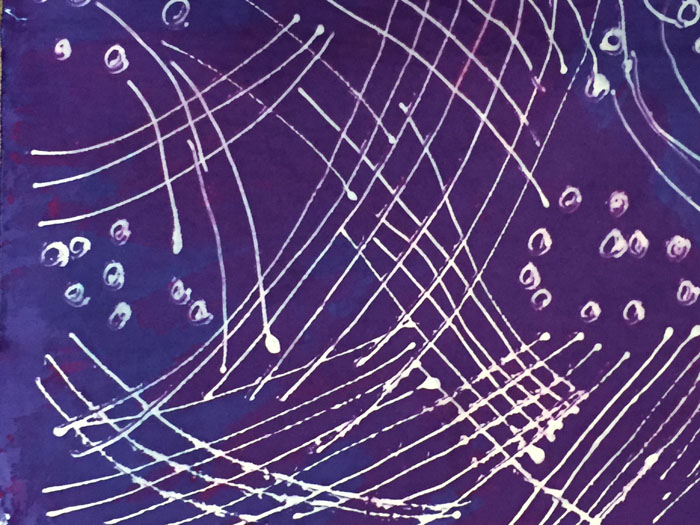
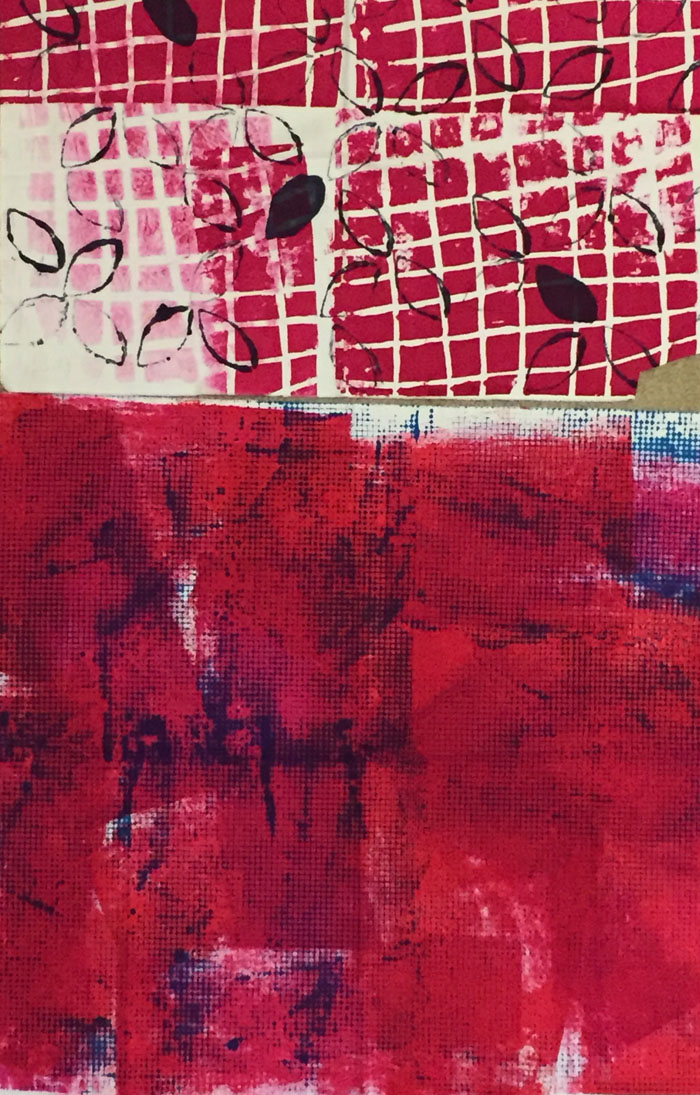
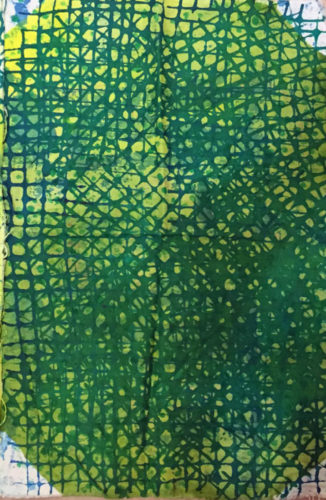
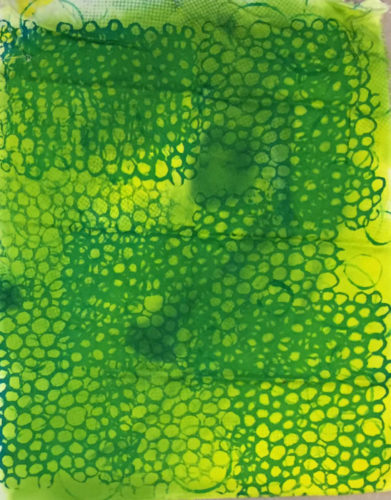
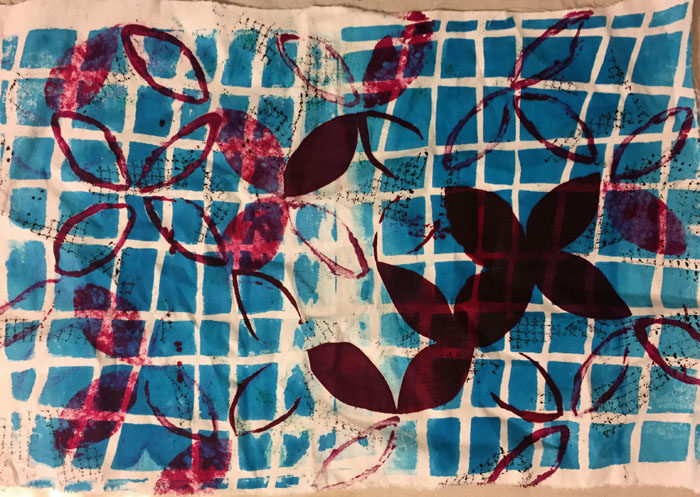
Next, I tried painting over a glue resist. I used basic Elmer’s white school glue.
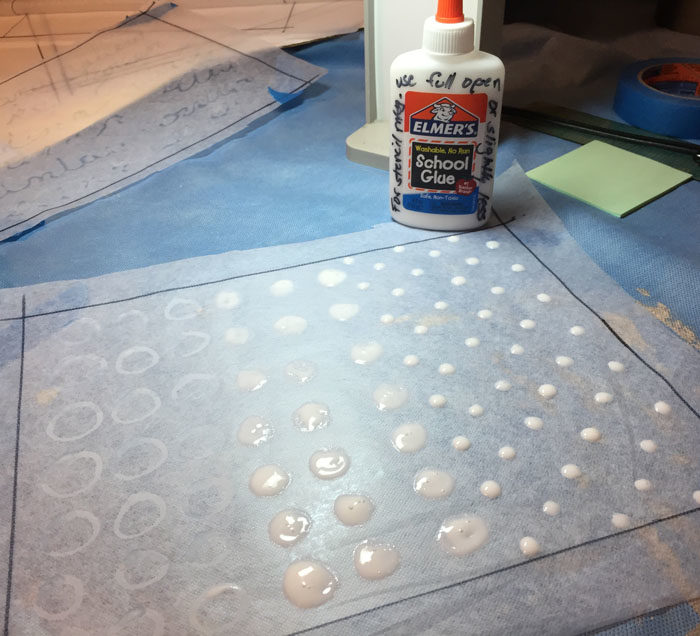
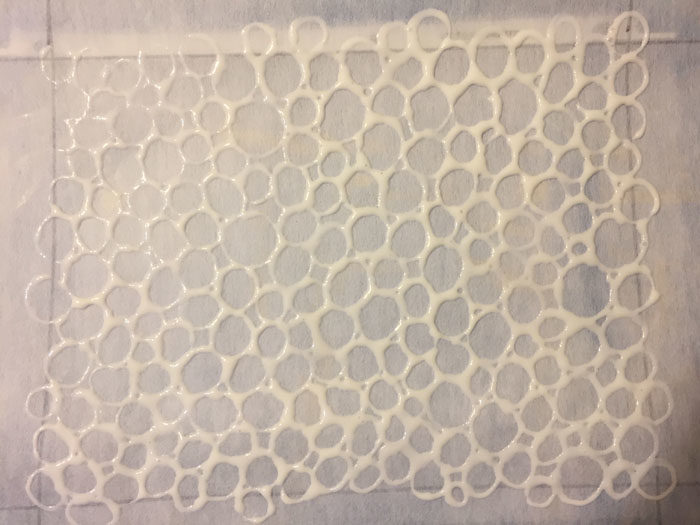
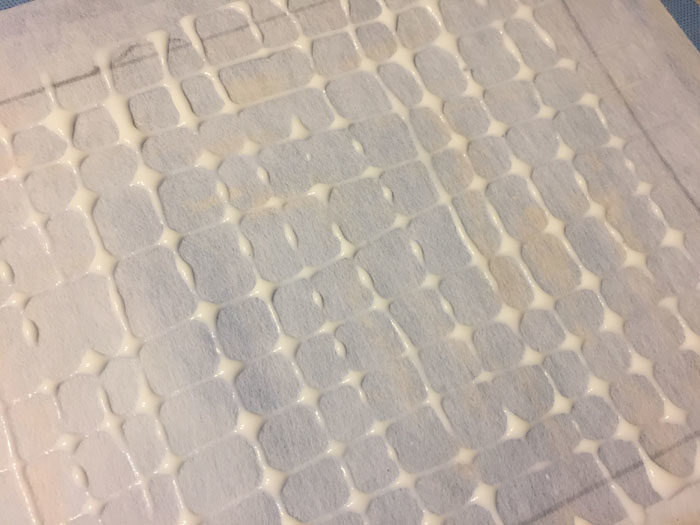
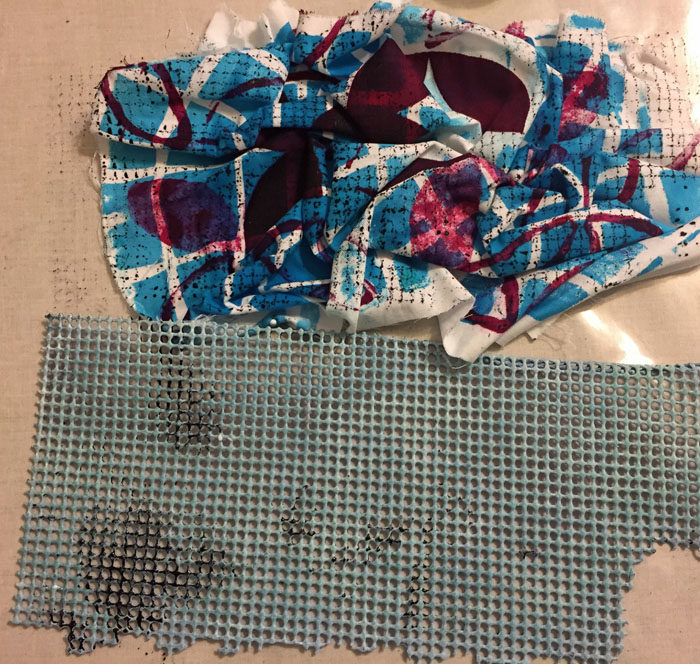
They’re all shown wet above. After drying and over painting, the glue has to washed out which takes a little while. I’ve now tried the resulting stencils and they’ve all worked well.
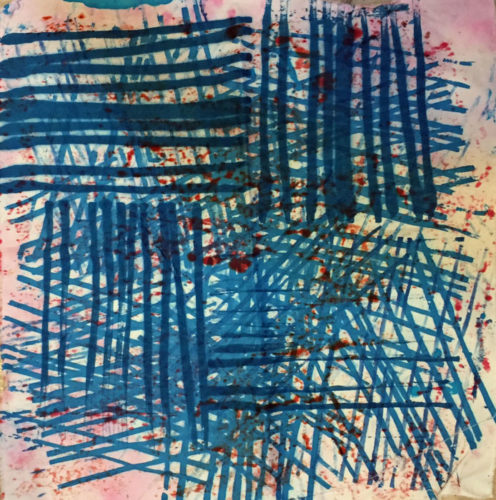
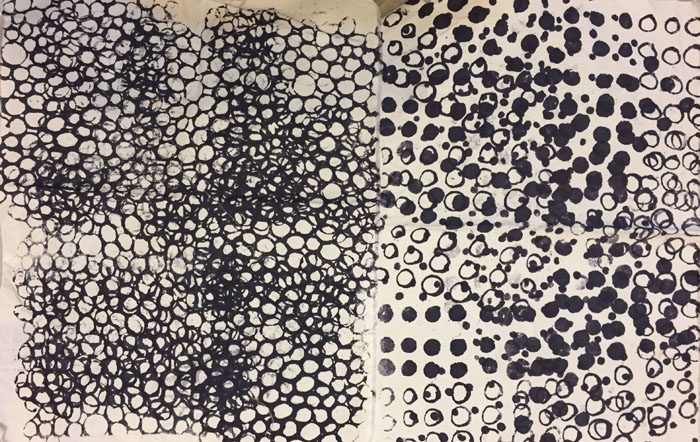
There was an issue, though, with the last two. When I drew on the glue I extended it beyond my drawn line indicating the frame size. That meant that the stencil print would end sharply and abruptly at the edge of the tape that would hold it in place. Realizing this, I altered the final stencils by filling in the outer design lines, resulting in a more undulating perimeter to these motifs.
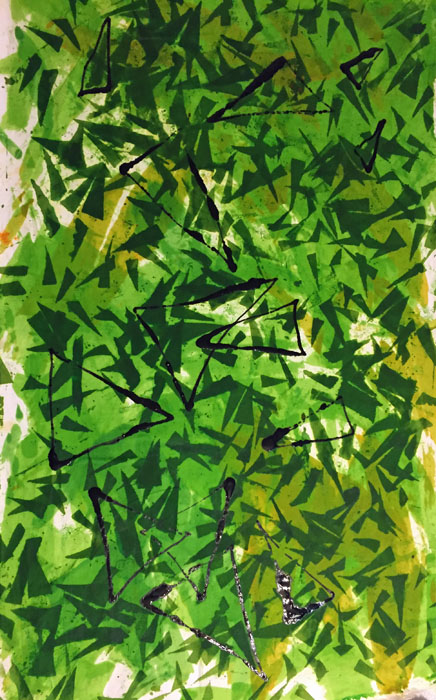
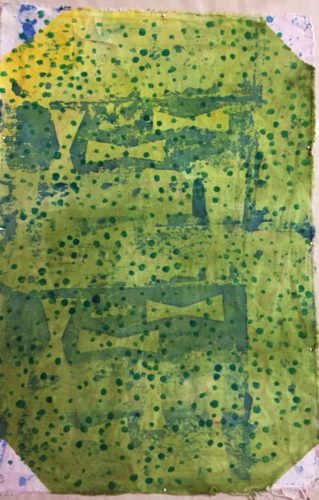
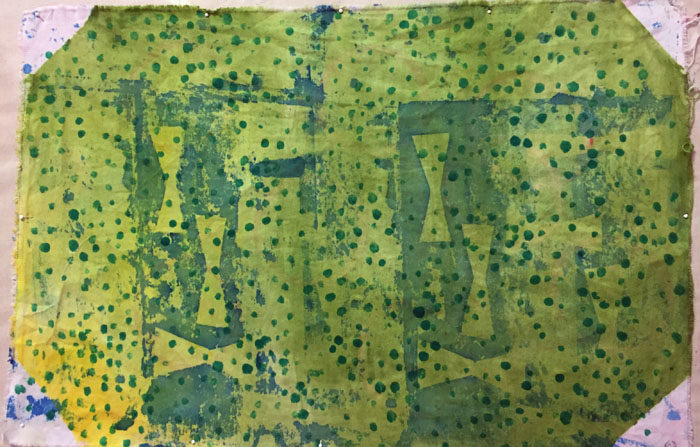
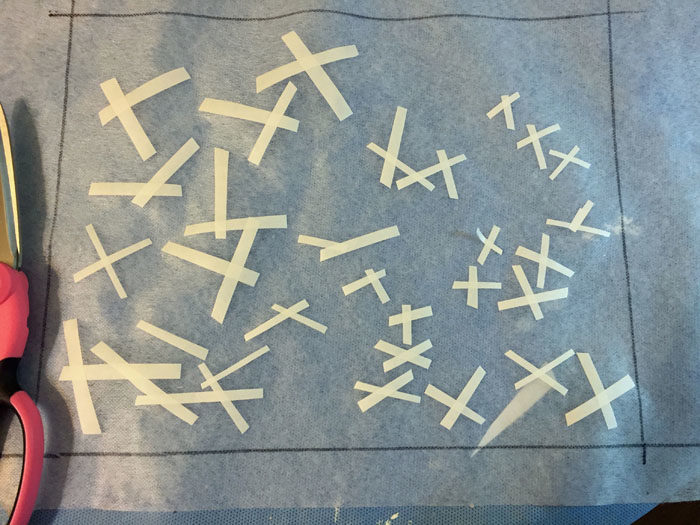
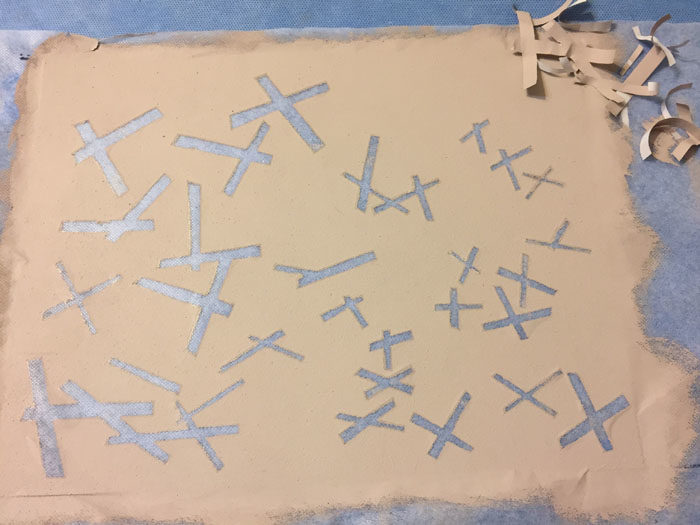
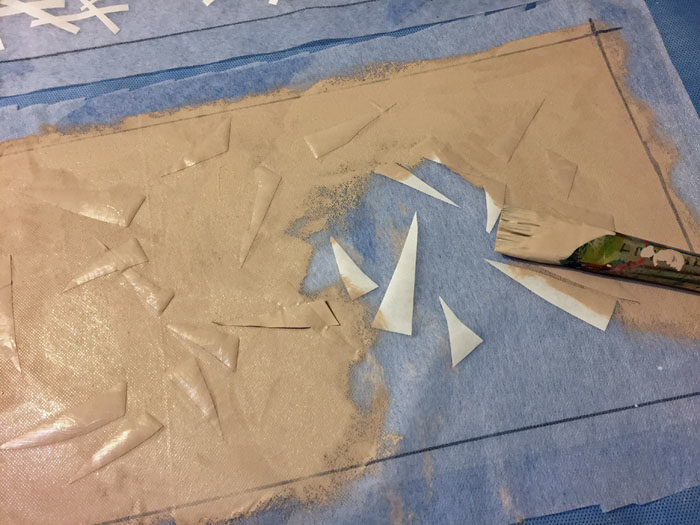
Finally, I tried putting shapes onto the interfacing and covering it all with spray paint. You’re supposed to use semi-heavy shapes for this so the interfacing won’t blow away when you hit it with the spray of the paint. I didn’t have those at hand so I tried other things. One was these little cardboard shapes, which I lightly glued in place, and later washed out.
Although these spray paint efforts looked successful, I didn’t get good prints from them.
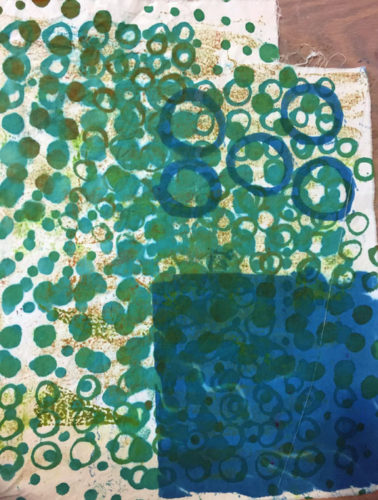
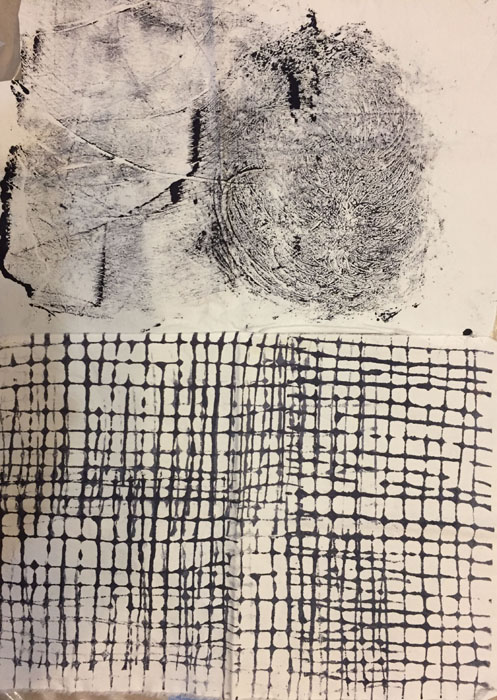
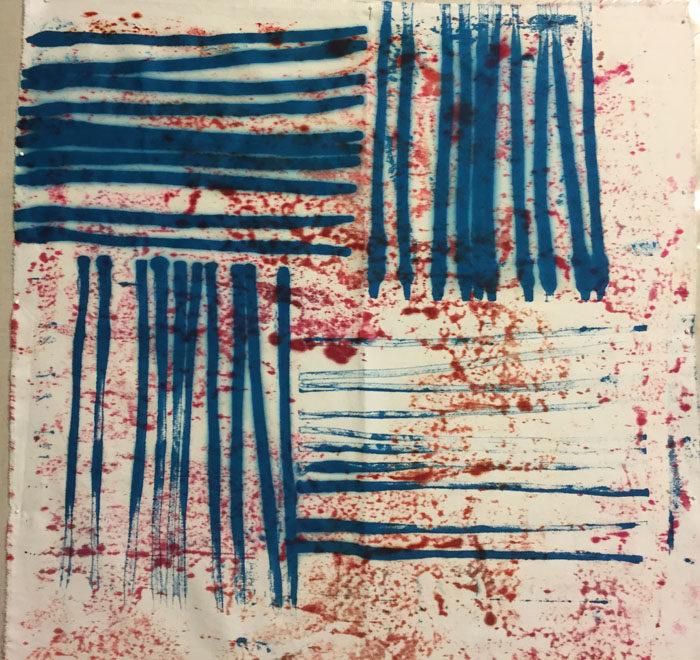
But that wasn’t my biggest issue. The big problem was that some of my early stencils completely shredded when I tried to remove them from the painted areas. Like this.
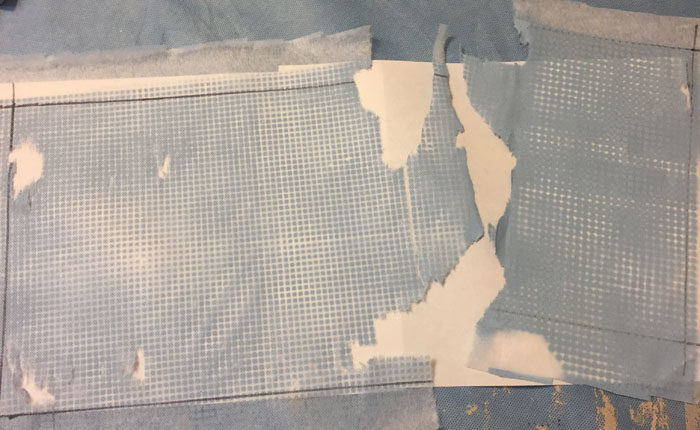
I realized pretty quickly that the interfacing was too lightweight. I did some shopping and switched to Pellon 110, which worked beautifully. (BTW, when selecting interfacings don’t go by the description. Feel them, instead.)
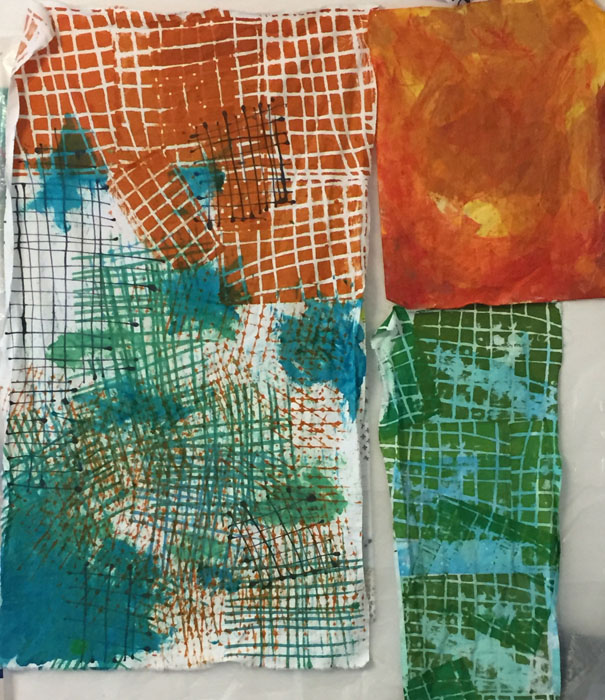
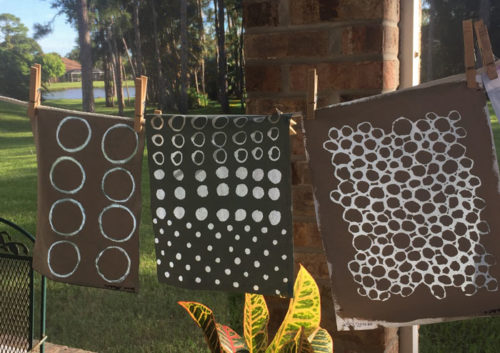
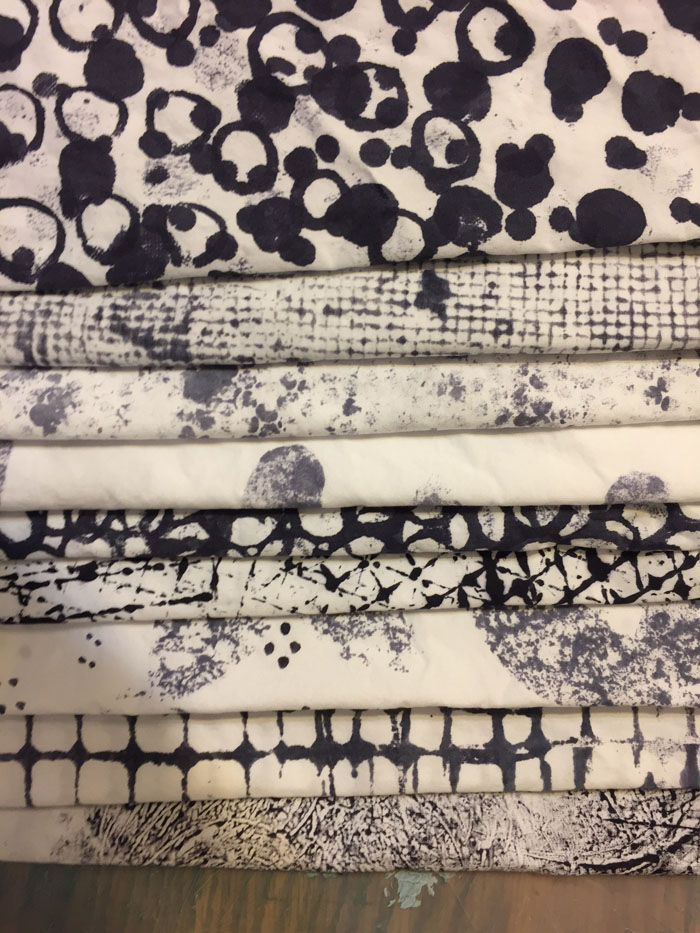
I’m now armed with quite a collection of stencils. Here are a few drying out after use.

As I begin to use them in earnest, I’ll be posting my results. Stay tuned!
Ellen Lindner
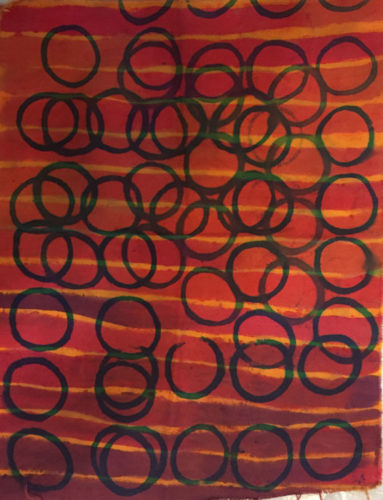
P.S. Check out the right stencil above. Can you see how I altered the edge to avoid a straight line?
P.P.S. I generally post isolated photos on Facebook and Instagram more quickly than I write full posts, If you want to follow me there, click on the Facebook icon below, or find me on Instagram by clicking here.
P.P.P.S. I learned about interfacing stencils from an excellent book called “Screen Printing: Layering Textiles with Color,” by Claire Benn and Leslie Morgan. At $43 this book seems pricey, but it includes and 45 minute DVD and it’s WELL worth it.