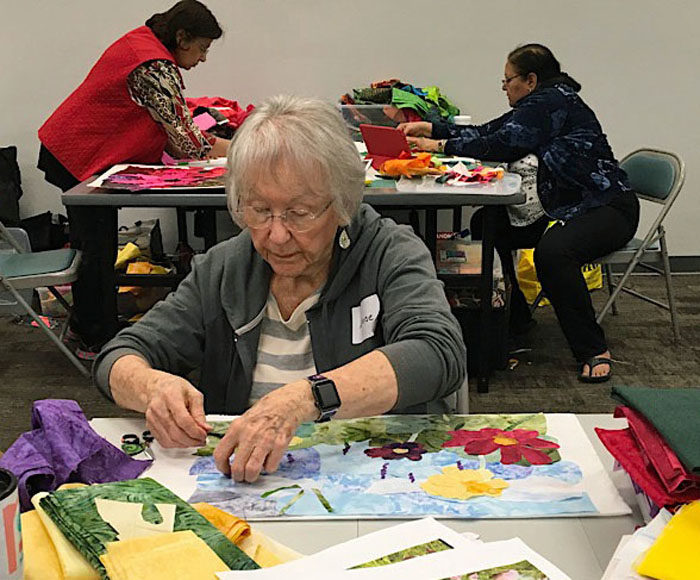
My small art quilt group was thrilled to have our work exhibited collectively at the World Quilt Show Florida, recently held in Tampa, FL.
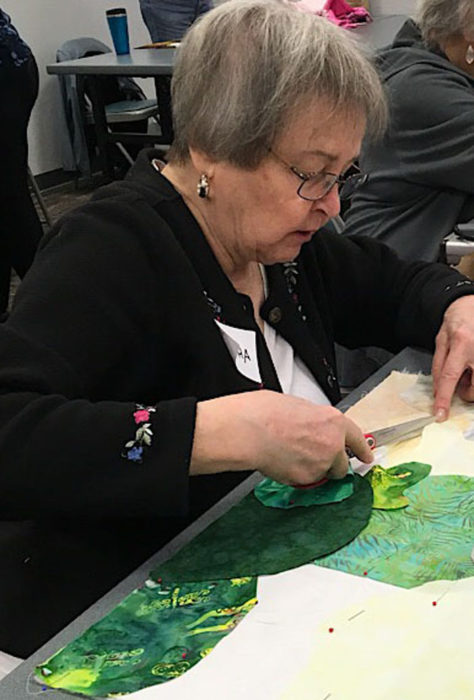
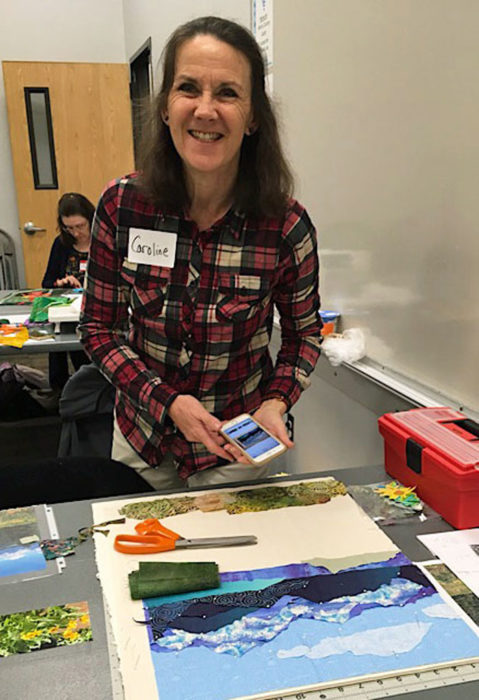
There was LOTS of prep work before the exhibit was ready to hang: photos, proposals, layout planning, technical figuring, signs to make, attaching quilts onto felt panels, and finally, installing everything. Some of us went over a day early to accomplish that, including Jared, the husband of one of our members. He designed the signs for us and helped hoist the high stuff.

Nine of our members (and former members) had work in the show. They were Jill Brown, Gabriele DiTota, Terri Drake, Elizabeth King, Ellen Lindner, RuthAnne Parker, Dij Pacarro, Kathryn Robinson, Laura Ruiz, and Becky Stack.
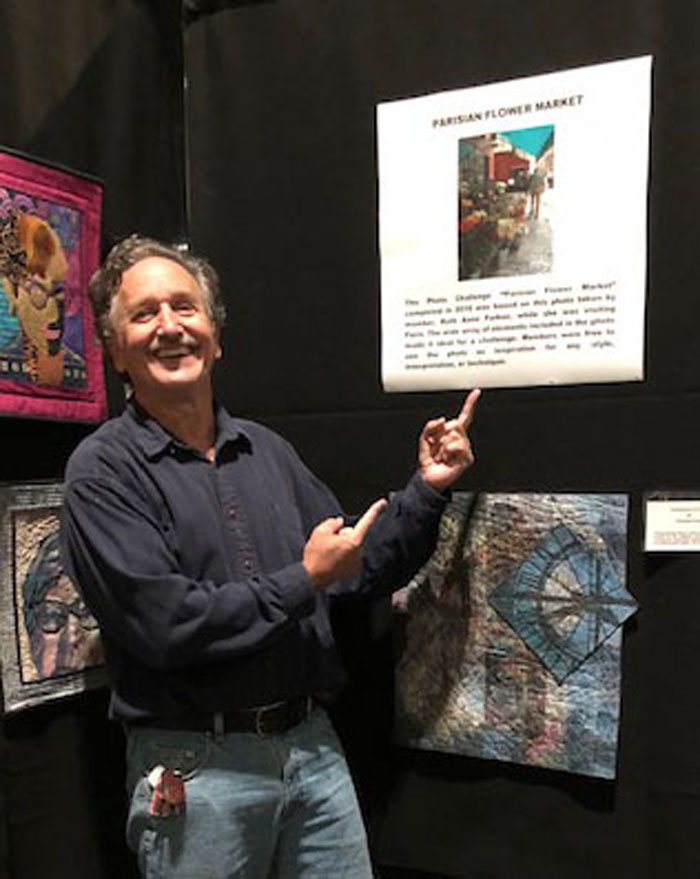
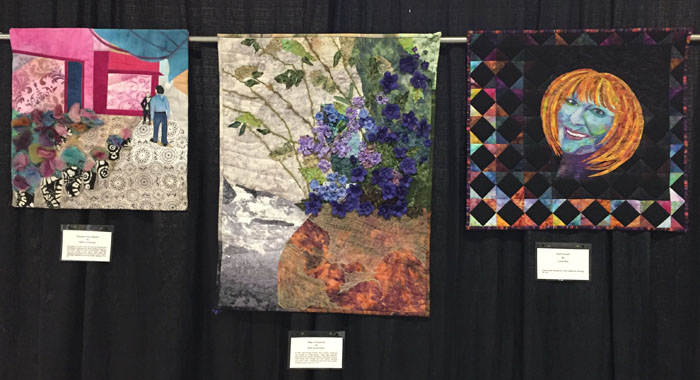
The exhibit featured the results of three group challenges and was called “Paris to Provence.” It filled six panels, plus a title panel. This is where the sign was and it featured one quilt from each of the three challenges.
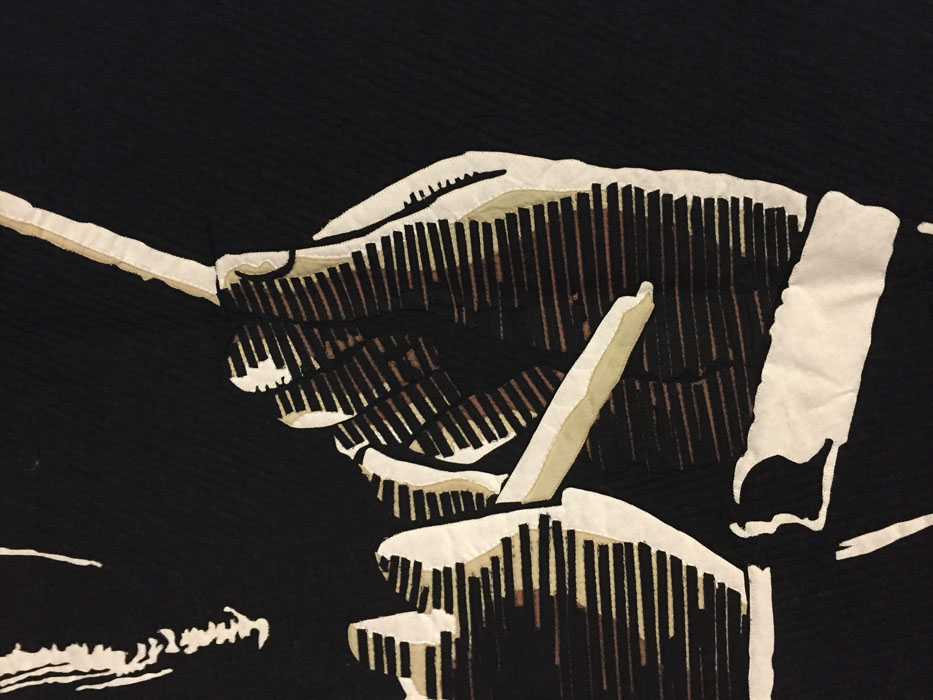
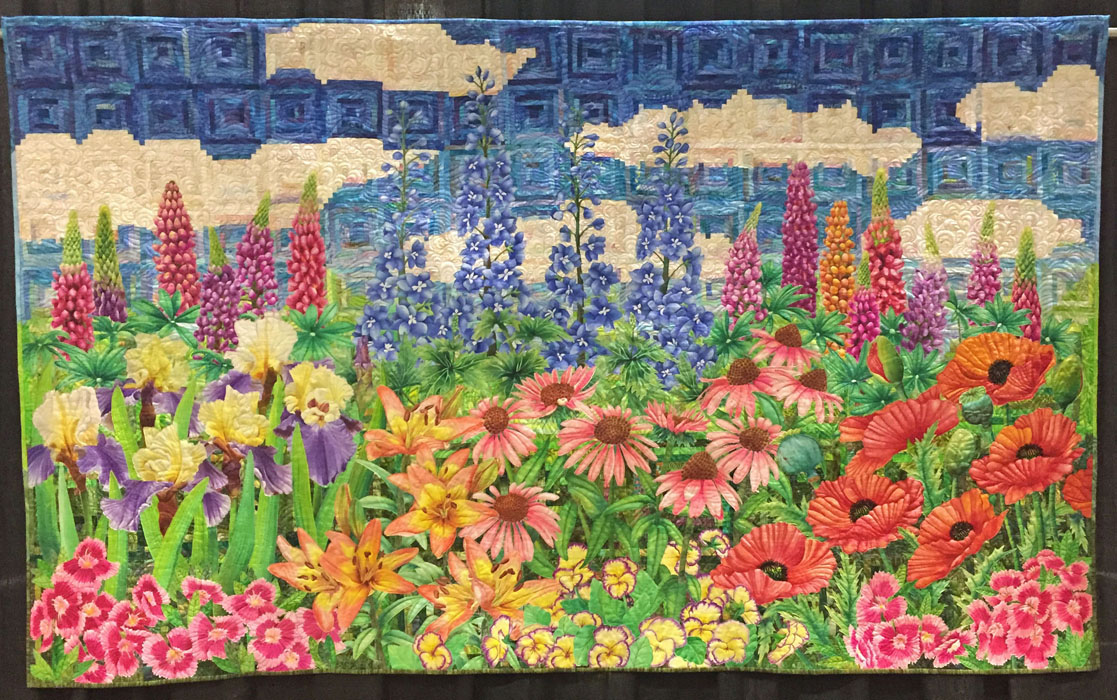
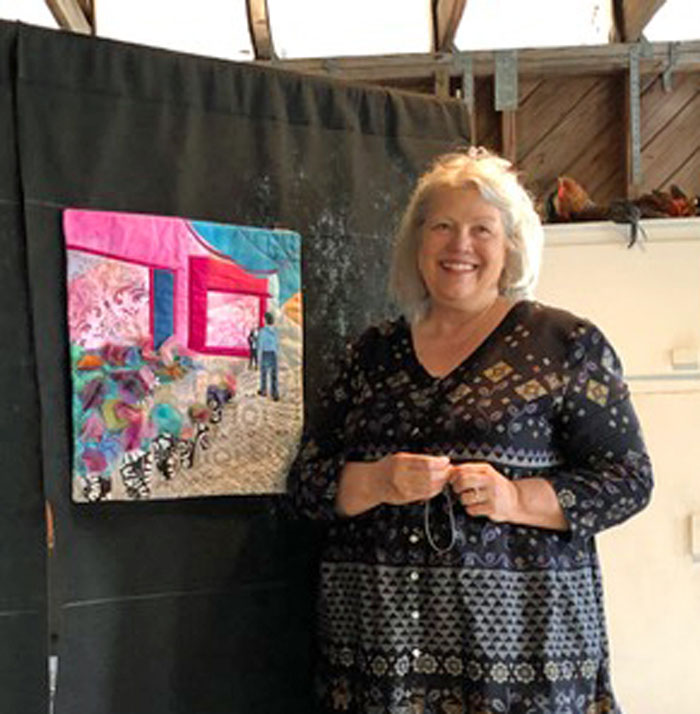
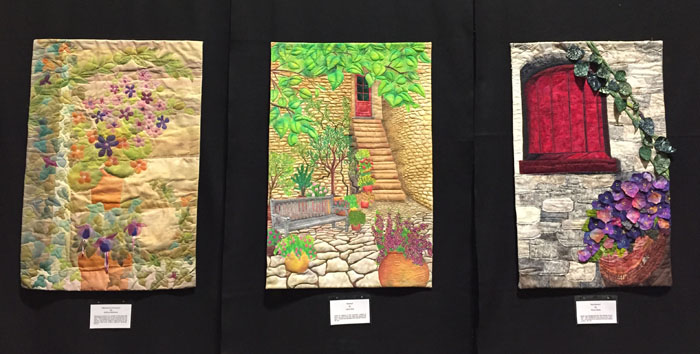
Shown below are Kathryn’s “Parisian Flower Market” piece, Ruth Anne’s “Welcome to Provence,” and Laura’s self-portrait.
The first panel featured our self-portraits. These are important because they’re a requirement to join the group. They’ve worked very well as a “litmus test” of sorts. Those who are comfortable making a self-portrait are generally good candidates for the group, and vice versa.
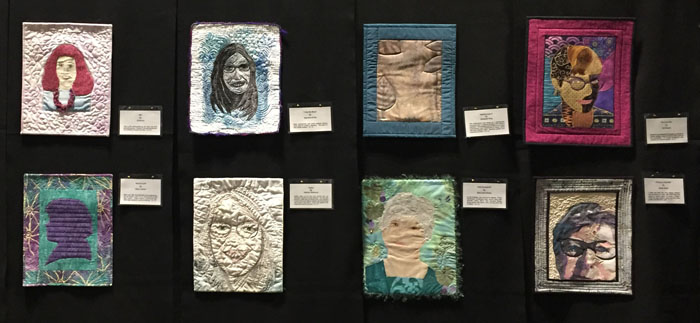
Top row: Jill, Gabriele, Elizabeth, and Dij. Bottom row: me, Kathryn, Ruth Anne, and Becky. The harsh lighting made these look a little odd.
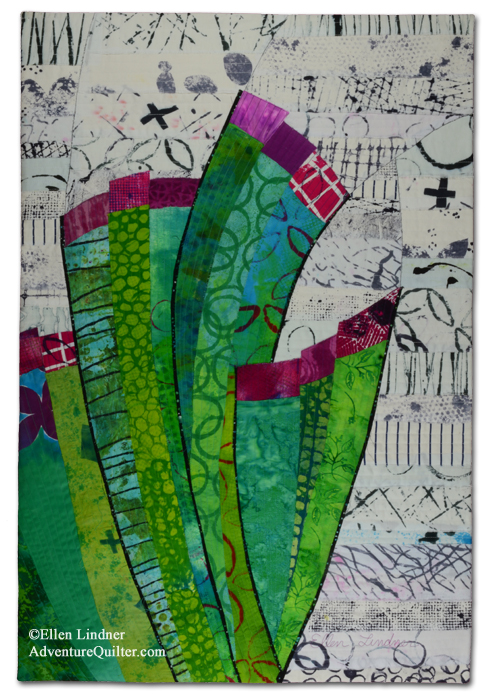
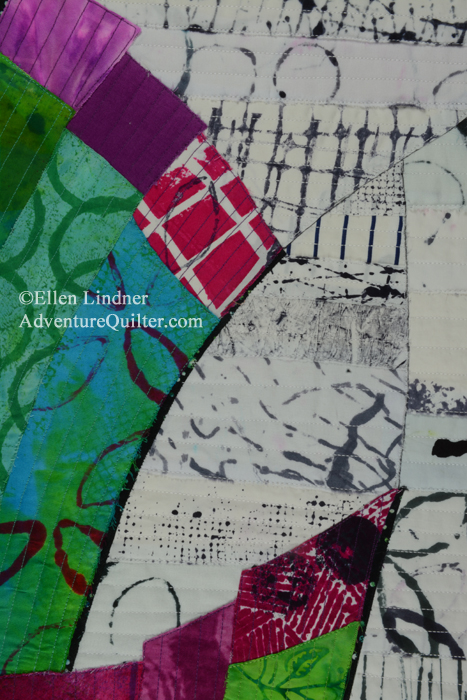
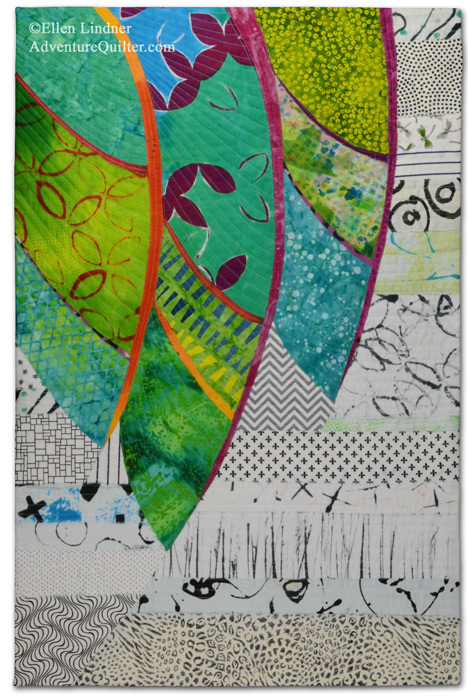
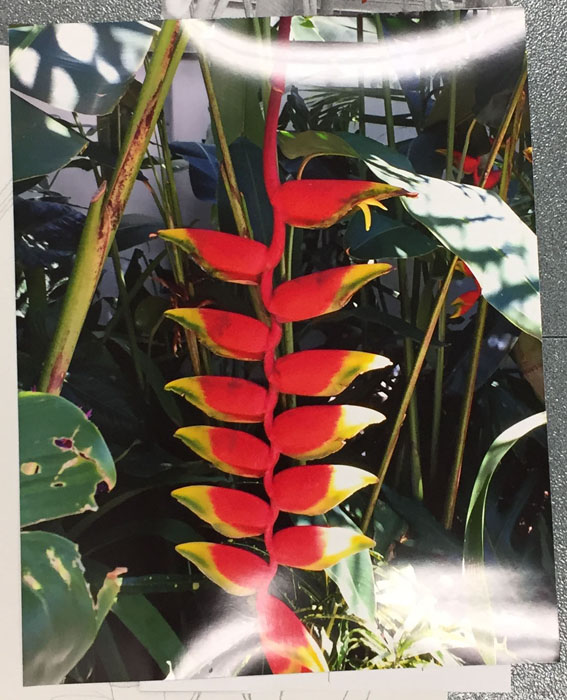
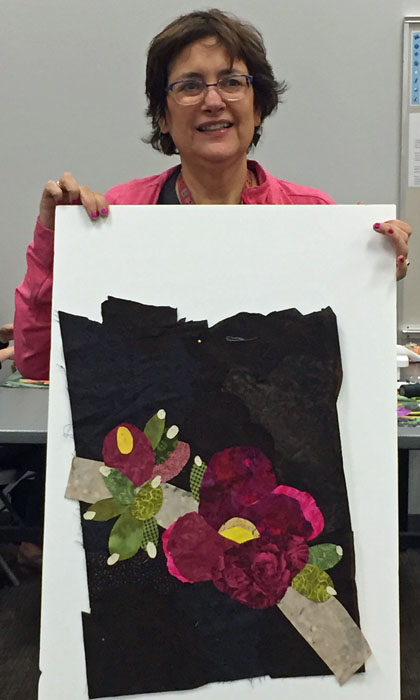
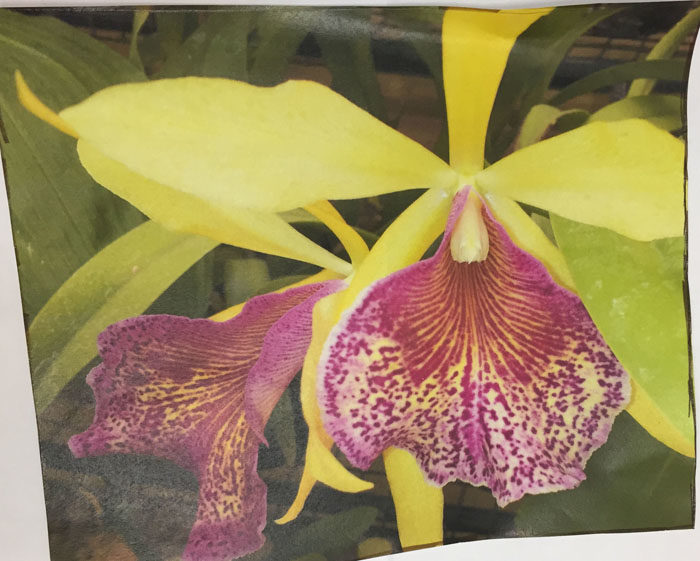
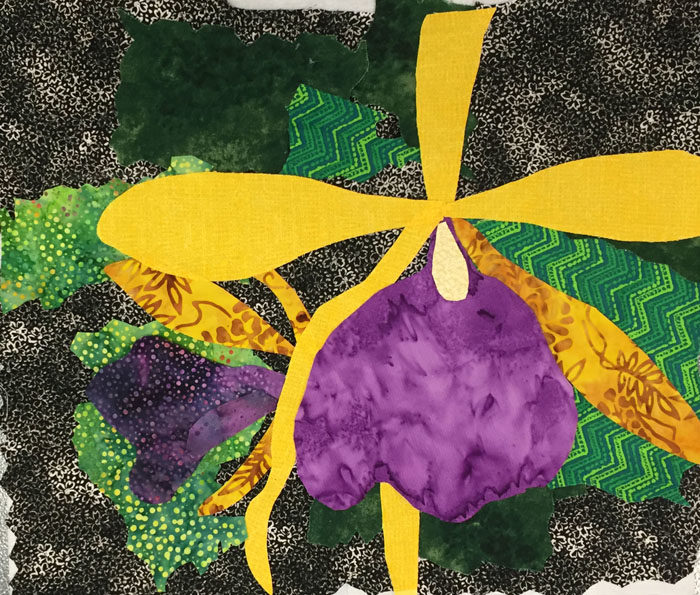
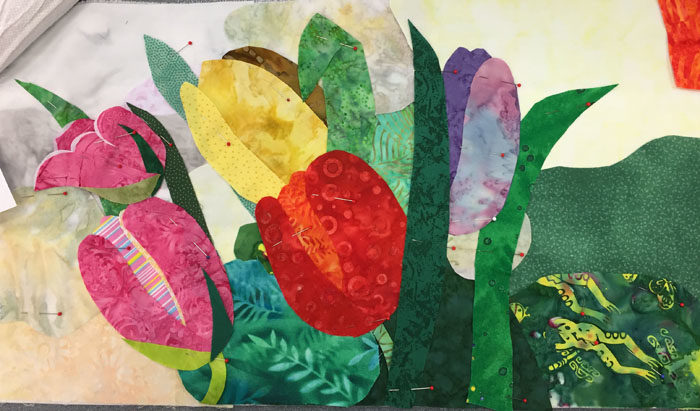
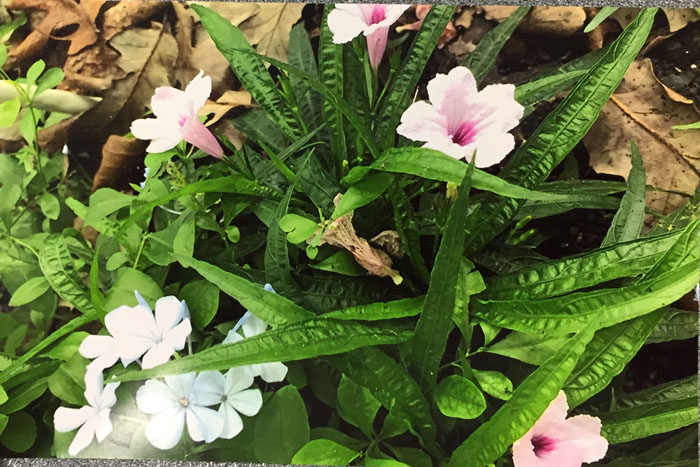
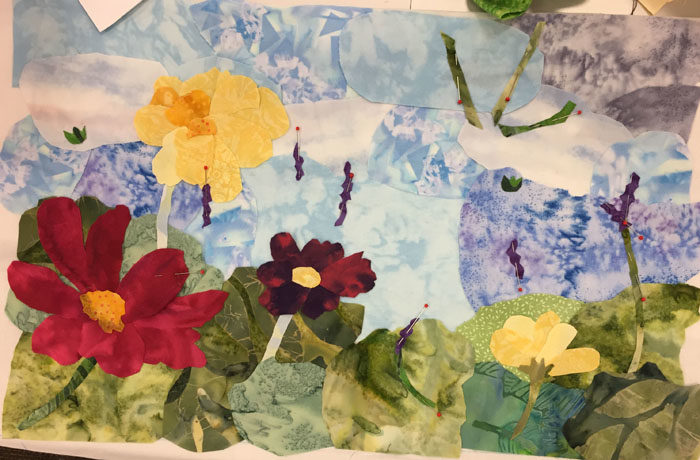
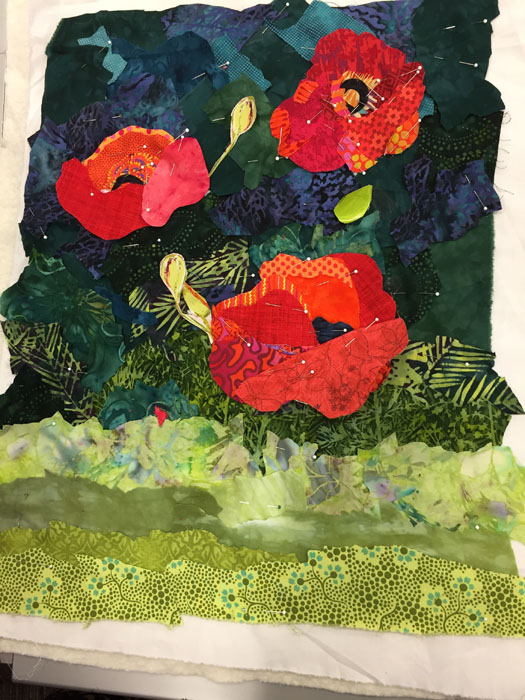
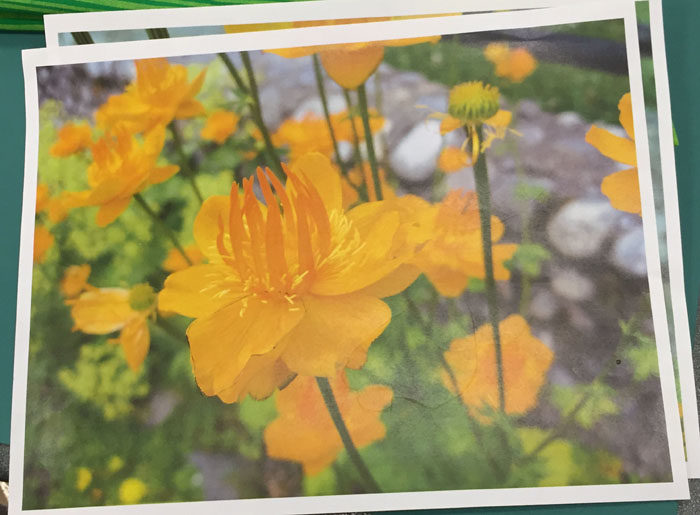
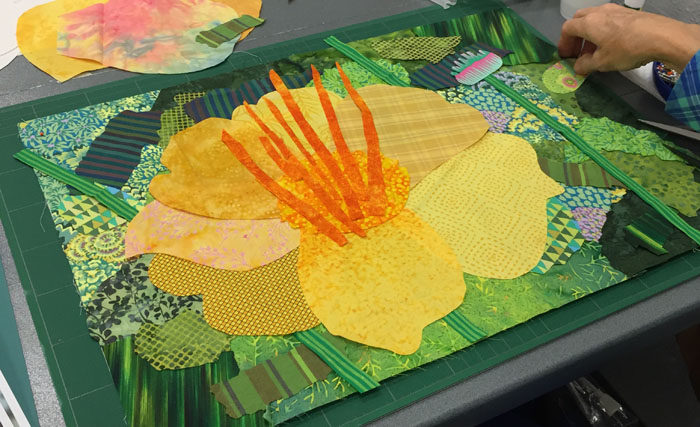
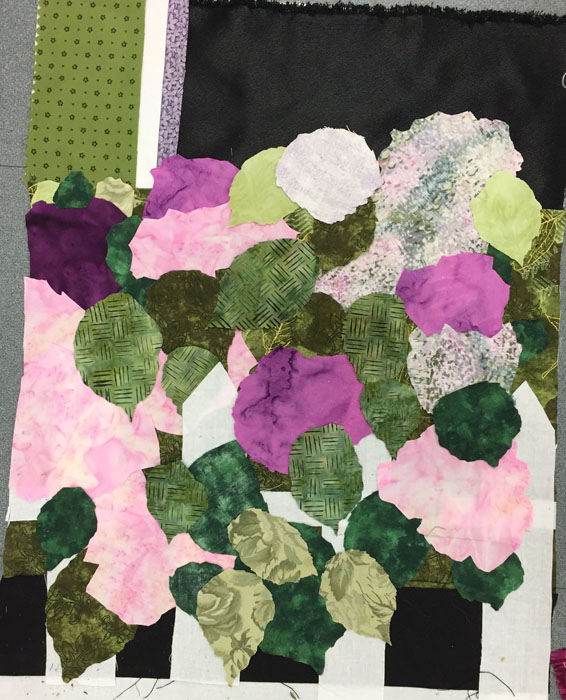
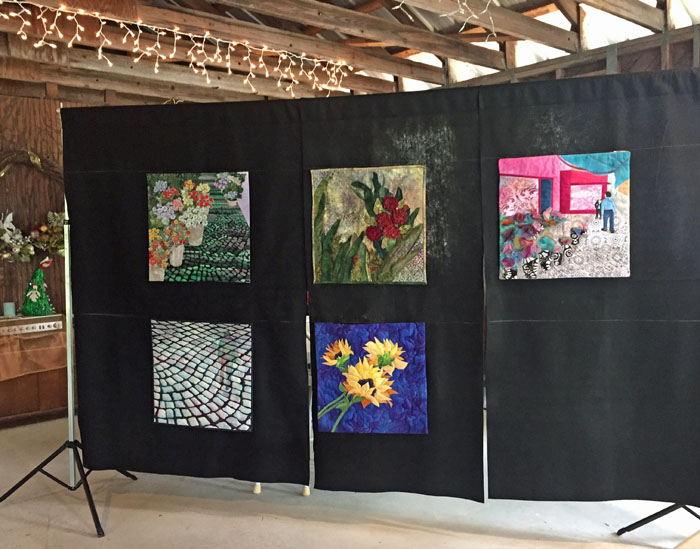
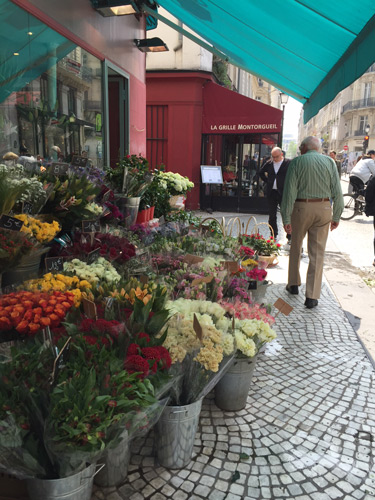
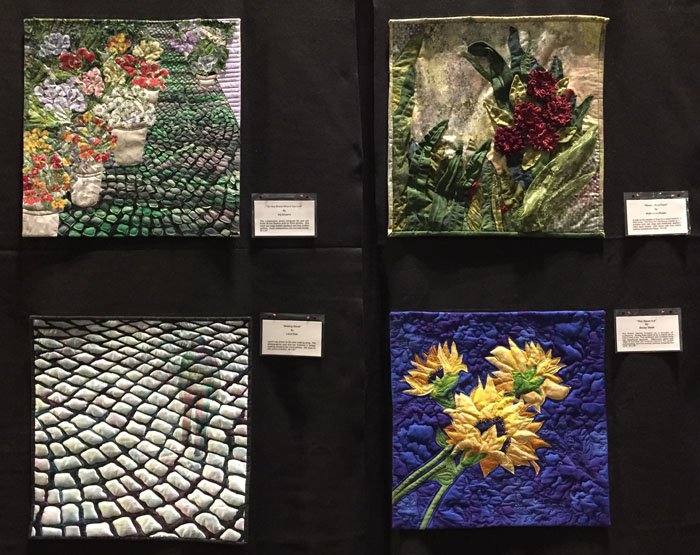
The next two panels showed off our “Parisian Flower Market” pieces. With these, we were all inspired by this photo.
Here’s panel one. Cool, right?
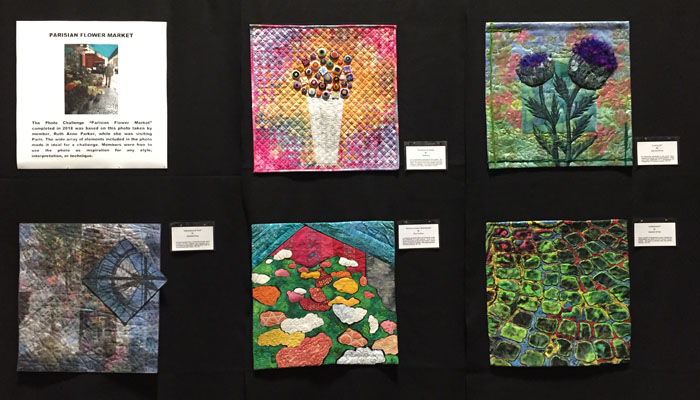
Above, top row: Jill & Gabriele, Bottom row: Elizabeth, me, & Gabriele
Panel Two shown below. Top row: Dij, & Ruth Anne. Bottom row: Laura and Becky
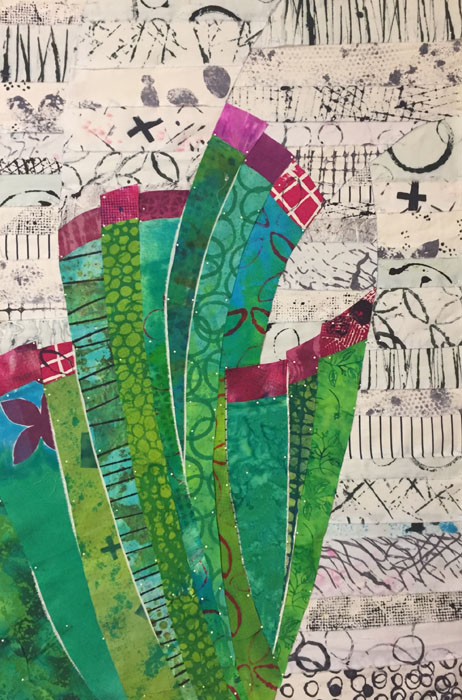
Isn’t it amazing how different they all are? That’s what we love about these challenges.
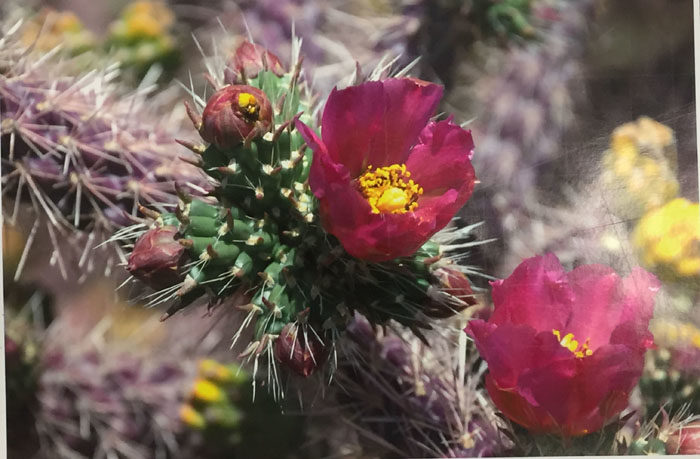
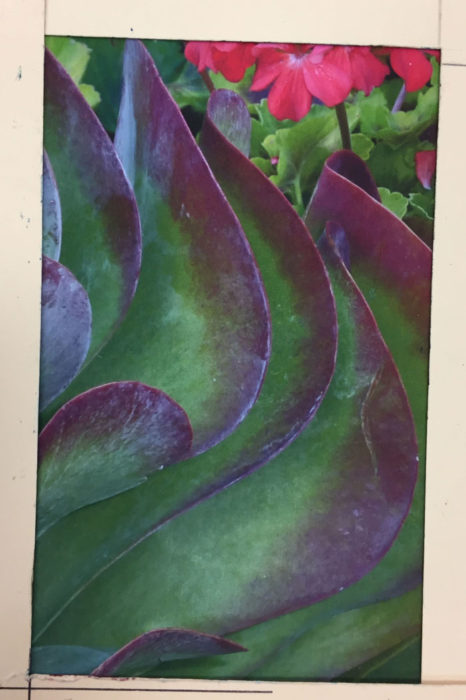
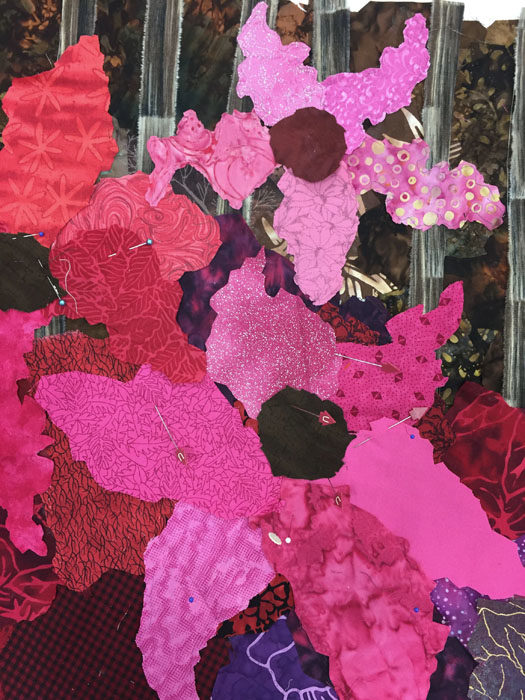
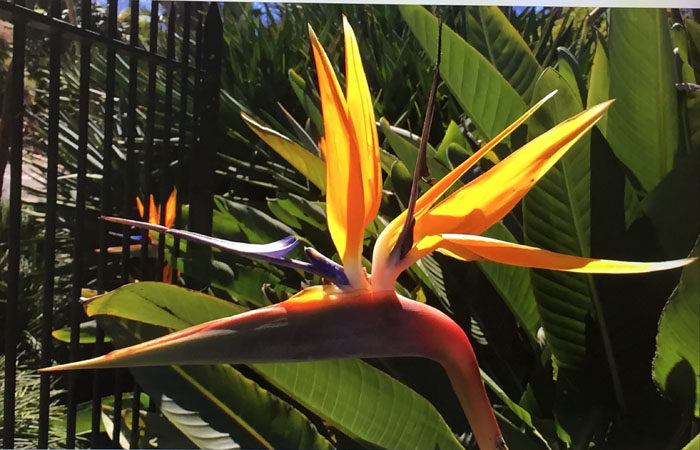
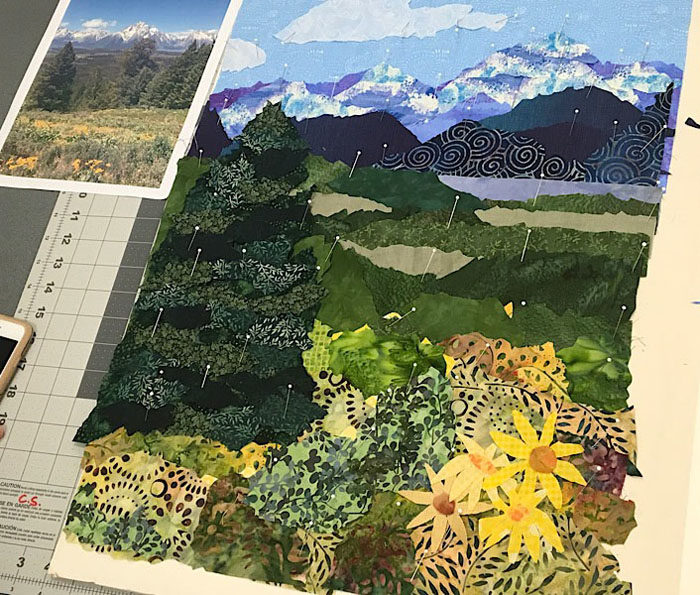
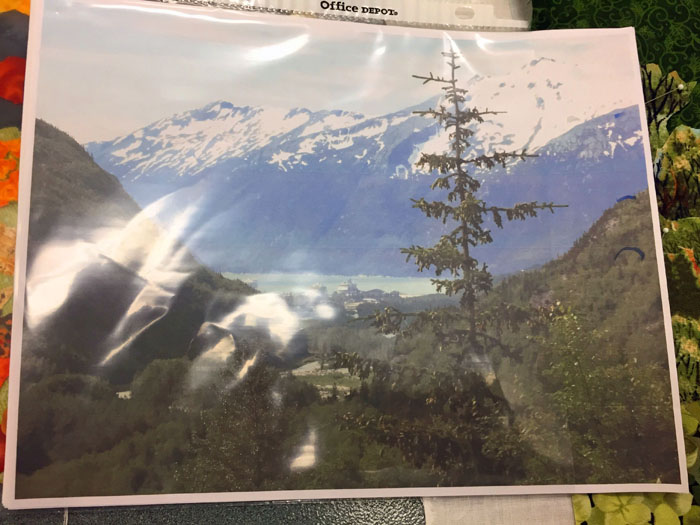
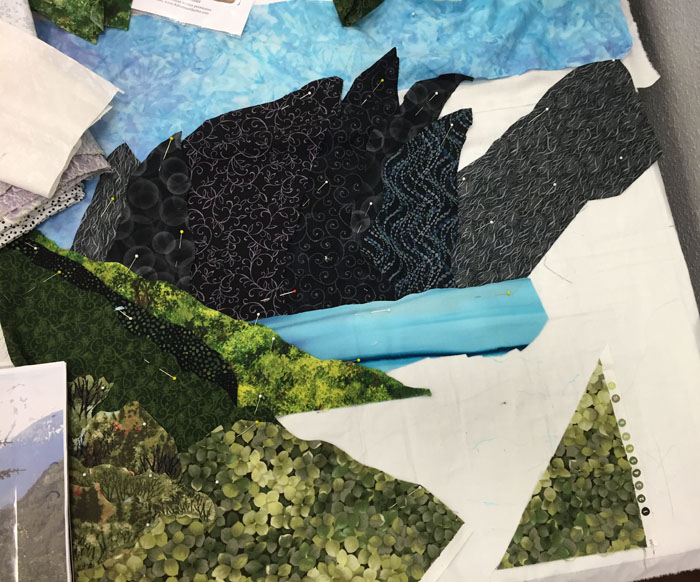
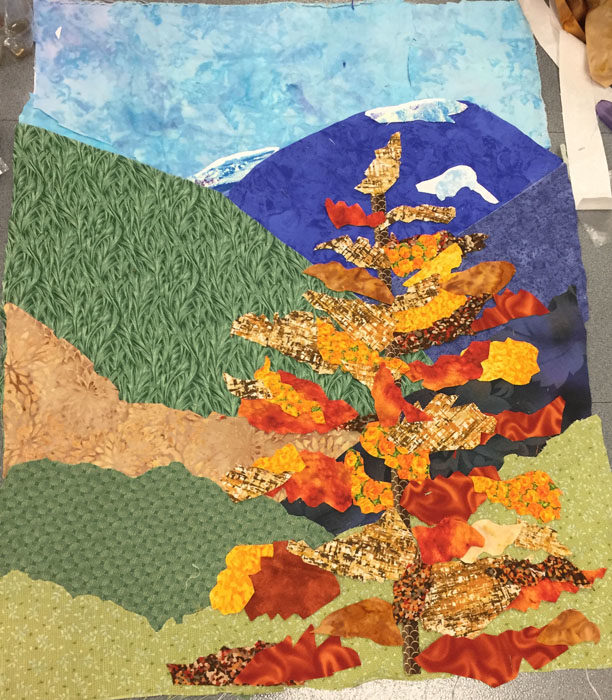
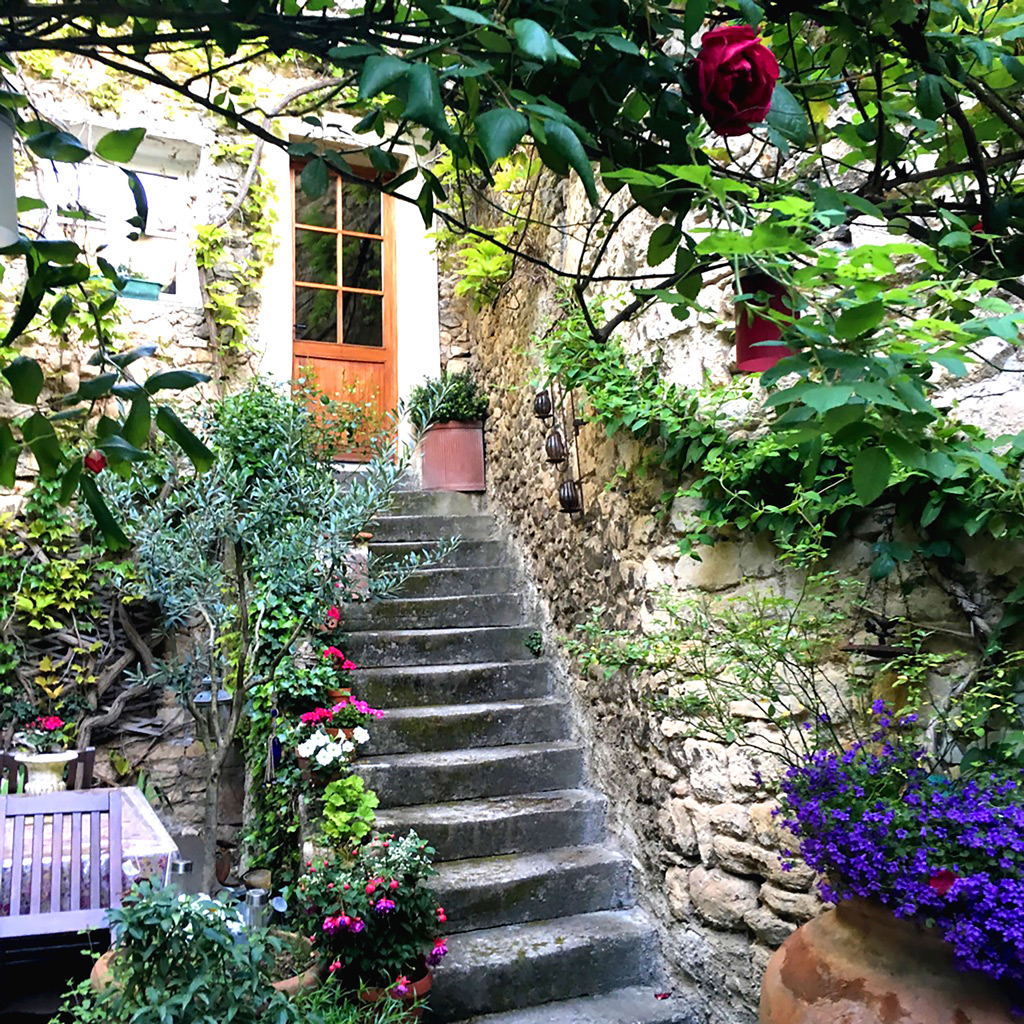
For our “Welcome to Provence” challenge, we used this photo as our inspiration source. We always choose an image with a lot going on, knowing that this will produce more diverse results.
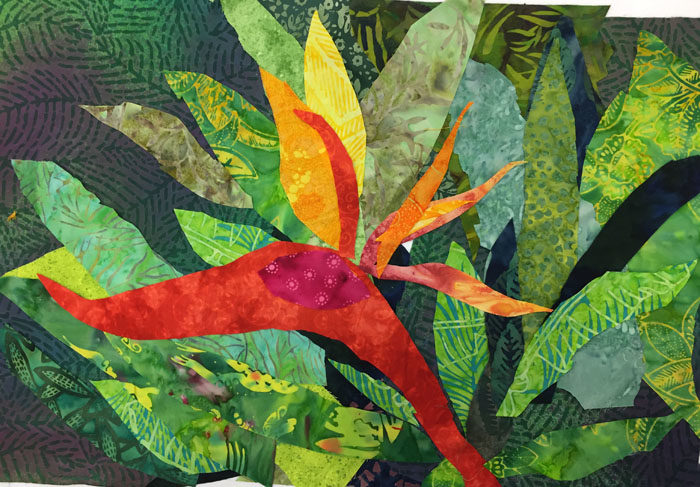
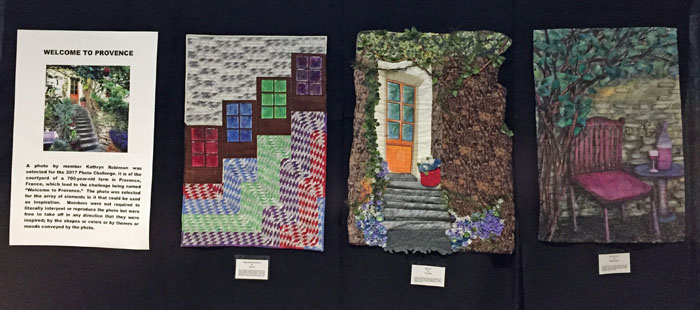
Panel One below. Work made by Jill, Terri, and Gabriele.
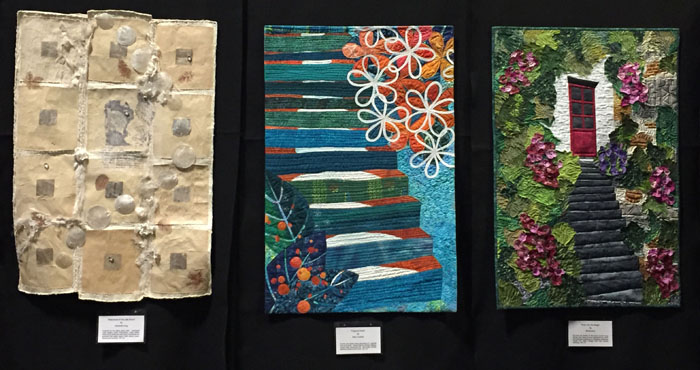
Panel Two below. These pieces were created by Elizabeth, me, and Dij.
And the final panel, with pieces made by Kathryn, Laura, and Becky.
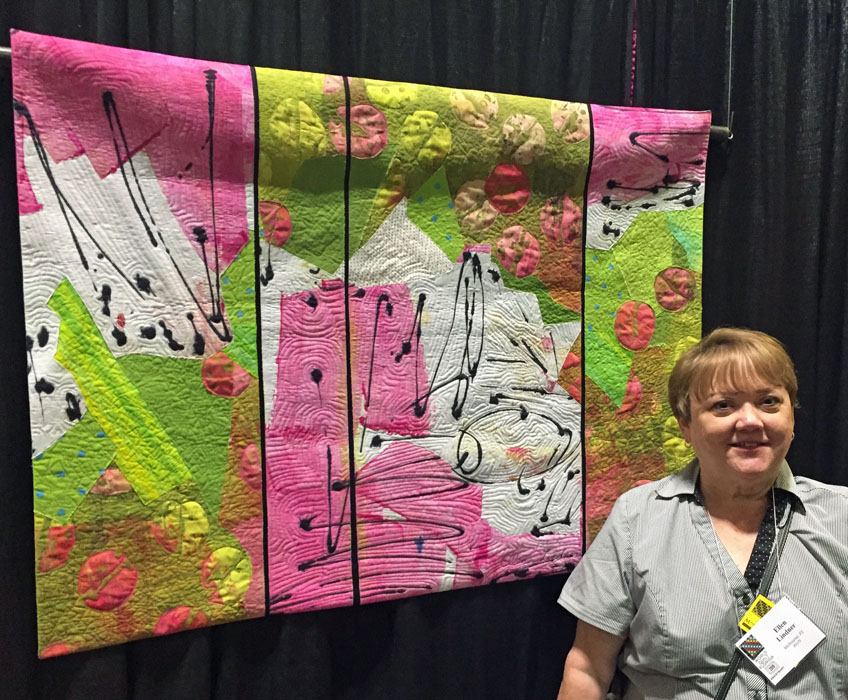
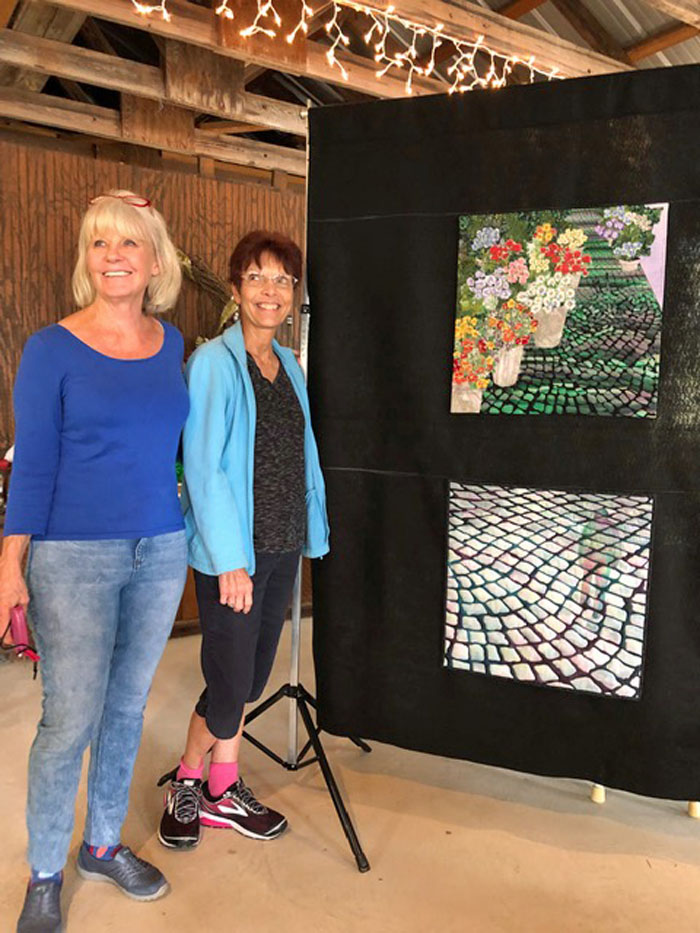
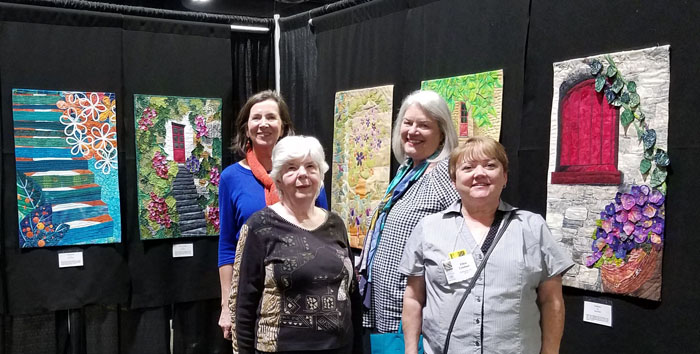
We weren’t all able to be at the show at the same time, but we did manage to get a photo with four of us. L-R: Gabriele, Ruth Anne, Kathrn, and me.
It was great to have our work shown to a new audience! These same pieces will be in three AQS shows later this fall: Grand Rapids, Paducah, and Charleston. I hope you get to see them!
Ellen Lindner