Tag Archives | Classes

Will This Pear be Famous?

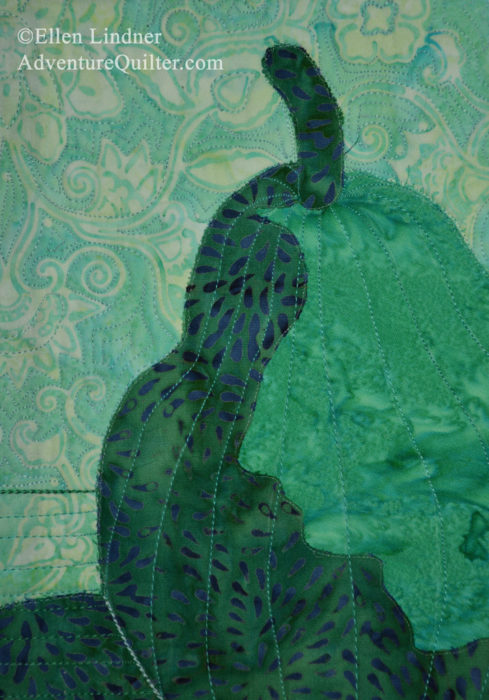
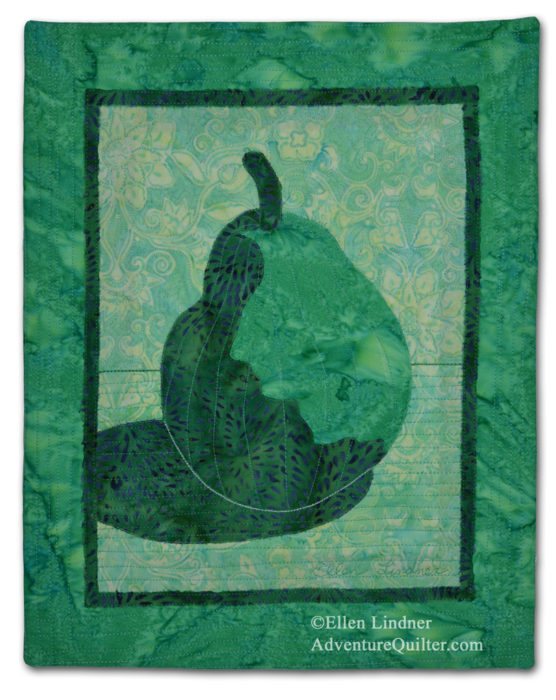
Will this green pear be famous?  I certainly hope so!

A Double Reverse Applique sample by Ellen Lindner. AdventureQuilter.com/blog

It’s the sample I’ll be using when teaching Double Reverse Applique on Quilting Arts TV!  That’s right, I’m going to be on TV!!!  To say I’m excited is putting it VERY mildly!

I’ve been spending lots of time making samples and “step outs,” practicing, and timing myself.  (Right now I’m too long, so I’ll have to work on that.)

A Double Reverse Applique sample by Ellen Lindner. AdventureQuilter.com/blog

This technique is only one of three I’ll be doing!  The other two are on Design Tips and Using a Photo as Inspiration for a Quilt.  All 3 of these are close to my heart, and I’m super excited to be working on them.

Taping is in September, but I have to have my ducks in a row much sooner.  What fun projects!

Ellen Lindner
P.S.  Learn more about Double Reverse Applique with these resources:
DRA Gallery
Ebook
Online class description
Live class description
Blog Post


14

Design Class in St. Augustine – Part Two

More photos from my students’ awesome work during “Design Your Own Nature Quilt,” in St. Augustine.

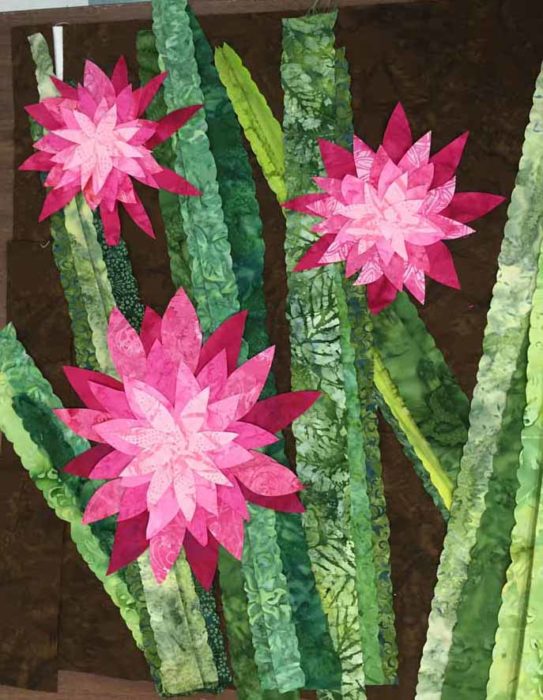
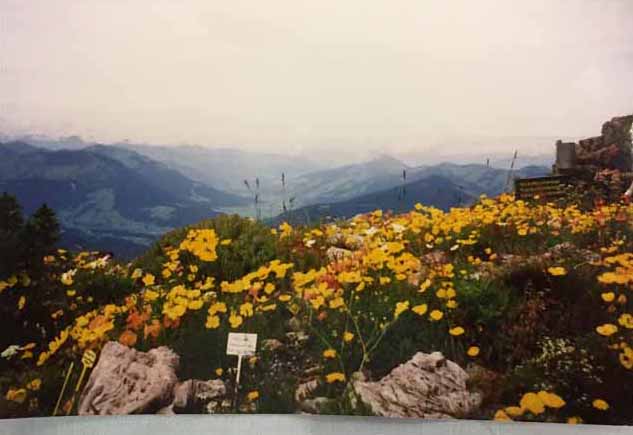
I know you love the see the students’ inspiration photos as well as where they take them.  This was Victoria’s starting photo.  She planned to really play up the blossoms.
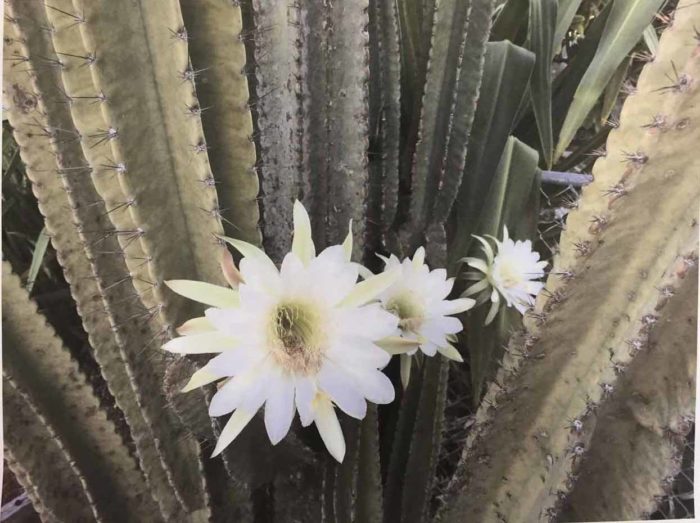
http://adventurequilter.com/old-blog/2013/03/design-in-destin/

And ended up with this.

Design Your Own Nature Qullt class, with Ellen LIndner. AdventureQuilter.com/blog

This is a wonderful example of our class motto:
Be inspired by your photo, not owned by it.

Victoria did an excellent job of keeping what she liked, exaggerating it, and altering the other elements.  She also resisted the temptation to make the background so dramatic that it competed with the blossoms.  As a matter of fact, that dark brown really sets off the bright blossoms beautifully, doesn’t it?  That’s what contrast will do for you.

Both Kathy and Mary selected white flowers as their inspirations.  These can be quite challenging, since it’s hard to show depth and shadows.  However, they came prepared with very good fabric selections for shadows.

Here’s Kathy’s inspiration photo of gardenias.
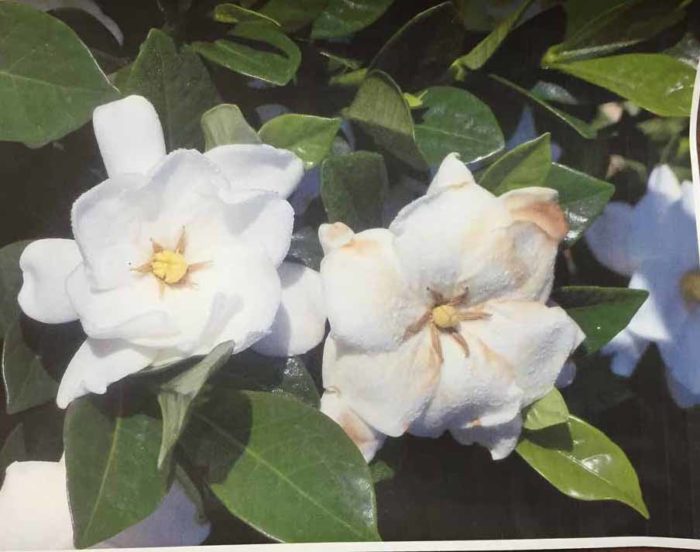
Design Your Own Nature Qullt class, with Ellen LIndner. AdventureQuilter.com/blog

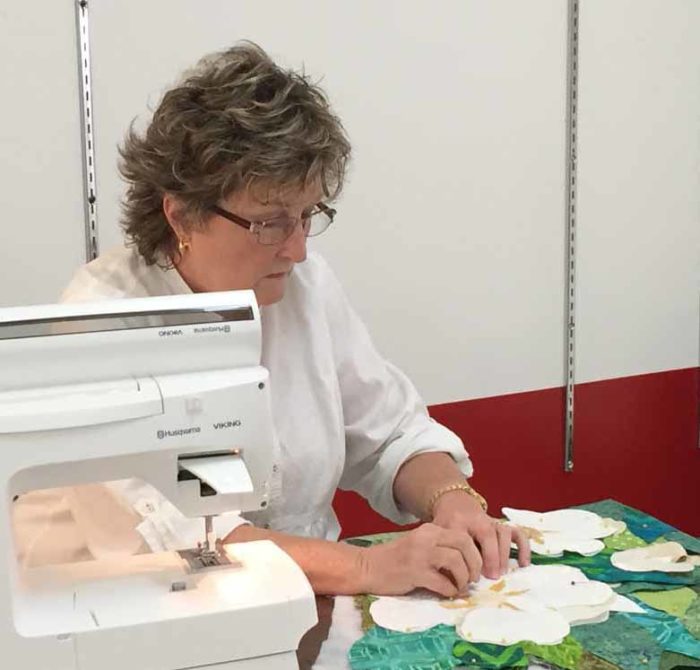
Here she is, at work.

WEB - Kathy at work

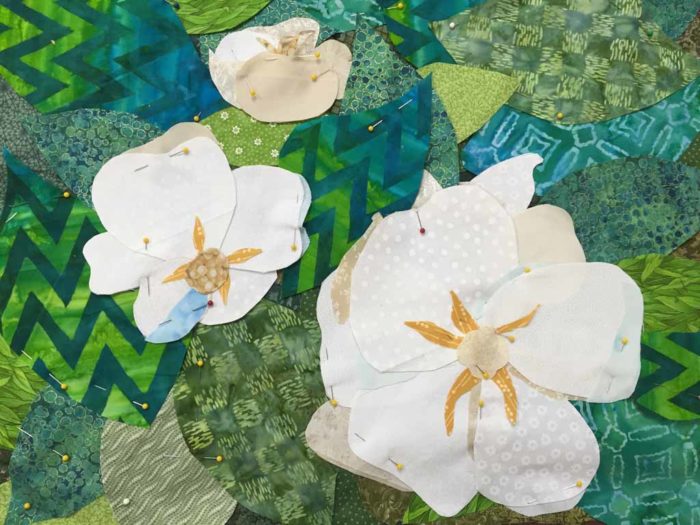
And her quilt, nearly complete.

Design Your Own Nature Qullt class, with Ellen LIndner. AdventureQuilter.com/blog

Don’t you think her composition is better?  And she used tiny slivers of tans and pale blue to create shadows.  Nice work!

Mary used a magnolia blossom as her inspiration.
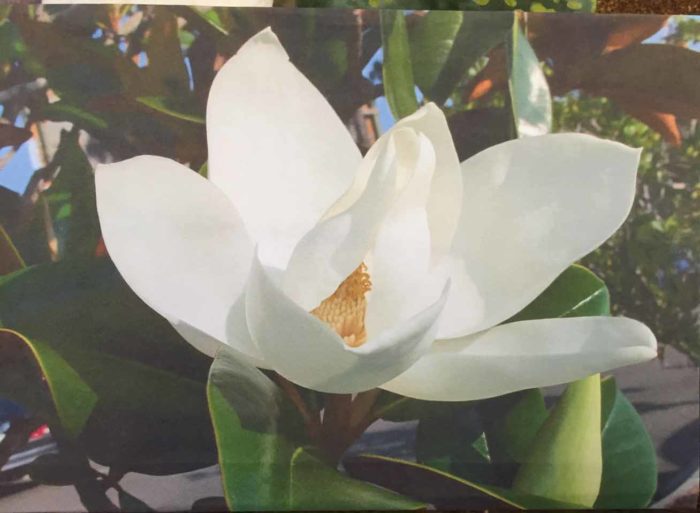
Design Your Own Nature Qullt class, with Ellen LIndner. AdventureQuilter.com/blog

She worked the background very loosely, but kept the flower very close to her photo.  Here it is, well along.
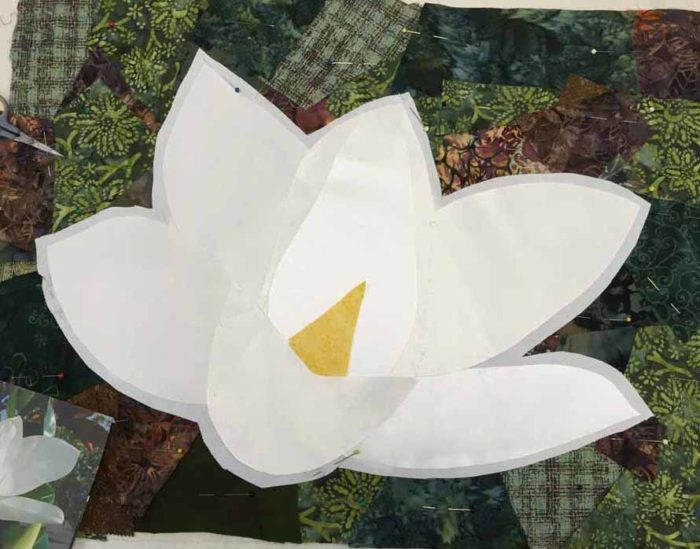
Design Your Own Nature Qullt class, with Ellen LIndner. AdventureQuilter.com/blog

Mary used white satin fabric for her flower.  The petals do look a little different, due to the grain of the fabric and the way the light hits it.  She’s also got some pale gray tulle she’ll add for shadows.

Mary often hand stitches her pieces down using a ladder stitch.  She plans to do this for the background and maybe the flower as well.  If so, it will add a great amount of definition to the petals.

Laura used a photo of – hmm, I don’t know – some type of blue/purple mountain flower.
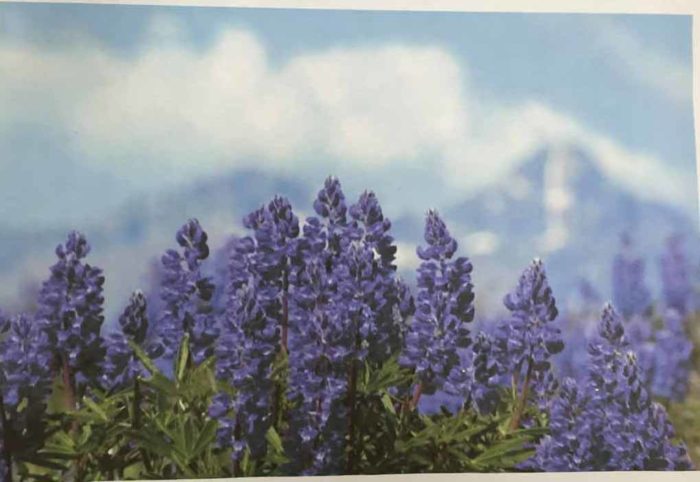
Design Your Own Nature Qullt class, with Ellen LIndner. AdventureQuilter.com/blog

As with Rosemary, we discussed the challenge of ALL THOSE little flower clusters.  She decided she would edit the number of flowers in order to keep the details manageable.

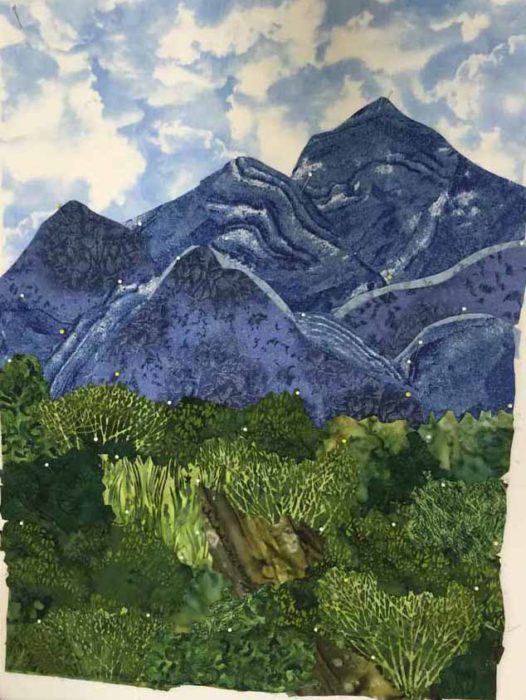
The mountain in the background was important to Laura, so she spent a good bit of time getting it and the foreground grasses just right.  This was time well spent.
As with Rosemary, we discussed the challenge of ALL THOSE little flower clusters.  She decided she would edit the number of flowers in order to keep the details manageable.

For her flowers, she cut a background shape, but then sprinkled on little contrasting bits of other values.  Although she has a bit more fine tuning to do, this is going to work beautifully.
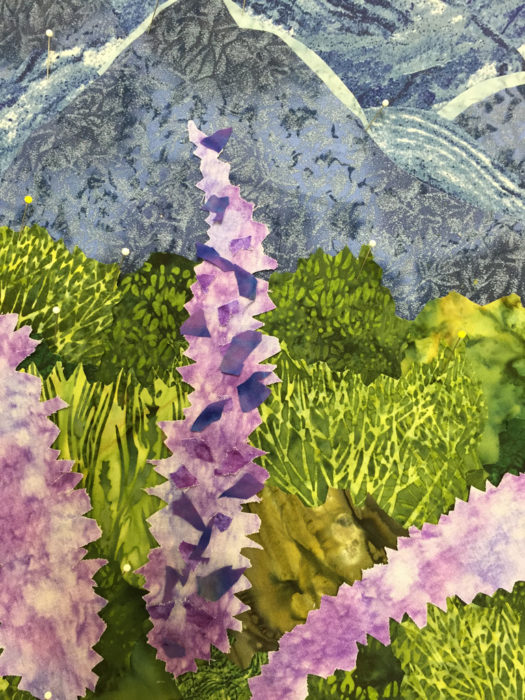
Design Your Own Nature Qullt class, with Ellen LIndner. AdventureQuilter.com/blog

Yes, she edited her flowers down to only three.  It’s a great composition, but I forgot to get a photo.

By the end of day two, most everyone had shed their name tags.  I was mock complaining since I often photograph the work, and then the student’s “chest”/name tag, so I’ll remember what belongs to whom.  Laura asked, “Oh, you want my name of my chest?” and did this.
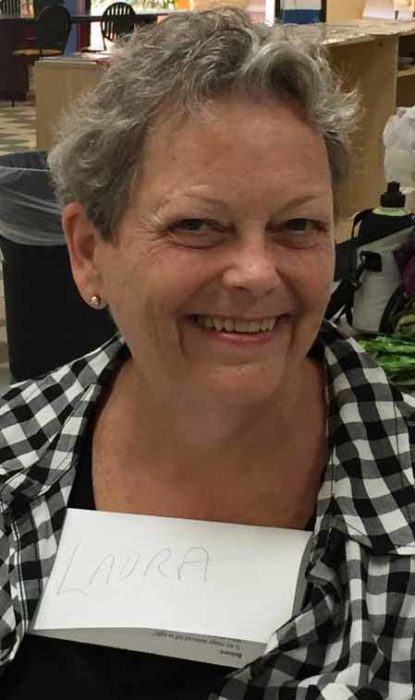
Design Your Own Nature Qullt class, with Ellen LIndner. AdventureQuilter.com/blog

Just one example of the fun we had.

Would you like to schedule this two day class for your group?  You’ll find a full description here.

Ellen Lindner
3

Design Class in St. Augustine

“What do key lime pie and beautiful quilts have in common?”  Answer:  It’s the COMBINATION of ingredients that make it work.  This is just one of the concepts students learn in my “Design Your Own Nature Quilt” class.  The supply list for this class includes “artistic courage.”  And my St. Augustine students definitely packed theirs.

After a morning learning about design, they sketched designs inspired by their own photos.  Since they learned that nearly every photo can be improved, there were lots of changes and tweaks considered.  Finally, it was time to bring out the fabric and their compositions began to emerge.

Here’s Karen’s inspiration photo.

Design Your Own Nature Qullt class, with Ellen LIndner. AdventureQuilter.com/blog

And her quilt, nearly complete (except for the quilting.)

Design Your Own Nature Qullt class, with Ellen LIndner. AdventureQuilter.com/blog

Isn’t it great?  She wisely moved the focal point off-center for more interest.  And the addition of orange and purple add a wonderful spark.

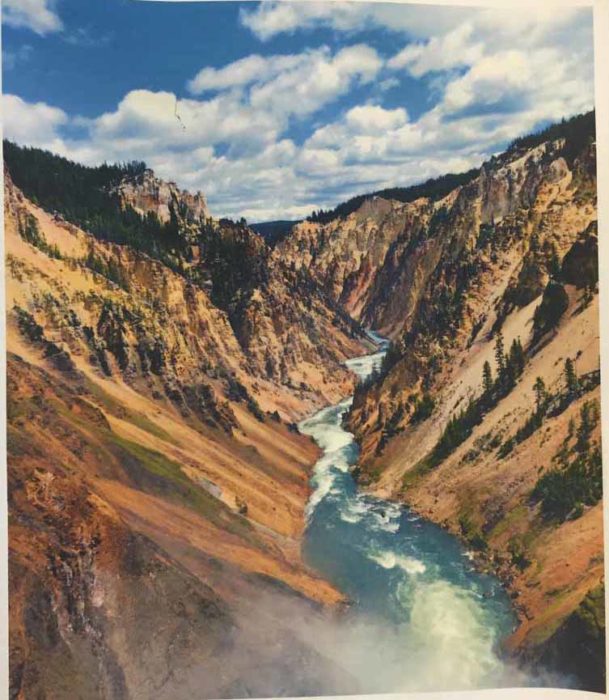
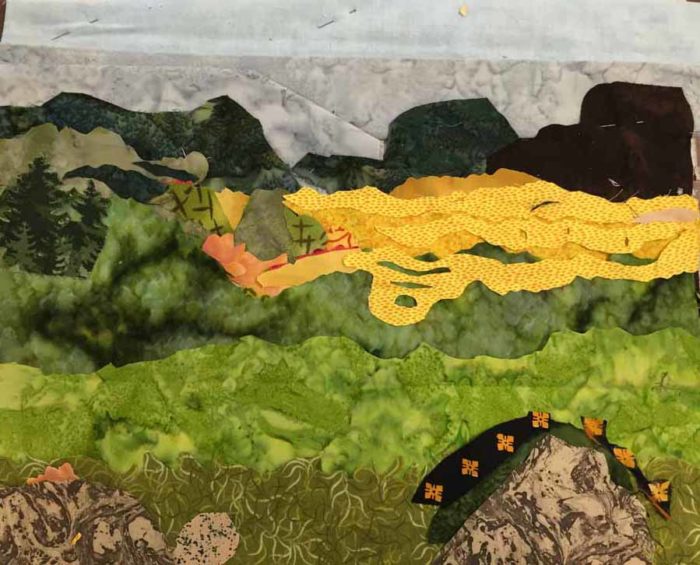
Sharon brought a photo of a favorite view in Yellowstone National Park.

Design Your Own Nature Qullt class, with Ellen LIndner. AdventureQuilter.com/blog

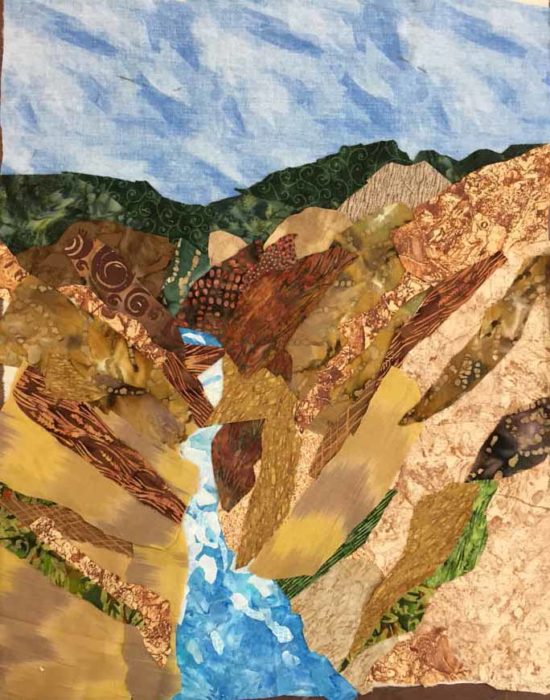
She did an excellent job capturing the scale and drama of the scene.

Design Your Own Nature Qullt class, with Ellen LIndner. AdventureQuilter.com/blog

Celeste chose a challenging photo, due to the multitude of flower shapes.

Design Your Own Nature Qullt class, with Ellen LIndner. AdventureQuilter.com/blog

However, she edited her sketch to include only her favorite parts and got to work.

Design Your Own Nature Qullt class, with Ellen LIndner. AdventureQuilter.com/blog

She made good progress by the end of the class.  (She wasn’t crazy about the sky fabrics and intended to switch them out once she got home.)

Joanne worked with a great photo which needed very little editing.  I neglected to get a shot of her inspiration photo, but you can see a glimpse of it on her table.

Design Your Own Nature Qullt class, with Ellen LIndner. AdventureQuilter.com/blog

The photo below shows her quilt after her first little bit of quilting.

Design Your Own Nature Qullt class, with Ellen LIndner. AdventureQuilter.com/blog

Joanne will add petal definition to her flowers with the addition of black stitching.  (Yes, she’ll need her artistic courage for that, but she can practice first on a sample.)

I really tried to disuade Rosemary from using the photo below as her inspiration.  Just because of ALL THOSE LITTLE curly doohickies!  (What is the plural of doohicky, anyway?)  However, after discussing it, she decided she was willing to spend the time it would take to manage all those tiny shapes.

Design Your Own Nature Qullt class, with Ellen LIndner. AdventureQuilter.com/blog

It was looking really great by the end of the second day.

Design Your Own Nature Qullt class, with Ellen LIndner. AdventureQuilter.com/blog

She’ll experiment with ways to work the little curly tendrils.  Maybe couched thread, bent wire, or some other invented technique.  She’s willing to put in the time to do the needed trial and error.  And, of course, she’ll add some pale twisted yellow (?) curly-Qs in the center.  I think it’s going to be pretty spectacular.

I do so love teaching this class!  And, if you’re interested, I have an online version going on right now.  We’re about half way through part one, the design portion, with two and a half weeks remaining.

Ellen Lindner
Related posts:  Cropping as a design feature. And more cropping  (Both of these are quick reads, and worth checking out.)

0

“Cheerful Garden”

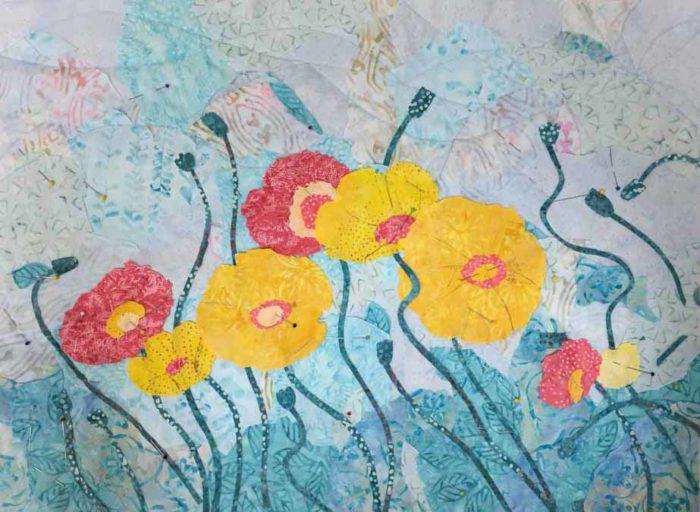
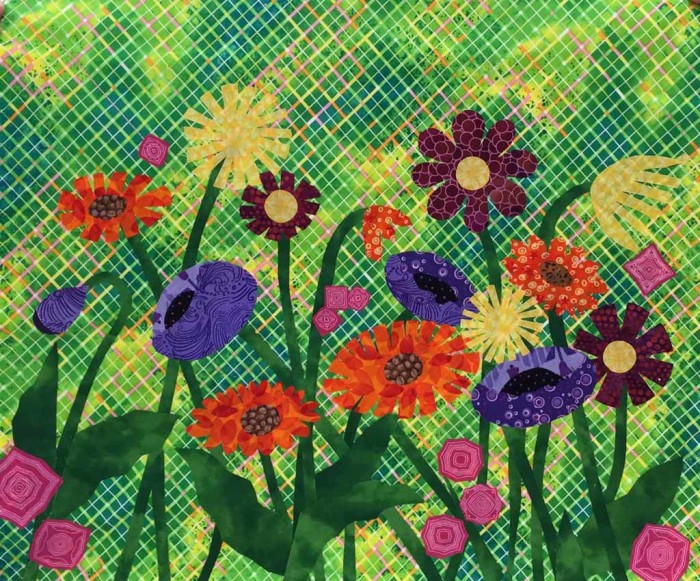
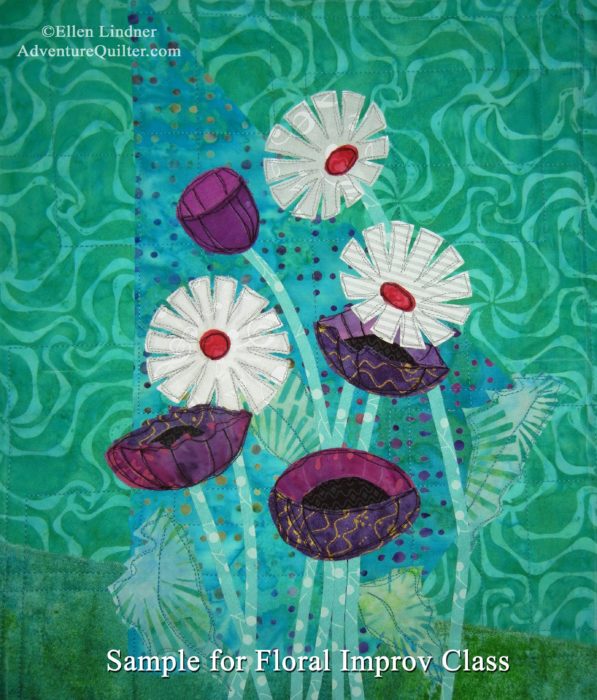
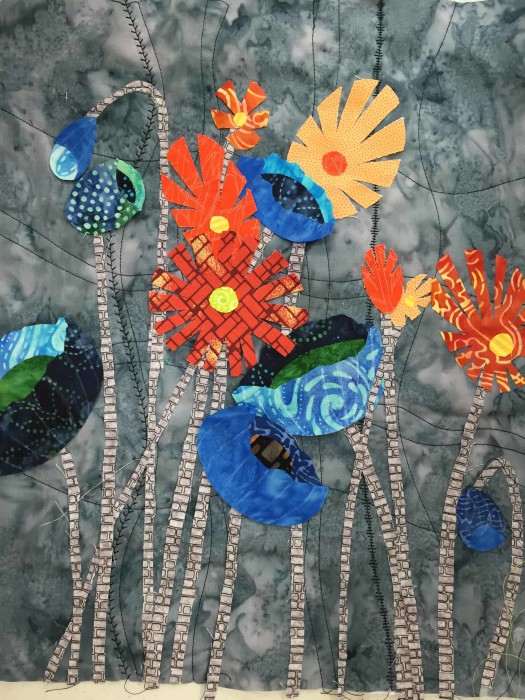
After selling one of the samples for my Floral Improv class, I needed to make another one.  No problem.  It was fun and went together quickly.

Here’s Cheerful Garden.

Class sample for "Floral Improv" with Ellen Lindner. AdventureQuilter.com/blog

Perhaps you can tell the background is composed of three different fabrics.  That’s because I didn’t have one piece of fabric large enough for the 13 x 16 background!  Of course, I like combining lots of different fabrics, which is why I mostly buy fat quarters.  After a cut or two, my pieces aren’t too big.

What size fabrics do you buy and why?

Ellen Lindner
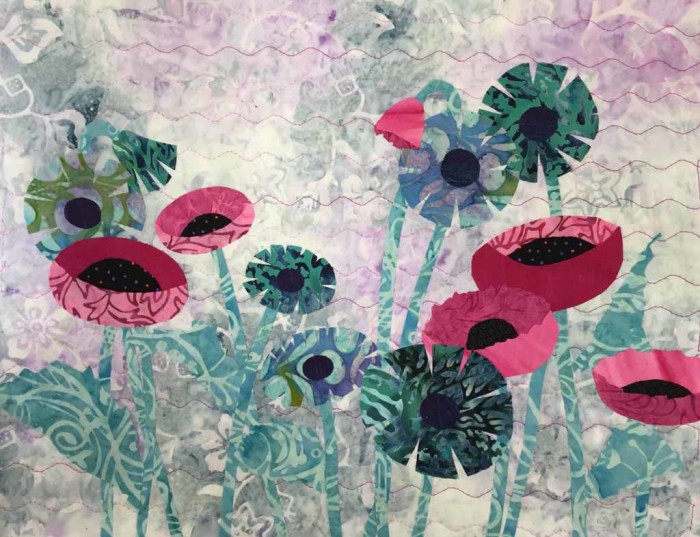
P.S.  Floral Improv info.

8

“Floral Improv” Students Rocked It

To say that my Floral Improv students rocked it is an understatement.  After a little instruction, they jumped right into drawing and cutting free-form flowers.  Then, they learned a little about composition and design considerations and gave that a try.  Along the way they were not afraid to try new things and they received suggestions beautifully.  What a fun group to work with!

And just look at their results!

Barbara’s palette was delightful.  She’ll add definition to the stems and leaves with dark stitching and then it will really pop!

Ellen Lindner's Floral Improv class. AdventureQuilter.com

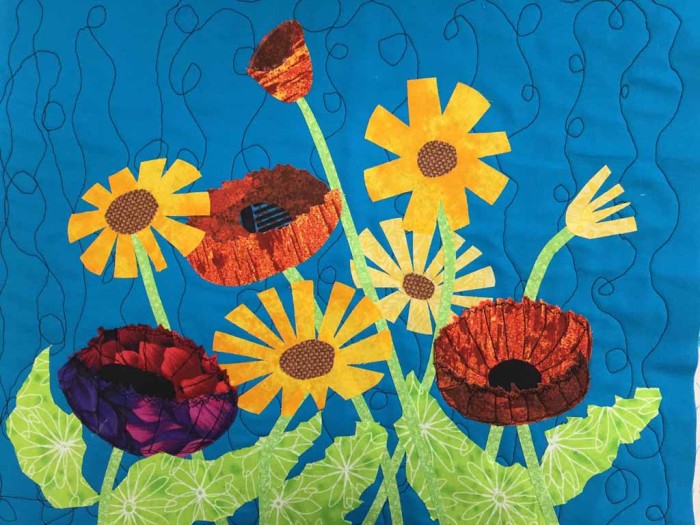
Sharon’s quilt provides very high contrast, creating a lot of drama.  Most students will define their poppy petals with dark thread, but Sharon will use a light gray.  (But still something dark for the daisies and leaves.)  This is going to be great.

Ellen Lindner's Floral Improv class. AdventureQuilter.com

Margaret selected complementary orange and blue with a happy dose of pink and purple added in.  It’s very bright and cheerful!

Ellen Lindner's Floral Improv class. AdventureQuilter.com

Look at Kathi’s soft colors.  Didn’t she do a good job with them?  And what about the “body language” of her flowers?  She used her curving stems to great advantage.

Ellen Lindner's Floral Improv class. AdventureQuilter.com

Jo-Ann was still experimenting at this stage, but she had some really great things happening.  Like those s-t-r-e-t-c-h-e-d daisies.  They have lots of personality.  I know this is going to be full of life.

Ellen Lindner's Floral Improv class. AdventureQuilter.com

Cindy is fairly new to quilting, but she fully embraced the project.  She did a great job.

Ellen Lindner's Floral Improv class. AdventureQuilter.com

Barbara’s dark background really set off her pastel flowers beautifully.  She only has a little stitching left to do.  I can’t wait to see her finished quilt!

Ellen Lindner's Floral Improv class. AdventureQuilter.com

Bobbi was speedy and she managed to create a lot flowers in a short period of time.  She also fussy cut some shapes from a pink fabric to serve as buds.  A very nice touch.  It’s bright and wonderful!

Ellen Lindner's Floral Improv class. AdventureQuilter.com

Another 3 students packed up before I could photograph their work, but I can assure you it was on a par with these.  I’m SO delighted by these results in the very first offering of this class!

I’m now taking this class on the road.  Let me know if your guild would like to have me add you to my schedule.  (Email link below.)

Ellen Lindner
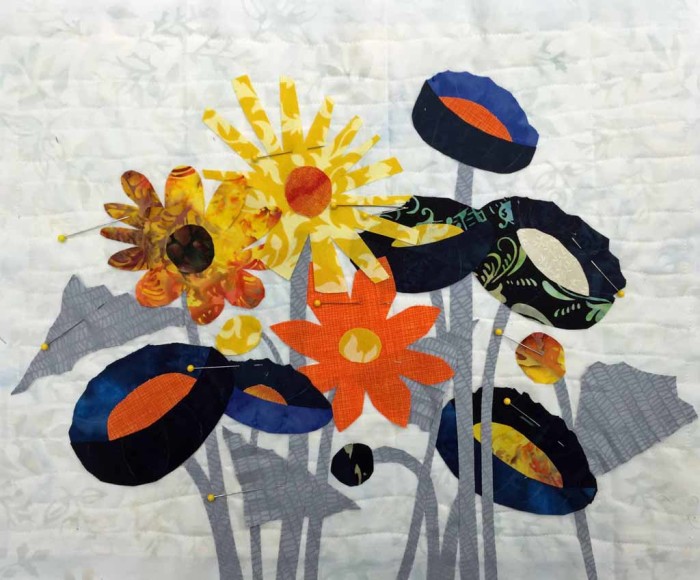
0

“Floral Improv” Inaugural Class

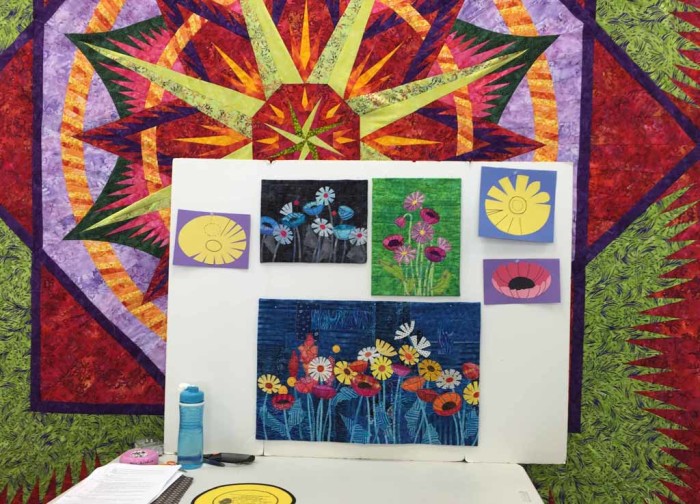
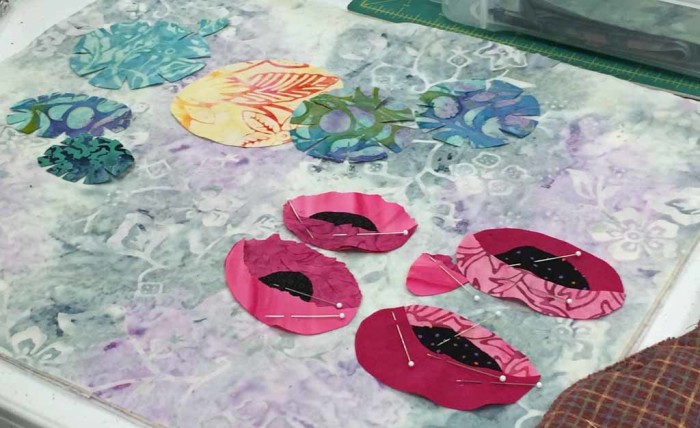
Color was everywhere as I taught Floral Improv for the first time.  Just look at the backdrop I had for my demo board!

Ellen Lindner's Floral Improv class. AdventureQuilter.com

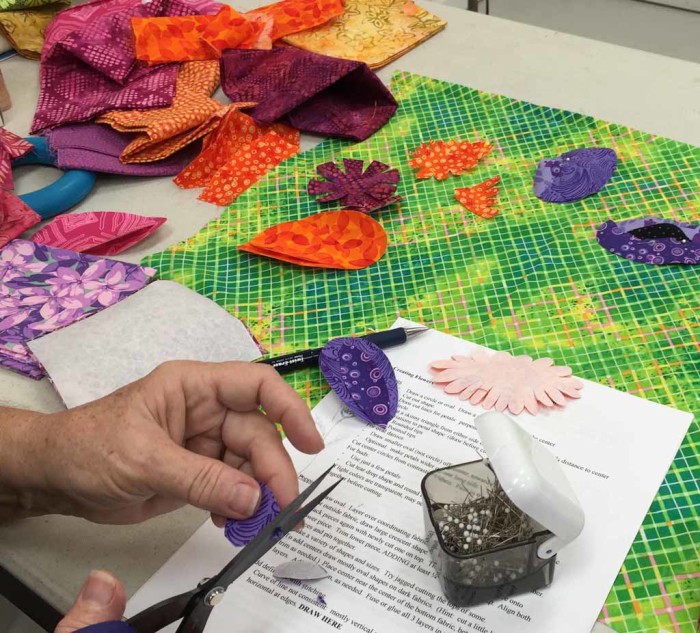
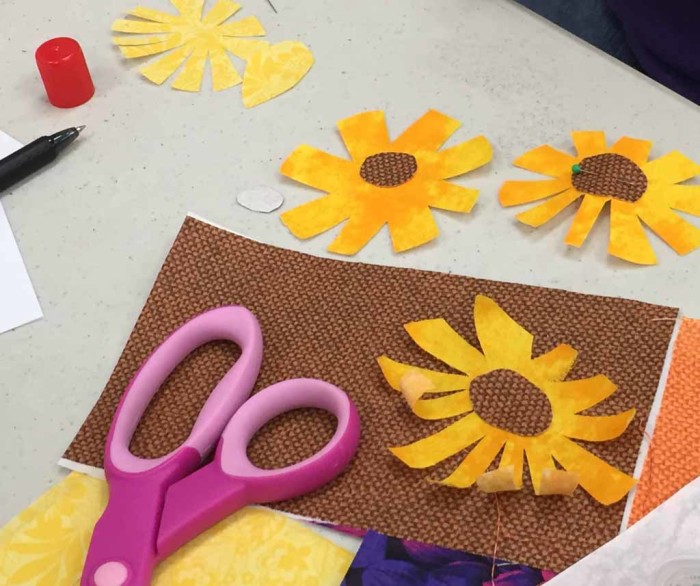
After only a short while students were making free-form daisies and poppies in a myriad of hues.

Ellen Lindner's Floral Improv class. AdventureQuilter.com

Ellen Lindner's Floral Improv class. AdventureQuilter.com

Ellen Lindner's Floral Improv class. AdventureQuilter.com

Ellen Lindner's Floral Improv class. AdventureQuilter.com

Ellen Lindner's Floral Improv class. AdventureQuilter.com

Ellen Lindner's Floral Improv class. AdventureQuilter.com

v

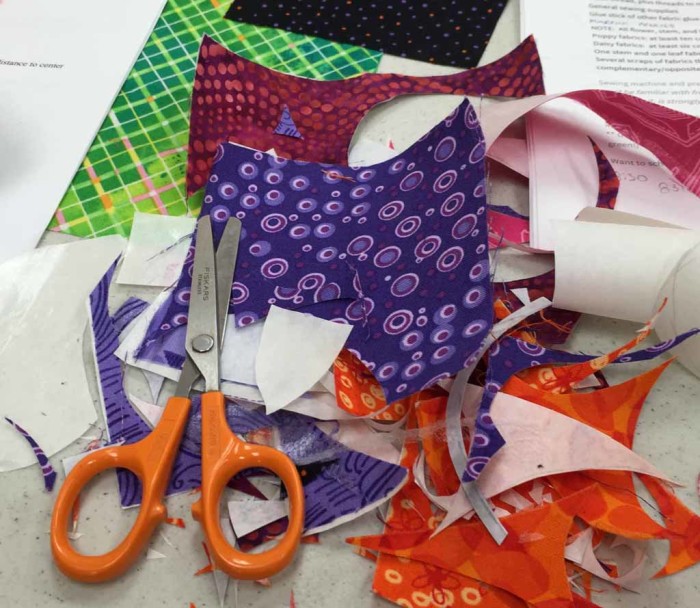
Oh what fun we were having!  Even the scraps were beautiful.

Ellen Lindner's Floral Improv class. AdventureQuilter.com

This was a “guinea pig” class.  The students got to participate at a greatly reduced price (with the funds going to the shop owner who provided the space and promoted it,) and I got their feedback in return.  They were great about that, and I did identify a few things that could be improved.

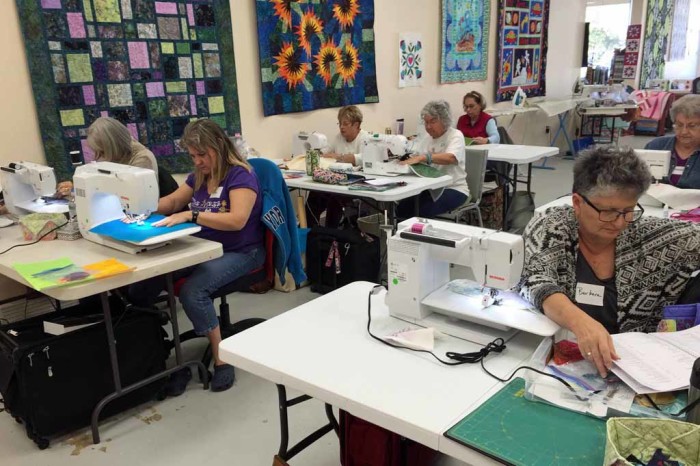
Like the sweat shop scene below.  Everyone quilted their backgrounds as part of the class.  We collectively decided this could be done as part of the class prep, freeing up about 30 minutes for more pertinent activities.

Ellen Lindner's Floral Improv class. AdventureQuilter.com

Great input and great fun.  Thanks to my guinea pigs!

Watch for the next post in which I’ll show you my students’ fabulous results.

Ellen Lindner
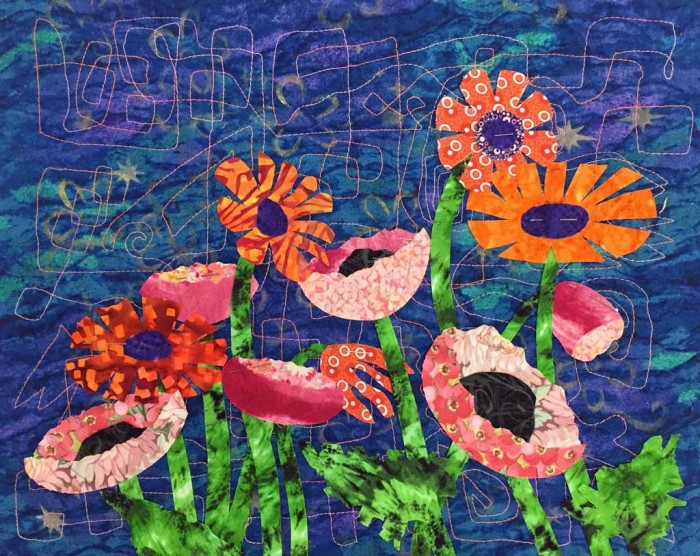
You may also enjoy:
grow-with-the-flow-debut-class-a-hit


0

A Class with Pat Pauly

You know all the improvisational piecing I’ve been doing lately?  It’s all Pat Pauly’s fault.  When I saw her demonstrate it on Quilting Arts TV, I jumped in and tried it.  Plus, there were several other segments featuring Pat which included a variety of design and creativity exercises.  These really intrigued me and I tried a few of them.  So, when I learned that Pat would be teaching classes about 3 hours from my home, I decided to hit the road and take a class with her.

The class was called “A Dozen Ways:  Designs for Art Quilts.”  The idea was to show us ideas for jump starting quilt designs.  As you might imagine, the pace was VERY quick in order to cover so much material.

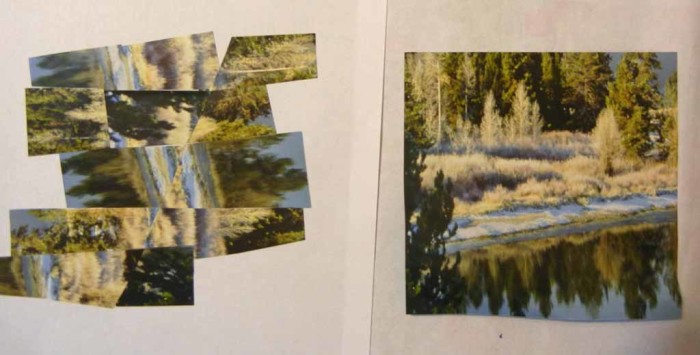
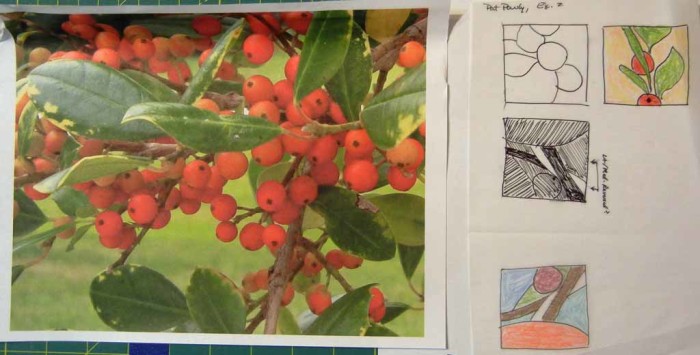
Our first assignment was to cut up a photo and rearrange it.  Here’s mine, before and after.  (Of course, the after would need to be tweaked to square it up.)

Artistic exercises in a class with Pat Pauly. Ellen Lindner, AdventureQuilter.com/blog


Next, we made a small 1″ square opening in a piece of paper.  We used this window to audition different compositions within the pictures we had brought.  This was mine.  There are definitely some great little compositions in this photo, although I think only one of mine was viable.  (Did I mention we were moving very quickly?)

Artistic exercises in a class with Pat Pauly. Ellen Lindner, AdventureQuilter.com/blog


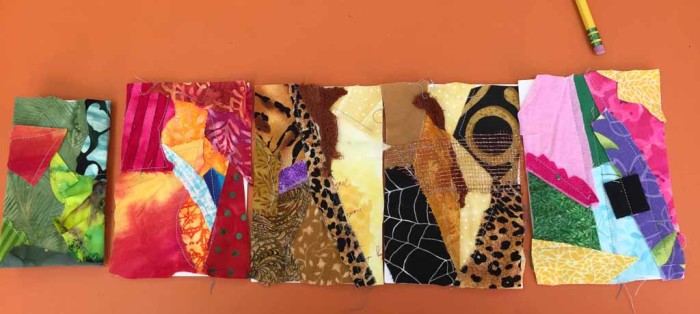
At one point she had us sewing on index cards.  We were supposed to just pull scraps out of our bags and stitch them down with no thinking.  My first one is on the right, and I followed the instructions exactly.  But, gee it was ugly.  I decided a little thinking was in order!  At least I could pay attention to colors.

Artistic exercises in a class with Pat Pauly. Ellen Lindner, AdventureQuilter.com/blog

So, I made the next 4, and liked them better.  Pat’s idea is that these can serve as springboards for larger compositions.  And, if the fabric is patterned with a big circle, the large composition will also need a circle.

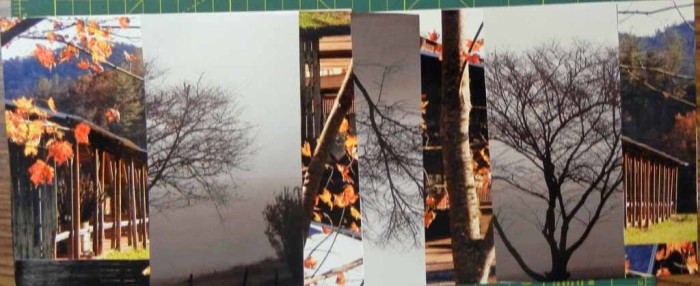
I kinda liked this next exercise.  We were to select two complimentary images (from calendars we had brought,) cut them up and turn them into two coordinating pieces.  The two pieces should stand alone or also look good butted up next to one another.

Artistic exercises in a class with Pat Pauly. Ellen Lindner, AdventureQuilter.com/blog

These photos were taken by Richard Jensen.  I selected them because they both featured trees, but they were different in the amount of foliage, weather, and vantage point.

This combo/dyptich idea has been rattling around in my brain a little.  I don’t intend to make this into a quilt, but I like the rather poetic marriage of two subjects like this.

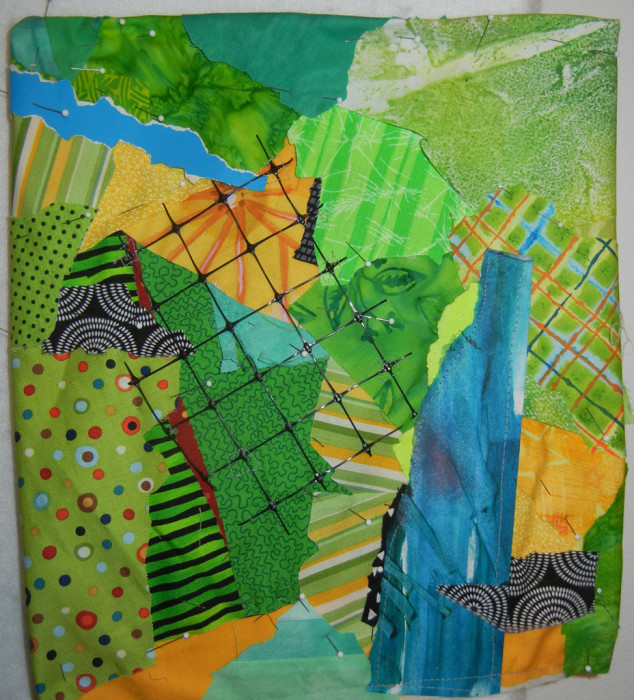
At the end of the day, we quickly created a slightly larger collage.  This time she told us we “could think a little.”  This is what I came up with.  I didn’t really have scraps large enough to create an effective background.  But, I like the color palette.  The scale is off, but with larger blue shapes (and lots of tweaking) this might turn into something decent.

Artistic exercises in a class with Pat Pauly. Ellen Lindner, AdventureQuilter.com/blog

Or not.  It doesn’t have to become anything!  The time and thought I spent creating it enhanced both my artistic skill and my creativity.  That’s time well spent!  And the whole day fit that description.  It was a very good class.

Have you taken any good open-ended classes like this?  I’d love to hear about them.

Ellen Lindner
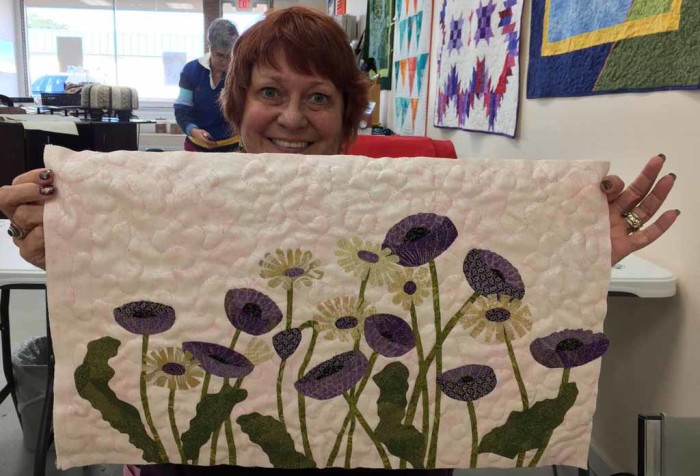
 

0

Floral Improv Inaugural Class Scheduled

If you live near Melbourne, FL, you can get in on a really great deal on my new Floral Improv class.  The cost is only $15 because participants will be asked to give me feedback to help me fine tune the class.  Here are the details, along with sample images.

Floral Improv

Class sample for Ellen Lindner's "Floral Improv." AdventureQuilter.com


Want to enhance your artistic skill while making a quick project?  This class will accomplish both.  First, you’ll learn how to make a variety of flowers with no patterns.  After quilting your background, you’ll be ready to create your composition.  With Ellen’s pointers on design you’ll be guaranteed to make a masterpiece.  Finally, you’ll learn a quick technique for facing and finishing your quilt with NO hand sewing!

Your class project will measure about 11″ x 14″ and can be either vertical or horizontal.

Supply List

Class sample for Ellen Lindner's "Floral Improv." AdventureQuilter.com

Boutique 4 Quilters
2945 West New Haven Ave, West Melbourne, FL 32904

Saturday, January 23, 2016

10:00 a.m. – 4:00 p.m.  (with a 30 minute lunch break)

Sign up here

Hope to see you in class!
Ellen Lindner
0