Tag Archives | Experimenting/Arting

Suzanne Sanger’s Work

Back in October, I wrote about creating torn paper collages in order to loosen up and to work more abstractly.  Like this:

Original photo
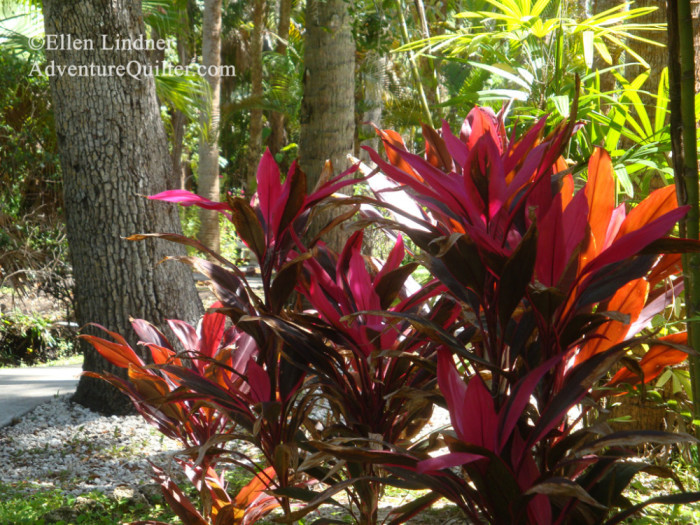
Ti Plants inspiration photo. Ellen Lindner, AdventureQuilter.com/blog

Torn paper collage
Because the paper is torn, you can’t be too accurate, so you
HAVE to focus on the largest shapes.
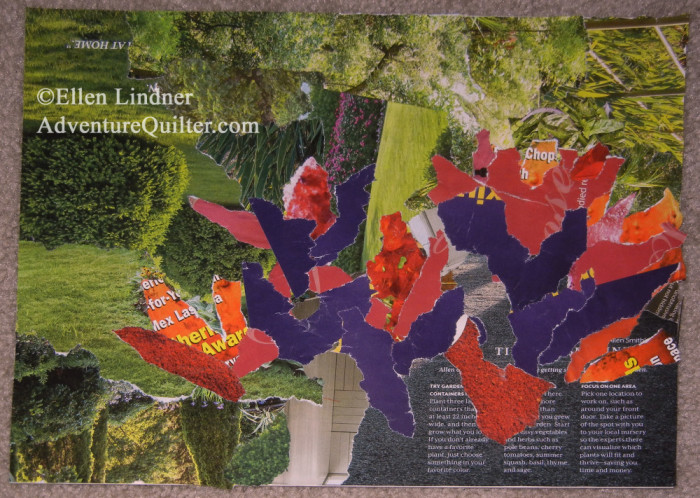
Ti plants torn paper collage. Ellen Lindner, AdventureQuilter.com/blog

The fabric interpretation, Ti Party.
Ti Party, an art quilt by Ellen Lindner. AdventureQuilter.comOne of my readers, Suzanne Sanger, decided to give it a try and was kind enough to share her results with me (and with you.)

Her original photo, taken in Bermuda
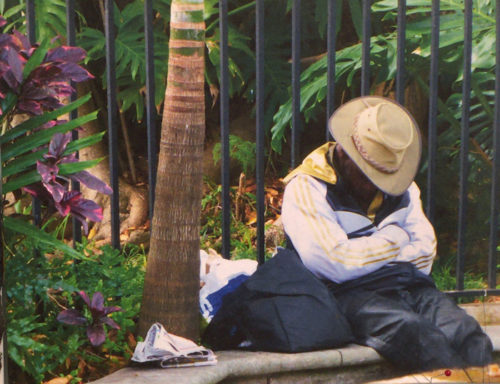
Suzanne Sanger's Work. Ellen Lindner, AdventureQuilter.com/blog
The paper collage, with part of the original photo overlapping.
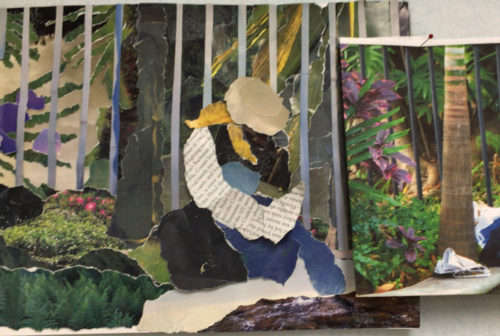
Suzanne Sanger's Work. Ellen Lindner, AdventureQuilter.com/blog
And, her final quilt, called Dozing in Bermuda.
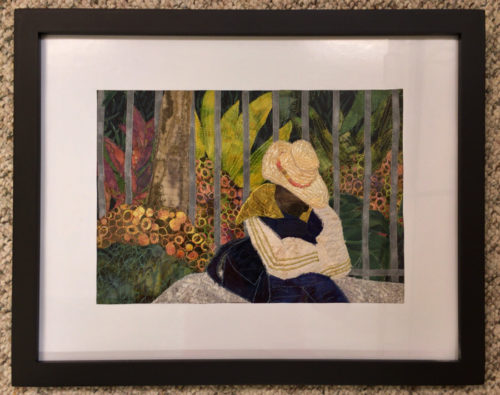
Suzanne Sanger's Work. Ellen Lindner, AdventureQuilter.com/blog

I think it’s great.  And don’t you love the way she’s matted and framed it?

Suzanne says, “I want to thank you for inspiring me! Like you, I’ve been challenging myself to work more abstractly, and have dabbled with a range from just barely to totally non representational. Your blog post from last October about torn paper collage sent me right into the studio to tear up the only magazine I had in order to recreate a photo I took in Bermuda a few years ago. Then I did my semi-annual house switch, life intervened, I took a great abstraction class from Lisa Call, all the while leaving my torn paper start hanging on my design wall. Now I’ve switched back to my summer house, and needed a project to get myself back into the studio. Ah hah! It was time to return to my dozing man. He’s a bit more realistic than I would like, but still a move in the right direction. I LOVE this process! Hmmm. I guess I’ll have to subscribe to an image heavy magazine again, pain though that is what with changing mailing addresses twice a year. LOL. Anyway, thanks for a great idea! You always give me new things to think about.”

I love this!  So much so that it makes me want to reach for my magazines again, too. It’s a FUN way to work!

Ellen Lindner


3

“For My Own Amusement”

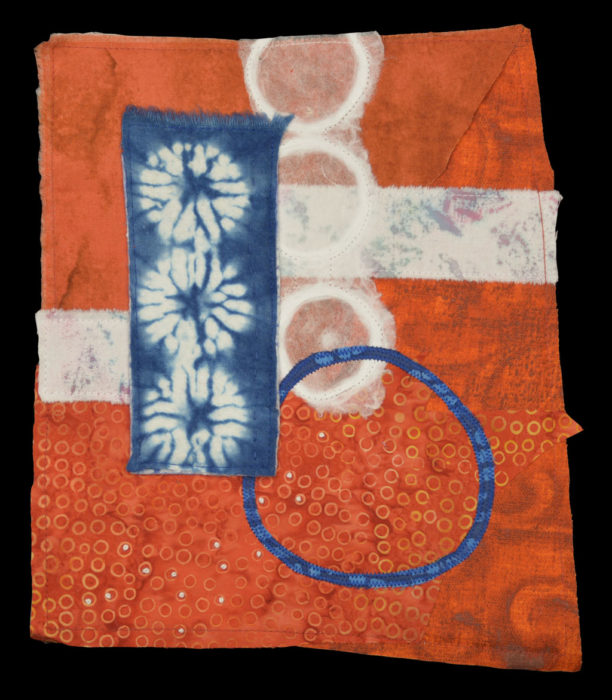
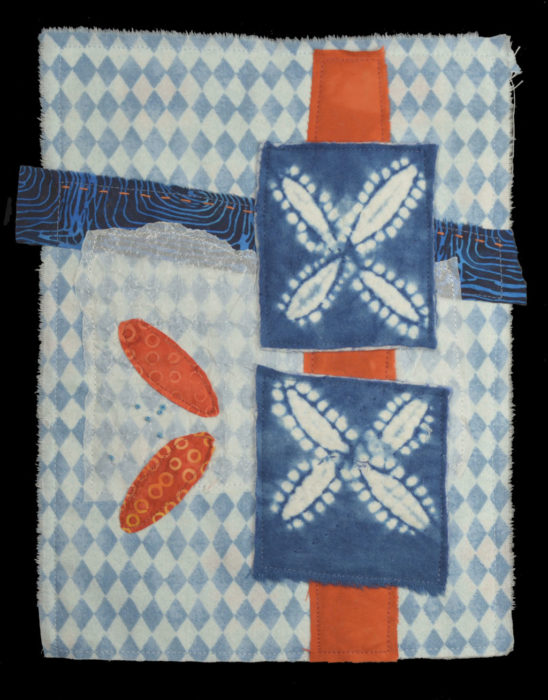
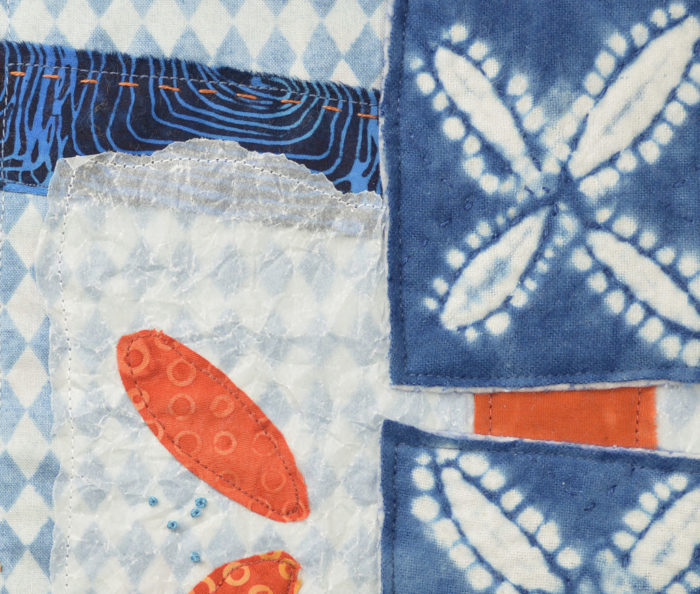
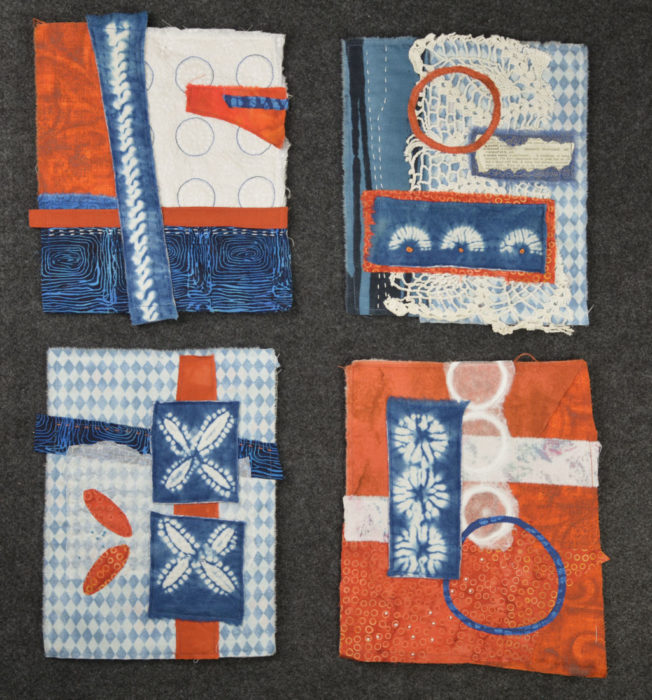
I’ve finished up the series of four pieces made from a stitched indigo sampler.  See numbers one and two here.  And numbers three and four below.

"For My Own Amusement." Ellen Lindner, AdventureQuilter.com/blog

"For My Own Amusement." Ellen Lindner, AdventureQuilter.com/blog

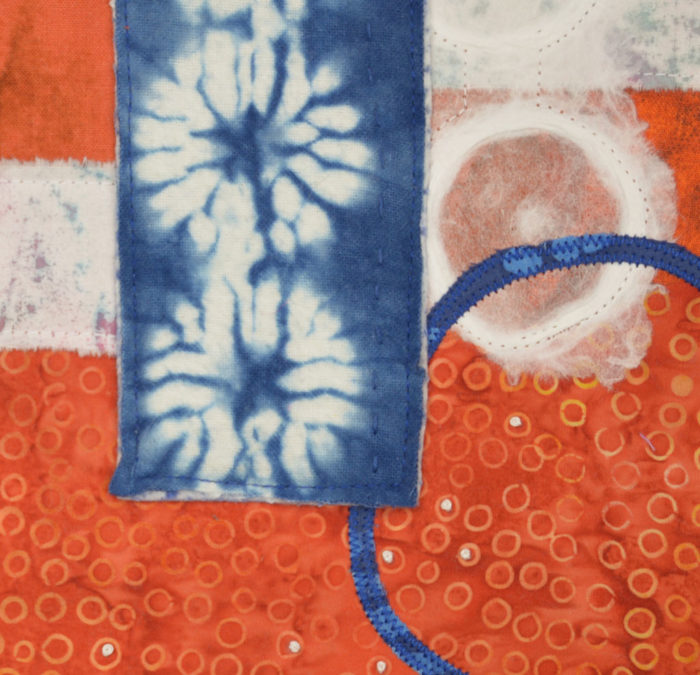
I love the art paper with the circles, above.

"For My Own Amusement." Ellen Lindner, AdventureQuilter.com/blog

"For My Own Amusement." Ellen Lindner, AdventureQuilter.com/blog

Piece #2 includes a bit of a dictionary page with the word “amusement” defined.  Since I was doing these just for fun, I thought I could use that word as part of my title.  It came to me very quickly:
“For My Own Amusement, #1-4.”

I like the way the four pieces look together.  What do you think?

"For My Own Amusement." Ellen Lindner, AdventureQuilter.com/blog

Ellen Lindner

14

What Next?

After successfully cutting up a UFO (unfinished object) and using it as the starting point for some little collages, I was anxious to do it again.  The question was “Which UFO do I use?”  Because, well, I have more than one.

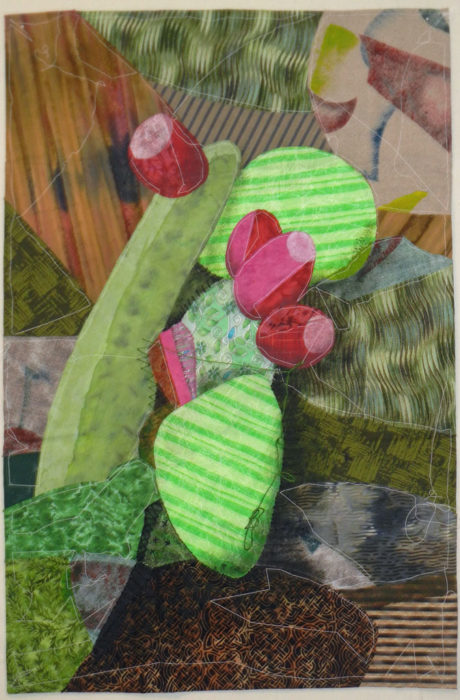
Maybe I could do something with this partially constructed prickly pear.

What Next? Ellen Lindner, AdventureQuilter.com/blog

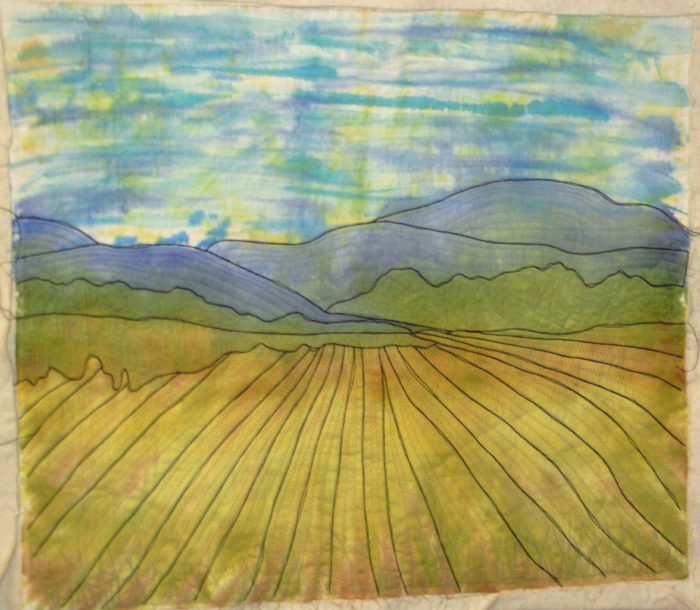
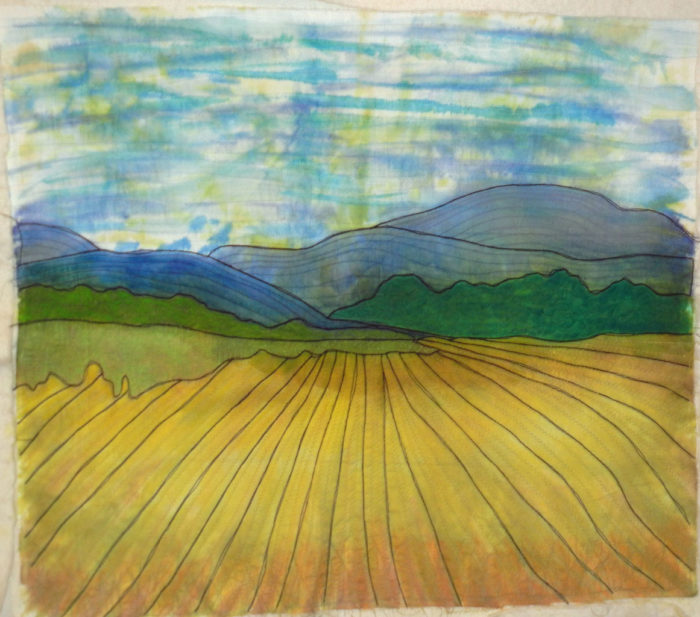
Or with this painted mountain scene.

What Next? Ellen Lindner, AdventureQuilter.com/blog

This one actually intrigued me enough to experiment it with it a bit more.  I used Neocolor wax pastels and Inktense blocks to kick up the color saturation.

What Next? Ellen Lindner, AdventureQuilter.com/blog

 (Boy, the Inktense has WAY more pigment than the wax pastels.)

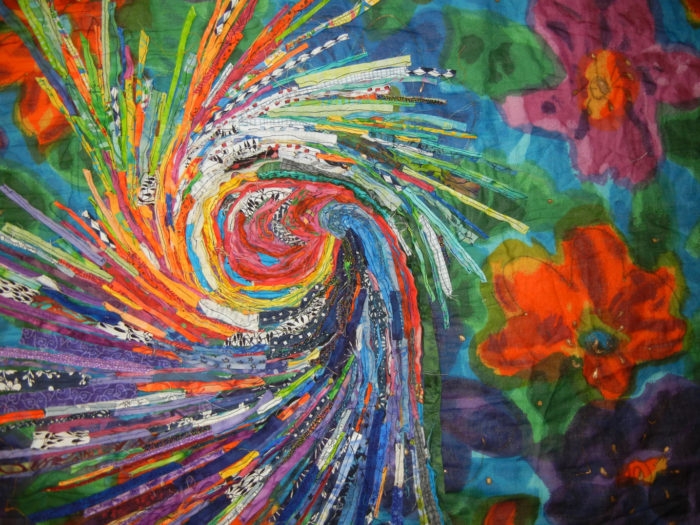
Or, maybe I should do something with this colorful swirly collage.  It’s certainly bright and appealing.

What Next? Ellen Lindner, AdventureQuilter.com/blog

(It’s made from sewing on raw edged strips.  The strips are the byproduct from cutting fat quarters.  My local quilt shop sells bags of them.)

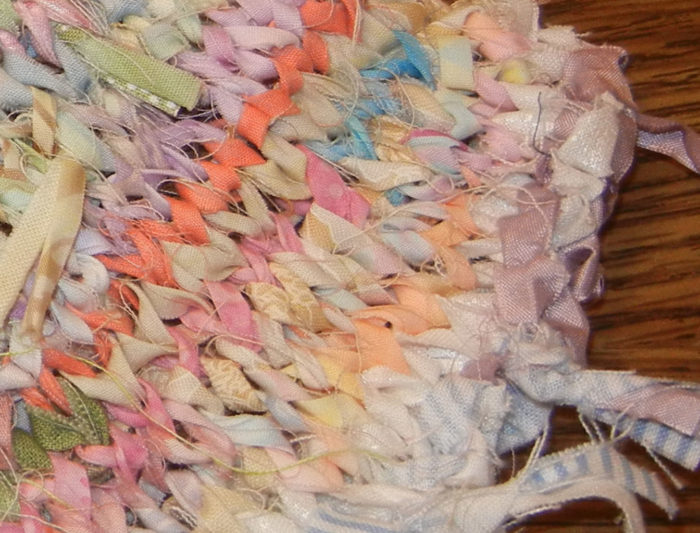
Or, here’s another use of those strips.  Knitting!

What Next? Ellen Lindner, AdventureQuilter.com/blog

A closer look:

What Next? Ellen Lindner, AdventureQuilter.com/blog

As you can see, I have no shortage of unusual UFOs!  Any one of them had lots of possibilities.

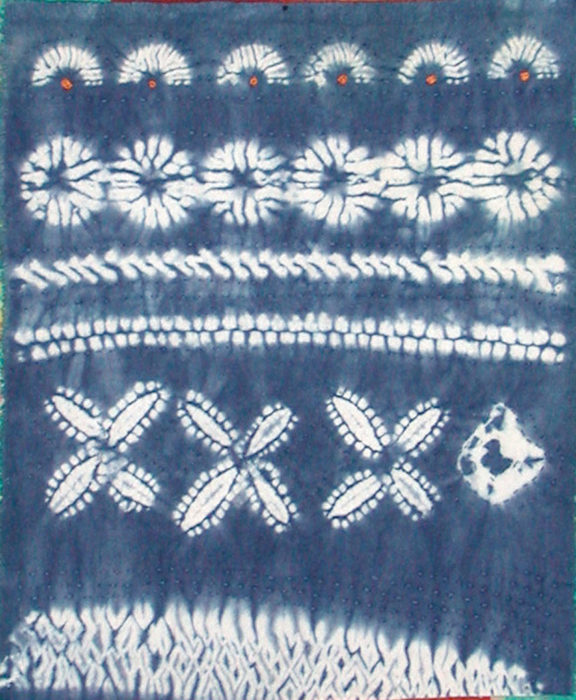
Finally, however, I decided to work with this indigo sampler.

What Next? Ellen Lindner, AdventureQuilter.com/blog

It was given to me years ago, by the gal who  made it in a class.  Isn’t it wonderful?  All the patterns were created with stitching.  Once stitched, these tight spots resisted the dye, creating very interesting effects.

I used this piece once before, so it was was already hand stitched.  (That first quilt was a dud, so I removed this part and saved it.)

Stay tuned to see what I do with this.

Ellen Lindner
P.S. Now I have a reason for saving UFOs!  Have you got any weird ones?
P.P.S.  I’ve lost my enthusiasm for the top two pieces: the prickly pear and the mountain scene.  If you’d like one of them, just let me know and I’ll send it to you, (if you live in the US.)  If you want one, I hope you’ll DO something to it!

8

Revamping Artificial Flowers

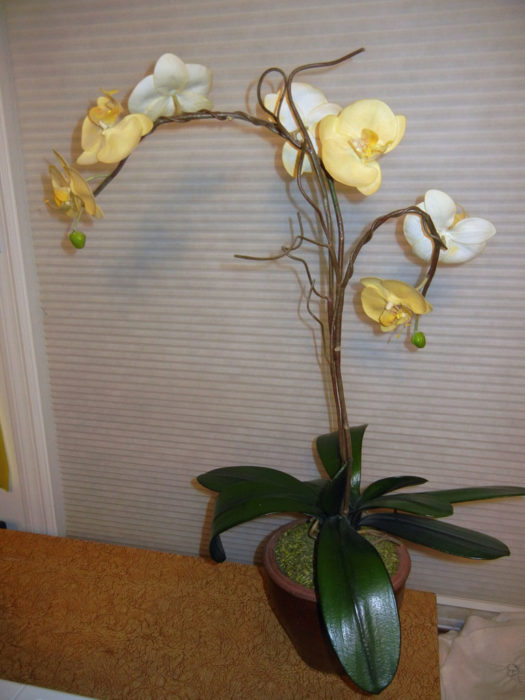
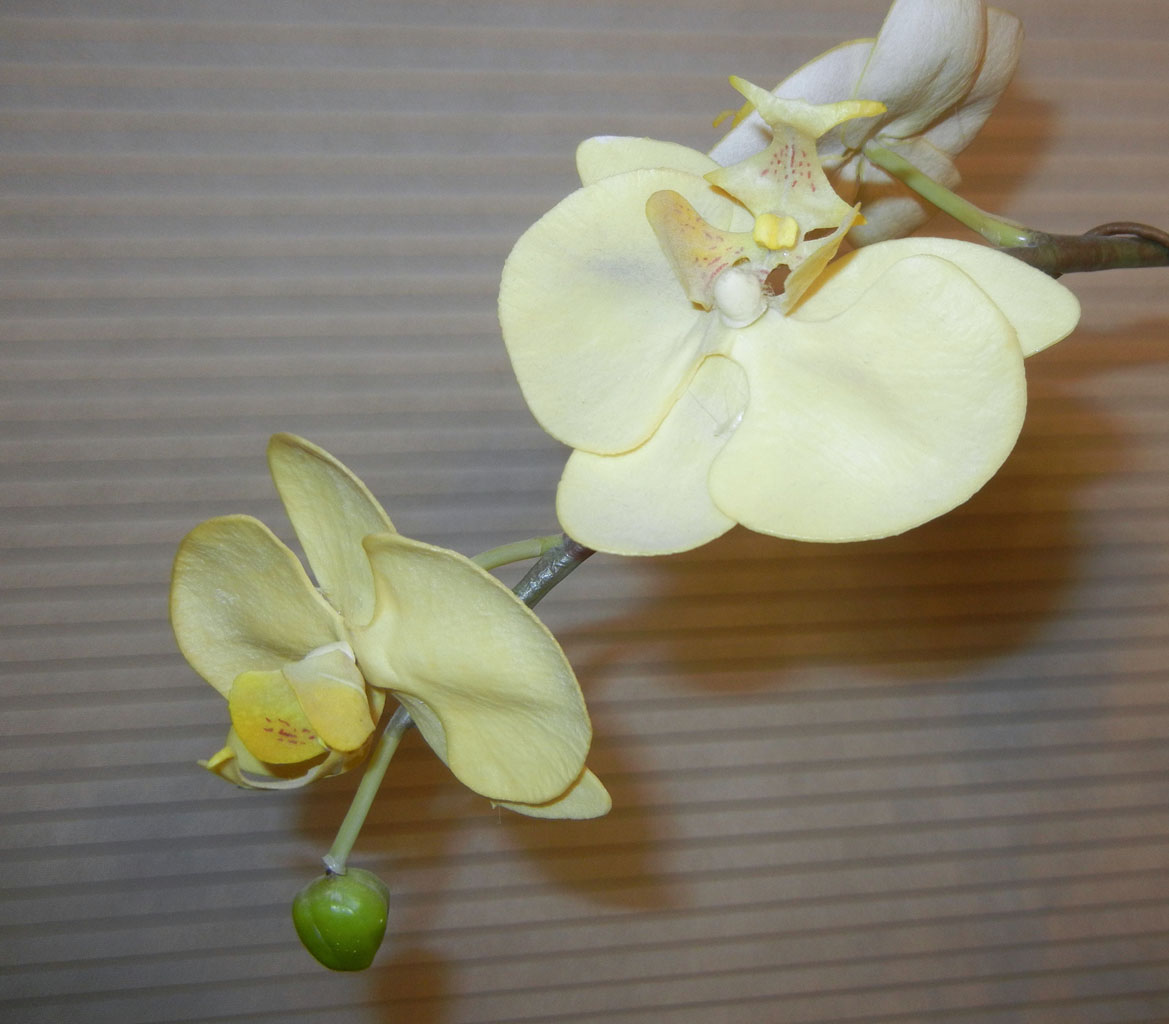
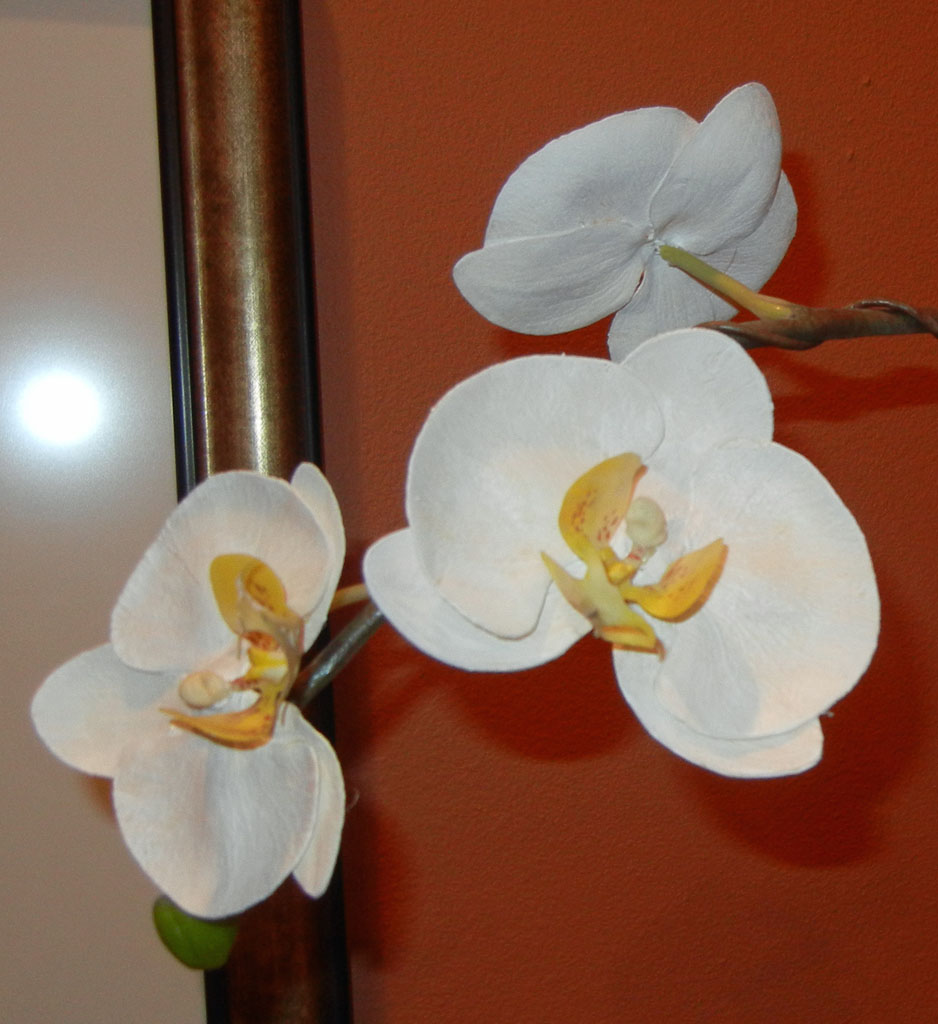
I have a white “silk” orchid that was very realistic looking when I purchased it several years ago.  Over time, however, it has yellowed badly.

Revamping Artificial Flowers. Ellen Lindner, AdventureQuilter.com/blog

Revamping Artificial Flowers. Ellen Lindner, AdventureQuilter.com/blog

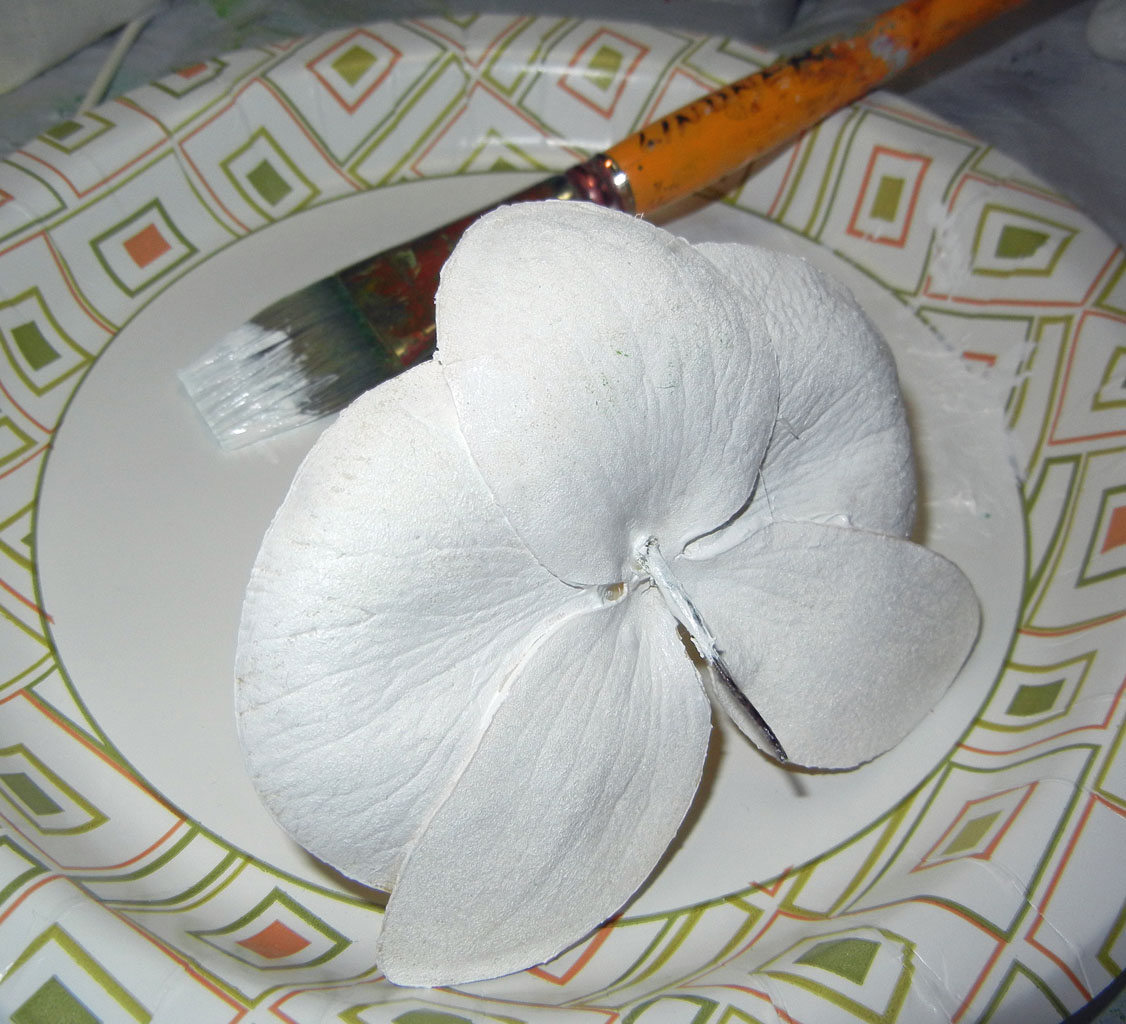
I considered several ideas about how to best revamp these pretty petals.  Eventually, I decided just to paint them, with ordinary acrylic paint.

Revamping Artificial Flowers. Ellen Lindner, AdventureQuilter.com/blog

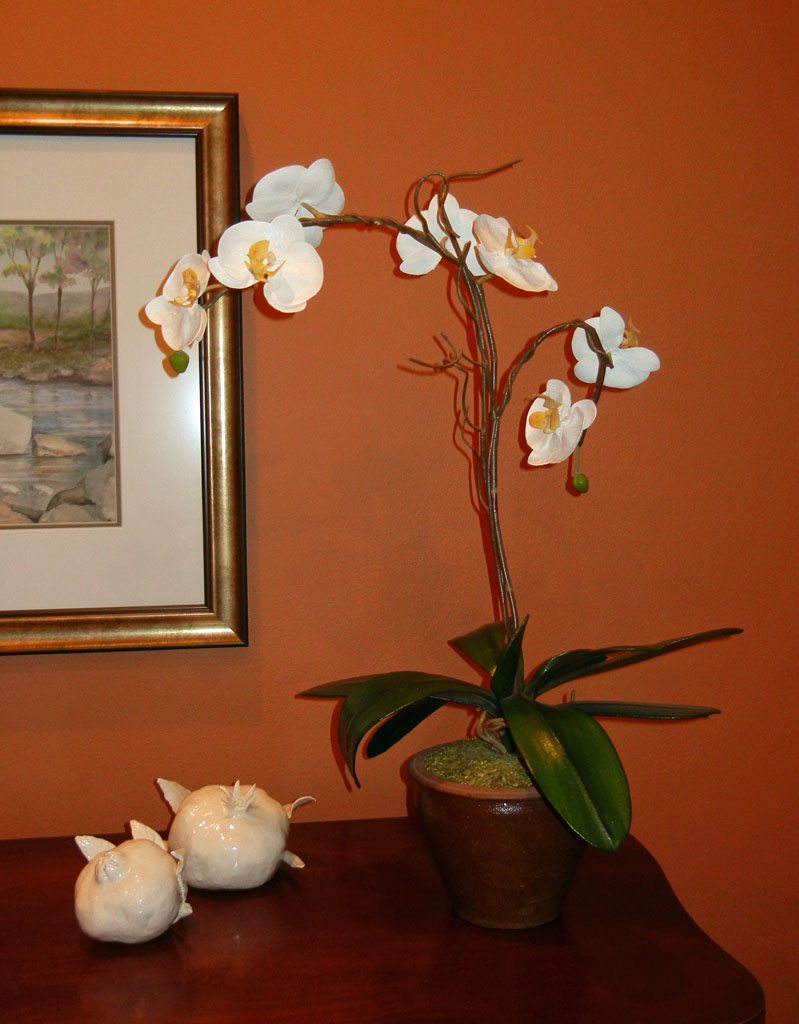
This worked well.  I left the fiddly centers yellow and was happy with the results.

Revamping Artificial Flowers. Ellen Lindner, AdventureQuilter.com/blog

Revamping Artificial Flowers. Ellen Lindner, AdventureQuilter.com/blog

Not bad, right?  No one’s going to think they’re real, but they’re definitely pretty.

What have you painted lately?

Ellen Lindner
P.S.  What I really wanted to do was to decoupage black and white fabrics onto the petals.  It only took a little experimenting to realize that would be too difficult.  But if I ever create some from scratch?  Who knows.

11

Something Fun

Every so often I like to spend a week or two doing something artistically different.  Maybe with fabric or maybe not.  At these times, I typically pick up a good art book and spend time reading it and working through some of the exercises.  This time, it was Cas  Holmes’ book, Stitch Stories.

Product Details

If you’re not familiar with her work, she does lots of layered collages, with sheer fabrics, hand stitching, paper, and more.  Her pieces have a lovely fragile look to them.  Which made me want to try something similar. I decided to make some small collages.

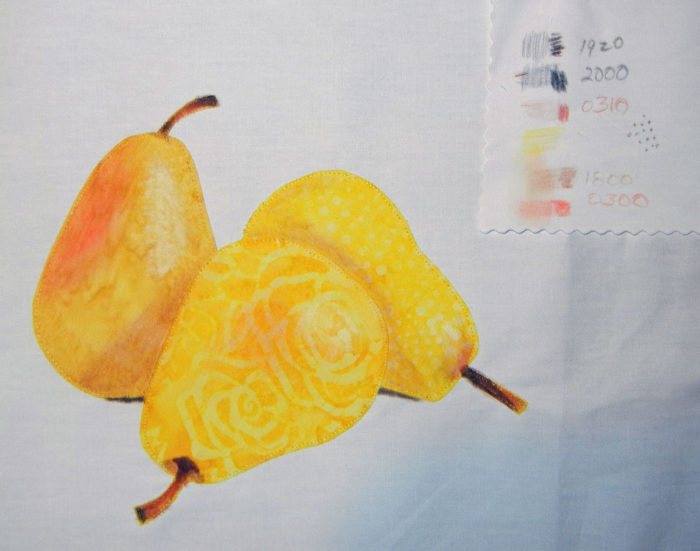
This is where I started.  A friend taught our small group of art quilters how to use Inktense pencils and aloe gel.  She went above and beyond, preparing each of us an appliqued sampler to work on.  Mine had 3 pears, which I colored.

Collage fun. Ellen Lindner, AdventureQuilter.com/blog
You can also see my little color swatch, above, onto which I was recording different colors.

This had been sitting on my work table for several months and I didn’t know what to do with it.  So, I decided I would cut it up and use it as the base for several collages.  Fun already!

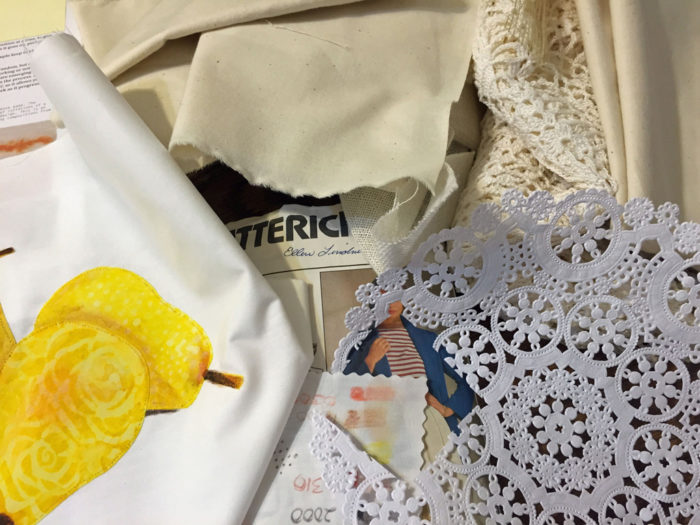
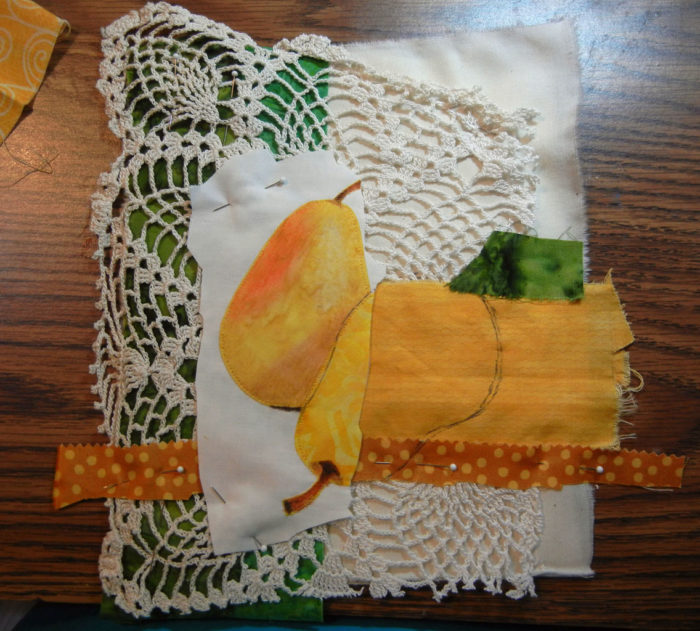
Following Cas’ example of using vintage linens and papers, I gathered my materials.

Collage fun. Ellen Lindner, AdventureQuilter.com/blog

Do you see that cream crochet above?  It’s part of a table cloth, crocheted by my great grandmother.  Thankfully, I have a very practical aunt, who loves art.  When she came across this stained table cloth, she offered it to me, making it clear that I COULD CUT IT UP and use it in my art!  How progressive is that?

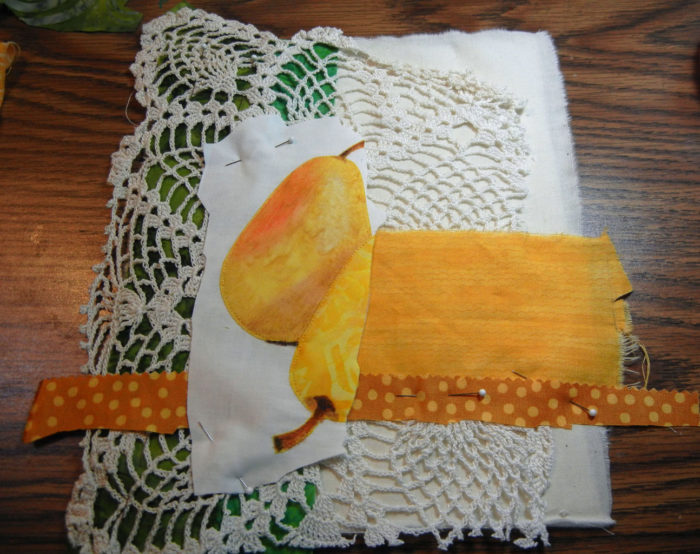
Here’s my first collage, early on.  As you can see, I quickly deviated from a yellow and neutral palette and added green.

Collage fun. Ellen Lindner, AdventureQuilter.com/blog

And here it is, with the second pear drawn on.  I didn’t draw in the third one, since I wanted each collage to have a different number or arrangement of pears.  The drawn outline will be stitched in black.

Collage fun. Ellen Lindner, AdventureQuilter.com/blog

I’m excited about these collages!  I’ll show you more in the next post.

Ellen Lindner

2

Sharpies and Alcohol

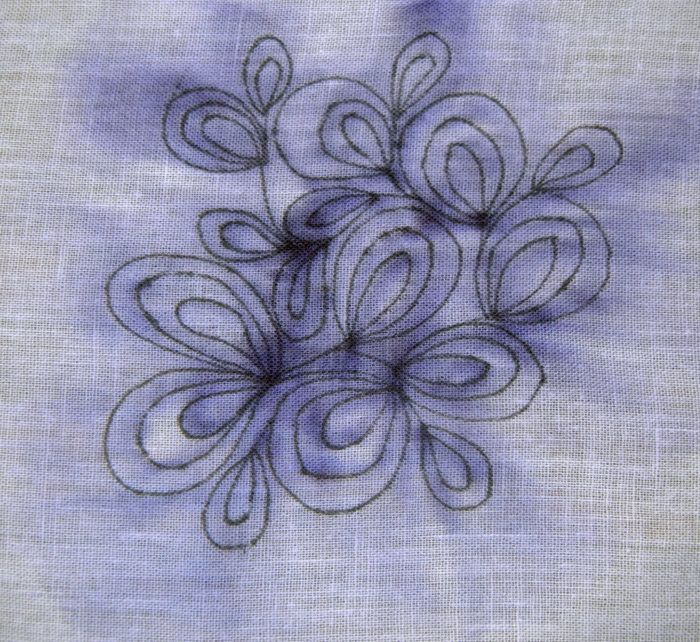
Have you heard about “painting” with Sharpies?  The idea is to draw with a Sharpie on to fabric, and then to apply rubbing alcohol, which makes the color bleed in interesting ways.

Here’s a quick tutorial.

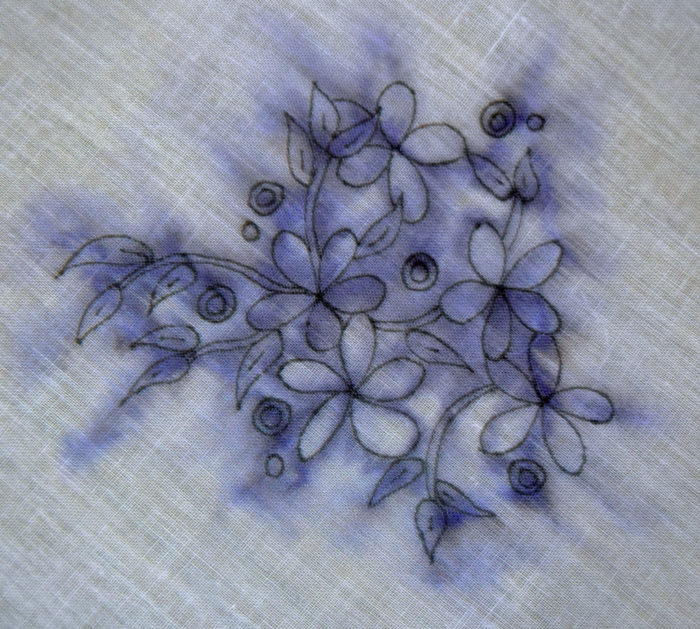
After reading it, I was ready to give it a try.  I used a fine tipped black Sharpie, which bled into purple.

Sharpies and Alcohol. Ellen Lindner, AdventureQuilter.com/blog

Sharpies and Alcohol. Ellen Lindner, AdventureQuilter.com/blog

Pretty cool, huh?

But, if I try this again, I’d like the design to have more white and less purple.  So, either I’d need to use less alcohol or I’d need to draw the design with more open space.

Still, a successful experiment.  (Also quick and fun.)

Ellen Lindner

2

Dirty Dozen Challenges

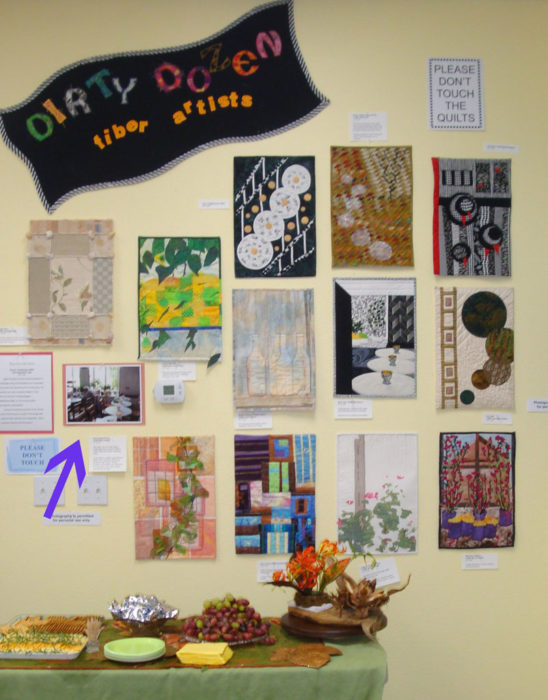
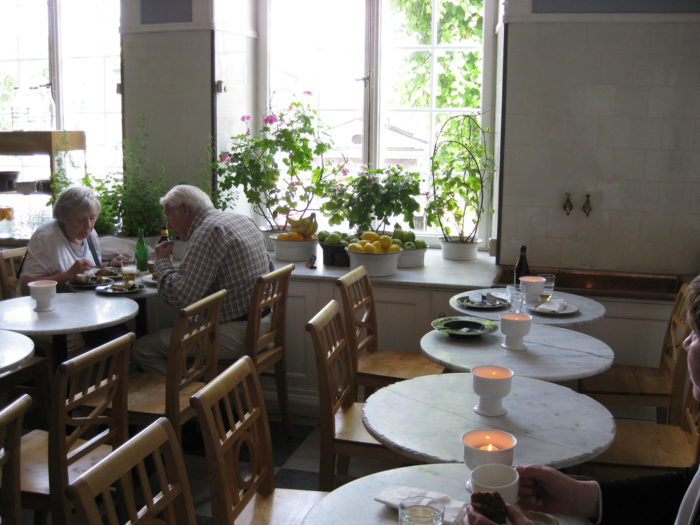
As I mentioned in the last post, my art quilt group, Dirty Dozen Fiber Artists, often has group challenges based on drawing inspiration from a particular photo.  This was the photo we selected for our 2009 challenge.

Group Challenges. Ellen Lindner, AdventureQuilter.com/blogPhoto credit: Martha Wolfe

We decided on a vertical orientation, with measurements of 18″ x 12″.  Here’s the group display.  Very different, right?

Group Challenges. Ellen Lindner, AdventureQuilter.com/blog

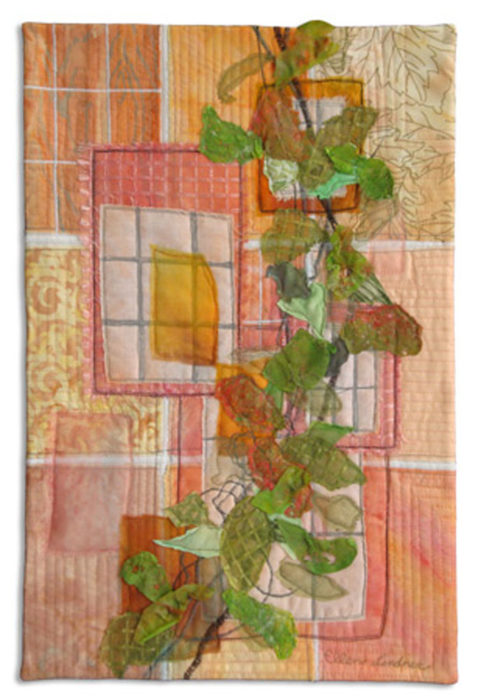
This was my piece, Northern Light.Group Challenges. Ellen Lindner, AdventureQuilter.com/blogI never really cared for this quilt, I think maybe because of the color combination.  Whenever I’m disappointed with a quilt I like to examine it and think about what worked and what didn’t.  These are some things I think I did well:
– Used the soft peach glow of the candles as the predominant color.
–  Mimiced the grid lines of the windows as design elements.
– Created interesting leaves, inspired by the foliage in the windows.

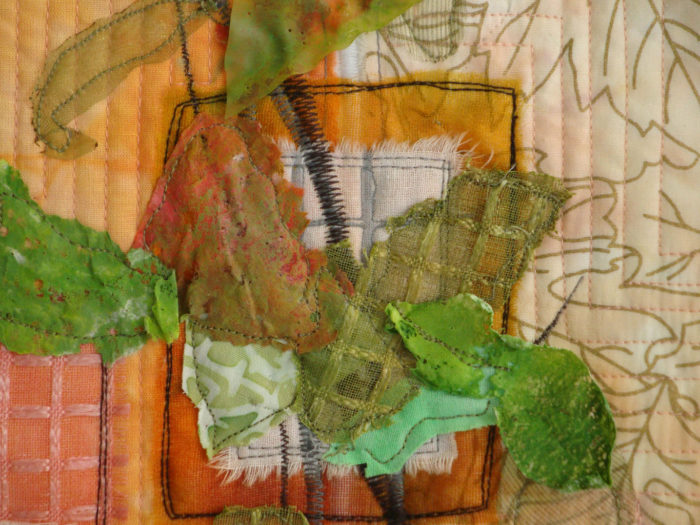
Here are those leaves up close.  Some are stitched sheers.  Others are painted and melted plastics.  I like the way they curl and buckle, lifting away from the quilt surface.  That might be something to try again on a future quilt.

Group Challenges. Ellen Lindner, AdventureQuilter.com/blog

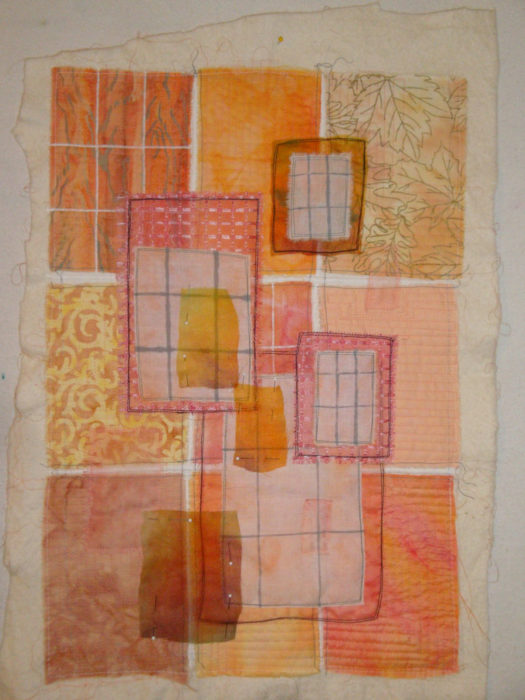
However, I think the combination of peach and yellow-green just doesn’t work.  And maybe the whole foliage thing is a little heavy handed.  To test that theory, check out the in-progress background, below.  I think it was better before I added the leaves.

Group Challenges. Ellen Lindner, AdventureQuilter.com/blog

If I were doing this quilt again, I think I’d keep the background about the same.  Then, I’d add a FEW leaves in maybe a rust color.  NOT green, something sorta monochromatic.

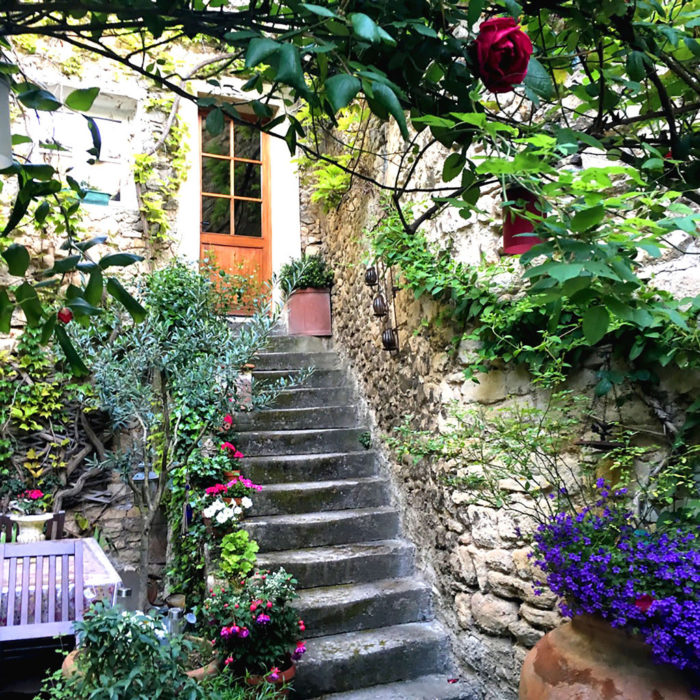
So, remembering to be inspired by the photo and not controlled by it, I’ve started on a new challenge.  This is the inspiration photo.  Photo credit Kathryn Robinson

Group Challenges. Ellen Lindner, AdventureQuilter.com/blog

This photo was taken in southern France.  We selected it  because it has a lot of different components, which gives us many options for working with it.

What would you want to mimic from this photo?  Colors, shapes, foliage, flowers, steps, the door, the bench?  Oh yeah, we’re using a vertical orientation:  36 x 24.  Would that influence your decision?

I can guarantee all the resulting quilts will be very different!  Mine is nearly complete, but I’m not allowed to show it until the March unveiling.  (That’s hard for me!)  Of course, you’ll be the first to see it, after the DDFA gals, that is.

Ellen Lindner

5

A Spoonflower Experiment

Have you ever printed onto fabric from your home printer?  I’ve had good luck with it, but every now and then I want to print something larger.  Like the background for Carefree.  At 51″ high, I needed an online service to handle it for me.  I used Modernyardage.com and was happy with the results.

Carefree, an art quilt by Ellen Lindner. AdventureQuilter.com

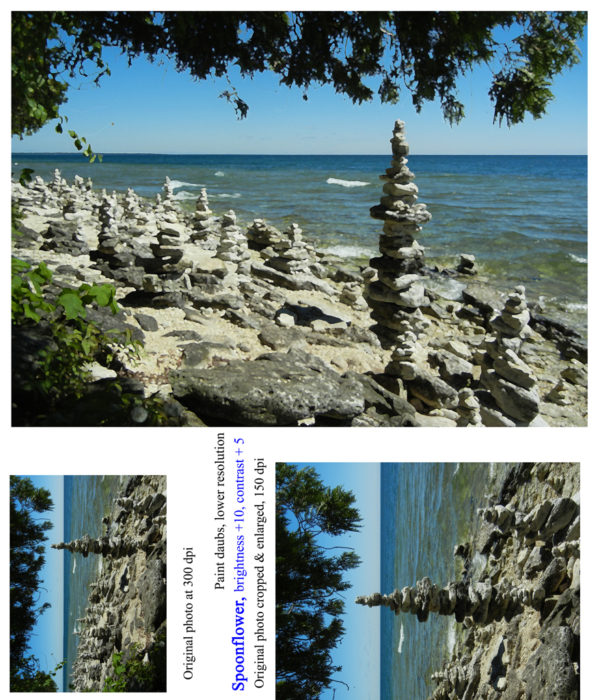
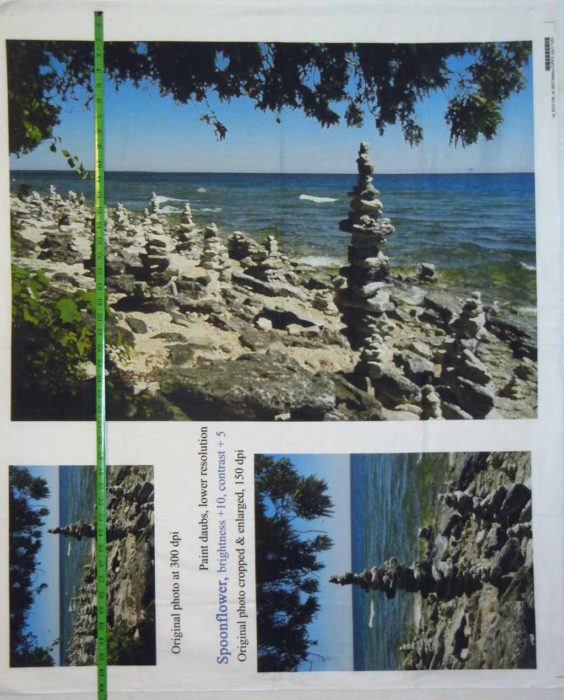
Recently I found myself with a credit at Spoonflower.com, another online printing service.  Since I didn’t have a particular project in mind, I decided to do some experimenting.  I prepared a large file that would cover an entire yard, 45″ wide.  It was a good opportunity to experiment with various sizes, resolutions, and artistic effects.  This is the file which included notations about each image.

Experimenting with online printing. Ellen Lindner, AdventureQuilter.com

And the printed result.

Experimenting with online printing. Ellen Lindner, AdventureQuilter.com

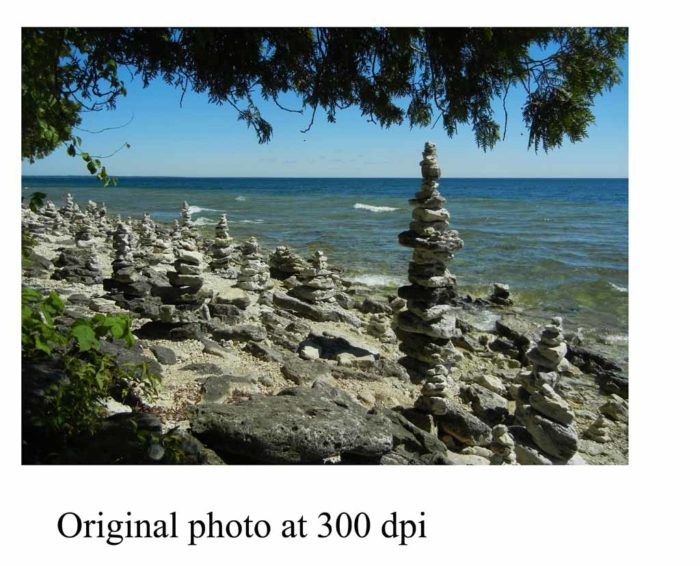
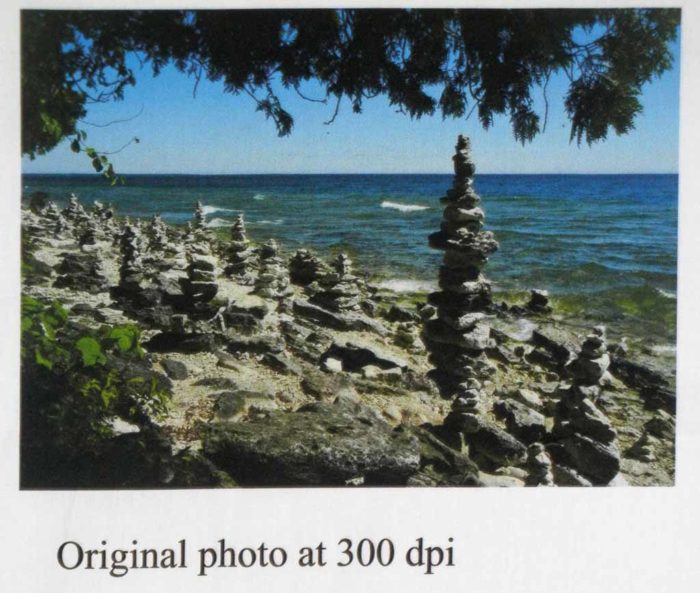
Let’s take a closer look.  These next two images are exactly the same, except the second one has been printed on fabric.Experimenting with online printing. Ellen Lindner, AdventureQuilter.com

Experimenting with online printing. Ellen Lindner, AdventureQuilter.com

Actually, I think the fabric version looks better in person.

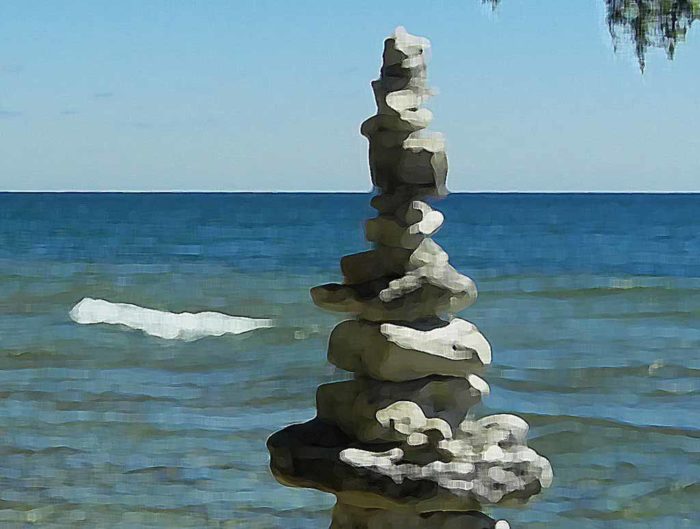
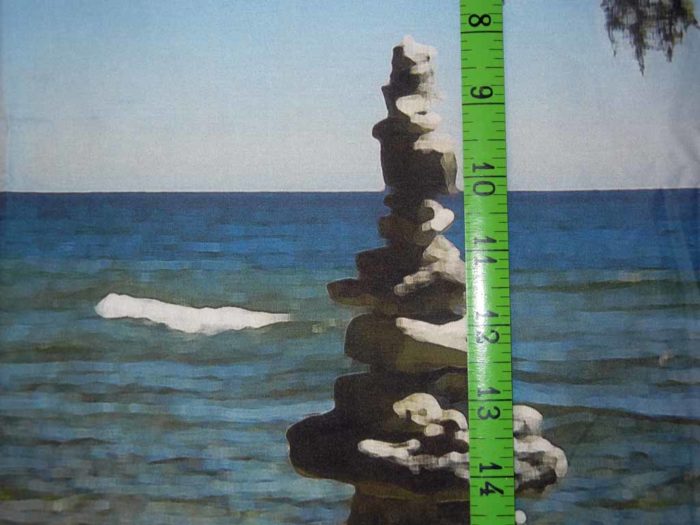
Here’s a detail shot of the largest image, on which I had used the paint daubs artistic effect.  (PSE)

Experimenting with online printing. Ellen Lindner, AdventureQuilter.com

And the printed result.  It definitely lost some sharpness, but I think it would be useful for most projects.

Experimenting with online printing. Ellen Lindner, AdventureQuilter.com

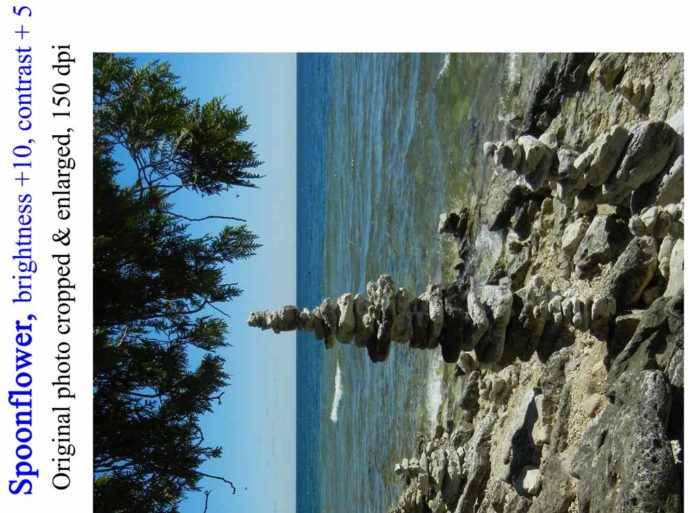
And the cropped sideways image.

Experimenting with online printing. Ellen Lindner, AdventureQuilter.com

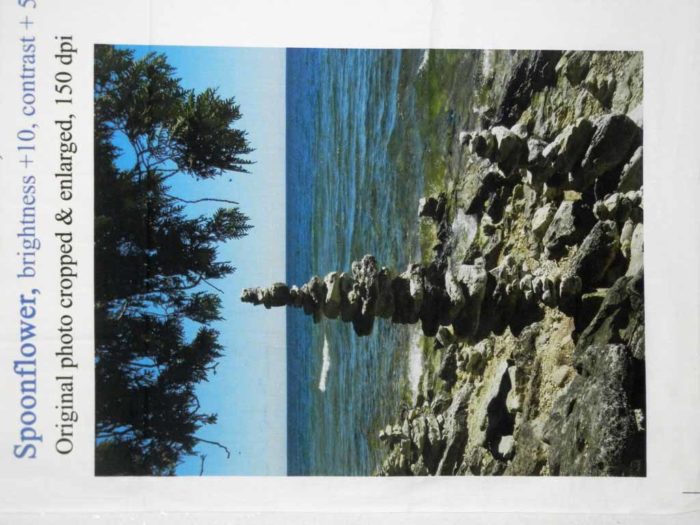
With its printed counterpart.

Experimenting with online printing. Ellen Lindner, AdventureQuilter.com

All in all, I’m pretty happy with these.  Still, I think I’d be most inclined to use such printing services for things that didn’t have to be exact.  Things that were already vintage or could look somewhat distressed.

FYI:  I used the least expensive fabric ($17/yard), and the hand of the fabric is unchanged.

What do you think?  Would you ever use something like this in your art?

Ellen Lindner
P.S. You can read more about how I made Carefree on my old blog.  Check out December 2014.

8

Exploration and Detours

I guess it’s a good thing making a quilt takes a while because I find that I often get new ideas while implementing the previous ones.  Such has been the case with my current abstract quilt.

I left a large orange/rust shape in the top left corner, planning to balance it with something large and orange in the lower right.  Maybe something like this.

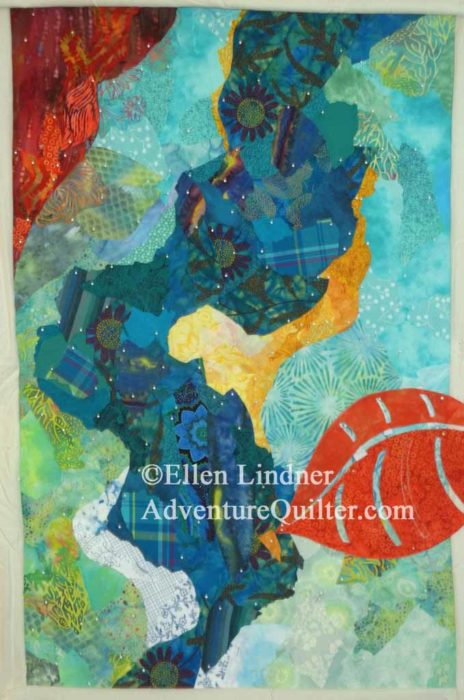
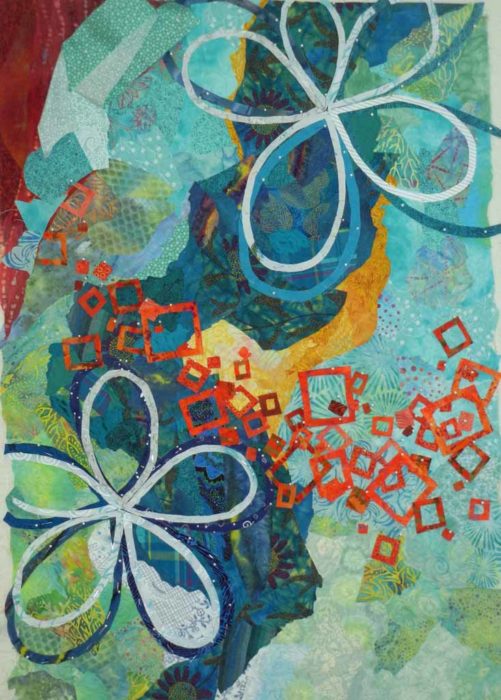
An abstract art quilt under way, by Ellen Lindner, AdventureQuilter.com/blog

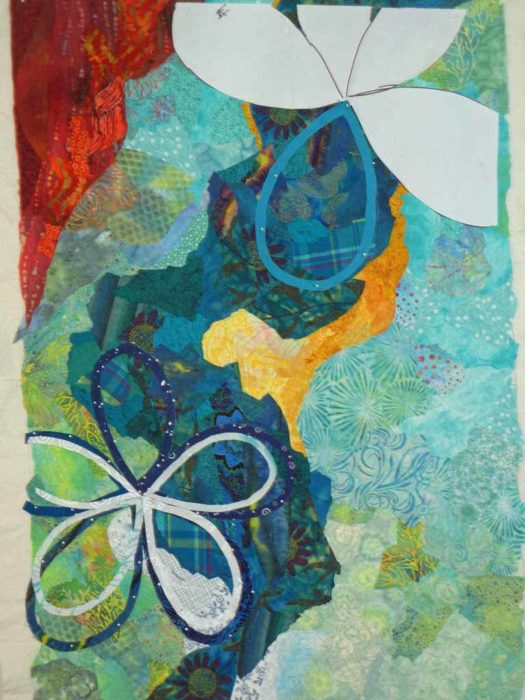
But first, I wanted to get my flowers into place.  I had planned to use one large open flower, but that turned into two.  In the photo below, I was putting them in place.

Explorations and Detours. Ellen Lindner, AdventureQuilter.com/blog

They blend in with the background more than I had hoped, so I’ll add some orange outline stitching, or something along those lines.

While working on the flowers, however, I had time to think about that big orange shape and I thought I could do something more interesting.

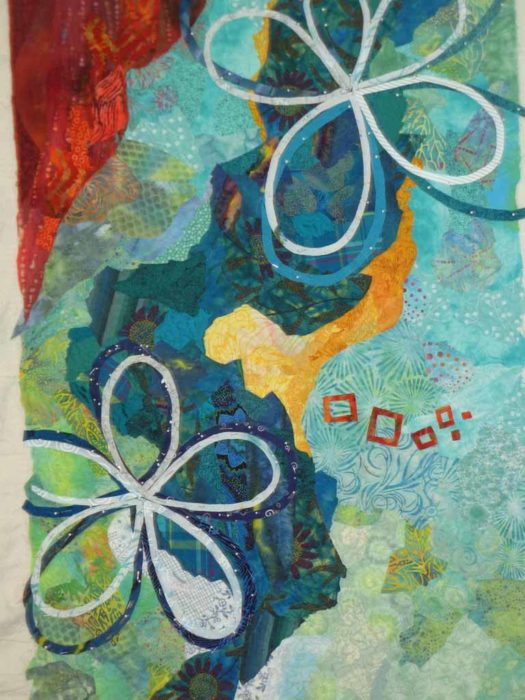
I’d been noticing that I really liked paintings with lots of tiny squiggles and shapes in them.  I wondered how I could get that effect with fabric.  I decided I could just cut shapes and sprinkle them about.  So, I tried a few to get the effect.

Explorations and Detours. Ellen Lindner, AdventureQuilter.com/blog

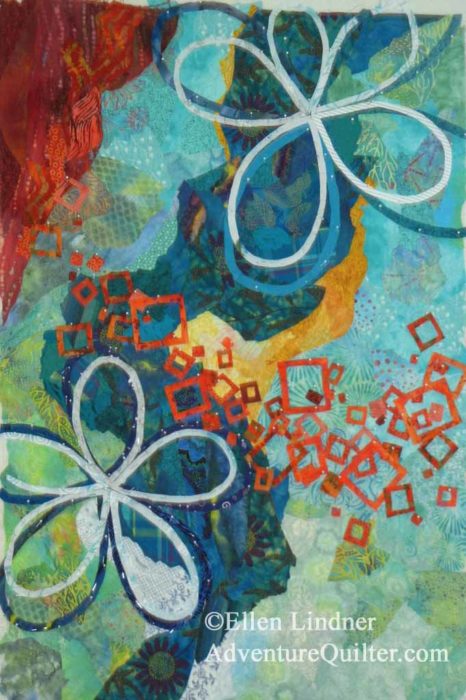
I really liked that, so I went for broke.

Explorations and Detours. Ellen Lindner, AdventureQuilter.com/blog

Oh yes!  I love it!

But, this definitely doesn’t balance the big corner blob.  I’ll have to do something about that.

Will I need to completely remove that big rust shape, or can I just shrink it? I auditioned the latter in this next photo.

Explorations and Detours. Ellen Lindner, AdventureQuilter.com/blog

I’m not sure yet.  But, I’m having fun exploring options and taking detours!

Ellen Lindner
16

Fabric Twig

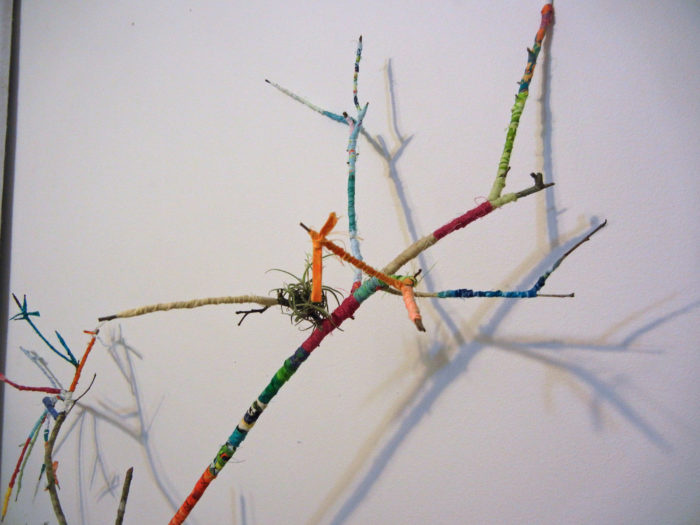
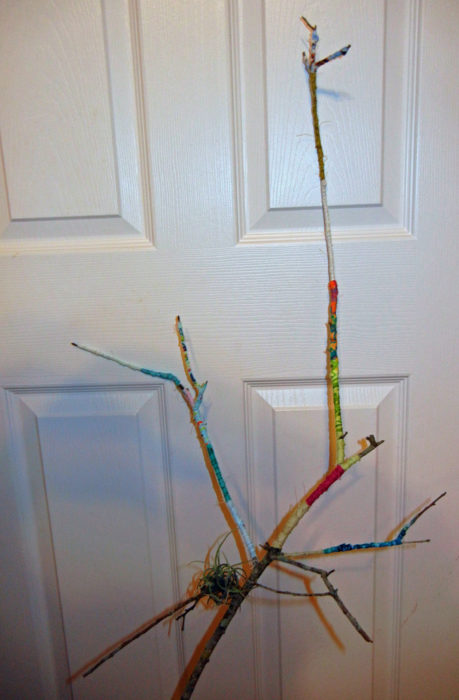
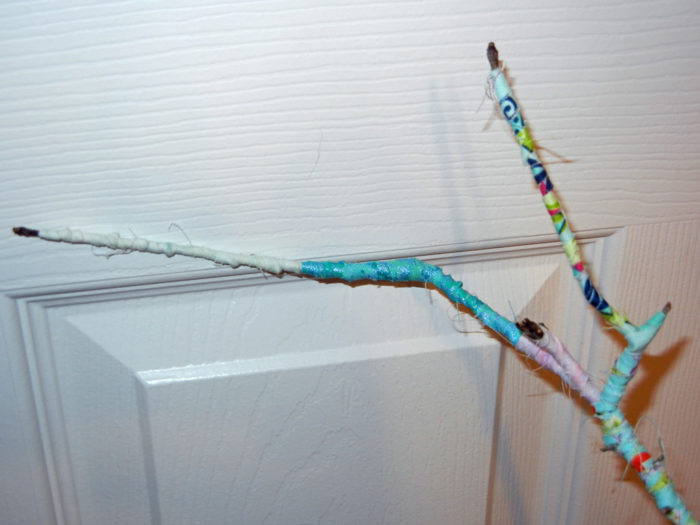
Sometimes you just need to wrap a twig in fabric.

Fabric-wrapped twig. Ellen Lindner, AdventureQuilter.com/blog

Fabric-wrapped twig. Ellen Lindner, AdventureQuilter.com/blog

Fabric-wrapped twig. Ellen Lindner, AdventureQuilter.com/blog

Fabric-wrapped twig. Ellen Lindner, AdventureQuilter.com/blog

Update:  Degen asked about my technique, so here’s some more information:

At my local quilt store they save the tiny strips cut from fabric as they create fat quarters.  Then, they bag them up and sell them.  These are what I used, which means they’re cut on grain.  I didn’t use any glue.  I started like a bandage:  lay the strip down in the area you’re about to cover and start wrapping.  When I changed colors, I’d leave a tail of the first color and cover it in the same fashion with the new one.  At the ends, I had to tie a few knots.

I’ve also used these fabrics for knitting.  See this post.

Ellen Lindner
8