Tag Archives | Raw Edge Collage

Stitching Tomatoes

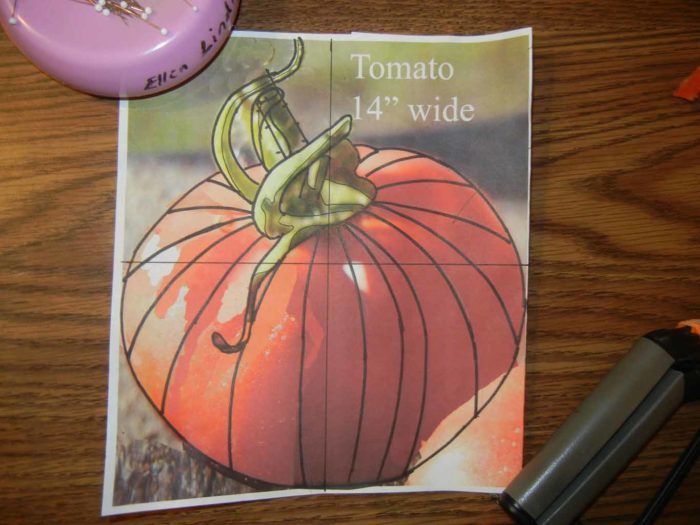
After placing my three tomatoes on a grey background it was time to quilt everything.  I knew I wanted to use contour stitching, so I pulled out my inspiration photos for reference.  I drew contour lines with a pencil first, directly onto each photo.  Once I was happy with them, I went over them with a Sharpie.

Quilting tomatoes. Ellen Lindner, AdventureQuilter.com/blog
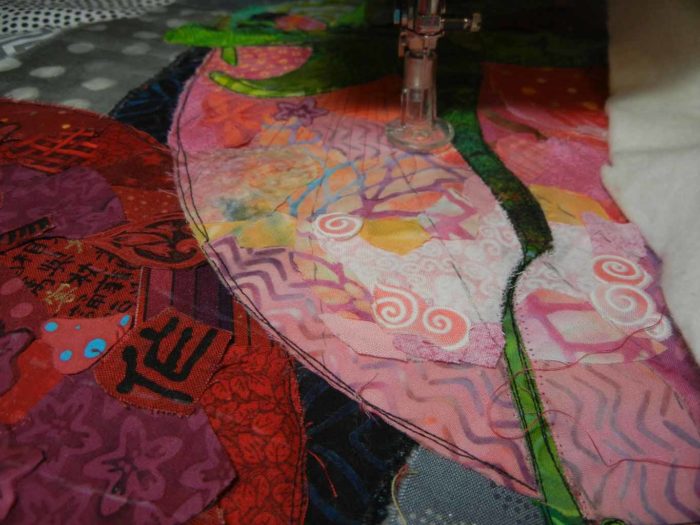
Next, I marked lines on the quilt, and took it to the machine.

Quilting tomatoes. Ellen Lindner, AdventureQuilter.com/blog

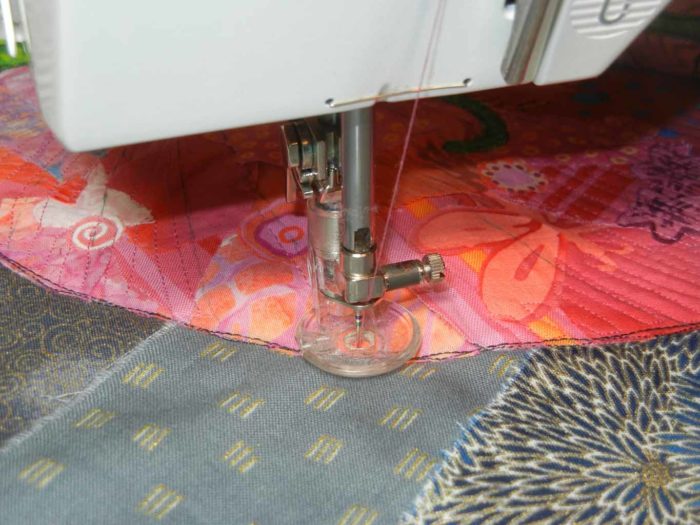
Quilting tomatoes. Ellen Lindner, AdventureQuilter.com/blog

Did you notice my unusual quilting foot?  It’s actually intended for cording.  I like it because it’s transparent, giving me good visibility.  But, mostly because the edges flare up slightly all the way around.  This means the foot is unlikely to travel up underneath the tons of fabric edges I have on my quilts.  It works beautifully.

Here’s the right tomato quilted.  It still needs to have the quilting marks removed and it needs a haircut.

Quilting tomatoes. Ellen Lindner, AdventureQuilter.com/blog

Same for the center tomato.

Quilting tomatoes. Ellen Lindner, AdventureQuilter.com/blog

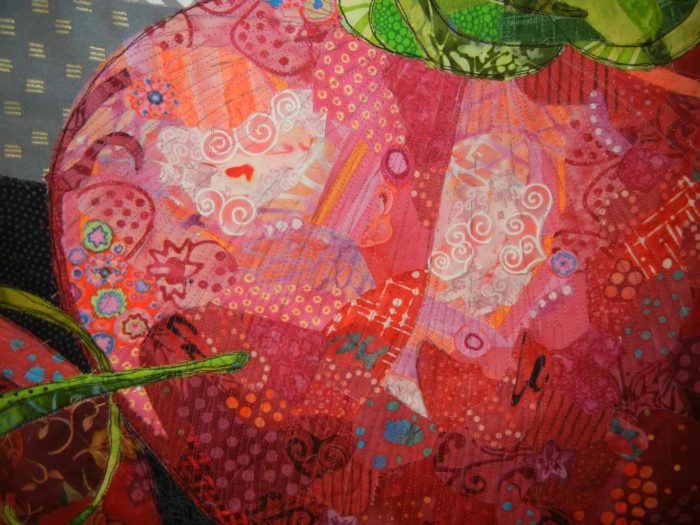
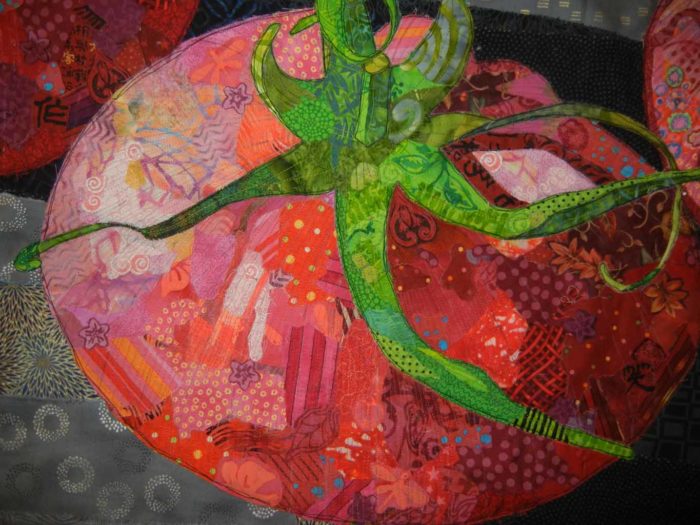
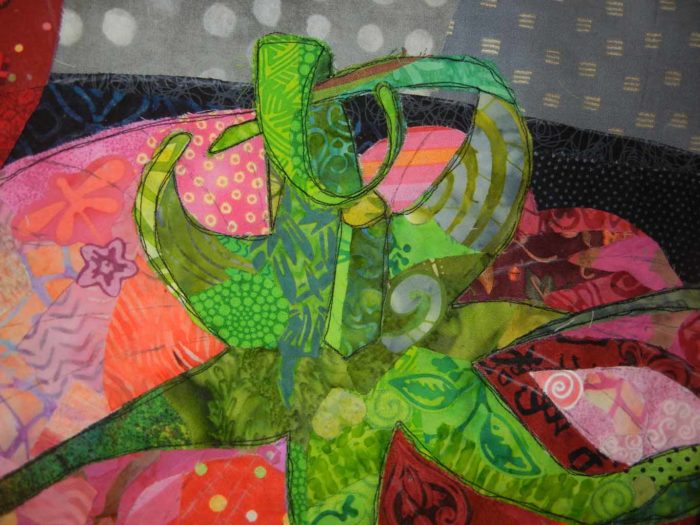
I stitched around the leaves and the edges of the tomatoes with black thread.  This added definition.

Quilting tomatoes. Ellen Lindner, AdventureQuilter.com/blog

Now, I’m finishing up with facing, a label, a sleeve, etc.  I’ll be finished soon!

Ellen Lindner


4

Third Tomato

Are you getting tired of seeing my tomatoes?  Don’t worry: this is the last one.

This tomato, on the right, is only a partial one.

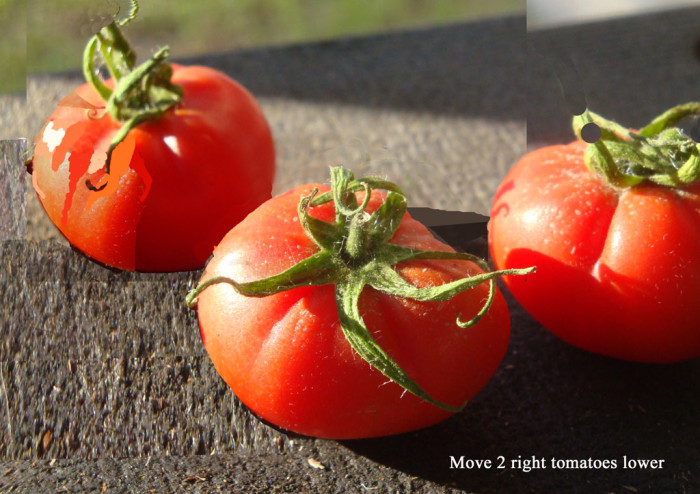
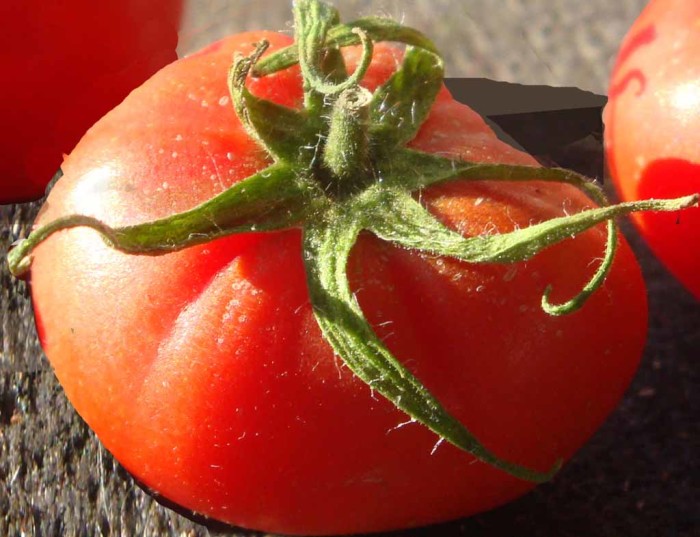
Photo inspiration for Vine Ripened, by Ellen Lindner. AdventureQuilter.com/blog

Still, I’ll need to build a little extra to allow for positioning and trimming.  This time I started with the lightest spots.

Vine Ripened, in-progress. By Ellen Lindner, AdventureQuilter.com/blog

A detail of that, with many little pieces of fabric helping the transition from very light to medium-light.

Vine Ripened, in-progress. By Ellen Lindner, AdventureQuilter.com/blog

This tomato has “cheeks” so a line of sharp value change will indicate this.

Vine Ripened, in-progress. By Ellen Lindner, AdventureQuilter.com/blog

Vine Ripened, in-progress. By Ellen Lindner, AdventureQuilter.com/blog

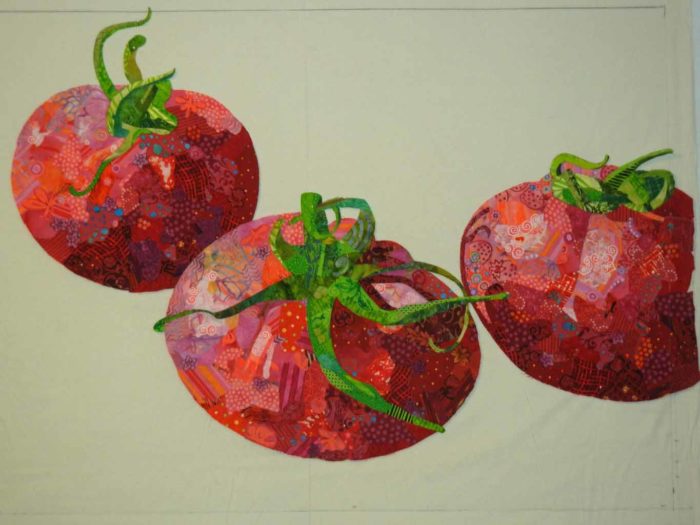
And here are all three tomatoes, arranged approximately as they will be in the final composition.  I’m quite thrilled with them!

Vine Ripened, in-progress. By Ellen Lindner, AdventureQuilter.com/blog

Next, I’ll need to decide on background colors.  Something neutral, I think.  Any suggestions?

Ellen Lindner


13

More Tomatoes

I’ve been a little tomato crazy lately.  I’m working on a new piece which needs three tomatoes.  I’m making them as stand-alone units, to be later added to a background.  Number one is complete. Here’s number two underway.

Vine Ripened, in-progress. By Ellen Lindner, AdventureQuilter.com/blog

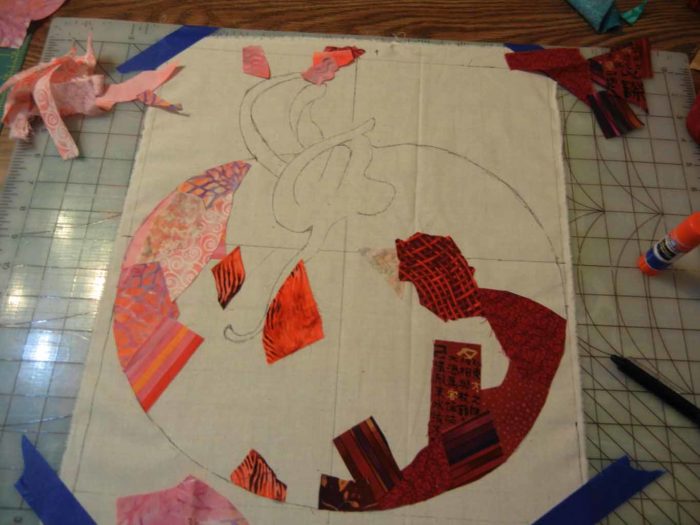
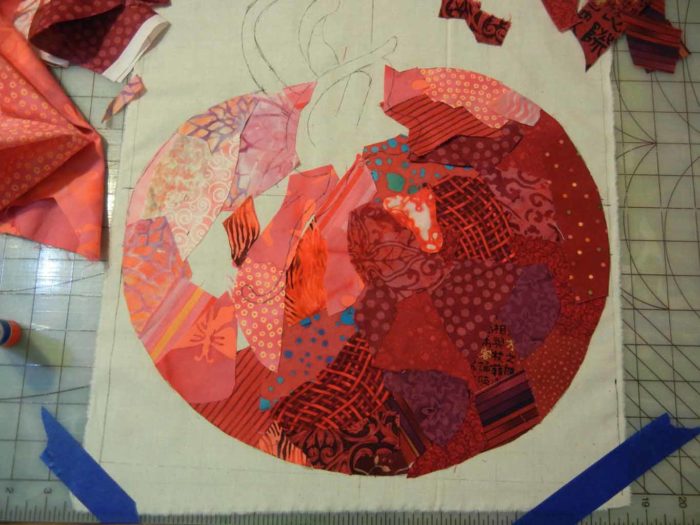
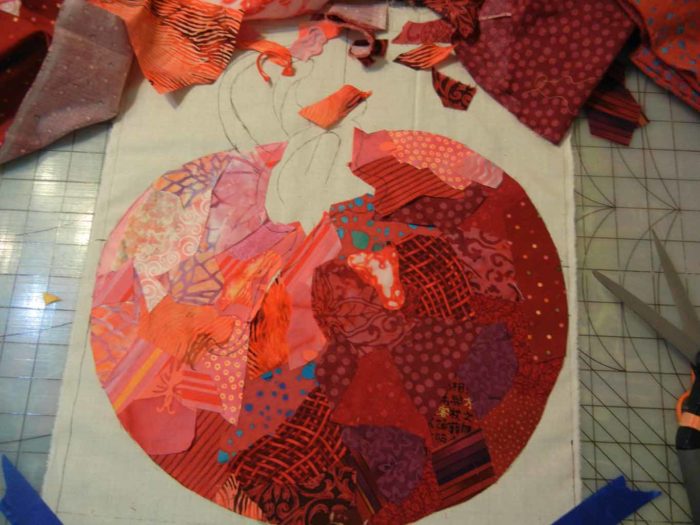
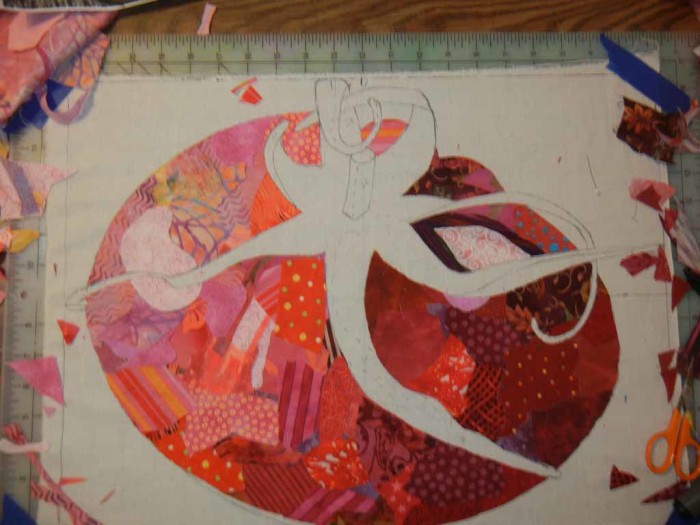
Once again, I’m constructing the tomato on a muslin base, lightly gluing fabrics into place as I go.  (Which is why I have an old cutting mat underneath in case it sticks a little.)

Vine Ripened, in-progress. By Ellen Lindner, AdventureQuilter.com/blog

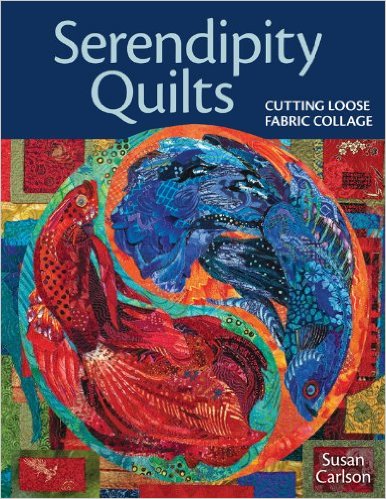
I’ve been loosely emulating Susan Carlson’s technique which she describes in her book.  However, she likes to tuck the little green leaf fabrics under the larger red tomato fabrics.  Which means the red fabrics have to be cut very accurately.  I tried that on the first tomato but didn’t really care for it.  So, on this one, I’ll add the leaves on top, later.

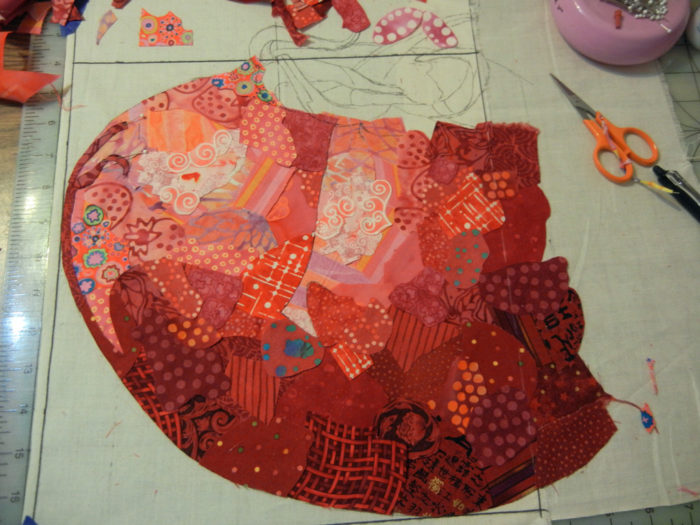
Here it is with the red completely covered (but not finished.)  Because I deviated from her technique I had to redraw the green leaves onto the red fabrics as I went.

Vine Ripened, in-progress. By Ellen Lindner, AdventureQuilter.com/blog

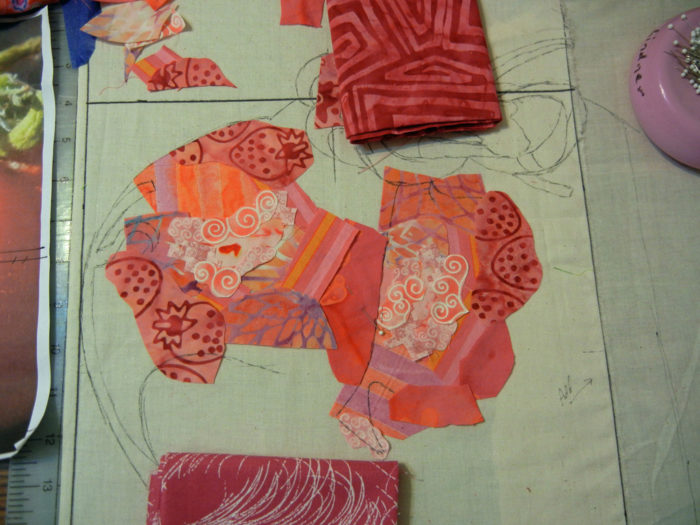
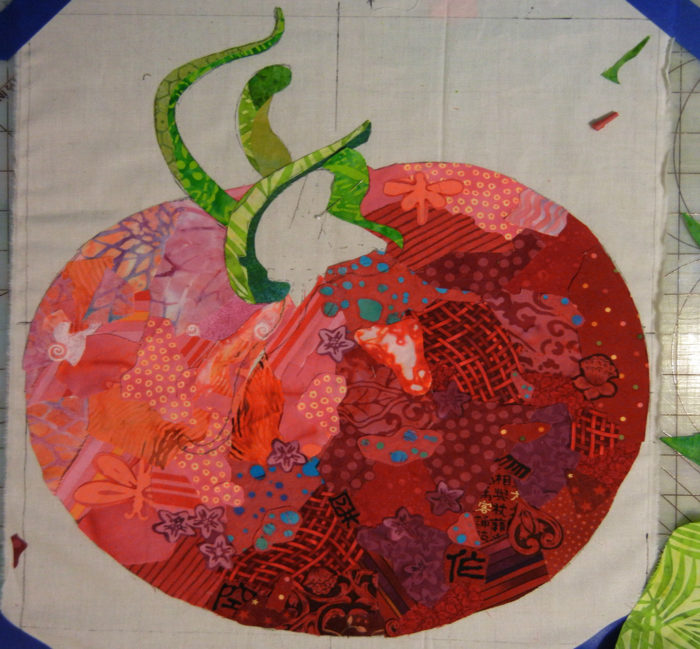
Here’s the red part complete.  Little pieces of fabric have been added to soften the value transitions and to repeat little motifs throughout.  Can you see the difference?

Vine Ripened, in-progress. By Ellen Lindner, AdventureQuilter.com/blog

I added the leaves on top of the red tomato, in my usual fashion.  Sorry, no photo of the completed tomato, but there’s more to come.

Ellen Lindner

4

“Florida Native #1”

You remember the leaf quilt I made, right?  Well, it has a companion piece which I recently finished.

Here it is, underway, as  I was auditioning fabrics.  You can see I placed the red squiggles of my feature fabric on a “sweet spot” and built everything around that.

In-progress art quilt by Ellen Lindner. AdventureQuilter.com/blog

Of course, the fabrics changed a good bit along the way.

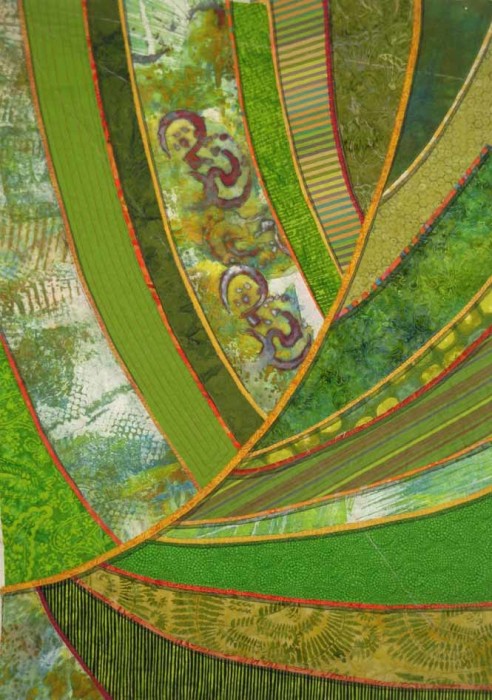
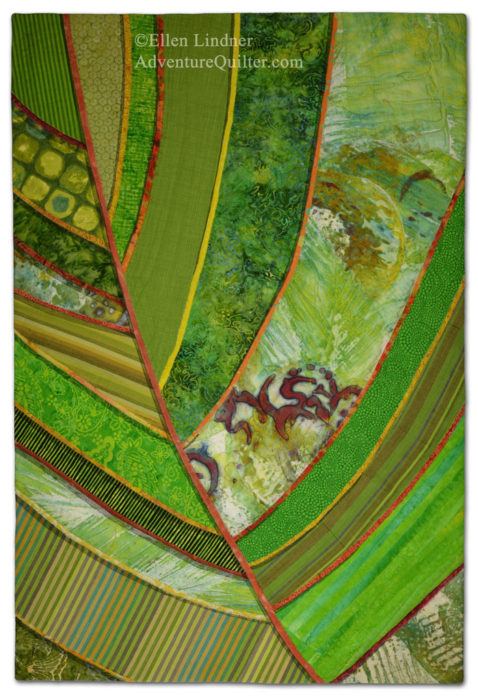
Here’s the finished version of  Florida Native #1

Florida Native #1, a fabric collage by Ellen Lindner. AdventureQuilter.com

Florida Native 1

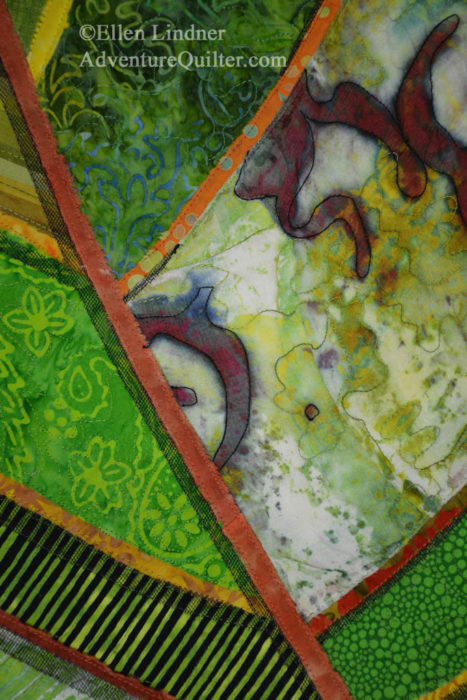
And a detail shot:

Florida Native #1 - detail, an art quilt by Ellen Lindner. AdventureQuilter.com

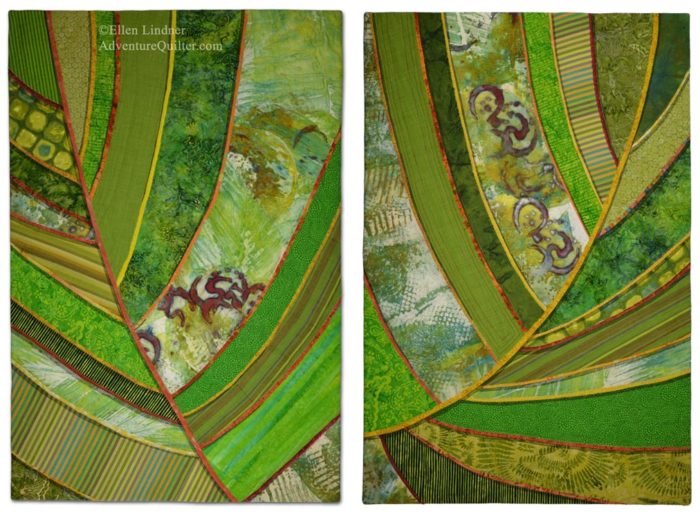
Why did the second quilt get named #1 and vice versa?  Because I thought they might hang together with this second one on the left, so I named them accordingly.  Here’s how they look together.

Florida Native #1 & #2, art quilts by Ellen Lindner. AdventureQuilter.com

I’m happy with them, but READY to move away from green!!!  (It takes a long time to make TWO quilts!)

BTW, I may have occasion to enter only one of these in an exhibit.  In that case, which one should it be and why?

Ellen Lindner

11

My Train Jumped the Track

I was making good progress on my two large leaf quilts when I got BADLY distracted.  The culprit was the book  Serendipity, by Susan Carlson.  In it she explains her fabric collage techniques.  In many ways they’re the same as my own, but with a much higher level of tiny details.  It was all SO intriguing and I just had to give it a try.  “BAM!  SCREECH!” The sounds of my leaf train derailing.

Learning Susan Carlosn's technique. Ellen Lindner, AdventureQuilter.com/blog

I pretty much never switch gears once I start on a quilt, but this time I did so quite gleefully.  I searched my photos for inspiration and decided to work with a photo of three tomatoes.  I tweaked the composition and will probably do some more down the road.

Ellen Lindner's tomato quilt in-progress. AdventureQuilter.com/blog

Susan typically constructs her design elements as stand-alone units.  This enables her to move them around later and to easily audition background options when the time comes.  So, I followed suit and drew a  20″ tomato.

Ellen Lindner's tomato quilt in-progress. AdventureQuilter.com/blog

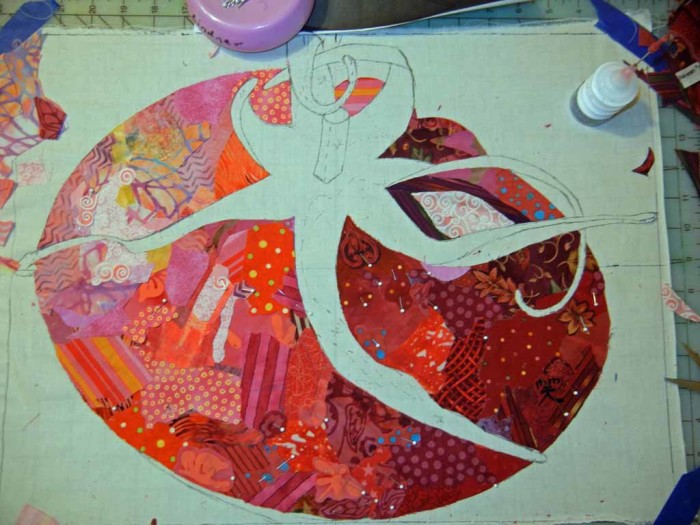
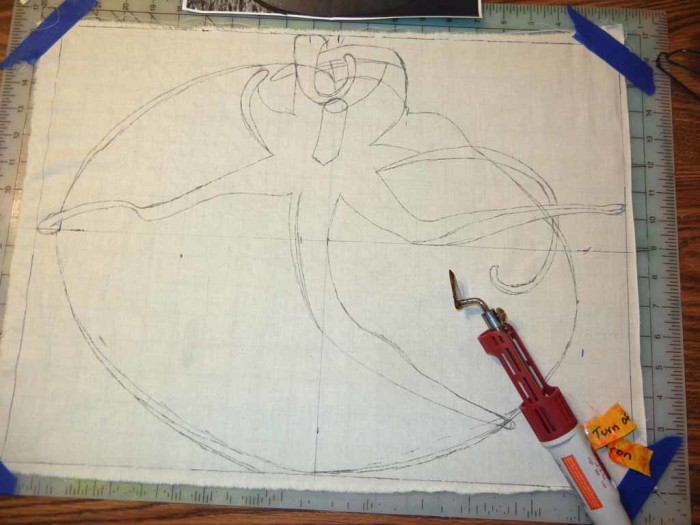
I drew the design onto muslin with a Frixion (heat-way) pen.  The mini iron was my “eraser.”

Ellen Lindner's tomato quilt in-progress. AdventureQuilter.com/blog

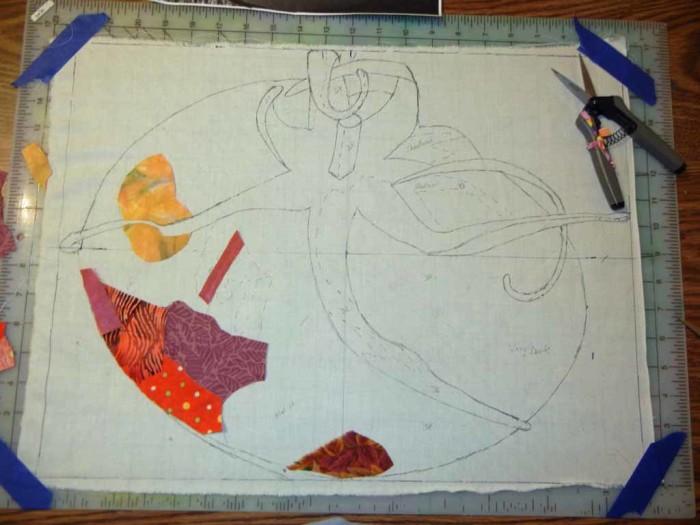
The idea is to fill the shape with the proper VALUE, leaving the detail areas as cutouts.

Ellen Lindner's tomato quilt in-progress. AdventureQuilter.com/blog

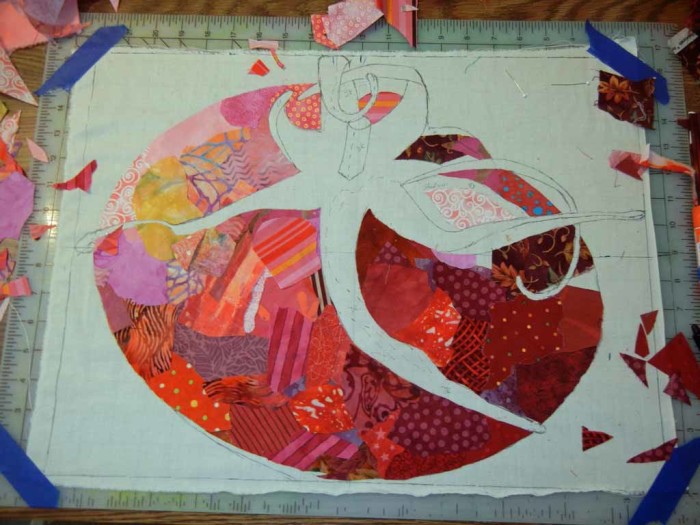
This was my first draft as I was nearing completion of the red fabrics.  The space was covered, but it was lacking some finesse.

Ellen Lindner's tomato quilt in-progress. AdventureQuilter.com/blog

I switched the light spot from yellow to pink.  But, it still looked pretty chunky.

Ellen Lindner's tomato quilt in-progress. AdventureQuilter.com/blog
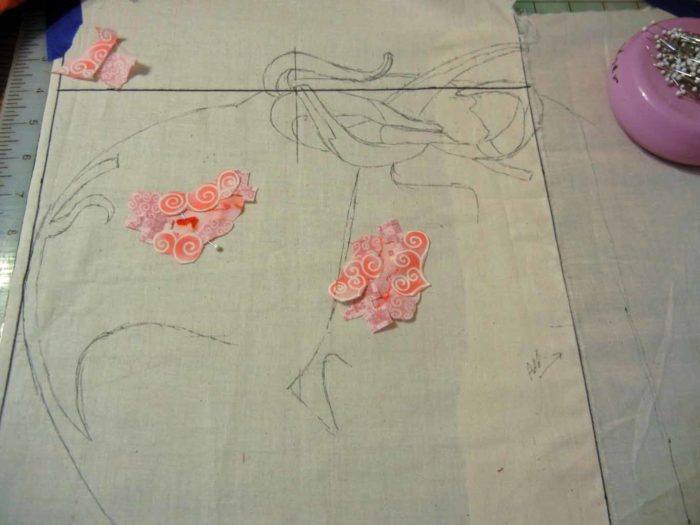
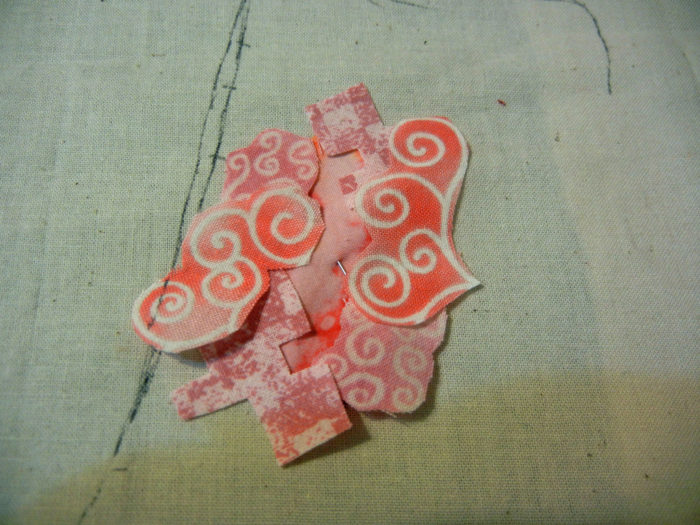
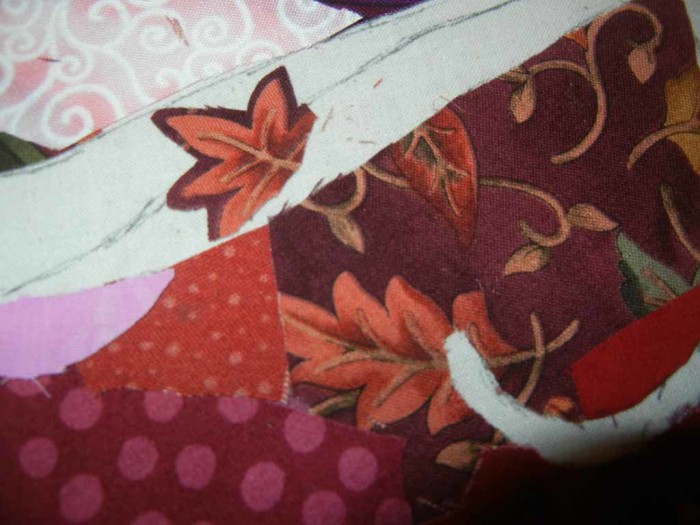
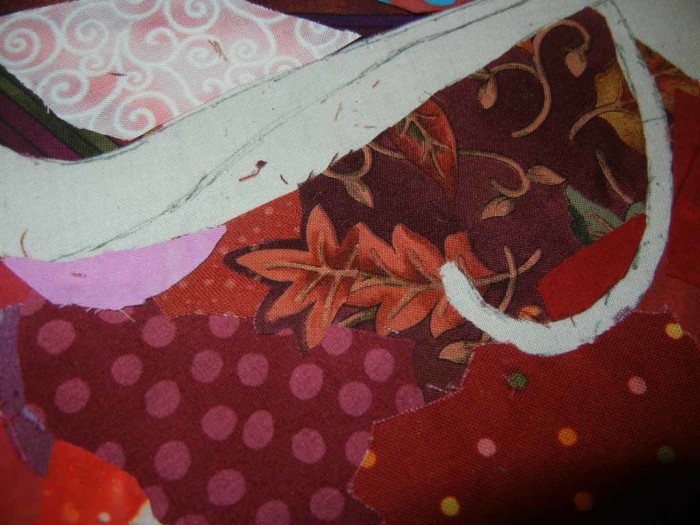
Next, I started fiddling with the details.  Susan explained the basics in her book, about how to soften any hard edges.  From studying her blog and website, I could also see that she often cut little motifs from her fabrics and used them to merge the colors and patterns better.  Like this.

Ellen Lindner's tomato quilt in-progress. AdventureQuilter.com/blog

Instead of abruptly cutting off a motif, soften the edge by continuing it onto the next fabric.

Ellen Lindner's tomato quilt in-progress. AdventureQuilter.com/blog

Well, that sort of thing is totally addicting!  AND it adds a lot of interest to the piece, as well as softening hard edges.

Here it is after a ton of fiddling (with the leaves still showing as cutouts.)  Much better, right?

Ellen Lindner's tomato quilt in-progress. AdventureQuilter.com/blog

I’m really having a lot of fun working this way.  Perhaps it will become too persnickety for me in the future.  We’ll see.

On to those twisty little leaves.

Ellen Lindner
P.S.  I’ve made several other quilts featuring produce.  Like  Mangolicious.
P
.P.S.  Did you know you can susbscribe to my blog?  When doing so, you’ll get every post in  your email inbox.  Just click the Subscribe button, top right.

12

Leaf Quilt Progressing

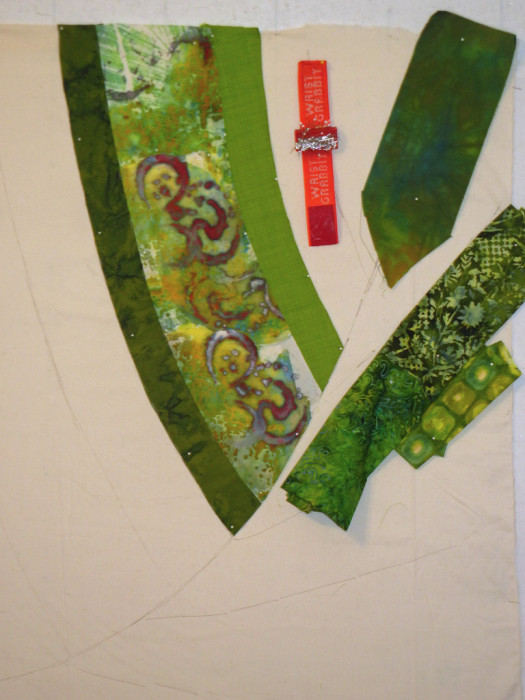
After getting started on two big leaf quilts, things went pretty smoothly.  (The photos in this post show the left quilt.)  Having previously drawn the design on a large piece of muslin, I auditioned which green to use where.
Ellen Lindner creating a leaf quilt. AdventureQuilter.com/blog

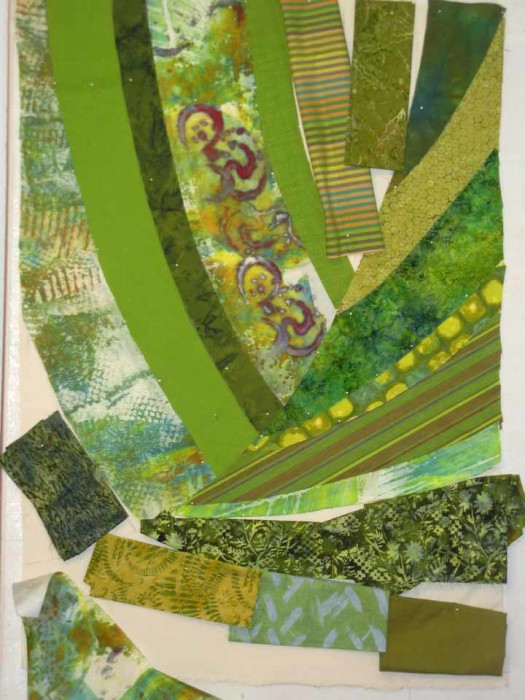
Can you believe I had to buy MORE fabric?  Very unexpected.

Here’s the final arrangement of greens.  Which ended up being not so final after all.
Ellen Lindner creating a leaf quilt. AdventureQuilter.com/blogEllen Lindner creating a leaf quilt. AdventureQuilter.com/blogEllen Lindner creating a leaf quilt. AdventureQuilter.com/blogEllen Lindner creating a leaf quilt. AdventureQuilter.com/blogEllen Lindner creating a leaf quilt. AdventureQuilter.com/blog

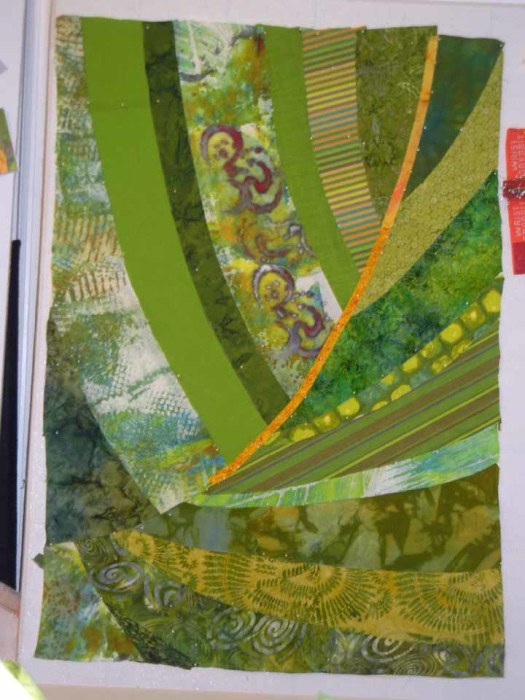
I was beginning to audition vein colors and widths.  I loved the color above, but thought it was a little fat.  More experimenting was needed.

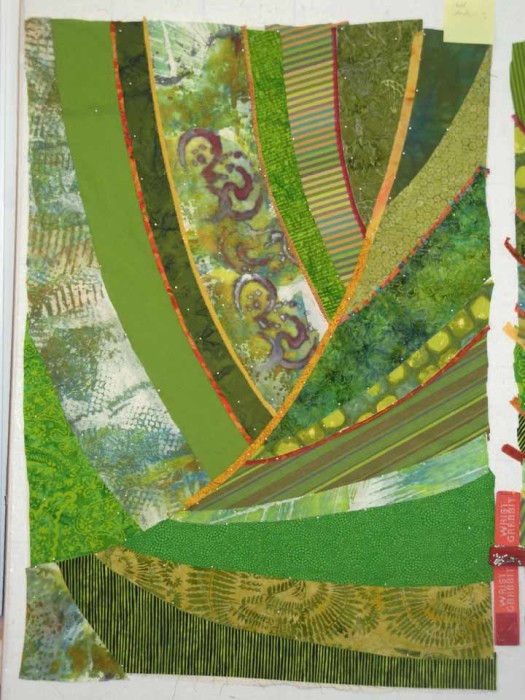
In the photo below, I’ve changed some of the bottom right fabrics and I was continuing to add veins.  I REALLY liked these colors!
Ellen Lindner creating a leaf quilt. AdventureQuilter.com/blog

Here’s the final version, with veins complete.  I was quite happy with it.
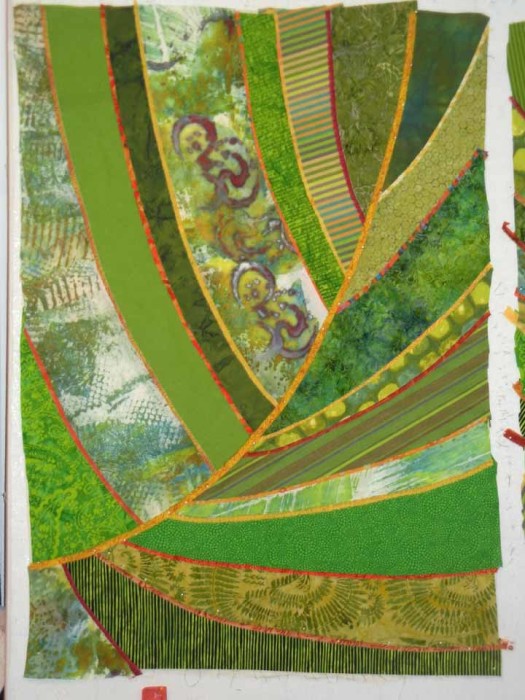
Ellen Lindner creating a leaf quilt. AdventureQuilter.com/blog

Then, I got to thinking about adding shadows to make the veins looked raised.  I did a little experimenting and decided to do this with two layers of black tulle.

I covered the entire quilt with the tulle (2 layers.)  Next, I decided on the light source and did some crazy calculating (and guessing) to determine the correct width of the shadow at each location.  I drew in the shadow dimensions and stitched them with dark monofilament thread.  Finally, I cut away the extra tulle.

In the photo below the entire quilt has tulle on it.  I’ve stitched the first few shadow lines, on the right. allowing me to cut away the tulle in those areas.  I was pleased to see that it was developing as I had hoped.
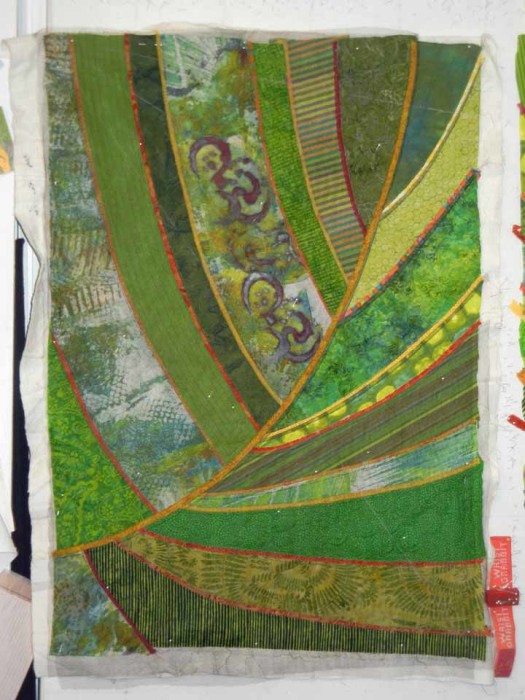
Ellen Lindner creating a leaf quilt. AdventureQuilter.com/blog

In the next photo, the left side is still covered with tulle and the right has had the shadows completed.
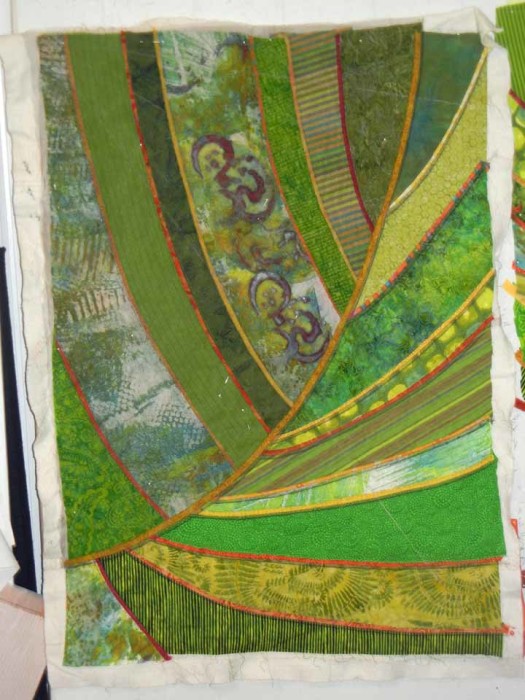
Ellen Lindner creating a leaf quilt. AdventureQuilter.com/blog

And here it is finished.

Ellen Lindner creating a leaf quilt. AdventureQuilter.com/blogEllen Lindner creating a leaf quilt. AdventureQuilter.com/blogEllen Lindner creating a leaf quilt. AdventureQuilter.com/blogEllen Lindner creating a leaf quilt. AdventureQuilter.com/blogEllen Lindner creating a leaf quilt. AdventureQuilter.com/blogEllen Lindner creating a leaf quilt. AdventureQuilter.com/blogEllen Lindner creating a leaf quilt. AdventureQuilter.com/blogEllen Lindner creating a leaf quilt. AdventureQuilter.com/blogEllen Lindner creating a leaf quilt. AdventureQuilter.com/blogEllen Lindner creating a leaf quilt. AdventureQuilter.com/blogEllen Lindner creating a leaf quilt. AdventureQuilter.com/blogEllen Lindner creating a leaf quilt. AdventureQuilter.com/blog

I think the shadow effect worked perfectly.  What do you think?

Want to see it up close?  I know you do, so here it is.
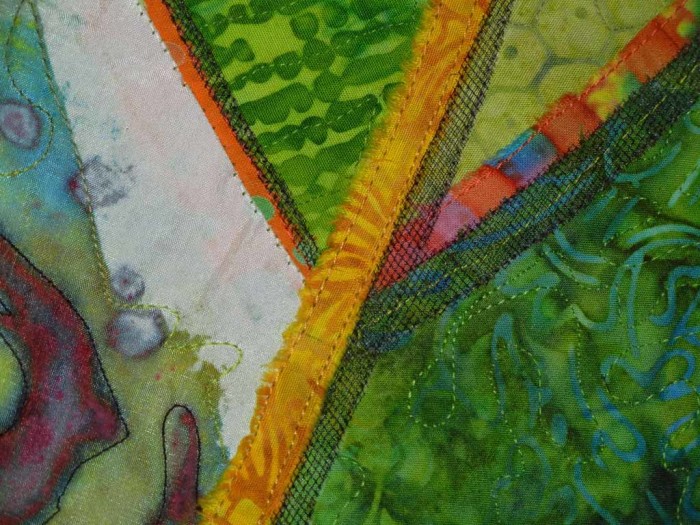
Ellen Lindner creating a leaf quilt. AdventureQuilter.com/blog

I think I might use clear thread next time.

The left quilt is now almost complete.  I’ll wait to trim and face it until the second quilt is finished, so I can make sure they’re the same size.

BTW, I’ve used tulle to add a shadow, or to change a color many other times.  See several examples on this page.  
– Misty Morn 
required four layers of black tulle to create the shadows in the foreground.
– Blue tulle was used to created the shadows on the oranges in Lakeside Citrus.
– Black oraganza (more opaque than tulle) was used for the berry shadows in Ripening.
– Two layers of black tulle created the border for Autumn Breeze.  Can you see how the interior image continues right into the border?

TIP:  Using tulle in this way is very easy.
– Start with a piece significantly larger than needed.  Pin well.
– Stitch along desired lines.
– Trim closely.
Because tulle is extruded plastic it will not ravel!  (Other woven sheers generally ravel very badly.)

Have you ever used tulle to alter a color?

Ellen Lindner
15

Getting Started on Two Green Quilts

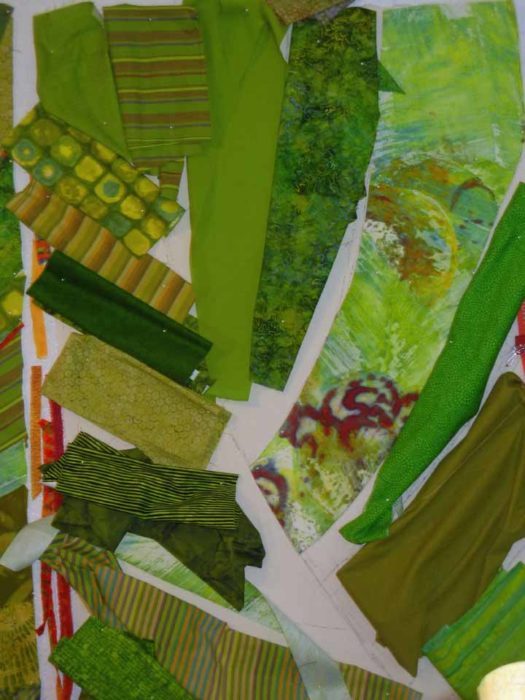
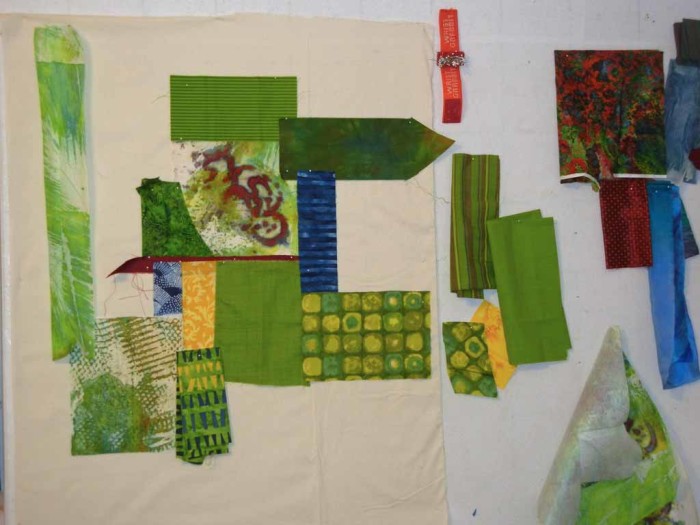
After studying my quirky fabrics, I decided to work with the yellow-green silk that had been screen printed.  I knew I wanted to play up the red design with more red accents.  Then, I threw in blue and yellow for good measure.

Ellen Lindner starting 2 green quilts. AdventureQuilter.com

After just a little arranging I remembered, “Oh yeah, I’m not really good at abstract designs.”  (It’s good to know your strengths and weaknesses.)

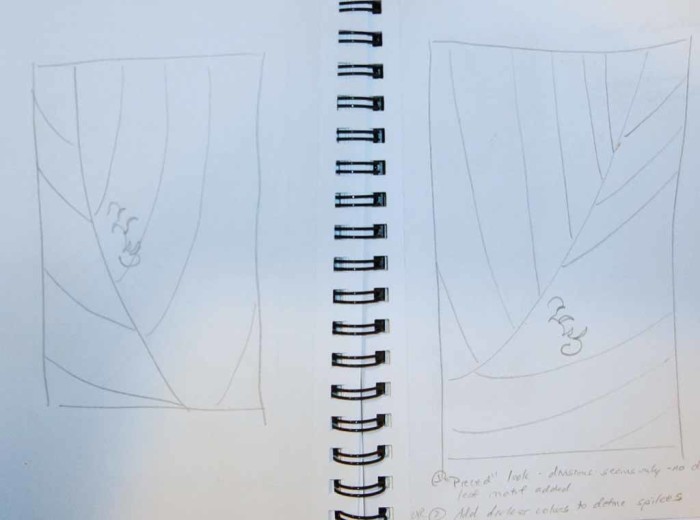
Knowing that I wanted to make two companion pieces, I did a couple of quick sketches.  And since my fabrics were green, why not leaves?

Ellen Lindner starting 2 green quilts. AdventureQuilter.com
Pretty simple, but I thought I could bring it to life with the right fabrics.

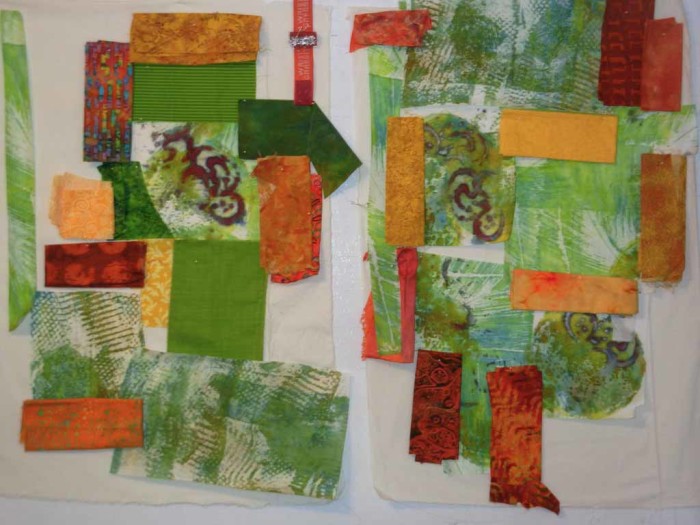
Speaking of fabrics, I started to second guess my original choices, and instead tried something new.

Ellen Lindner starting 2 green quilts. AdventureQuilter.com
Oh, yes!  I definitely preferred this.  See those red squiggles?  I want to feature them.

So, I got started.  I fused a lightweight interfacing on all the silk fabrics and I drew my sketch onto a muslin base.  Next, I began cutting and placing fabrics.  Placement was determined by a desire to mix values, but also by the size of each fabric piece in my collection.

Ellen Lindner starting 2 green quilts. AdventureQuilter.com
Those squiggles are looking pretty good, huh?

Ellen Lindner
4