Archive | June, 2018

LOTS of Trial and Error

Good grief.  I’ve about worn out my brain cells trying out different ways to proceed with my current project.

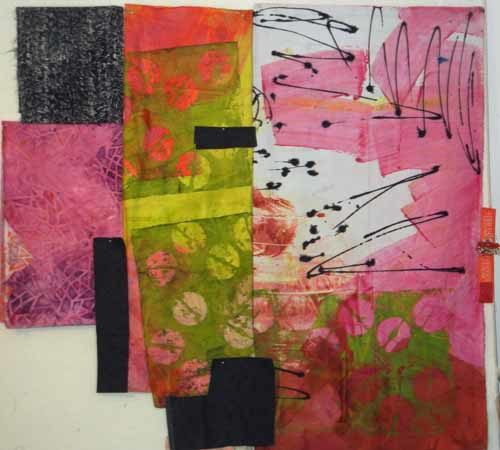
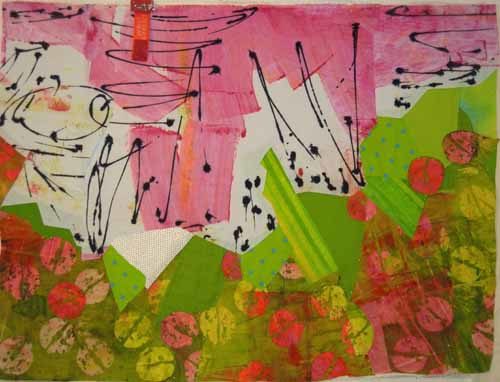
I was really thrilled with the background composition but felt like it needed to have some more black added.
To Start: Fabulous Fabrics. Ellen Lindner, AdventureQuilter.com/blog

But nothing that would detract from the black already there.  Maybe something loose and organic that would play up the chunky diagonal line between the white and green?  With that idea in mind I began to experiment.

Maybe a wild heavy line?
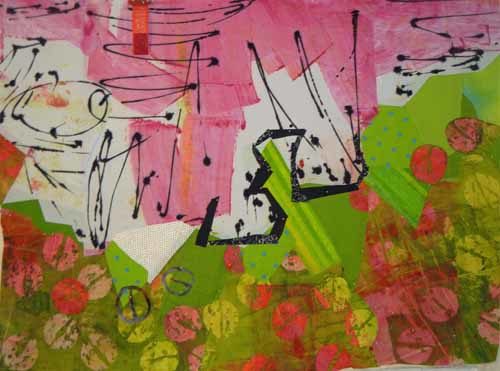
Or maybe little jagged black pieces to create the line.
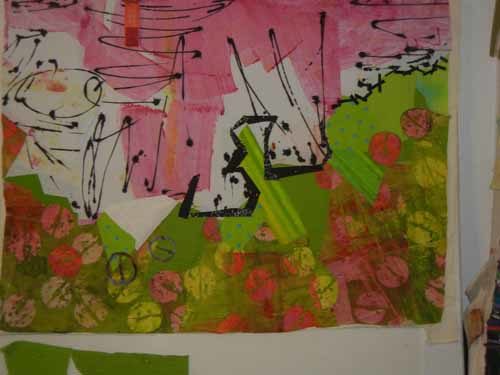
Or a thinner more controlled black line?
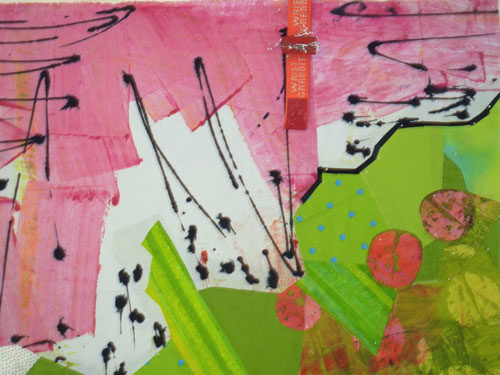
Or maybe the line should be created with the same shapes showing in the green and pink fabric at the bottom.
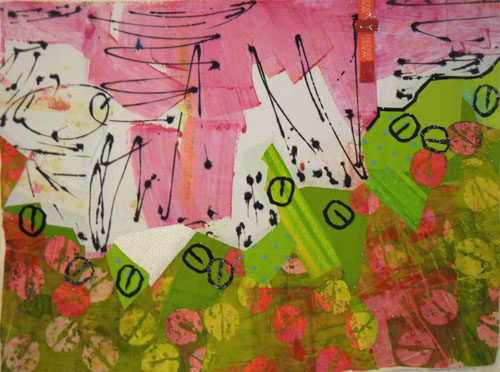
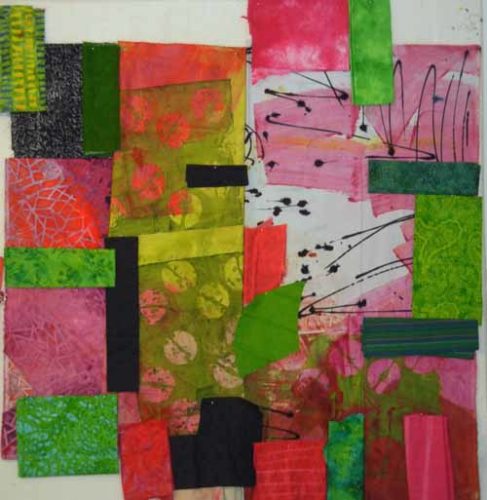
You can’t say I didn’t try! Finally I gave up on the idea of playing up the diagonal line and looked for other ways to add black.  Something like this, maybe?
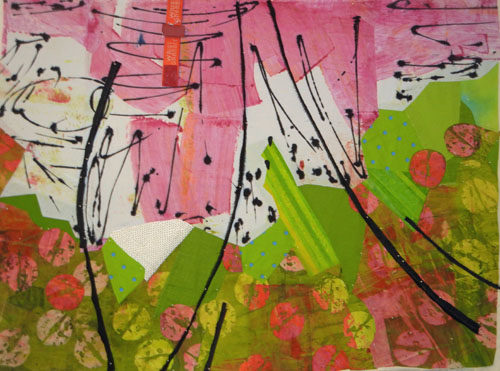
Well, I liked that better, but felt like I was till far away from the right solution.

At about this time one of my readers. Eleanor Levie, suggested adding black vertical strips. That got me thinking.  I began to consider the idea of cutting the piece into sections and reassembling it, along with the addition of black. But, should the sections be vertical?  Or maybe slanted?  Or even curved?  And should I put them back in their original locations or mix them up a bit?  If the latter, what kind of shape might I create?  And what about inverting or rotating some of the sections?

Well, as you can tell, that took me down quite another rabbit hole.  I’ll show you those experiments next time.

Ellen Lindner


25

To Start: Some Fabulous Fabrics

I’m working on a new project, inspired by some great new fabrics. The bulk of these were painted by Pat Pauly. I purchased them to use together and they make my mouth water!

To Start: Fabulous Fabrics. Ellen Lindner, AdventureQuilter.com/blog

In the photo above I’ve folded each one to reveal the parts I intend to work with. I think a good dose of black will also be needed.

And maybe some other fabrics.  Yellow-green, orange-red, blue-green?

To Start: Fabulous Fabrics. Ellen Lindner, AdventureQuilter.com/blog

Uh, no.

The hand drawn lines in the pink and white fabric got me thinking about lines so I spent some time doodling.  One of my sketches resulted in a very irregular diagonal line.  I thought that would be a good starting point for what would basically be a two-color quilt.  I cut out my favorite parts and began to place things on the design wall.

To Start: Fabulous Fabrics. Ellen Lindner, AdventureQuilter.com/blog

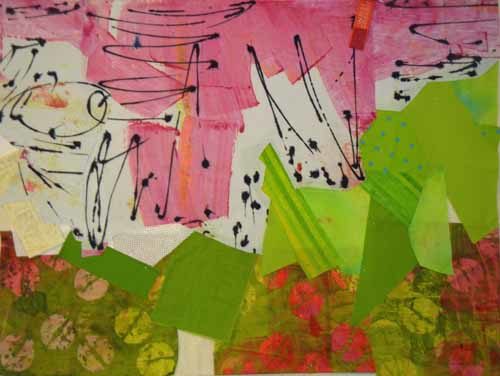
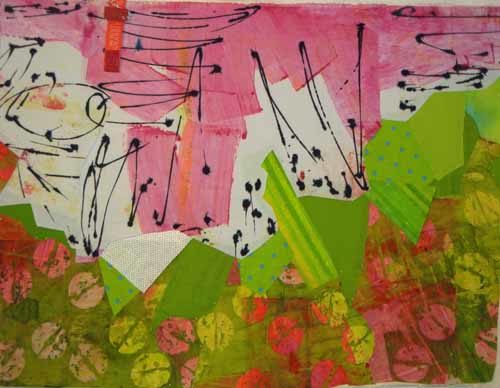
Because the pink fabric is painted in broad chunky shapes, I thought I could use a chunky composition elsewhere. Eventually, I got this:

To Start: Fabulous Fabrics. Ellen Lindner, AdventureQuilter.com/blog

My scraps  yielded a few of the painted circles, so I added them back in judiciously.

To Start: Fabulous Fabrics. Ellen Lindner, AdventureQuilter.com/blog

I was pretty happy with this.  Still, I knew I needed to add some black.  Just how should I do that without competing with the wonderful black lines already there?  A quandary. (Hopefully, I’ll have a solution for the next post.)

Ellen Lindner

4

“Circling Back,” a Tiny Little Thing

You’ve heard of trunk shows, right? When a group of quilts travels in order to be shown at various quilt guilds, shows, meetings, etc.?  Here in Florida, my SAQA co-rep, Karol Kusmaul, had the brilliant idea of doing something like this on a statewide level.  We’re calling it a “Roaming Gallery.”  (Her idea, which I love.)

The idea is to make tiny quilts, only 7″ x 10″, mounting them very professionally, and then sending them around the state for various purposes.

So, I got to thinking about my contribution.  As is typical for me when doing something this small, I used scraps from a recent project.  You know, the stuff that’s still out on my table and not yet put away.  In this case I used a small scrap of indigo, left over from Indigo Hug.

Circling Back, a tiny little quilt by Ellen Lindner. AdventureQuilter.com/blog

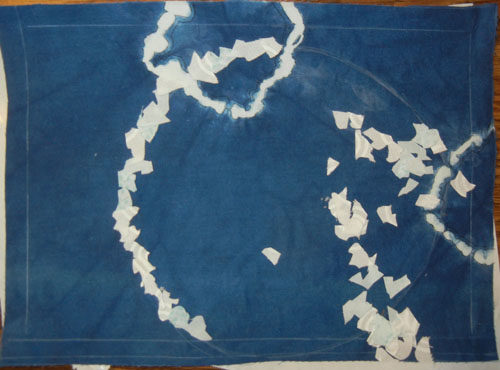
The two small circles above were created as part of the dying process. Small rocks were caught up in the fabric and secured with rubber bands.  These acted as a resist, preventing the dye from penetrating in that area.  Cool, right? Since the fabric already had partial circles on it, continuing with more seemed like a logical idea.  Above, I auditioned the idea of adding a very irregular circle with tiny little pieces of fabric. But, I didn’t care for it.

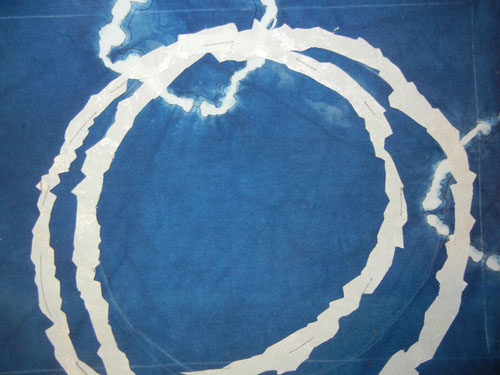
Next, I added fatter circles cut from white fabric.

Circling Back, a tiny little quilt by Ellen Lindner. AdventureQuilter.com/blog

I liked that but thought it needed more.  What about another circle?

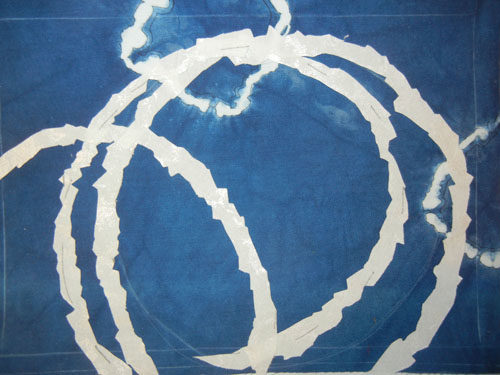
Circling Back, a tiny little quilt by Ellen Lindner. AdventureQuilter.com/blog

Yes and no.  This 3rd circle is too much.  Yes, it adds interest, but it throws the balance off.  I decided to add circles in a much smaller scale. But, would that mean smaller fat circles or just skinny circles?  More trial and error was needed.

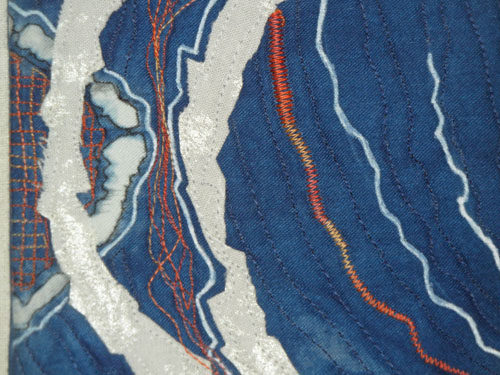
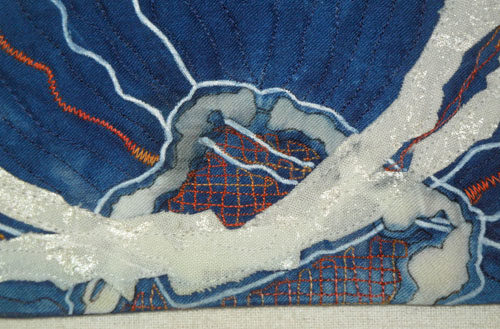
This is where I took it: squiggly lines drawn with a permanent pen, squiggly satin stitching, squiggly straight stitching, and crosshatch stitching.  And, of course, I had to add some complementary (opposite) orange. Here, you’re looking at a detail of the finished left side.

Circling Back, a tiny little quilt by Ellen Lindner. AdventureQuilter.com/blog

And here’s a similar treatment given to the bottom.

Circling Back, a tiny little quilt by Ellen Lindner. AdventureQuilter.com/blog

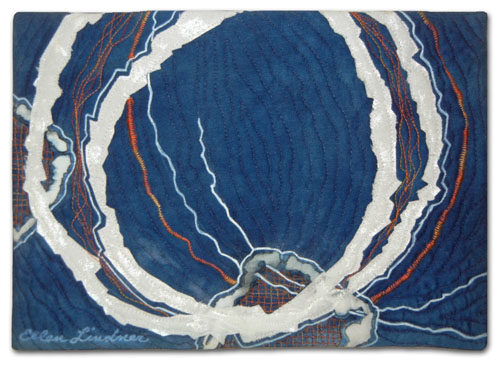
And the full piece, Circling Back. 

Circling Back, a tiny little quilt by Ellen Lindner. AdventureQuilter.com/blog

I’m quite happy with it. Working this small is pretty challenging since each little detail carries a lot of weight. Everything has to be “just so.”

A couple of other points:

– Did you notice the white perimeter lines in the earlier photos? Those represent the dimensions of the finished quilt.  When working at this scale I find them to be very important.  Several times I folded the fabric back on these lines so I could check the composition as it would be when complete.  At this scale that little seam allowance variation makes a huge difference.

– We’ll use these quilts to educate others about art quilts and SAQA, our organization.  But, they might also come in handy when we’re trying to secure exhibit venues.  If you were a curator unfamiliar with quilts as art wouldn’t you love to be able to see these tiny examples?

Ellen Lindner
P.S. See another small auction quilt.


12

Indigo Blanket Complete

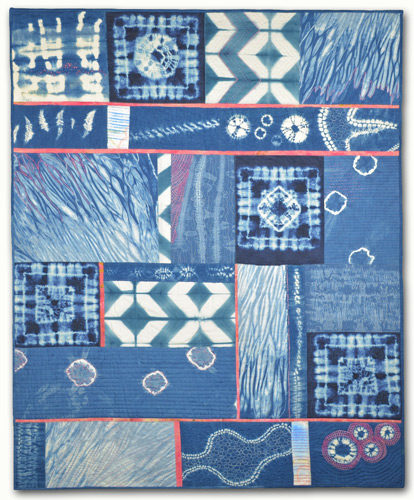
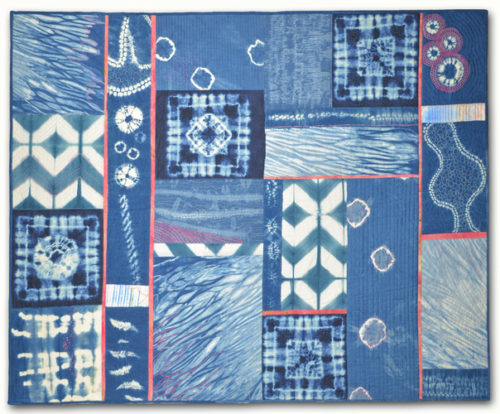
I still can’t believe I made a blanket, but here it is.

Indigo blanket complete. Ellen Lindner, AdventureQuilter.com/blog

It’s about 53″ x 42″ and will serve as a nice lap quilt for my son. Although blankets don’t normally get names, I decided this one needed one.  So, I’m calling it Indigo Hug.  Appropriate, don’t you think?

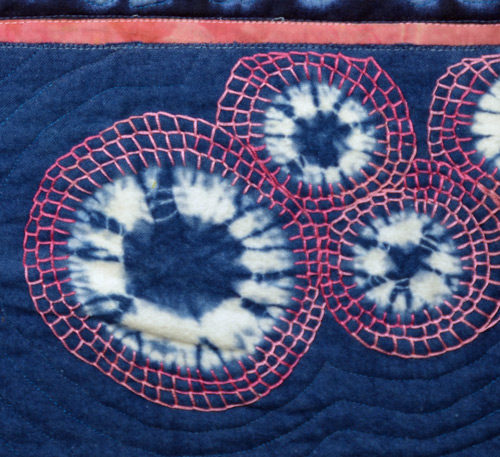
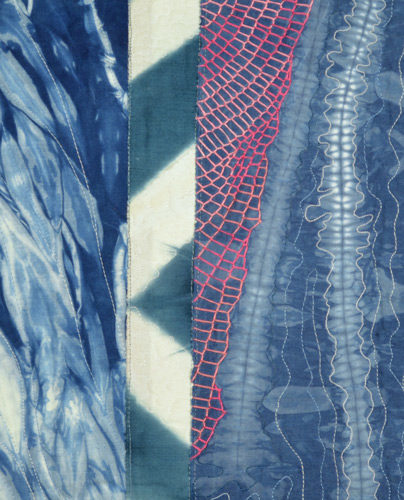
Of course, I love the indigo, but my favorite aspect of making it was adding the hand stitching.  Here, I used rows of buttonhole stitch to accentuate the shibori design.

Indigo blanket complete. Ellen Lindner, AdventureQuilter.com/blog

And, I recently learned to use the same stitch in an undulating pattern that looks almost like netting.  It’s my favorite.

Indigo blanket complete. Ellen Lindner, AdventureQuilter.com/blog

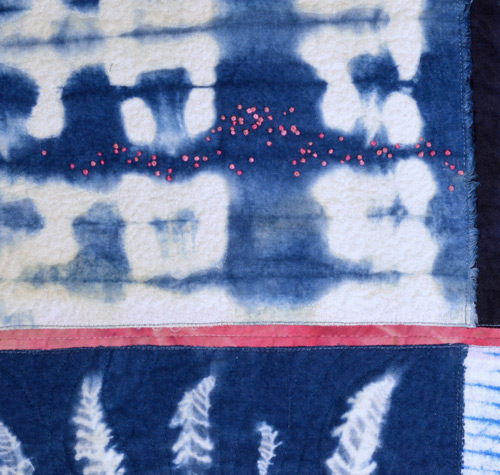
Plus, an abundance of French knots!

Indigo blanket complete. Ellen Lindner, AdventureQuilter.com/blog

Although this quilt is designed to be functional, I think it would also look really nice on a wall.  In that case, Andrew said he’d like it to be oriented horizontally.  Like this.

Indigo blanket complete. Ellen Lindner, AdventureQuilter.com/blog

So, I’ll add a sleeve at the top and he’ll be all set.  PLUS a label with some really specific washing instructions!

Ellen Lindner


10

“Poppies Ablaze” Complete

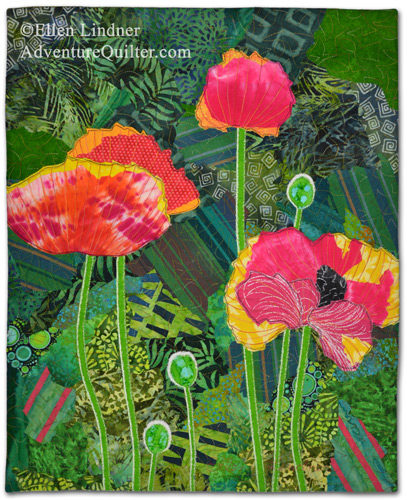
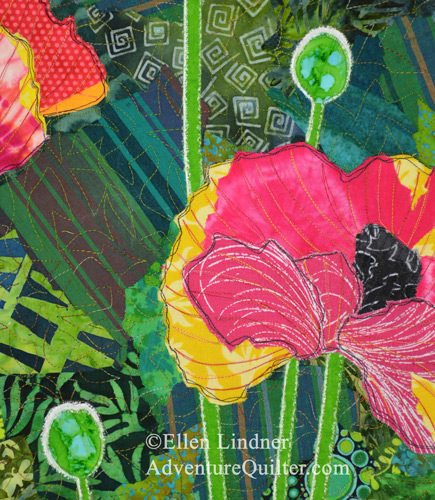
My latest quilt, Poppies Ablaze,  is now complete.

Poppies Ablaze, an art quilt by Ellen Lindner. AdventureQuilter.com

I’m very happy with it, plus I had a lot of fun working on it!

Poppies Ablaze, an art quilt by Ellen Lindner. AdventureQuilter.com

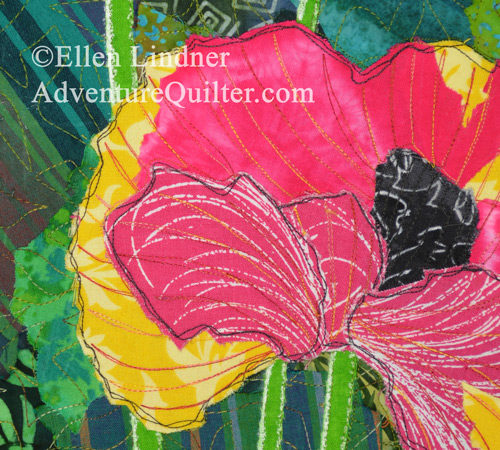
This very close detail shot shows the double black outline stitching which I love to use.

Poppies Ablaze, an art quilt by Ellen Lindner. AdventureQuilter.com

This piece is the newest sample for my class “Design Your Own Nature Quilt.”  (This class is currently underway online and it’s not too late to join in.)

I can’t wait to make another class sample!  These are fast and fun. See more class samples here.

Poppies Ablaze is 21″ x 17″ and is available for 325.

Ellen Lindner


10

Poppy Stems

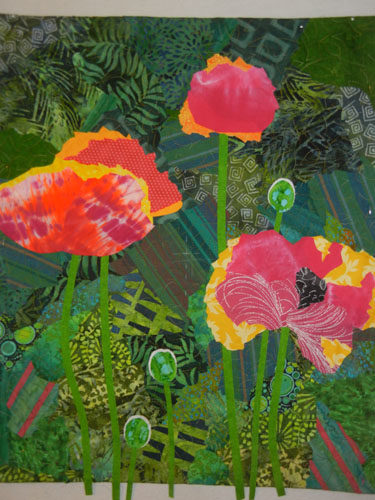
After completing the flowers in my poppy project, it was time to audition fabrics for stems and buds.

Poppy Project Underway. Ellen Lindner, AdventureQuilter.com/blog

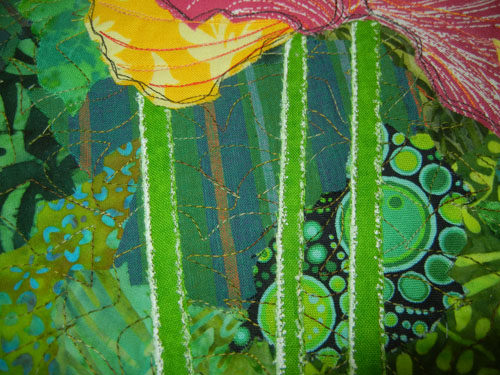
I also played around with how to best achieve the back lighting on the stems.  My plan was to use a white paint pen, in a sort of dotted (fuzzy) effect.

Poppy Stems. Ellen Lindner, AdventureQuilter.com/blog

That seems to be the right direction, but I’ll probably need to kick it up a notch.

(Did you notice that most of the background pins have disappeared?  That’s because I quilted the background before adding the flowers.  Much easier stitching that way.)

To represent the back lighting on the buds I backed each of them with white fabric, trimming it closely to give a skinny halo effect.

Poppy Stems. Ellen Lindner, AdventureQuilter.com/blog

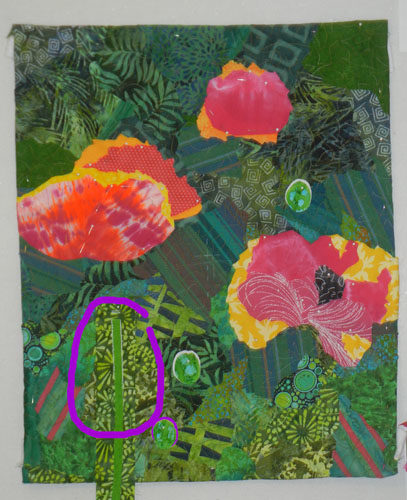
On to the stems. They didn’t show up that well, but I knew they’d show up more once I added the back lighting effect. But wait, are they too skinny?

Poppy Stems. Ellen Lindner, AdventureQuilter.com/blog

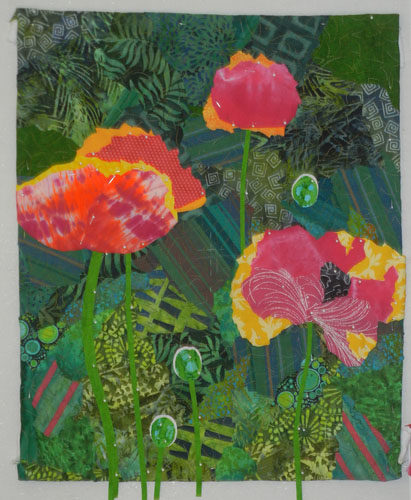
I made one (left) stem fatter, above, to test stem widths.  Yep, I needed to bulk them up. Below, they’ve been reworked.

Poppy Stems. Ellen Lindner, AdventureQuilter.com/blog

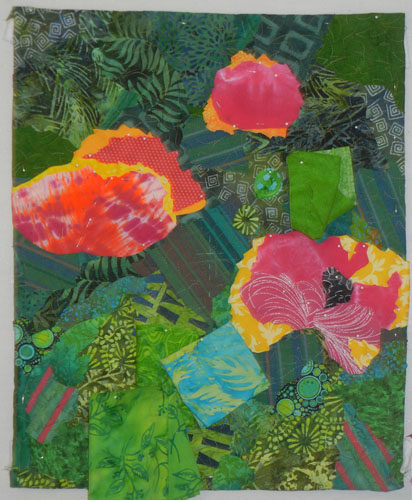
Next, came the white paint.  Slightly intimidating. I started with just a little, but it didn’t show up that well, so I kept adding.  I ended up here. It looks kinda heavy and messy up close, but I think it works correctly from a distance.

Poppy Stems. Ellen Lindner, AdventureQuilter.com/blog

Next comes flower stitching.

*I just started an online version of this class last week.  We’re just finishing lesson one so  it’s easy to catch up, if you’re interested.  Full details here.

Ellen Lindner
6

Poppy Project Underway

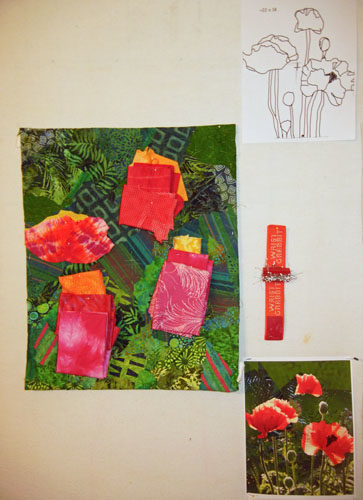
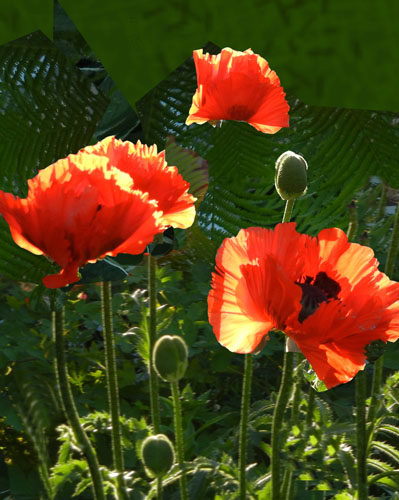
As I told you in a previous post, I’ve been needing a new sample for my class “Design Your Own Nature Quilt.”  After selecting an inspiration photo and drawing a sketch, I got started.

Planning a New Class Sample. Ellen Lindner, AdventureQuilter.com/blog

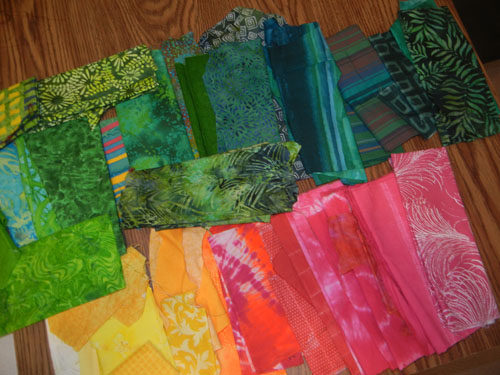
First I selected fabrics.

Poppy Project Underway. Ellen Lindner, AdventureQuilter.com/blog

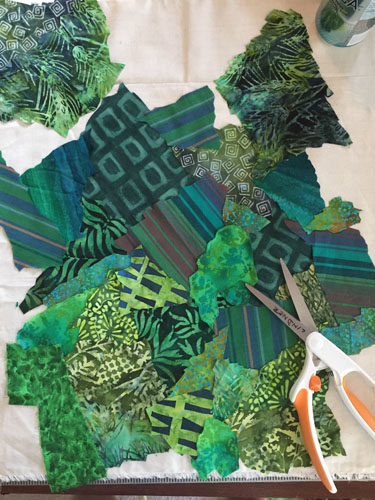
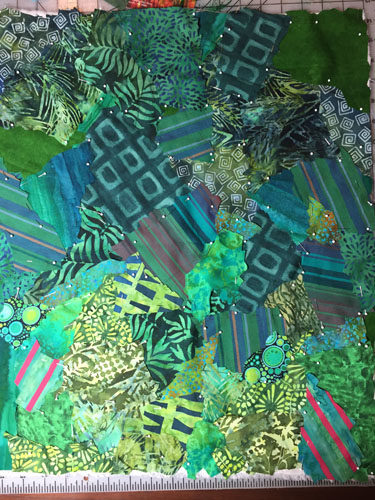
And then got started on the background.

Poppy Project Underway. Ellen Lindner, AdventureQuilter.com/blog

I typically use a lot of different fabrics for the background. That works especially well here.

I “jagged cut” everything, which works perfectly for foliage.  I included some stripes, grids, circles, and even a little color. I love the added interest! Notice, too, that I made the background lighter at the bottom, just as it is in my inspiration photo.

Poppy Project Underway. Ellen Lindner, AdventureQuilter.com/blog(Did you notice that I did this flat on a table, rather than on my design wall?  That’s because I was visiting a friend.  But, it’s also the way my students work in this class.)

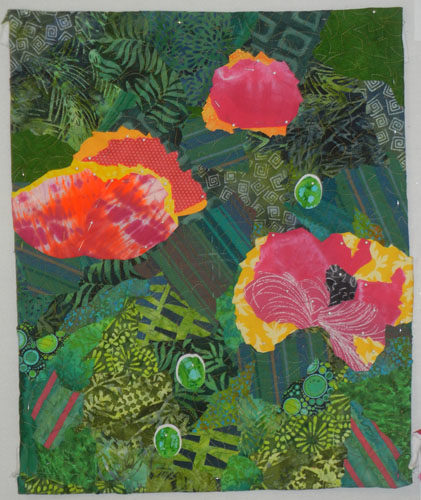
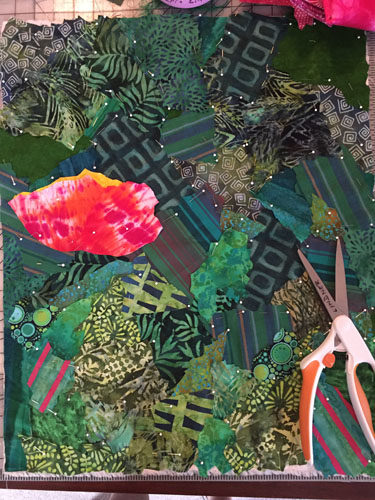
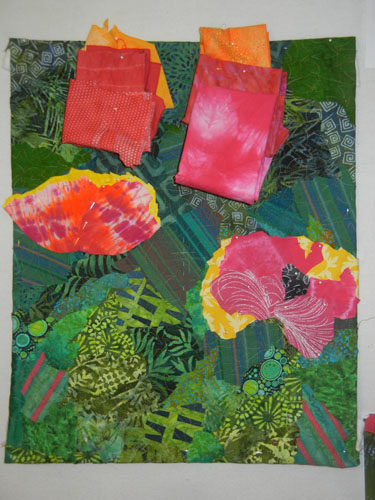
On to the flowers.  I had a beautiful bit of hand dyed fabric that I thought I could use for the first flower. Yes, perfect!

Poppy Project Underway. Ellen Lindner, AdventureQuilter.com/blog

Once home, I set up things on the design wall in my conventional fashion. And I began to audition flower fabric combinations.

Poppy Project Underway. Ellen Lindner, AdventureQuilter.com/blog

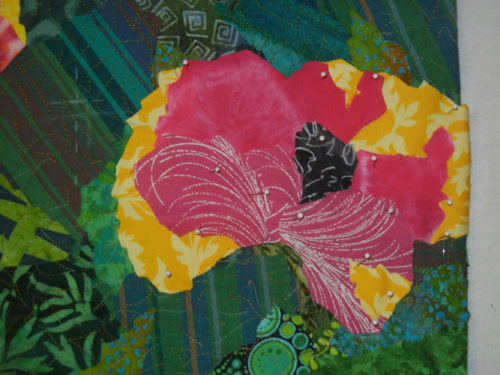
Next, I tackled the largest flower and was quite happy with the results.

Poppy Project Underway. Ellen Lindner, AdventureQuilter.com/blog

Perhaps you can make out the center marks on the background above.  This helped me with placement since I added a  similar mark to my sketch.

Poppy Project Underway. Ellen Lindner, AdventureQuilter.com/blog

With just a little more effort the remaining two flowers were completed and it was on to auditioning fabrics to use for stems.

Poppy Project Underway. Ellen Lindner, AdventureQuilter.com/blog

I’ll show you more in the next post.

*I just started an online version of this class a few days ago.  There’s plenty of time to join in, if you’re interested.  Full details here.

Ellen Lindner
4

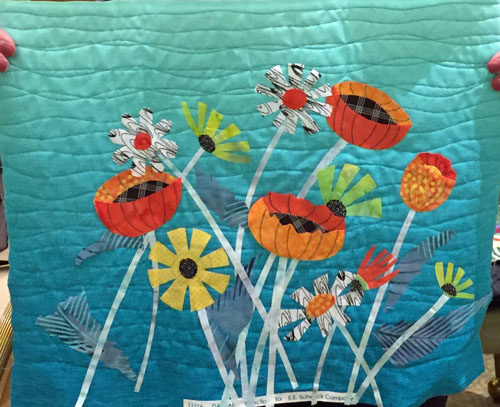
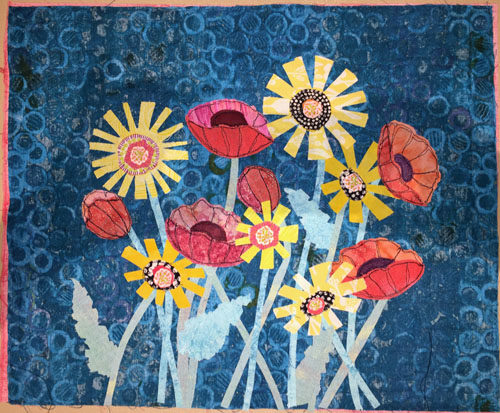
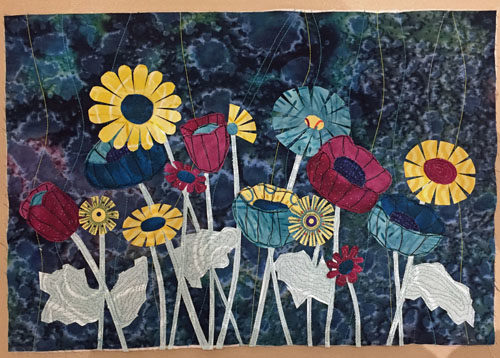
Floral Improv in The Villages: Part Two

My “Floral Improv” class is a very productive one.  In one day students:
– Make flowers without a pattern
– Design an effective composition
– Add stitching
– Learn how to use a facing for finishing

But, more importantly, the students always get fabulous results!

Pam’s dark background was very effective and her leaf fabric was perfect.

These students quickly overcame their inhibitions and were FEARLESS.  Bette was one of THREE students who had never done free motion quilting before!  Each of them did a little research before class and finished their projects in class!  Awesome.

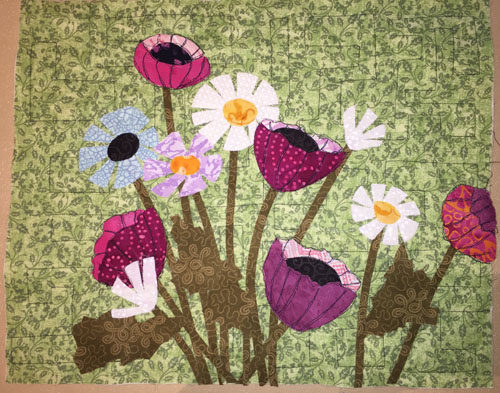
Linda’s complementary red-violet and yellow-green worked really well. Once trimmed and faced, her right flower will go off the edge.  I like that effect.

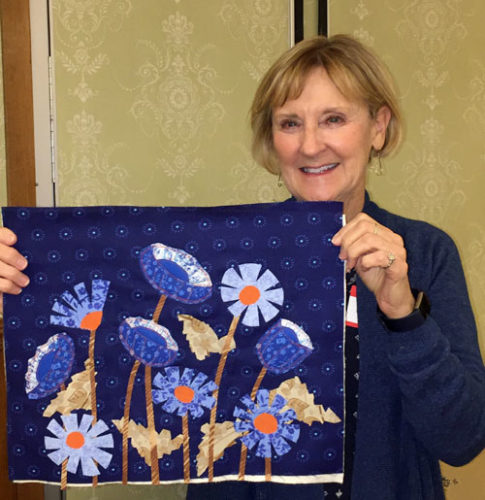
Becky’s combo is also complementary: blue-green and red-orange.  These colors always POP, as you can see.

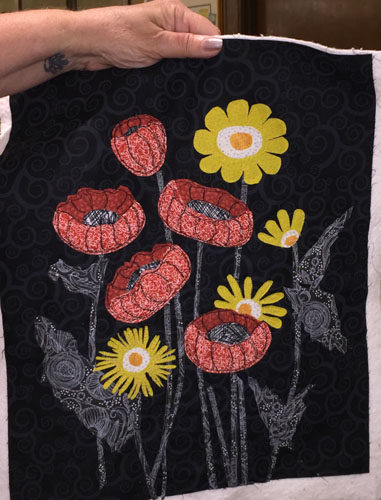
In Pat’s piece, you get a good sense of the importance of the contrast stitching on the poppies.  Very nice!

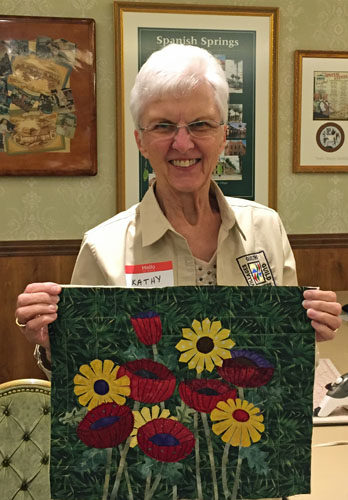
Kathy was very happy with her piece.  For good reason.

Check out the stems in Regina’s quilt.  Since they’re high contrast, their graceful shapes become major elements.  Lovely.

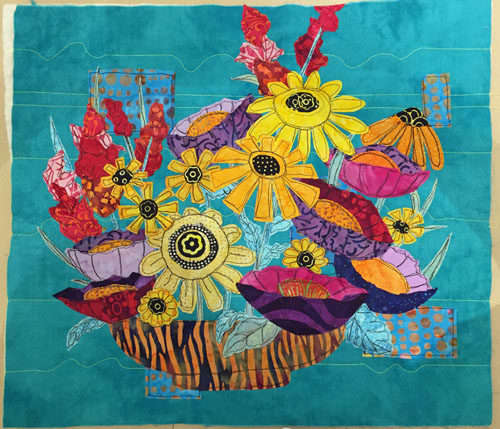
Kat made her project slightly over sized because she intended to make it into a pillow.  She added a vase to hold ALL THOSE FLOWERS.

It was a delightful day!

Ellen Lindner
P.S. Find out more about this class.
P.P.S. See Part One of this post.
P.P.P.S. See the Floral Improv Gallery

0